Got quite a bit of progress made on No buck over the 3 day weekend.
started by power washing the bed cross members and then spraying on a few coats of paint.
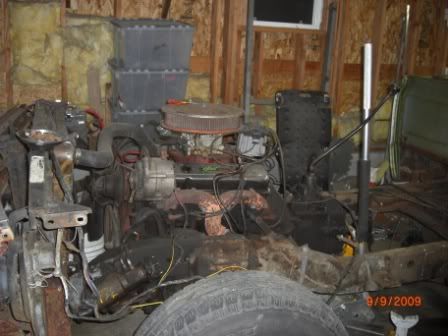
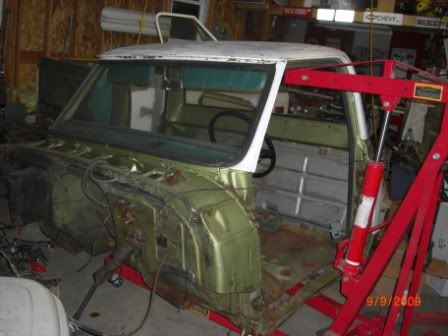
Then I started pulling off the front clip and doing A LOT of power washing. No big surprises while pulling that off. The core support and pass. side inner fender are rotted away as expected. Then I backed the truck into the garage and busted butt to get the cab off. Lots of little things to disconnect, but again no surpises.
Once I got the cab off, I cut the brake line, pulled the front drive shaft, moved the fuel line, removed the exhaust.
Then I marked out my cuts. I started my cut 6" behind the front cab mount. I used the now typical cutting method of a 12" overlap. Once I got it all cut, I was really surprised, the rear portion was almost perfectly balanced on the rear tires, so it was easy to pull forward towards the front end.
Oh yes, plasma cutters are very nice

This was really the first time I used it to make more of precision cuts. I found it pretty easy to follow my lines. I left maybe 1/8" to my final marks. Then I clamped the two halves together and began measuring. I had to do a little clearncing on the halves to get them to fit together nicely. I found that using a cut off wheel on a grinder along the seam cleaned up the plasma cut and broght the measurements into spec nicely. I squared it all up and layed down a few tacks, and then burned some of it in.
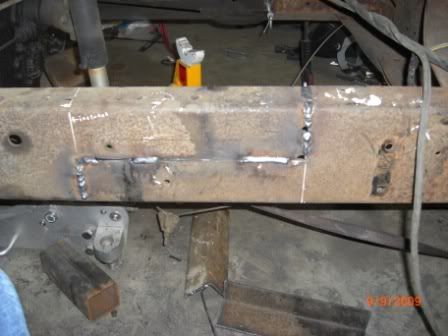
One thing that I did was alternate the Z cut. I thought this might be a little stronger than having them going the same direction.
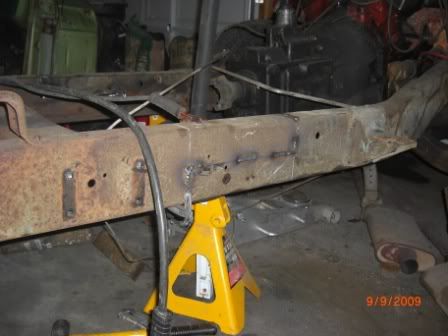
Still have some welding on the frame to do, reinforce with a backing plate, relocate the rear cab mounts. I also have a little more welding to do on the bed, but it's coming along.