The project is still going! Mike at Exile Fabrications had to finish a few projects ahead of mine before he could get going, so we're back on it. The guys at the shop that do the laser cutting messed up on some bracket patterns, so that slowed us up a bit. I made a few changes since the beginning, namely, more detail on the fabrication. I like the look of exposed, high quality TIG welds, and I like the look of lightening holes and feed-thrus. I want the design to meld with the functionality of the part. I don't like exposed things that look like an afterthought. Everything must flow, but still maintain it's functionality.
In an earlier post, I mentioned that the rear suspension is going to have bell-crank arms because of the limited space due to the truck being a step-side and also the fact that it has a narrowed rear end. I want the bags to be as far outboard as possible for stability. Here are some pictures of the progress:
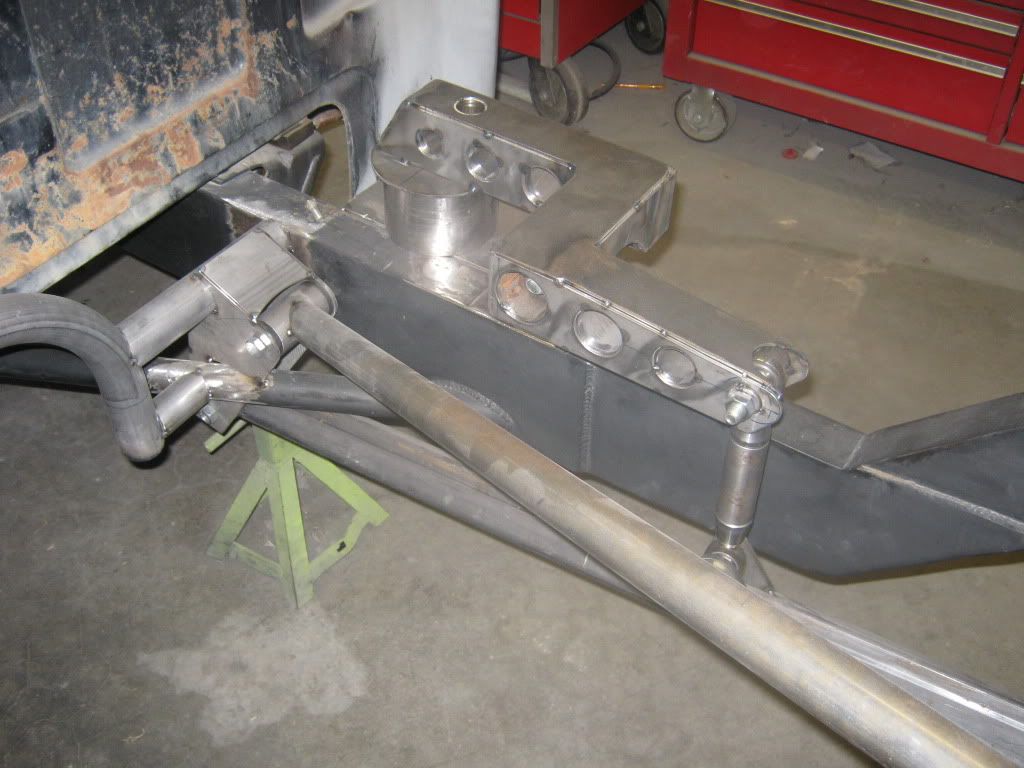
You can see the shape of the bell-crank in this shot. Currently, everything is tacked together until we get to a point where we're satisfied with the way it functions, then it will be final-welded. The link from the bell-crank to the lower trailing arm is chrome moly with welded-in rod end threaded bungs and the rod ends are the type they use on trophy trucks. They operate smoothly with no slop. The bolt for the pivot point is inside one of the lightening holes. There are still some gussets that will be added to the pivot point upright. The bushings at the pivot are the same as the ones from a trophy truck as well. The 6" round billet piece where the front of the bell-crank arm bolts to is an air-bag simulator, which simulates the air-bag at max deflation. Mike does not like using the bags during the fabrication stages because they can get damaged and they flex, which can be a problem if you're trying to get accurate measurements.
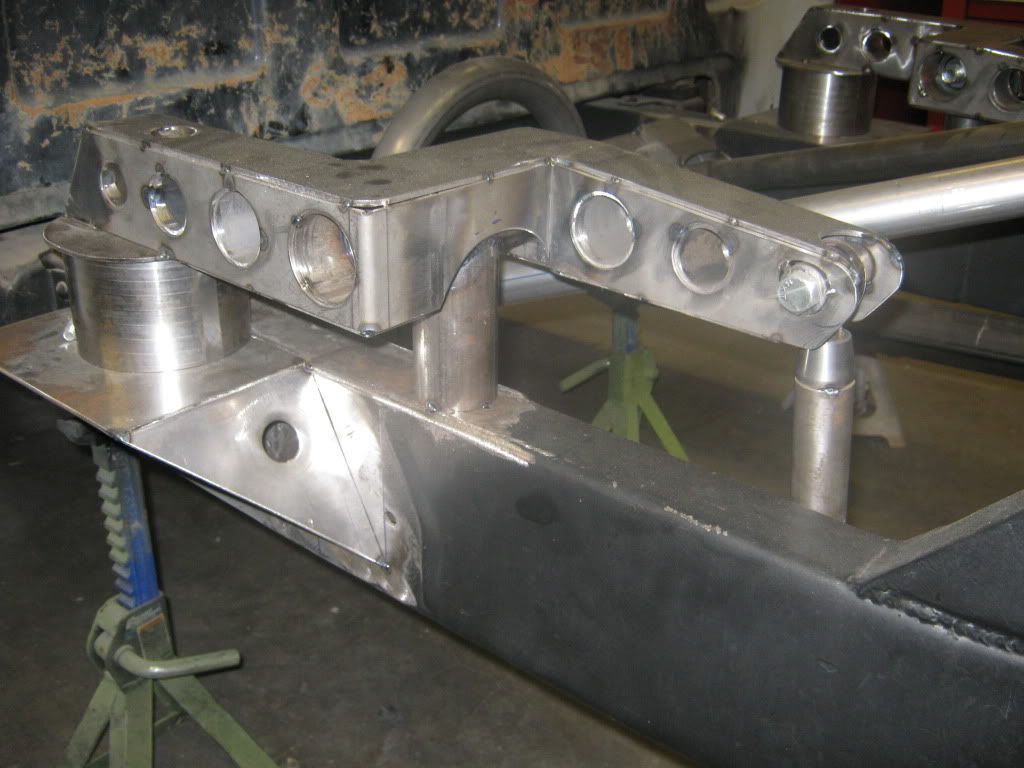
Close up shot of the arm. There will be gussets from the top of the framerail to the side of the pivot upright. Also, the relief cut-away will be opened up just a little more for additional clearance. We're still in the initial fabrication stage, so these things are normal and expected.

View from above. There's still alot of bridgework to do, shock mounts to make, figure out a swaybar set-up, and build the fuel tank, air tank mounts, compressor mounts, and battery box. The old shock crossmember will be cut out soon. It was staying in until the last because it was keeping the framerails parallel. I'm going to run out of room fast. We've got some ideas on packaging that will be very, very trick. Can't say right now, but the old saying about 10lbs of stuff in a 5 lb bag will be the idea.
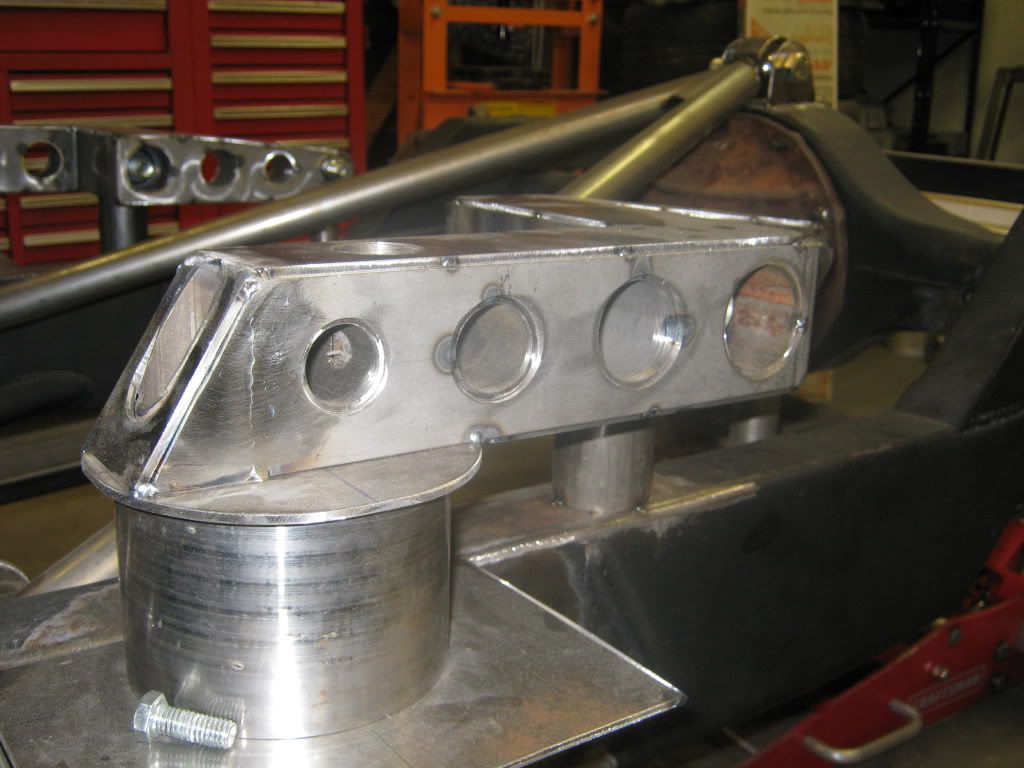
Another shot of the air-bag simulator I was talking about. Bag bolt access will be gained through the tubes that you can see on the top of the arm. The bell-crank arm pivot bolt will be accessed through the tube (4th one from the left) on the right.
I'll keep posting when I get more pictures!!!