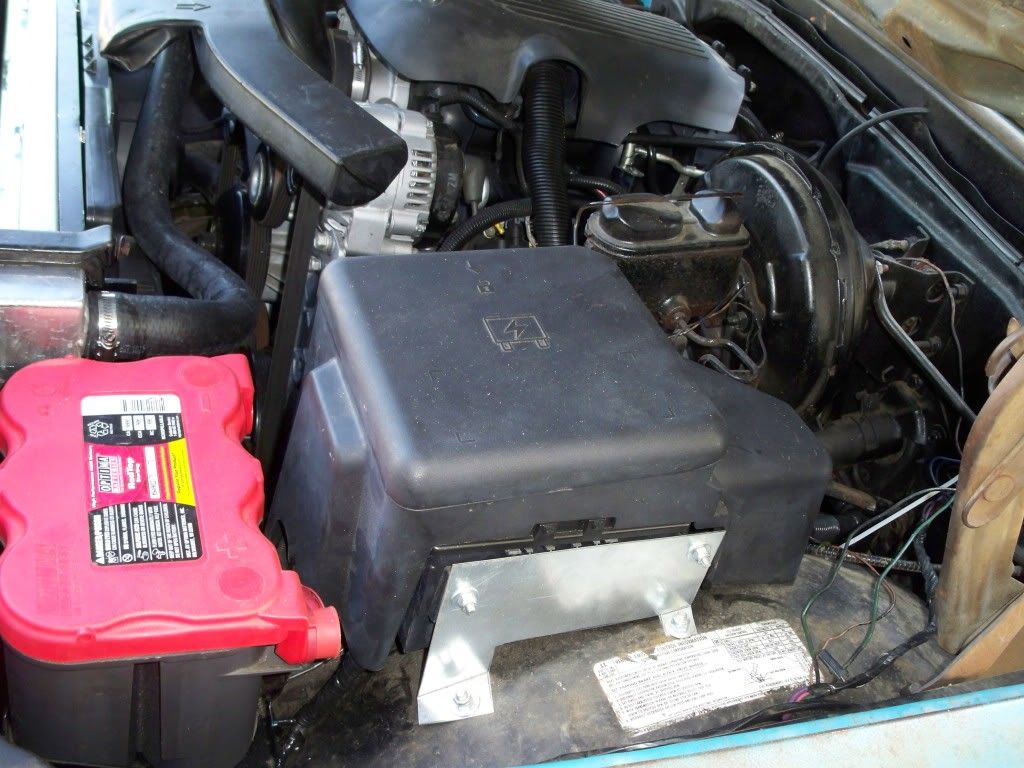
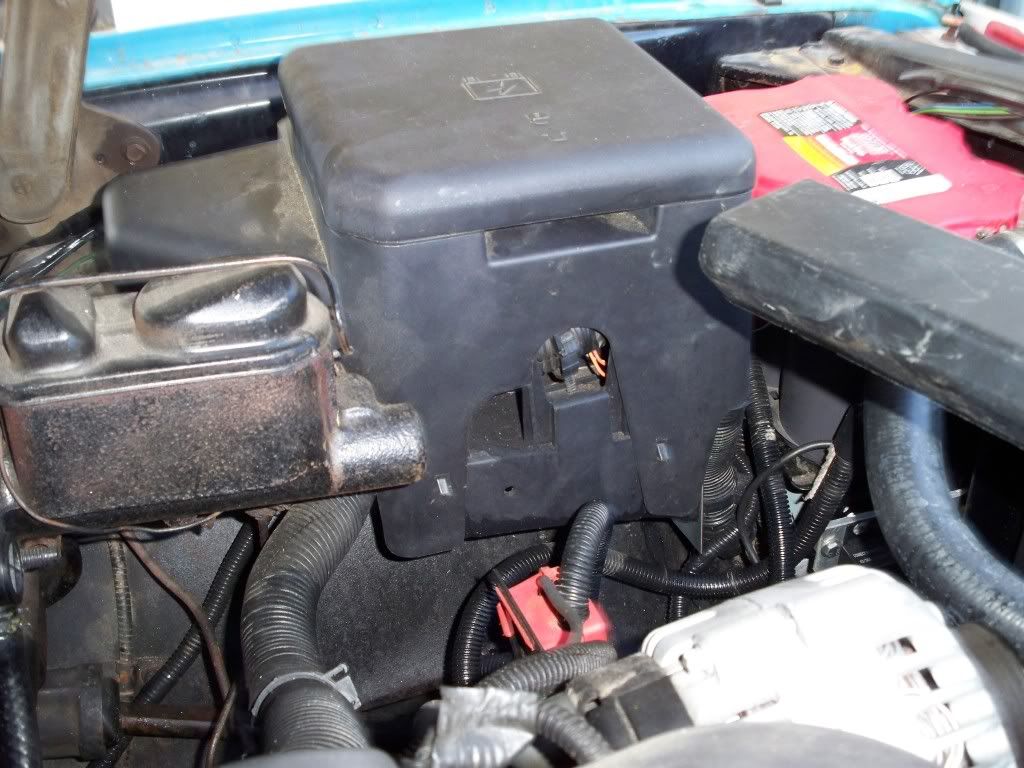
For the wiring, I used the 05 under hood fuse/relay center. It was easiest this way because I wanted to utilize so many things from the 05 truck. I think it is easier to use the fuse box than it is to un-assemble and re-construct the engine harness to make it stand alone, but it doesn't look as neat and tidy. I had the complete dash harness, complete engine harness, and the rest of the plugs that went to the fuse center with about 6" of wire left on them so I could tap into them if necessary. I made some brackets to mount the box on the 72 fenderwell in front of the brake booster and ran all the wires through an existing hole in the firewall.
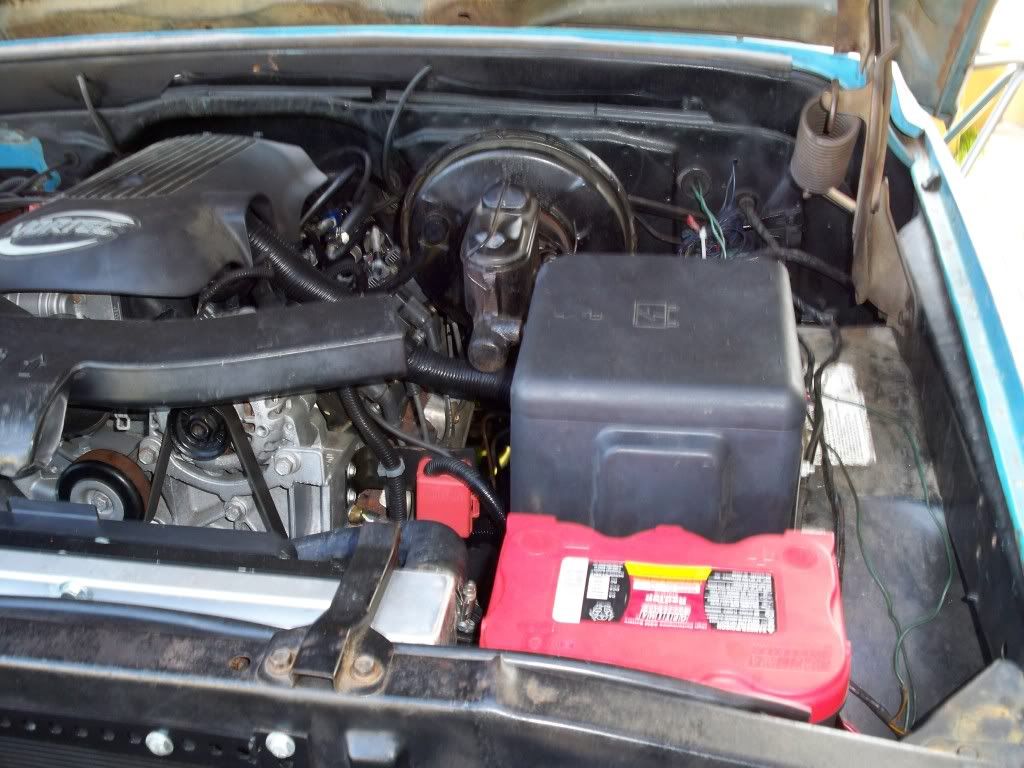
I ordered the re-pop drivers side battery tray from this thread
http://67-72chevytrucks.com/vboard/s...illary+battery
Since the 05 truck wiring was set up for the battery on this side already it just made everything easier, and I can wire up a second battery in the original passenger side tray later if necessary. I also mounted the ECU under this tray, just because that's how the 05 was set up originally and I didn't have to rebuild the whole wiring harness to move it inside the cab of the blazer (I will clean up the wiring harness, move the ECU, and try to hide the wires later on when I restore the body and frame).
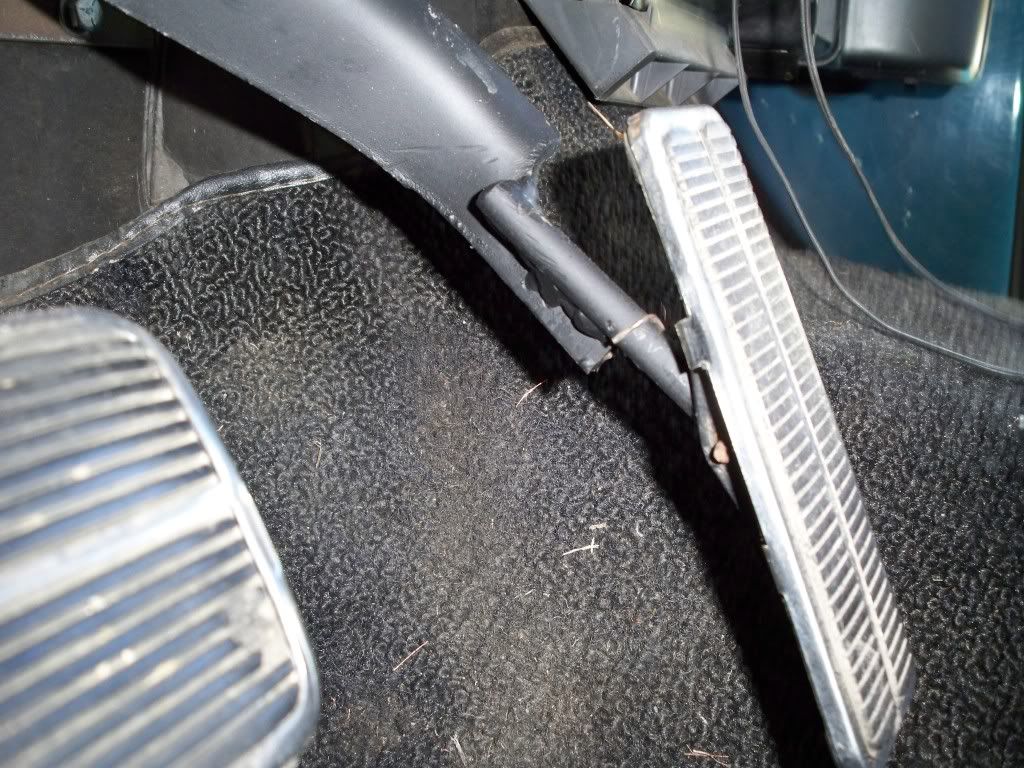
For the Drive By Wire (DBW) pedal, I just made a metal plate that bolted to the firewall just like the stock 72 pedal assembly, and spaced the DBW pedal over to the left (it has a big "s" curve in it).
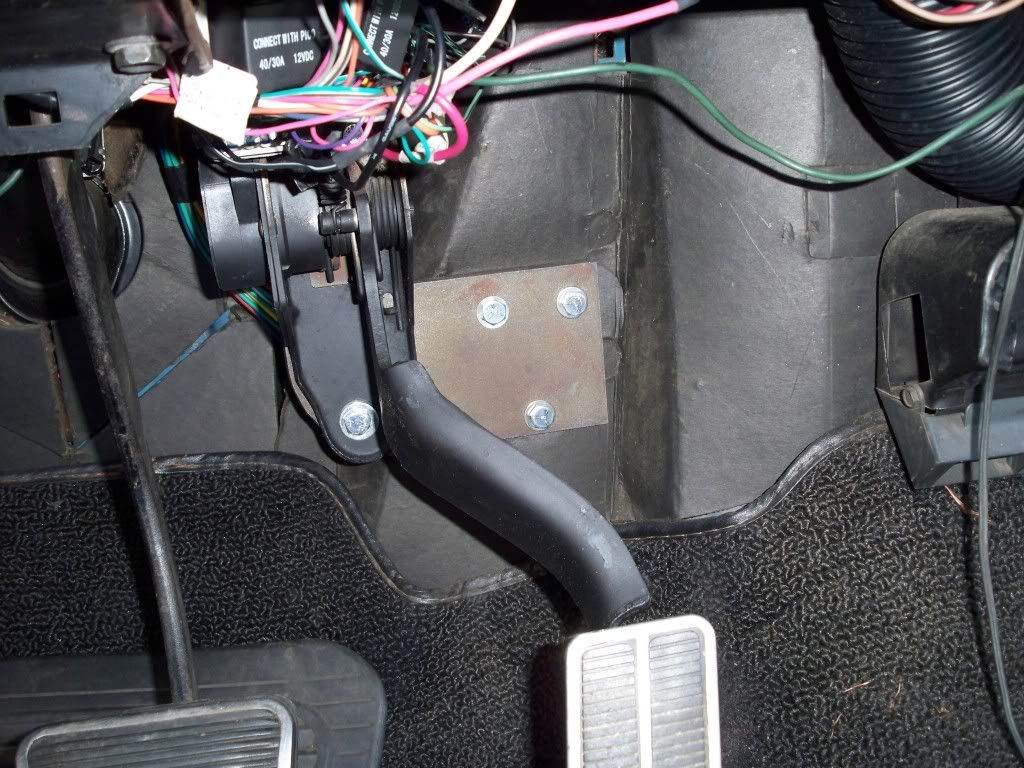
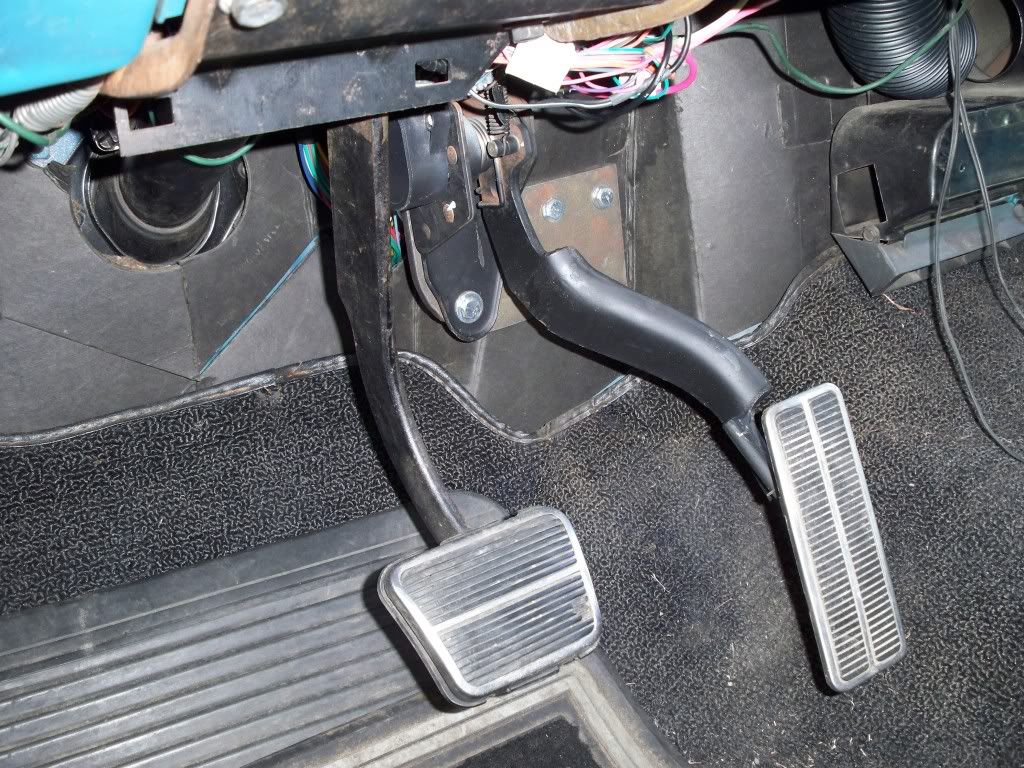
And I welded the 72 pedal to the 05 assembly

For the brake switch, you need a normally on(TCC switch signal for the ECU), and a normally off connection. So I used a 99-04 camaro brake pedal switch.
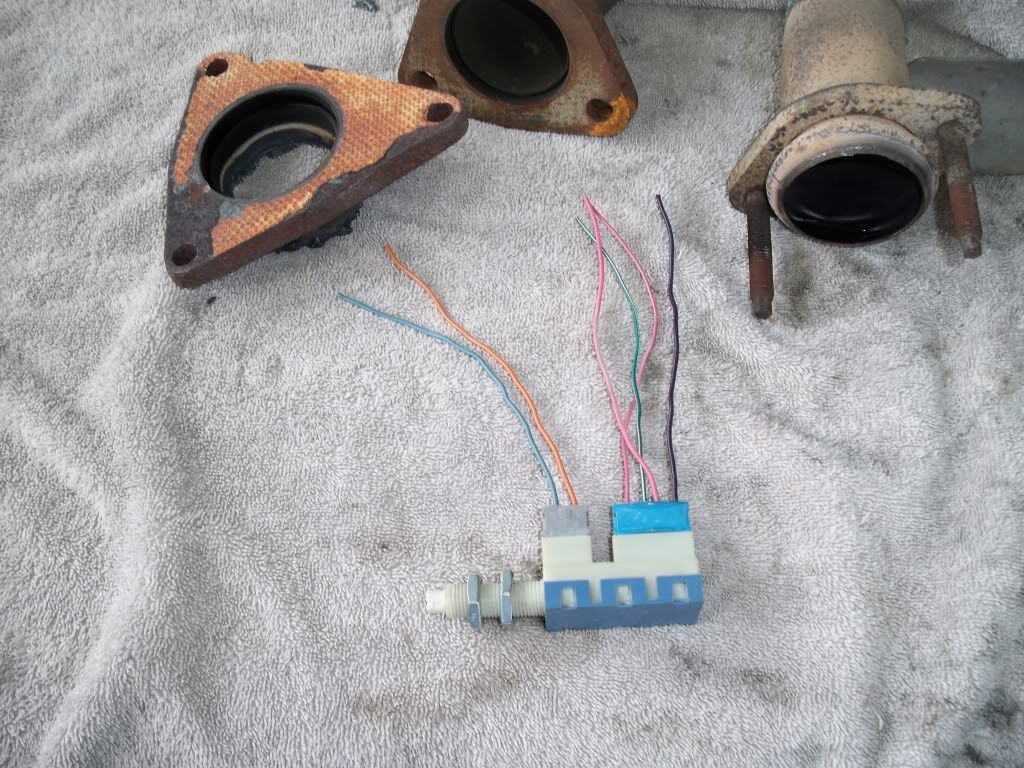
The camaro switch next to the 72 blazer switch.
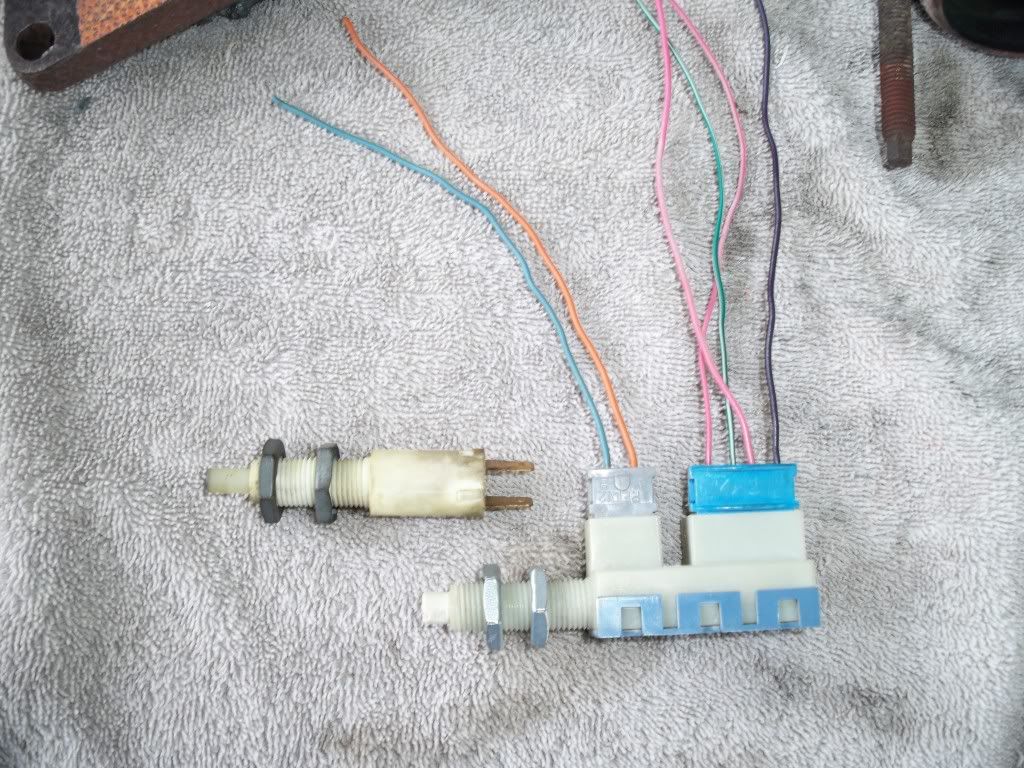
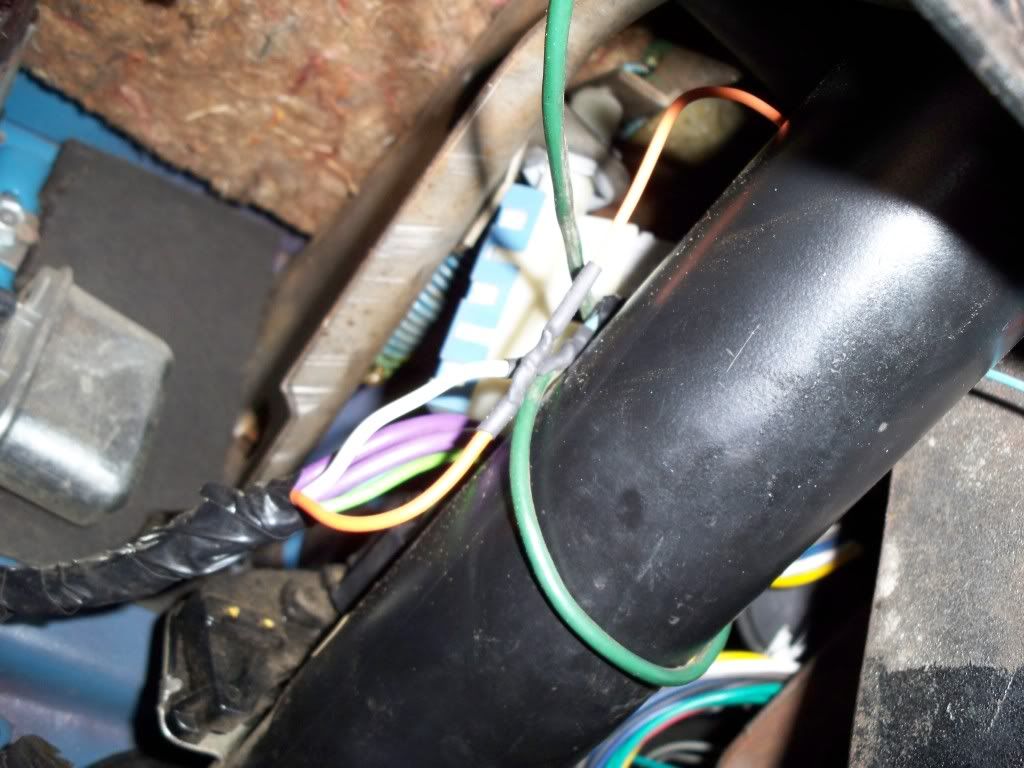
The little grey plug with the orange and blue wires is the "normally off" part of the switch (connect these to the truck brake light wires from the old switch). Also remember that if you are adding the HND-3 cruise, you have to connect the light blue "CHMSL"(center high mounted stop lamp) wire to this part of the switch also so your cruise will disengage when you press the brake pedal.
The blue connector with the pink/white, green/white, pink, purple wires is the "normally on" part of the switch. I connected the TCC purple wire from the 05 brake pedal harness to the purple wire of the camaro switch. and spliced in the hot from an extra pink wire from the truck harness. The camaro switch fits EXACTLY like the stock blazer switch. It even uses the exact same thin metal nuts as the blazer switch.
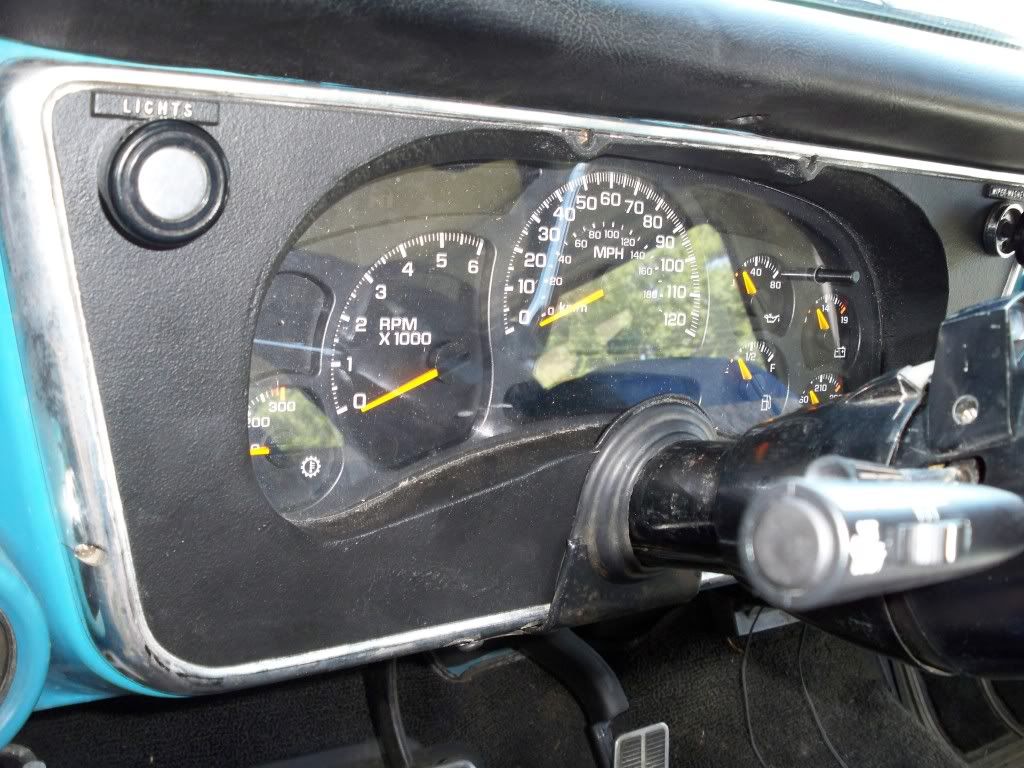
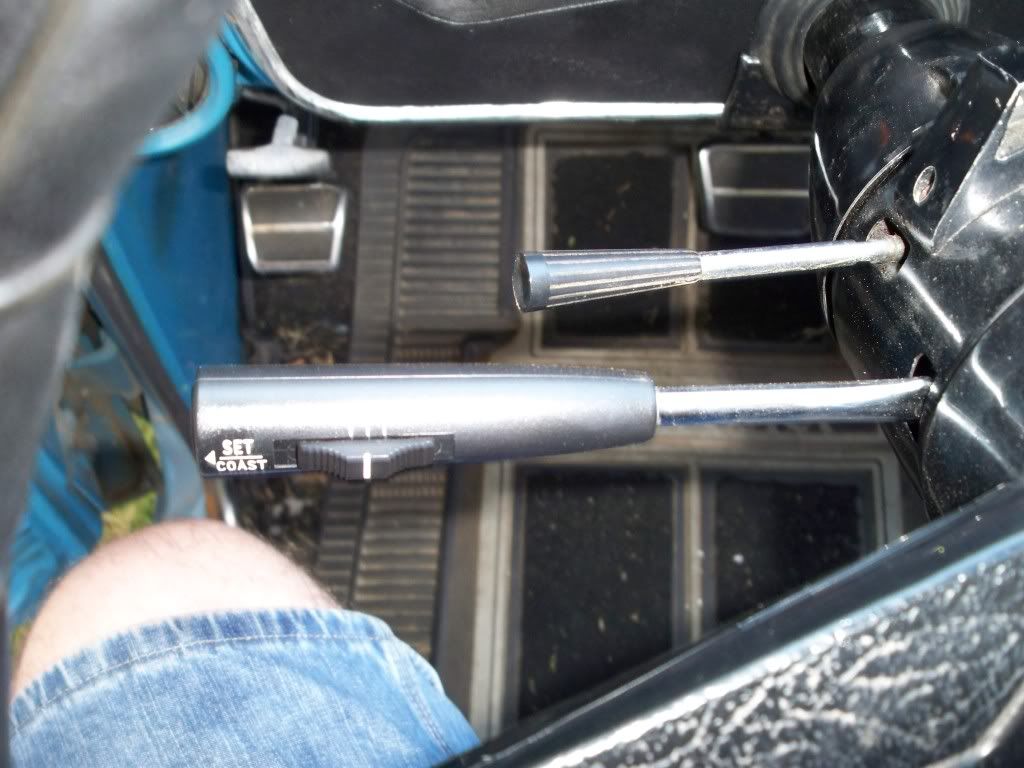
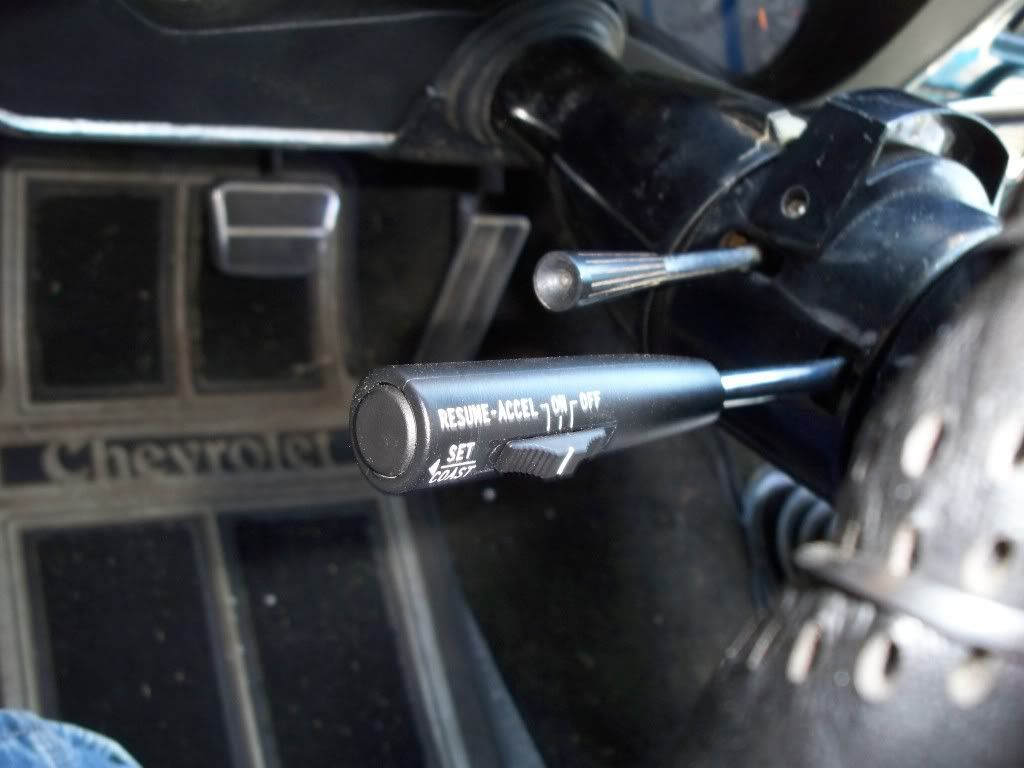
Since I have DBW, it was just too easy to buy the Dakota Digital HND-3 and wire it up per ACKATTACK's thread here
http://67-72chevytrucks.com/vboard/s...d.php?t=398006
Here's mine (I even used the EXACT same relays with the pigtails, and I used 3 more of the same pigtailed relays for the electric camaro fan harness I made)
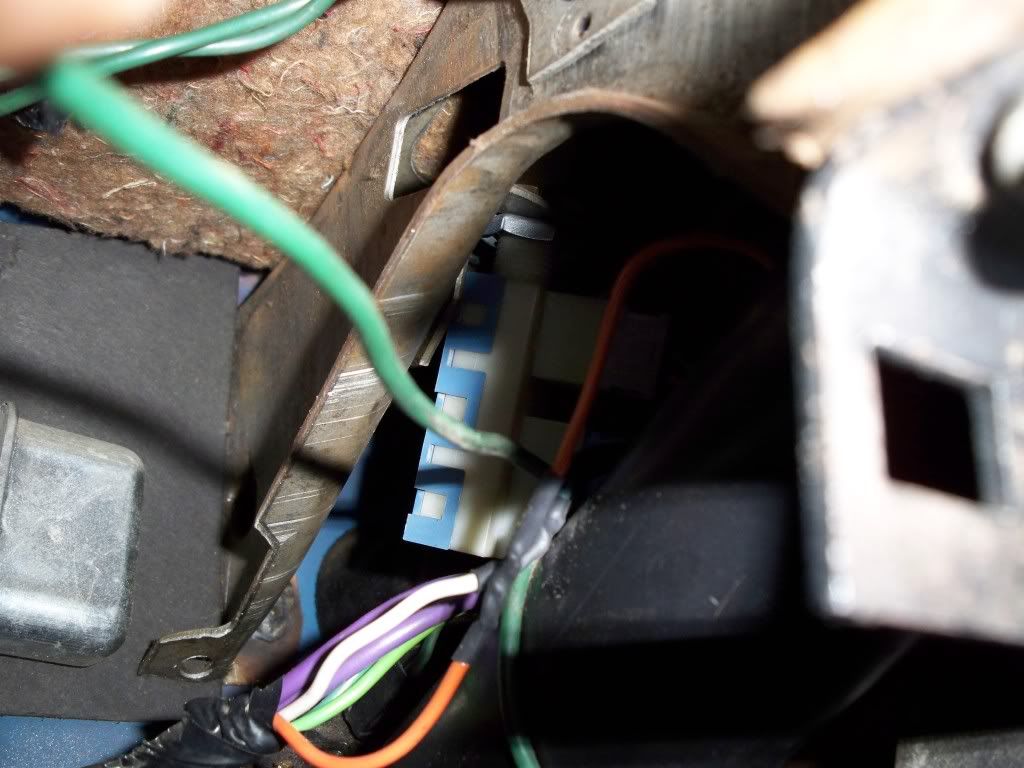
One difference though since I used the under hood fuse box. I just used the dash harness wires that ran to the steering collumn connector instead of the wires coming directly out of the TCM (they actually come from the C100 plug from the engine harness and follow inside the dash harness loom to the collumn connector). I also did this whith the ignition switch wires that ran to the column connector and the brake switch wires from the 05 brake switch harness.
Here are a few of the general things I learned about the truck fuse/relay box.
Make sure you put power to the fuse/relay box for the Ignition "0" circuit or your trans will not shift (stays in a "limp" mode). Ignition 0 circuit is normally powered back through the dash harness from the 05 under dash fuse box, so unless you are using the under dash fuse box in your swap, you need to replace this power signal. For this I just found an un-used pink wire from one of the under hood fuse box plugs and switched the pins (dissassemble the plug-slide the pins out-switch them-reassemble the plug-plug it back in).
Find all the pin-outs for your year engine/harnesses and print them out, your life will be a lot easier.
Don't get overwhelmed. Take it one circuit at a time, one component at a time, and before you know it, you'll be done. I finished all my wiring in a few afternoons once I got started on it.
Label all your wires you are going to use. I went to office depot and bought a box of 1000 3.5x15/16 "stick on" white address labels (was only a few bucks). These when folded in half around a wire, are just the right size to write a description on. You will never have to look up that wire again, so you can move on to the next one. Masking tape would work also.
Solder and heat shrink all your wire connections. Go to your local electrical supply store (not radio shack) and buy the good thick heat shrink. At my local shop it comes in 4 foot lengths and you just cut a little piece off as you need it. It takes a little longer to do things this way, but you won't have to worry about that connection ever again. And a loose connection will drive you crazy later when your swap is not running right and you don't know what to do (Learned this from my years in the automotive mechanic industry).
SEARCH-SEARCH-SEARCH. Every answer you need is on LS1TECH.COM, and LT1SWAP.COM somewhere, as well as this one. It will save everyone a lot of time, if YOU find the answers to your questions (not to mention more satisfying to know you did it yourself). What I mean by this is every time I went to search for something I had to troll through a few dozen dead end threads of people asking the same question I had with the only replies being.... SEARCH.
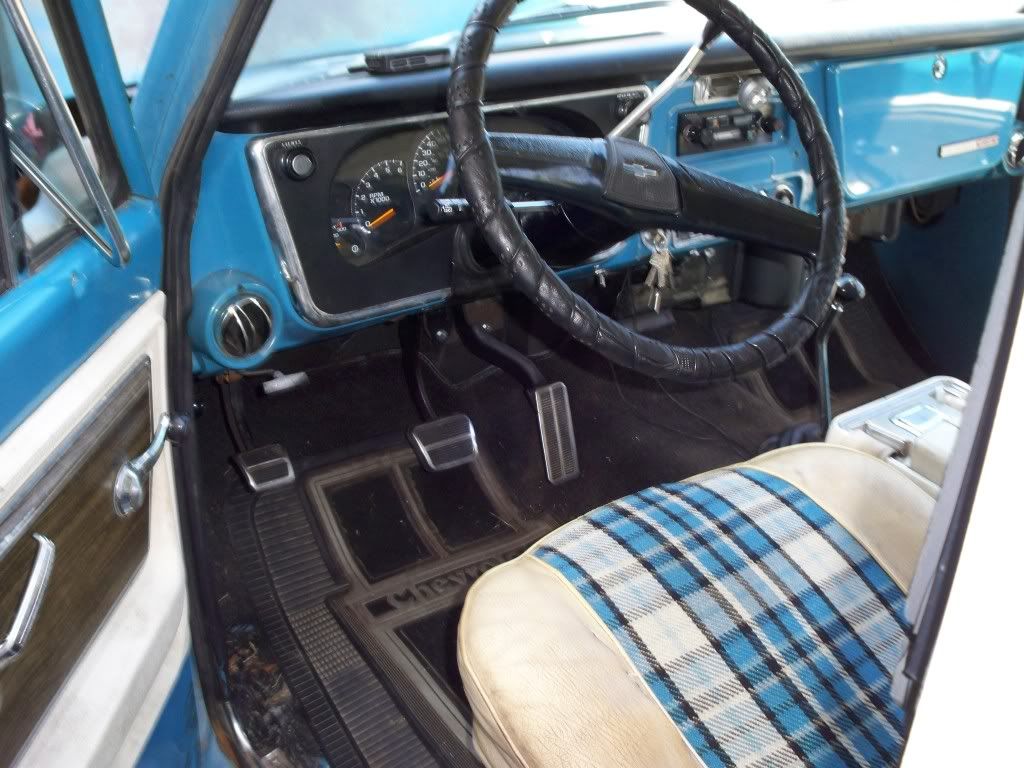
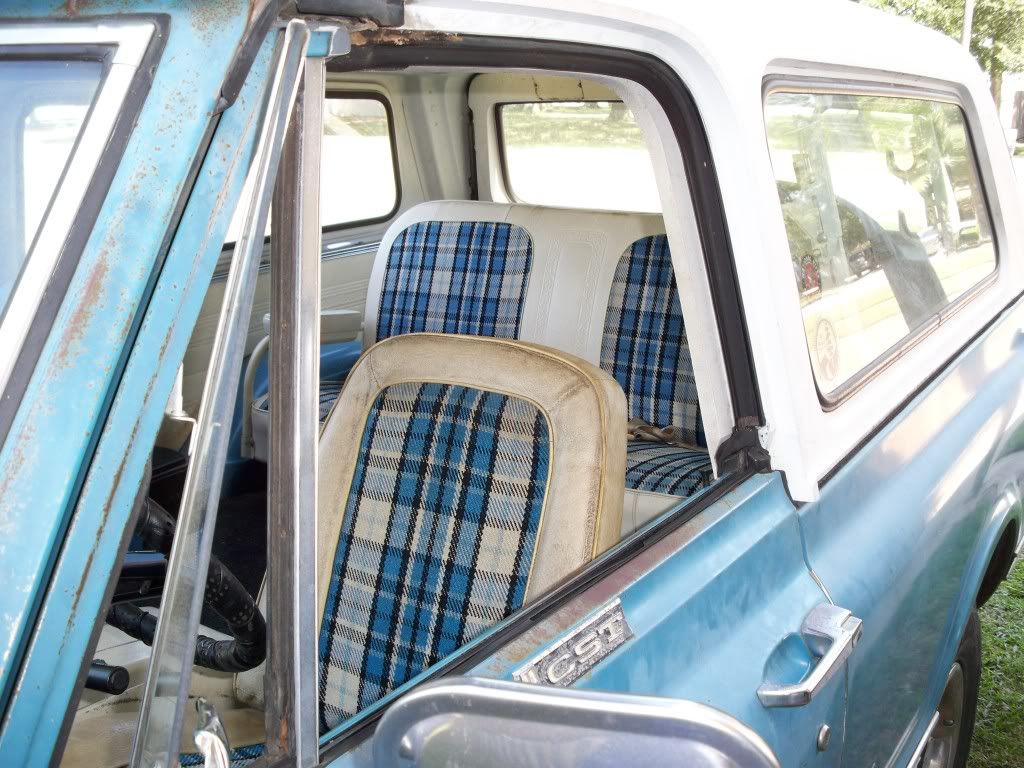
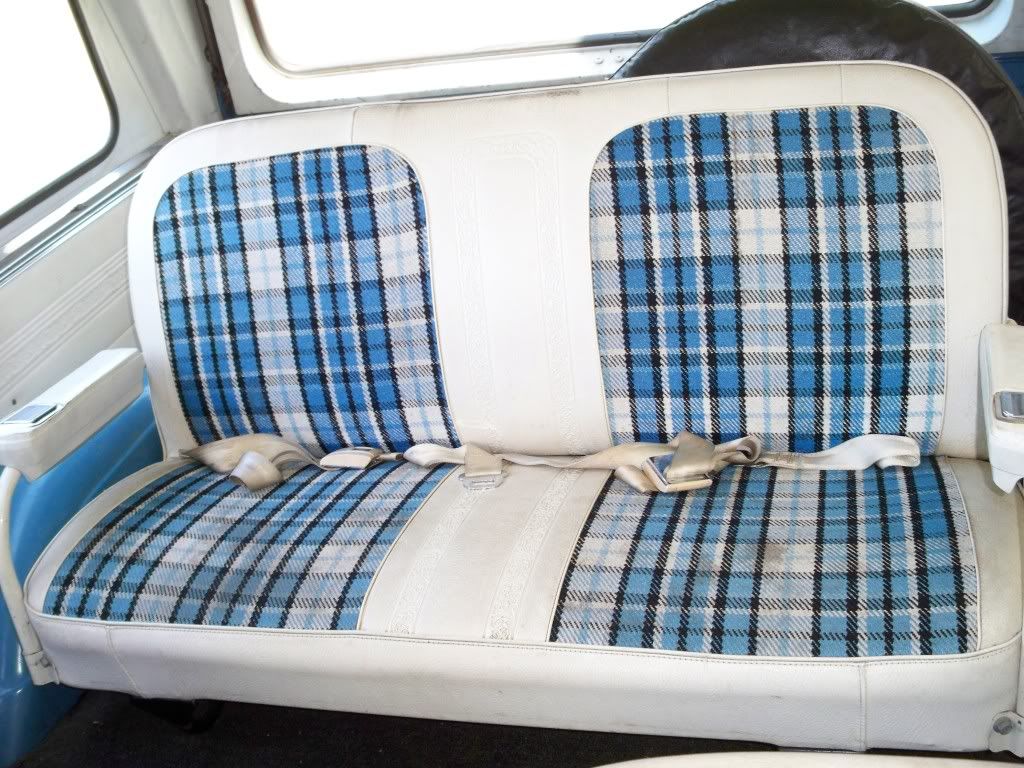
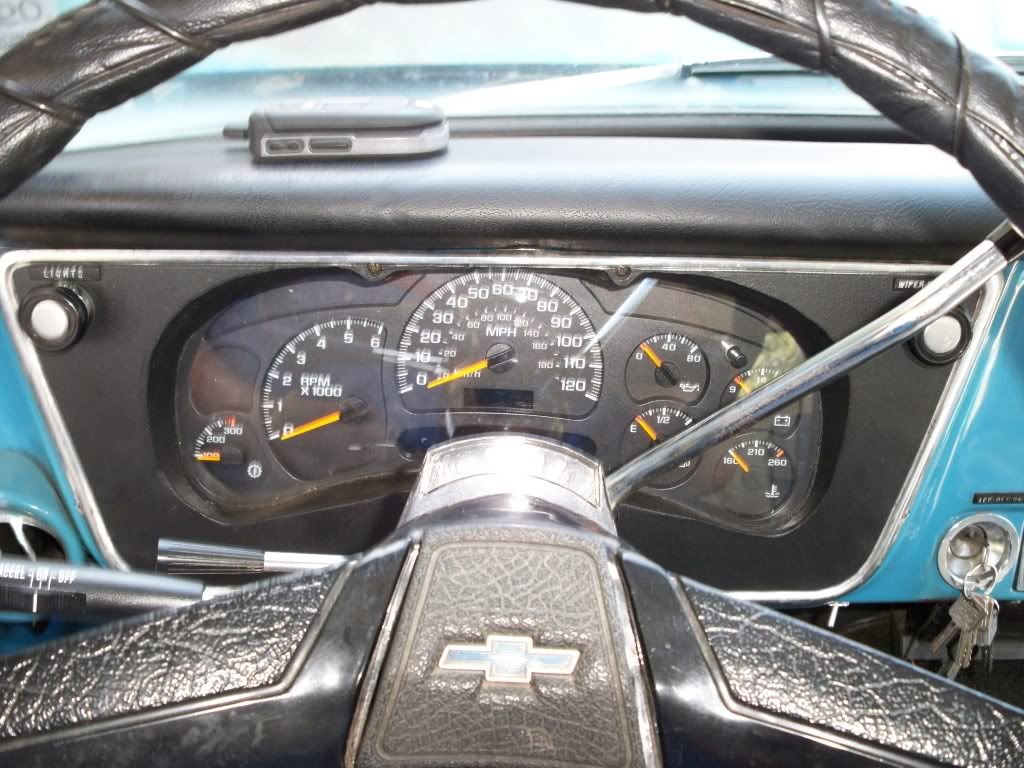
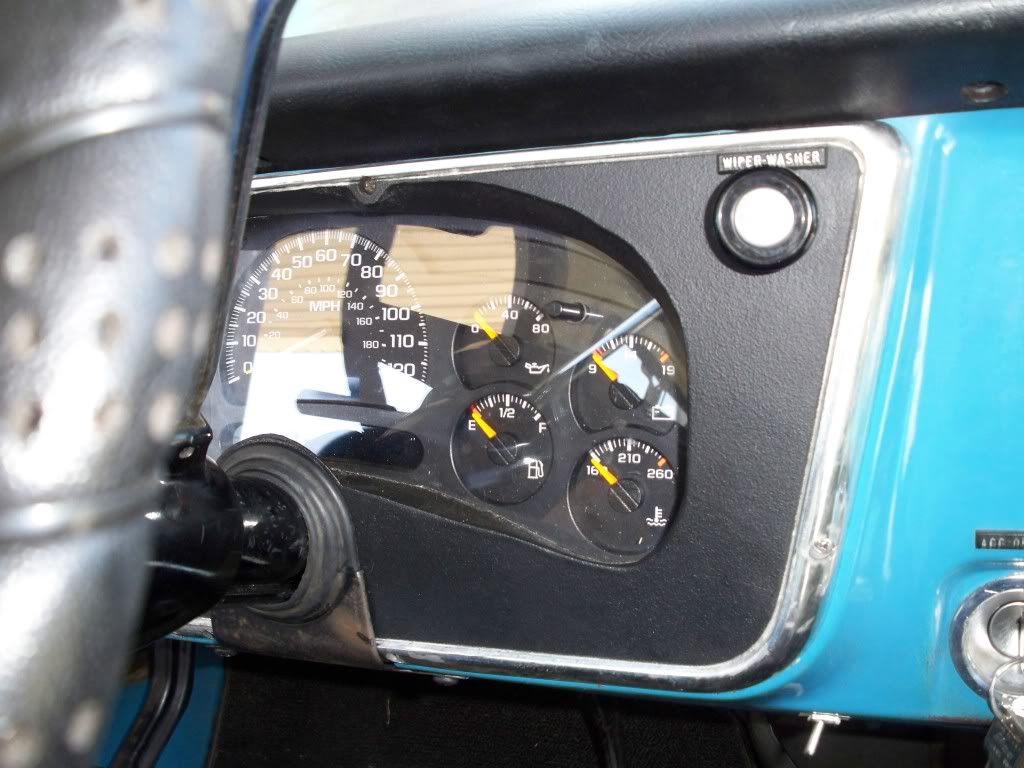
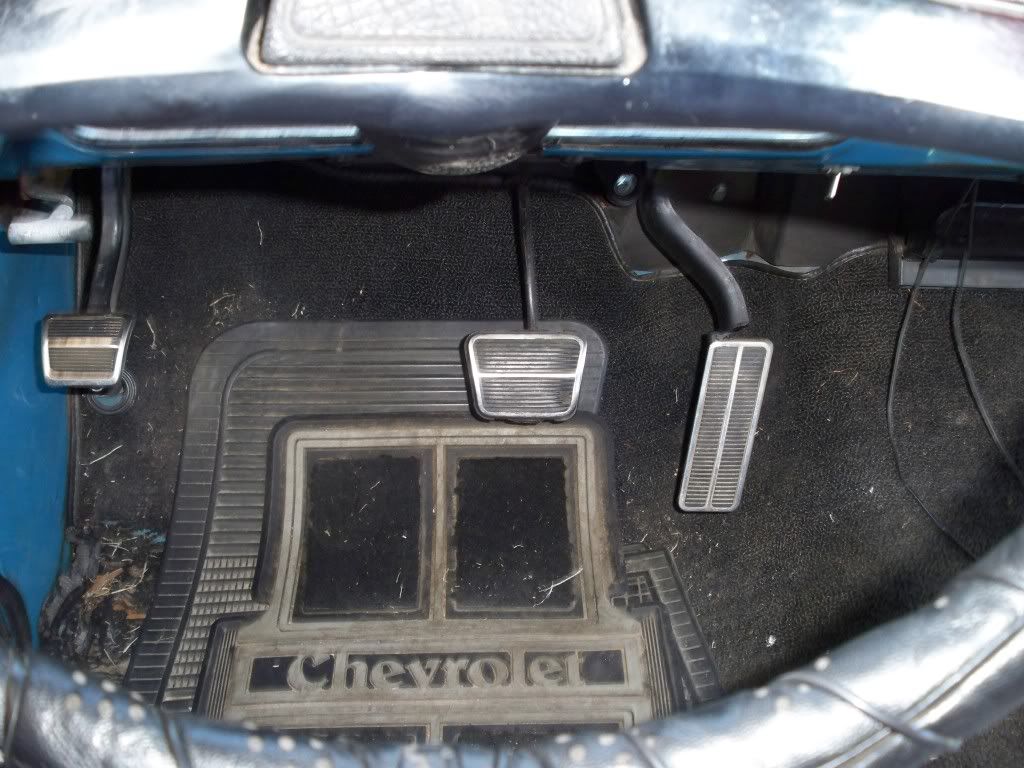
Here are a few pics of the truck I took today