Now you need to remove the small bracket holding the rubber seal on the steering column. Use a phillips screwdriver to remove the two (2) screws attaching this bracket to the dash.
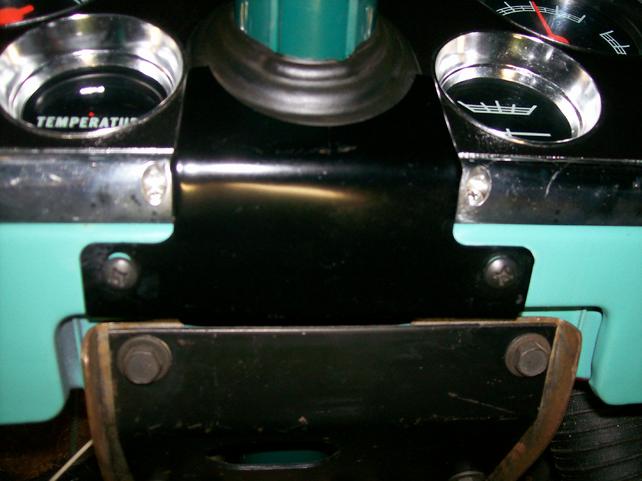
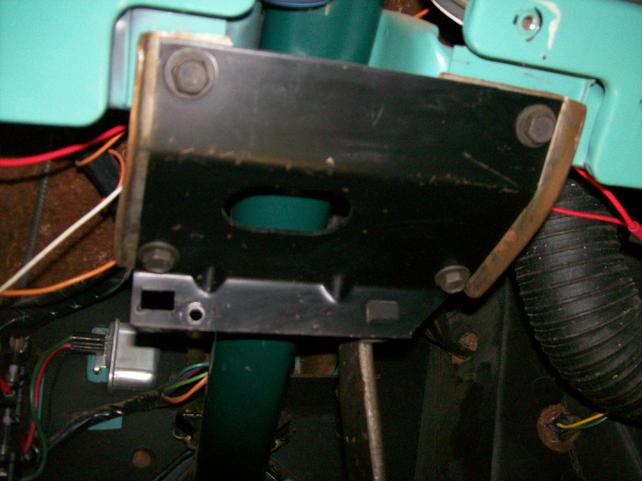
Once this bracket it out of the way, you will then take a 1/2" socket and loosen (do
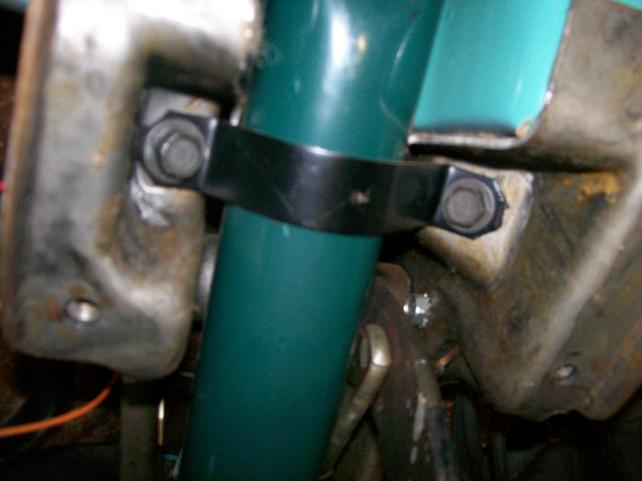
NOT remove) the two screws pictured in the second picture below. If you refer the the first picture, you can see an oblong opening in the center of the rectangular bracket; use your 1/2" socket to
loosen the two screws holding the steering column in place. You do not want to remove these as you are simply looking for the column to drop enough to allow easy removal/installation of the gauge panel.
While you're under the dash, you will want to go ahead and remove the oil pressure line and the speedometer cable. Using a 5/16" line wrench you will remove the oil line running into the back of the dash, and then reach up behind the speedometer and remove the speedometer cable. You will also need to remove the shift indicator light from the back of the dash. It is located on the driver's side of the rear tin and is the only light which contains a wire lead.
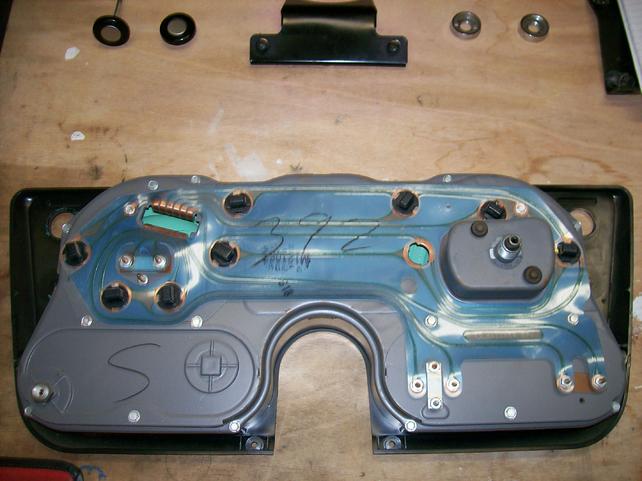
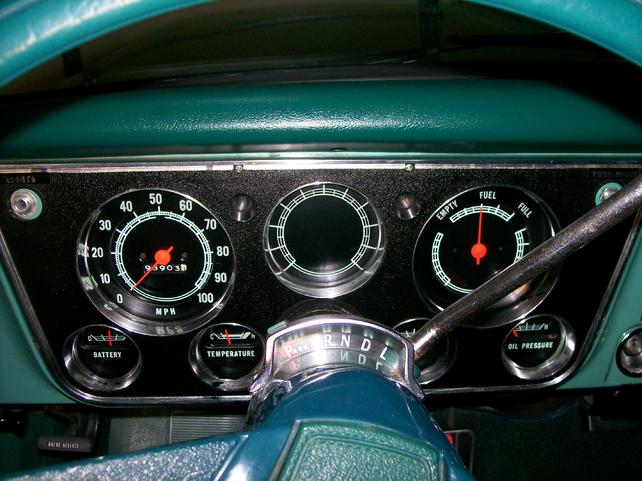
Now that there isn't any additional connections on the dash, you will proceed by removing the six (6) phillips screws holding the gauge panel to the dash. There are two (2) screws above each turn signal openings, one (1) to the left of the ammeter gauge, one (1) to the right of the oil pressure gauge, and two (2) screws at the bottom of the panel below the temp and the 'open' gauge. Now that there isn't anything holding the panel to the truck, begin by removing the panel from the top side first. (
Note: If you have a tach dash currently, make sure to pay close attention to the tach/circuit board as they are the items that stick out from the back of the dash the most.)
Once you have this done, you will with up with the following pieces having been removed. (
Note: If you notice, you can see the open light socket which contained the shift indicator light described above.)