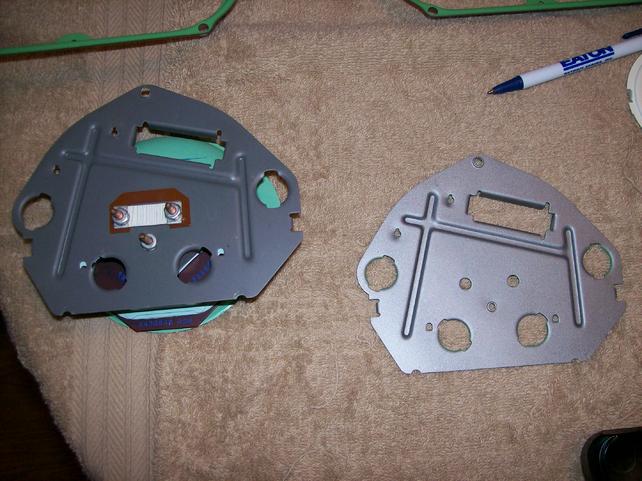
From this point forward, I did this in four different stages. Since I had my tach tins already painted, I simply removed one tin at a time and swapped the gauges and necessary connections over as needed. I started with the fuel tin, followed by the oil pressure tin, then the ammeter/temp tin, and finally ended with the rear tin itself which houses the speedometer. If you need to paint the tins, document the disassembly and proceed as needed.
We will start with the fuel tin. Remove the three (3) retaining screws and then remove the tin.

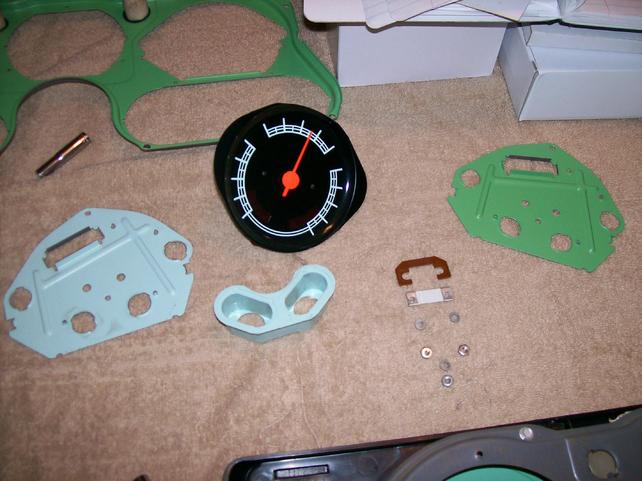
Once the tin is removed, grab your freshly painted fuel tin and proceed with swapping over the fuel gauge to the new tin. I wanted to keep everything in order in terms of how the pieces come off the original tin so I layed everything out and made sure it went back together in the same fashion it came apart.