Again, thanks for the kind words!
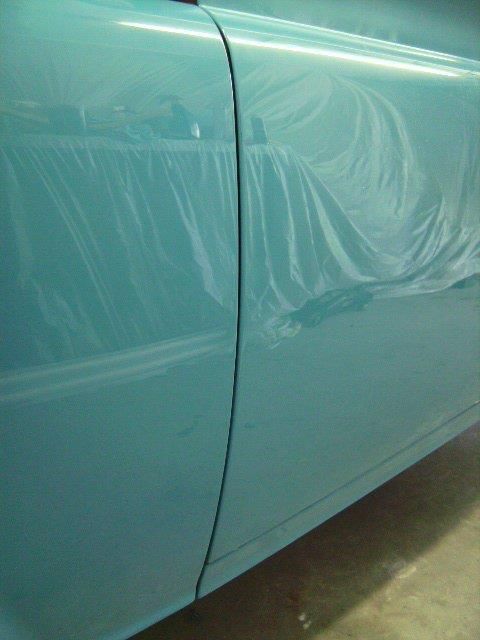
Getting close to getting the rest of the pics uploaded. Here's some of the final assembly. One of my pet peeves with these trucks is the panel fitment from the factory, its terrible! I already have a few pics of the rough body work showing a little of the work I did getting the panels flush with each other and all the gaps to match but I didn't explain the whole process. I used 1/8 inch welding rods to weld onto the edges of the panels that needed the gaps closed up. I also made a "feeler guage" from nylon to check the gaps with; if the guage was loose, I welded the edge. If it was tight, I ground the edge down. The inner fender braces were sliced horizontally every 3 or so inches to reshape the fender to the shape of the door. The edges of the fender extensions were relief cut to match the shape of the door, hood, and cowl. The hood had to be narrowed 1/4 inch to make the back edge flush with the sides of the fender extensions and doors. I cut the back of the cab loose in the doorjambs and pulled the opening in or out to match the shape of the rear of the doors. The inner door bottom patch panels didn't fit the shape of the rockers so the lip was cut off and a new one made with a shrinker/stretcher to better match the curve of the rockers. The rear inner door post were relief cut and leaned in to match the shape of the rear of the cab. The fender bottoms were pie cut and reshaped to flow into the rockers better. The cab corners were cut and reshaped to match the rockers. Once all the metal work was finished and fine-tuned and the panels in their final alignment with all the latches in place and adjusted, I skim coated across the seams and long-block sanded across the panels as if they were all one panel. This got the final shape and flushness dead-on. At that point, I could take a straight edge and lay it across any seam and there would be no gap between the straight edge and the body. Here's the results of all that work.
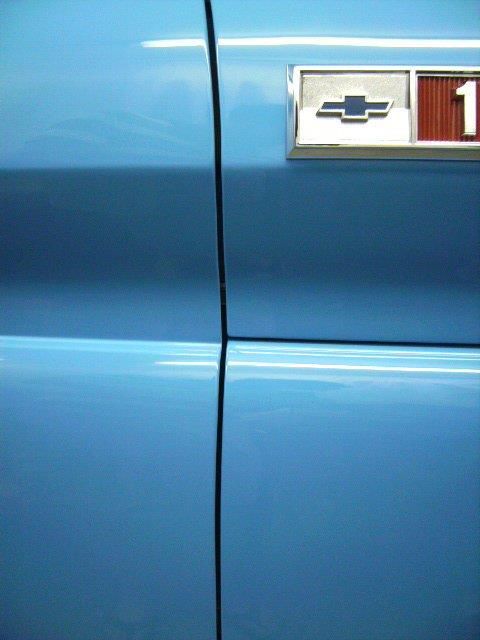
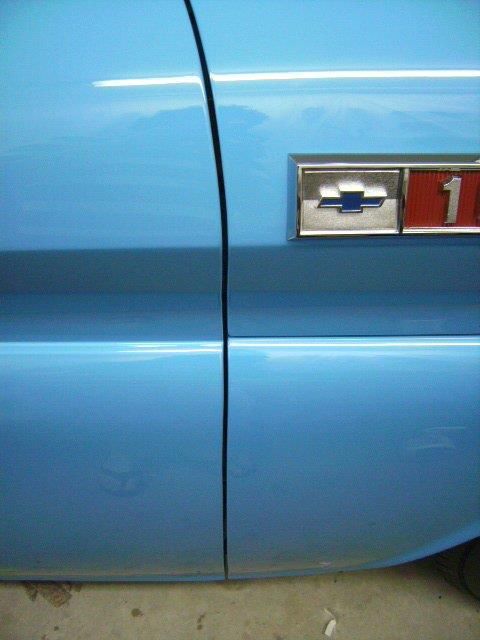
Door to cab gap.
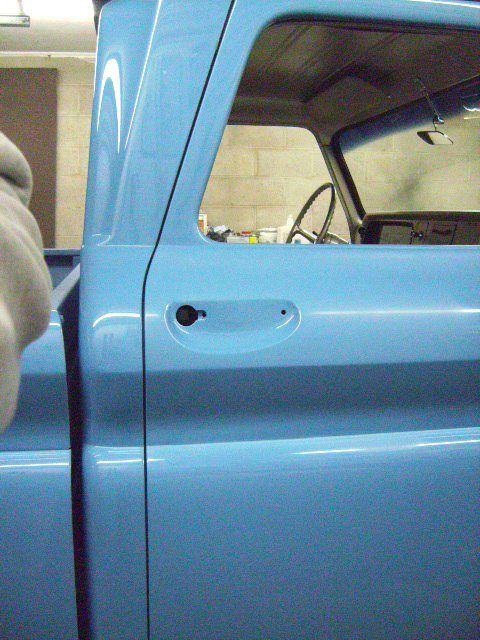
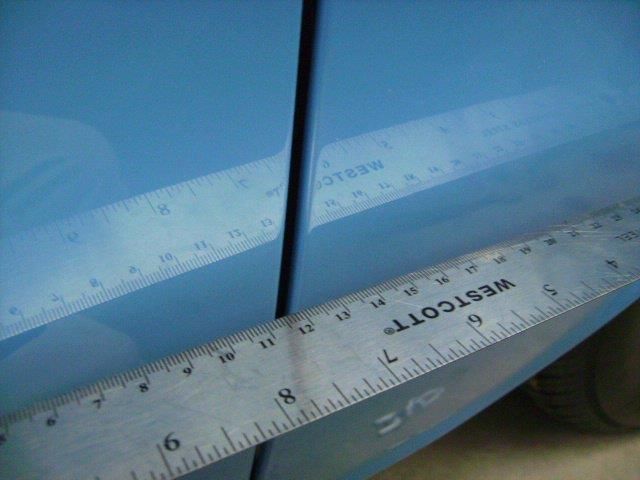
The reflection of the florescent light bulbs stay level one panel to the next. Another of my pet peeve's is reflections that don't carry over evenly to the next panel.
The inside edges of the fender extensions were bodyworked just like the rest of the truck. Never would know that it had about a dozen cuts in it! Also re-dimpled the edges to mimick the factory spot welds.
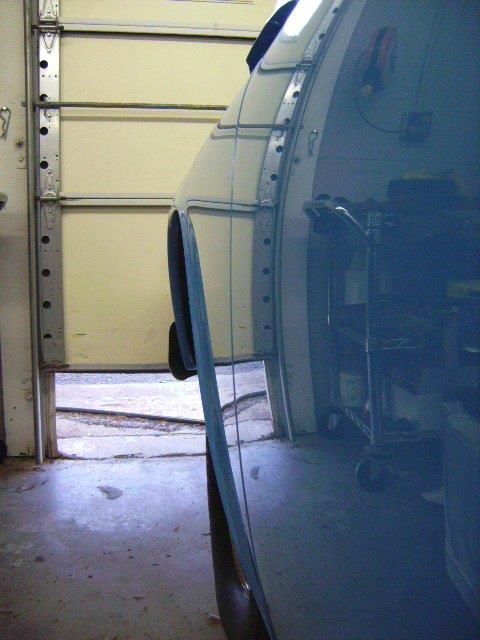
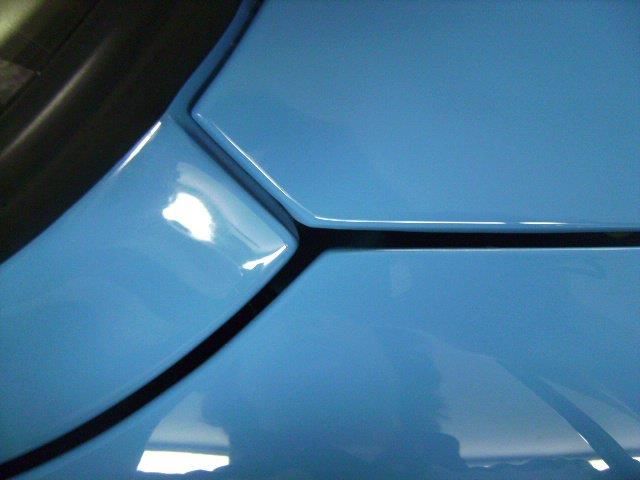
Top of the passenger side door/fender extension.
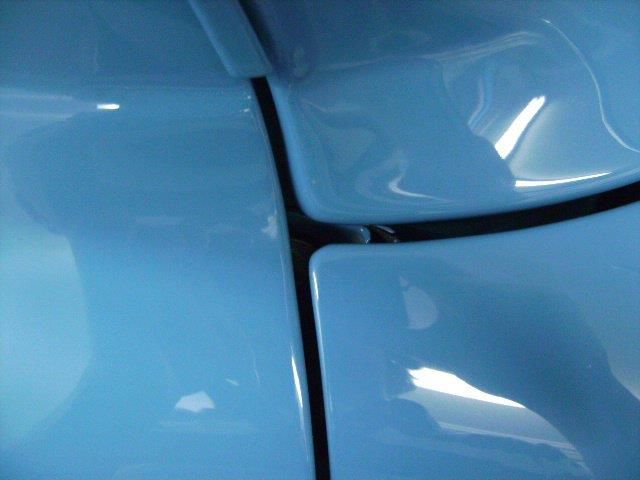
Cowl to fender extension and base of A pillar.
Driver's side door to fender gap.
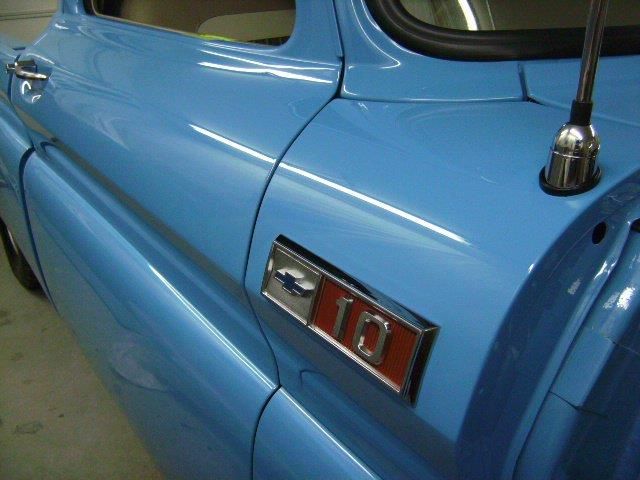
Right fender to door.
Left fender to door.
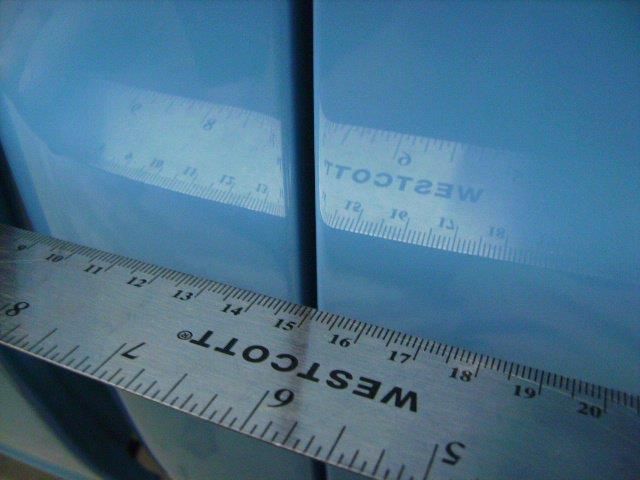
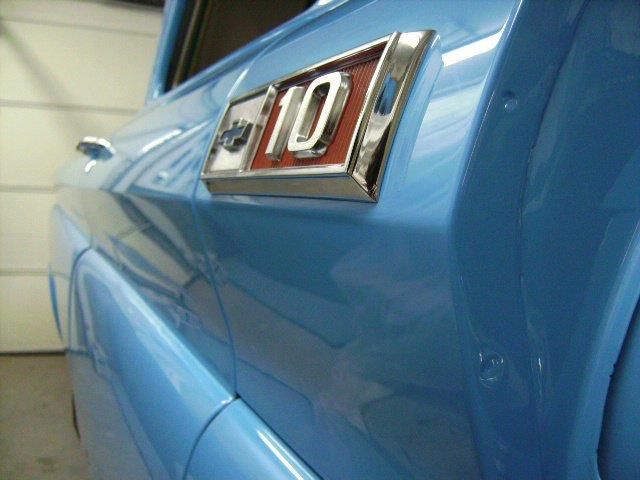
I saved this shot for last as I think this is one of the best shots I have that show off the panel flushness. The reflections stop at the edge of the door and pick up again nearly seamlessly again on the fender. The angle of the reflection doesn't change from panel to panel.