About this time I got the bug to improve the instrument panel. To recap dash changes up to this point, I’d changed the instrument panel twice since eliminating the original gauge cluster.
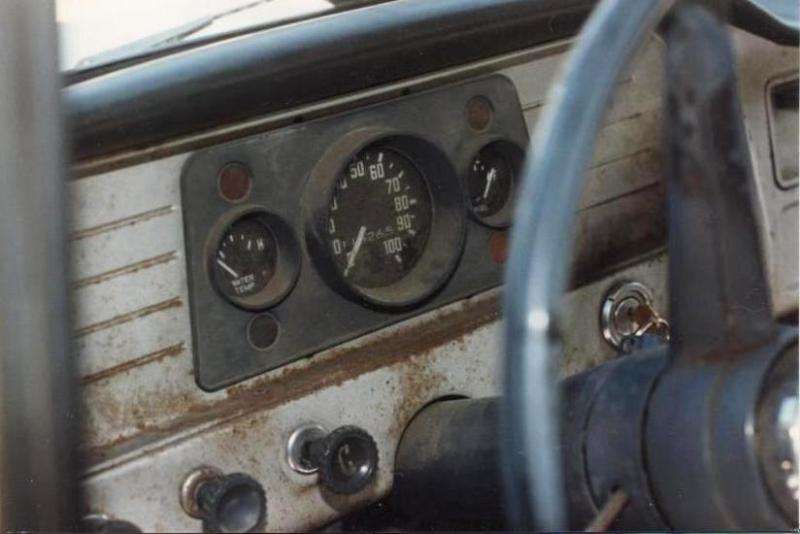
Here’s the original:
And here’s the first replacement panel.
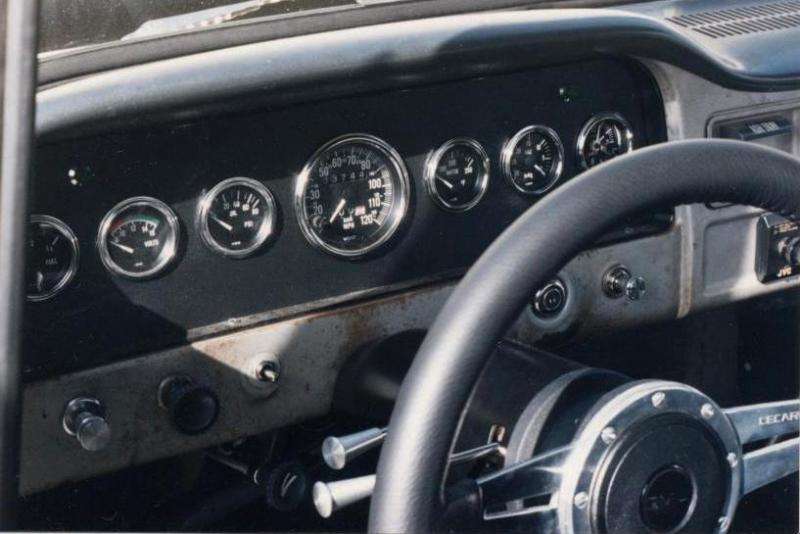
Being an old school guy I wanted to install a full set of Stewart Warner gauges, with a Sun Tach on the dashboard. None of my local suppliers carried S&W any longer due to terrible customer service to the dealers, and genuine Sun tachs were essentially unavailable until Ebay came along many years later. So I ended up buying a package deal of VDO gauges. Most of them worked okay, but I quickly became disappointed with the design because the rims were very undersized and I soured on the look. In fact the rims are so tiny the gauge will fall through the dash hole if cut even slightly oversize. The panel layout being a plain linear design I quickly found it boring to look at:
Since the panel was easy to create, I whipped up another version which spaced the gauges out so I had a clear view of all the gauge faces through the steering wheel arc. It was very functional, but it didn’t take long to find it ugly as well:

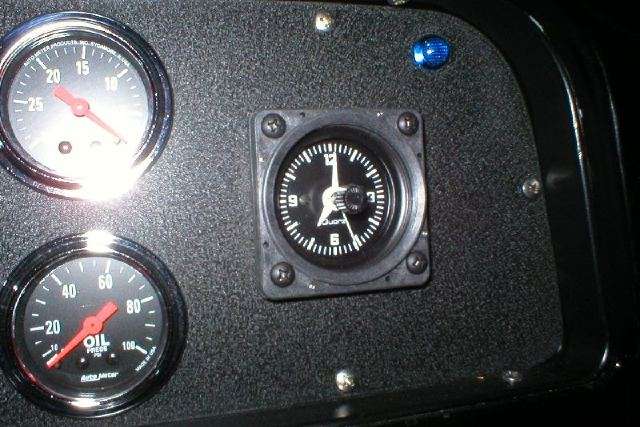
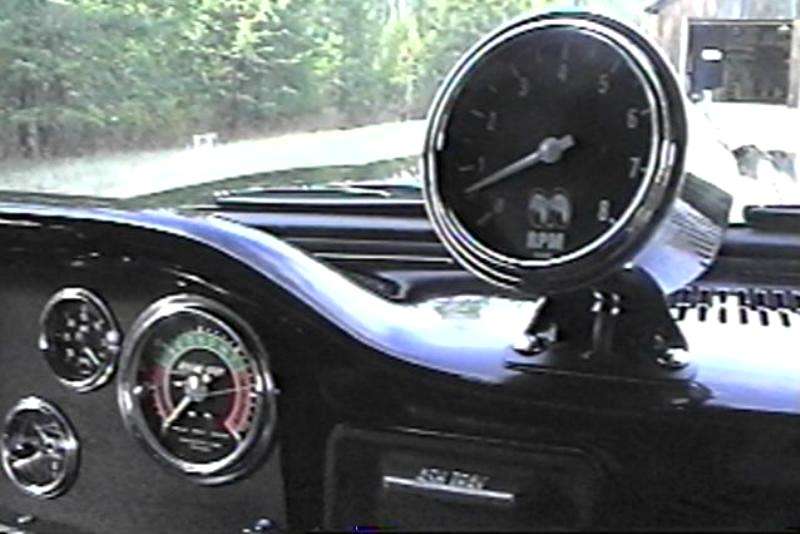
Eventually I found an NOS Sun tach long cup on Ebay and was inspired to mount the tach on top of the dash. Unable to afford a real Sun tach, I settled on a Moon tach. At the time they were being produced for Moon by Autometer.
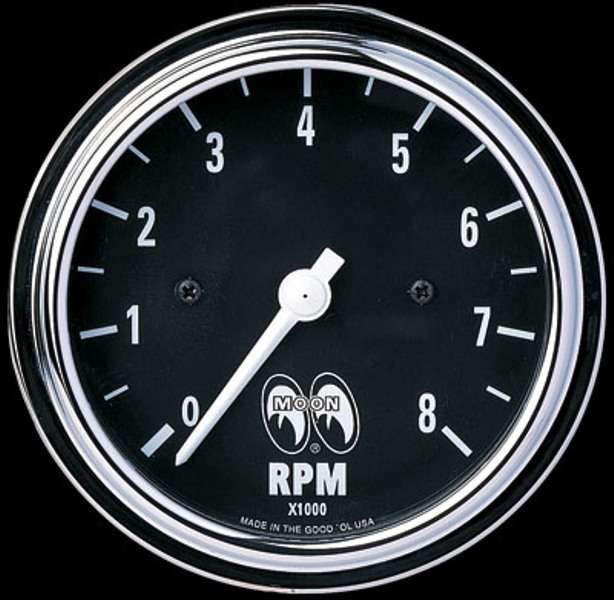
(This turned out to be a perfect match for the Autometer gauges I would install later). Current full sweep Moon tachs are manufactured by Classic Instruments, and don’t look nearly as impressive in my opinion. A bit of simple adapting was required to fit the Autometer head into the Sun cup.
In order to give the instrument panel a more vintage look, I also sourced an NOS Sun vacuum gauge. Being 50+ years old it read about 3 pounds low and was eventually replaced with different gauges and adapters.
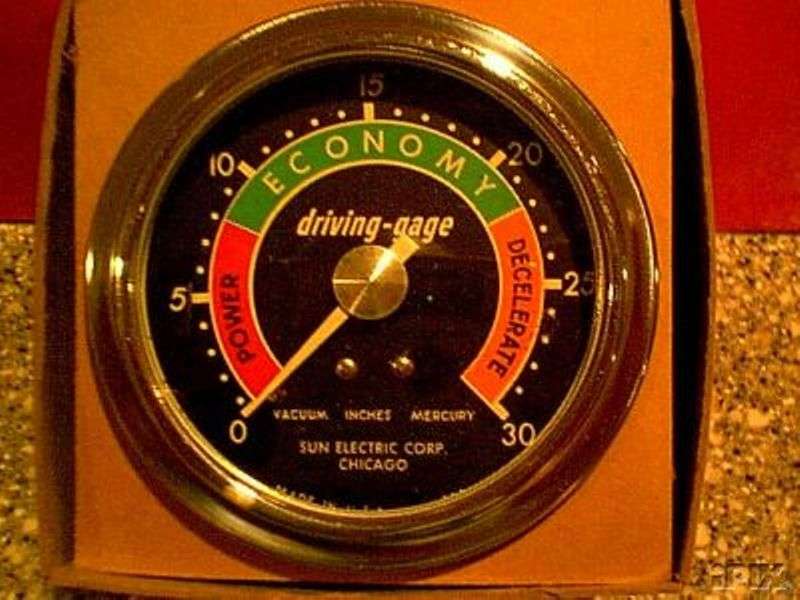
I moved the speedometer to the left end of the cluster and mounted the vacuum gauge on the right end, with the tach up top. Unfortunately, the mechanical speedometer cable could not be connected on the left end due to interference with the firewall. This required the expense of an electric speedo to resolve the problem.
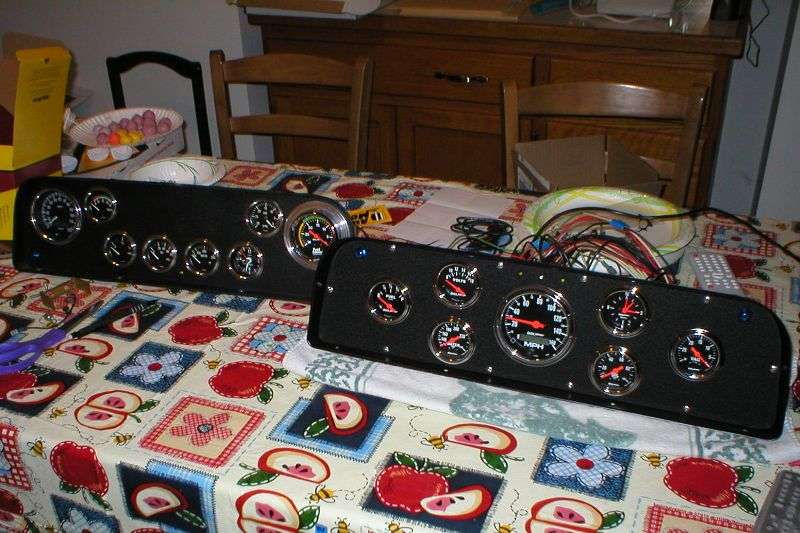
Some time later I again grew tired of the dash layout, so another panel was created which eliminated the second 3 3/8” hole. Here’s a shot of panel #4:
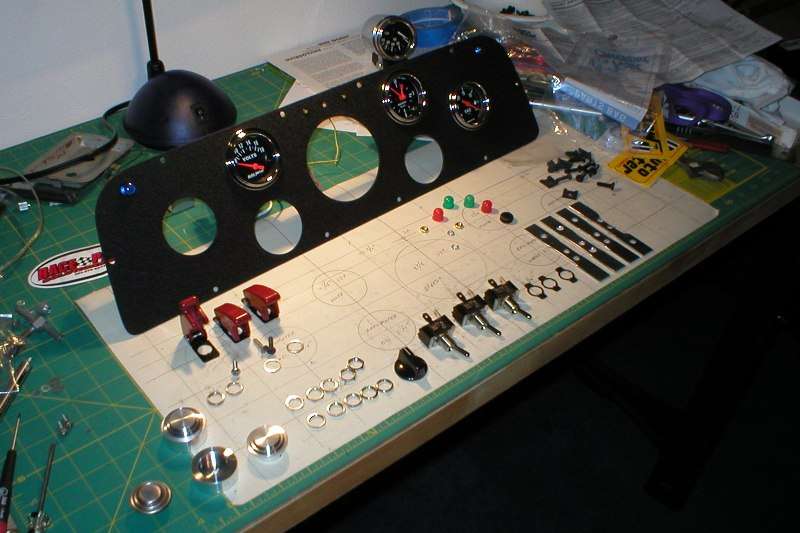
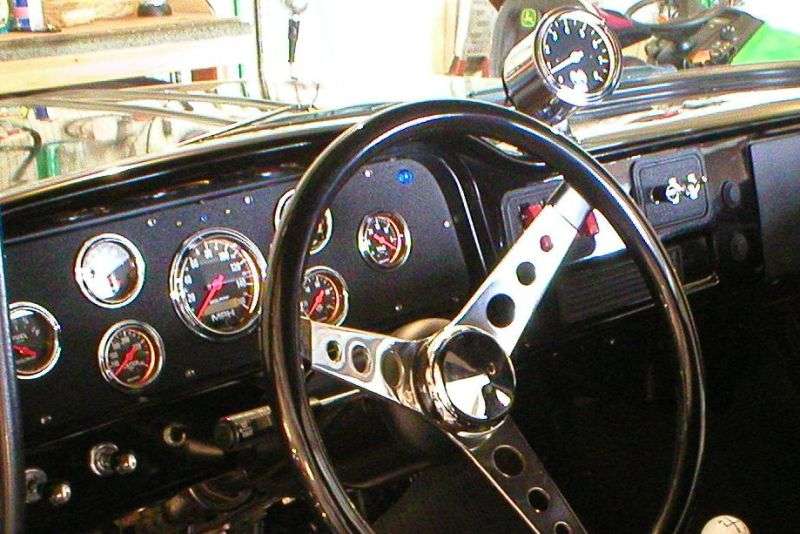
Here’s a comparison between panels 3 & 4. With the new panel came a complete set of Autometer gauges:
Shortly after installation the brand new Autometer clock failed. Warranty expense and delays made repair impractical, and since I used the clock daily I wanted something that would consistently tell time. I decided it was time for an aircraft clock. So the new panel was modified to accommodate the new clock, which keeps “perfect” time. Other than periods when the battery is disconnected, this clock maintains exact time continuously.