UNIVERSAL JOINT R&R (6 OF 6)
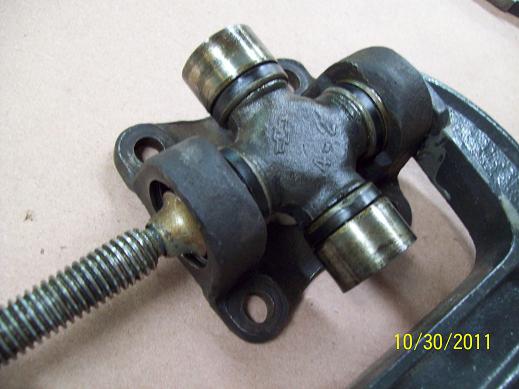
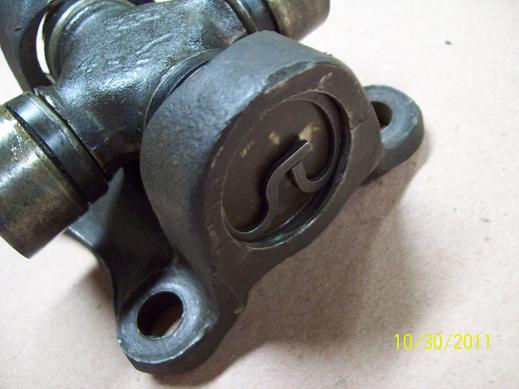
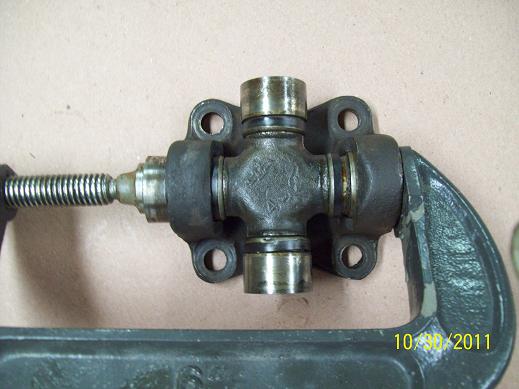
Press against the exposed trunnion face until the bearing is flush with the lock ring you just installed. Make sure the clamp face is super clean so you donít introduce debris. Donít force it. If the lock ring tangs are no longer flat against the bearing, youíve gone to far.


Press the second bearing in so that it is just shy of the end of the trunnion. Then guide the trunnion into the bearing. The trunnion should not fall out of the opposite bearing. This step is tricky for the novice and requires a bit of "feel". Needle bearings are easily displaced. If it isnít going well, walk away and do something else for a while.

Carefully press in the bearing so the lock ring will engage, but no farther. Install the lock ring.
Check to see that the assembly rotates freely by rocking the UJ back and forth. You should not feel any binding. If the bearings are pressed in too tightly, they can bind against the ends of the trunnions and feel stiff. It is possible that under load, the bearings will self-adjust in their bores, but I prefer to know that they were rotating freely before I reinstall the drive shaft.
Thatís it. The procedure is fairly simple. I seldom do this work, so I usually make a lot of mistakes and end up removing and installing the UJ a few times until everything looks and feels right. If you keep everything immaculately clean and havenít forced anything, removing and installing a few times shouldnít cause any problems.
The key is to think about what you are doing, go slowly, and donít lose patience. It looks like a simple job, but there are numerous pitfalls along the way. I hope this helps other once-in-a-while UJ installers like me.
Please feel free to critique my procedure. Anything that helps the next guy is fine with me.