BlueJeep
I'm using solid rivets from
http://www.vintagetrailersupply.com/..._p/vts-826.htm

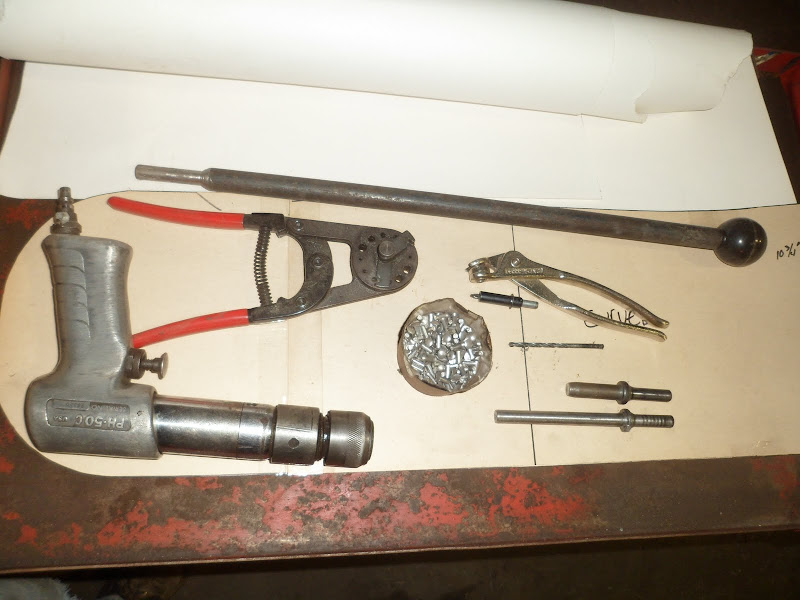
Dad made a rivet buck, thats the long steel shaft with the black handle on it. You push lightly on this when bucking the rivet to mushroom the end. We found this design the easiest to work with. Very comfortable when doing overhead work.
Below that, the plier looking thing is a Cleaco tool and below it is a Cleaco. This is a temporary device to hold two or more pieces together before you start to rivet. Buddy who worked on aircraft lent me these.
Drill bit is a #20 drill bit. this co-ordinates with the rivets I`m using.
Two rivet sets. The shorter one I ordered with the rivets. It proved to be to short working around some of the windows and door, so Dad made a longer one. Both work well.
An old Snap-On air gun. The rivet sets go in the end and at low pressure hammers, transfered through the head of the rivet, allows the buck to mushroom the shank of the rivet. We found to pull on the trigger to hammer one shot that takes up all the slack, then a short burst to mushroom the shank. Were no proffesionals, this method works the best for us.
Rivet cutter is the tool with the red handles. Use this to shear the shank of the rivets to the length we need depending on how many layers were riveting together.
<
Getting the rear door frame welded Friday, maybe on the weekend I`ll be able to video the process.
More windows...lol
Another oval on the lower section of the door and the panoramic sky view on the edge of the roof line.
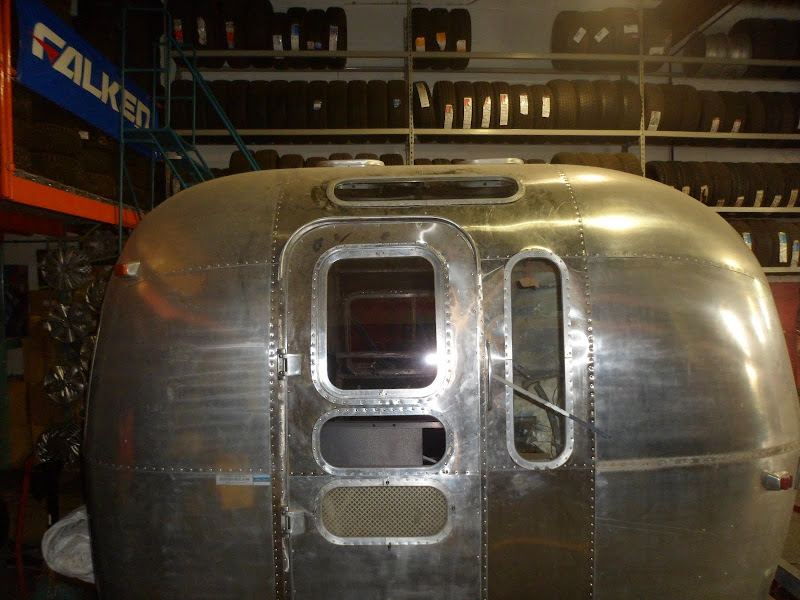
Talked to a glass shop this morning, there going to shorten some other ovals I have to flank both sides of the large passenger side window.