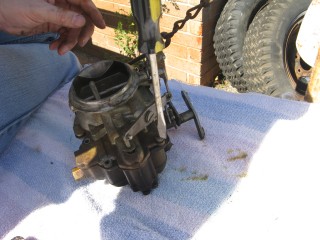
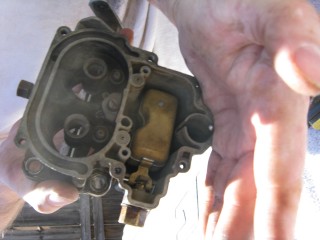
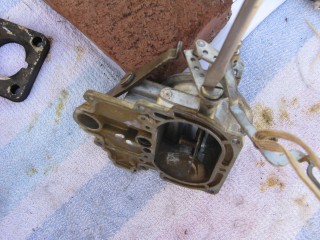
Then look at what's left. You have three main parts of the carb standing in front of you. The air horn on top, then the main body and finally the bottom part, which I forget the name of right now. We'll call it "the bottom plate" for now. My helper said we should just call it "Bob".
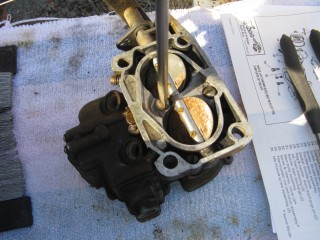
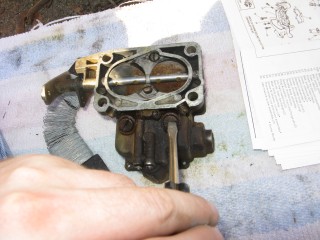
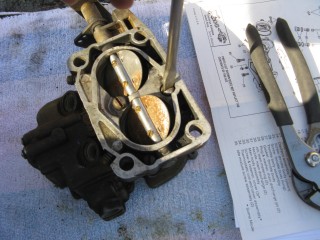
Remove the screws connecting the air horn to the main body. They're located here:
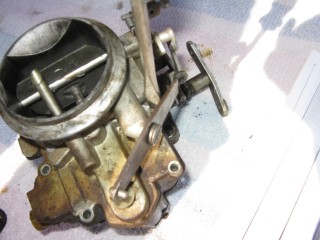
and here. This one also releases the brace that the throttle cable connected to. Don't lose them, store them together.
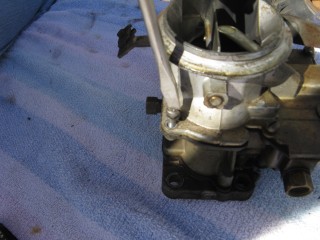
Then here...

And here...
on to here...
Then here, and this one's kinda hidden so pay attention

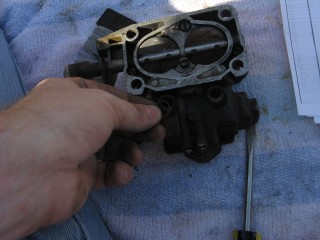
There are two long springy plungers under the main body so as you pick it up be careful to come out pretty straight and hold it over something like my awesomely manly pink and turquoise towel (mentioned earlier). You never know when stuff will fall out. If it does, don't sweat. We'll show you where it goes later.
Lift the air horn off of the main body.
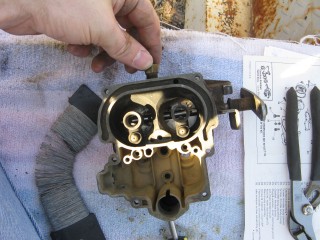
Be careful with the next portion. There's a little BB (yes, like you'd shoot in a BB gun) rolling around in two parts of the carb. The first part is right under this spring, which you might need to fish out with a screwdriver.
Now pour out the BB into your hand slowly so it doesn't jump out and run off.
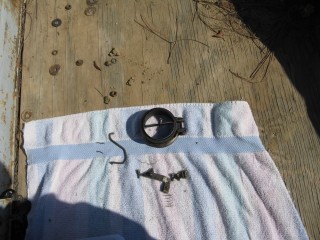
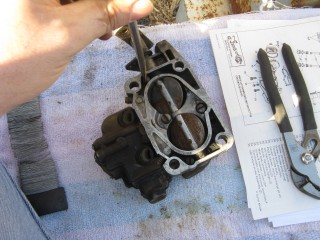
Here's a pic of everything we have done so far, with screws in the order they were removed, left to right...
Here it started getting HOT under that boiling sun. We had to set up a little tent shade from Cecilia's cover. It worked OK for the time being.

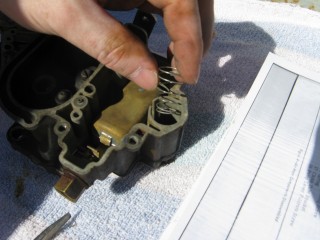
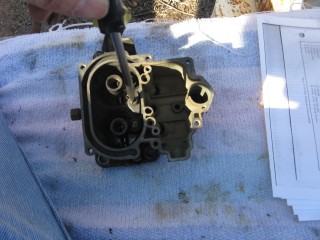
Our shelter set up, we continued by removing these little needles. There are two of them.

Now remove the cotter pin from the pump piston if you have one on it. Mine didn't. Say it with me now....
Gremlins!
Mine also had a washer on the top of it with a spring poking through the hole. I'm 99% sure that was NOT factory rigging. When we rebuild we'll leave both the spring and the extra washer off. It's not pictured in my manual at all.
Unless that breaks something. Then we'll just make it ugly again.

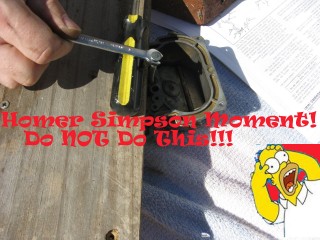
Here my expensive internet downloaded carb manual said to - and I kid you not - take a block of wood and a small wrench to pry out the vacuum piston pump (the second springy thing, located in the center of the carb). I thought, well that's weird. But if you say so...
My vacuum piston was stamped in and no amount of gently tugging would pull it loose. So I obliged it as directed and sent the top flying off into the sunset. DO NOT DO THIS, though it made a beautiful SPROING noise.
I found out later you don't even need to remove the vacuum piston as there isn't anything you need to replace in there. UGH.
Oh, and of course you can't buy this part for anything. Instead I had to get a magnet and fish the yard for the cap then I JB Welded it back together. It'll disintegrate over time in the gas but I plan to replace it anyway so no sweat there. It just has to work for a few weeks.
Anyway, lesson learned. Fun stuff keeps the boredom away, right?

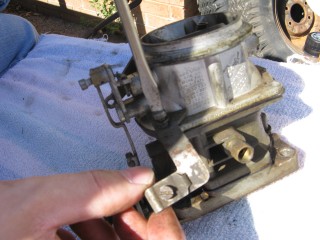
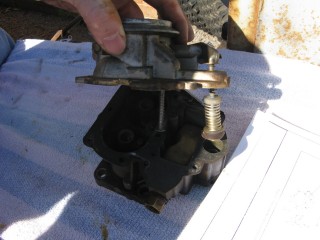
So moving on, we remove this big screw holding the throttle cable connections. Be careful though, there's a tiny spring on the back of the connections (shown below)
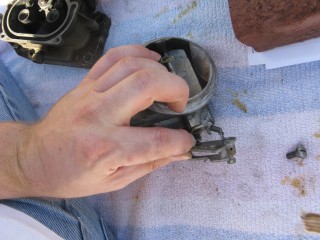
You only need to unhook one side of the spring, the side that hooks to the carb. The other side should be stuck on due to a pinch in the linkage. Just gently remove the whole thing and set it aside. We'll dip the entire thing as a family project.
Next remove the brass fitting on the outside of the carb where the gas went in. My photographer had a potty/lunch break and took my camera so no pix. It's pretty easy though. Just unscrew it with a wrench and pull out the little rocketship looking pin inside by unhooking it from the float with a screwdriver.
Then use the same screwdriver to unhitch the metal pin on the float side of the carb holding the back of the float in. It'll spring off by itself if you're not careful so put a hand over it as you pop it loose.
Then remove the float and it's little pin that holds it in place.
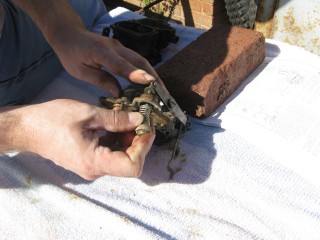
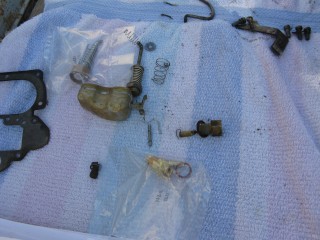
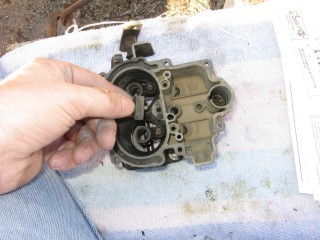
Here's a pic of the stuff we've removed so far, in order from left to right, in rows top to bottom.
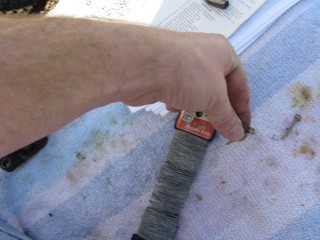
Now find some small wire to clean out the pins. Don't laugh, I have some of the wife's flower arrangement wire here. It works. Shut up. :P
There are four more holes to clear while you're at it. The two inner ones are inside the smooth walls. You might have to hunt around for them. The outer ones are the big boobie looking nubs sticking up.
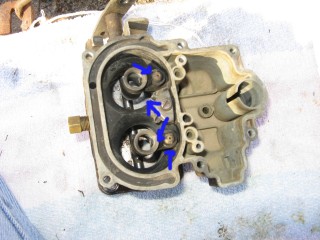
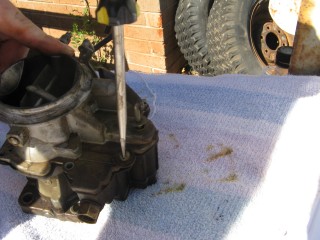
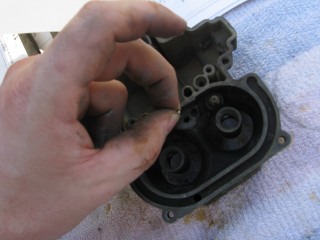
Now grab the trusty screwdriver again and remove this center piece. There is another even smaller BB under this so be careful.
Again, be careful when you remove it...There's another BB under it.
Then pour out the little BB inside.
Now flip the whole thing over and take off the bottom big screws. These cover your jets. We won't be removing the jets this time but we will clean them out with the wire. Removal is unnecessary.
Under those big screws is two very dirty, probably invisible copper washers. Remove them and set them aside in case your new ones break when installing. Then clean the jets inside with the wire.
Now remove the vacuum brass fitting on the outside of the carb.
Now we begin removing the four little screws on the very bottom. These hold on "the bottom plate", or Bob if you prefer.
They're located here...
And here
And here...

And finally here.