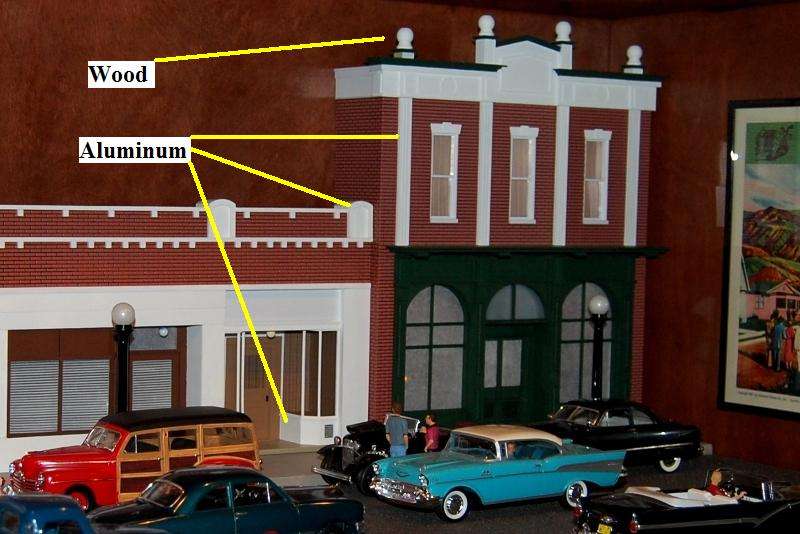
Hi Don, heres a long answer to a short question. The only wood in my dioramas is in the cabinet, floor/street, and the sidewalks. All of that was purchased at Lowes or Home Depot. 99% of all of the construction materials used to produce the buildings are styrene plastic.
Its all sheet, strip, and rod stock. The other 1% is machined aluminum, and the finials on top of the right hand building are wood. Ill refer to some photos of my Universal Set diorama to explain where the different materials were used. I find plastic is easier to work with than wood, can be finished to exact dimensions, and holds up much better to handling and can survive in outdoor applications. Structures can be made very heavy, and remain strong enough for repeated handling. I include a built in handle in most of my buildings as they sometimes need to be removed to replace light bulbs, change wiring layouts, or perform upgrades. Styrene tube glue can be used, but for structures its easiest to use liquid cement. Buying the first bottle at a hobby shop is a good idea to obtain the small bottle with a brush in the cap. The truth is, the contents of the bottle are nothing but Acetone. So for the cost of the hobby bottle, just pick up a quart of Acetone at the hardware store and youll have a lifetime supply for very little investment.
Generally I start out with an exact size two dimensional drawing on foam filled paper found at art stores like Michaels. It is the material photo framing outfits use to support the photograph to be framed. Heres an example of building #1 at stage 1:

Once everything fits and looks accurate, I transfer the drawings to ½ styrene foam filled sheet. Heres one of the earliest photos I have showing the openings for the toy and camera stores cut out:
This is a one piece product that is actually two thin sheets of styrene held together with styrene foam. It works great for substructures, minimizing the need for framing as on a real building.
I bought this material and most of the plastic supplies online from Plastruct or Evergreen:
http://www.plastruct.com/Pages/Catalog.html
http://www.evergreenscalemodels.com/
If you choose to work with plastics, do yourself a favor and get their catalogs. It makes it much easier to find what youre looking for online.
Once the structure has been glued together, I simply apply surface materials on top. For example the bricks are imprinted sheet, but the bay window was built like full size construction. Its all mitered 2x4s, plywood & moulding (to scale). The small window next to the bay window has yet to be cut and installed:

To show the full scope of the set, here are all 3 buildings early in the project. The partially completed building on the right was a model railroad kit that turned out too small for accuracy. It was replaced with a custom build to match the real set:
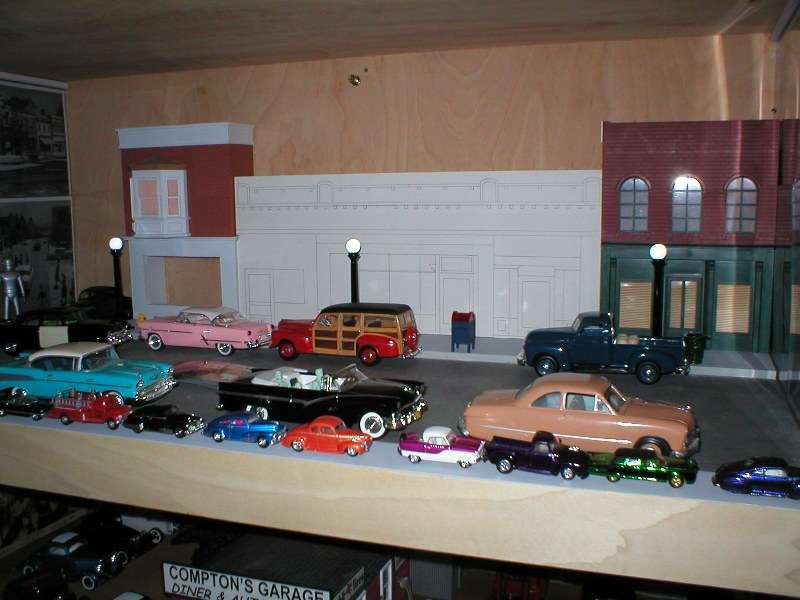
This shows the upper works installed on the styrene structure. The lower portion is the paper drawing which kept getting cut down as production progressed:

With most of building #1 & #2 completed, building 3 started over:

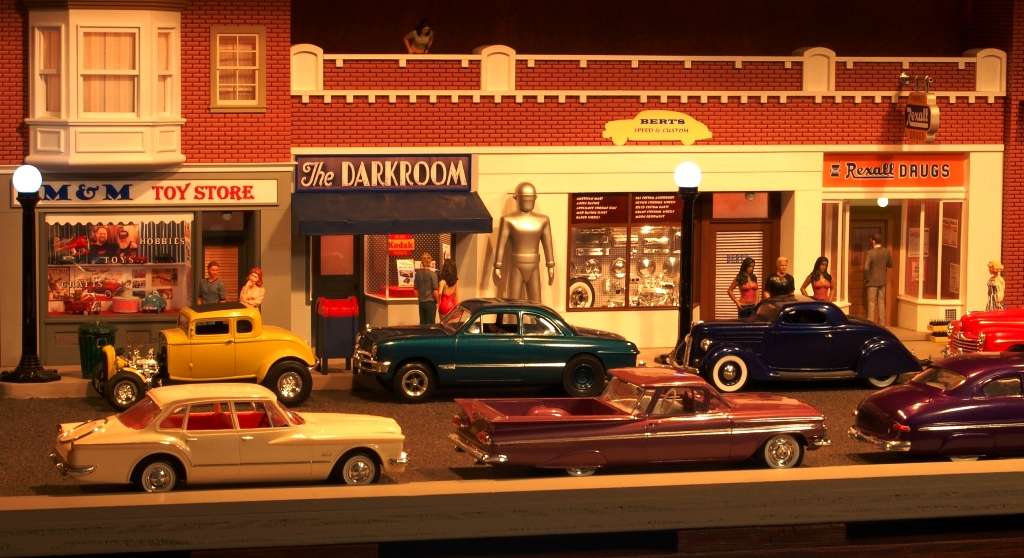
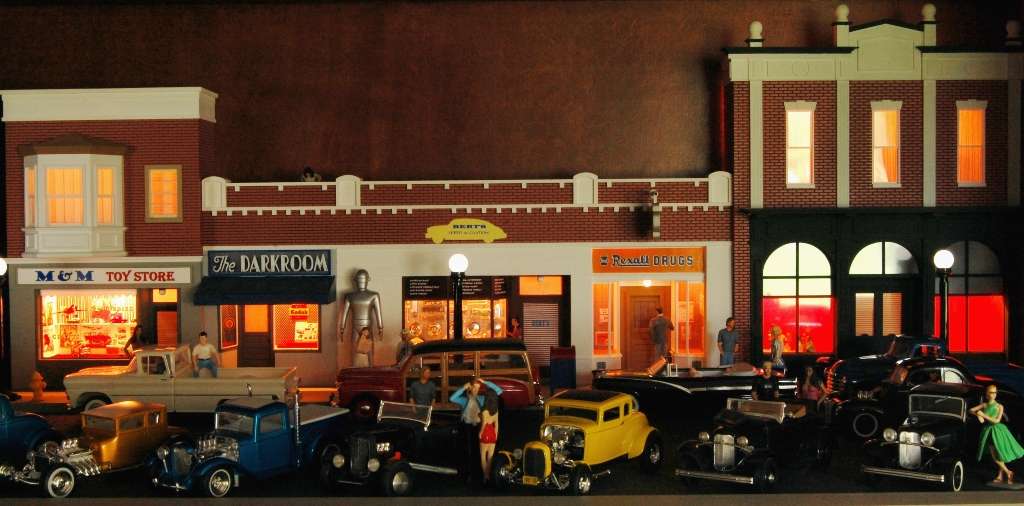
Heres building #3 completed.
The 4 vertical columns have flutes cut into them, so these were machined for accuracy. Same thing with the bases for the pharmacy. They were sliced from aluminum which allowed hogging out the front creating a cavity for the screened air vents. The four roof turrets were each formed from two pieces to adjust the depth of the face recess. After a year of trying to come up with a solution, the domed window openings were finally created by slicing ABS sewer pipe in half.
And finally the awning over the camera store was created by building a conventional frame with plastic (similar to a real awning), and was covered with tissue paper coated with thinned white glue. The street lamps are genuine Lionel train parts with pearl painted clear plastic balls on top: