My UPS guy knows what's up..
So the fun did begin.. As parts started rolling in I started taking old stuff off and putting new stuff on. Starting up front with the spindles. Separating the upper ball joint and control arm were easy.
(I'm gonna separate this for future references.)
*** Separating lower ball joint the easy way!!!***
Now the lower ball joint was a bit tougher.. So I tried beating on the side of the spindle (horizontally), I tried using a bigger hammer, I tried using a pickle fork, I tried doing nothing and that didn't work either. So I get pops to come over for a look, after he saw my methods not working he says "you need a bolt". I looked at him funny, but after he explained his self, it all made since. So after a trip to the hardware store this is what we came up with..
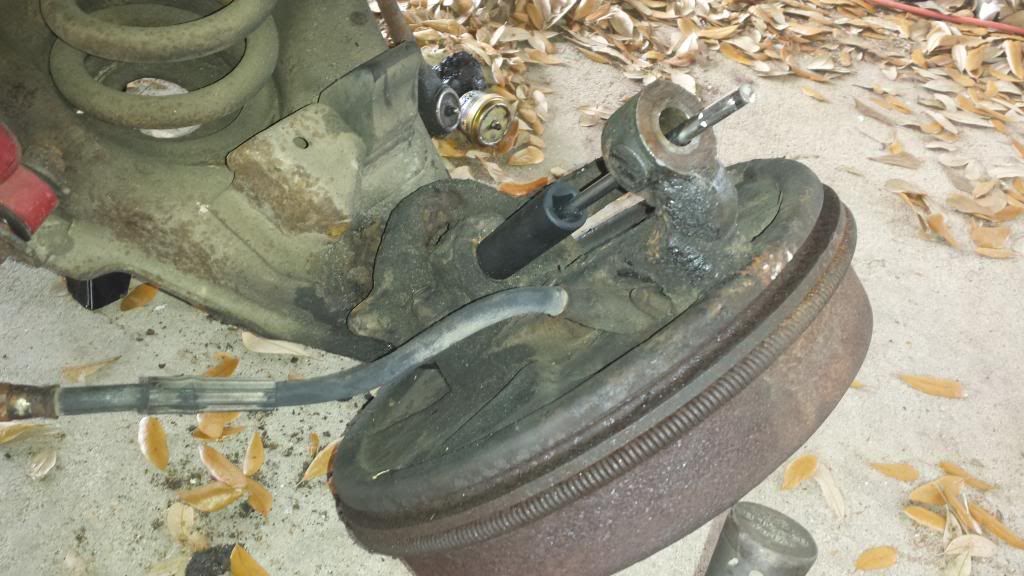
About 4 good whacks with a 3 lb hammer and done. ***note in picture is a busted up screw driver, but a 1/2" x 8" bolt would be perfect***
I would be willing to say that if you could get a cover nut, that it would save the ball joint all together (as you hit it with the bolt).
Another problem I ran into was the little brake line nut stripping out. Luckily I was able to get enough bite on both to be able to remove and re-apply without having to replace.
Also, the nose cone on the rotor had to be trimmed down due to the Boss hub diameters being a little bit smaller.
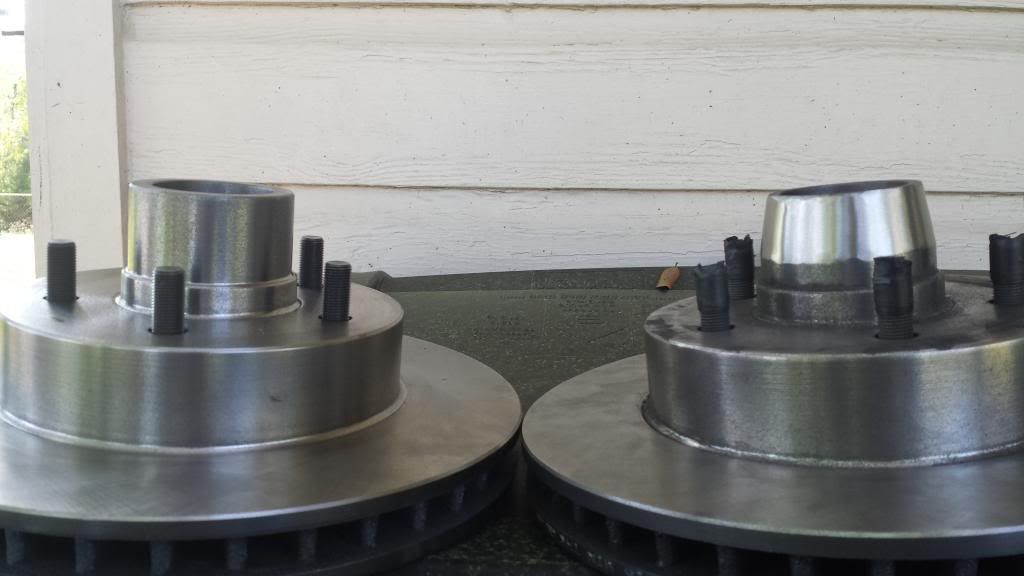
Not a tough job, just need a side grinder and a good flap disc and some patience.
So I packed all the bearing with grease and assembled the rotor to the spindle, bled off the brake lines and the front was good to go. (for now any way, it'll need to be lowered later)
The rear went easier than I thought. Popped the gear cover off, let the fluid run out, rotated the chunk until I could see the gear retainer bolt (or whatever it is called), removed the racer cover to the right of the bolt (because it is in the way of accessing the retainer bolt), then removed the retainer bolt. At this point that center pin will fall straight out. But keep in mind do only ONE axle shaft at a time. I don't know for sure, but it has been said that if you remove both shafts the inner gears will fall out along with the shims that get them aligned. At this point you remove the drum and slide the shaft inward and the c-clip should fall out, or you access it to remove it. After the clip is removed then slide the whole shaft out. Slide the new shaft in (it will take a little adjusting to get it in just right **that's what she said!!**), then re-apply the c-clip. Do the same for the other side, clean up the cover surface and axle surface for the new gasket and pop that dude back on.
Here comes the strange part. I researched how many quarts to use/buy. Heard a few say 2-3 and ever heard a few instances of them taking 6 quarts (how, who knows). So I bought 3 to be safe. Got one in there no problem, letting the second one rip and about half way through it was already leaking out. So I stuck it back in there and squeezed it pretty good, just to make sure I wasn't missing any areas and it started pouring out. After it stopped draining out I put the nut back in it. Couldn't see how to get anymore in there, so I assume It's good. Approx. 1 1/2 total quarts.
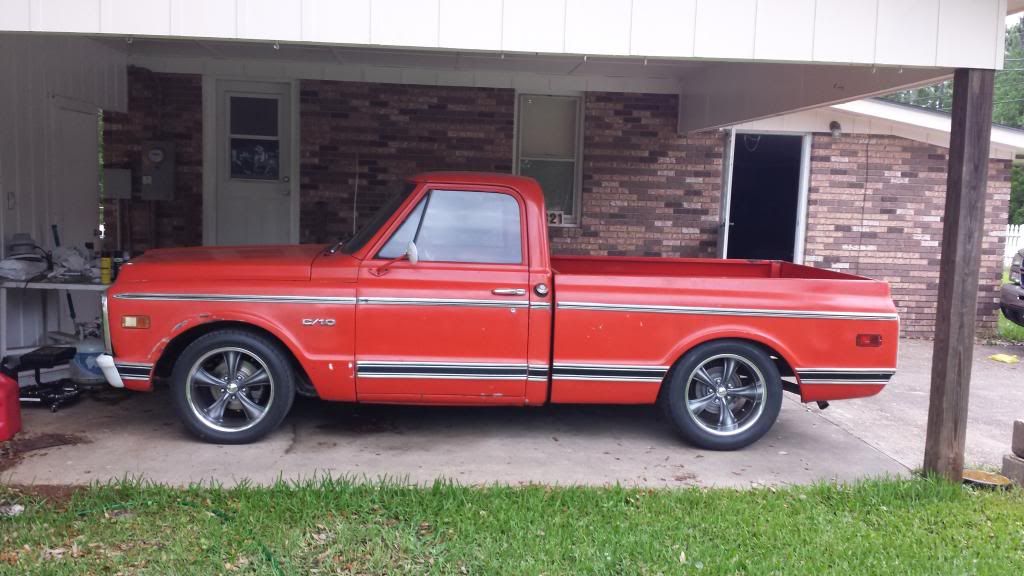
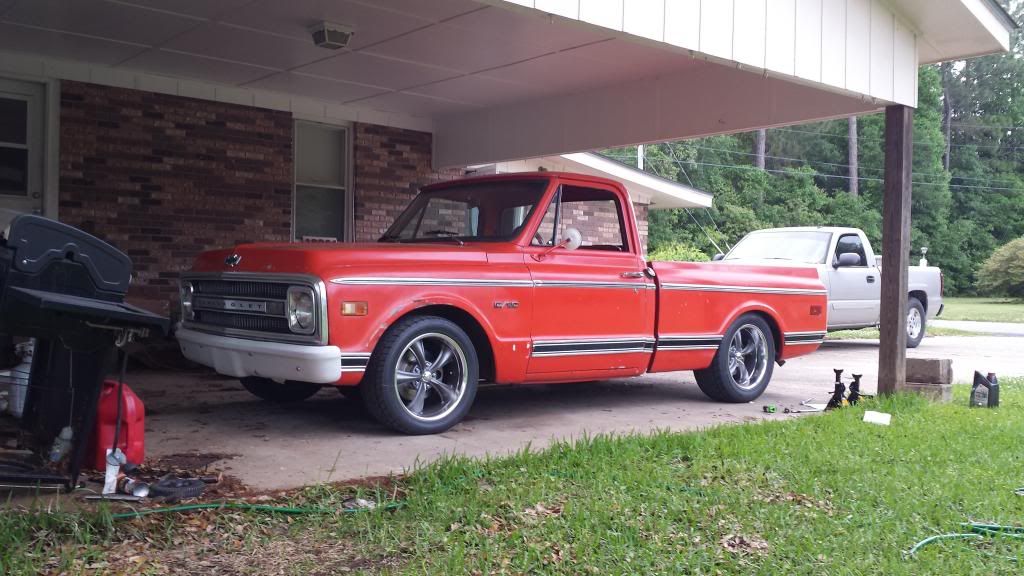
This is it before the flip kit..

My DJM flip kit arrived almost a month late. Ended up having to call them after 3 weeks of no package. They said "they forgot to ship it". Oh well, I wasn't too upset about it, being as this isn't my daily driver. Removing the leafs was fun, being as I had never done this before. After I had figured it out, it went pretty smoothly.
***Only thing I would have to say about the flip kit is to make sure your pinion angle is correct. (should be able to check by sight) Just make sure the axle is in line with the drive shaft.
So, my truck came with a lowering shackle (I'm guessing 2"). This is what it looks like with the flip and 2" shackle..
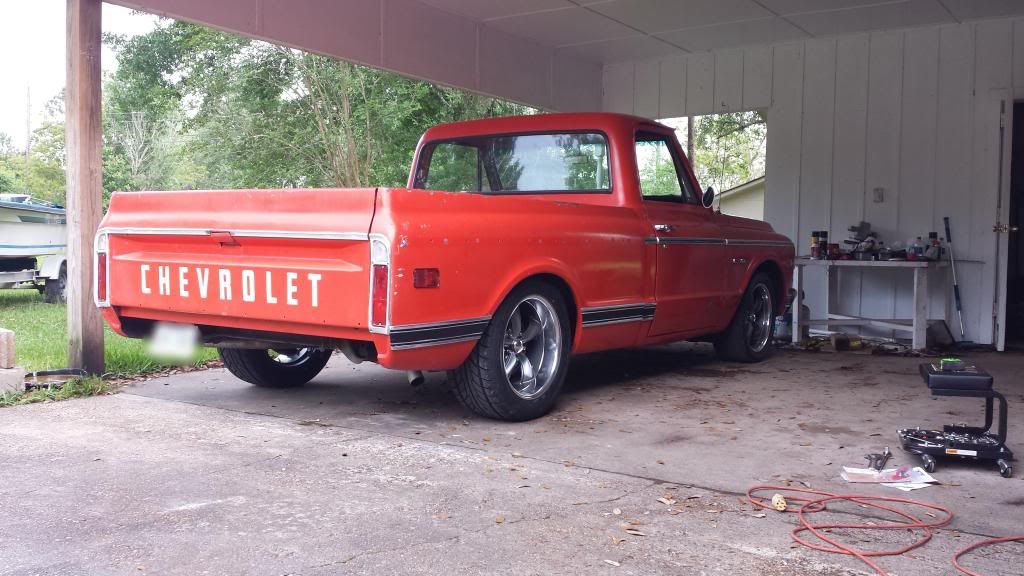
I think it looks bad@$$ in the back myself!! But it bottoms out riding over a gnat hair. I'll end up having to get a custom shackle made for the rear to raise it up an 1" or so and lowering the front about an 1" as well.