Started the front floor pans this week. The owner brought a set of pans made by Classic2Current Fabrication when he delivered the car . They would work ok for patch panels if you aren't picky but they're nowhere near close enough to use as full replacement panels. Their patterns for the beadwork was laid out wrong, plus they didn't take much time to stay on the pattern they laid out. They were also missing the recessed areas for the body mounts. After taking a closer look at them I decided to make my own instead of reworking their pans.
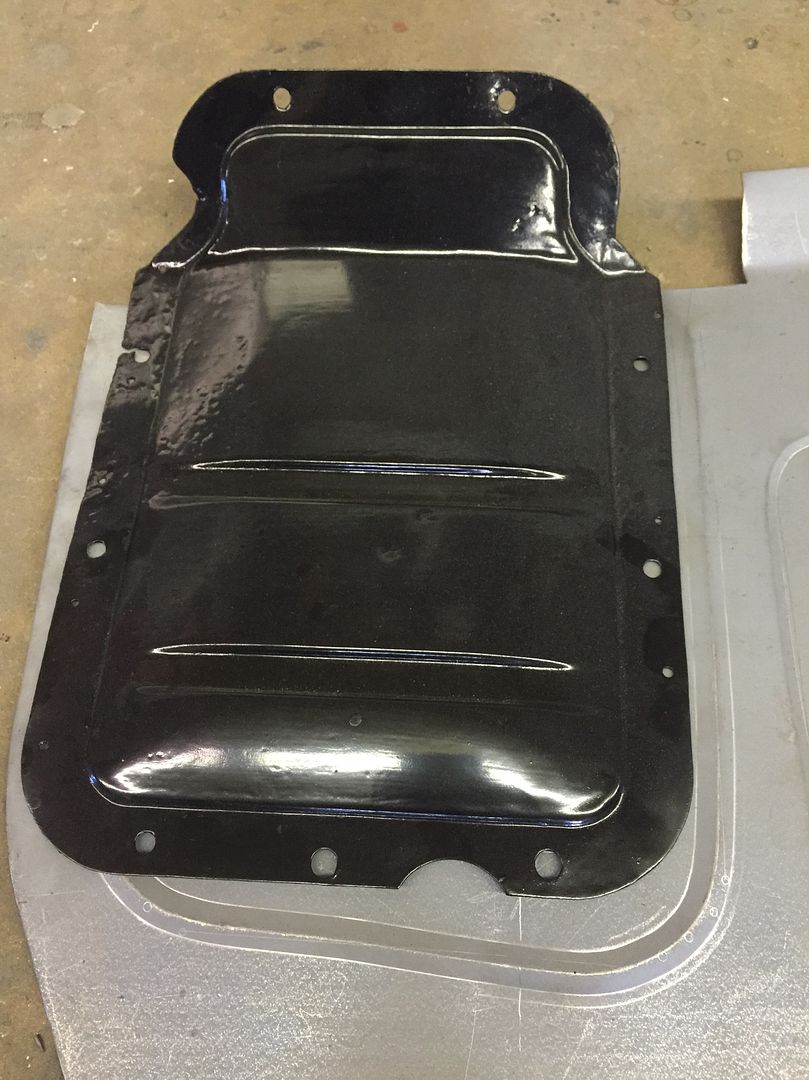
Transmission cover laid over the C2C floor pan. Its not even close to being useable around the trans area. There were other issues too.
The original passenger side floor pan hadn't been cut out yet so I was able to trace over the stampings to make a rough pattern.

Rough pattern transferred to translucent paper. The L/R floor pans are mirrored so I can use the same pattern for both sides.

Transferred to metal and mocked up to check the location of the body mount dimples.

Marked the area to stretch with the plannishing hammer. Pre-stretching the beaded areas keeps distortion to a minimum, especially with these 1" wide beads that want to pull a lot of metal from the sides. The bead roller doesn't have to work as hard either, there is a very noticeable difference in the amount of force needed to tighten the dies together.

After stretching the metal with the plannishing hammer. Looks like it's raised too much but the bead roller will pull the metal back into shape.

After rolling one of the beads. Some distortion but nowhere near as much compared to not pre-stretching. This was also before detailing the ends of the beads, which helps level out the panel as well.

I cut down a piece of 1" ID tubing and smoothed the edge to use as a finishing tool at the ends of the beads. The bead roller only shapes the sides of the beads; there's nothing to shape the ends. This "closes" the ends of the beads and makes them look finished, and also flattens the metal around the ends so the panel is flat.


After finishing the ends of the beads with the pipe tool. The panel is much flatter now, even across multiple beads.

