Been picking away at a few things and thought I'd give a little update.
It has been a little nippy here in Arizona - close to freezing every night for about the last week (I can just see the crocodile tears now). This is the best 'tool' investment I've ever made for my shop-

Been out in the shop working on the truck till 10PM the last couple of nights with the heat pump on. Wife is getting a little pissed that I'm not spending more time inside.
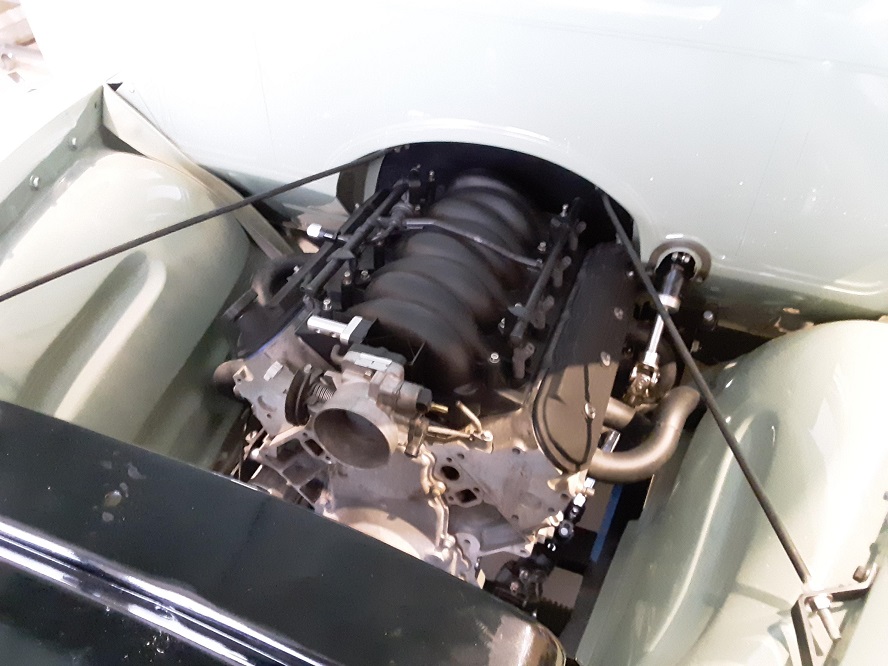
Aiming to get my engine bay assembled for what I hope is the last time. I ditched the Chinese billet aluminum fuel rails and installed a Corvette fuel spider. It isn't as flashy, but I was nervous about the aftermarket rails and all the ORB connectors. Replaced all the manifold and valve cover seals and cleaned up all the overspray on the motor from the paint job.
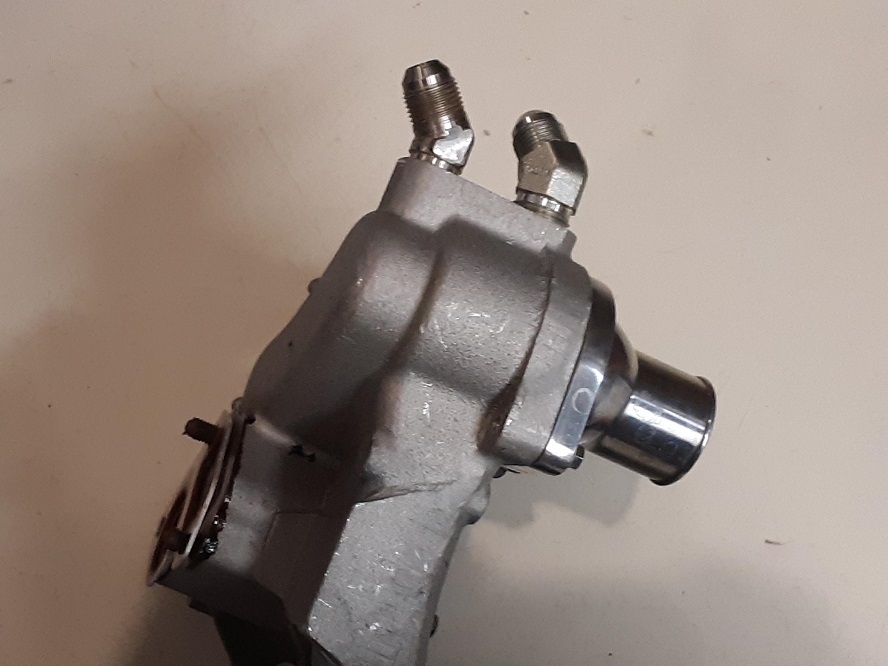
I'm going to run my heater hose through -8 AN hose and want to use fittings instead of hose clamps, so I pulled the steel tube inserts out of the water pump and tapped the holes with NPT threads. Here it is with the AN adapters installed-
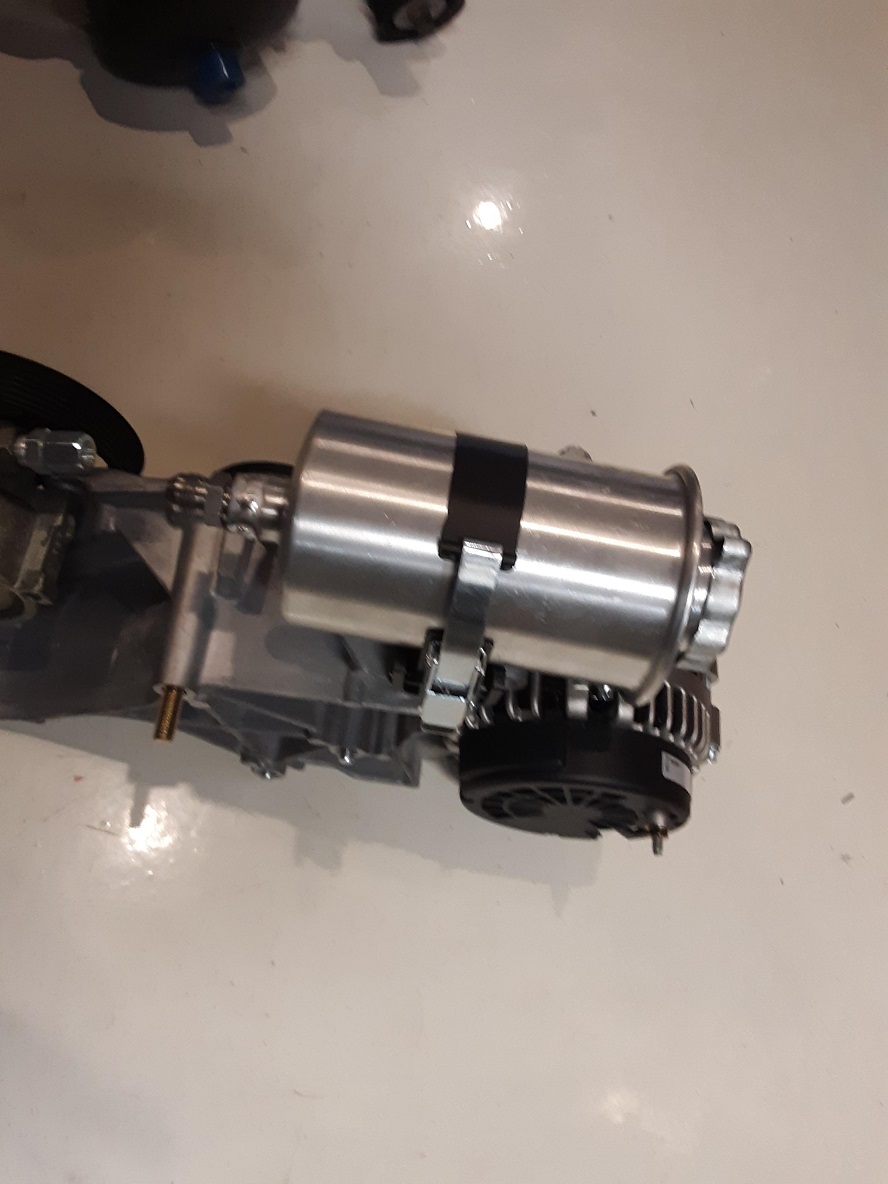
I was at Copperstate Electric (highly recommended if you're in AZ) having a starter and generator rebuilt for my MG TD, and decided it'd be a good idea to have a newly built alternator for the truck - here it is nice and new looking sitting on the truck accessory drive I'm using.
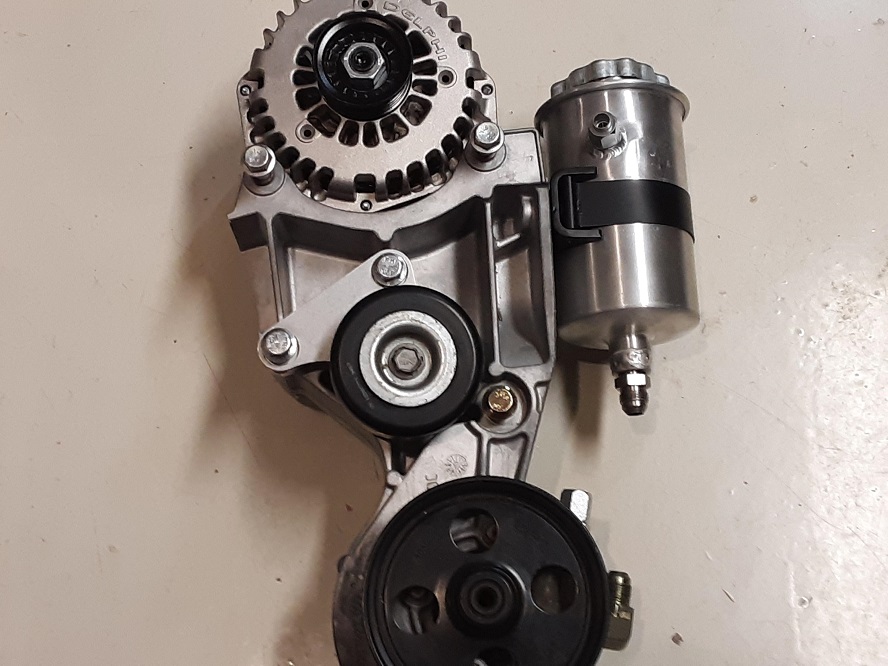
The power steering reservoir on the truck looks a little too 'modern' and plasticy for me, so I bought this aluminum reservoir for cheap on ebay and mad a bracket for it to fit on the accessory bracket. It had a -10 AN male fitting on the bottom of it that was swagged to the tank, and I didn't trust it to not leak, so I cut it off and TIG'd a bung on it. Will plumb it in rubber AN hose.
The idler pulley has been moved so that the drive belt will clear the car-style intake using a kit from ebay.
I bought a TC Type 2 power steering pump for a Corvette to use on my '49, mostly because I wanted the bearing style pump out of the Vette and Tuff Stuff sold one with an AN fitting on the suction side. However, when I installed the Vette pump in the truck bracket, the inlet pointed right into the fenderwell and I couldn't get a hose on it and the pulley was about another 1.5" in diameter. Not going to work and the new pump is now in the swap meet pile and I put the old truck pump back on. Oh well.
Here's the 90 degree suction side fitting for the truck pump. It is a slip fit into the pump housing and there's no oring seal like there was with the original plastic tank, so the plan is to JB weld it in. If it leaks, I'll TIG it or braze it in. Fingers crossed it doesn't leak.
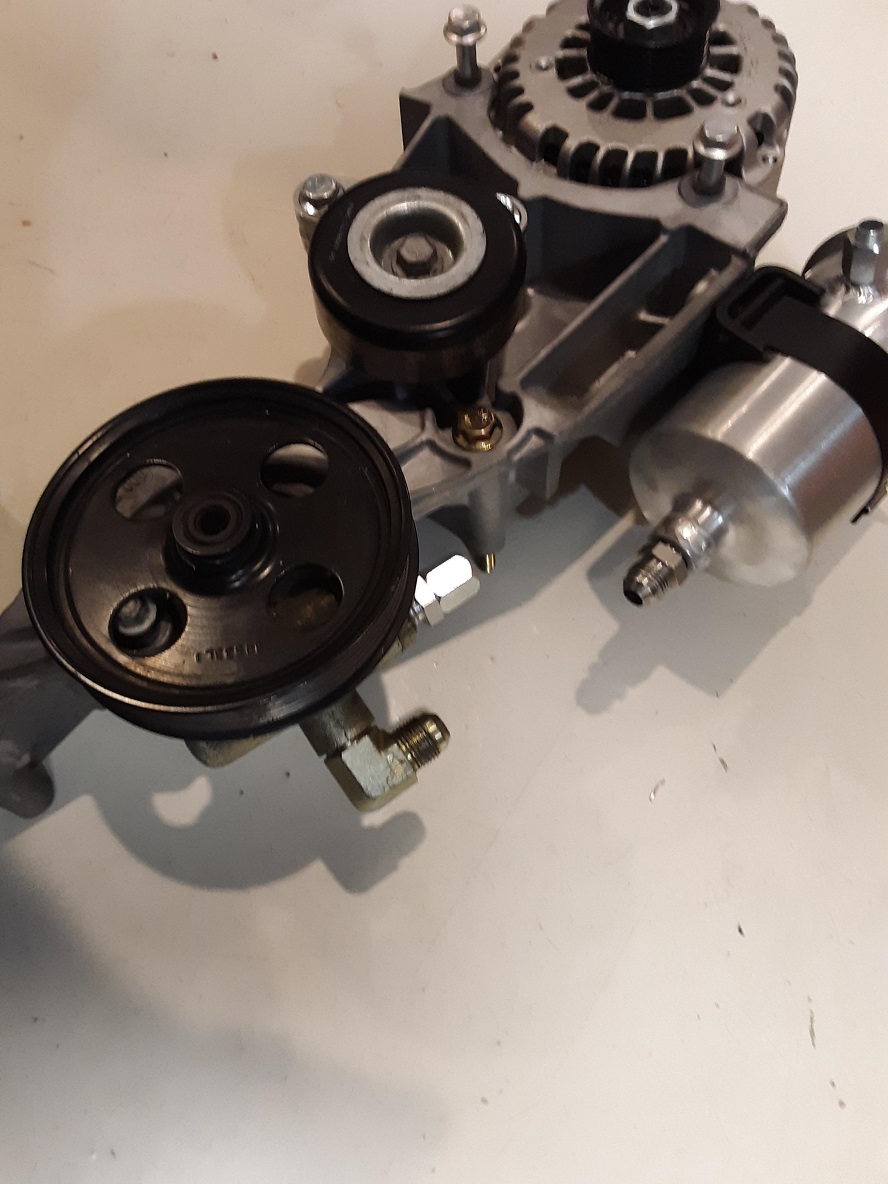
Another view of the tank. It attaches with a over-center Southco clasp I bought on ebay. Why anybody would want a quick release on their power steering tank is beyond me, but I thought it looked cool. (I should probably weld another -6AN fitting on for a dedicated hydroboost return so maybe that quick release will be handy)
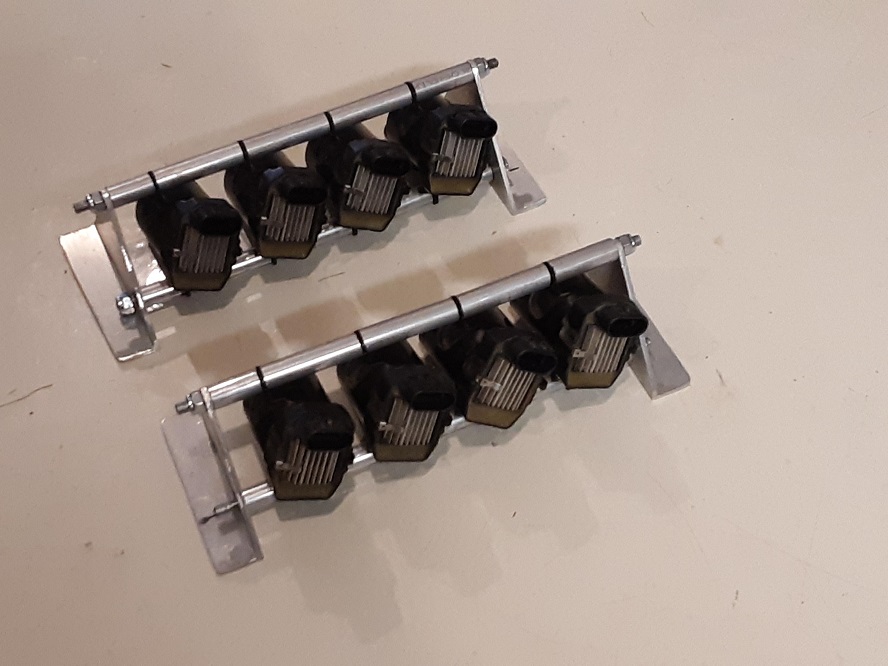
It has come to my attention that LS motors are very "HAMB unfriendly", but I'm so far into it now about the only thing I can do to even have the slightest resemblance to a politically correct SBC is to hide the coils-on-plugs. Maybe I can fool a few people. Here's my coil relocation bracket. I'm thinking about mounting them under the radiator on the core support or on top of the front cross member. Under the dash in the cabin is a possibility too, but whatever I do, I need them on brackets so I can get a 'footprint'. Scrap aluminum, some all thread and aluminum tube from Aircraft Spruce.
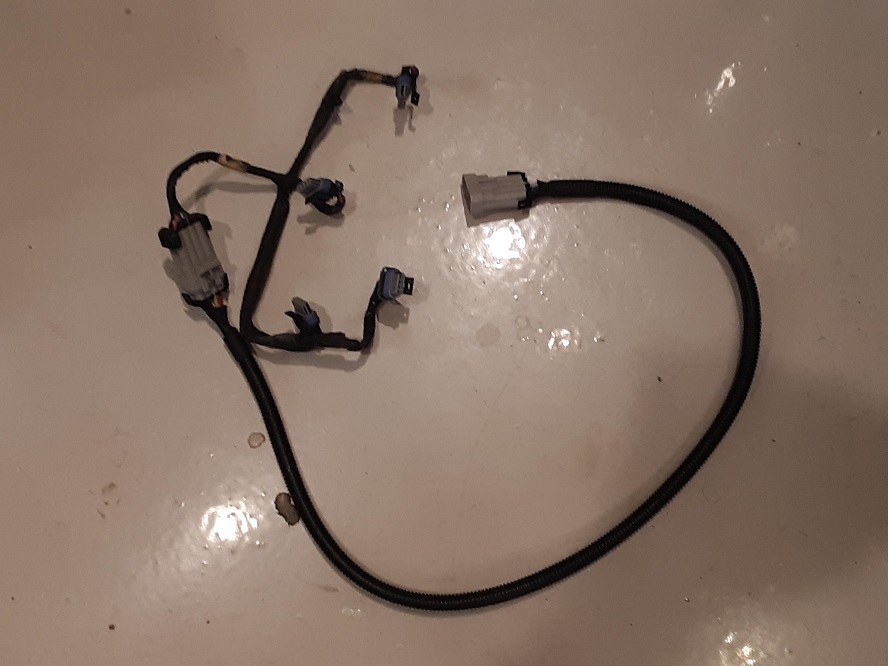
The Trailblazer engine I bought was drive by wire. I've done conversions with both cable and wire, and for this truck I wanted to avoid that ugly DBW foot pedal in favor of an original-looking pedal with a cable. I pulled the harness, computer, throttle body and MAF off of an earlier Suburban with a cable throttle to use. I stripped all the wires out for the 4L60e and anything else I didn't need. In the past, I've always done my own rework on engine harnesses, but there was an ad in CL for a guy who said he'd do one for $200 and he'd pick up and deliver, so I took a chance. It came back with a fuse block, relays and all the connections nicely labeled. I asked that he leave it uncovered so I could check all the pinouts and put the loom I want on it as well as give me access to extend the PCM if I needed. He didn't change the connectors to the EV1 type from the truck and I see a lead marked "TCC" (he was to pull all the wires related to the automatic transmission out of the loom, including the torque converter lockup) Here's the harness ready for a trial fit on the '49
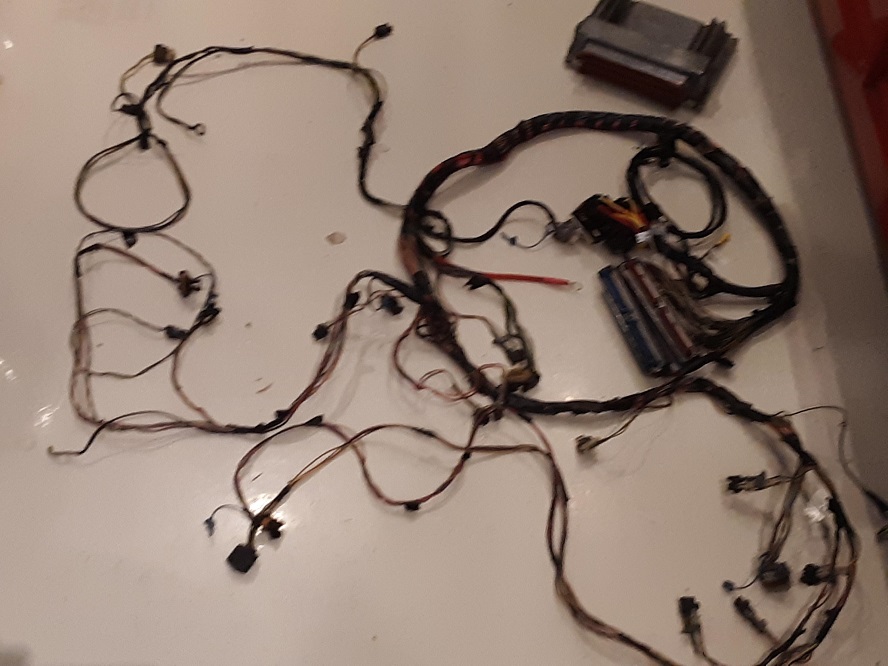
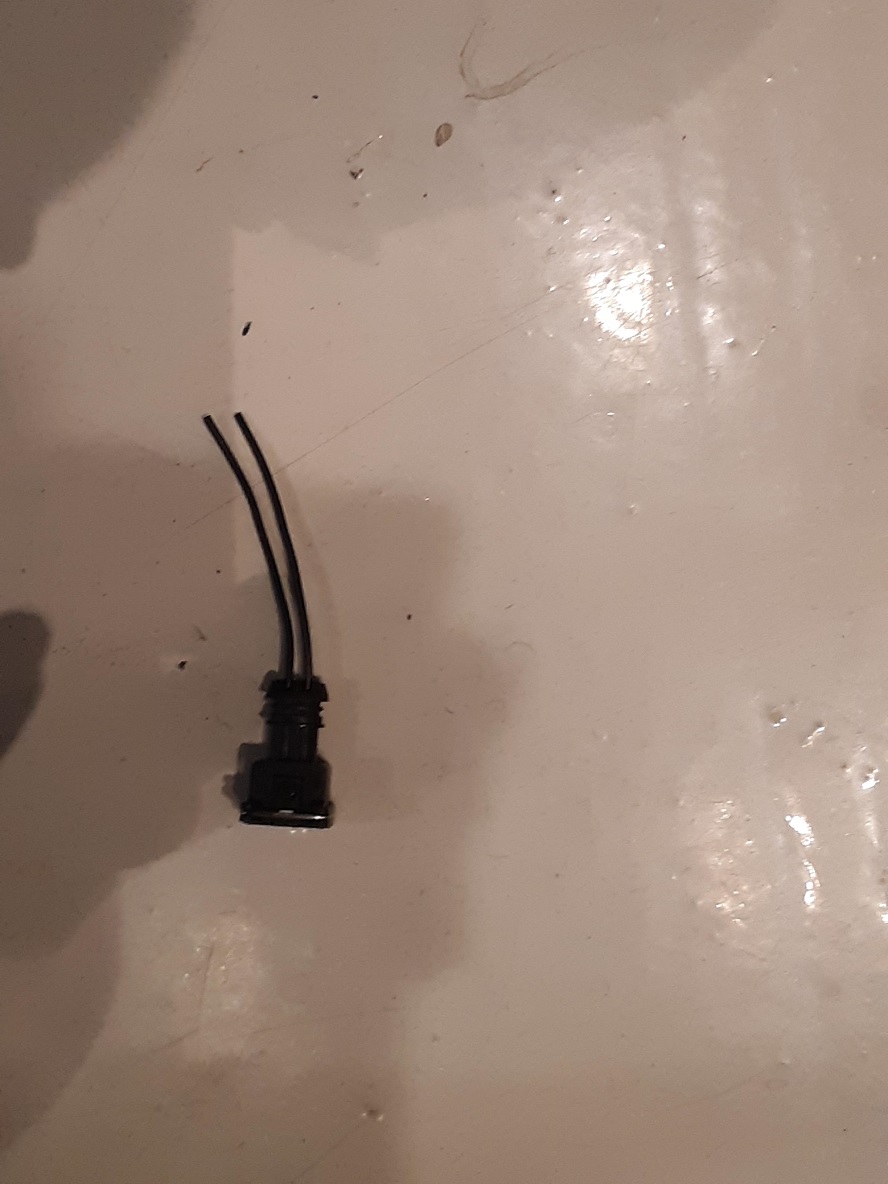
I'll need to install the EV1 injector connectors first though.....about $12 on ebay for a set. I'd really like the wiring harness to 'disappear' on the engine (I think kids these days call it 'tucking' the wiring harness) I'm not a fan of the corrugated plastic loom, and for the visible parts of the harness I want use a woven black covering with RayChem shrink tube. I'm willing to de-pin the harness connectors to make this happen. I'm a glutton for punishment, I know.
Will also need to extend the wiring for the coil packs, so I bought 3' extensions for the coil sub-harness. The corrugated loom will be hidden in the frame rail
All I need now is a willing visitor to my shop to help me get the water pump and accessory bracket back on without screwing up any paint work, then I can start trial fitting the harness.
Few more progress items in the cab.
I pulled the Camaro shifter I had on the T5 and took it apart to graft a new shift rod. The Camaro shift lever needed to be about 8-10" longer and it hit the seat too. Here's a pic of the new American Shifter lever mated to the Camaro part. (sorry it is a little hard to see through the steering wheel)
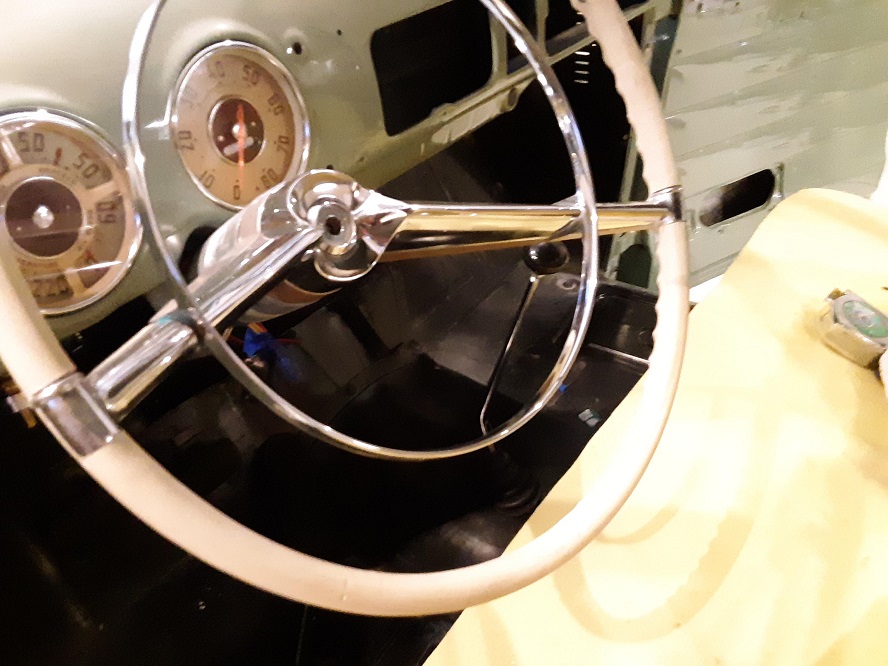
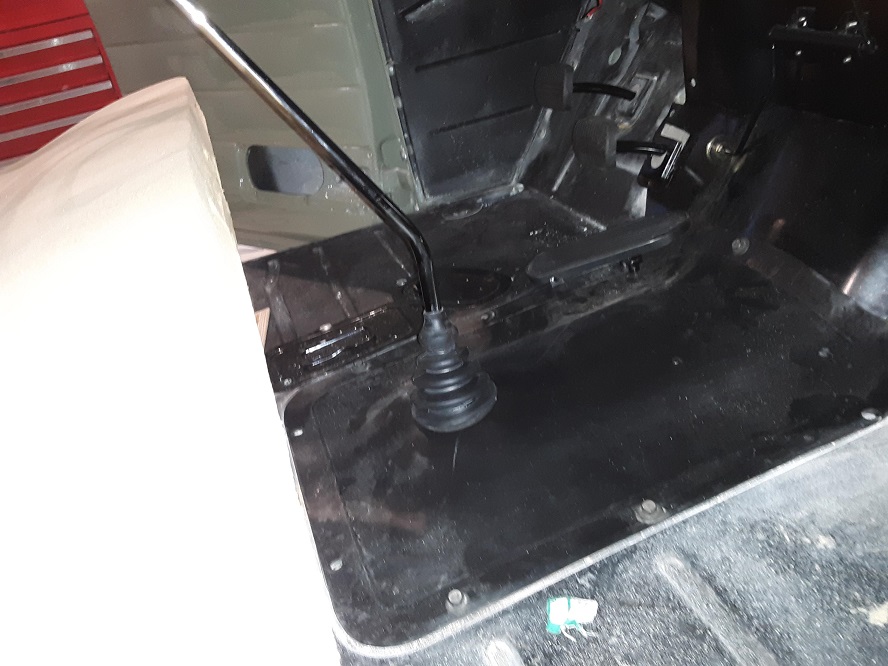
The boot is an EMPI item off of a VW Beetle. I welded the Camaro stick to a rod extender bolt that had the same threads as the American Shifter shift rod. American Shifter is one of the Hoffman companies and I'm not especially thrilled by the quality, but it's passable. The Lokar ones for 2X the price didn't look any better.
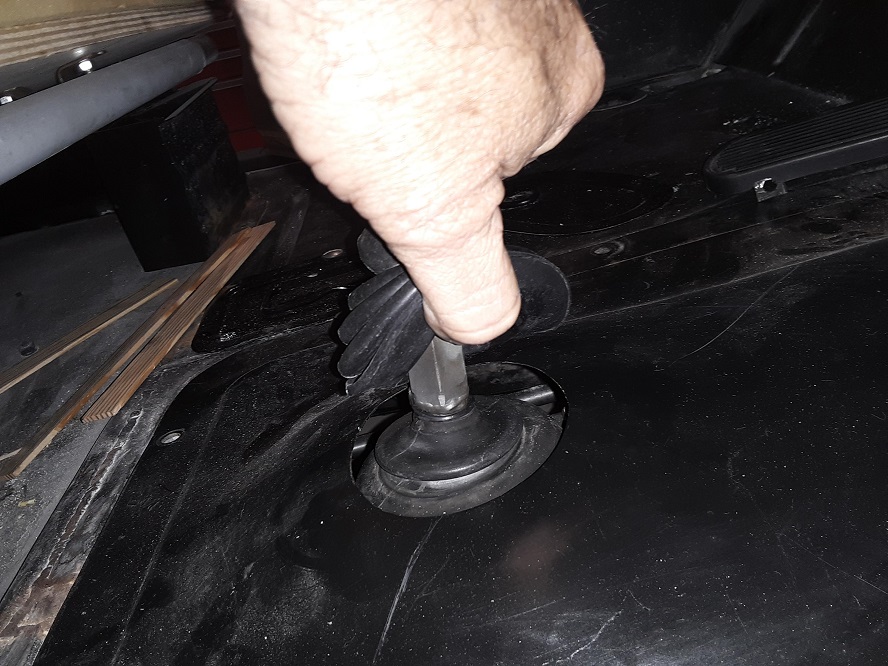
Underneath the boot
The local SoCal speed shop is a Vintage Air dealer and recommend the largest size VA air box for the truck. It was pretty spendy at about $750. I met a guy with an AD who'd installed the VA unit in his truck, and his recommendation was to use the smaller air box from VA and that the bigger air box was overkill for the cab of a truck. It was a little more than half the price of the bigger unit too, which was a bonus. Here's the smaller unit he recommends, well the trial fit dummy anyway - it sure packges up nicer under the dash too.
Anybody have any experience with this size air unit?
The AD owner recommending the smaller VA unit also had his ac vents set up to blow through the radio grill. I'm going to do this too. He turned some knobs and made his own ac controls too - pretty slick.

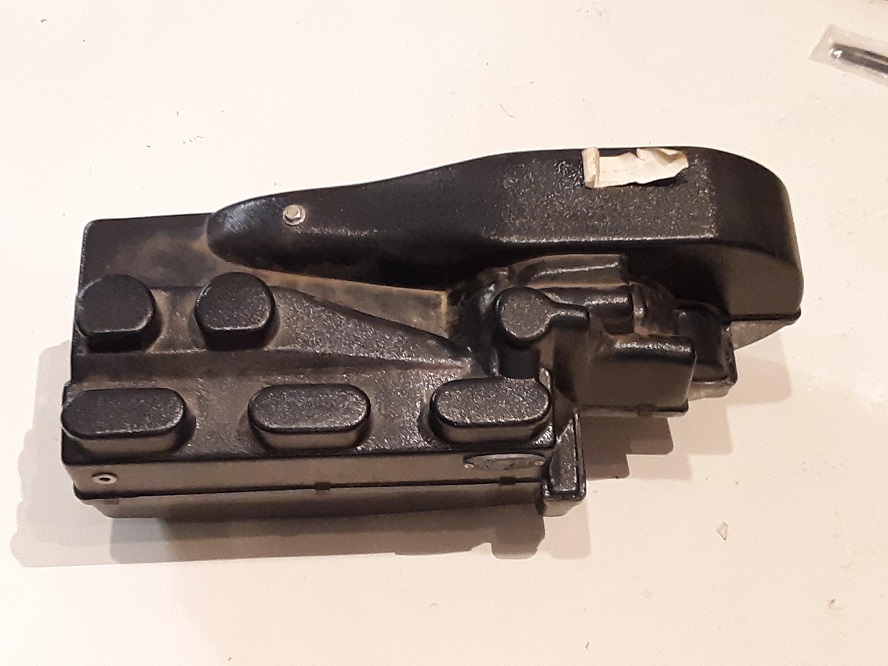
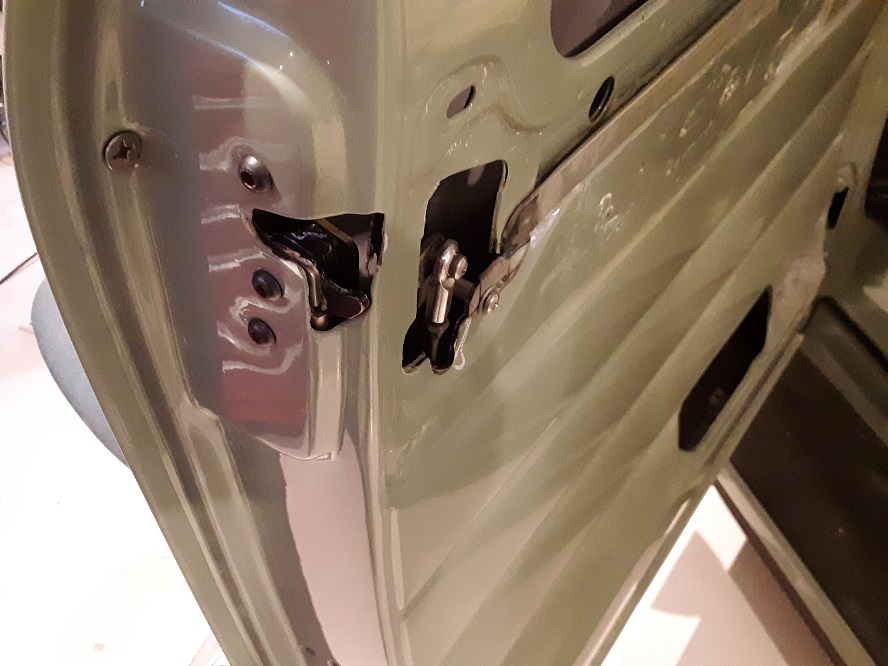
I've been screwing around with my bear claw latches for what seems like forever. I've finally got everything working the way I want it (doors can be locked from the inside while driving, the key will open the passenger door and there's provisions for an electric door lock actuated from a key fob). I'm not as smart as those Altman guys, so my latches rely on rods going down to a bellcrank to connect the door handle to the bearclaw and clear the door glass. Everything worked great, but the outside door handle did not want to return to level after the door was opened. I'd hoped the spring in the bear claw would be sufficient to overcome the friction in the linkage, but it was a little too weak. Here's a picture of the bear claw installed.
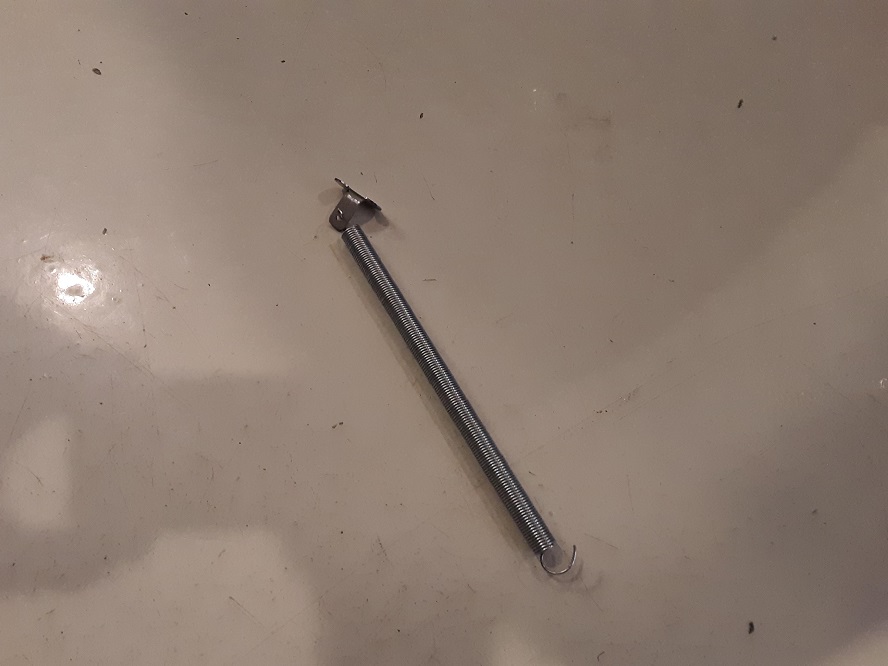
I'd already replaced all the clevis joints with rod ends, bushed the door handle and took all the slop I could out of the bell crank, but no luck, so here's the helper spring that assists the spring in the bear claw now. It is about the same diameter as the ones I remember on screen doors when I was a kid but about half as long. The stainless clip at the end comes up through the weep hole in the bottom of the door to hold the spring, and the top clips into the bell crank.
Everything works now, but instead of a satisfying 'clunk' when the door closes, there's a 'clunk/boing' sound of the spring resonating. I just can't win.
That's about it for now. Expecting my US Radiator order any day. Have a big Spal fan for it already and I'd scheming on what I want to do for a fan shroud. Thinking about something using the bead roller to give the shroud some detail. Once I get the radiator, shroud and fan in, I can think about how I'm going to fit the MAF and air filter.