So yesterday the other TWO BIG BOXES TICKED.
One was the new custom built Propshaft, bolted in after I cleaned the threads on the diff flange.
Simple cheque book job, but pivotal.
Really does make it look more complete under there.
Second job was to complete (bar two small chassis hanger bracket welds I have to go do in a bit) the exhaust build, using the shorter new silencer I bought last week.
@nickwheeler and I have had very few differences of opinion on this build, which is probably why we are both still enjoying it, and each others company
HOWEVER Nick is a more oldskool rodder at heart, and prefers things simple, monochrome, hidden and functional.
Me on the other hand
. Saddle up that unicorn 🦄
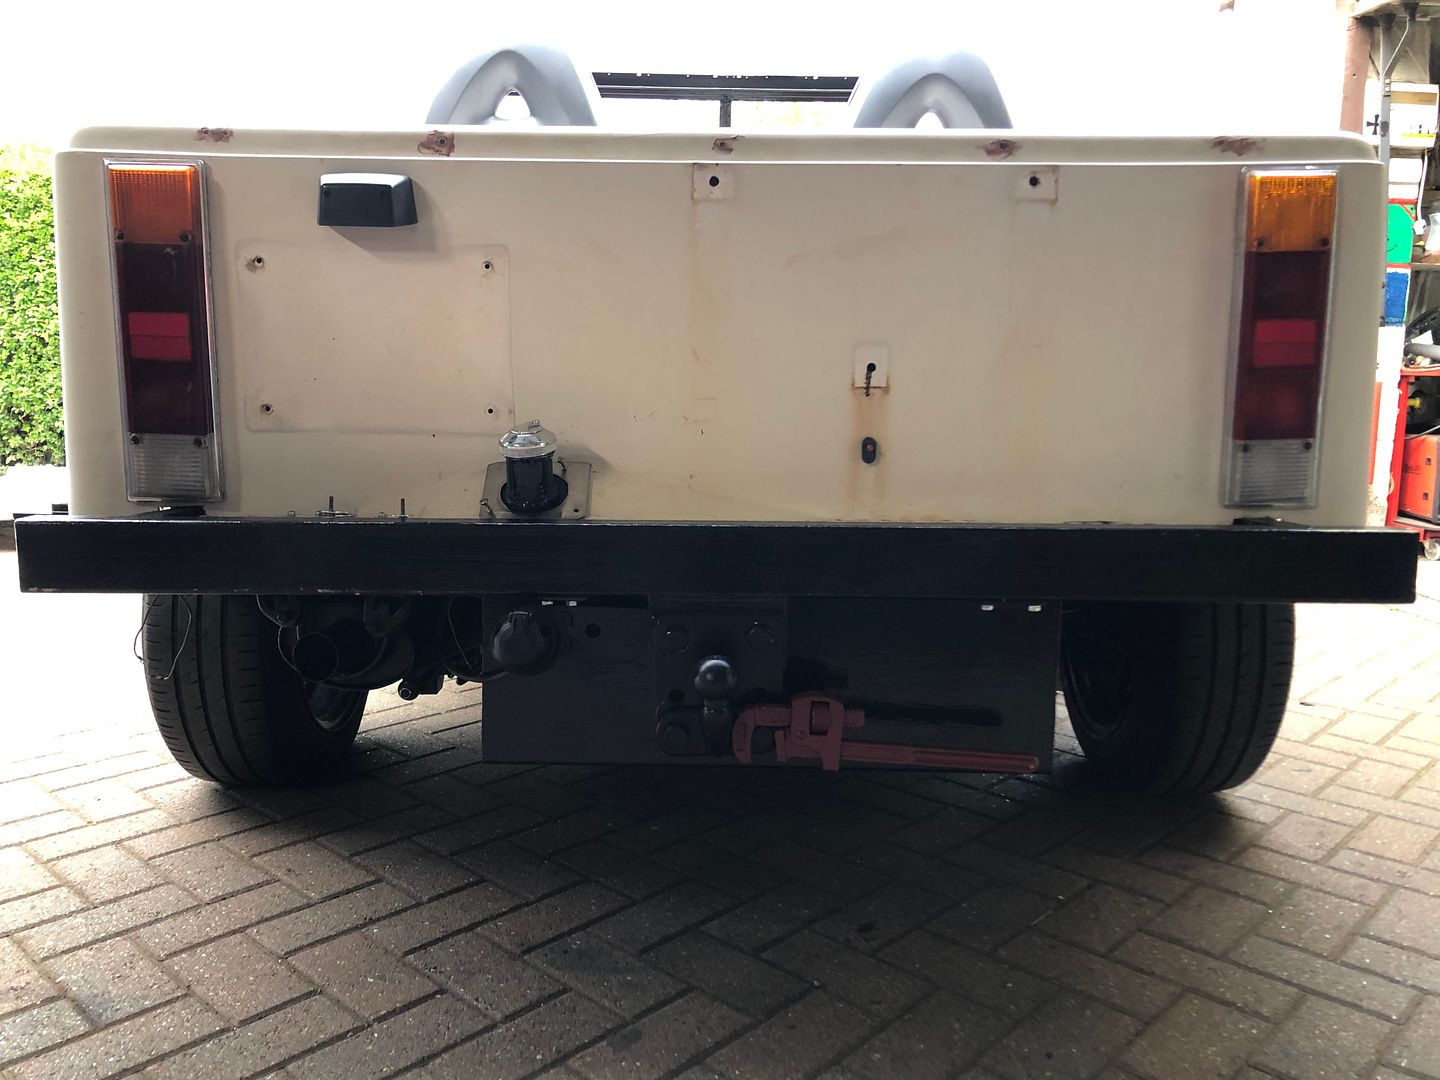
So I like a chrome tipped exhaust system, slightly noisy, and things like the toolbox filler and a spanner hanging from the towball.
Get the picture?
So this is Nicks Nirvana and my chalk on a blackboard look.
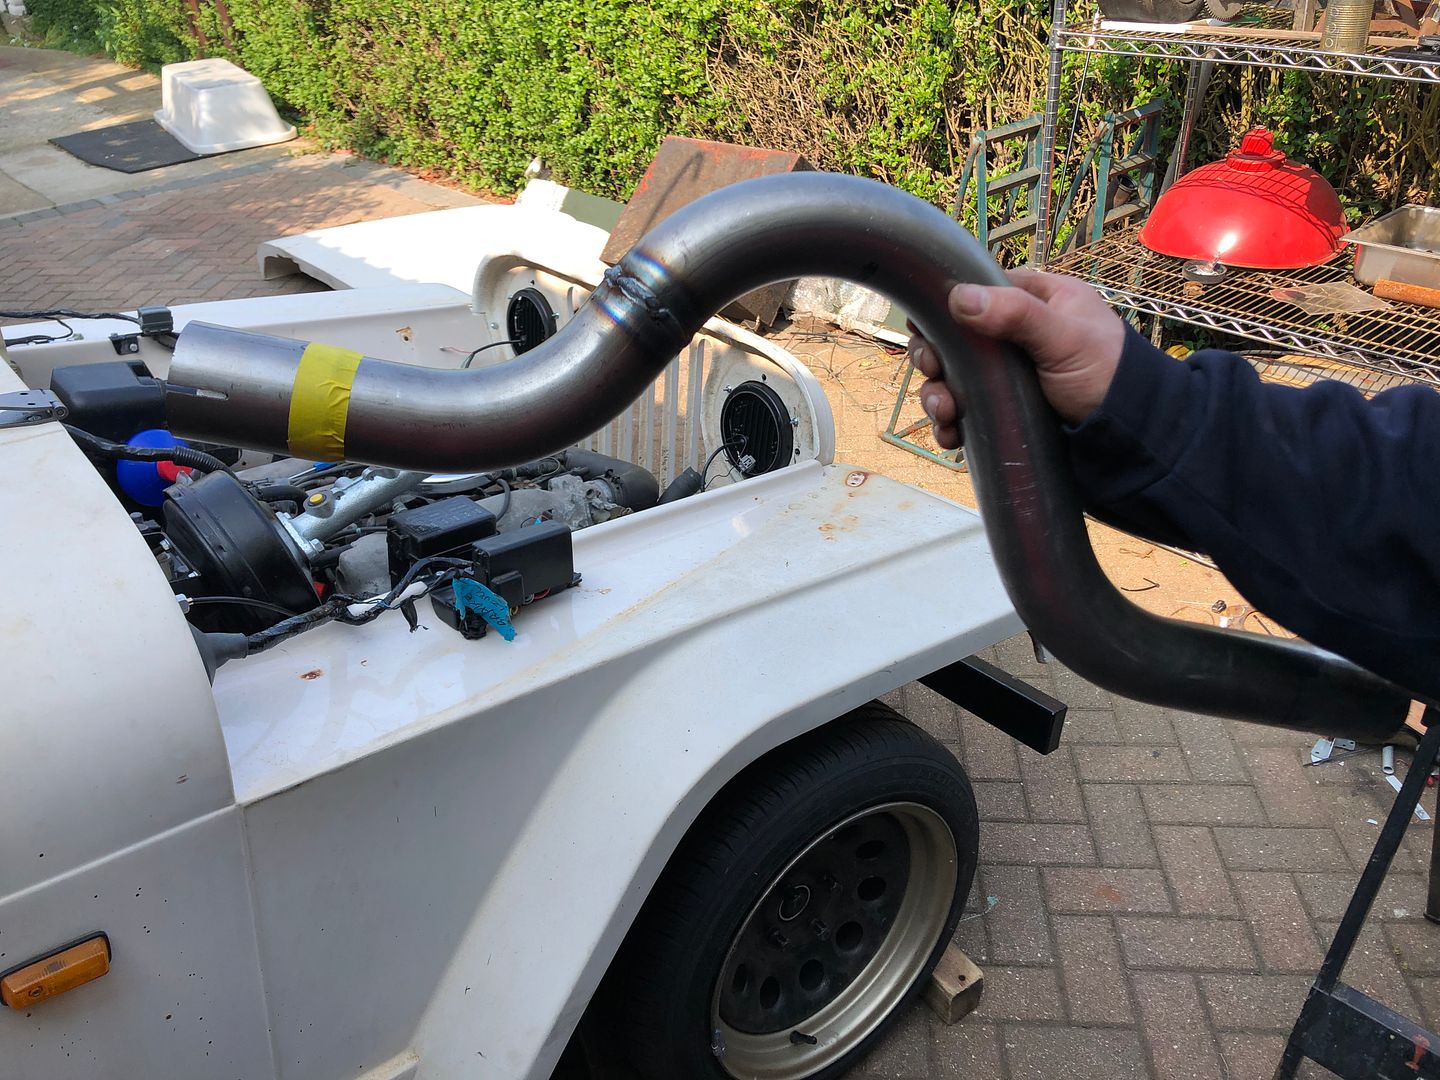
Tucked away, out of sight and only a curved downpipe would suit Nick.
I wanted a chrome tailpiece to end right in line with the rear bumper.
So in order to achieve both our goals
you see, compromise.
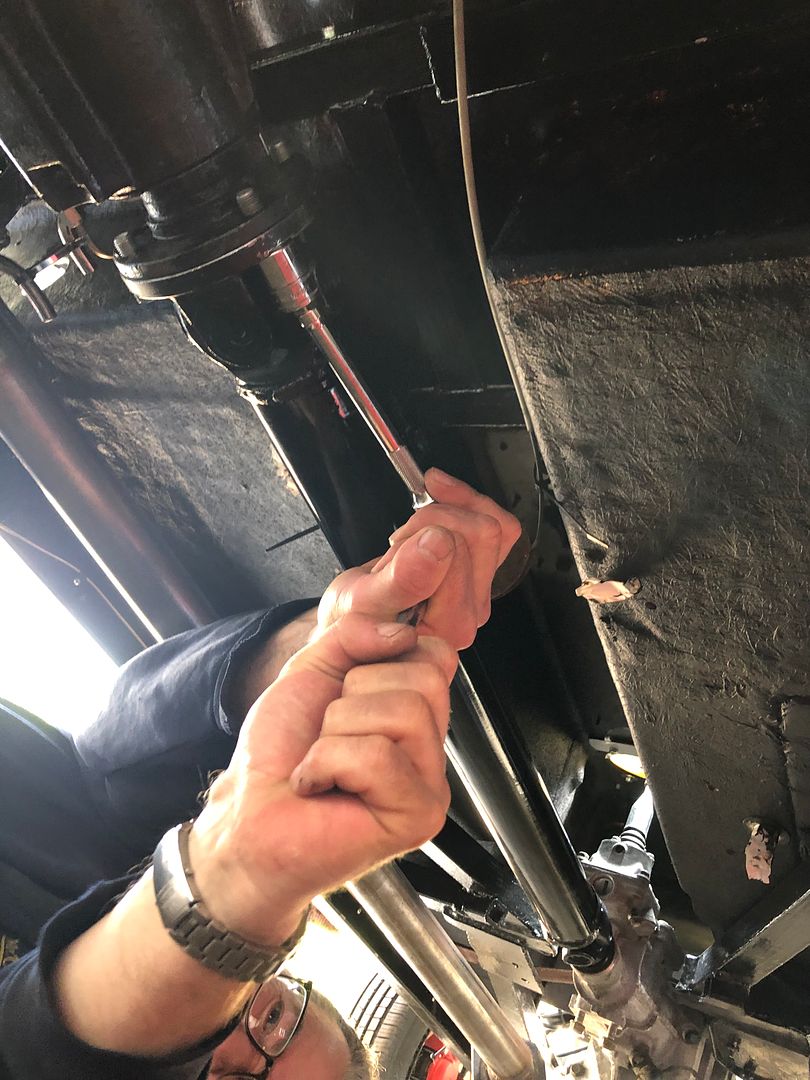
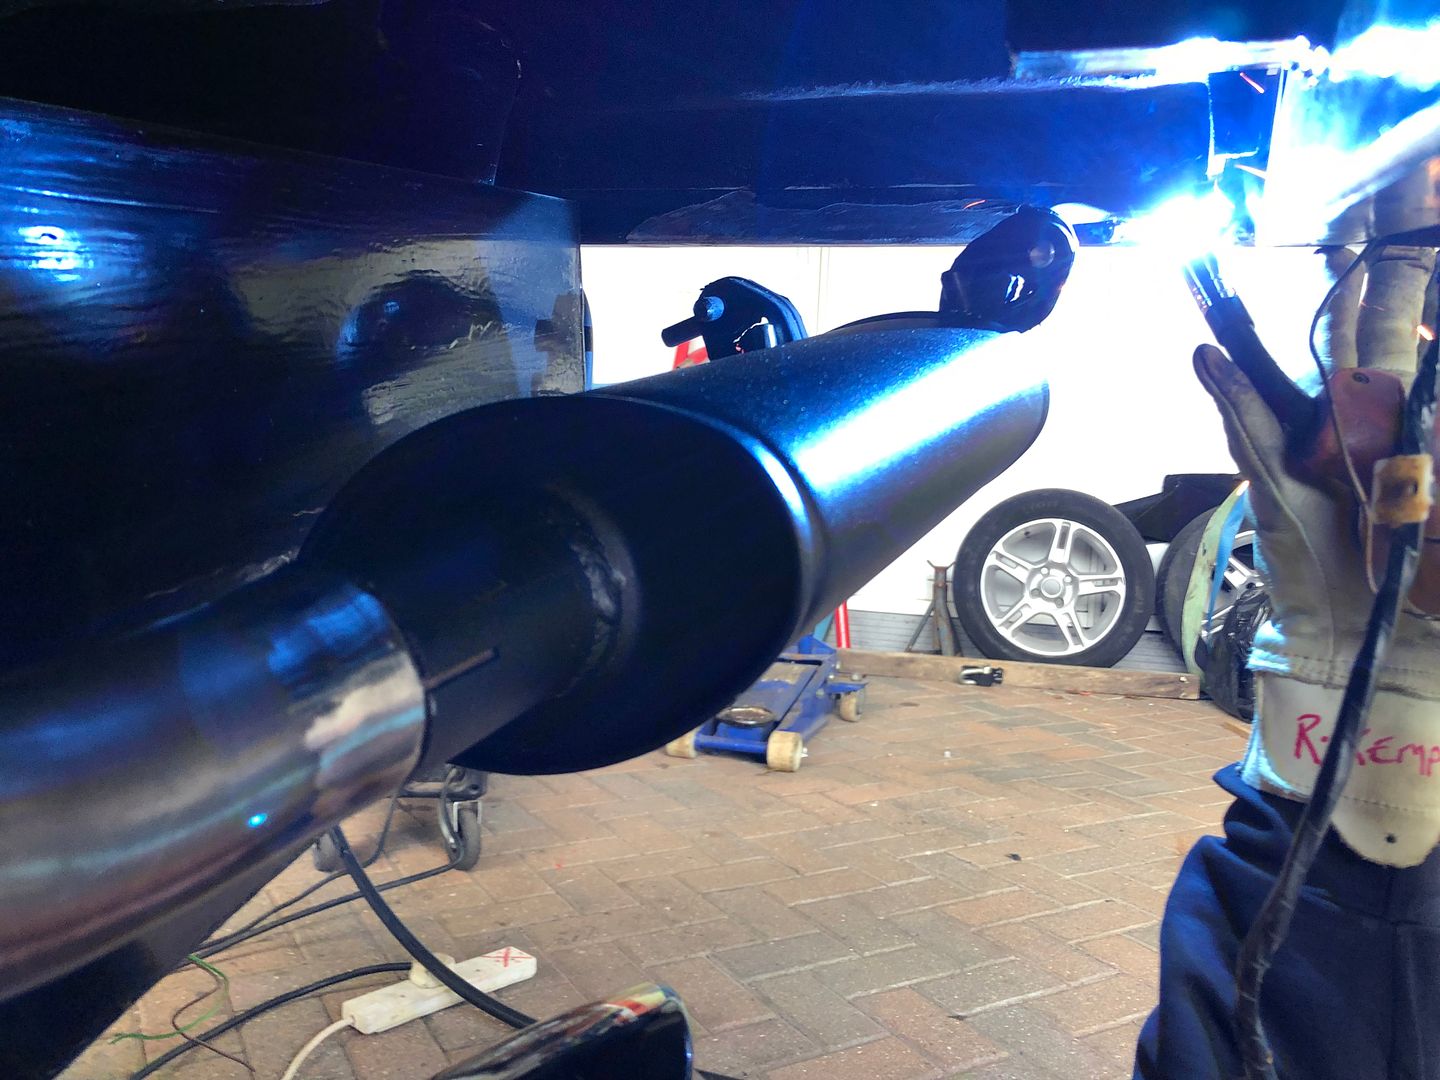
The over axle/shock pipe needed to be raised by 70mm and tucked back toward the axle by 100mm to get the tip in under the bumper.
So measuring, cutting, and welding the exit at a different height and plane needed to be done.
And if you recall my screw up with the kick panel vinyl yesterday, Nick managed to do it as well
..
25mm on the wrong side, only thing is, his mistake was on the safe side, so he could cut another 25mm off to get it to the right point for welding up.
And he got it spot on, after the powerfile was employed, you can hardly see it under there unless it was pointed out.
Bloody brilliant.
Next job was to create a a double ended hanger bracket to secure the silencer to the chassis/rear bumper.
Some 12mm rod, BFH, a pole and the grinder with some welds later
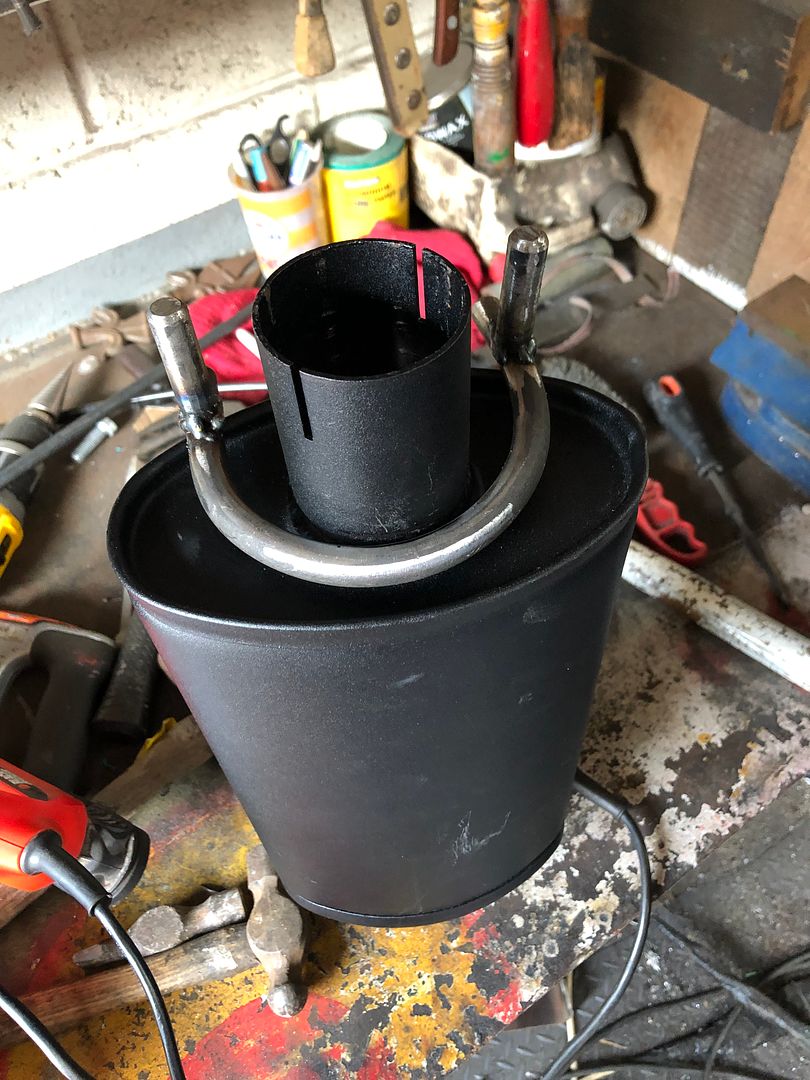
Tacked in place because the welder started to play up, not giving decent penetration.
I will weld it in as soon as I have done this write up, everything takes time.
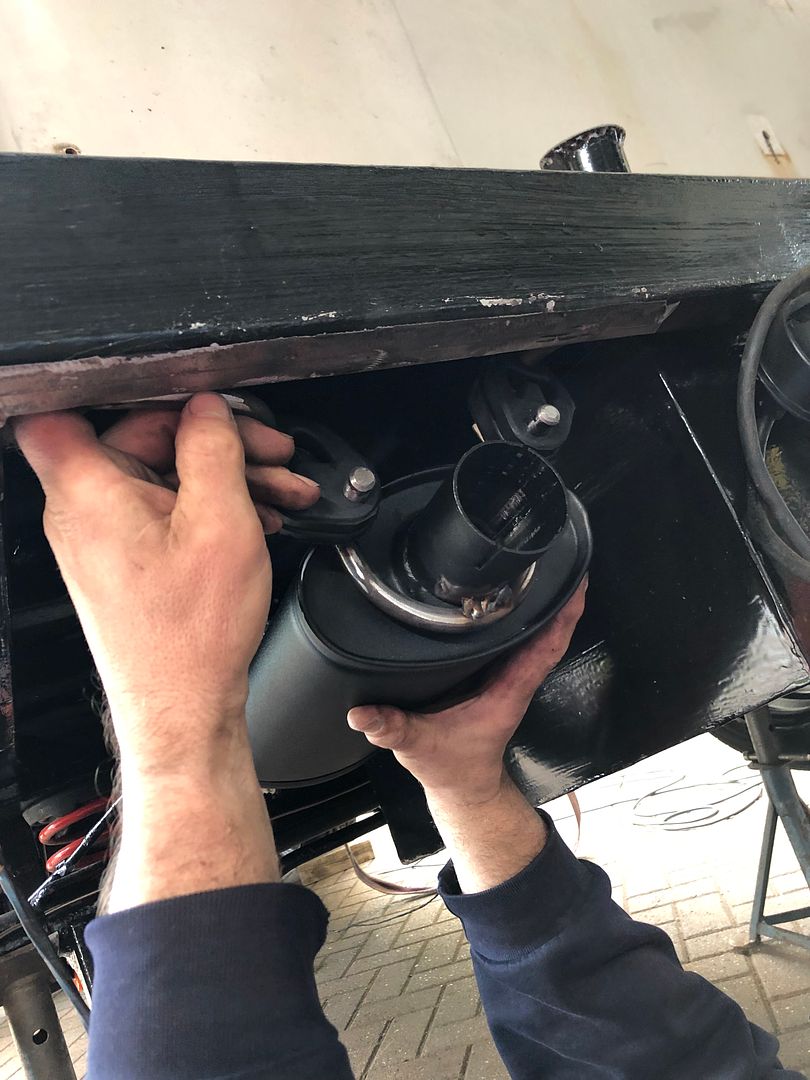
Also in the shortening and raising was actually cutting off 60mm of the bent pipe, where it is flared, then welding a slip in section from a Metro Cat-back pipe that then sleeved into the silencer.
A big win for fitting and reducing overall length.
Hangers test fitted.
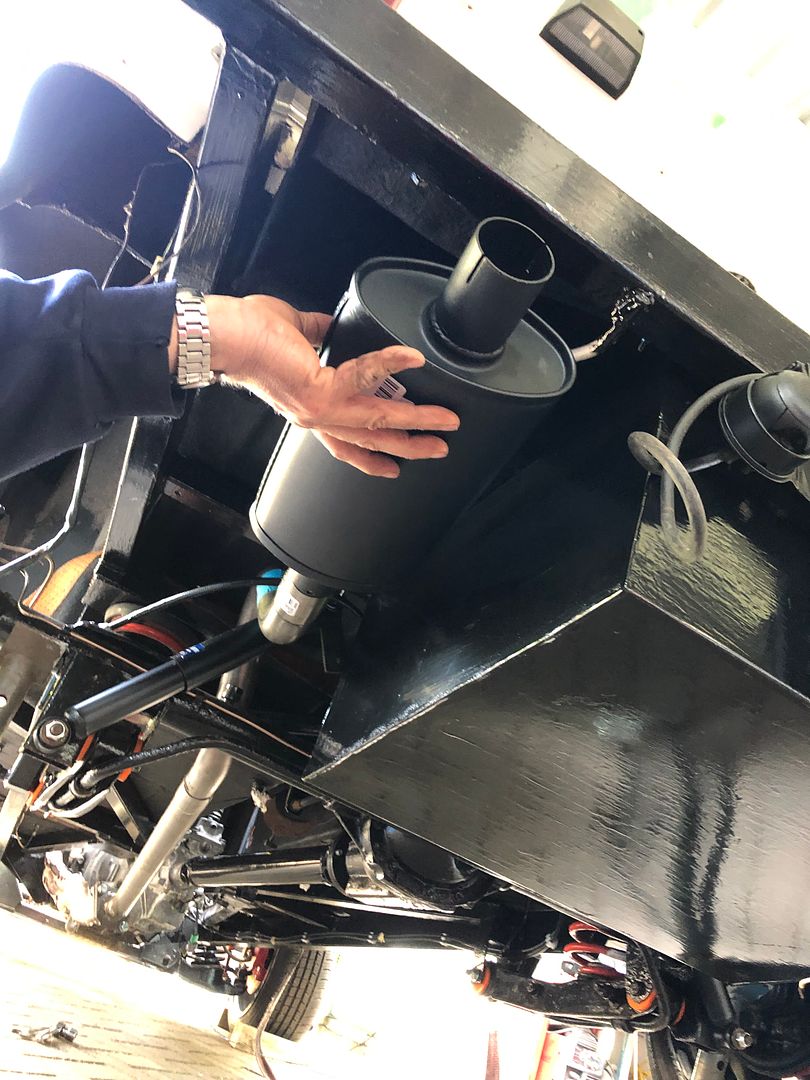
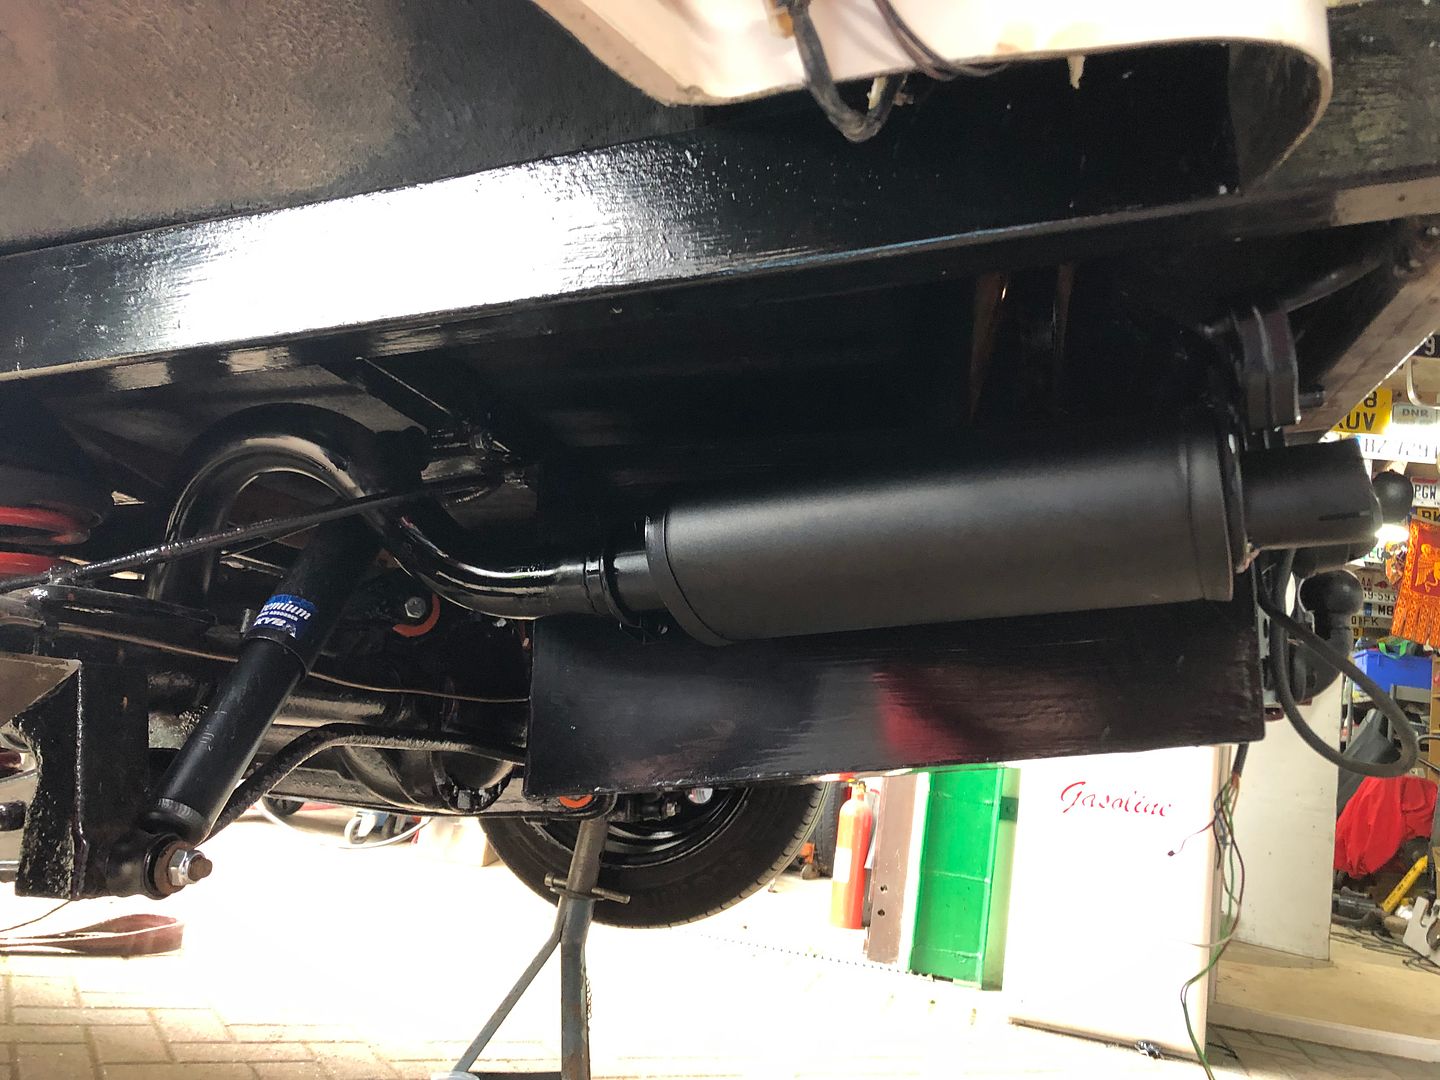
And the side view with the rear wheel removed shows how well this all came out.
Once on the ground with the wheel fitted it was even more stealthy and tidy.
After refitting the wheel, getting it off the axle stands and rolling it out, Nick was very pleased with the stealth look.
I was looking for a chrome 2 tip to add to the rear
you know, a bit of contrast 😉
It may just have to stay like this, however, a BLACK rolled tip would be on my shopping list next to tidy the rear tip slightly.
Nick won this one.
Chuffed to bits.
So tools packed away by 7.00pm and pulled the car back under cover, using the gearbox to stop it.
For the first time since this build started it was not held in place by a block of wood.
John the lodger did the honours.
Right, time to get started out there.
Handbrake, Electrics, tow hitch wiring on the menu today.
Not quite ready to start up.
Oh, and clutch and brakes need more work.