
 |
|
|
|
|
#1 |
|
56 - autocross
Join Date: Apr 2010
Location: Camarillo, Ca
Posts: 1,121
|
Step - fender gaps
Trying to work on the rear fender-step gap on a step-side. What have you guys done? Left it alone, taken 20 hours to make them match, welded the whole thing together, something else?
I have one fender that is not bad but the other one is a real mess. The good one is reflected in the pictures attached. I am tempted to weld them together as it would be easier to fit together. Thoughts? |
|
|

|
|
|
#2 |
|
56 - autocross
Join Date: Apr 2010
Location: Camarillo, Ca
Posts: 1,121
|
Re: Step - fender gaps
Pictures of what it should be?
|
|
|

|
|
|
#3 |
|
Registered User
Join Date: Aug 2011
Location: Tucson, AZ
Posts: 917
|
Re: Step - fender gaps
There are so many other miserable gaps on these trucks, I never gave that gap a thought, other than being flat and bolting together good. Being horizontal and very low, I think the eye won't see much imperfection or perfection. I did use a thin bead of seam sealer when I bolted mine together, but mainly for noise prevention, not looks.
Last edited by Speedbumpauto; 06-10-2016 at 10:36 AM. |
|
|

|
|
|
#4 | |
|
Registered User
Join Date: Feb 2016
Location: Hebron
Posts: 1,153
|
Re: Step - fender gaps
Quote:
__________________
 RUBBER DOWN AND HIT THE ROAD!!! RUBBER DOWN AND HIT THE ROAD!!!1940 Ford Dlx Coupe 1969 Mach1 |
|
|
|

|
|
|
#5 |
|
Registered User
Join Date: Jan 2012
Location: Motown
Posts: 7,680
|
Re: Step - fender gaps
i used fender welting
imo it looks good, fills any gap and protects from paint chips we assembled the complete bed before install 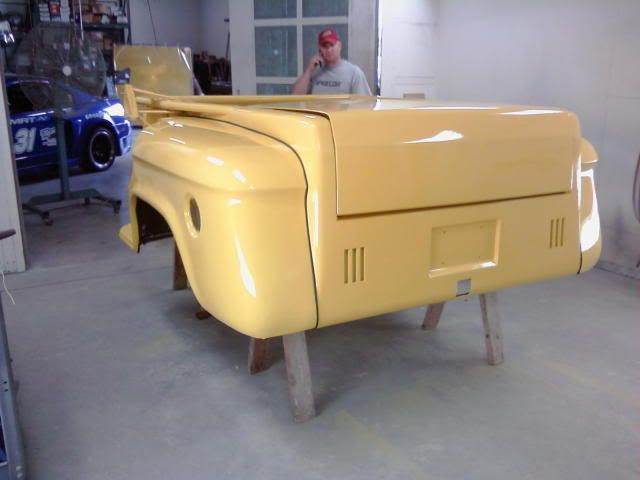 bad angle but it wraps the fender into the step 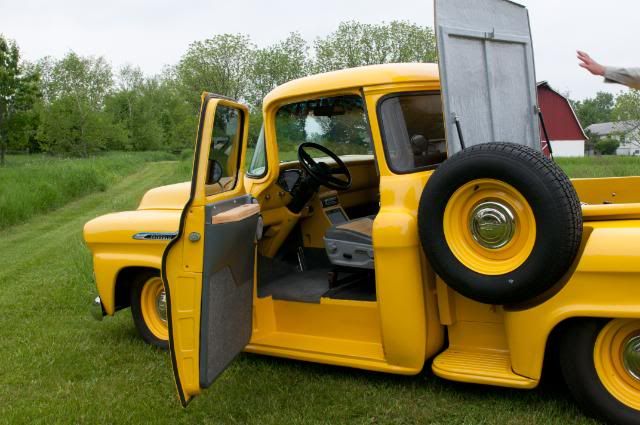 i used double sided tape to stick it to the fender 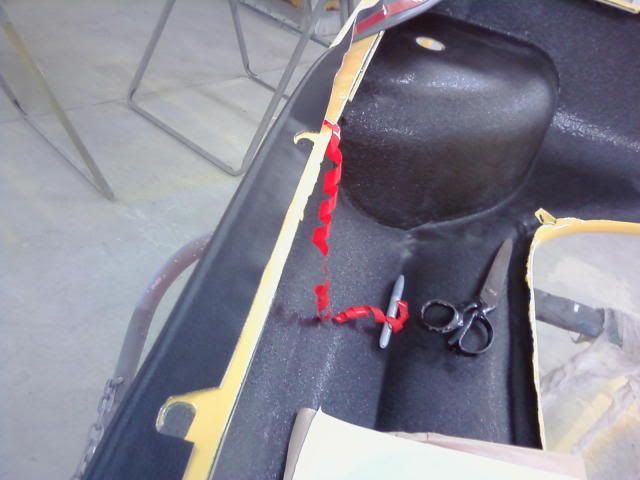
__________________
cool, an ogre smiley  Ogre's 58 Truk build Ogre's 58 Truk buildhow to put your truck year and build thread into your signature shop air compressor timer |
|
|

|
|
|
#6 |
|
Registered User
Join Date: Aug 2011
Location: phoenix az
Posts: 723
|
Re: Step - fender gaps
offhand, I think your truck was in some sort of accident. The step looks out of proportion on the mating surface.
COUPLE YEARS AGO, SOME IDIOT IN A BEAMER RAN INTO MY STEP AND FENDER. I REPLACED THE STEP WITH AN ORIGINAL FROM SOME GUY I MET AT THE BODY SHOP, AND IT FIT LIKE A GLOVE. I JUST HAD TO GO OUT TO HIS PLACE, AND LAY IN AN ANT BED AFTER SPRAYING THEM WITH RAID, AND TAKE IT OFF. when I GOT IT HOME AND BLASTED, IT WAS PERFECT. aLL I HAD TO DO WAS POUND OUT THE FENDER, AND RUN A SKIM COAT OF BONDO OVER THE HAMMER MARKS. HERE IS WHAT IT LOOKED LIKE FIXED. oops, hit the caps lock button, oh well.... 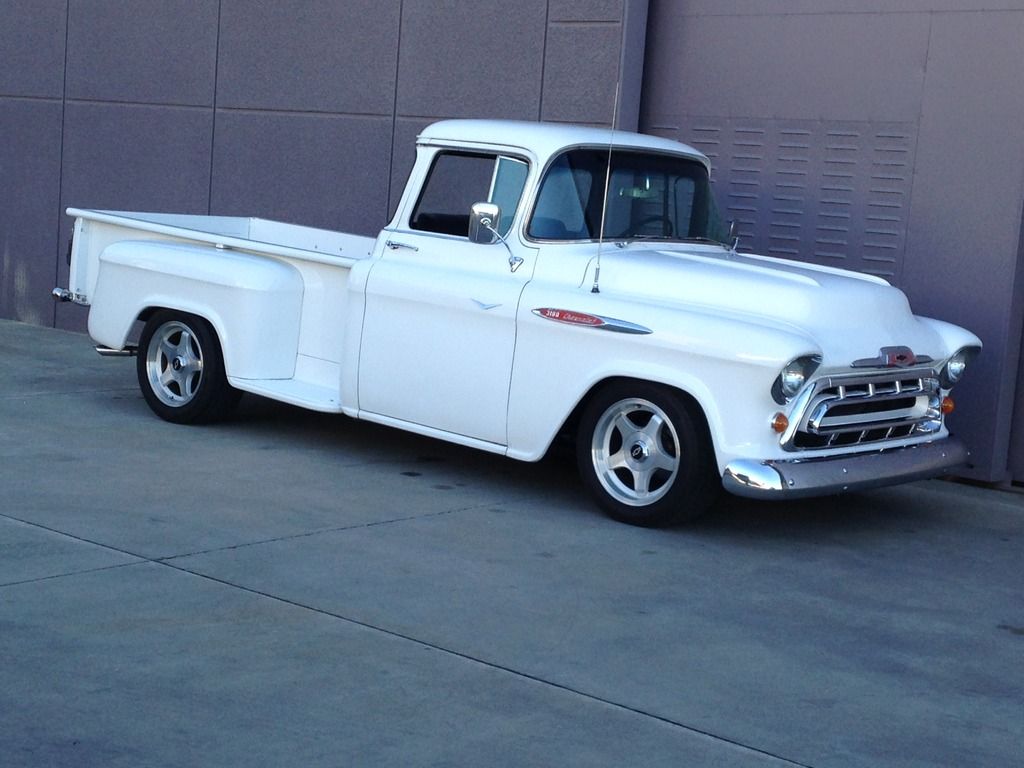 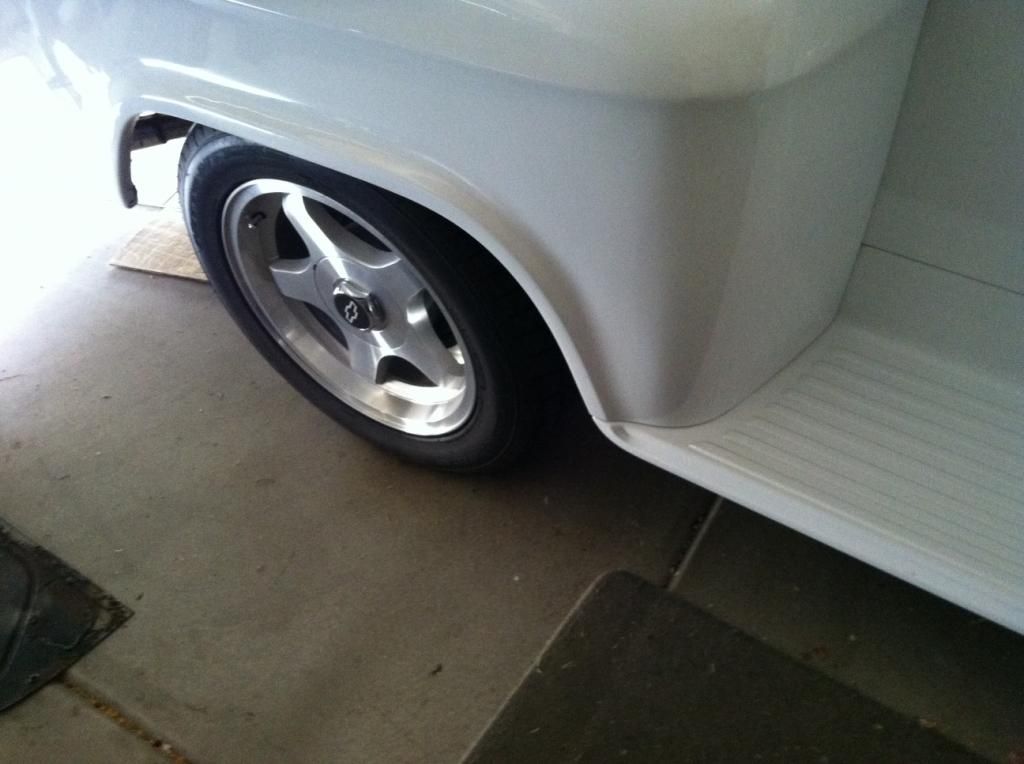
__________________
http://http://67-72chevytrucks.com/v...d.php?t=489721 Last edited by Coupeguy2001; 06-12-2016 at 12:56 AM. |
|
|

|
|
|
#7 |
|
Senior Member
  Join Date: Nov 2008
Location: Glendora, CA
Posts: 6,344
|
Re: Step - fender gaps
Seam sealer, huh? I never thought of that. I HAVE wondered how I will protect areas like that from future rust once my body goes back together after paint. I had considered some kind of gasket that will resist water like inner tube rubber.
You guys are saying put a small bead of seam seller between the parts and THEN bolt the parts together so it'll prevent future rubbing/paint loss/rust site? As for welt, the trucks never came from the factory with welt so I tend to resist it for that reason AND because I worry it will be a trap for moisture. Ogre, what's your experience with that? I've never looked at welt up close, isn't it made from upholstery vinyl? I don't intend to ever drench my truck to wash it but that could change I guess.
__________________
'55 Big Window Shortbed, Drive-It-&-Work-On-It slid down the "slippery slope" to a Frame-Off Rodstoration! LQ4/4l85e/C4 IFS/Mustang 8.8 rearend w/3.73's Dan's '55 Big Window "Build" - Well, Kinda! |
|
|

|
|
|
#8 |
|
Senior Member
  Join Date: Nov 2008
Location: Glendora, CA
Posts: 6,344
|
Re: Step - fender gaps
PS to CG2001: Man, your truck is so pretty. It's a great example of how nice long bed trucks are when someone puts the effort most of us put into shortbeds. Is it pearl white? Kinda looks like it in the photos. I've kept a few photos of longbeds done nicely and yours is in the collection with these:
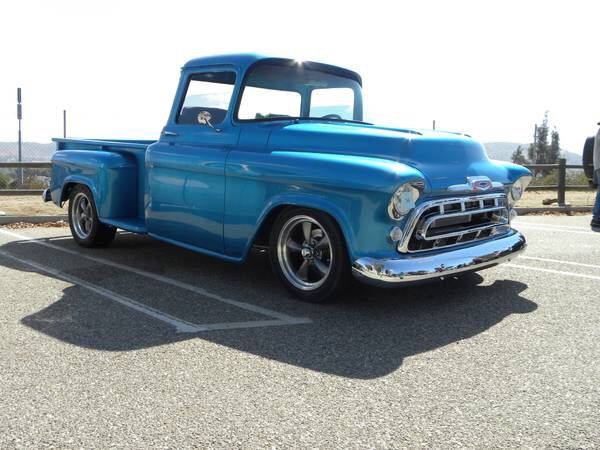 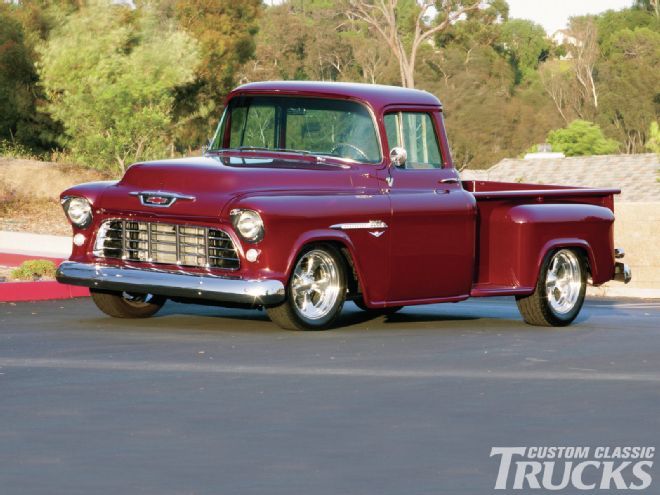
__________________
'55 Big Window Shortbed, Drive-It-&-Work-On-It slid down the "slippery slope" to a Frame-Off Rodstoration! LQ4/4l85e/C4 IFS/Mustang 8.8 rearend w/3.73's Dan's '55 Big Window "Build" - Well, Kinda! Last edited by Dan in Pasadena; 06-12-2016 at 12:33 PM. |
|
|

|
|
|
#9 |
|
Registered User
Join Date: Aug 2011
Location: Tucson, AZ
Posts: 917
|
Re: Step - fender gaps
I really don't like the look of welt, especially on a hot rod build like mine. I used Eastwood seam sealer on every part that bolted on. I used a putty knife and tried to make a 1/16" or so layer the width of the seam and I let it set up before
installing the part. You have to work pretty fast as that stuff sets up quickly and is not as easy to spread as silicone adhesive which I also considered using. I took the lower grill valance off to facilitate a cam change and the sealer didn't come off and didn't pull the paint off the mating parts so I guess it was a success. |
|
|

|
|
|
#10 | |
|
Senior Member
  Join Date: Nov 2008
Location: Glendora, CA
Posts: 6,344
|
Re: Step - fender gaps
Quote:
__________________
'55 Big Window Shortbed, Drive-It-&-Work-On-It slid down the "slippery slope" to a Frame-Off Rodstoration! LQ4/4l85e/C4 IFS/Mustang 8.8 rearend w/3.73's Dan's '55 Big Window "Build" - Well, Kinda! |
|
|
|

|
|
|
#11 |
|
Registered User
Join Date: Aug 2011
Location: Tucson, AZ
Posts: 917
|
Re: Step - fender gaps
That decision was just another chapter in the agony saga. I kept thinking, like you, adhesive silicone, left to set up before install would be the hot ticket but the people I talked to at Eastwood and other places thought the seam sealer would be the best choice. It does set up firmer and it doesn't squish out when the bolts are tightened, but true to my nature, I still wonder about the choices.
|
|
|

|
|
|
#12 |
|
Registered User
Join Date: Aug 2011
Location: phoenix az
Posts: 723
|
Re: Step - fender gaps
Thanks Dan,
It is aircraft paint, single stage, polyurethane, toxic as hell, $70 a quart, matterhorn white. No pearl, it sets up in about 6 hours, ok to touch in 18 hours. need reducer, and they sell retarder and accelerator for it. If you add accelerator, it is only slightly less glossy when dry. You can make it so hot that it is flyable in 2 hours. Only responds to Flitz when buffing. It is so hard, you can't polish it out very fast even with a high speed buffer. BTW, it was painted in 1977, and the bed repainted 8 years ago it has little chips in the hood and the front of the fenders. I try to keep them covered with Krylon gloss white to keep the rock chips from starting any rust.
__________________
http://http://67-72chevytrucks.com/v...d.php?t=489721 Last edited by Coupeguy2001; 06-17-2016 at 12:40 AM. |
|
|

|
 |
| Bookmarks |
| Thread Tools | |
| Display Modes | |
|
|