
 |
Register or Log In To remove these advertisements. |
|
|
|
|||||||
 |
|
|
Thread Tools | Display Modes |
|
|
|
|
#1 |
|
Torn between 66 and 78
Join Date: May 2008
Location: So. Cal.
Posts: 253
|
My "Pop's 66" Build......
This used to be my fathers truck. 16 years ago I helped him rebuild a 350 for this truck. After that it sat in the back yard for quite a while. Now that I am 30, it is my turn to tackle this truck and hopefully do to it what my father always wanted to do and make him proud (and a little jealous
 ) )first order of business is to take the 2 inch lift out and drop it 4 in the back and 3 in the front.  The state of the art lifting components!! 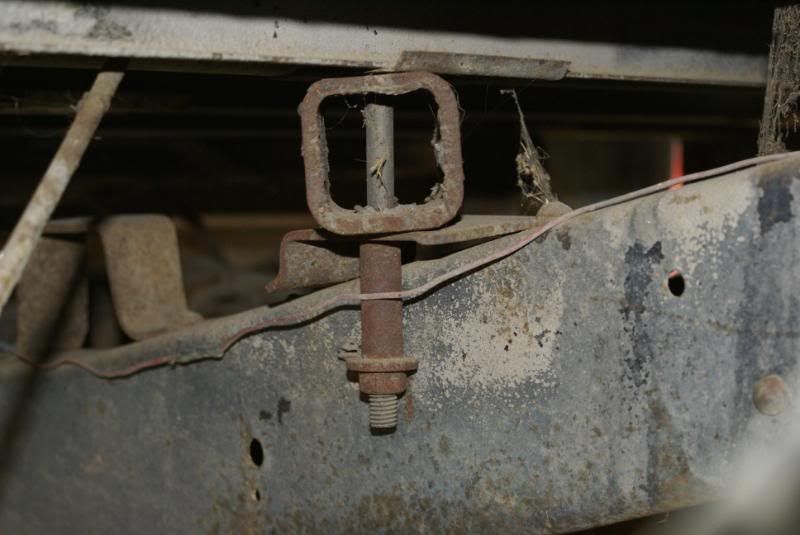 no wonder it rode so rough, half the bed bolts weren't in!! 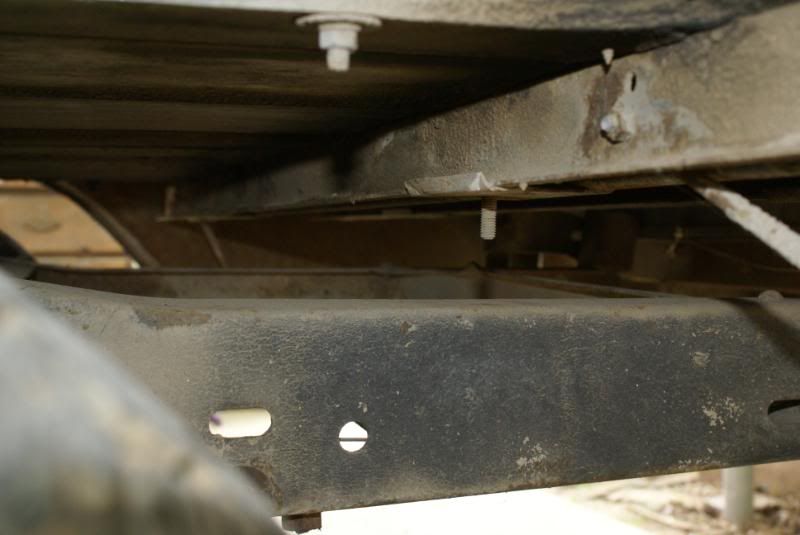 The drop coils and shocks are in. Will clean up the rest when I get it on a lift.  
Last edited by CSoliz; 01-03-2010 at 12:05 AM. |
|
|

|
|
|
#2 |
|
Torn between 66 and 78
Join Date: May 2008
Location: So. Cal.
Posts: 253
|
Re: My "Pop's 66" Build......
Next thing I did was cut off that back bumper, I don't know why these trucks have them. They are awful!! The PO had welded the bumper bracket to the frame to compensate for the lift.
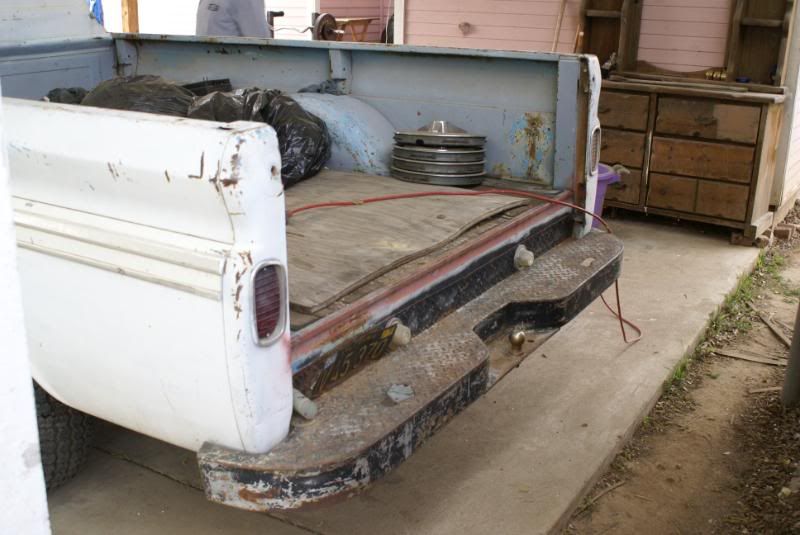 the welded bracket  now all i need to get the bracket and bumper!! 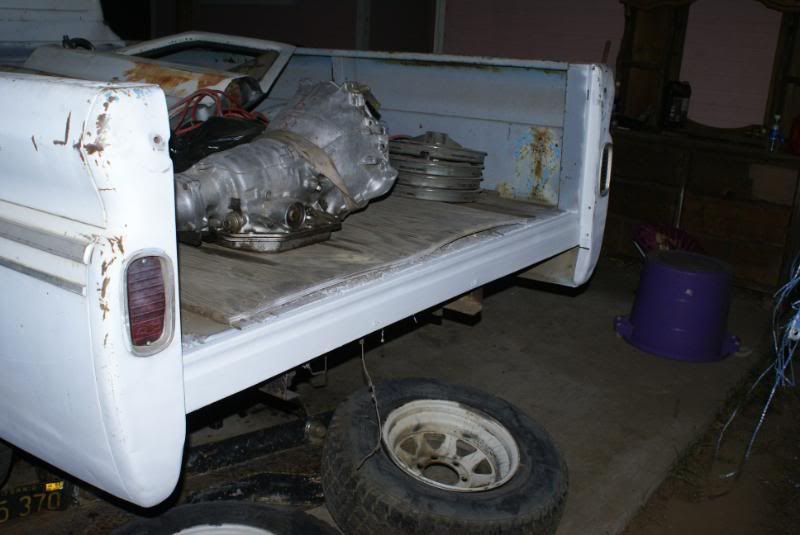
Last edited by CSoliz; 05-22-2008 at 06:51 AM. |
|
|

|
|
|
#3 |
|
Torn between 66 and 78
Join Date: May 2008
Location: So. Cal.
Posts: 253
|
Re: My "Pop's 66" Build......
And for the record, that is my cousins pink house.

|
|
|

|
|
|
#4 |
|
Registered User
Join Date: Dec 2007
Location: Palmer, Alaska
Posts: 13,821
|
Re: My "Pop's 66" Build......
sweet!! what kind of coils are those?
__________________
 CHEVY ONLY CHEVY ONLY
|
|
|

|
|
|
#5 |
|
Registered User
Join Date: Jan 2008
Location: Bakersfield CA
Posts: 265
|
Re: My "Pop's 66" Build......
|
|
|

|
|
|
#6 |
|
Torn between 66 and 78
Join Date: May 2008
Location: So. Cal.
Posts: 253
|
Re: My "Pop's 66" Build......
|
|
|

|
|
|
#7 |
|
Torn between 66 and 78
Join Date: May 2008
Location: So. Cal.
Posts: 253
|
Re: My "Pop's 66" Build......
Got them from Brothers, never looked for a brand name. It was the stage II lowering kit.
|
|
|

|
|
|
#8 |
|
Registered User
Join Date: Dec 2007
Location: Palmer, Alaska
Posts: 13,821
|
Re: My "Pop's 66" Build......
cool, thanks
__________________
 CHEVY ONLY CHEVY ONLY
|
|
|

|
|
|
#9 |
|
Torn between 66 and 78
Join Date: May 2008
Location: So. Cal.
Posts: 253
|
Re: My "Pop's 66" Build......
I have been working on the front end for a couple of weeks now. I ran in to quite a bit of problems. The upper ball joint stud did not want to let go so I had to send it out to get pressed. Upon its return, the wheel cylinder plate had broke so I need to replace that.
 Now I am waiting for the wheel cylinder and the lower control arm for the passenger side. That needs to get a ball joint pressed in to it, I had no problems getting the drivers side in. |
|
|

|
|
|
#10 |
|
Torn between 66 and 78
Join Date: May 2008
Location: So. Cal.
Posts: 253
|
Re: My "Pop's 66" Build......
Well, this is one of my doors.
 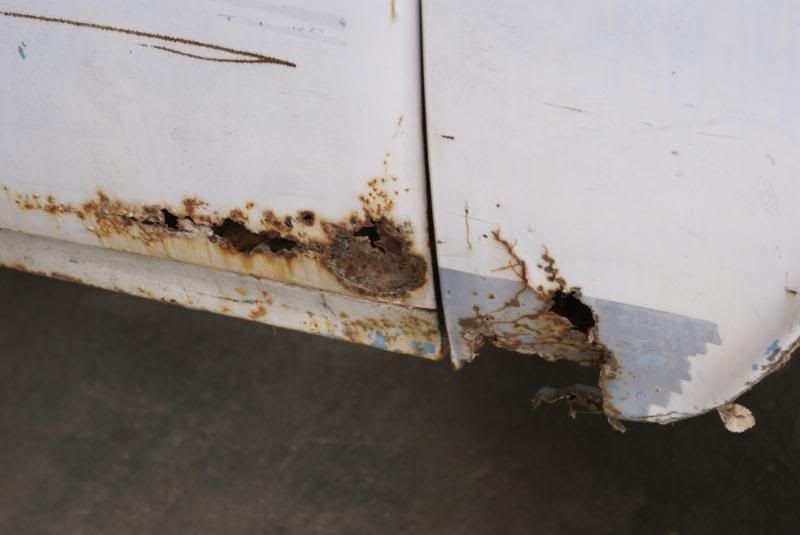  I got 2 doors from a gentleman of craigslist for free so it was replaced. The new door just needs a few little things done and it is good to go. |
|
|

|
|
|
#11 |
|
Cantankerous Geezer
Join Date: Aug 2002
Location: Bel Aire, KS
Posts: 6,264
|
Re: My "Pop's 66" Build......
Good luck with that beast. You have a lot of work in your future.
Those step bumpers were real common. If you had a topper on the bed you could crawl inside without opening the tailgate. Also you could use it for a trailer hitch.
__________________
Fred There is no such thing as too much cam...just not enough engine. 
|
|
|

|
|
|
#12 |
|
Torn between 66 and 78
Join Date: May 2008
Location: So. Cal.
Posts: 253
|
Re: My "Pop's 66" Build......
Well. I picked up a '63 shortbed a couple of weeks ago. It came with an extra chrome grill. so that will be going on the '66. Here is the parts truck.
Last edited by CSoliz; 01-11-2009 at 01:36 AM. Reason: Pics no longer on photobucket. |
|
|

|
|
|
#13 |
|
Torn between 66 and 78
Join Date: May 2008
Location: So. Cal.
Posts: 253
|
Re: My "Pop's 66" Build......
So I took the hood off of the '63 and swapped it with the '66:
Old '66:  New to the '66: 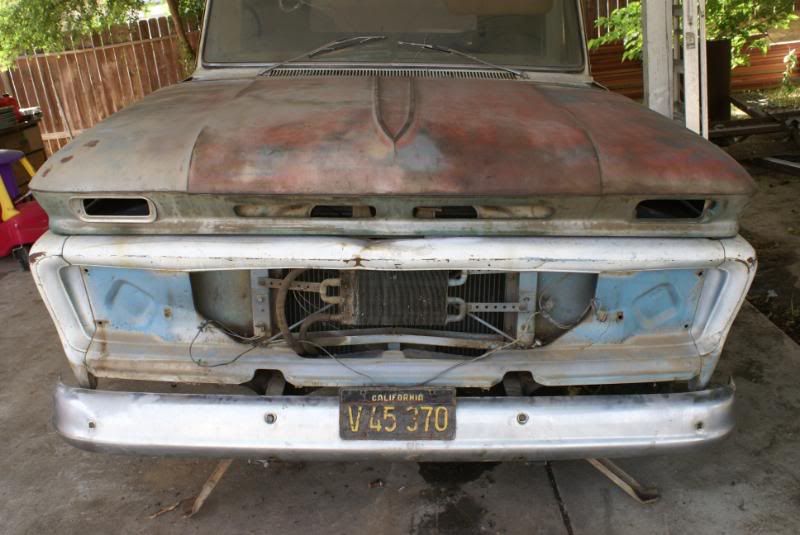 I will be taking the grill support off the '63 next and putting a '64 to '66 back on to the '63. I really don't like calling the '63 a parts truck. If the '66 was not my fathers, I would have sold it and would be keeping the '63 for sure. It has a running 283 and a 4 on the floor. So if any of you see it for sell on Craigslist please don't think of it as a parts truck. It needs some work, but is a very good start to a project. But I am a week or 2 away from that........ |
|
|

|
|
|
#14 |
|
Torn between 66 and 78
Join Date: May 2008
Location: So. Cal.
Posts: 253
|
Re: My "Pop's 66" Build......
If you notice the bumper looking a little funny in the above post it is because the 2 inch lift is still under the cab, still need to pull it. The PO to my father had mounted the bumper by the bottom holes to the top of the frame mounts to compensate for the body lift. Doing so it left the bottom of the bumper mounts showing, so this is what they thought was best:
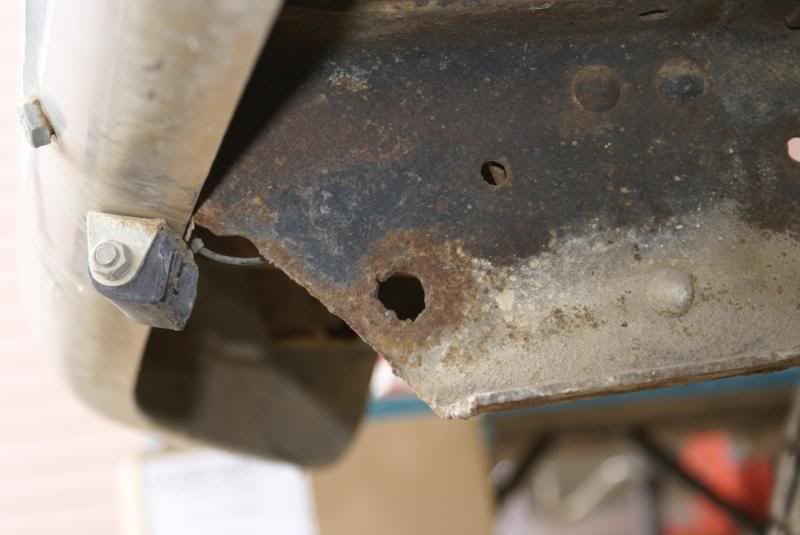 So I will have to make some sort of flat bar I can bend up and mount to the frame and bottom of the bumper. 
|
|
|

|
|
|
#15 |
|
Tot Roddin'
Join Date: Apr 2005
Location: Mid-MO
Posts: 24,461
|
Re: My "Pop's 66" Build......
Great looking project!
__________________
-Nate  1969 CST SWB - Project Blank Slate (4.5/6" ECE Static Drop, 6-lug disc brake upgrade (manual), Billet Specialties Vintec 20x8.5 255/40 (F) 20x10 295/40 (R), 250 I-6) 1960 AMF Skylark - Tot Roddin' (Lowered with custom frame; soon to include custom push bar and interior) 2008 Silverado CrewCab 1LT (5.3L, 3:73, 4x4, LT1, Z-71, Towing Package) |
|
|

|
|
|
#16 |
|
Registered User
Join Date: Aug 2006
Location: Spring,TX
Posts: 342
|
Re: My "Pop's 66" Build......
lookin good, gota love these truck so many great memories..
td |
|
|

|
|
|
#17 |
|
Torn between 66 and 78
Join Date: May 2008
Location: So. Cal.
Posts: 253
|
Re: My "Pop's 66" Build......
Yeah, I broke that windshield with a soccer ball when I was 11.

|
|
|

|
|
|
#18 |
|
Torn between 66 and 78
Join Date: May 2008
Location: So. Cal.
Posts: 253
|
Re: My "Pop's 66" Build......
Well, it has been quite a while since I have posted in this thread. Mostly due to the fact that I have not done too much. Life!!! But today I started back up on it. I decided I wanted to tackle the engine bay. I have quite a bit of wires all over the place. I dislike wires and wire looms!!
 So I am going to take the next few trips over to my truck (it is my cousins house) to clean this up and rewire the headlights, alternator and horn. Some before pics: 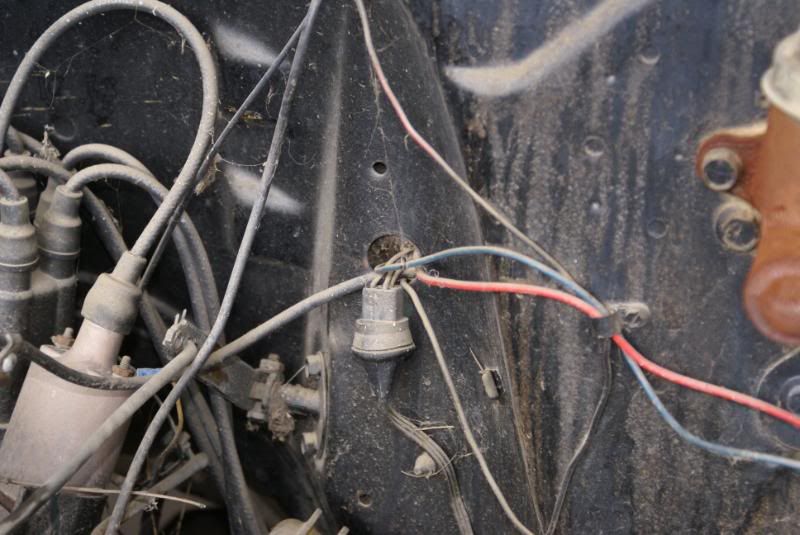 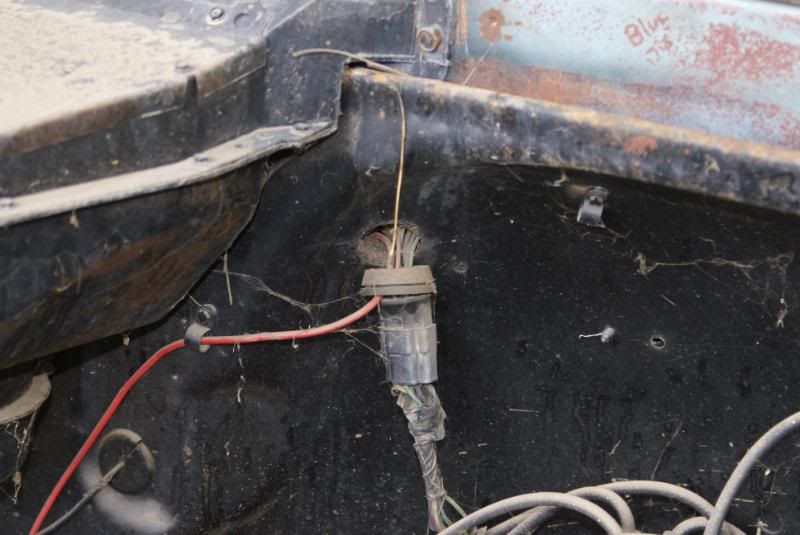  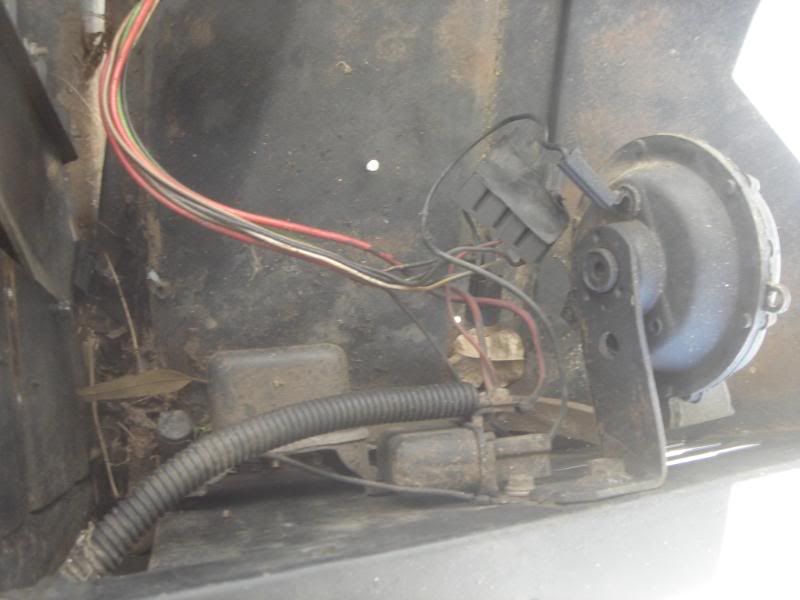 And some after: 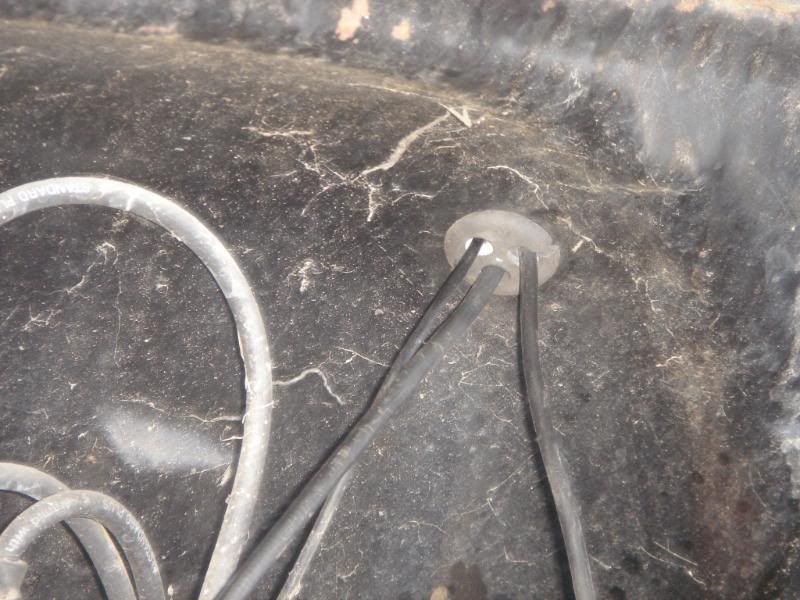 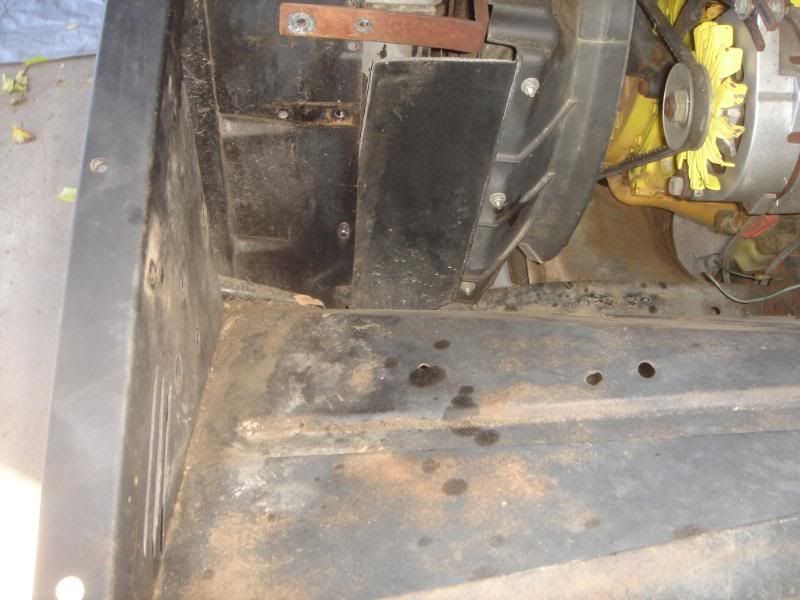  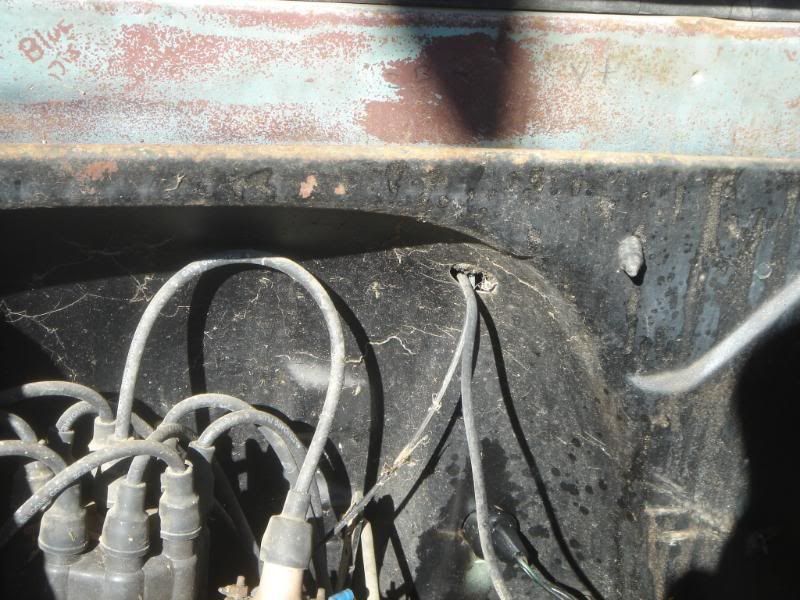 I am going to work on that engine wire harness and clean it up a little. A little to messy lookin'. Last edited by CSoliz; 01-11-2009 at 01:05 AM. |
|
|

|
|
|
#19 |
|
Torn between 66 and 78
Join Date: May 2008
Location: So. Cal.
Posts: 253
|
Re: My "Pop's 66" Build......
I used this grommet for my oil pressure line, water temperature line and my choke cable, i don't know if it was the right one but it worked
 : : I ended pulling all this out, I will probably be using the loom to cover a wire I am going to run from the alternator, underneath the engine through the middle of the crossmember, to the battery: 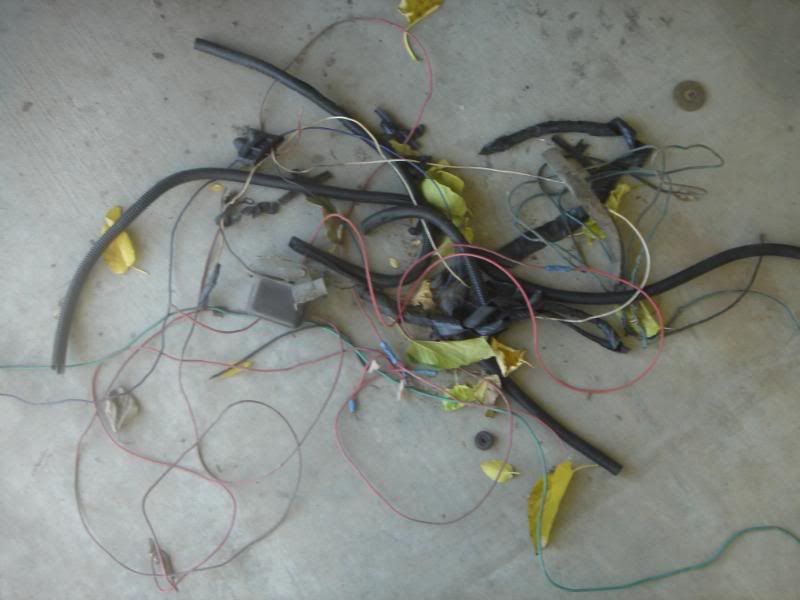 I still need to wire up the headlight and running light harness. I am going to steal Chief Rocka's idea about running them through the inner fender. And I have a little idea for the side marker wiring. |
|
|

|
|
|
#20 |
|
Torn between 66 and 78
Join Date: May 2008
Location: So. Cal.
Posts: 253
|
Re: My "Pop's 66" Build......
I did install the power brake booster last week, but I need to fix it and hook up the brake pedal first. Also going to add a Dual master cylinder and new lines.
|
|
|

|
|
|
#21 |
|
Hey Y'all!!
Join Date: Dec 2007
Location: Bay Minette, Alabama
Posts: 1,755
|
Re: My "Pop's 66" Build......
It's good to see you got a chance to get back to it. It's amazing how the wiring can get so butchered in a vehicle over the years... Nice work!
__________________
Just hopin' I live long enough to finish something!!! |
|
|

|
|
|
#22 |
|
1 thing at a time is progress.
Join Date: Jun 2007
Location: Ball Ground GA
Posts: 5,511
|
Re: My "Pop's 66" Build......
Glad your back at it. It's looking good.

__________________
Alan
Philippians 2:14-16 |
|
|

|
|
|
#23 |
|
Just here to tinker
 Join Date: Jun 2008
Location: Holland, MI
Posts: 3,697
|
Re: My "Pop's 66" Build......
I feel your pain about not being able to devote time to your projects....looks like your starting to pick momentum back up though

__________________
78 C10 SWB Diesel #1 (wrecked)http://67-72chevytrucks.com/vboard/s...1978+silverado 78 C10 SWB Diesel #2 (sold)http://67-72chevytrucks.com/vboard/s...d.php?t=650751 60 GMC Suburban (sold)http://67-72chevytrucks.com/vboard/s...d.php?t=445526 60 GMC 1000 (sold)http://67-72chevytrucks.com/vboard/showthread.php?t=298235 67 GMC 1500 (sold) http://67-72chevytrucks.com/vboard/s...d.php?t=803695 73 Chevy C20(Daily)http://67-72chevytrucks.com/vboard/s...d.php?t=852767 86 Suburban(summer unit) http://67-72chevytrucks.com/vboard/s...d.php?t=810697 88 Suburban 4x4(sold) |
|
|

|
|
|
#24 | ||
|
Hollister, CA.
 Join Date: Sep 2006
Location: Hollister, Ca.
Posts: 6,150
|
Re: My "Pop's 66" Build......
Quote:
Quote:
 Seriously, good job man...very nice progress ! Just a note, I drilled a small hole, and ran my headlight wires thru the fenderwell, and to the front relays. Worked out goot.
__________________
John What the Heck is that ?? CURRENT BUILDS: 62 BurbMaster  Other Builds: My '63 C-10,LWB,CC,BBW '06 HD StrAight Axle Swap Father/Son '67 C-20, LQ9,4L80,Bagged,8-Lugger !!Good Friend Richard's Build AMERICAN CUSTOMS & CLASSICS (831) 630-1965 www.ACCHOLLISTER.com ACC on FACEBOOK "Rest in Peace, Mom & Dad ... I will see you again someday!" |
||
|
|

|
|
|
#25 |
|
Torn between 66 and 78
Join Date: May 2008
Location: So. Cal.
Posts: 253
|
Re: My "Pop's 66" Build......
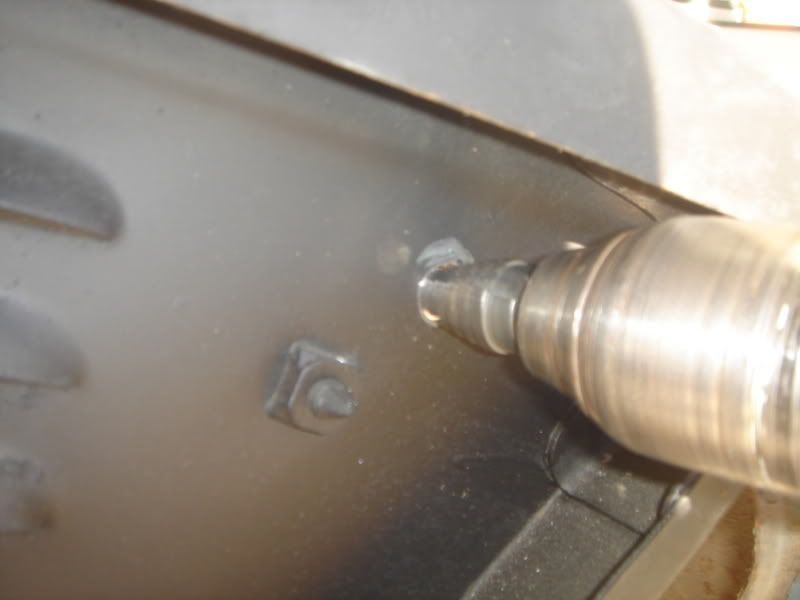
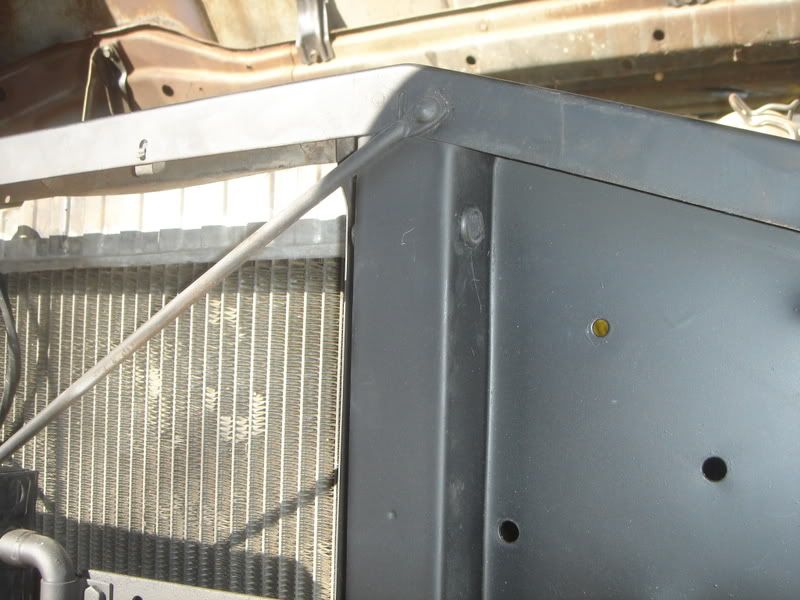
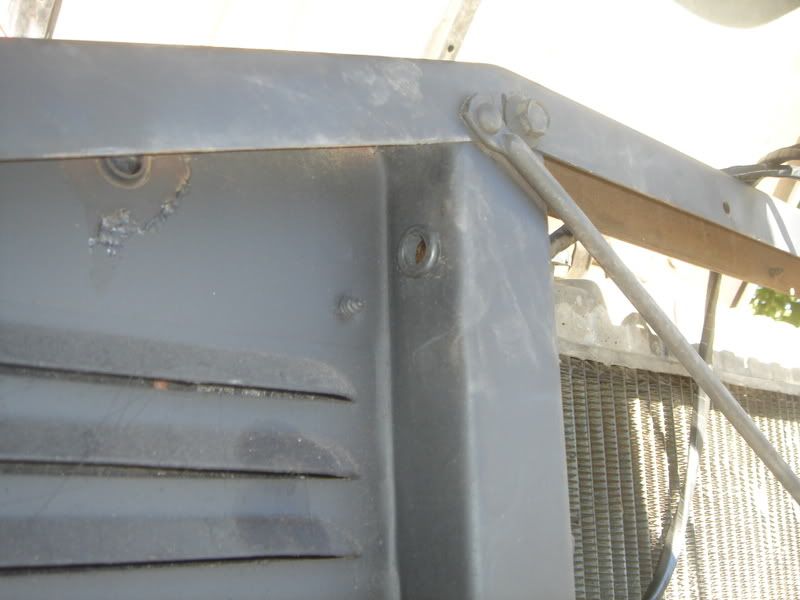
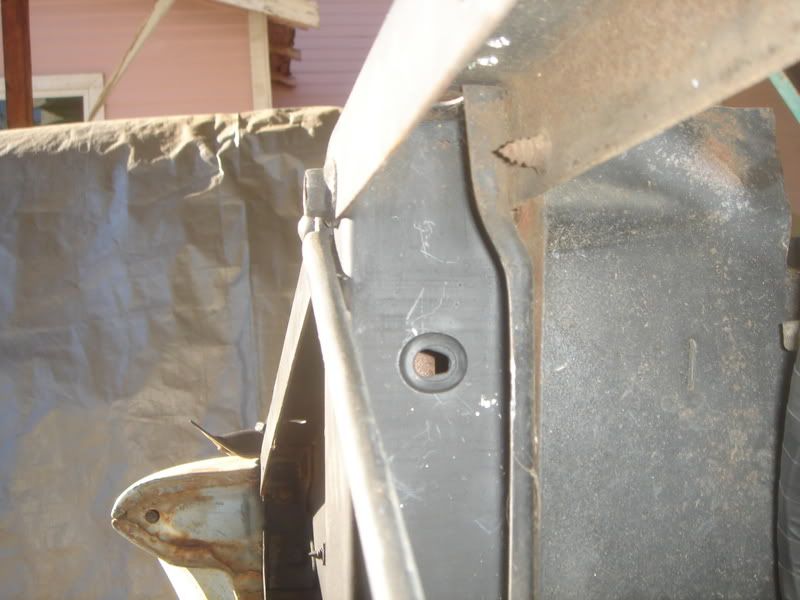
I was able to get over there and work on the wiring a little more today. I started off by drilling some holes and adding some grommets:
|
|
|

|
 |
| Bookmarks |
|
|