
 |
|
|
|
|
#1 |
|
Registered User
Join Date: Jul 2018
Location: Hollister, California
Posts: 230
|
1966 C-10 build
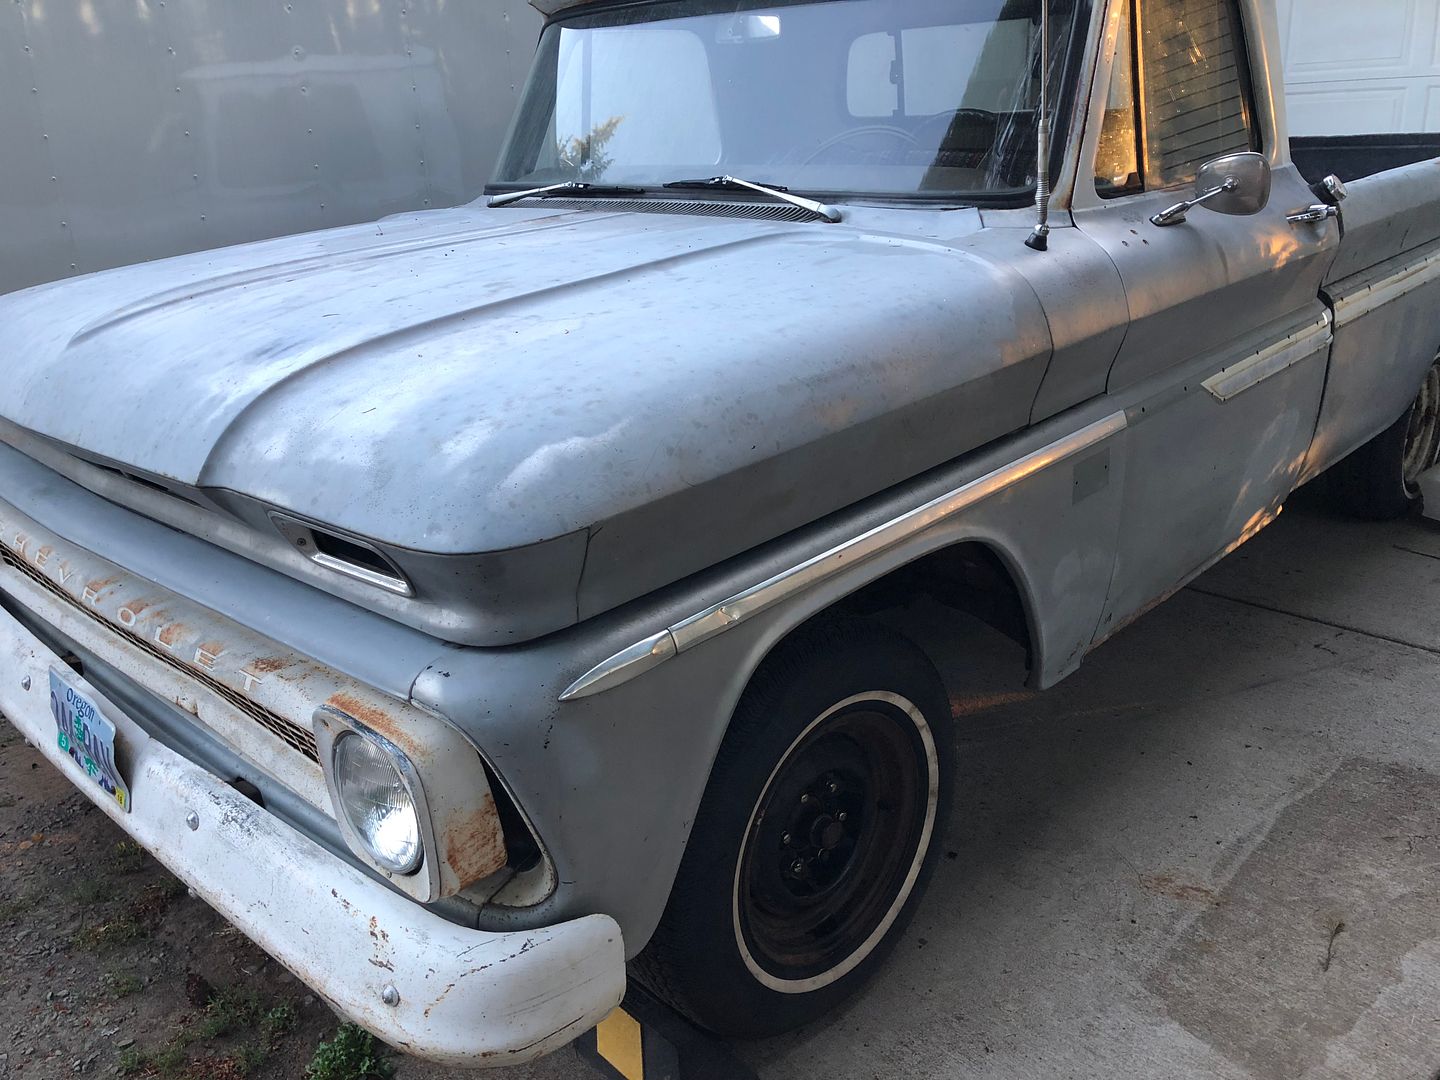
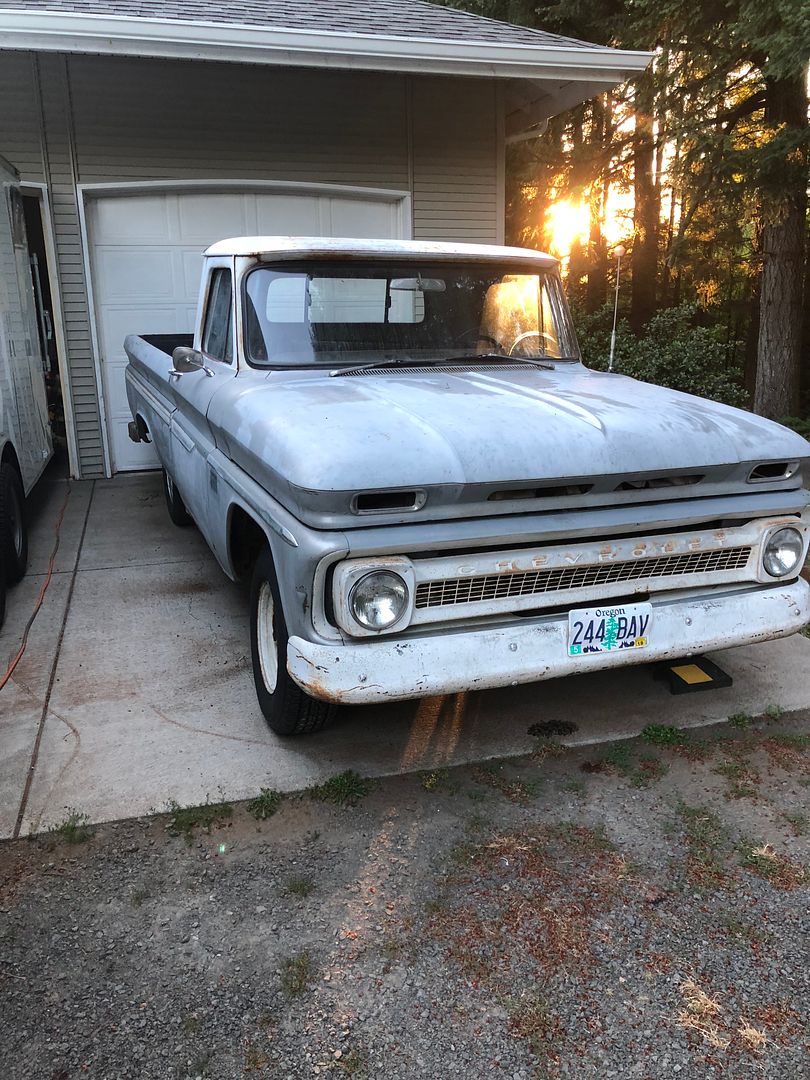
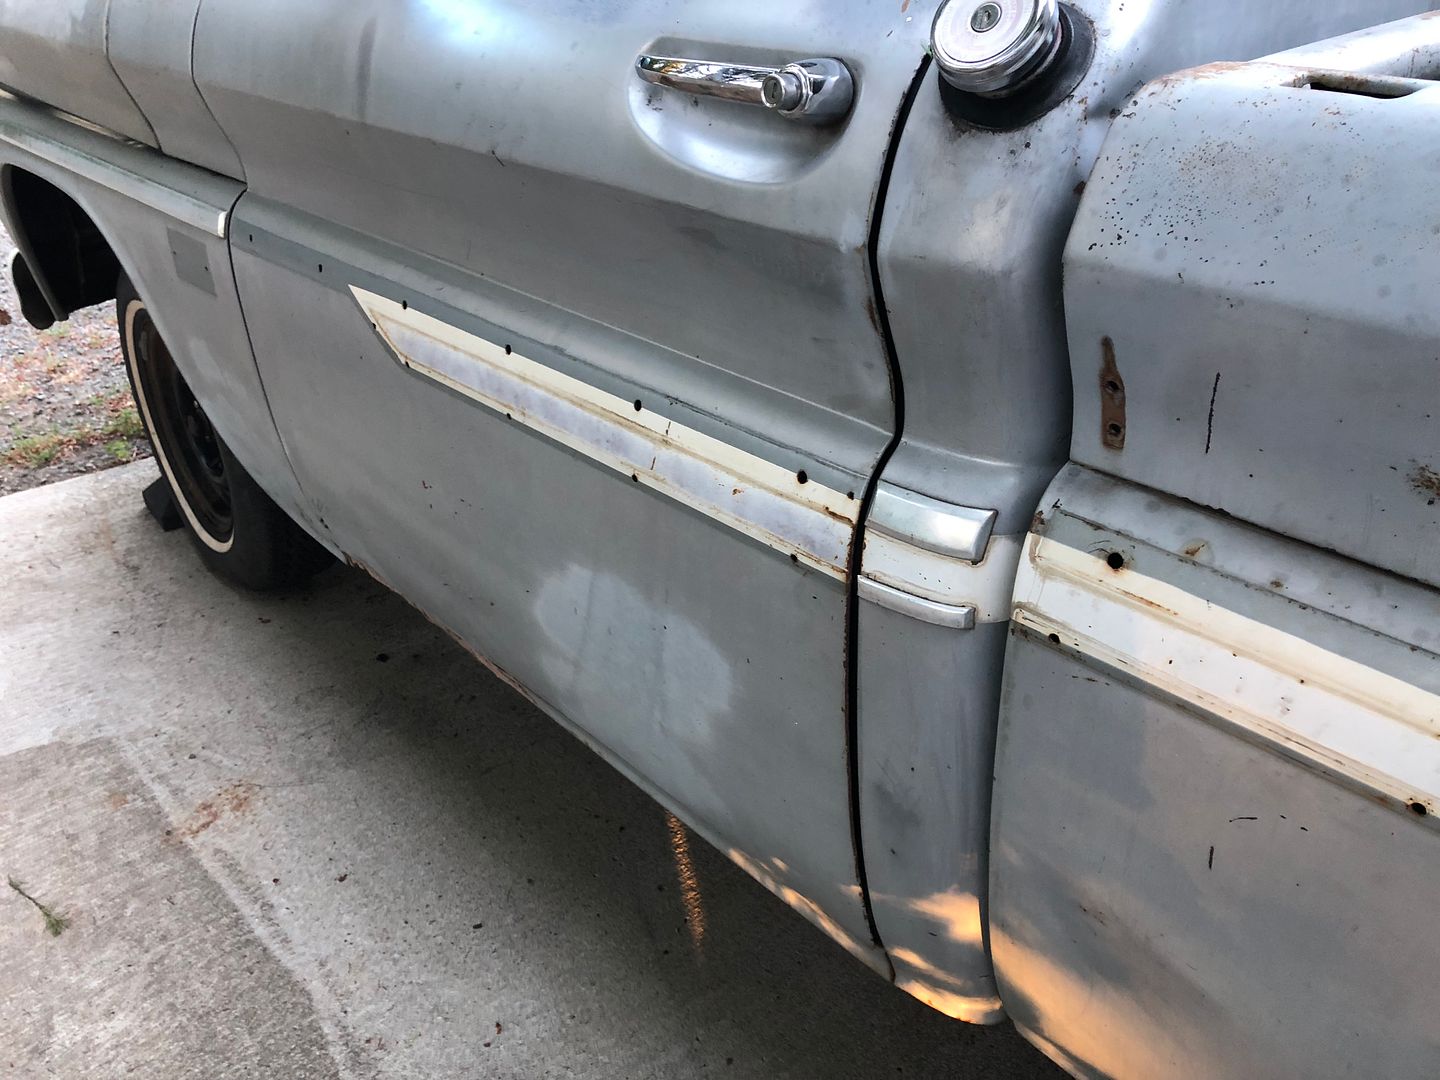
New to the forum and just picked up a new project. Saw a 66' Fleetside LB in the locals for sale and could not resist. The price was $1500 which seemed a bit steep considering the rockers were toast and the bed was not as nice as I really wanted but what the F@*( lets just make em an offer and see what happens. So a few days later I am trailering this project home and wondering what I have gotten myself into. I think this happens on just about every project. The truck is in generally decent shape with the following.
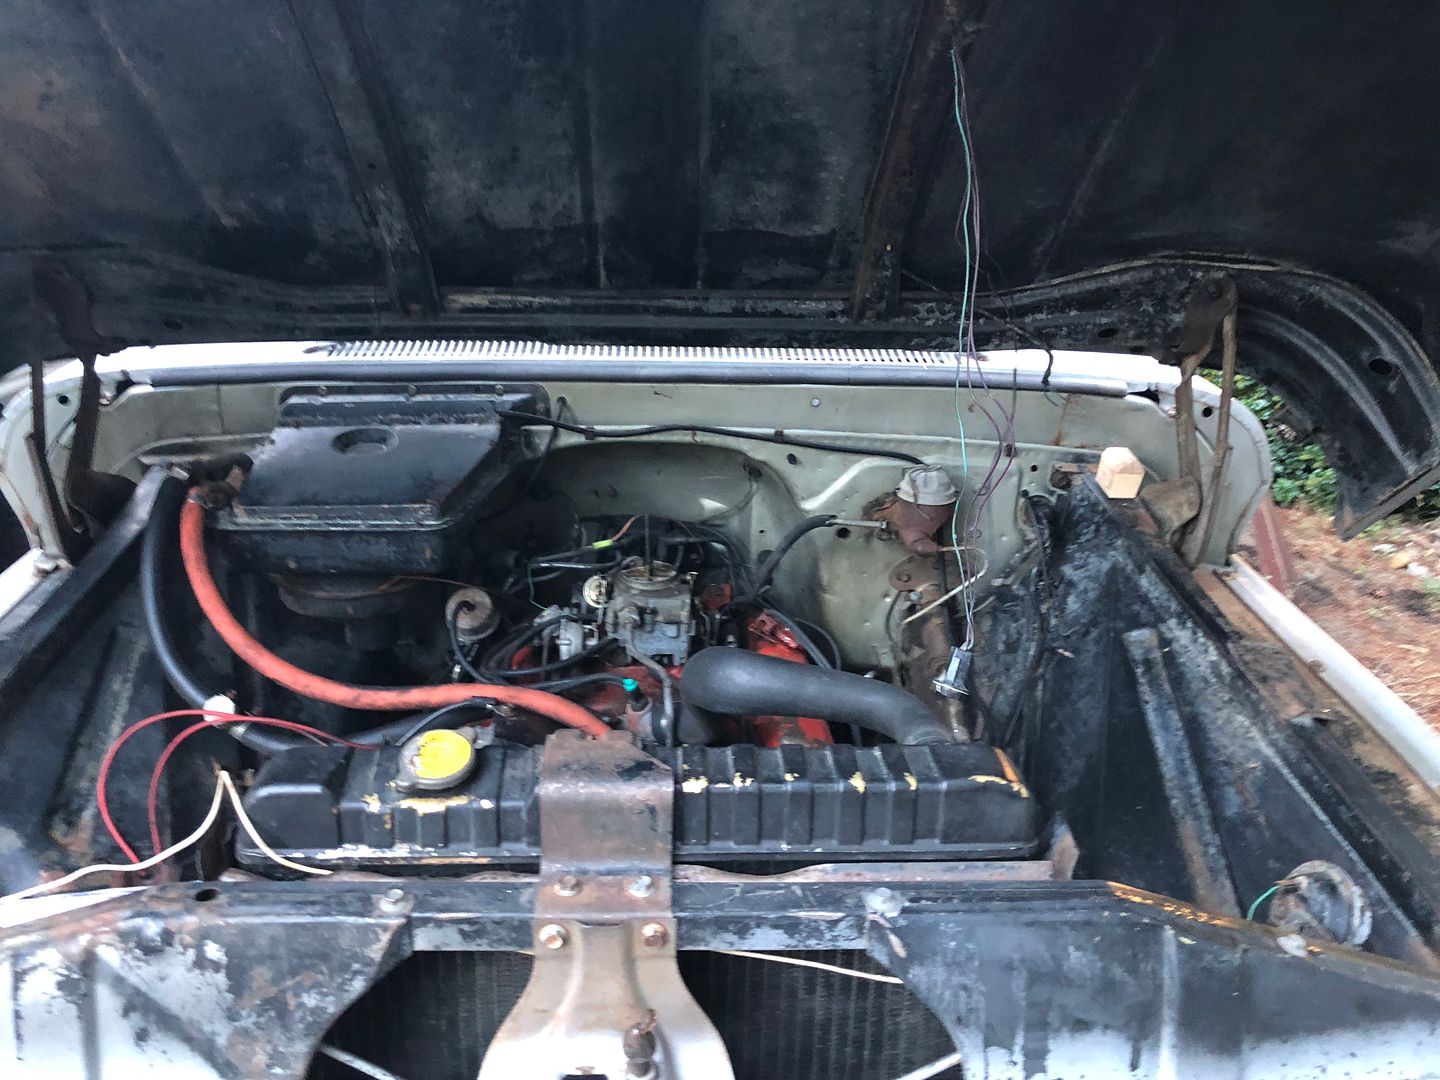
The straight 6 was removed and swapped for a stock low mile 78' 305 V8 and a TH350 nice thing is they used the correct motor mounts and had the driveshaft yoke swapped out and it all fits together rather nicely. No exhaust on it but the stock manifolds. No throttle linkage or shifter linkage so the truck did not move but it started first time we turned it over and purred like a kitten. The brakes were recently all replaced with new shoes, turned drums, wheel cylinders and brake hardware kits. Hard to believe but everything was in the cab and in good condition as far as the dash and instruments were concerned. The lights and trims were in a separate box as well as the trim rings and lenses. 4 different tires and wheels but they all hold air so that's a plus. The suspension is shot the shocks and springs are gone but hey what did I expect for a 66' truck that had been sitting in a barn for the past 15 years. We ended up agreeing on $950.00 dollars for this project and think we didn't do too terrible considering we are not going to be putting her back to pristine condition anyways. 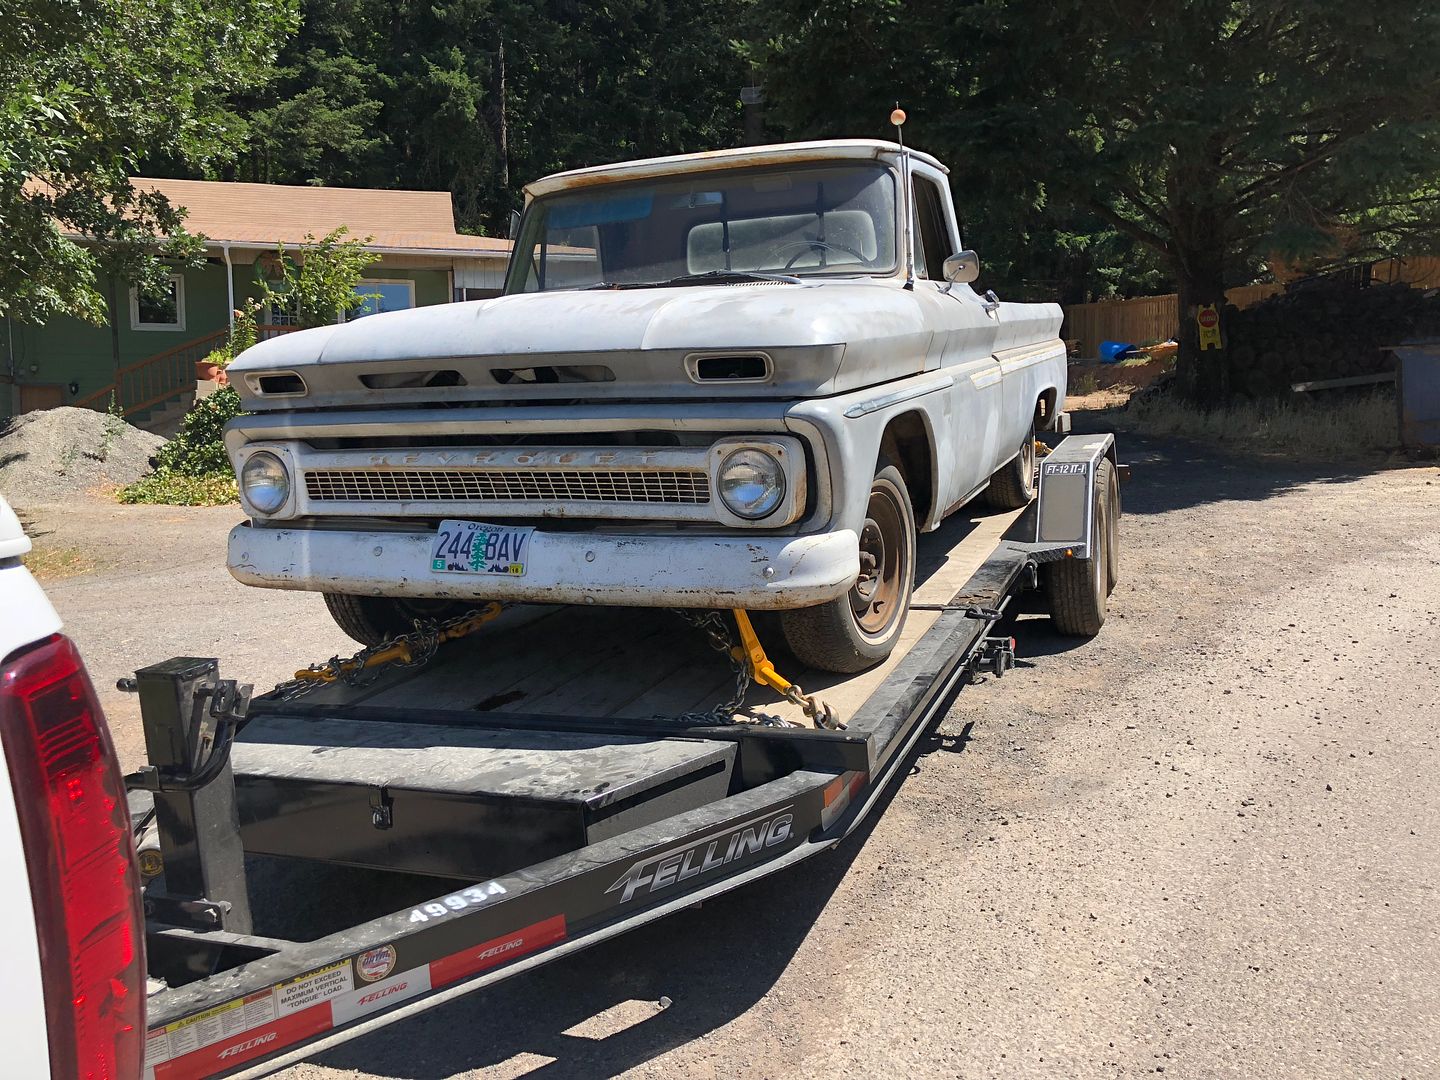 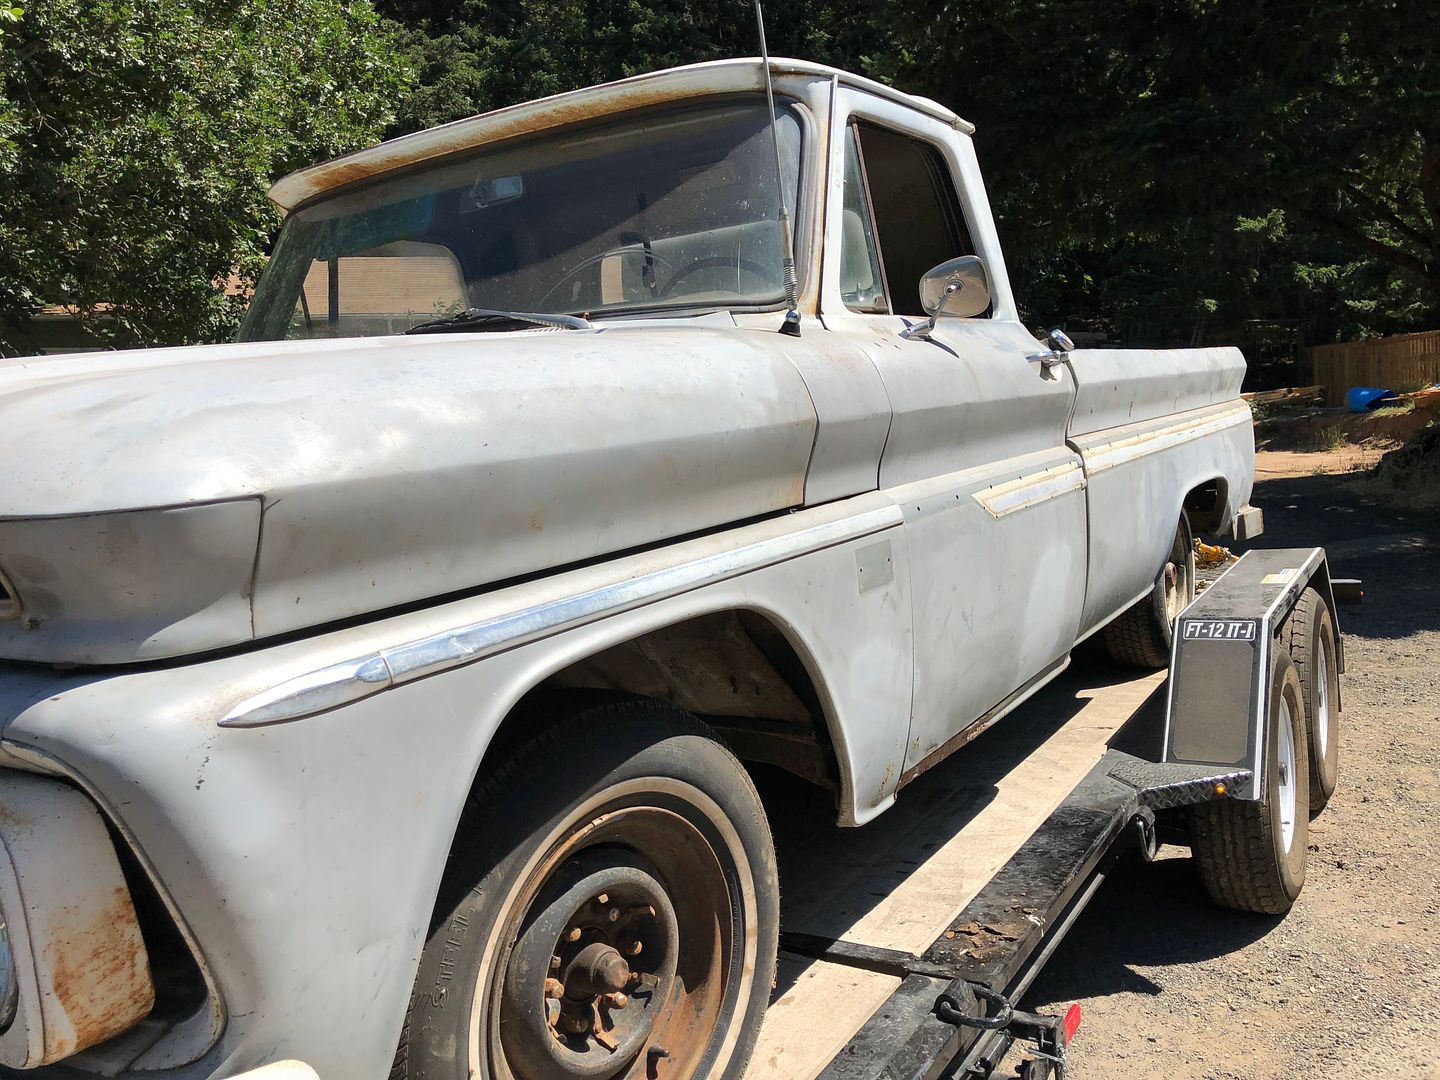 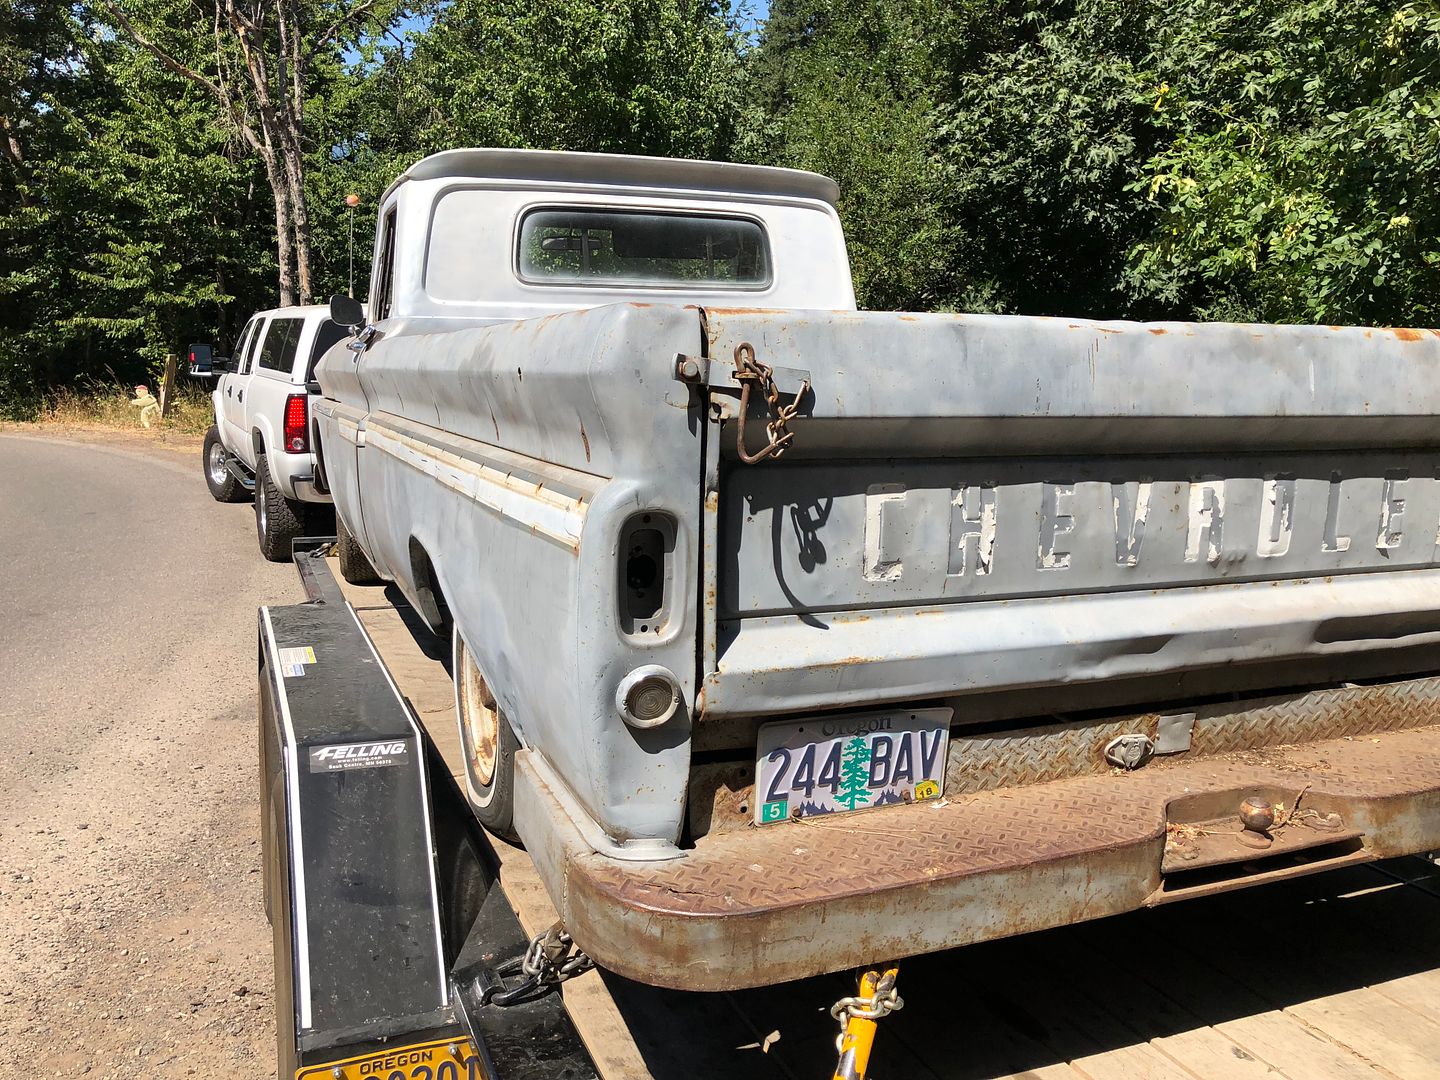 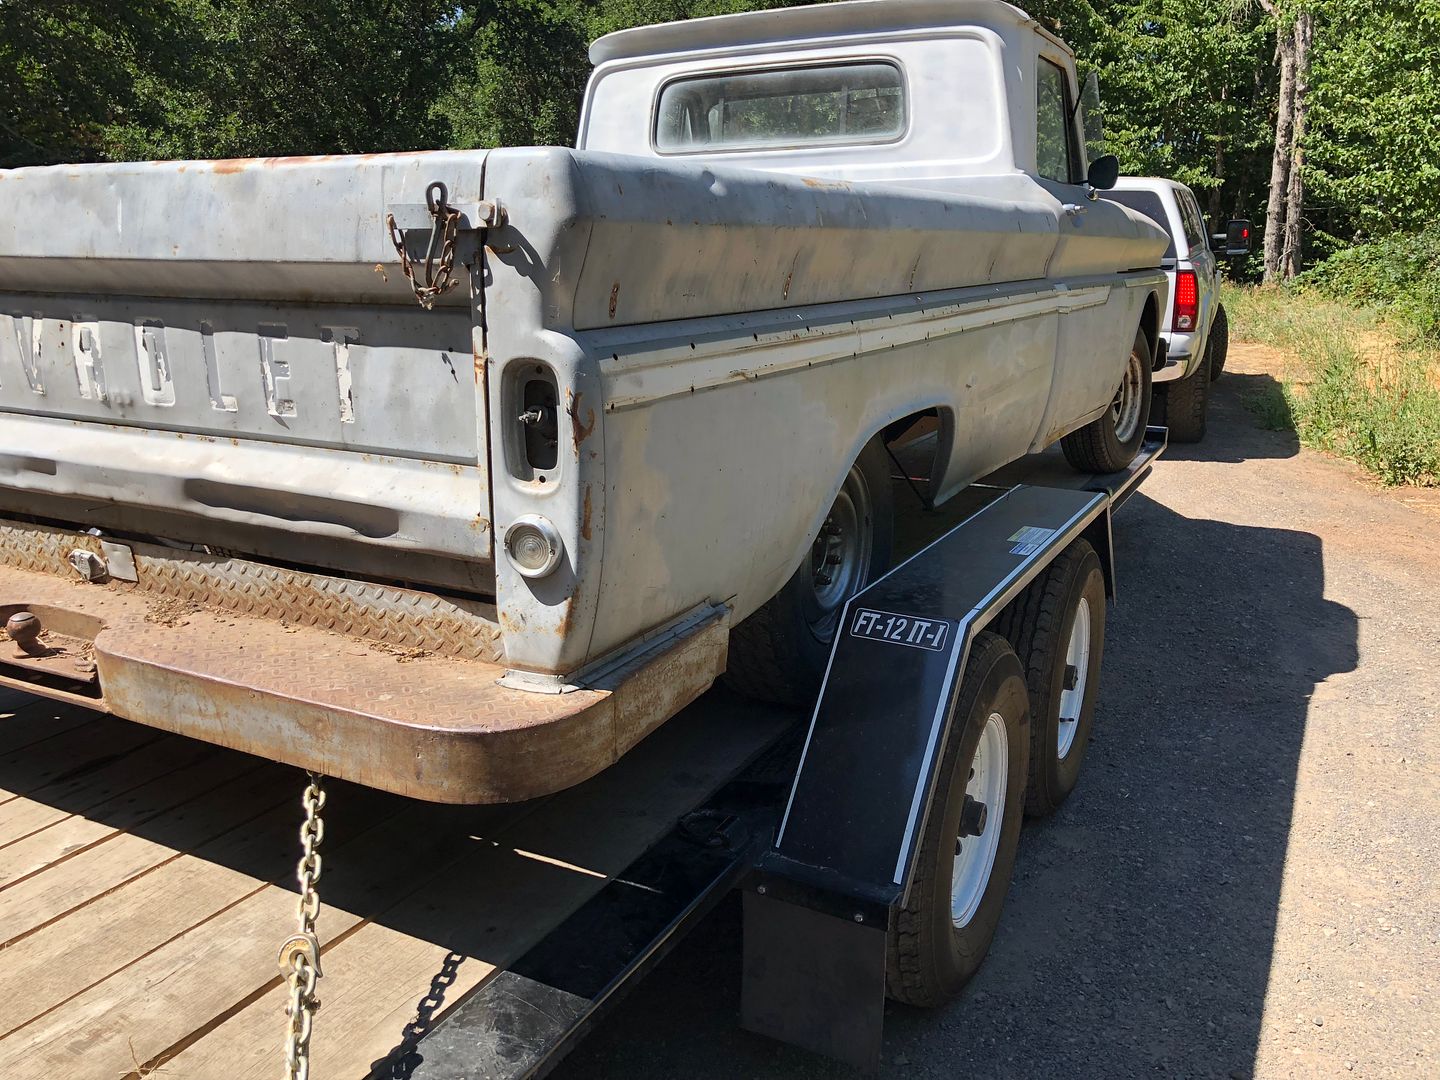
Last edited by kdad; 01-23-2019 at 03:47 AM. |
|
|

|
|
|
#2 |
|
Registered User
Join Date: Jul 2018
Location: Hollister, California
Posts: 230
|
Re: 1966 C-10 build
So here is the plan so far.
1. remove old rusted out battery tray replace with new tray and battery 2. Flush the fuel lines, make a new accelerator rod, fresh plugs, wires, filters, flush radiator and get the engine running 3. Install a new steering column so that we can shift the auto trans. have to make a shift rod for this as they never completed this portion of the install. 4. Install an exhaust system from the factory manifolds, going with some inexpensive mufflers to just over the rear axle for now. 5. Repair all of the lights and make sure brakes, headlights, license light and turn indicators all work properly. 6. Re-wire the charging system. (I am no genius but just looking at what the PO left I can tell it aint right) 7. Install new springs and shocks (Need some help here.....) wanting to go with a static drop on this truck as it will be a DD grocery getter. Just not quite sure how low to go??? Thinking 2" in the front 4" in the back 8. install new tires and wheels that will be used later on in the build. This brings up a question as to what will fit these trucks and what type of back spacing will be needed to make the tire fill the wheel well properly? 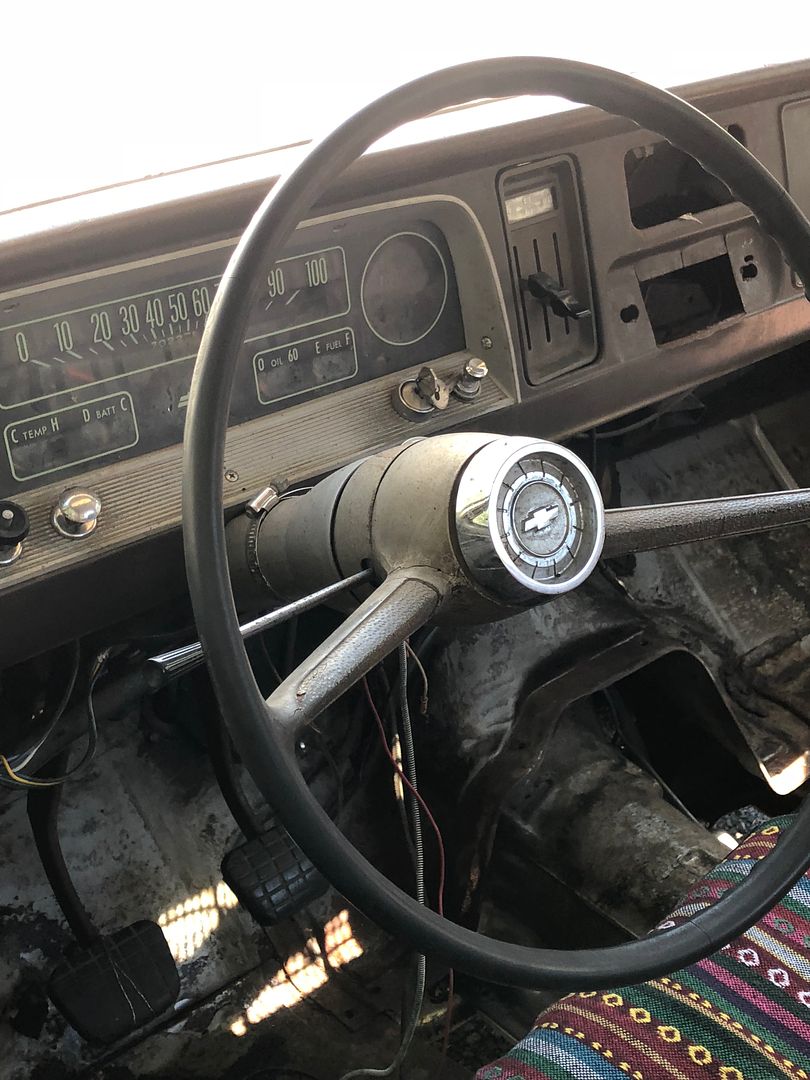 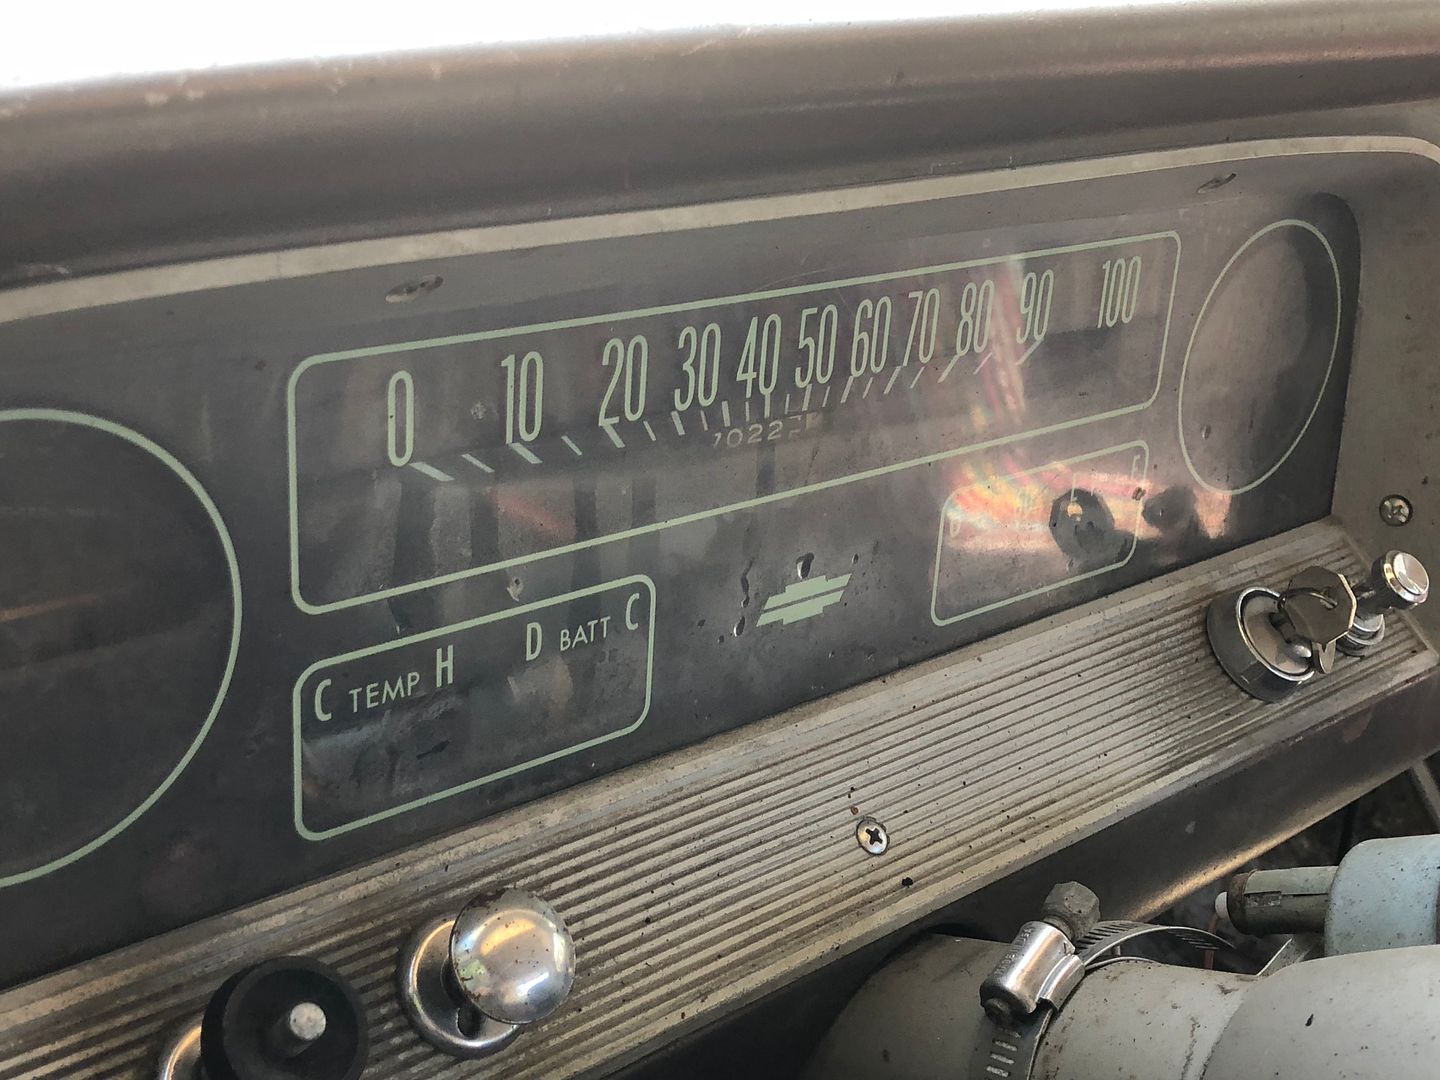 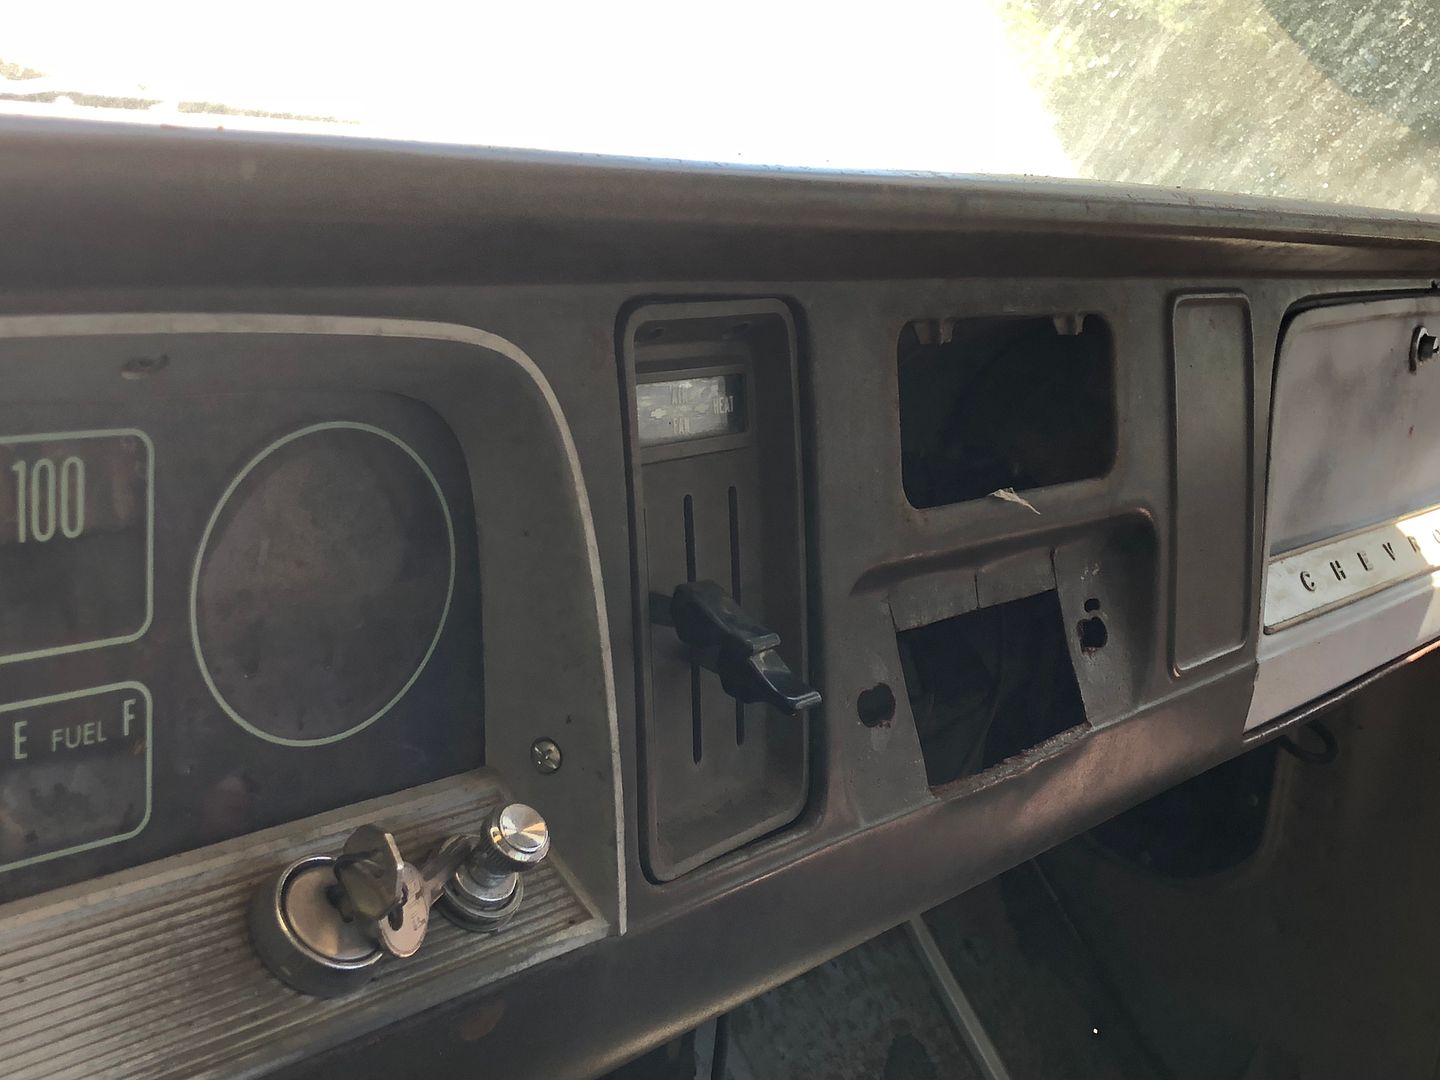 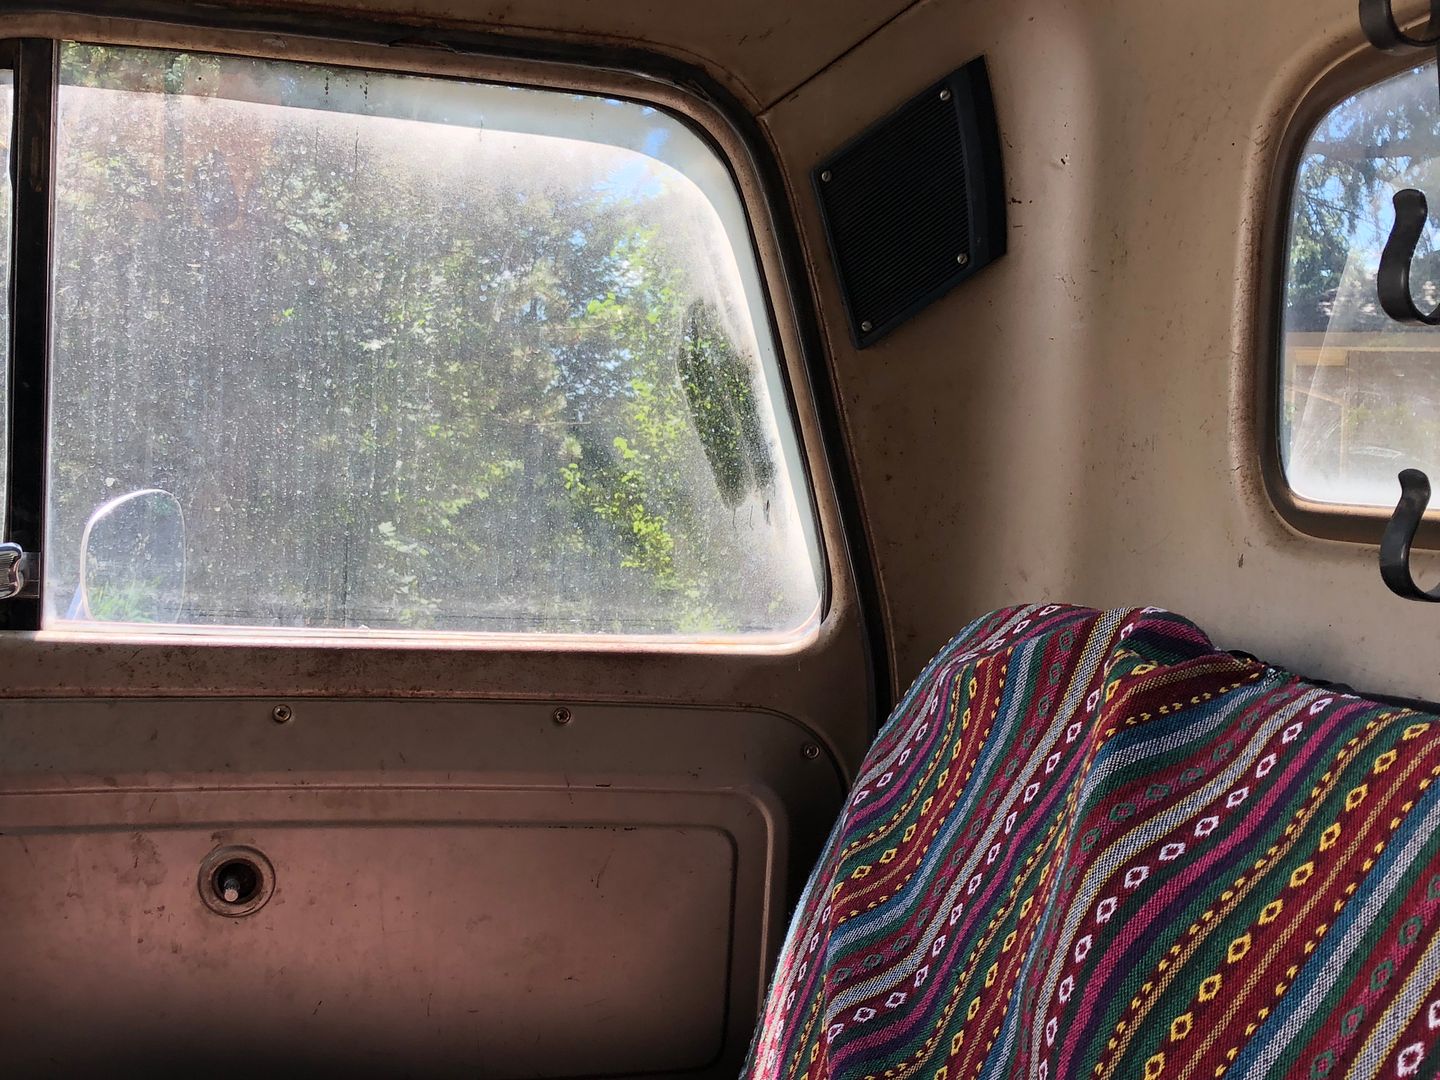 
Last edited by kdad; 01-23-2019 at 03:49 AM. |
|
|

|
|
|
#3 |
|
Registered User
Join Date: Jan 2012
Location: Greeneville TN
Posts: 251
|
Re: 1966 C-10 build
Looks like you have a good start...the good thing about building one of these trucks is that the possibilities are endless...the only limits are your imagination and bank account....so let the fun begin
__________________
http://67-72chevytrucks.com/vboard/s...d.php?t=765151 |
|
|

|
|
|
#4 |
|
Registered User
Join Date: Jul 2018
Location: Hollister, California
Posts: 230
|
Re: 1966 C-10 build
Well I have been reading up on allot of builds here getting ideas and checking out different techniques and how to's. I read all the way through a few builds and was just floored at some of the great work you guys are doing to preserve these old trucks. I read every post from PDX sanity's build and given when the build started I figured their would be some awesome finished pics to look through. Holy **** that thing is beautiful and its not even done yet. With all of that work I am not sure I would drive it. BTW we are going for the daily driver and may not get to the level some of these guys have gone to. That being said not discouraged at all but more focused on keeping this project within a very low budget yet a very nice fun truck to drive every day.
Last edited by kdad; 01-20-2019 at 10:12 PM. |
|
|

|
|
|
#5 |
|
60-66 Nut
  Join Date: Mar 2007
Location: Coeur d'Alene, Idaho
Posts: 23,251
|
Re: 1966 C-10 build
Welcome to the forum
 I'd say you did good on the price for what you got. Not to pee in your wheaties but have you checked the VIN on the cab and frame to be sure it matches your title? Reason I ask is that I see they used a e-brake crossmember for the trans crossmember. That style of e-brake crossmember was used '63-'65 and not in '66. But it could be just they used what they had. I would still check it out if you haven't already.
__________________
Power Steering Box Adapter Plates For Sale HERE Power Brake Booster Adapter Brackets For Sale '63-'66 HERE and '67-'72 HERE and '60-'62 HERE and "60-'62 with clutch HERE Rear Disc Brake Brackets For Sale. Impala SS calipers HERE Camaro Calipers HERE D52 Calipers HERE 6 Lug HERE Hydroboost Mounting Plates HERE |
|
|

|
|
|
#6 | |
|
Registered User
Join Date: Jul 2018
Location: Hollister, California
Posts: 230
|
Re: 1966 C-10 build
Quote:
Good eyes, and I would never get upset at a lil pee in my Wheaties if it gave me some good info. LOL. But seriously thank you for the insight on the cross member it always helps to get as much intel as possible from seasoned truck owners. Appreciate all the help I can get. I did check the VIN to see that the paperwork matched the truck . we have a 2wd, 1/2 ton Long bed, Pickup, 1966, made in Fremont Ca, 62,905 So in the photos below we have a cross member that is at the mid point of the trans and of course then we have the rear or transmission cross member. The forward cross member does not look like it is needed any longer. Any issues with just removing this one and making a lil more room? Your thoughts greatly appreciated. 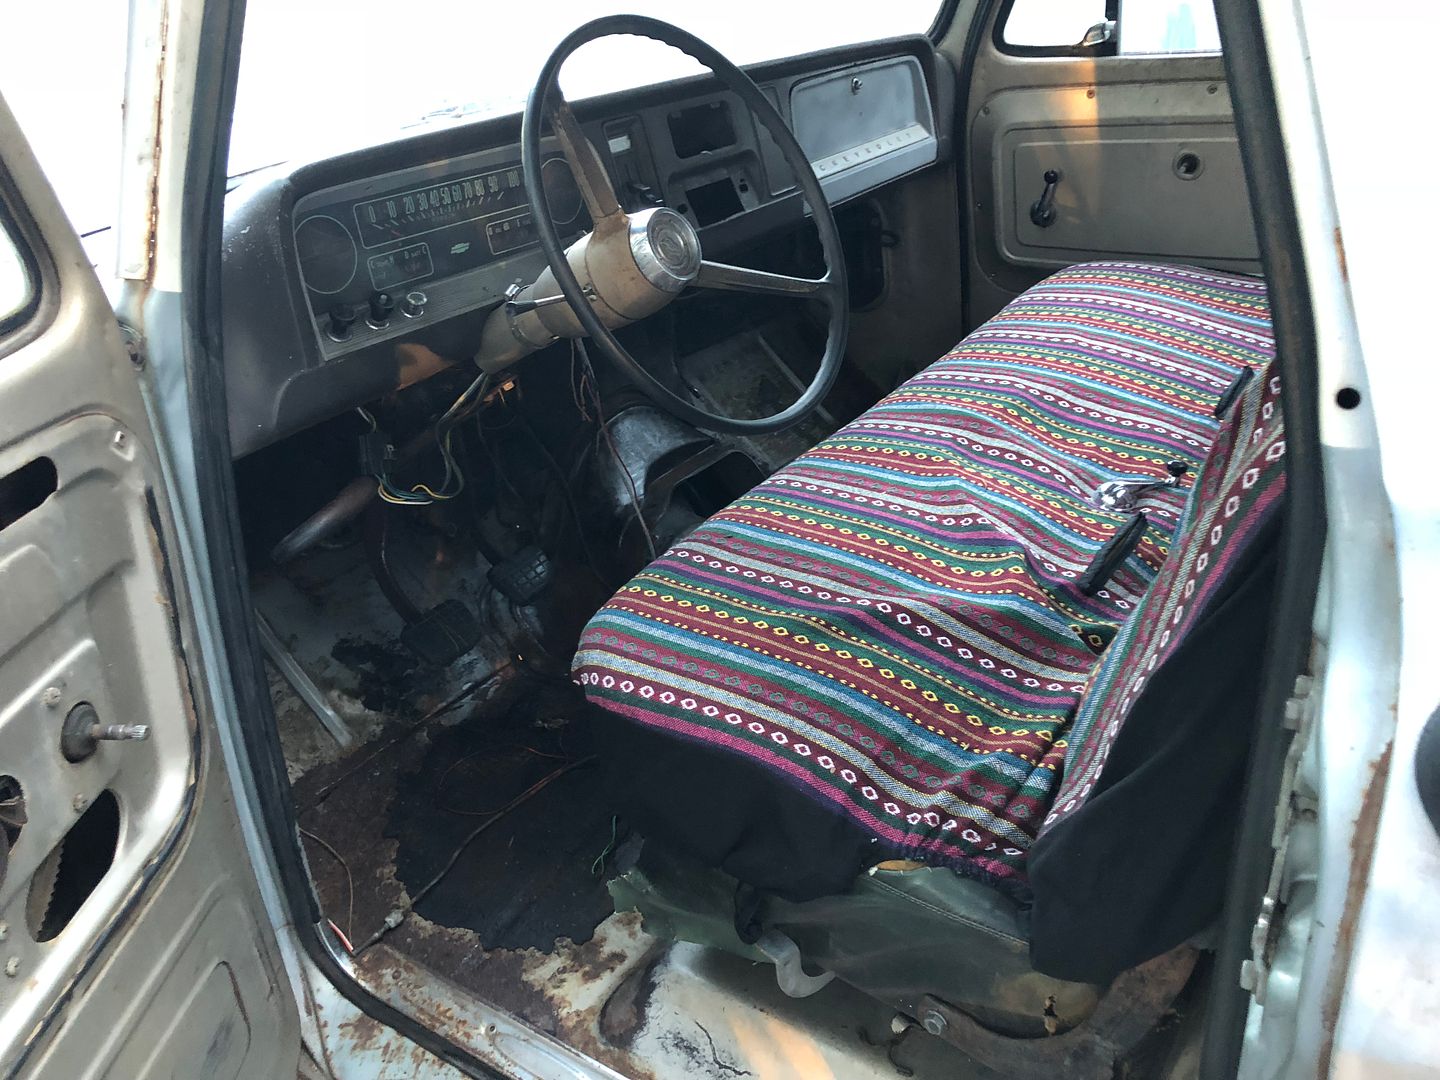 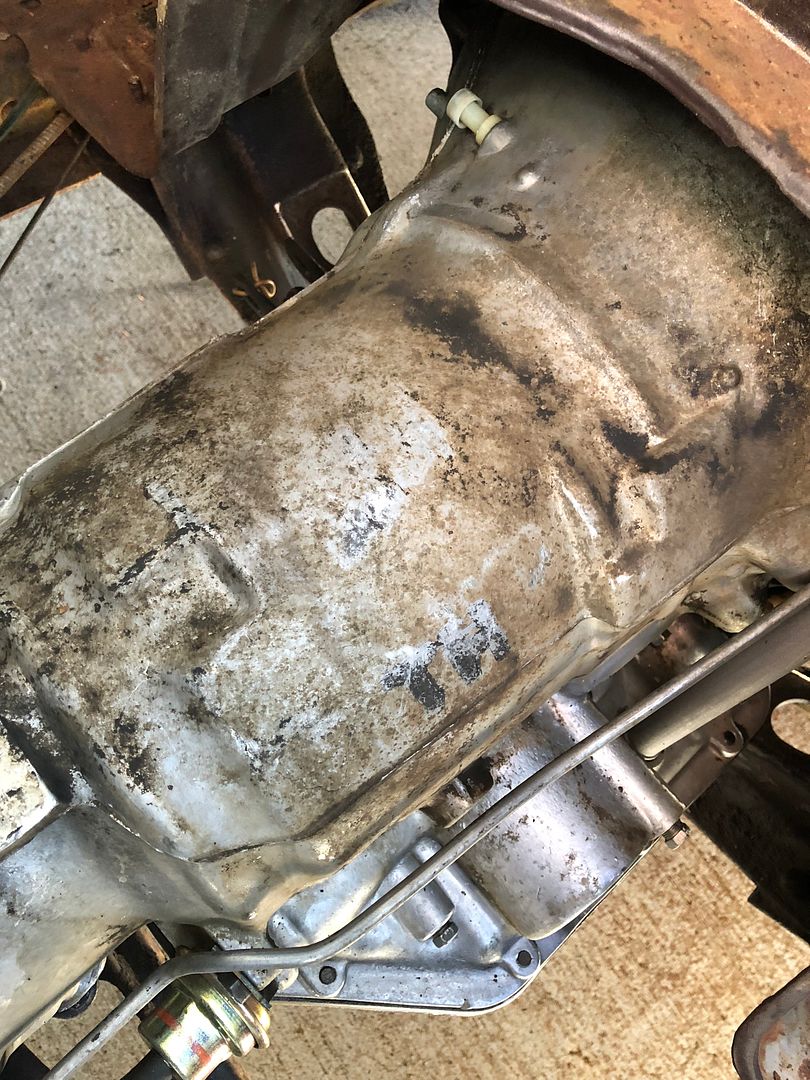 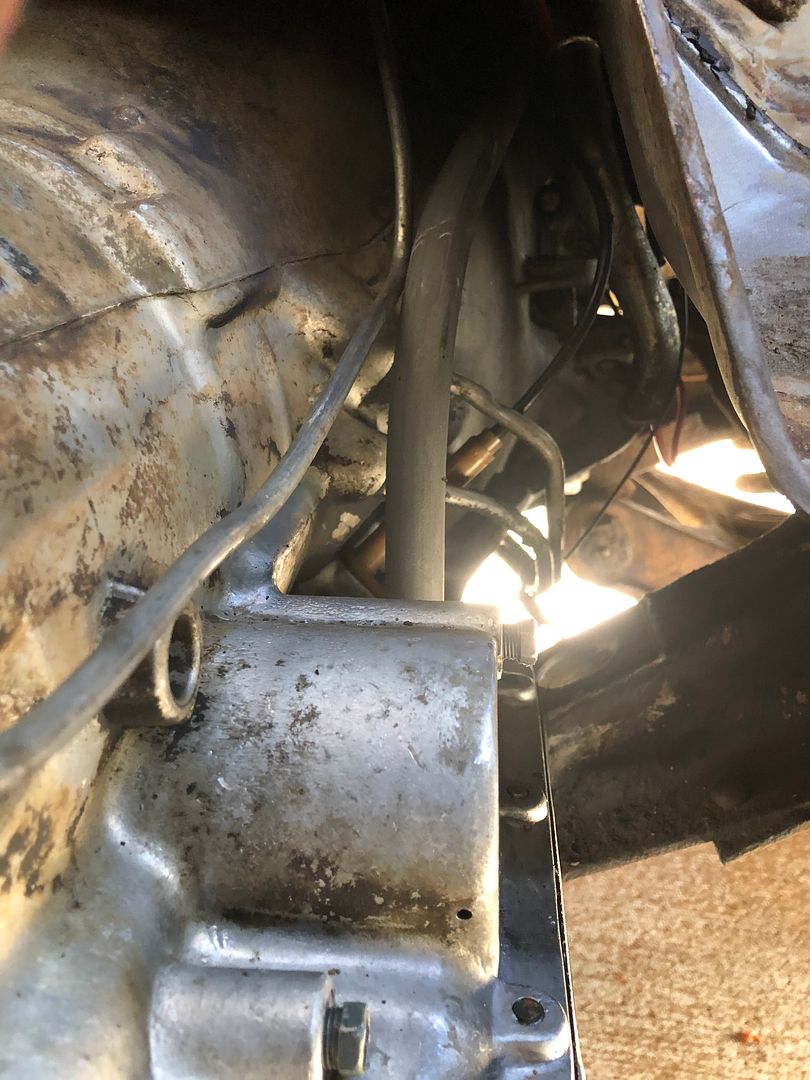  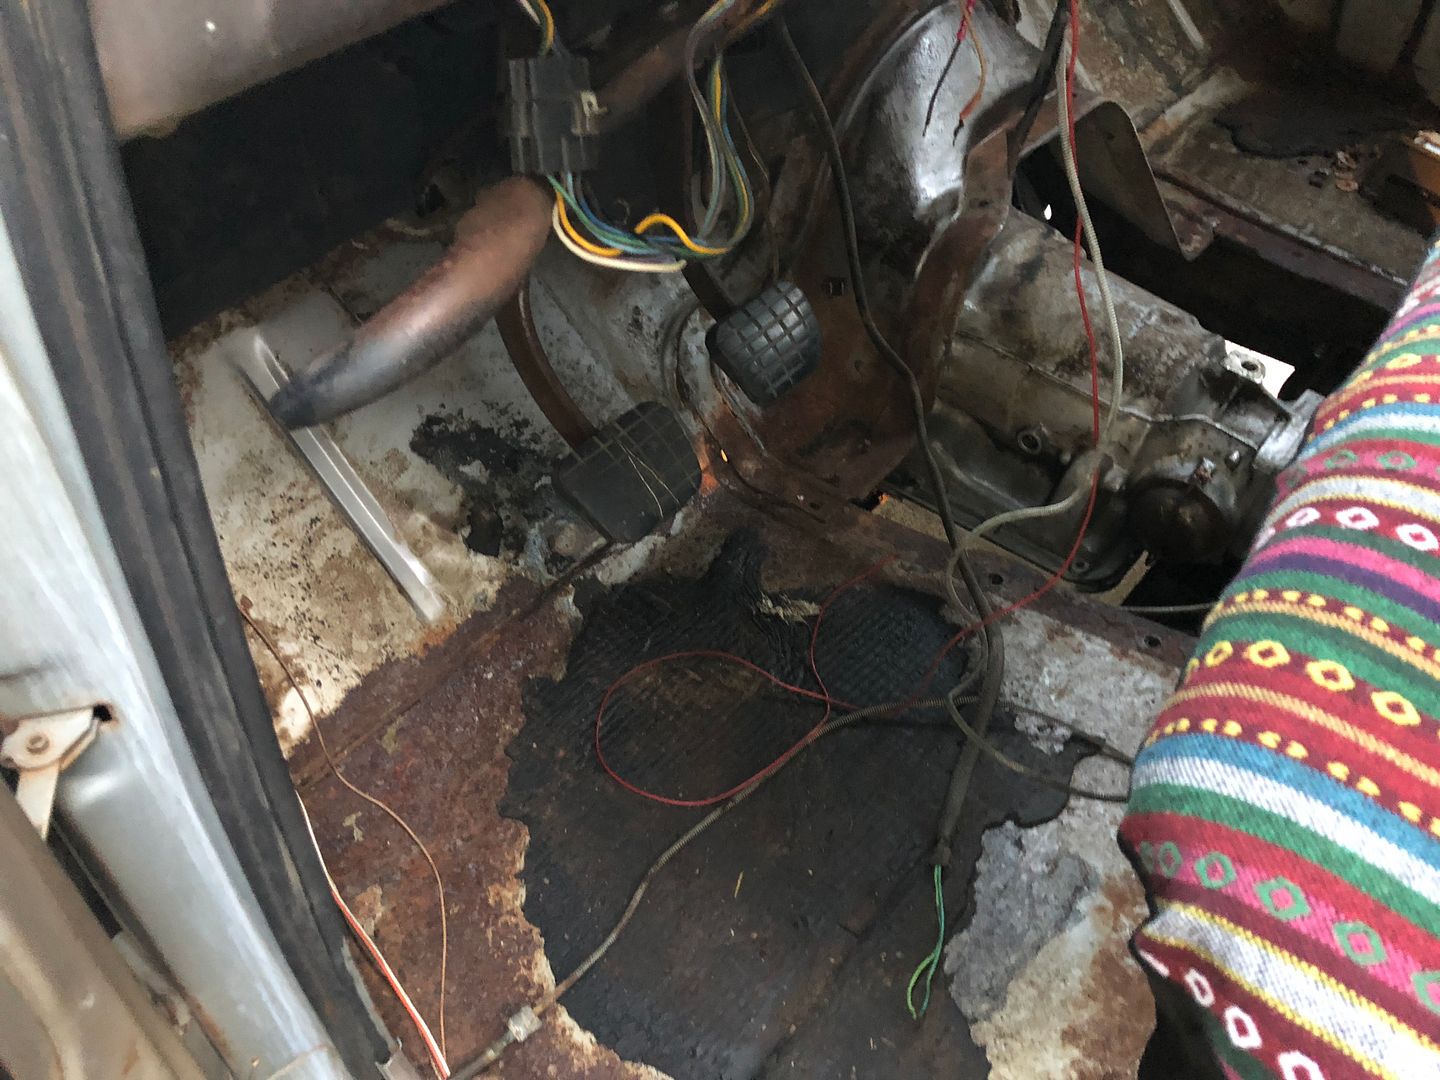 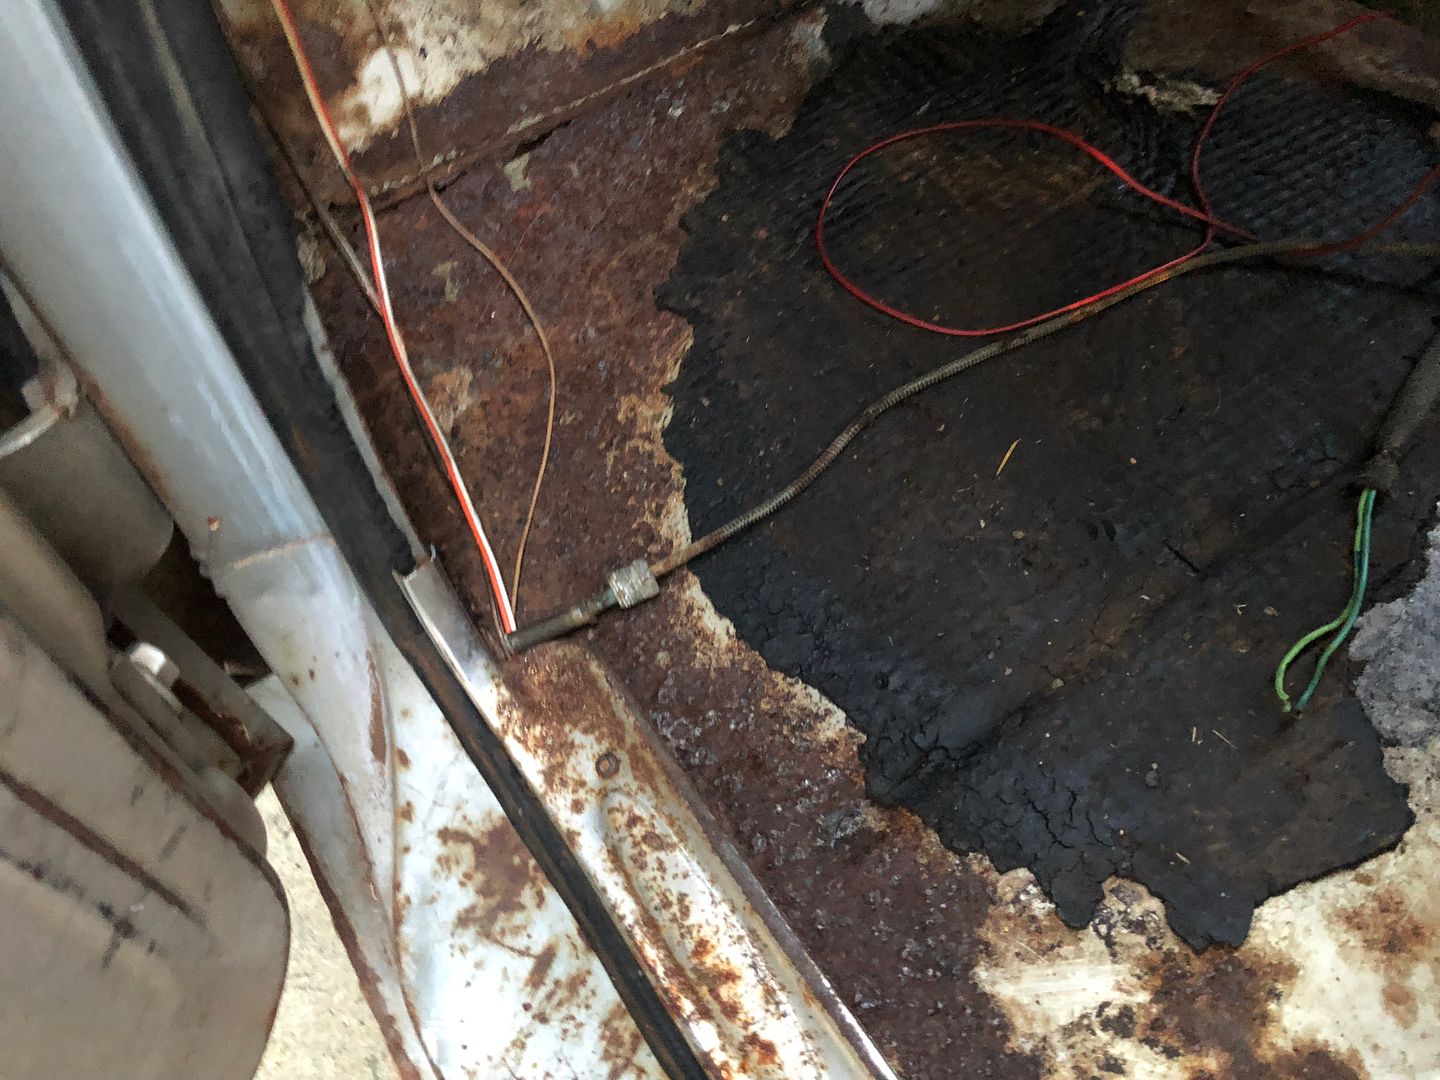 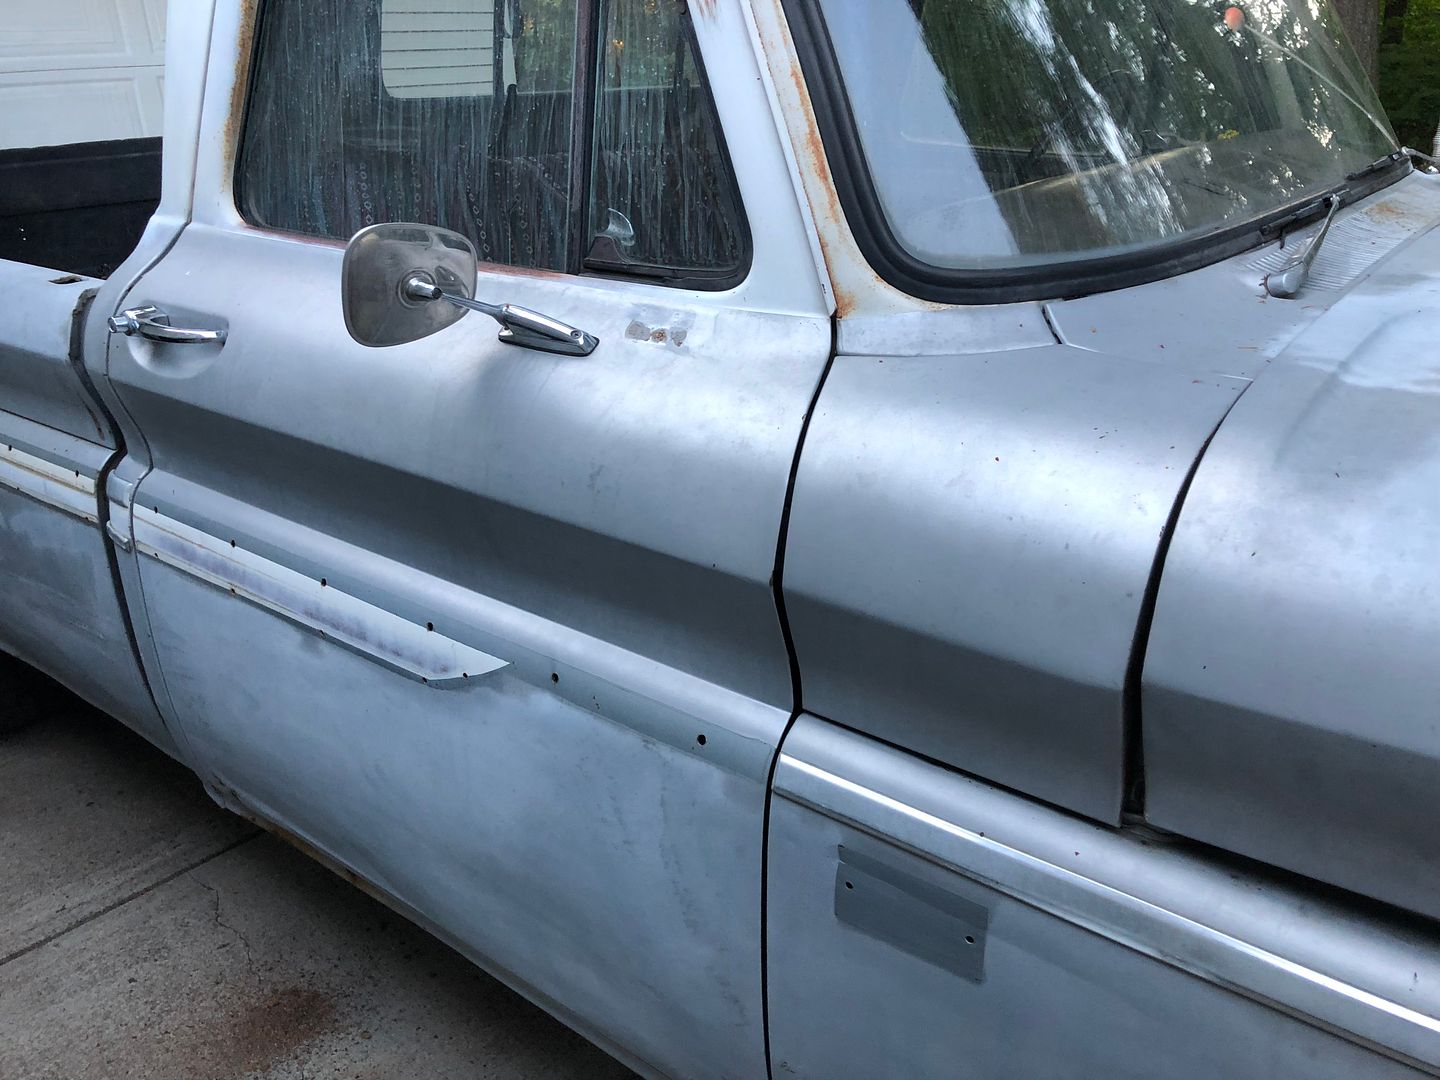 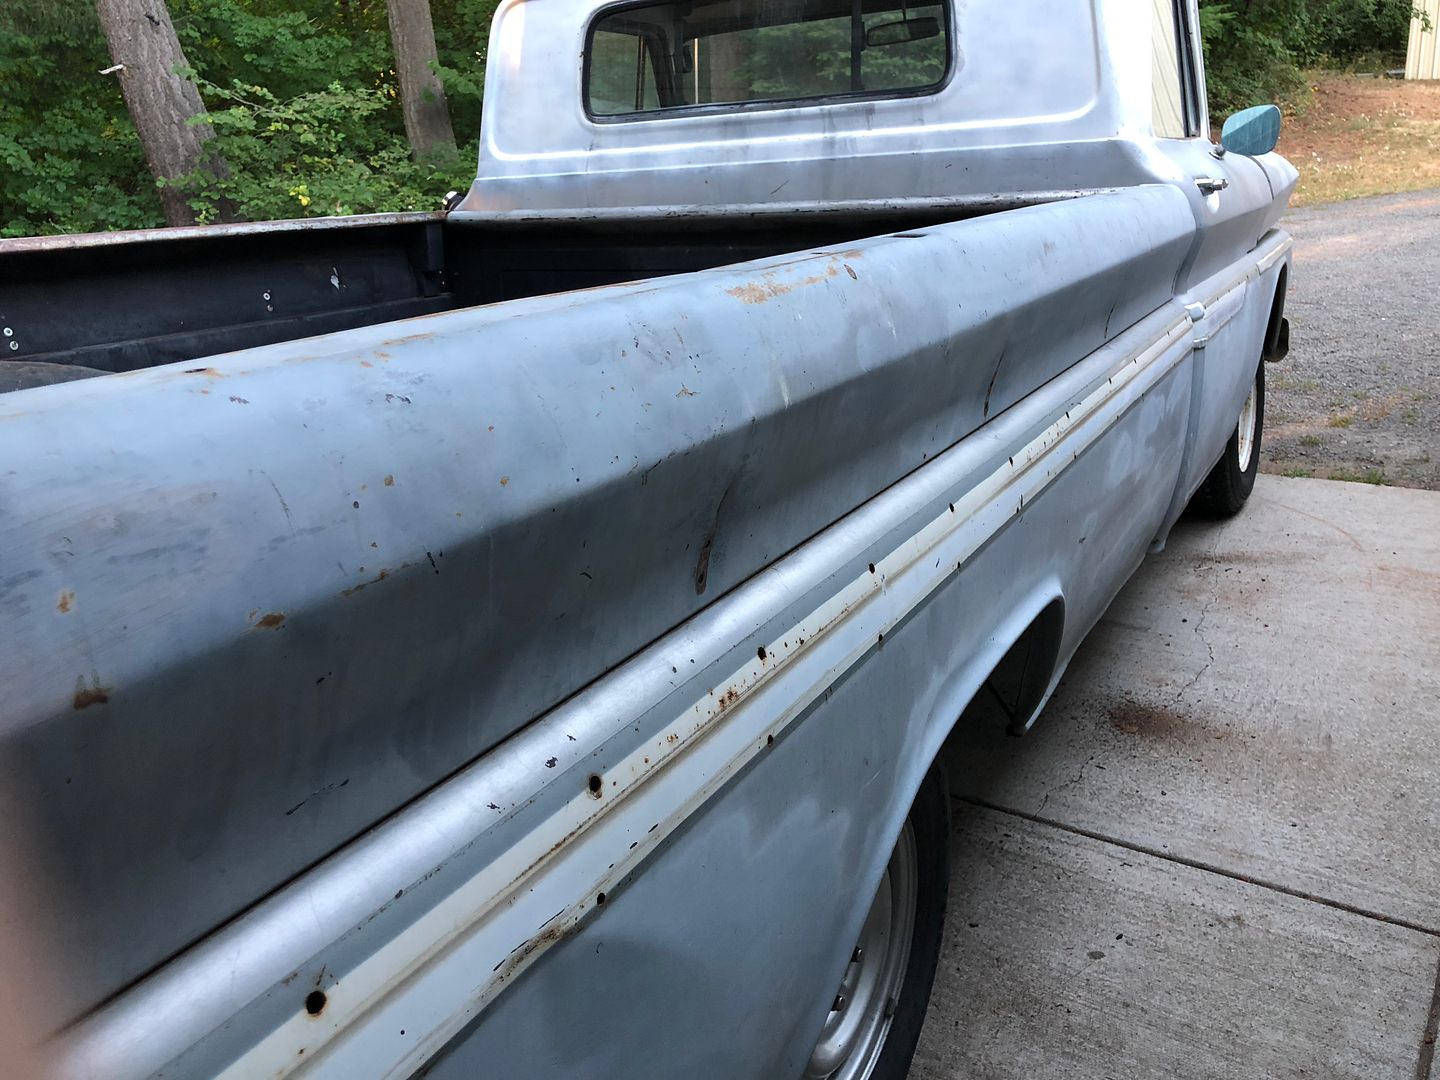 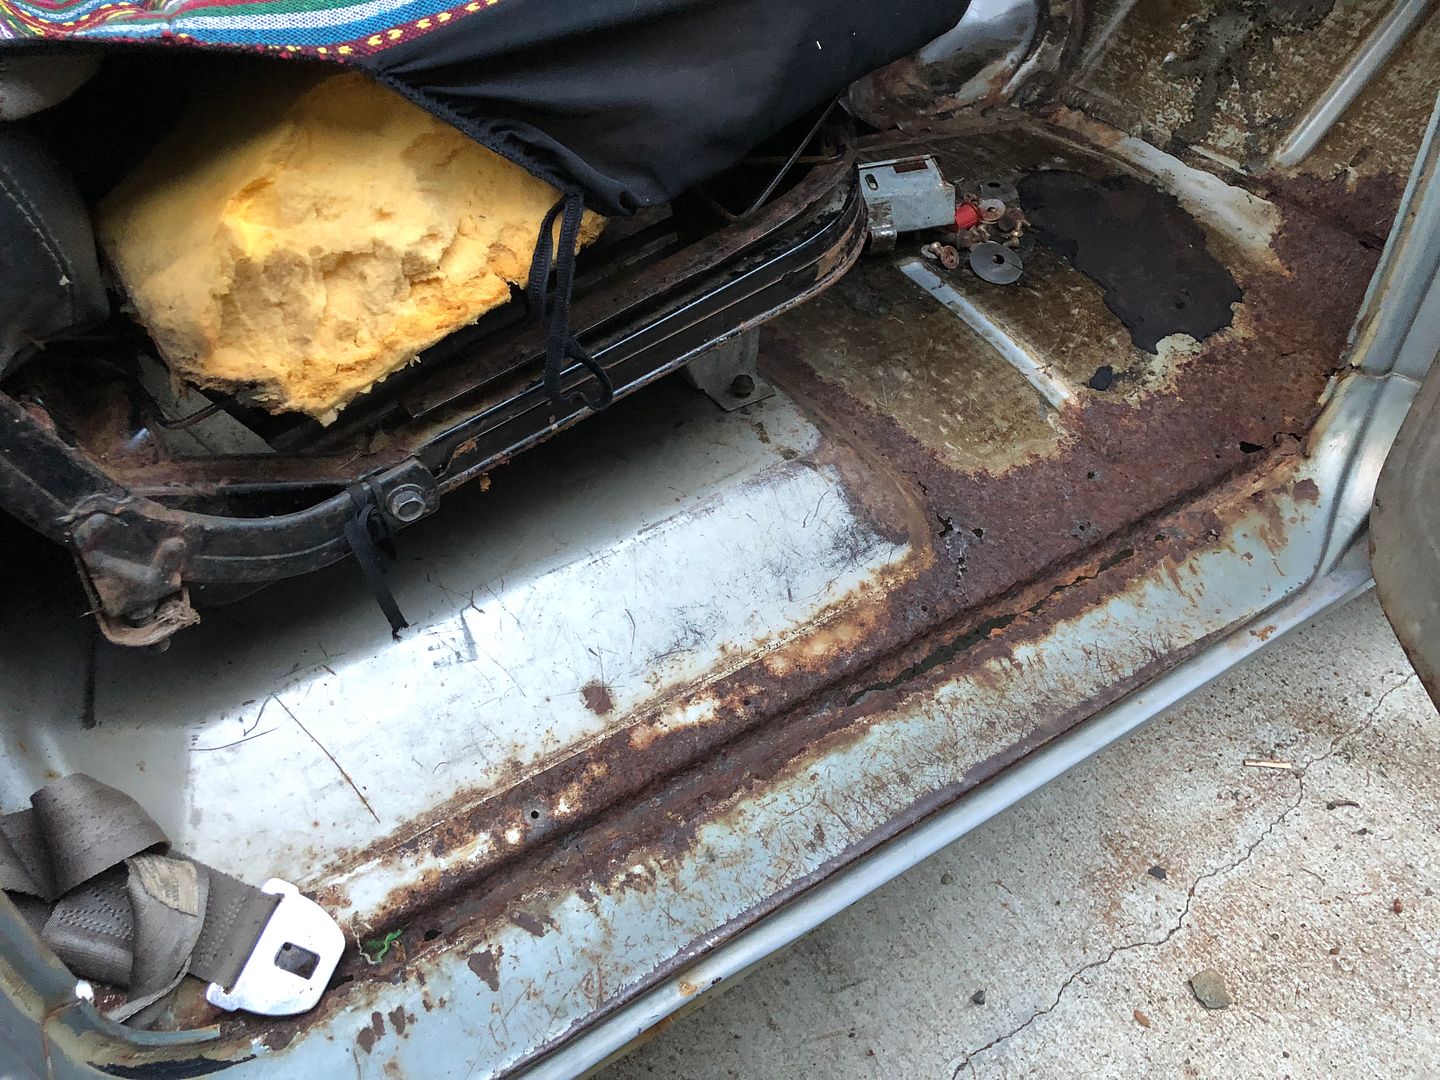 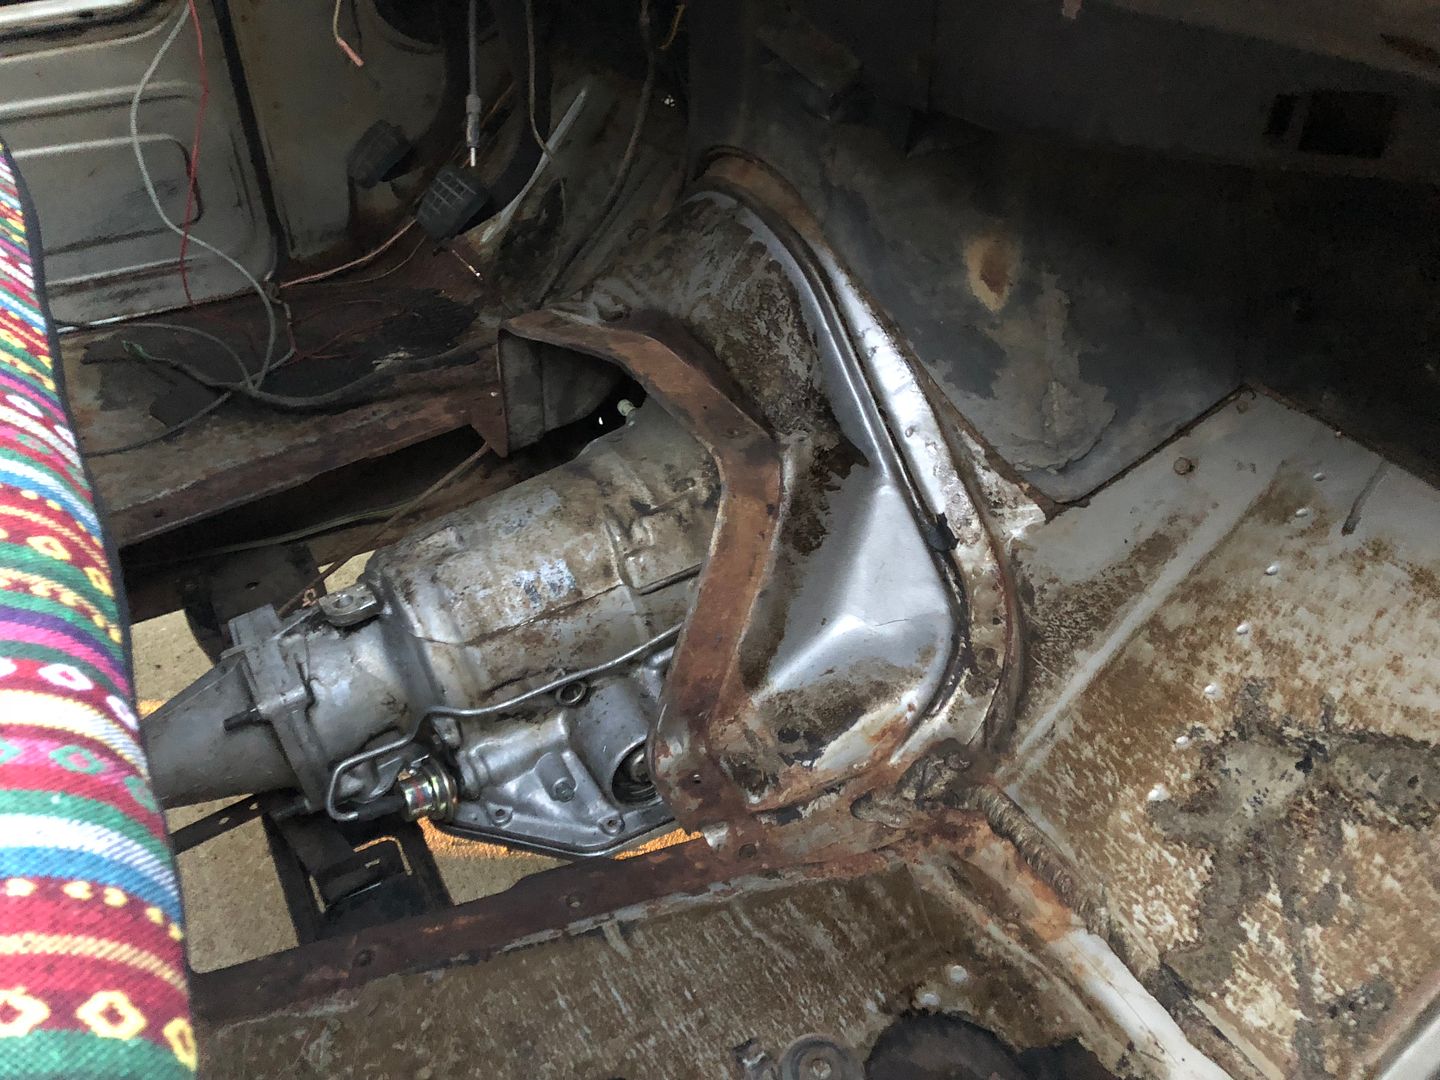 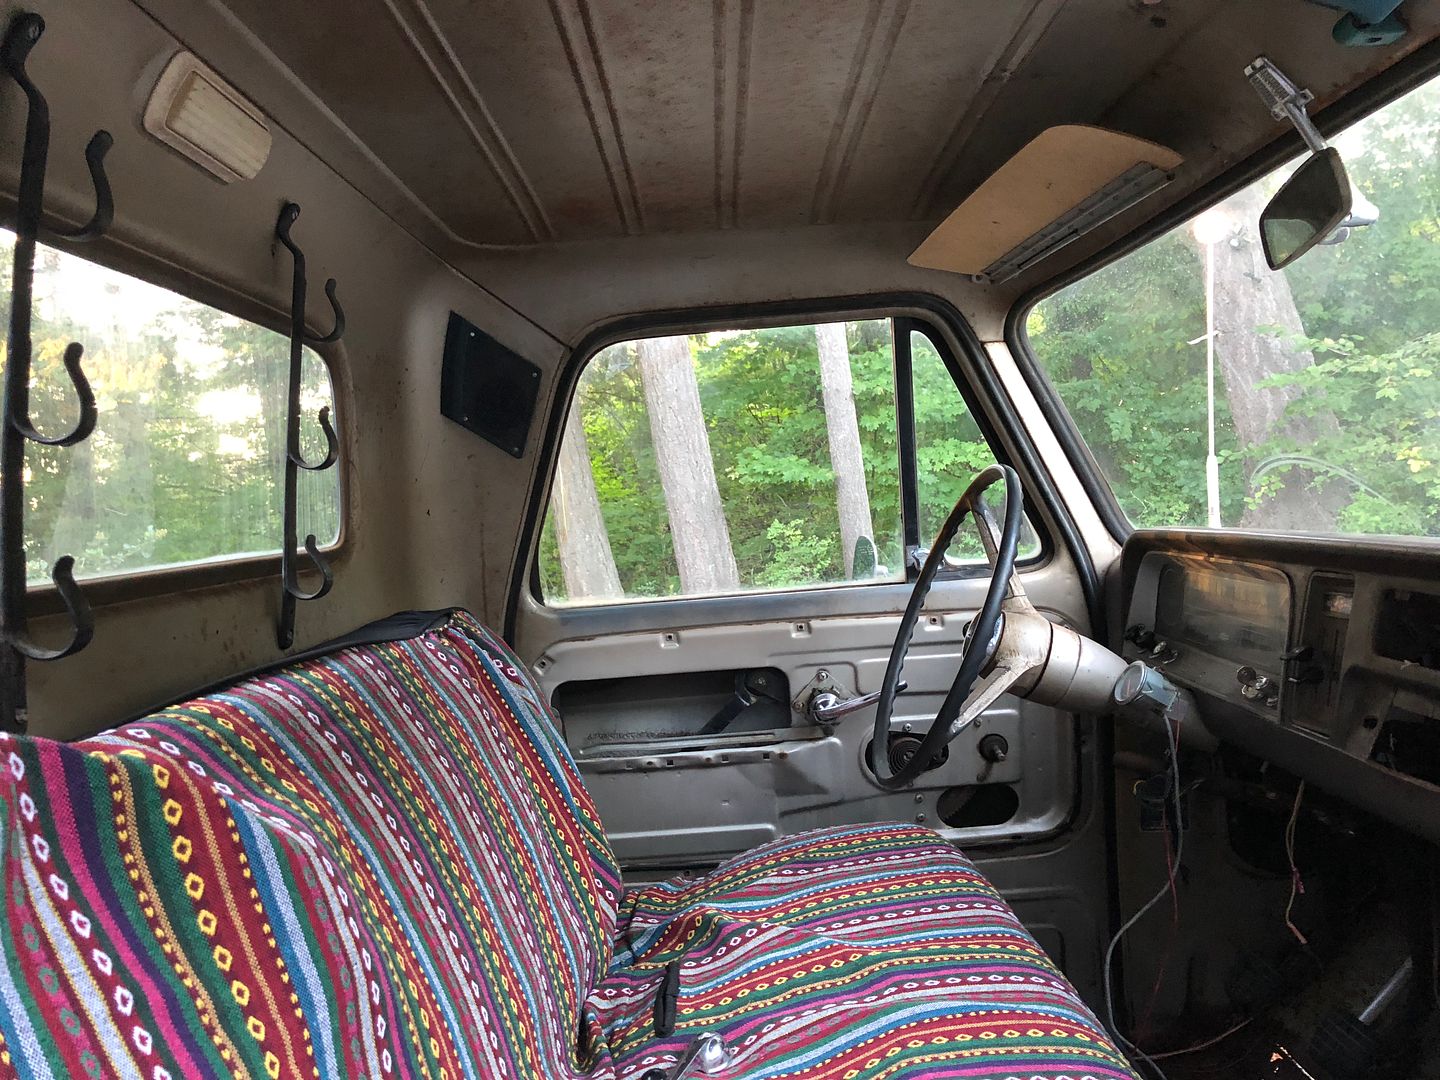
Last edited by kdad; 01-20-2019 at 10:17 PM. |
|
|
|

|
|
|
#7 |
|
Registered User
Join Date: Jan 2012
Location: Greeneville TN
Posts: 251
|
Re: 1966 C-10 build
You are right there are some amazing builds on here, I am doing the daily driver thing as well, I choose to call mine a work in progress. Good luck with your build...drive it and enjoy it while you fix her up.
__________________
http://67-72chevytrucks.com/vboard/s...d.php?t=765151 |
|
|

|
|
|
#8 |
|
Registered User
Join Date: Jul 2018
Location: Hollister, California
Posts: 230
|
Re: 1966 C-10 build
Jimmy I have lost allot of sleep in the last couple weeks just reading all of these threads and loving all of the great information and photos. I agree a work in progress is definitely what we have here. the real kicker in this whole deal is the truck is actually for my wife/ Queen. She has wanted an old truck for quite some time and this was just meant to be. You see this is the same truck I owned and drove to and from school back in the day. She is very excited and has fallen in love with the truck up to this point. I am sure we will go through the usual ups and down as we have done through so many car projects in the past but this one is her baby. Im just the lucky guy that gets to build her a new truck.
|
|
|

|
|
|
#9 |
|
60-66 Nut
  Join Date: Mar 2007
Location: Coeur d'Alene, Idaho
Posts: 23,251
|
Re: 1966 C-10 build
There is absolutely no need for that bellhousing crossmember to be there. It is just in the way with an auto trans.
Does the frame VIN match the cab VIN?
__________________
Power Steering Box Adapter Plates For Sale HERE Power Brake Booster Adapter Brackets For Sale '63-'66 HERE and '67-'72 HERE and '60-'62 HERE and "60-'62 with clutch HERE Rear Disc Brake Brackets For Sale. Impala SS calipers HERE Camaro Calipers HERE D52 Calipers HERE 6 Lug HERE Hydroboost Mounting Plates HERE |
|
|

|
|
|
#10 |
|
Registered User
Join Date: Jul 2018
Location: Hollister, California
Posts: 230
|
Re: 1966 C-10 build
That's what it looked like that cross member was probably left in place by the PO who didn't realize that it was not needed with an automatic trans. Thanks for the confirmation. And yes sir all of the numbers match as they should. Plate at the top of drivers side door jam and top of frame rail drivers side are exact.
__________________
Check out my build here http://67-72chevytrucks.com/vboard/s...d.php?t=768039 She may not be the prom queen but at least she puts out.. |
|
|

|
|
|
#11 | |
|
Registered User
Join Date: Jan 2012
Location: Greeneville TN
Posts: 251
|
Re: 1966 C-10 build
Quote:

__________________
http://67-72chevytrucks.com/vboard/s...d.php?t=765151 |
|
|
|

|
|
|
#12 | |
|
Registered User
Join Date: Jul 2018
Location: Hollister, California
Posts: 230
|
Re: 1966 C-10 build
Quote:
__________________
Check out my build here http://67-72chevytrucks.com/vboard/s...d.php?t=768039 She may not be the prom queen but at least she puts out.. |
|
|
|

|
|
|
#13 |
|
Registered User
Join Date: Jul 2018
Location: Hollister, California
Posts: 230
|
Re: 1966 C-10 build
Well I have been busy with other projects and doing tons of research for the build. I took apart almost everything that the PO touched and have repaired most of it to get back to square one. some were just minor and others are waiting for more parts to come in. In the mean time I have decided that this build will be mostly Ol' Skool with a few new items thrown in here and there. I really want to keep this project on budget which means we are going to keep it basic. First is to keep the 6 lugs and also keep the drum brakes (For this first go round) in my examination of the PO's work I discovered a bad front wheel hub. you can literally drop a race in it with almost no resistance. So I am now looking for a replacement. (not as easy as it sounds) Loading more pics asap.
__________________
Check out my build here http://67-72chevytrucks.com/vboard/s...d.php?t=768039 She may not be the prom queen but at least she puts out.. |
|
|

|
|
|
#14 |
|
Registered User
Join Date: Oct 2010
Location: Ocean Springs, MS
Posts: 1,746
|
Re: 1966 C-10 build
Nice work, man!
__________________
Gary 1971 Chevrolet C/10 1951 GMC 100 1977 GMC C15 1955 Chevrolet 3100 |
|
|

|
|
|
#15 |
|
Registered User
Join Date: Jul 2018
Location: Hollister, California
Posts: 230
|
Re: 1966 C-10 build
__________________
Check out my build here http://67-72chevytrucks.com/vboard/s...d.php?t=768039 She may not be the prom queen but at least she puts out.. |
|
|

|
|
|
#16 |
|
Registered User
Join Date: Jul 2018
Location: Hollister, California
Posts: 230
|
Re: 1966 C-10 build
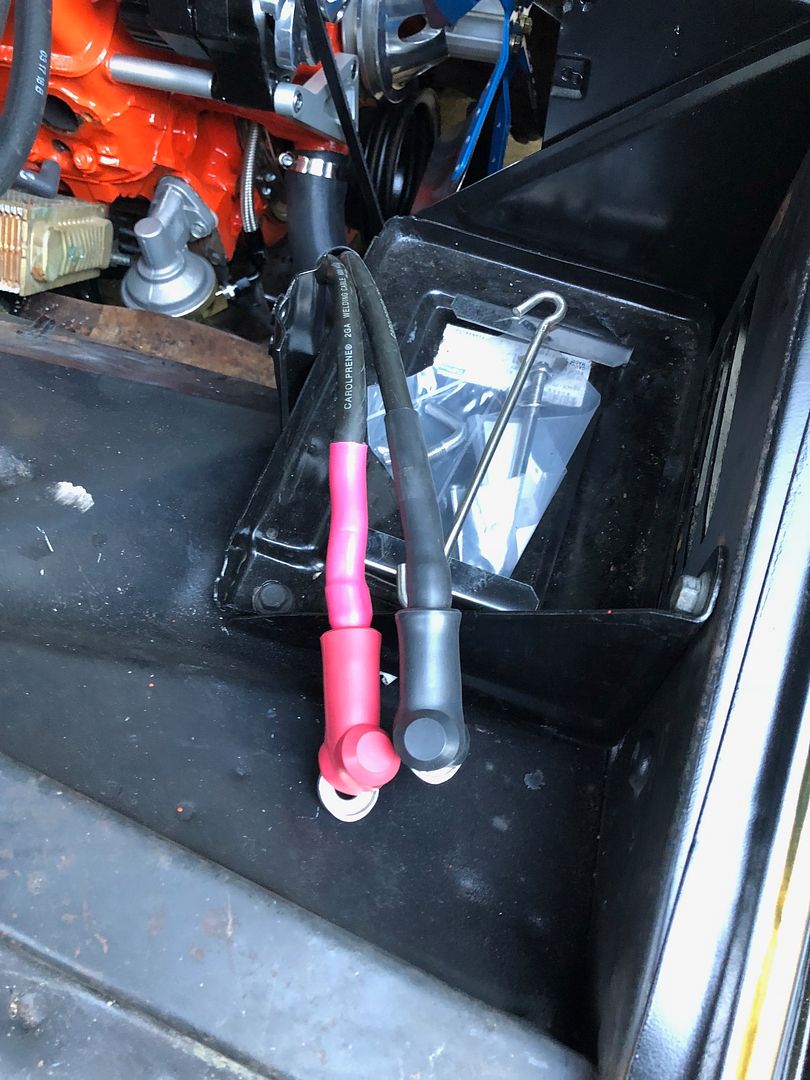
You know how it is... start on one small item and it explodes to a dozen other items. LOL... Oh well it could be worse.... had to clean up the area under the hood a bit and get some fresh paint on the freshly stripped parts and pieces. Waiting on a few items to be shipped our way so until then we have kept cleaning stripping and painting. soldered up some new battery cables. Made them out of some left over welders cable I had from another project
 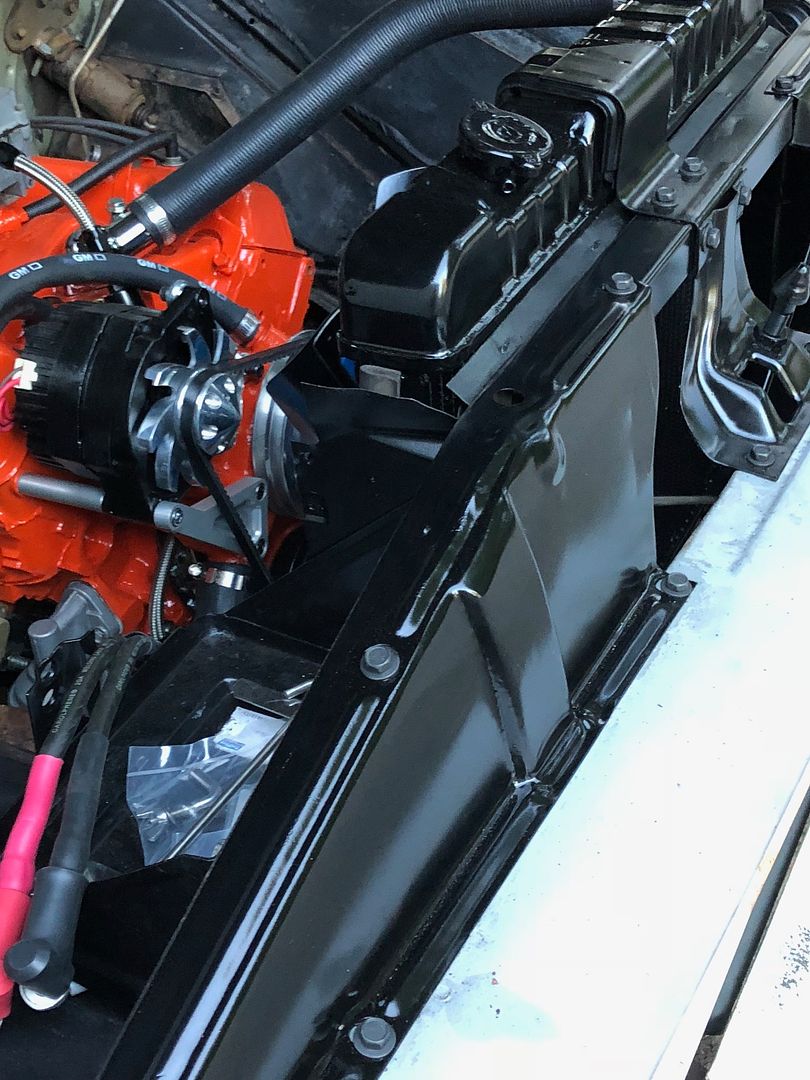 Painted the radiator and the mounting hardware for ****s and giggles. 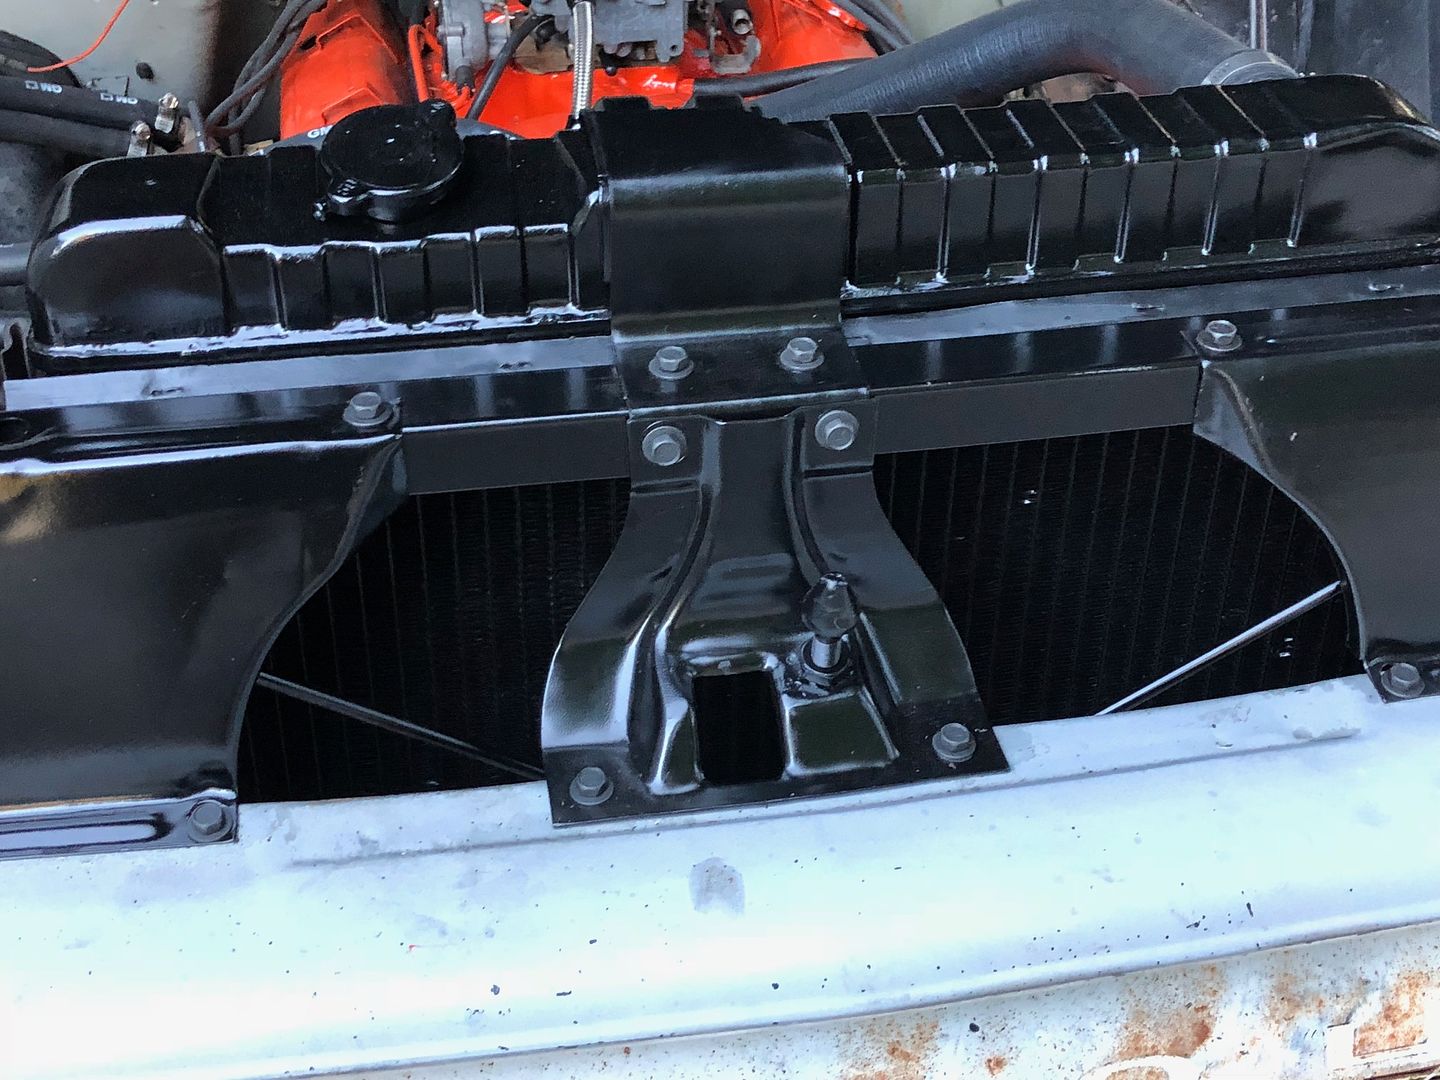 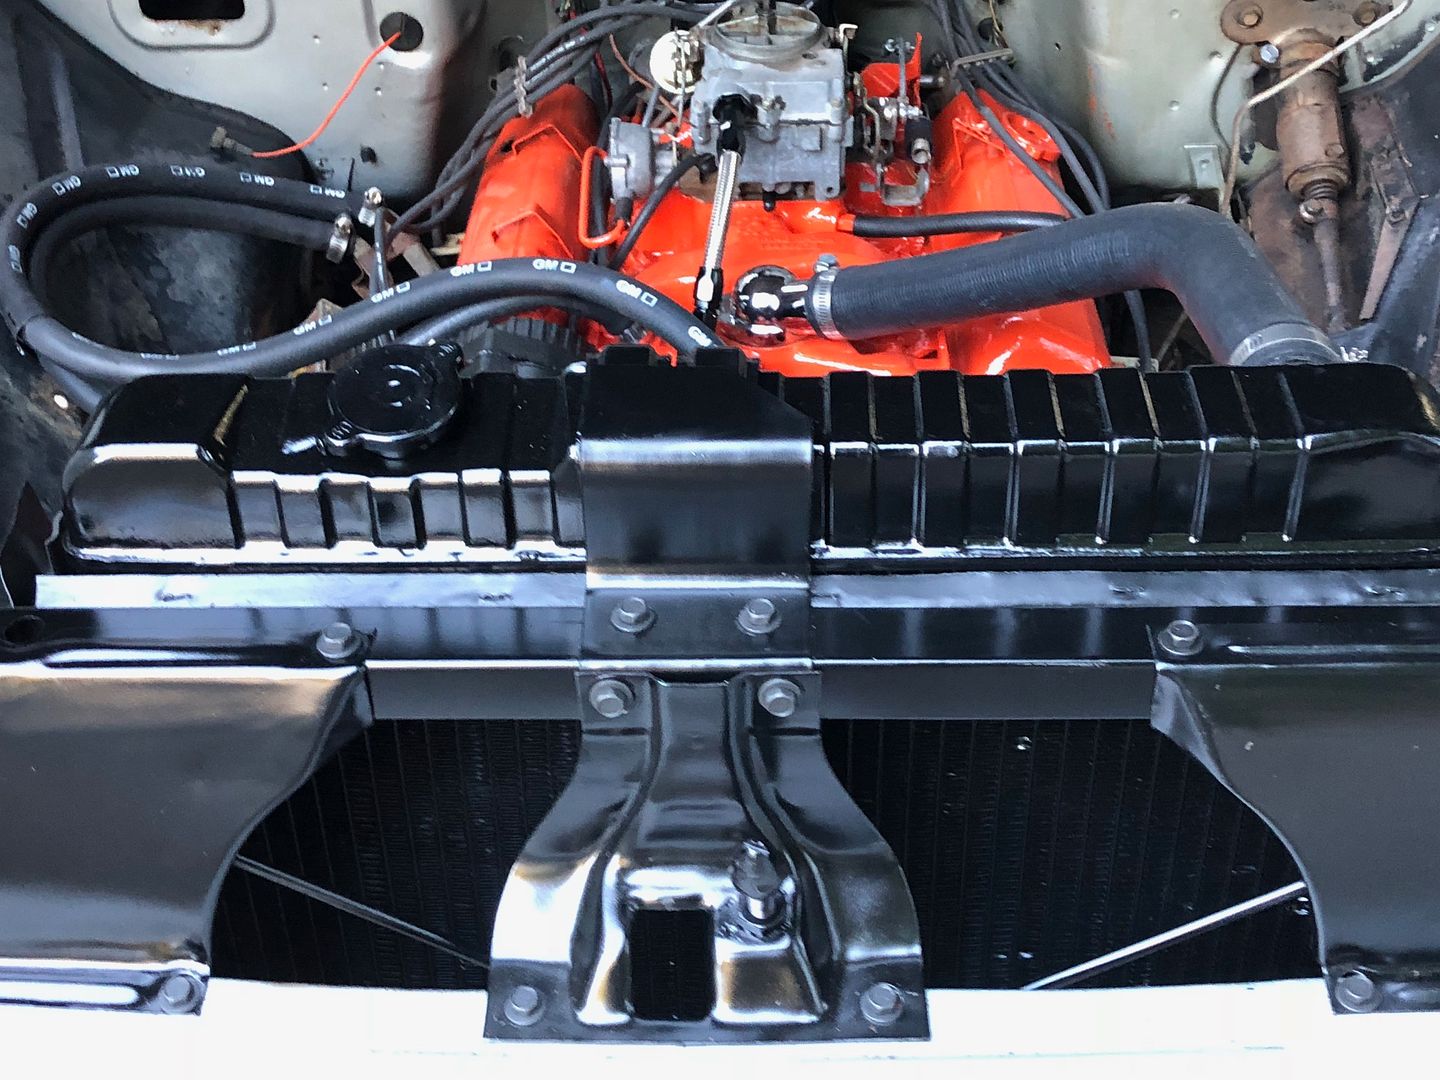 The cap will get replaced when I find one I like. Until then it keeps the dirt out.
__________________
Check out my build here http://67-72chevytrucks.com/vboard/s...d.php?t=768039 She may not be the prom queen but at least she puts out.. |
|
|

|
|
|
#17 |
|
Registered User
Join Date: Jul 2018
Location: Hollister, California
Posts: 230
|
Re: 1966 C-10 build
Well it has been a few days since last update. not much happening here as we are anxiously awaiting a few parts to be delivered. Here is customer service for you. So I order some under hood wiring rather than re-wire myself I thought for the cost and time it makes way more sense to just order a new engine harness with the HEI distributor included. So I order one and they ship it a week later. No big deal I know it takes awhile to ship items that are in stock and on the shelf. SMH..... 4 days later I open the box and they have not only sent the wrong wiring harness its for tail lights and fits a 67-72.. Im like WTH..?? So I call and the guy says are you sure because it sounds like you might not realize the parts you have are correct. Once again I am like WTH?? I said they are wrong and the part numbers don't match with whats on the order. So he says we are gonna need a picture and proof it is wrong.. Never heard of this before but I agree and take pics send them to the e mail he tells me and wait...……………………………. Two days later I call again and say hey whats the status of my order. He says its under review... Again.. WTH..?? I ask whats to be reviewed you sent the wrong part?? now when will the new one get here and include a return label so you can have this other piece back that is useless to me.. he says sorry but we will need the part back first then we will need to inspect it and then we can credit your account and you can order again..... Now its WTF...?? He says yea well we have had people screw us over in the past.. Being a mild mannered person I went into the explanation that the only reason this happens is because you as a company pull the wrong parts and ship them. Fix the root of the problem and get it through your head that you need to make up for your mistake not the other way around.. sorry sir but we are gonna need the part back here before we do anything about a replacement.. No problem I will send it right out and you can cancel the order asap I will spend my money where they can put the right parts in a box and ship them.... To say the least I cancel over $500 dollars worth of parts and now have re-ordered from other vendors.. I have gotten better service at Mcdonalds where they can put the right burger in a bag.. On a happier note I have decided to tackle a few other little projects in the build that were not scheduled as we have a little added time due to a vendors shipping issues. Going to tackle the dents in the front bumper and grill to help the ol' girls smile. Also decided it would make sense to strip the bottom side of the hood and all the associated hardware including the hood hinges and re-paint them all. I also decided to just re-do the turn indicator harness myself to save another headache. LOL More pics coming
__________________
Check out my build here http://67-72chevytrucks.com/vboard/s...d.php?t=768039 She may not be the prom queen but at least she puts out.. |
|
|

|
|
|
#18 |
|
Registered User
Join Date: Jul 2018
Location: Hollister, California
Posts: 230
|
Re: 1966 C-10 build
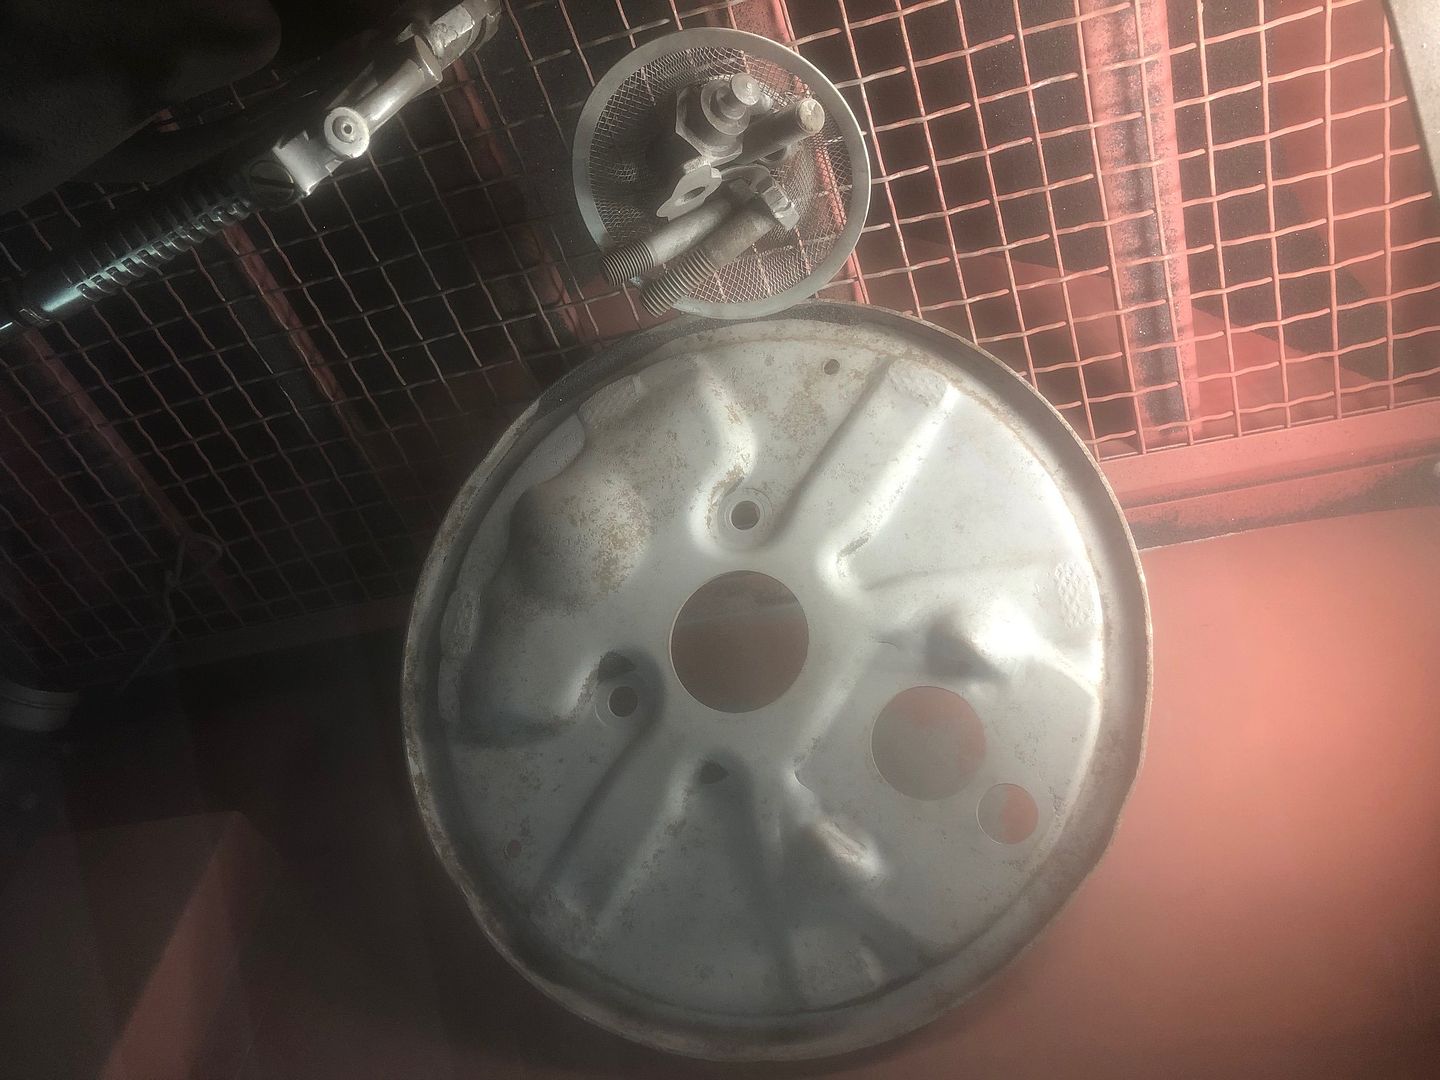
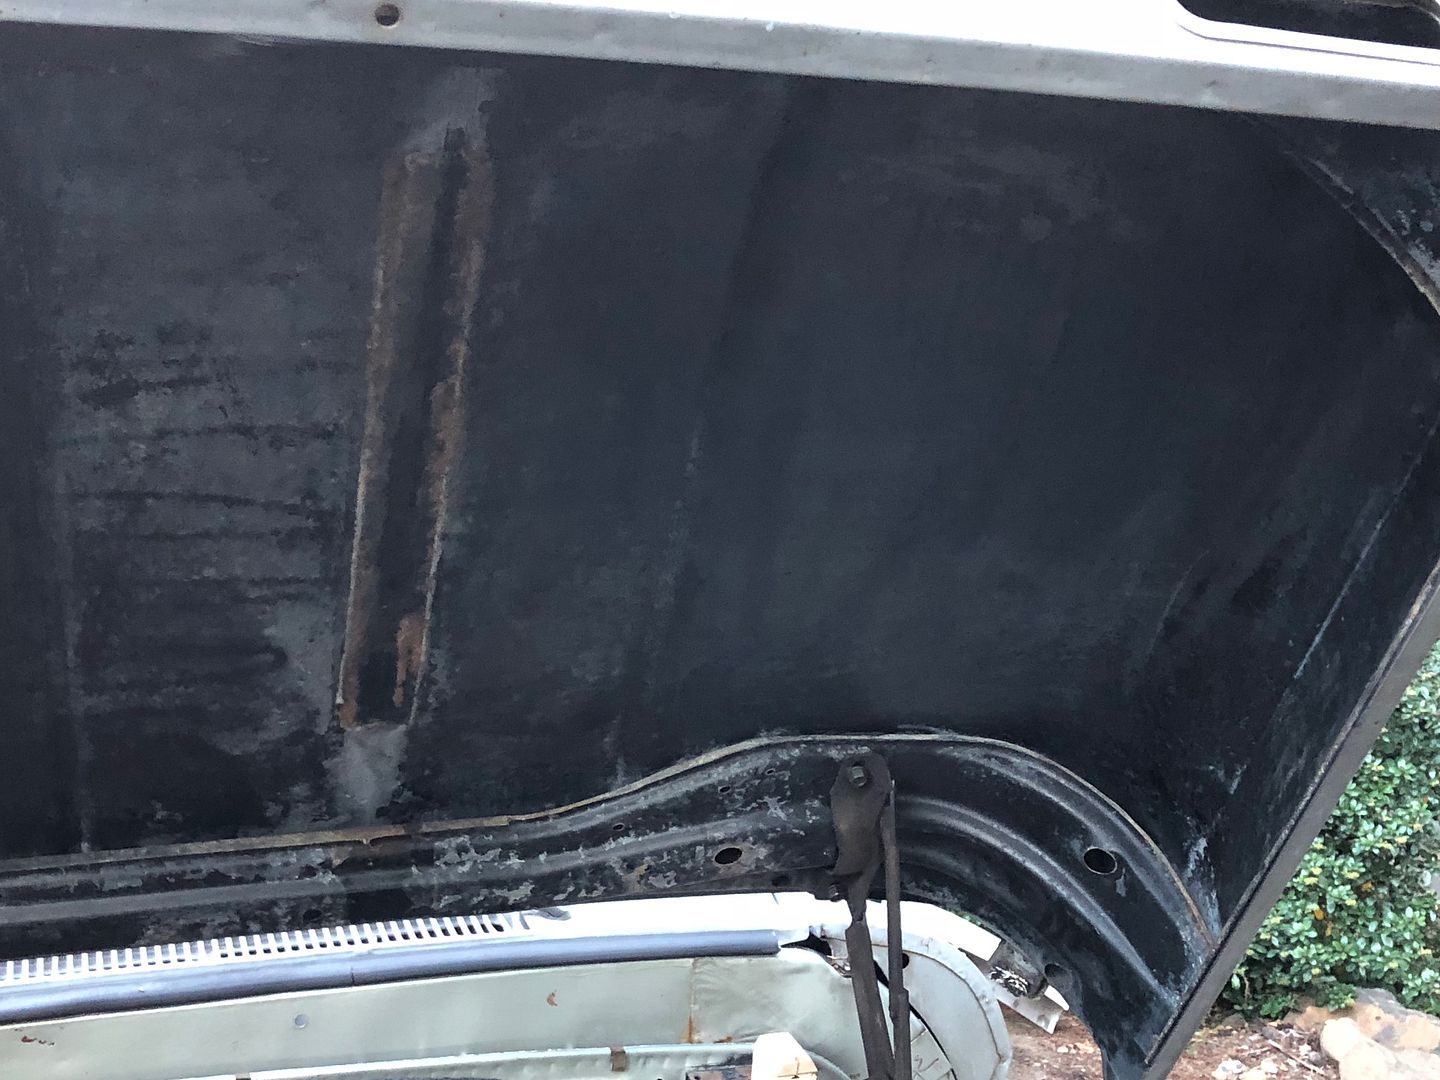 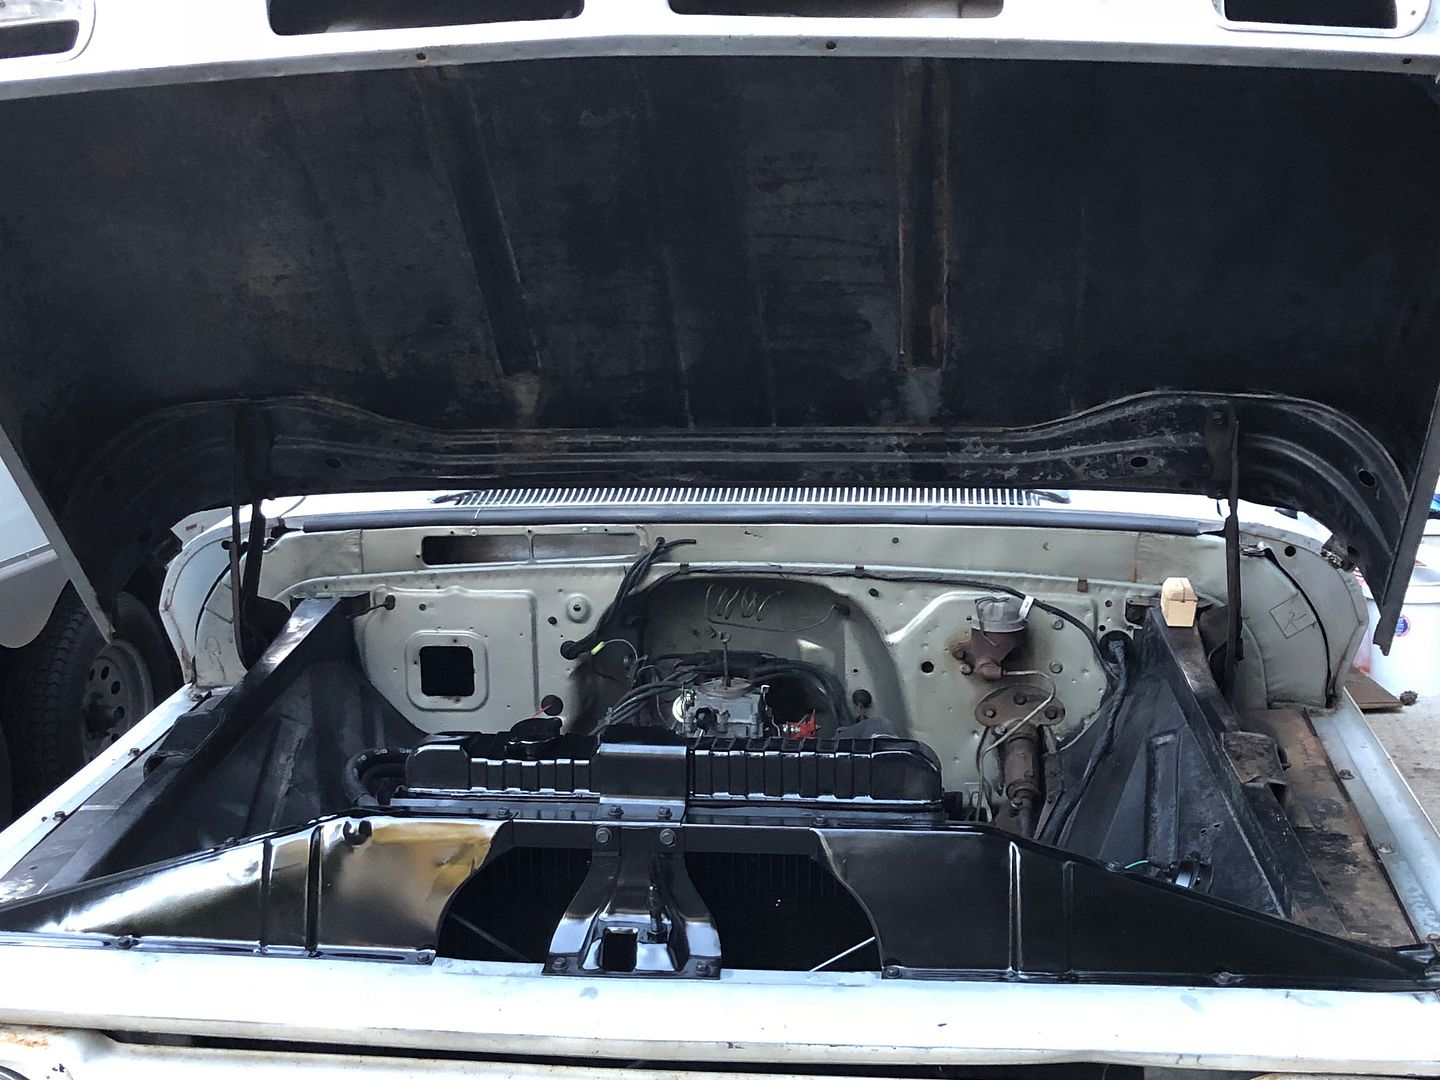 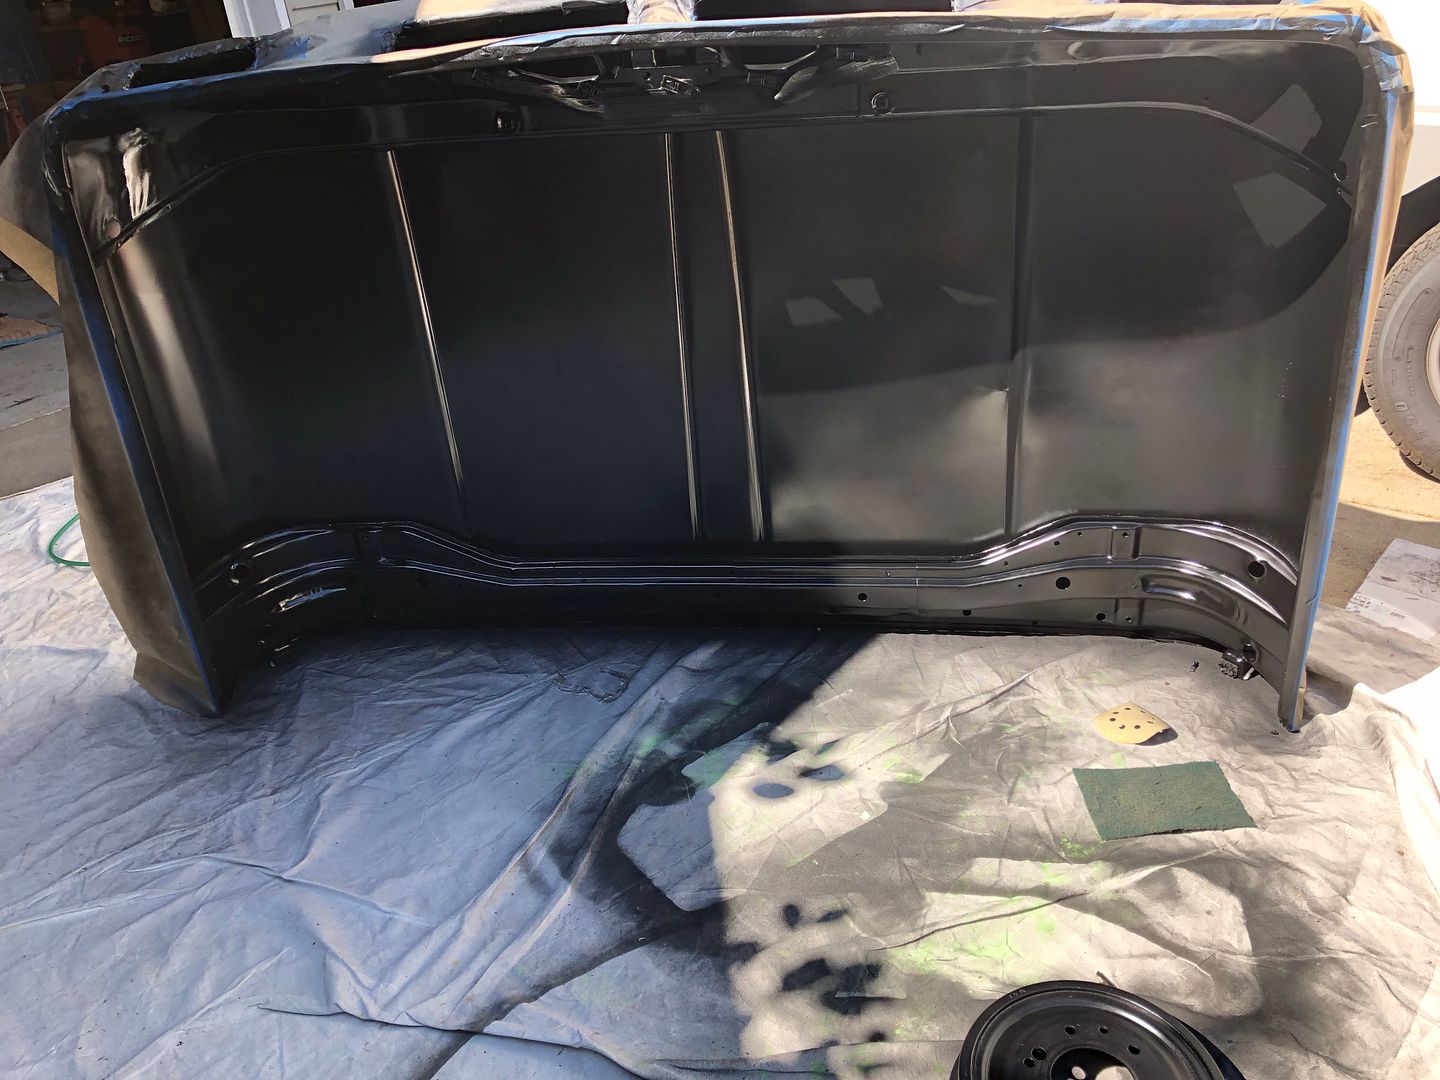 also decided we needed to media blast the new hubs and drums.. 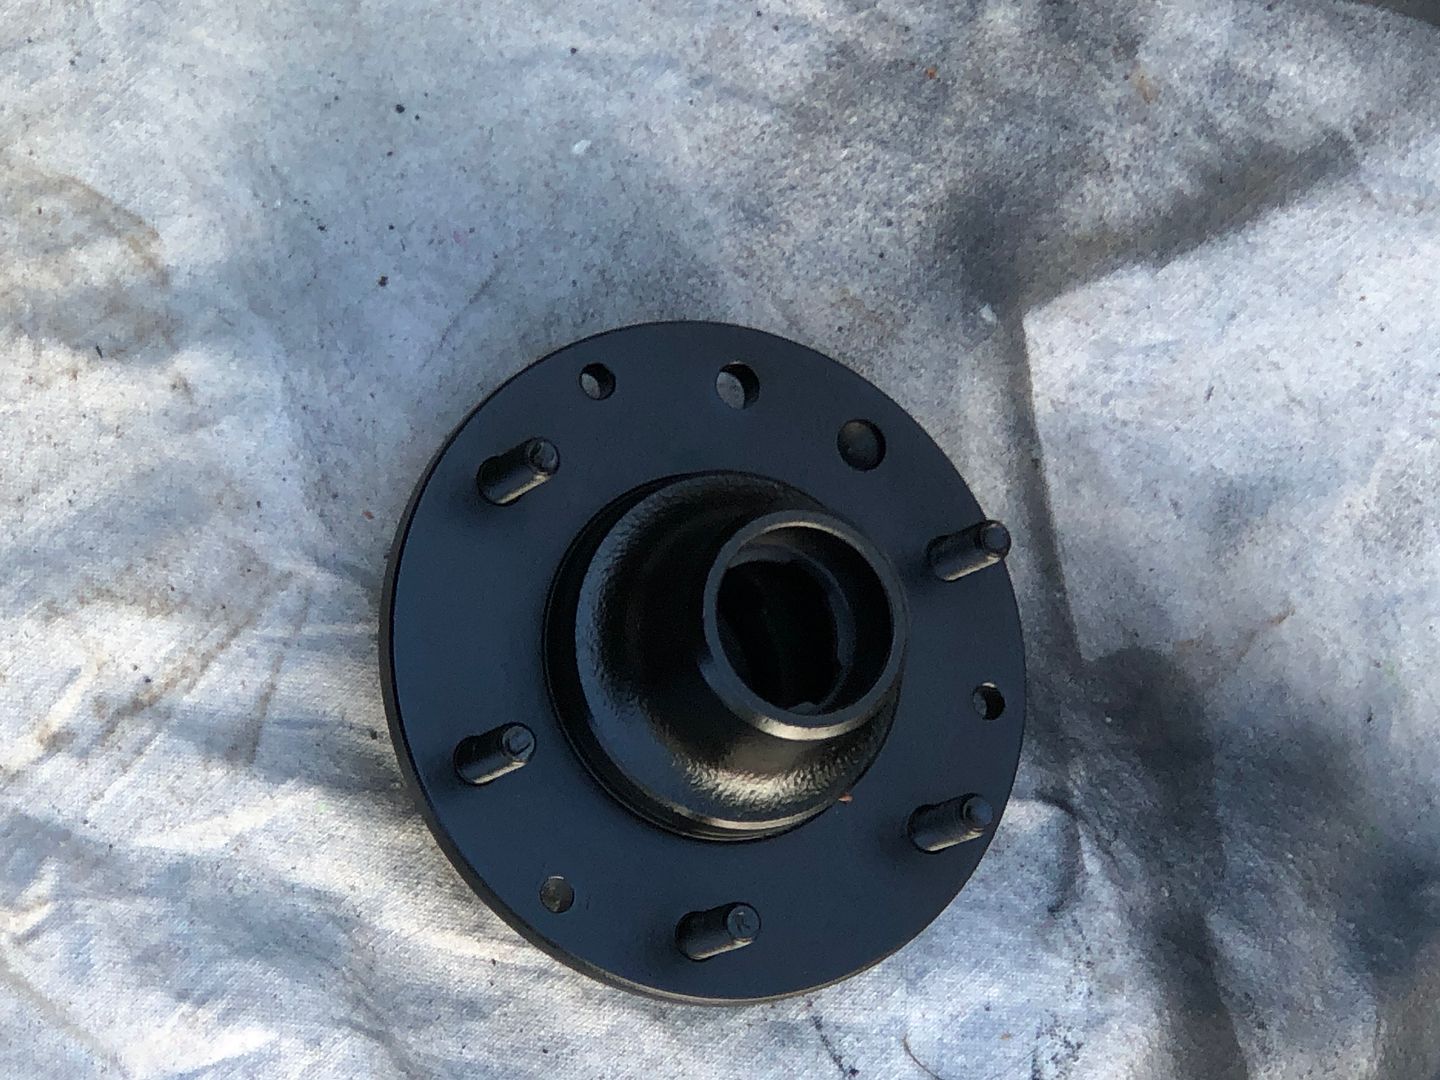 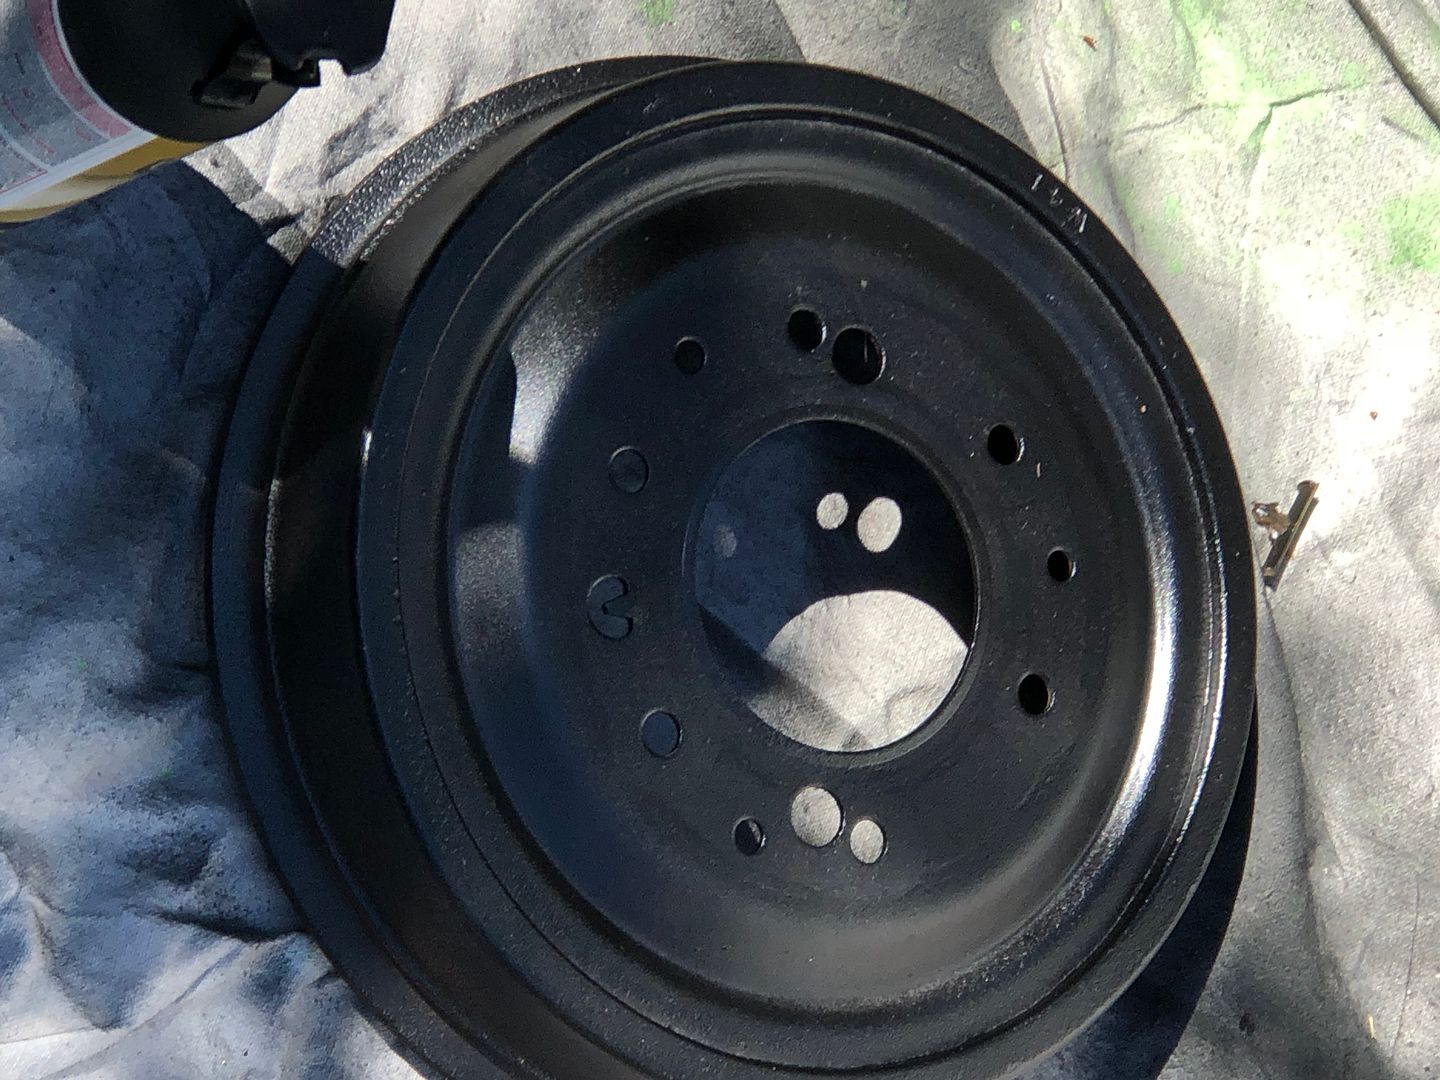 Also got some exhaust headers that were not really in the plan but figured what the heck why not. they fit perfect BTW... 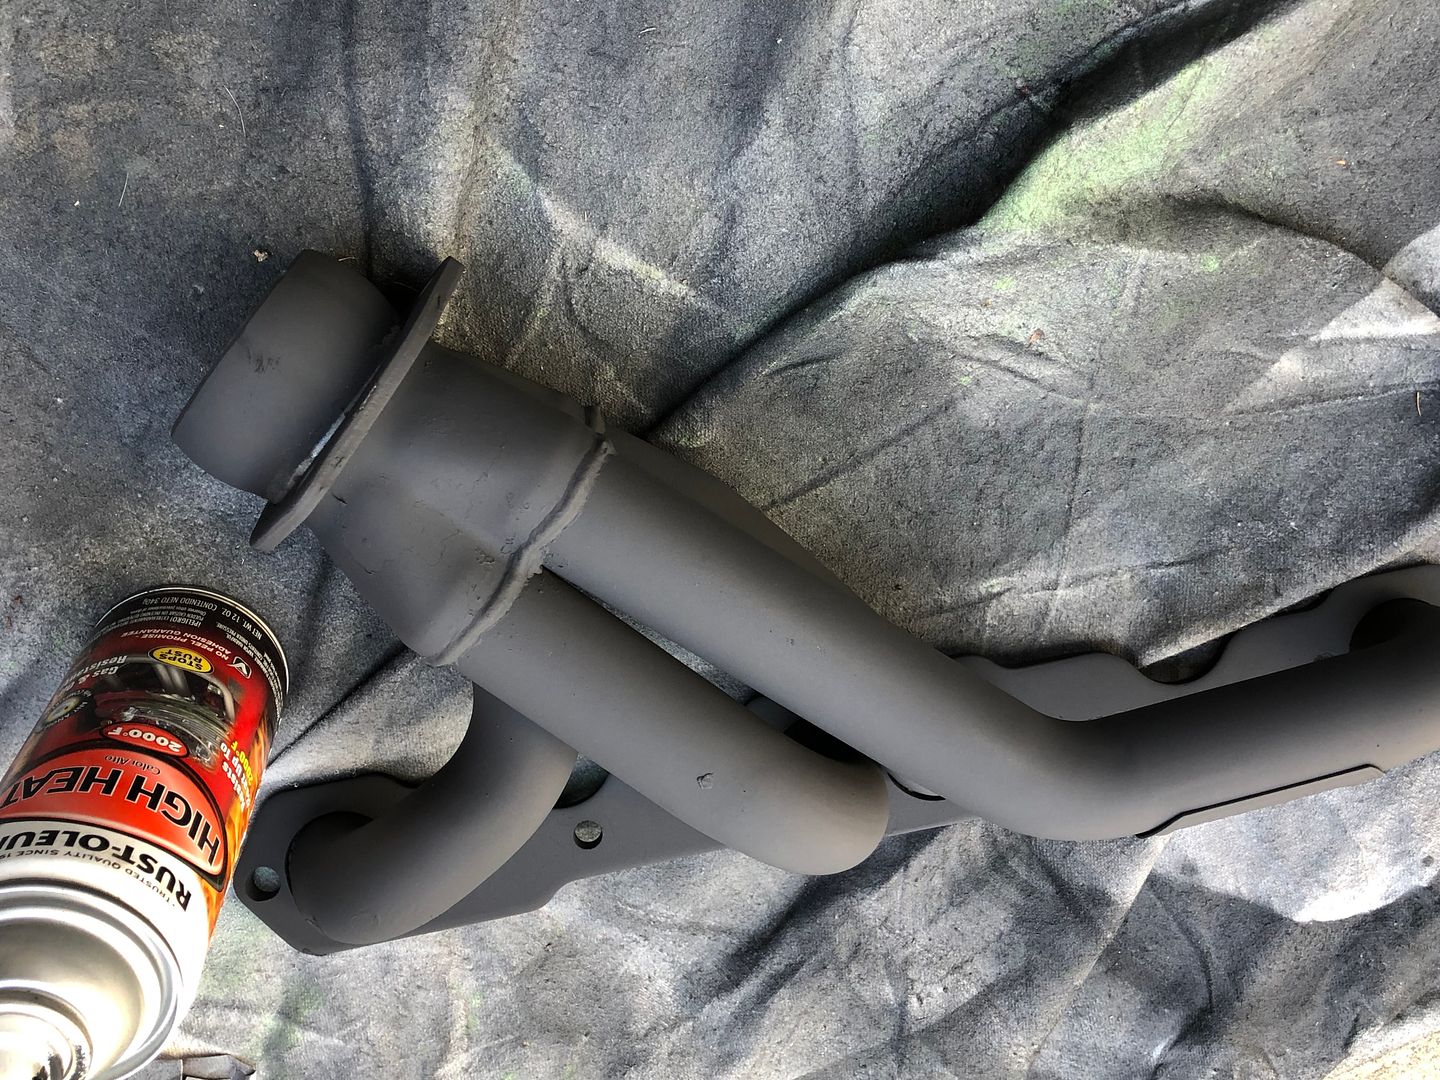 Time to go and get some more work done
__________________
Check out my build here http://67-72chevytrucks.com/vboard/s...d.php?t=768039 She may not be the prom queen but at least she puts out.. |
|
|

|
|
|
#19 |
|
Registered User
Join Date: Jan 2011
Location: North little Rock, Arkansas
Posts: 471
|
Re: 1966 C-10 build
nice score on that tailgate! I feel your pain on the ordering parts. I'm excited to see how this turns out.
__________________
My build Lil` Red http://67-72chevytrucks.com/vboard/s...d.php?t=551373 1984 Chevy C10 short bed 2001 Chevy Impala police cruiser 2001 Chevy Silverado 1500 Z71 4wd extended cab  dd dd
|
|
|

|
|
|
#20 |
|
Registered User
Join Date: Sep 2012
Location: earth
Posts: 93
|
Re: 1966 C-10 build
did you remove the braces under your hood for painting or are they missing
|
|
|

|
|
|
#21 |
|
Registered User
Join Date: Jul 2018
Location: Hollister, California
Posts: 230
|
Re: 1966 C-10 build
I removed the two braces and media blasted them before painting them and reinstalling with new rubber and a re-built wiring harness..
__________________
Check out my build here http://67-72chevytrucks.com/vboard/s...d.php?t=768039 She may not be the prom queen but at least she puts out.. |
|
|

|
|
|
#22 |
|
Registered User
Join Date: Jul 2018
Location: Hollister, California
Posts: 230
|
Re: 1966 C-10 build
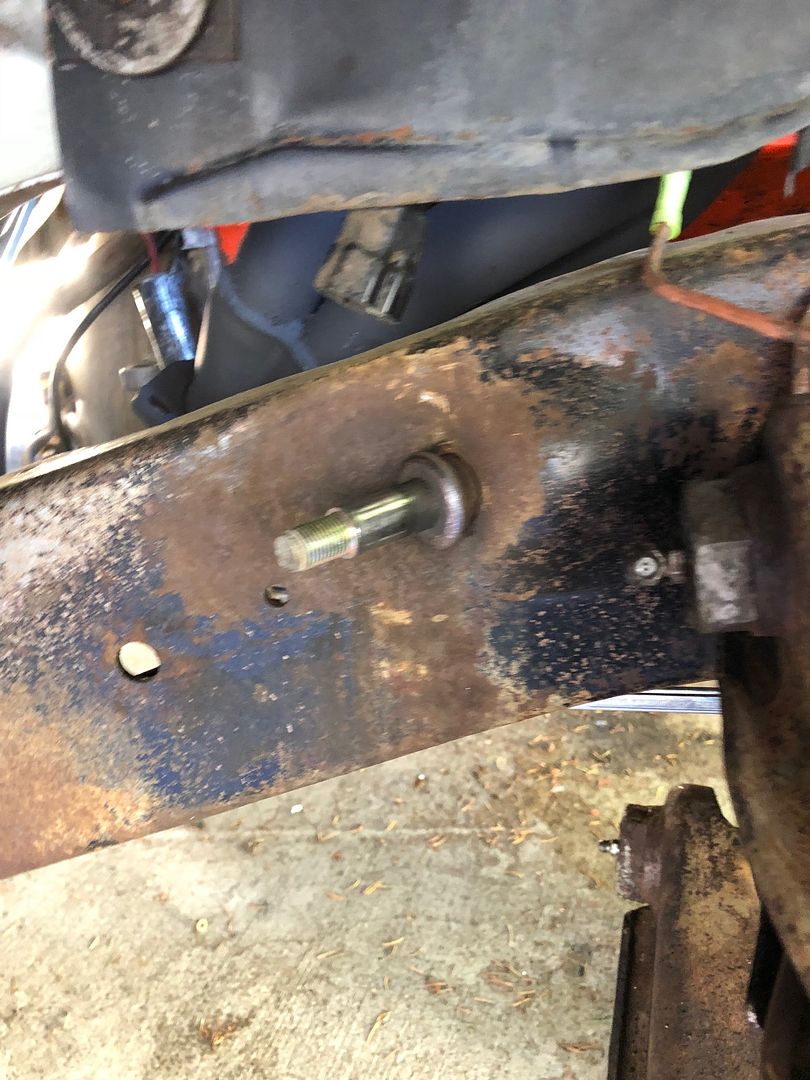
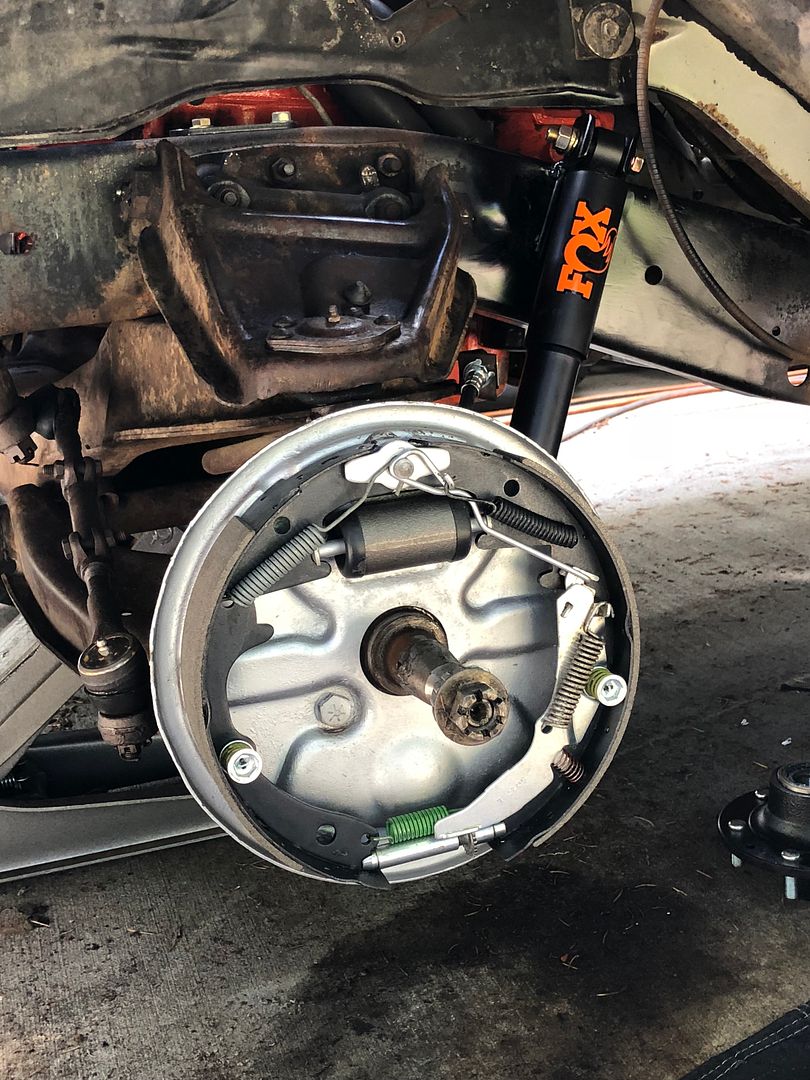
been busy here working on multiple items. front brakes. Front shocks and mounts.
__________________
Check out my build here http://67-72chevytrucks.com/vboard/s...d.php?t=768039 She may not be the prom queen but at least she puts out.. |
|
|

|
|
|
#23 |
|
Registered User
Join Date: Jul 2018
Location: Hollister, California
Posts: 230
|
Re: 1966 C-10 build
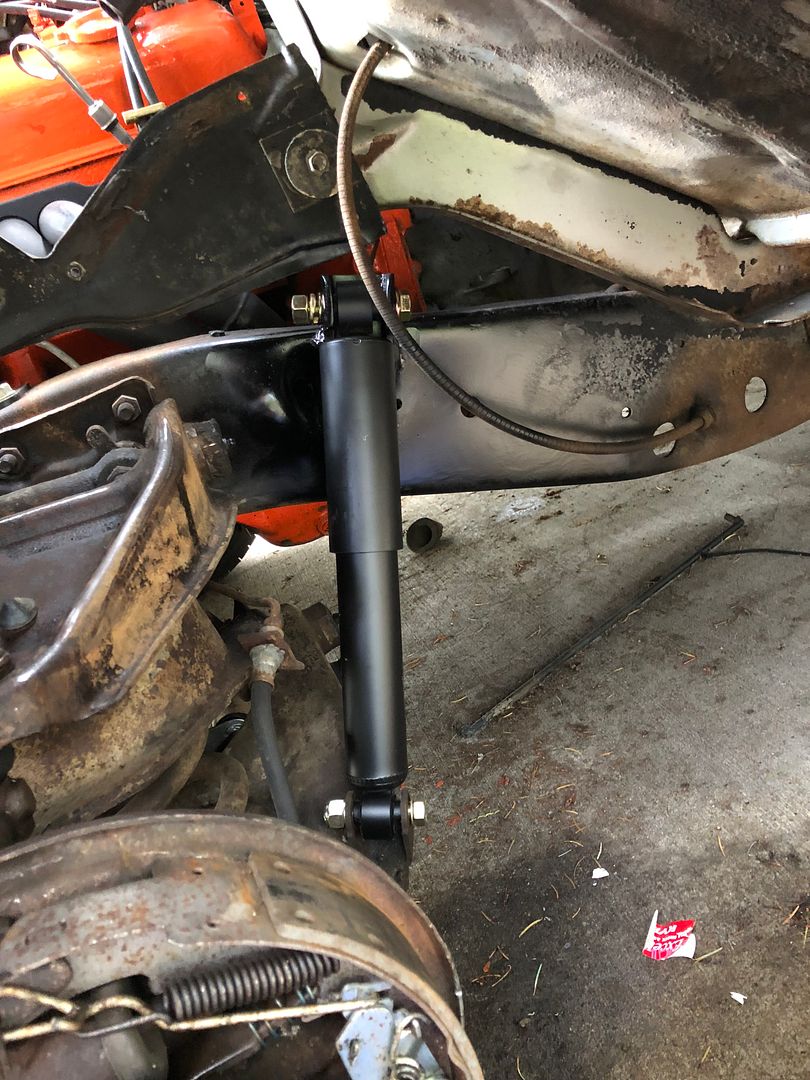 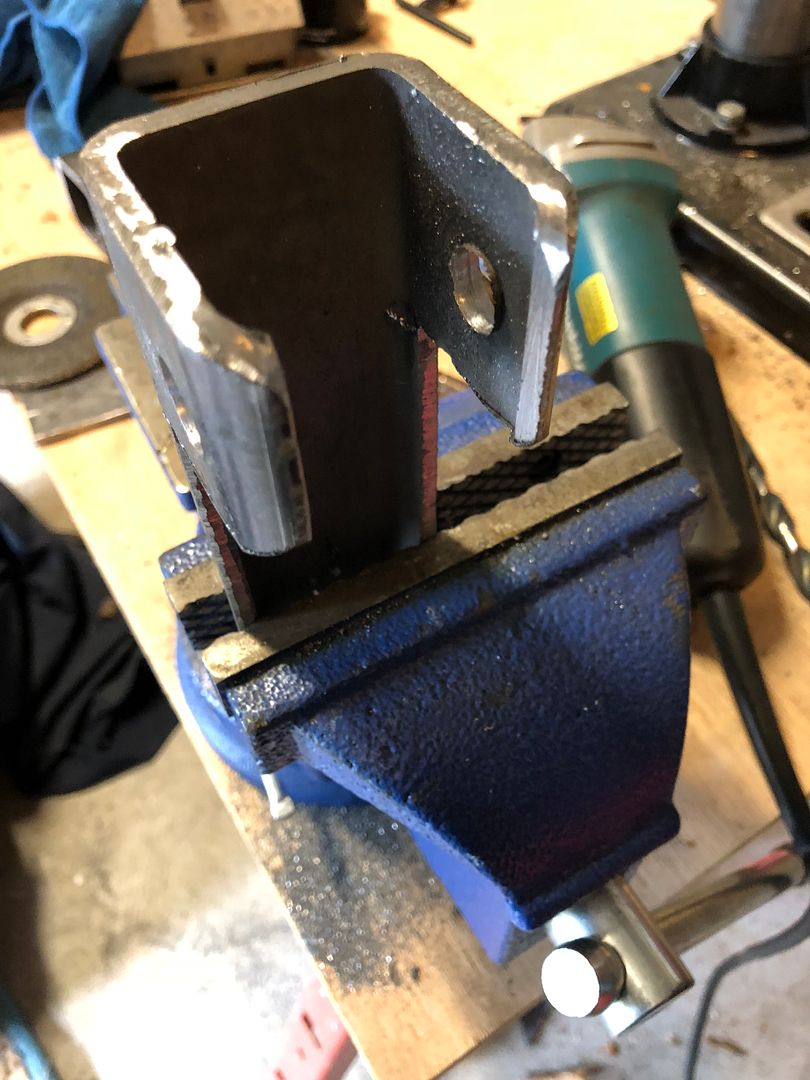
__________________
Check out my build here http://67-72chevytrucks.com/vboard/s...d.php?t=768039 She may not be the prom queen but at least she puts out.. |
|
|

|
|
|
#24 |
|
Senior Member
 Join Date: Aug 2012
Location: Somewhere In So. IL.
Posts: 412
|
Re: 1966 C-10 build
I like what you're doing. I've seen other guys do the shock relocation like you did. On the rear setup, did you use stock length rear shocks? I saw one build where I believe they said they used stock length front shocks on the rear.
What spring drop did you use on the rear?
__________________
Doug Old Build Thread - 383/T56 http://www.67-72chevytrucks.com/vboa...d.php?t=540838 Updated Build Thread - Modern Relic - 66 C10 536 Dark Aqua 5.3/4L60E - BTR Stage IV Truck Cam - Vintage Air - Dakota Digital http://67-72chevytrucks.com/vboard/s...d.php?t=778784 |
|
|

|
|
|
#25 | |
|
Registered User
Join Date: Jul 2018
Location: Hollister, California
Posts: 230
|
Re: 1966 C-10 build
Hey Doug, Thanks. Im pretty simple and so is the truck. I did use the stock length shocks and the springs are 4 inch drop..
Quote:
__________________
Check out my build here http://67-72chevytrucks.com/vboard/s...d.php?t=768039 She may not be the prom queen but at least she puts out.. |
|
|
|

|
 |
| Bookmarks |
|
|