
 |
|
|
|
|
#1 |
|
Registered User
Join Date: Jan 2013
Location: Leonardtown, MD
Posts: 1,647
|
55 Wagon Progress
This is a mod I had discussed with the owner quite a while back, and she asked about it again a couple weeks ago, so I guess we're on the hook to shave some seams..
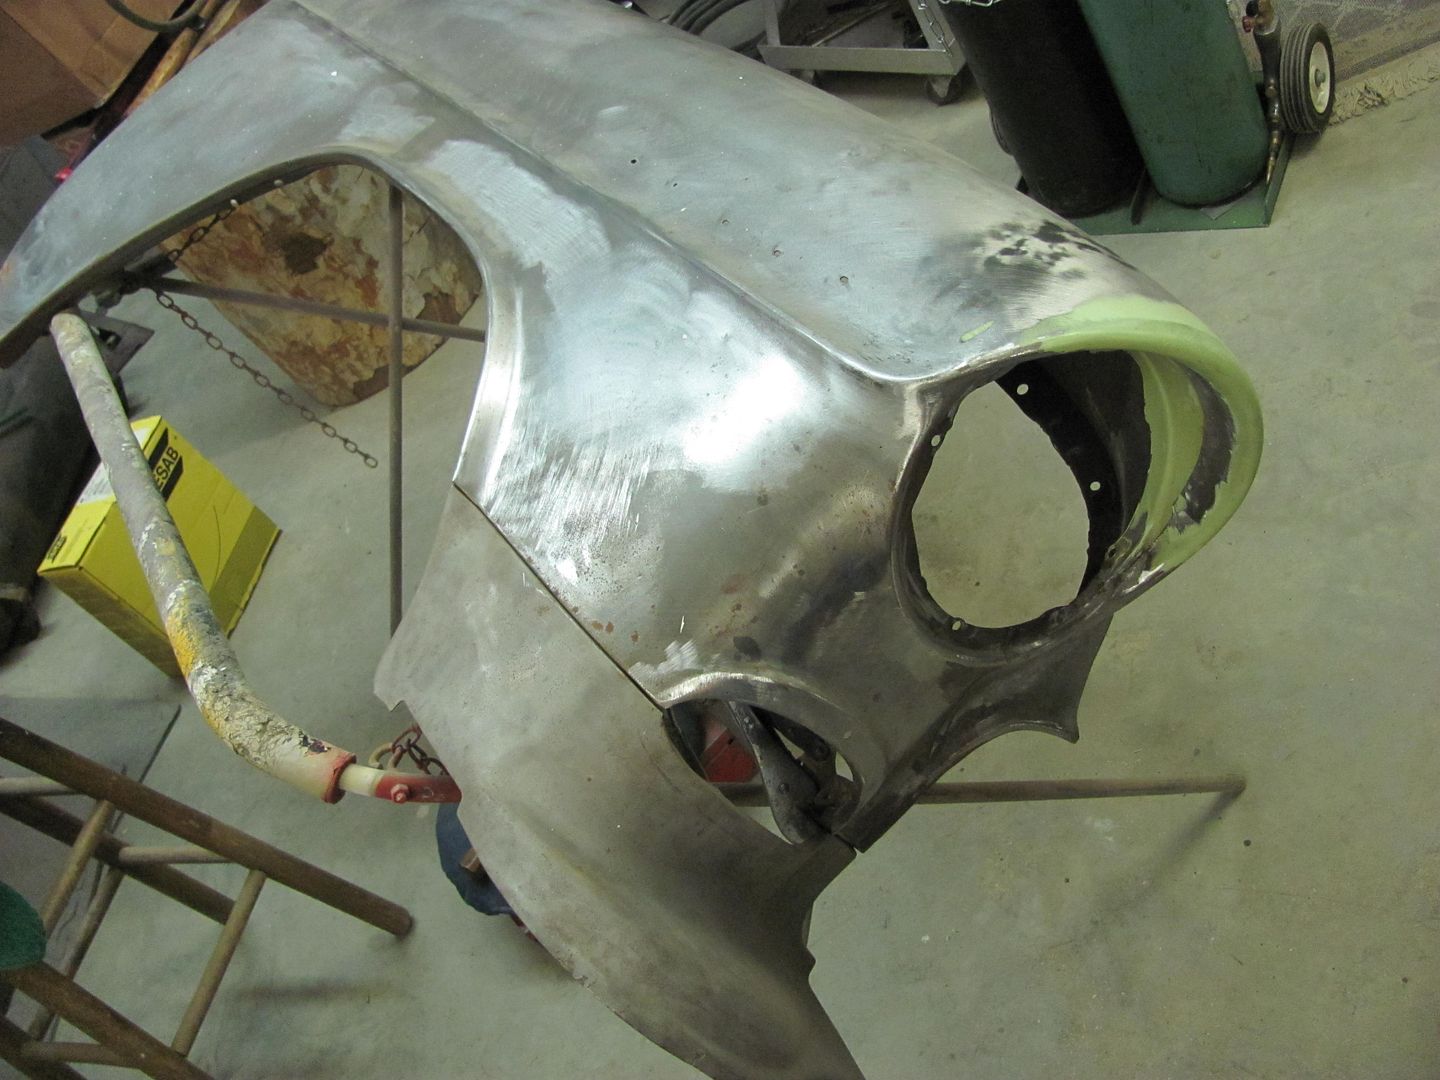 The bolting plates are cut out of the way, and the folded flange is trimmed, leaving a bit of extra to allow for fine tuning the weld joint. 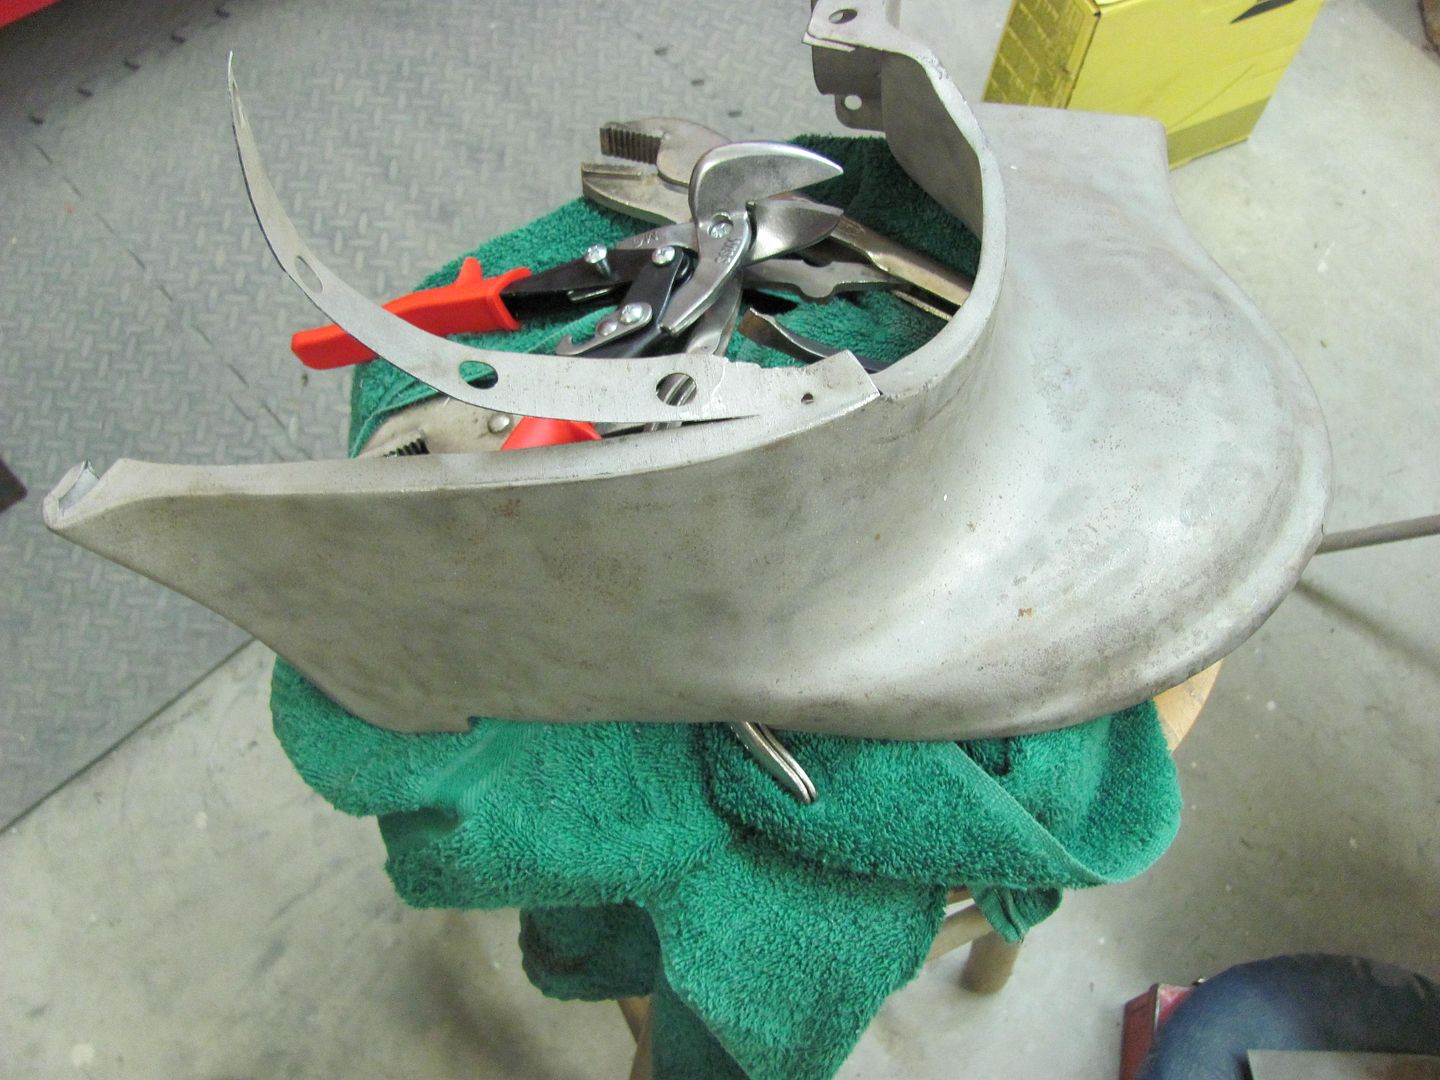 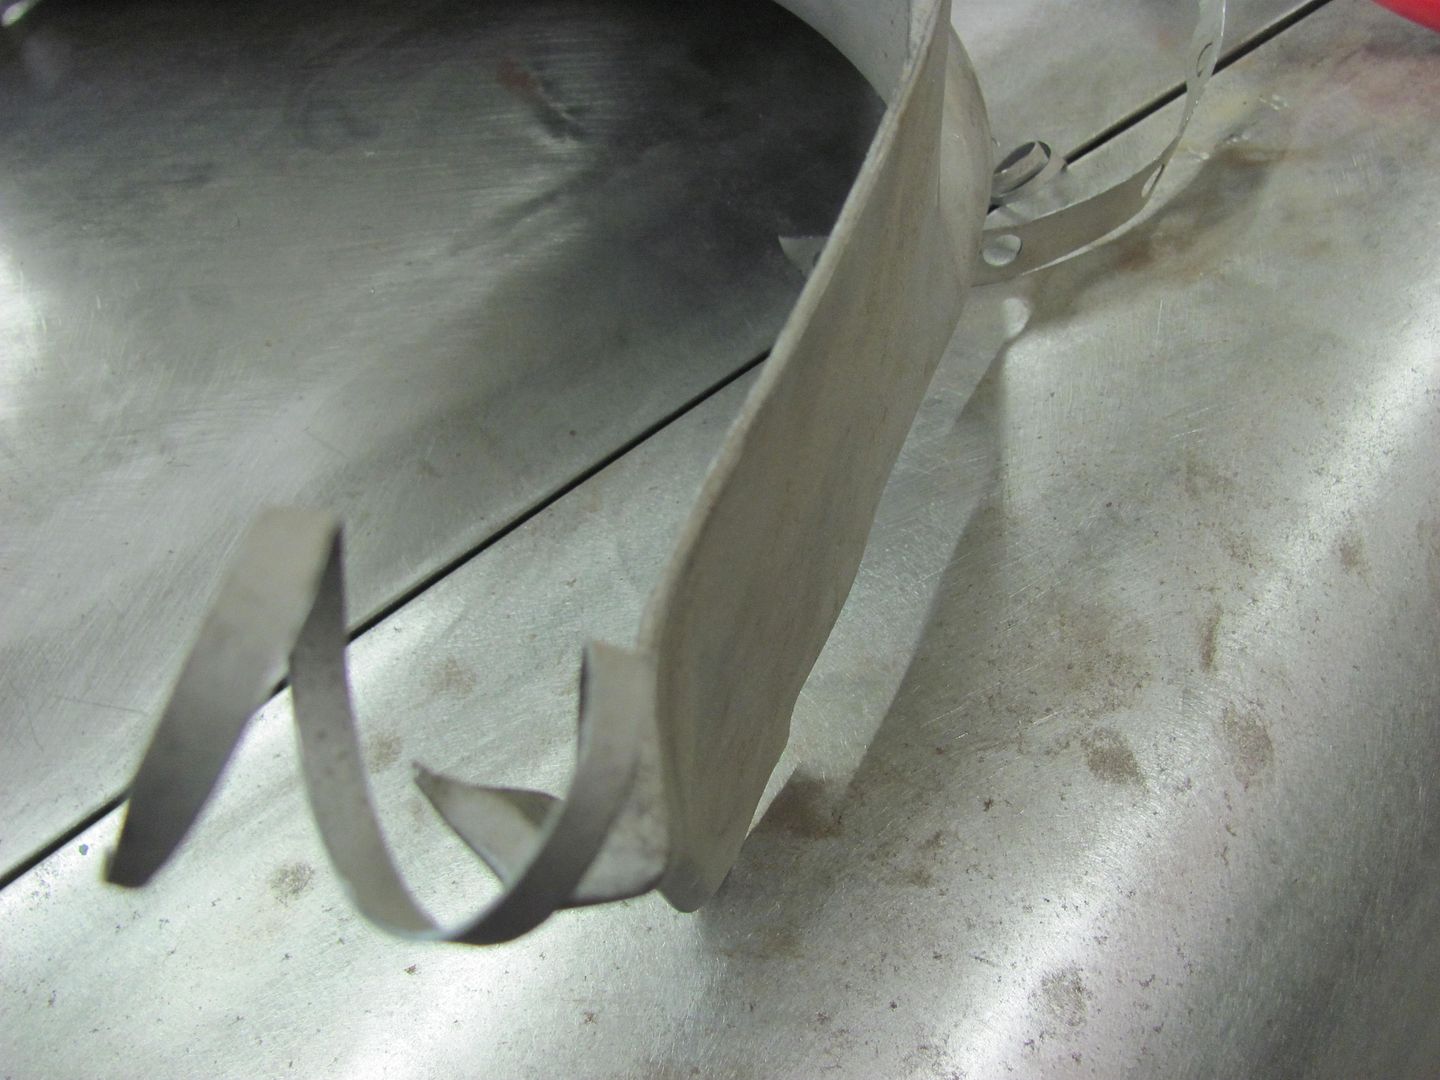 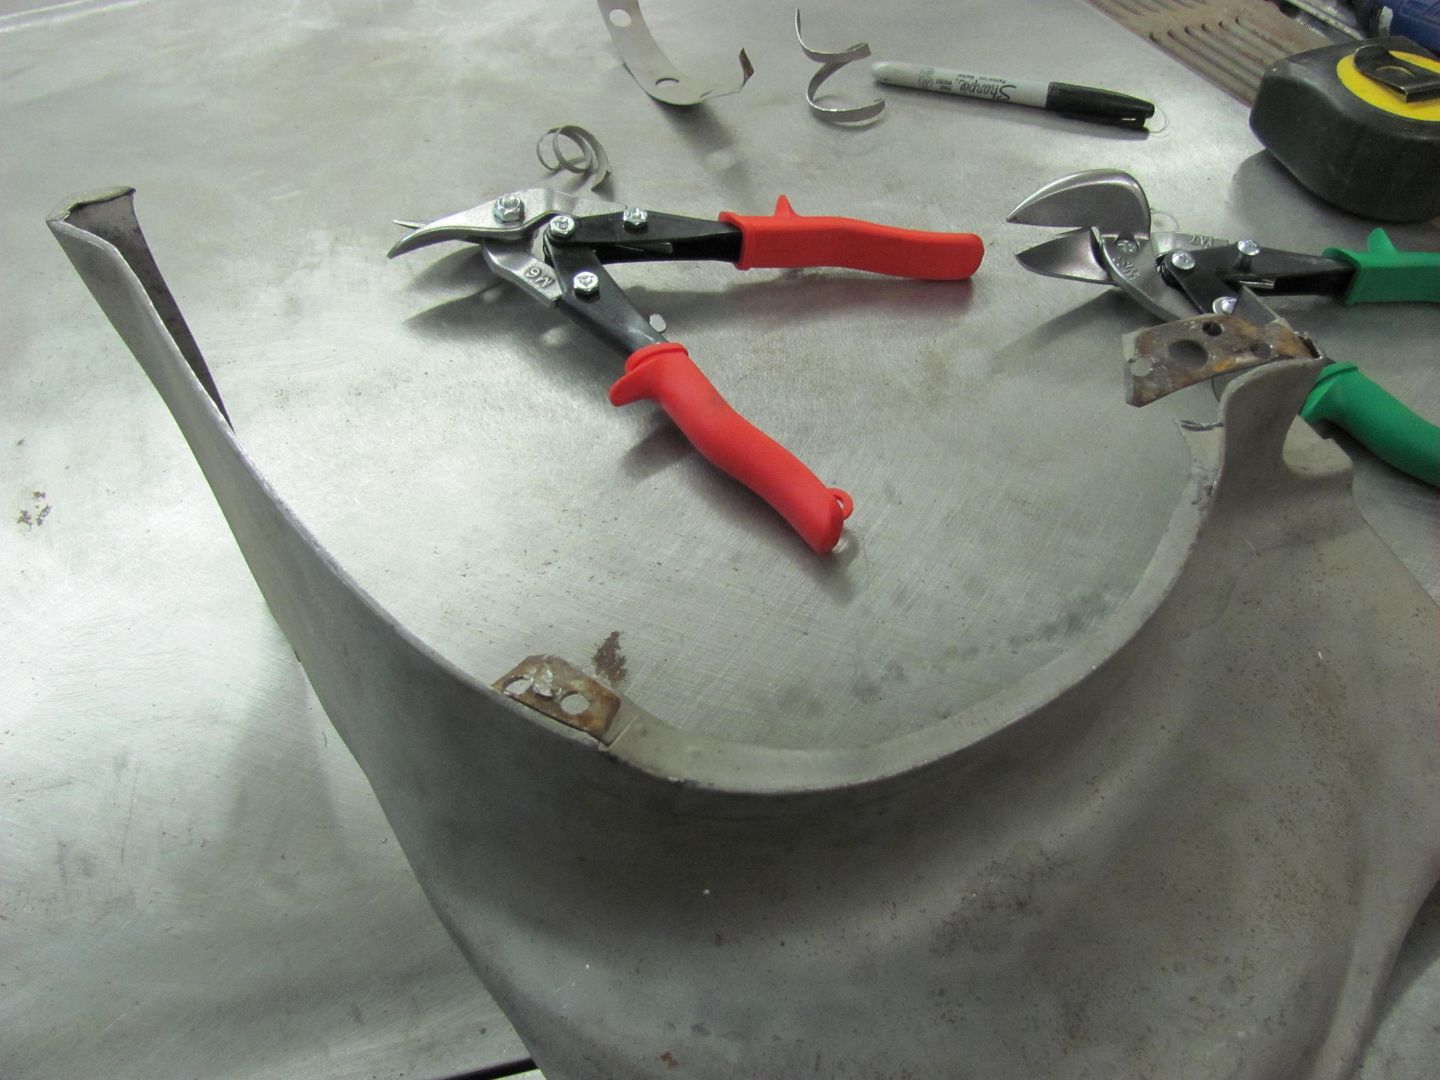 Bottom of the fender is cut loose from the bolting plate using the cutoff wheel. Then sanding the face of the fender leaves a contrast at the bend of the flange for a good guide for trimming with snips.... 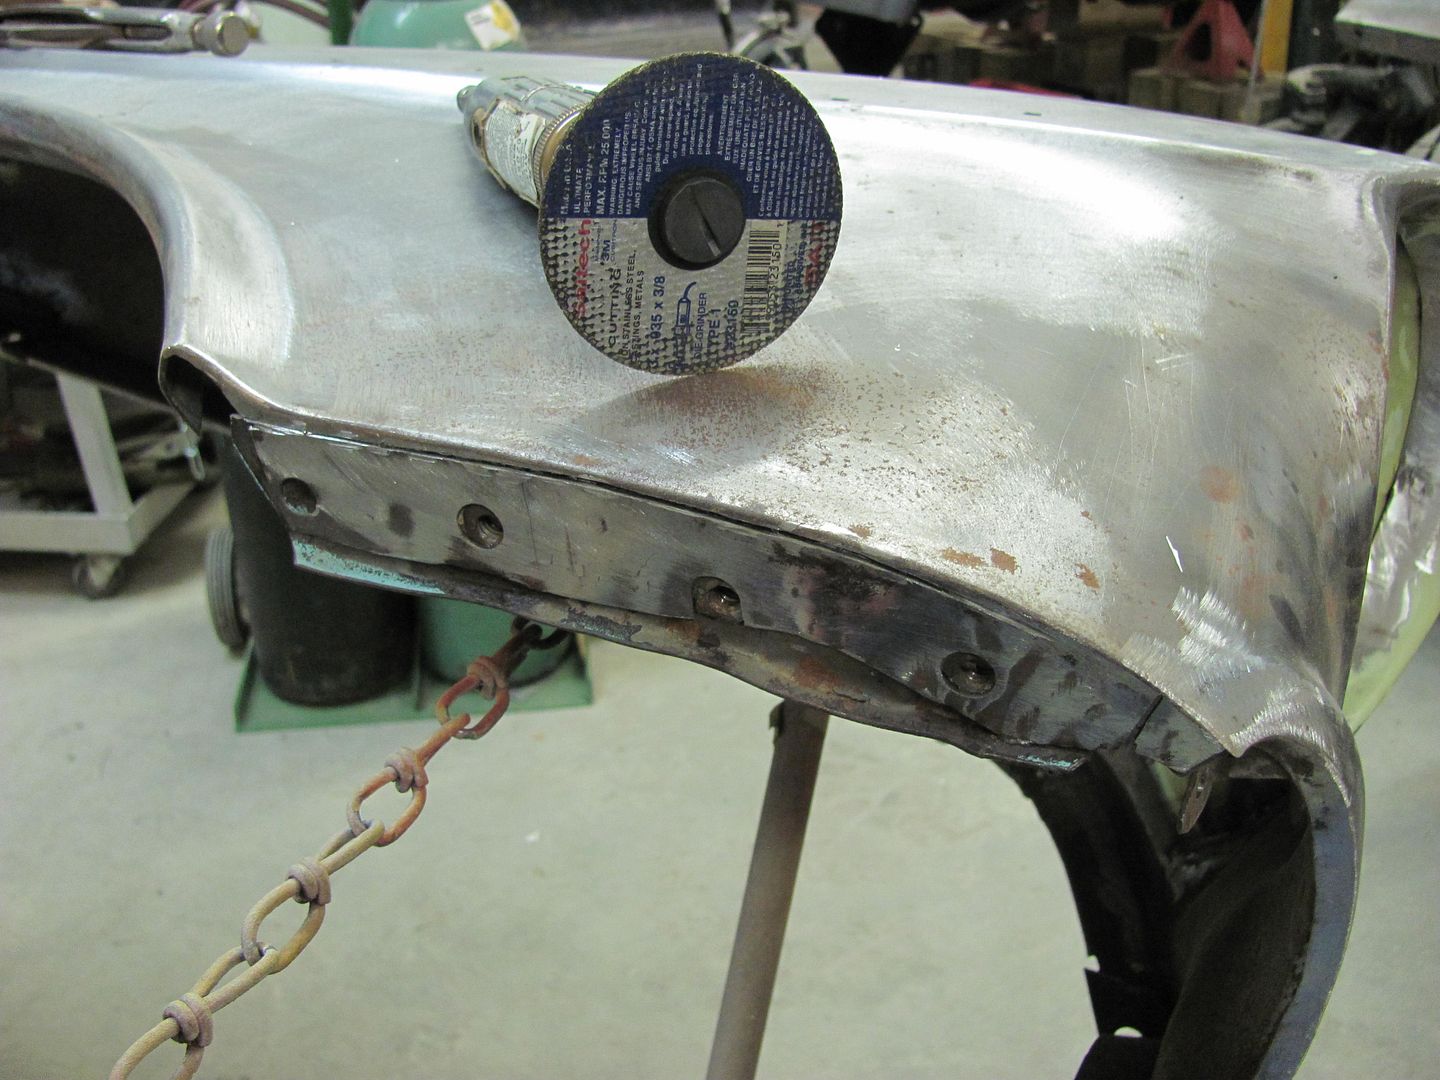 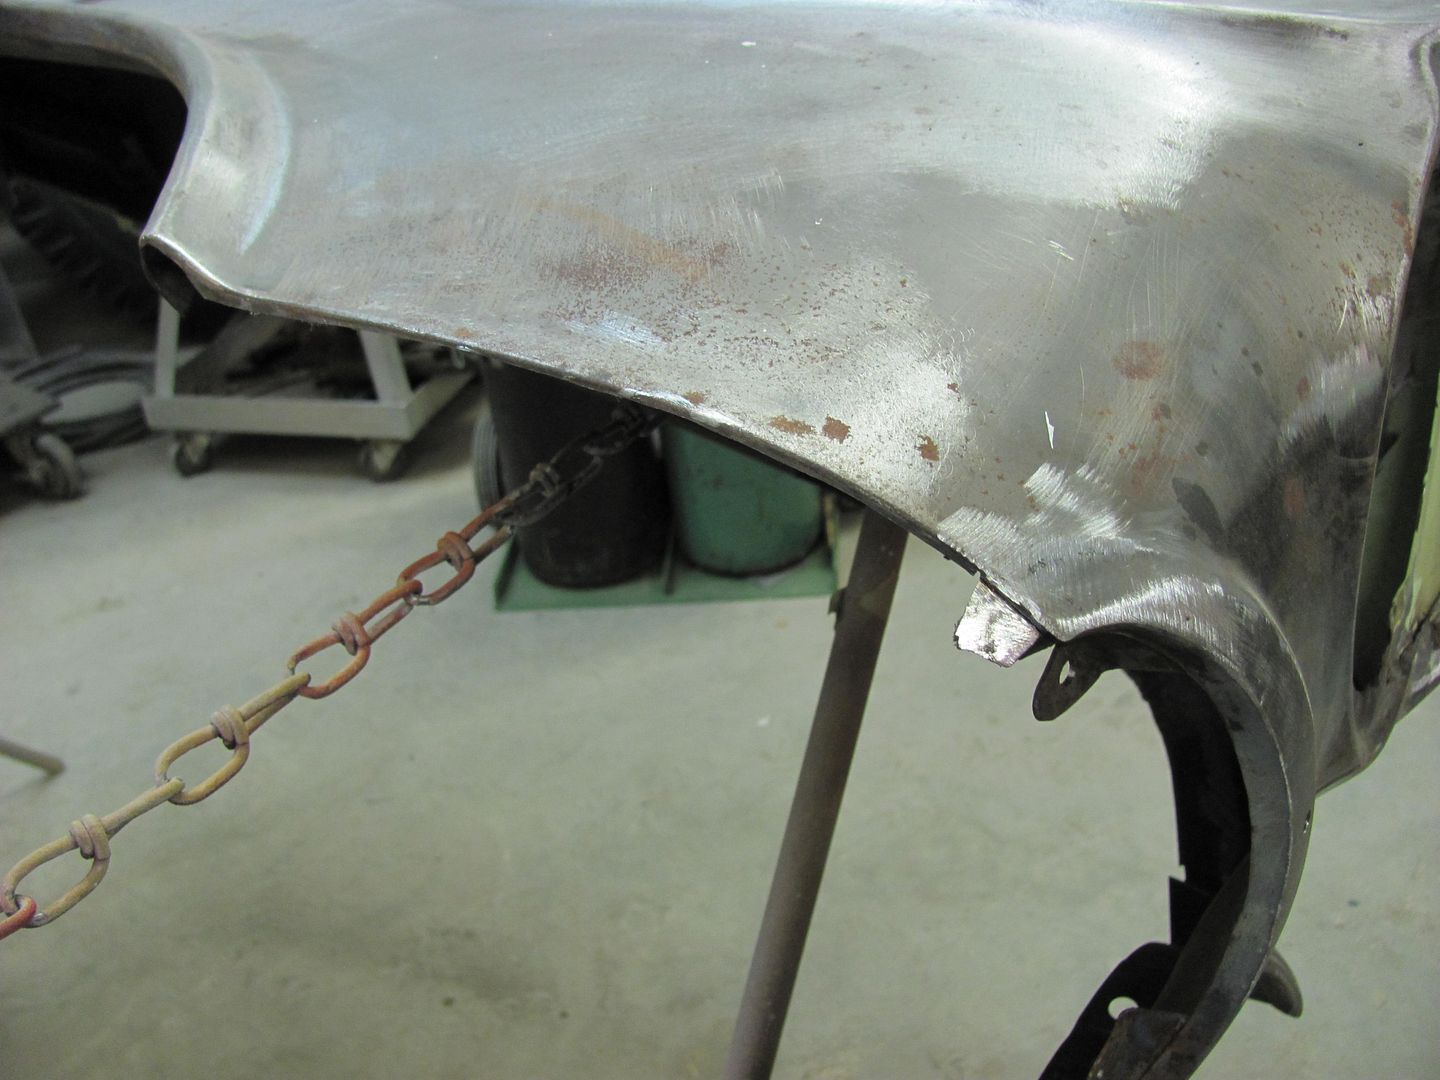 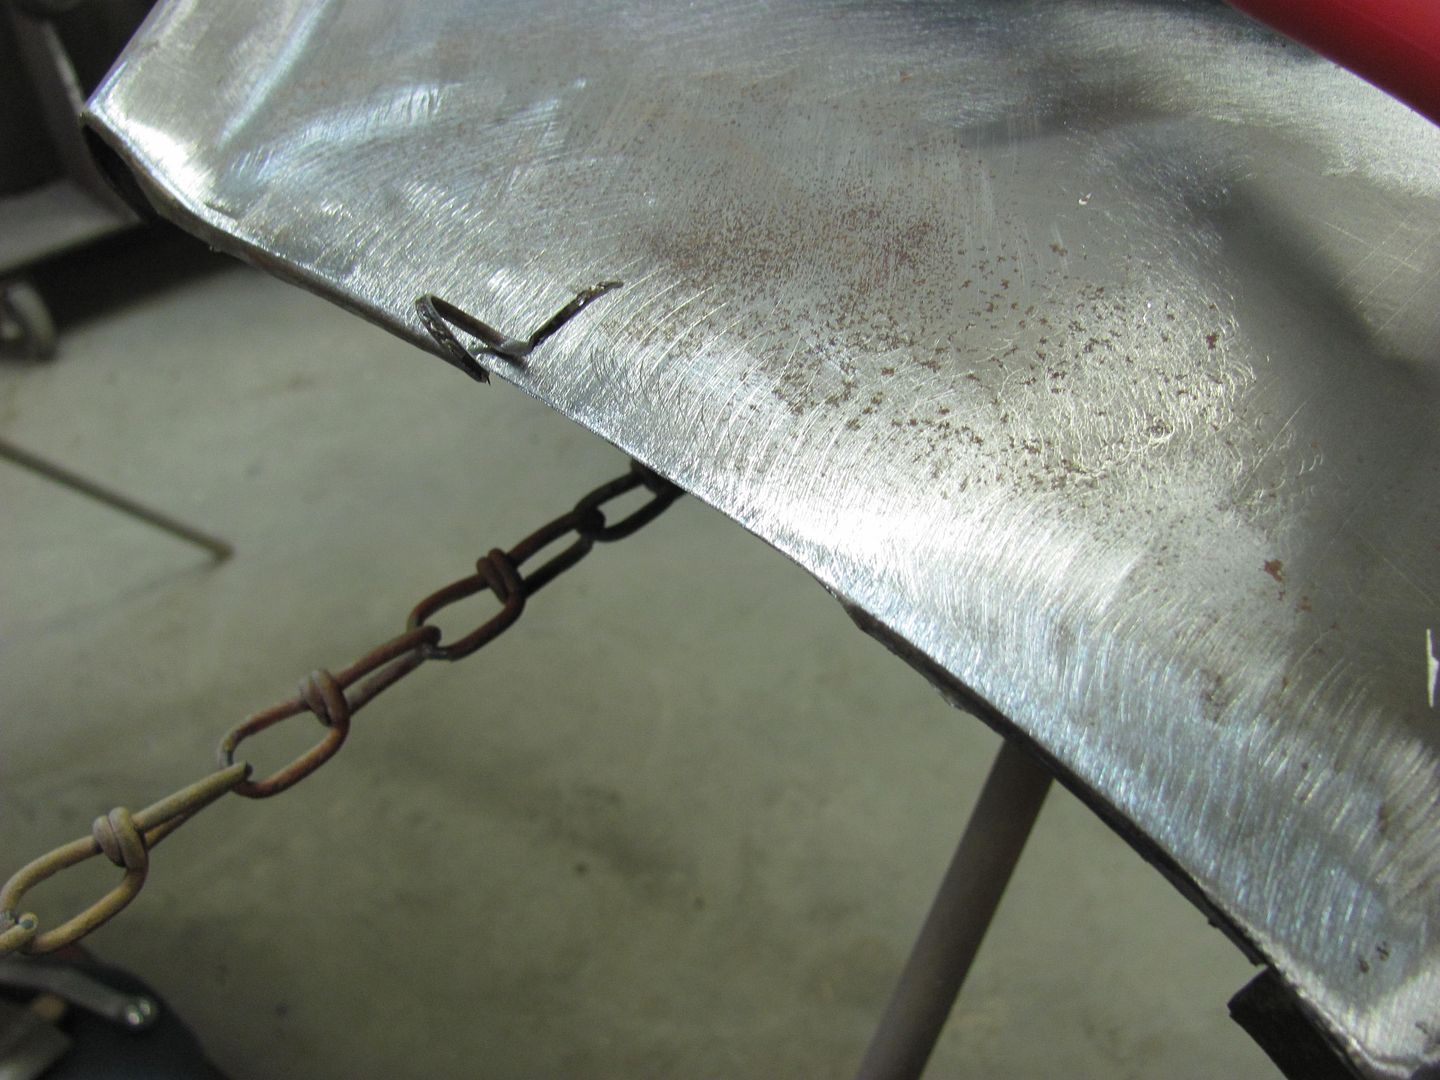 Planishing out the fold to fill the gap.... 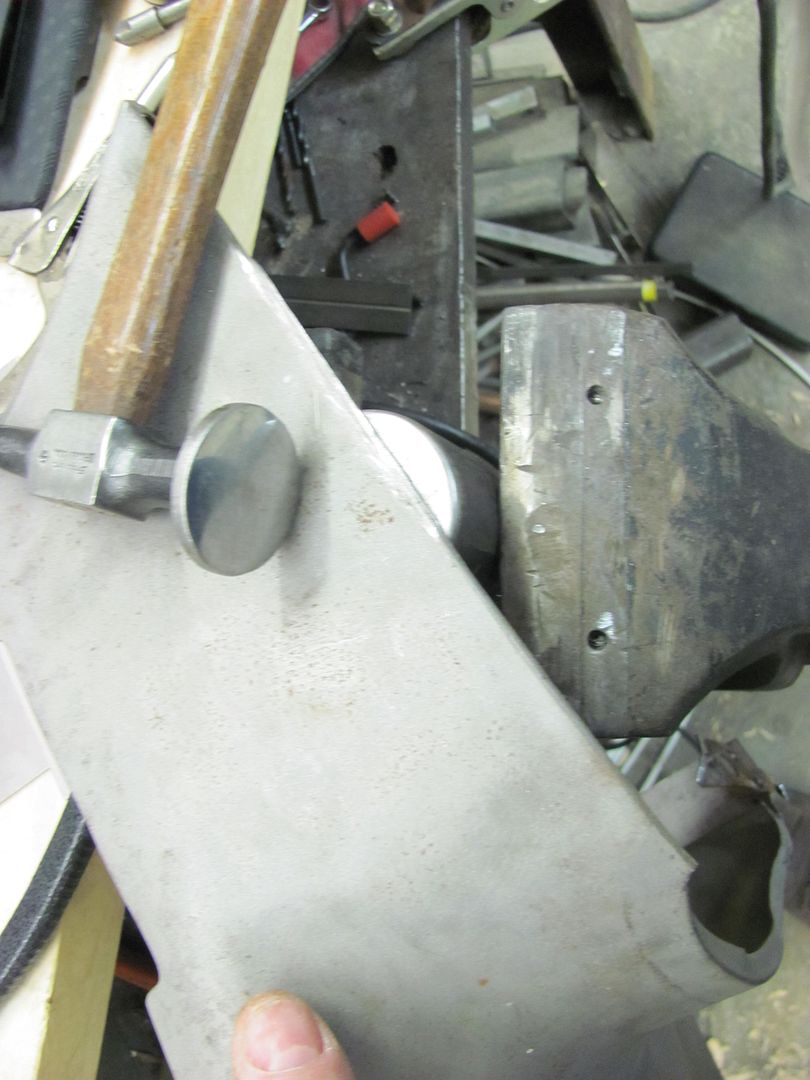 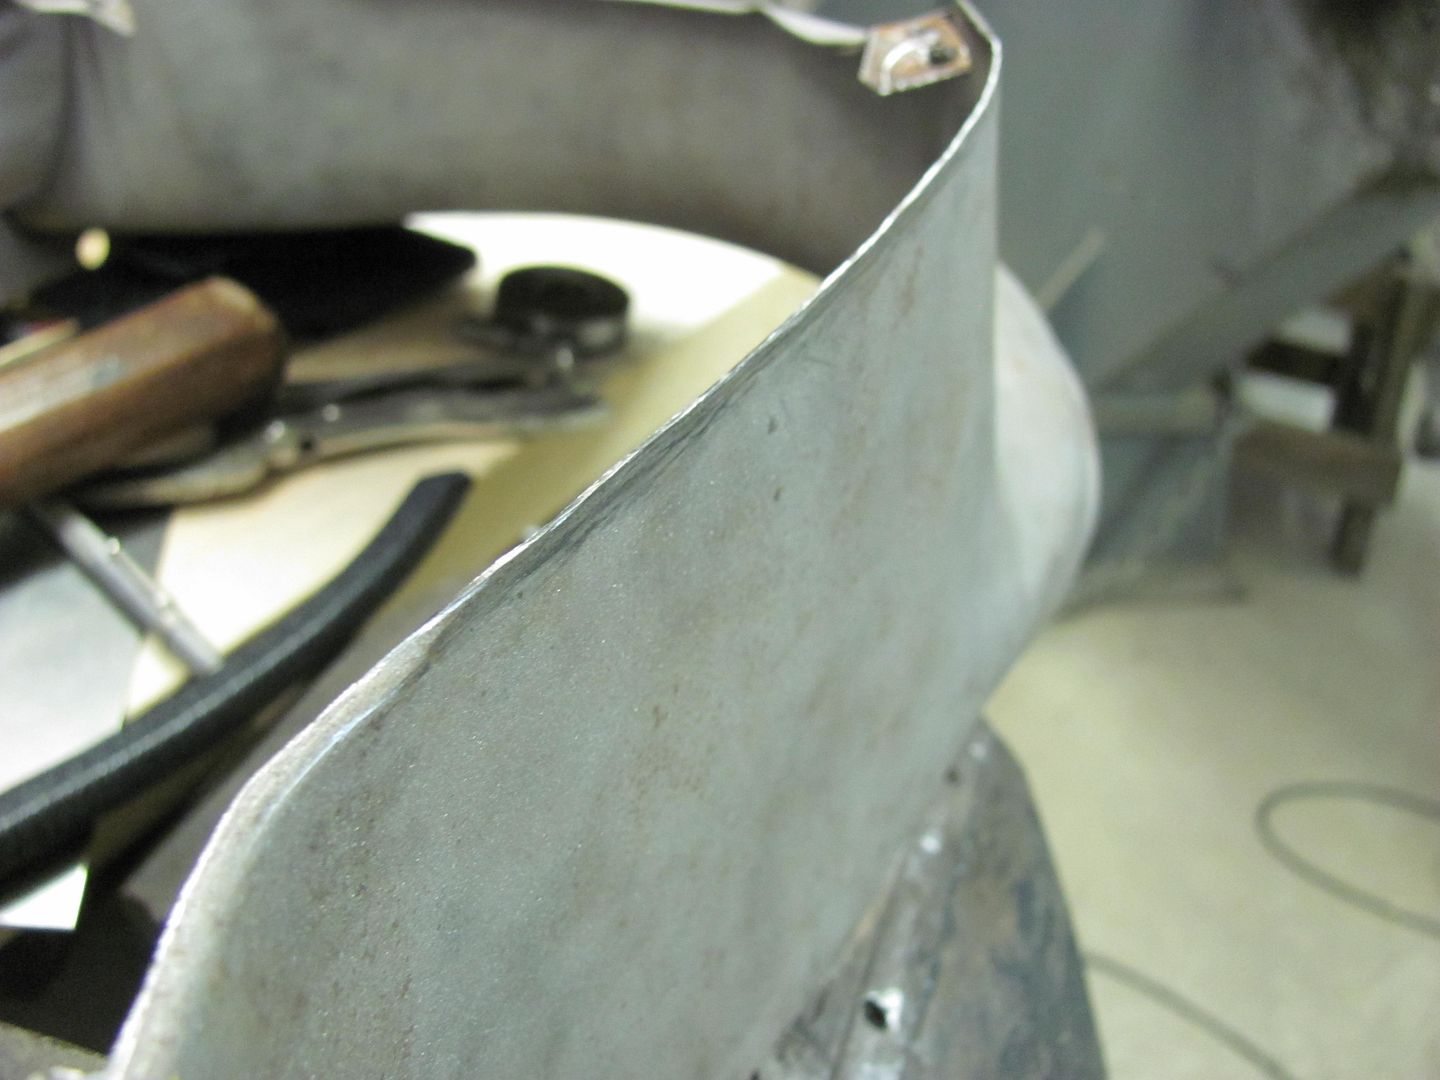 Using clamps to test fit. Still needs some fine tuning for zero gaps, but we'll finish that another day.. 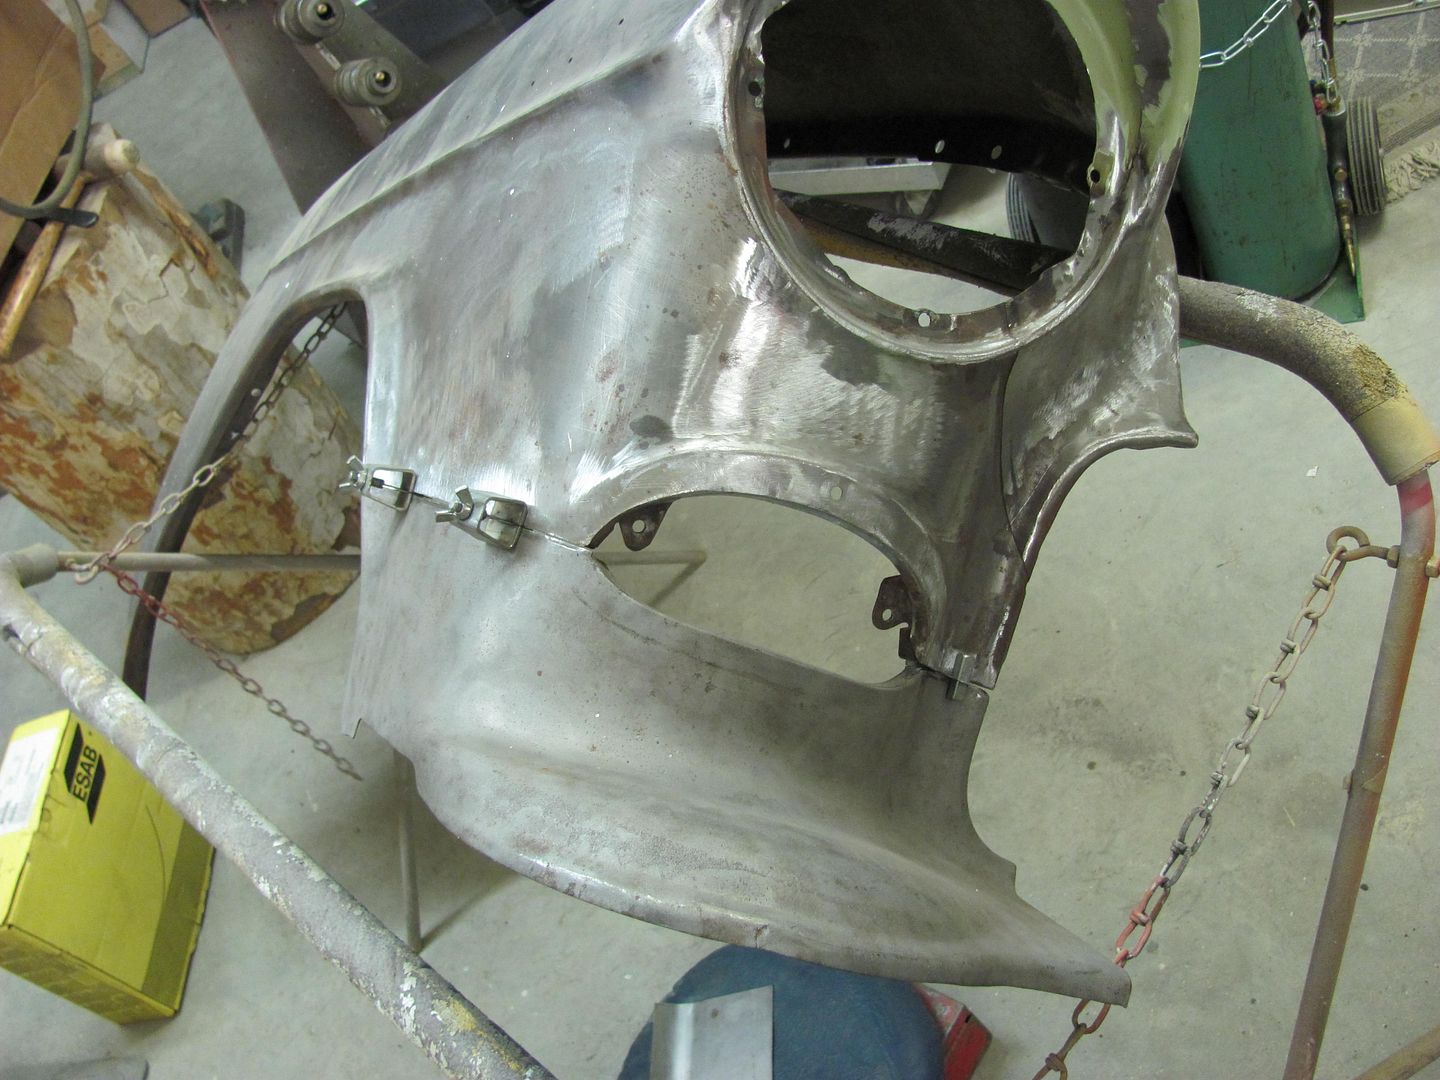 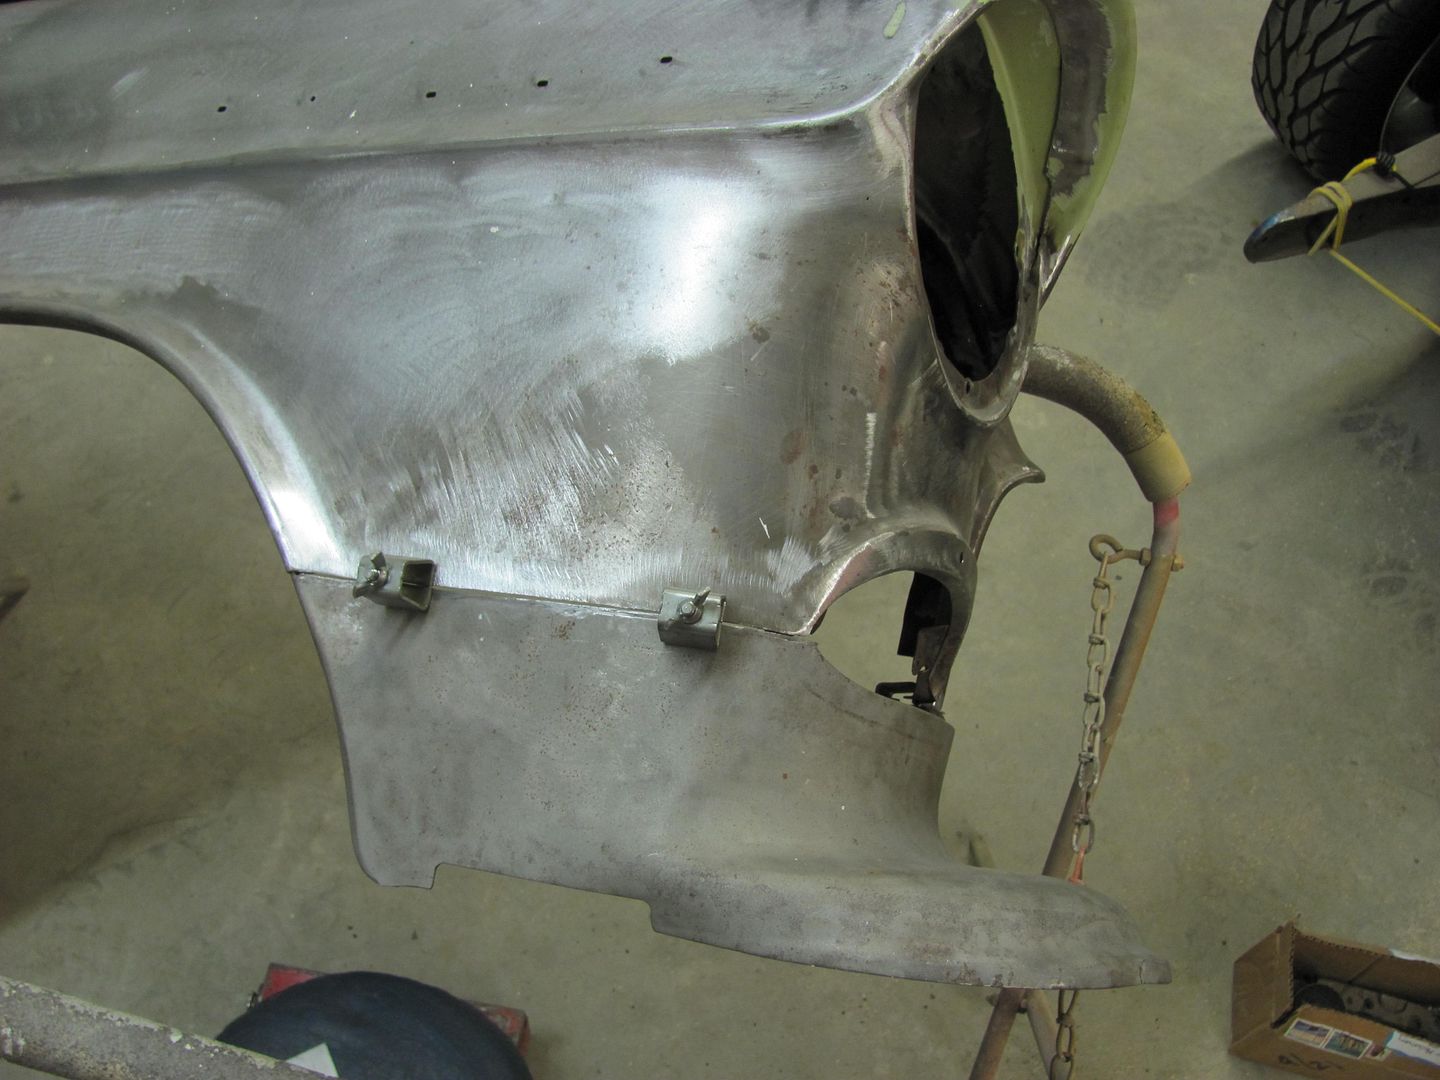 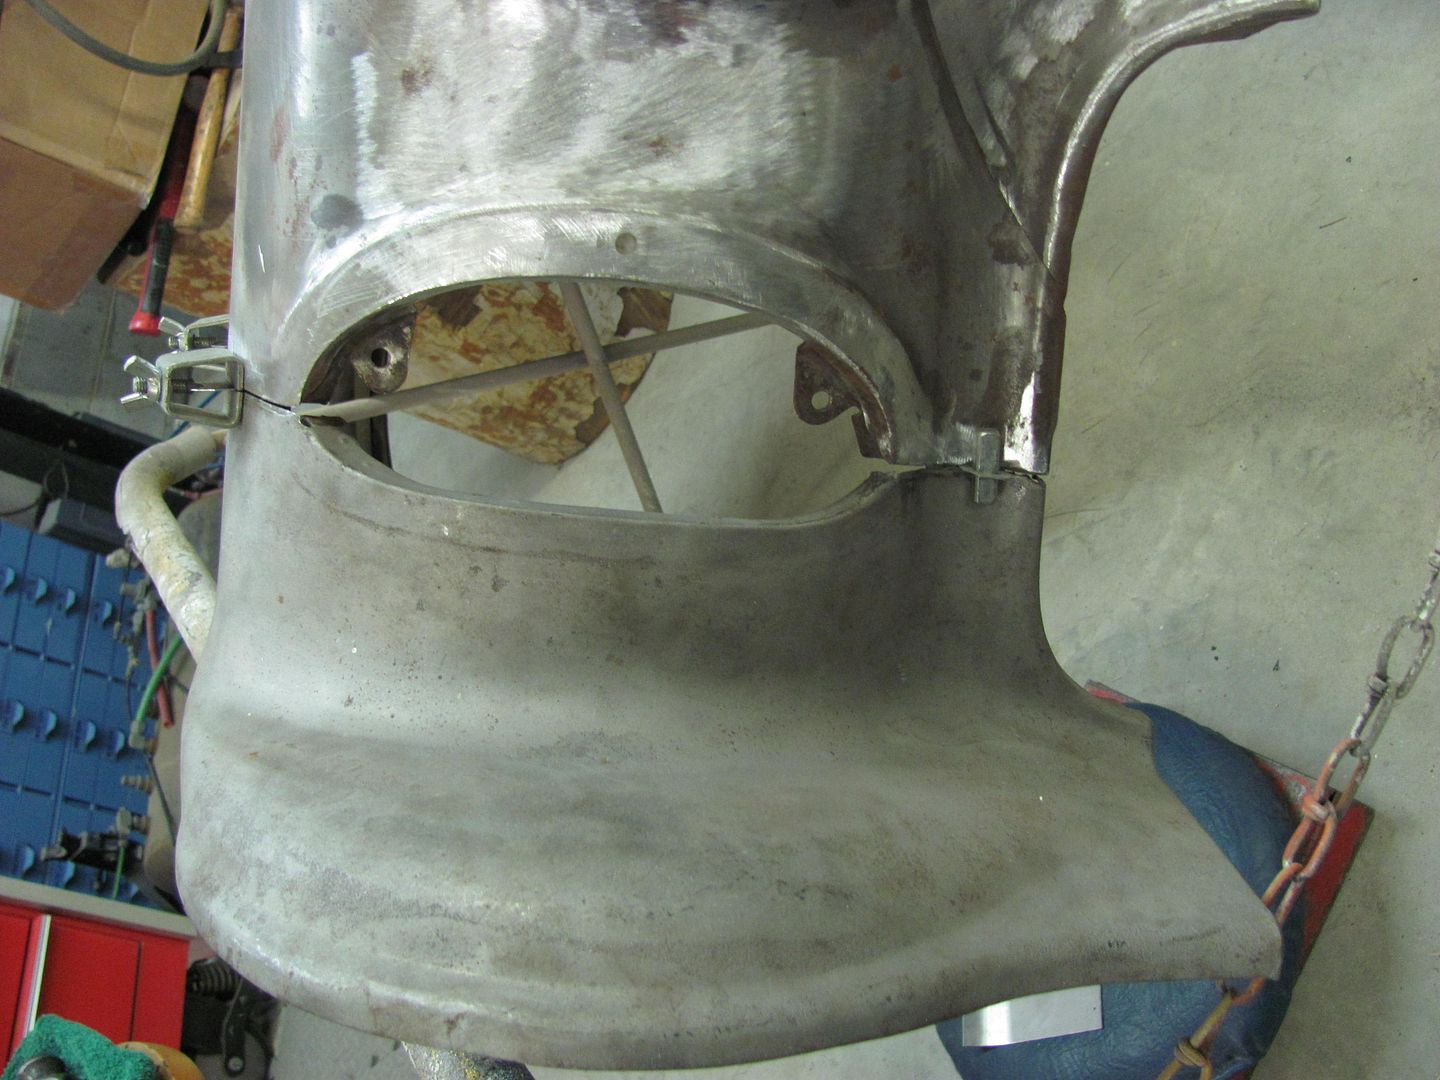
__________________
Robert |
|
|

|
|
|
#2 |
|
Registered User
Join Date: Jan 2013
Location: Leonardtown, MD
Posts: 1,647
|
Re: 55 Wagon Progress
Got to trimming the fenders, little to no gaps....
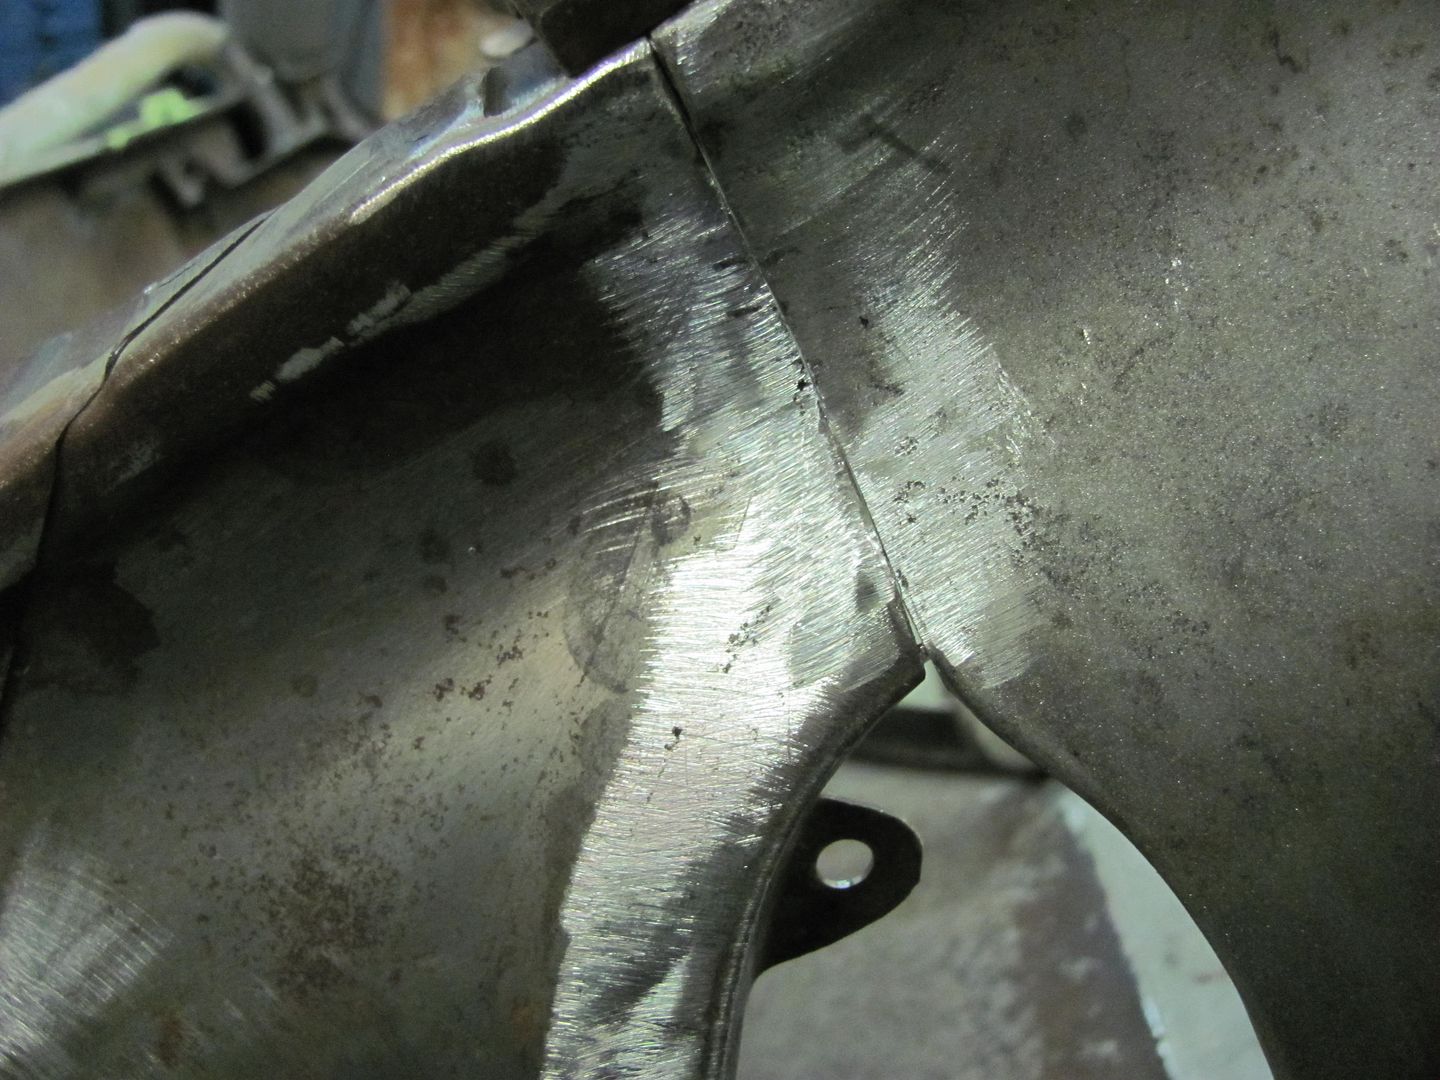 Used the new ER70S-7 wire. Looks to me like it lays out a bit flatter... 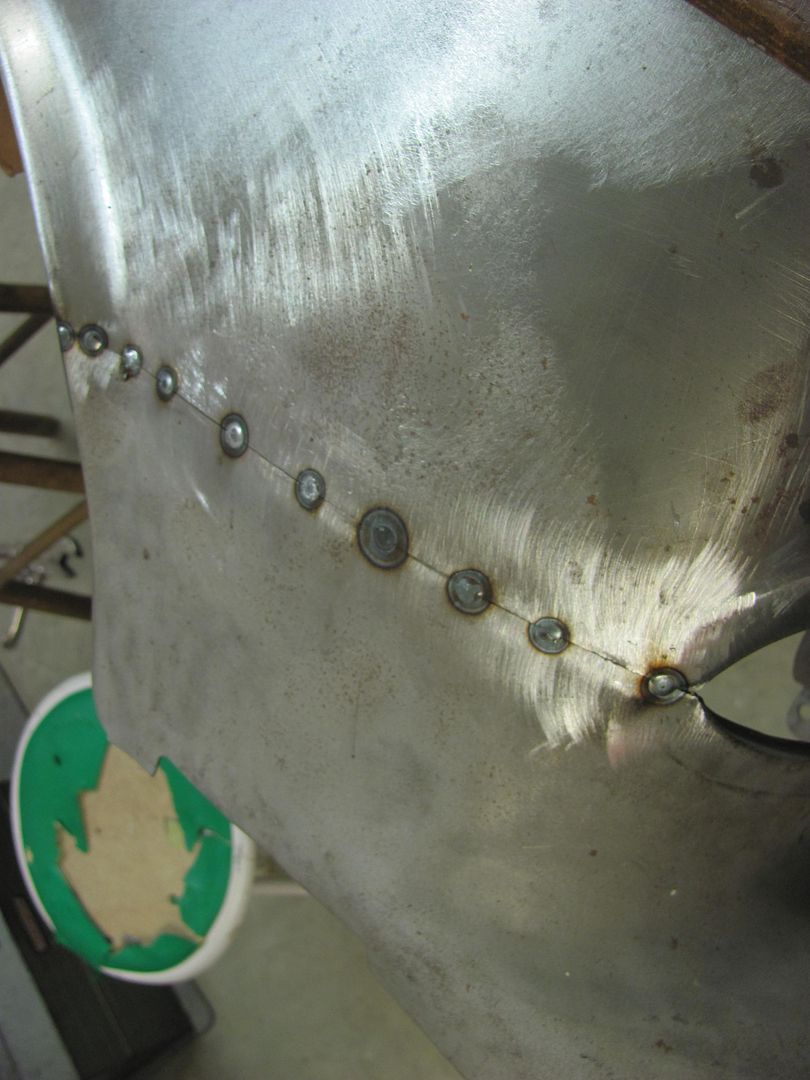 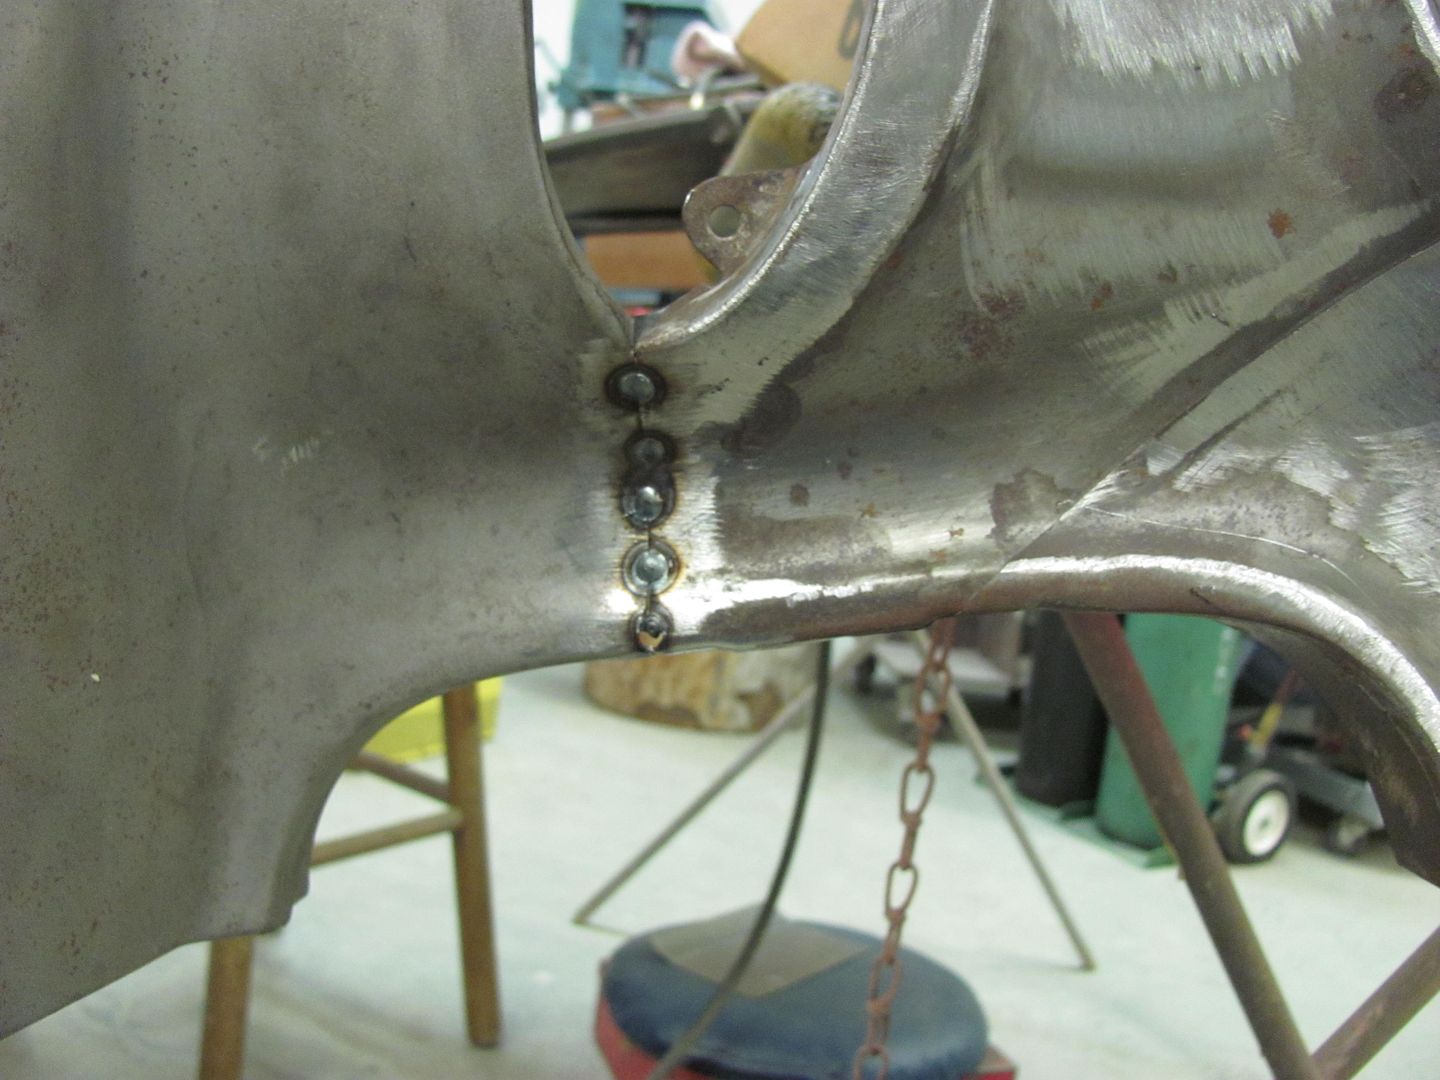 Used the crowned hammer to planish the welds. This stuff appears to planish out a bit easier as well. 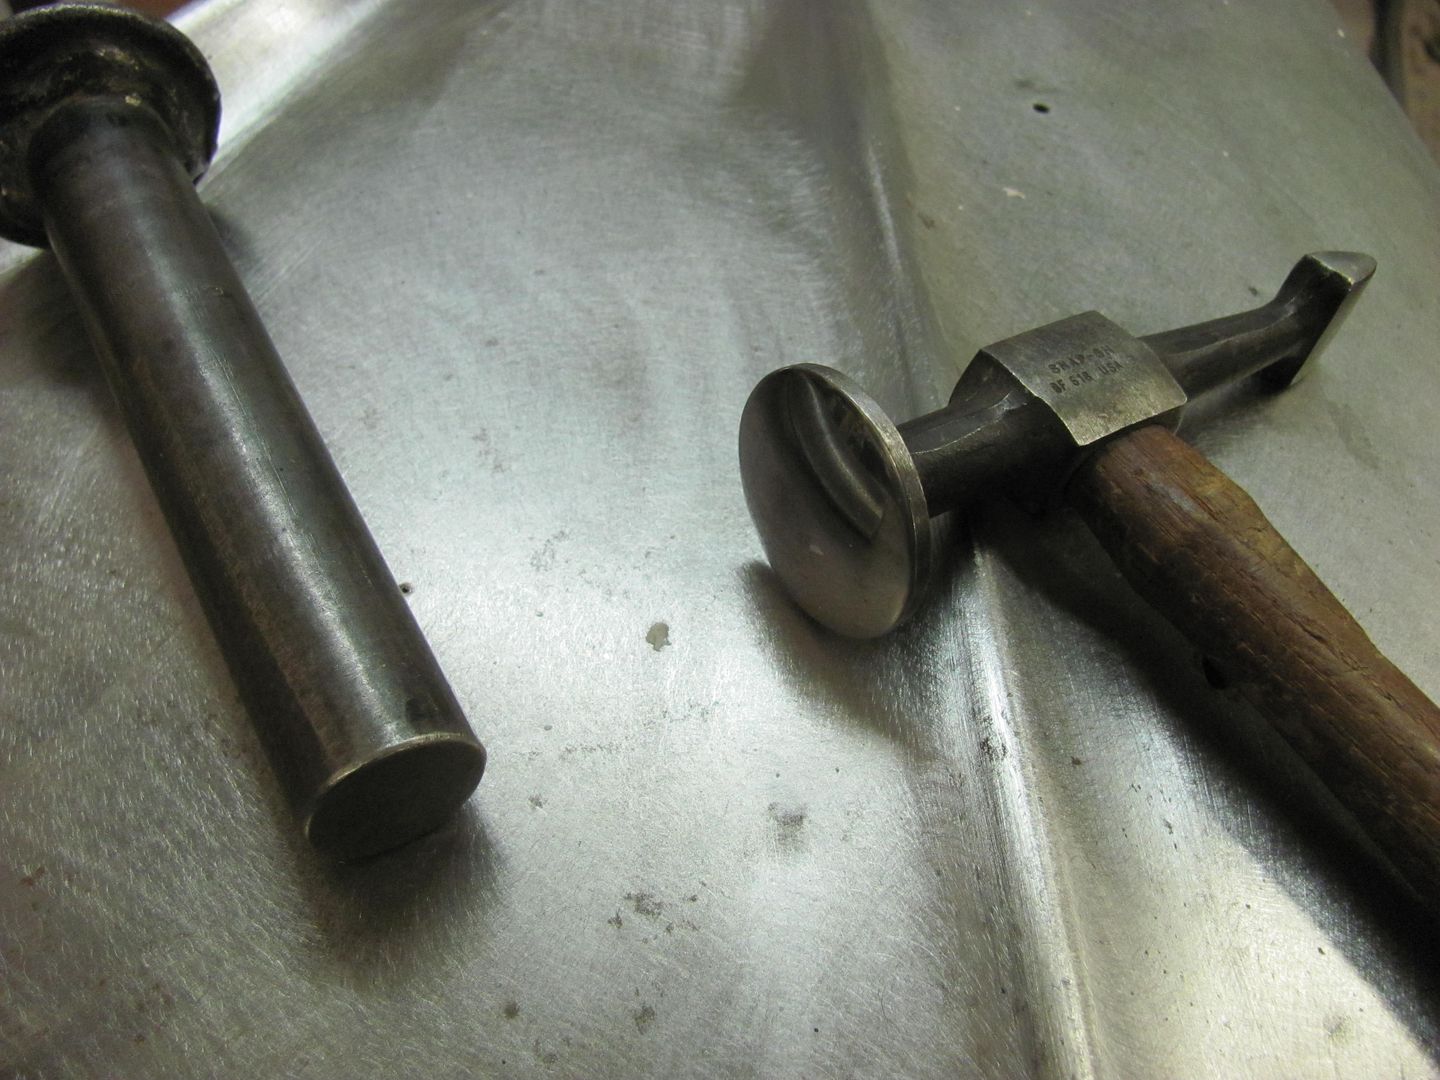 After planishing, 1/16" wide cutoff wheel used perpendicular to the weld for grinding the welds with minimal contact patch and less heat buildup. Ground welds just proud of the metal surface, front and back, to make room for planishing the next set of weld dots. Then rather than weld the next dots in the middle, I overlapped each of the previous welds to help eliminate missed spots and pinholes. Weld, planish, grind, repeat. 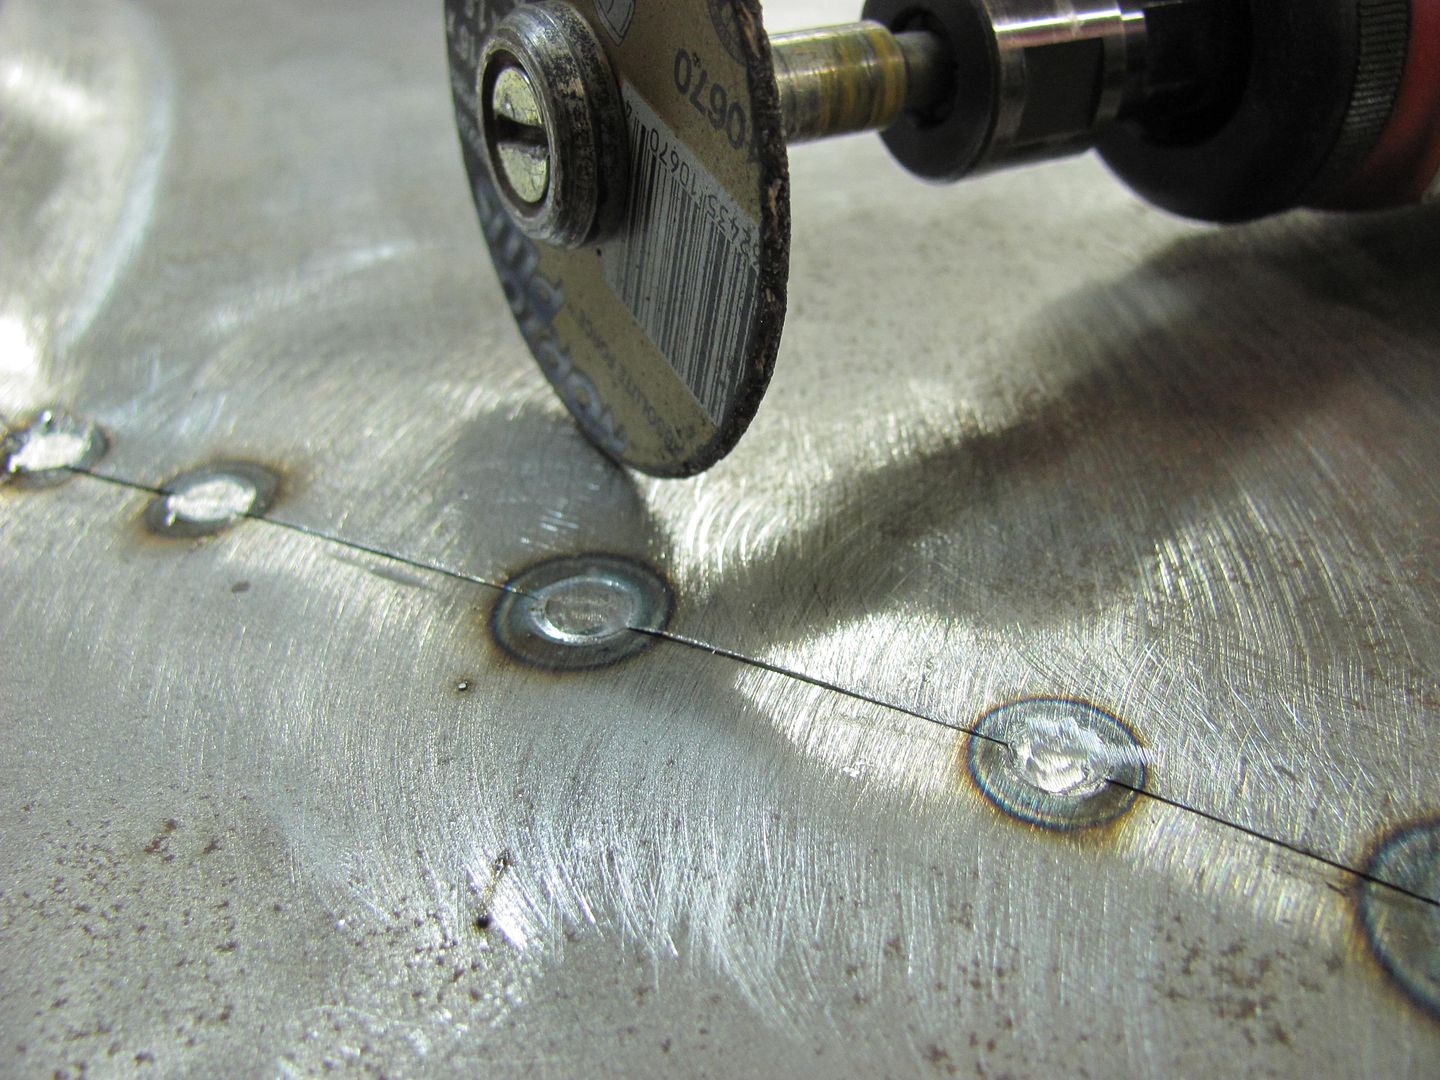 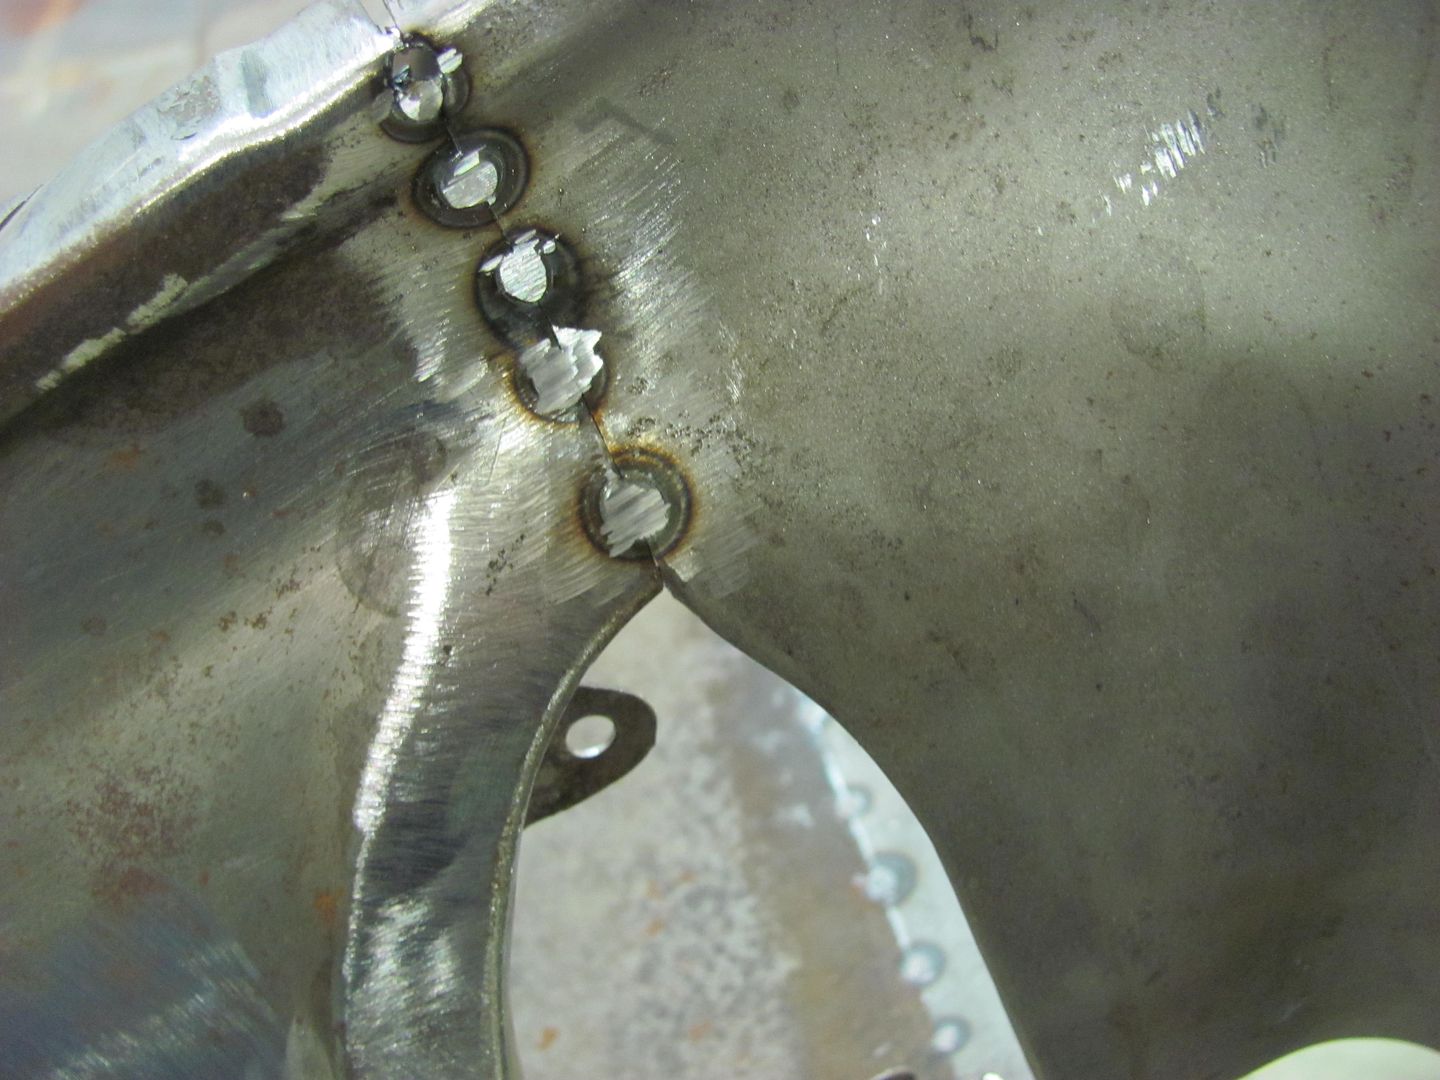 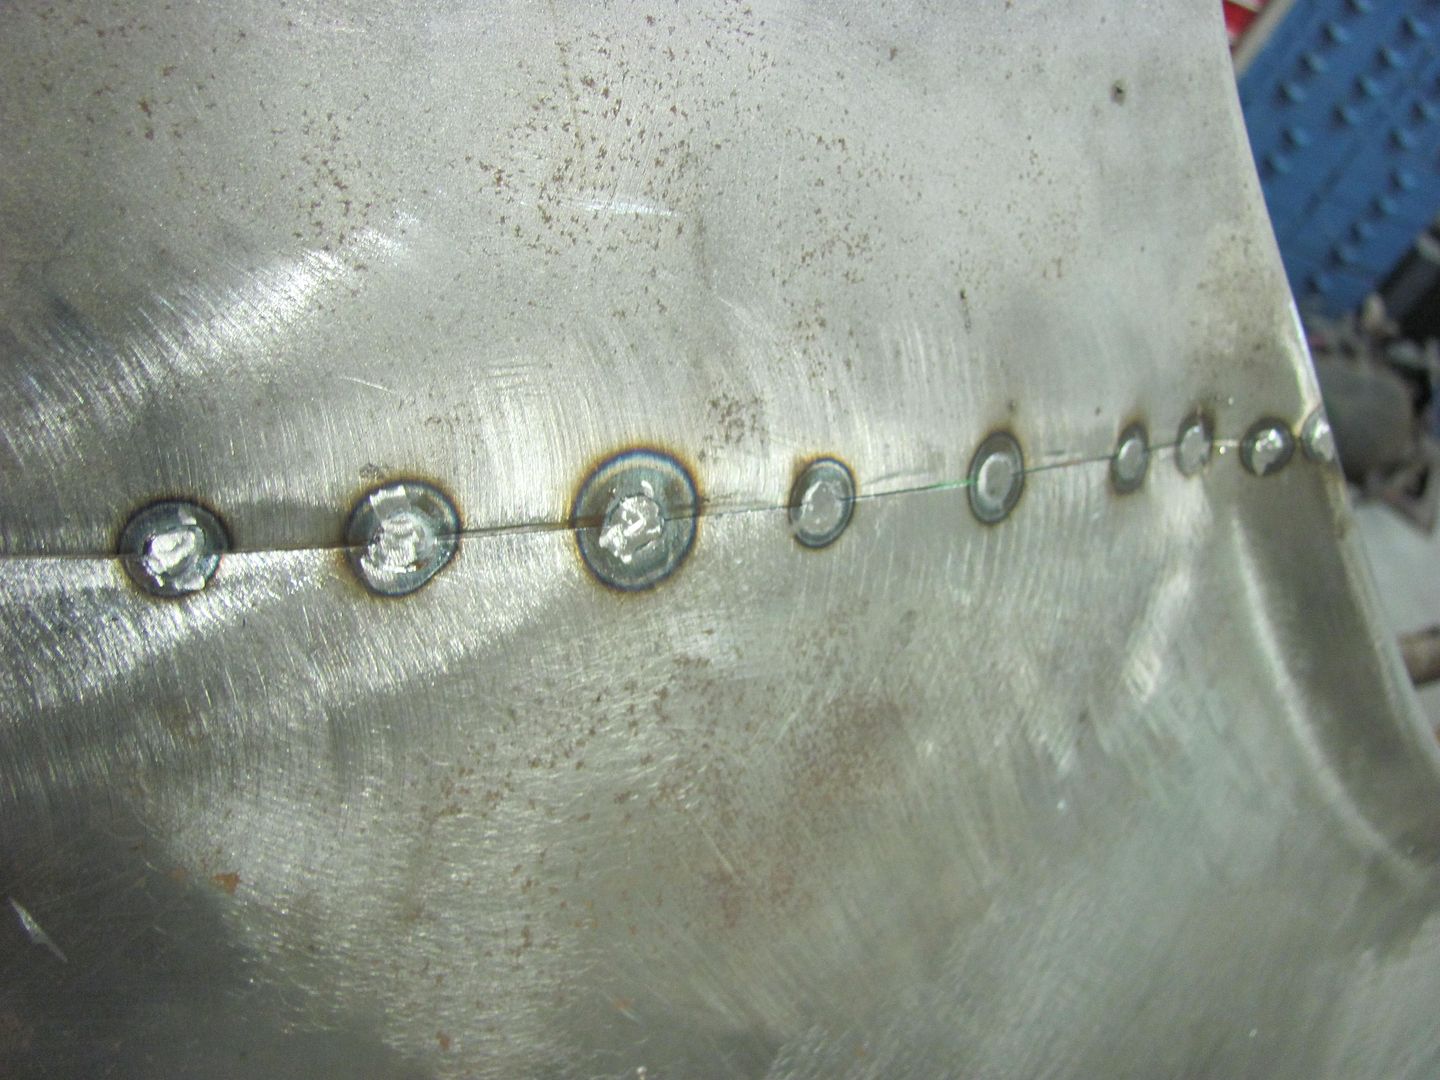 Then I got on a roll and missed some in process pics, but here is the result after dressing out all the welds... 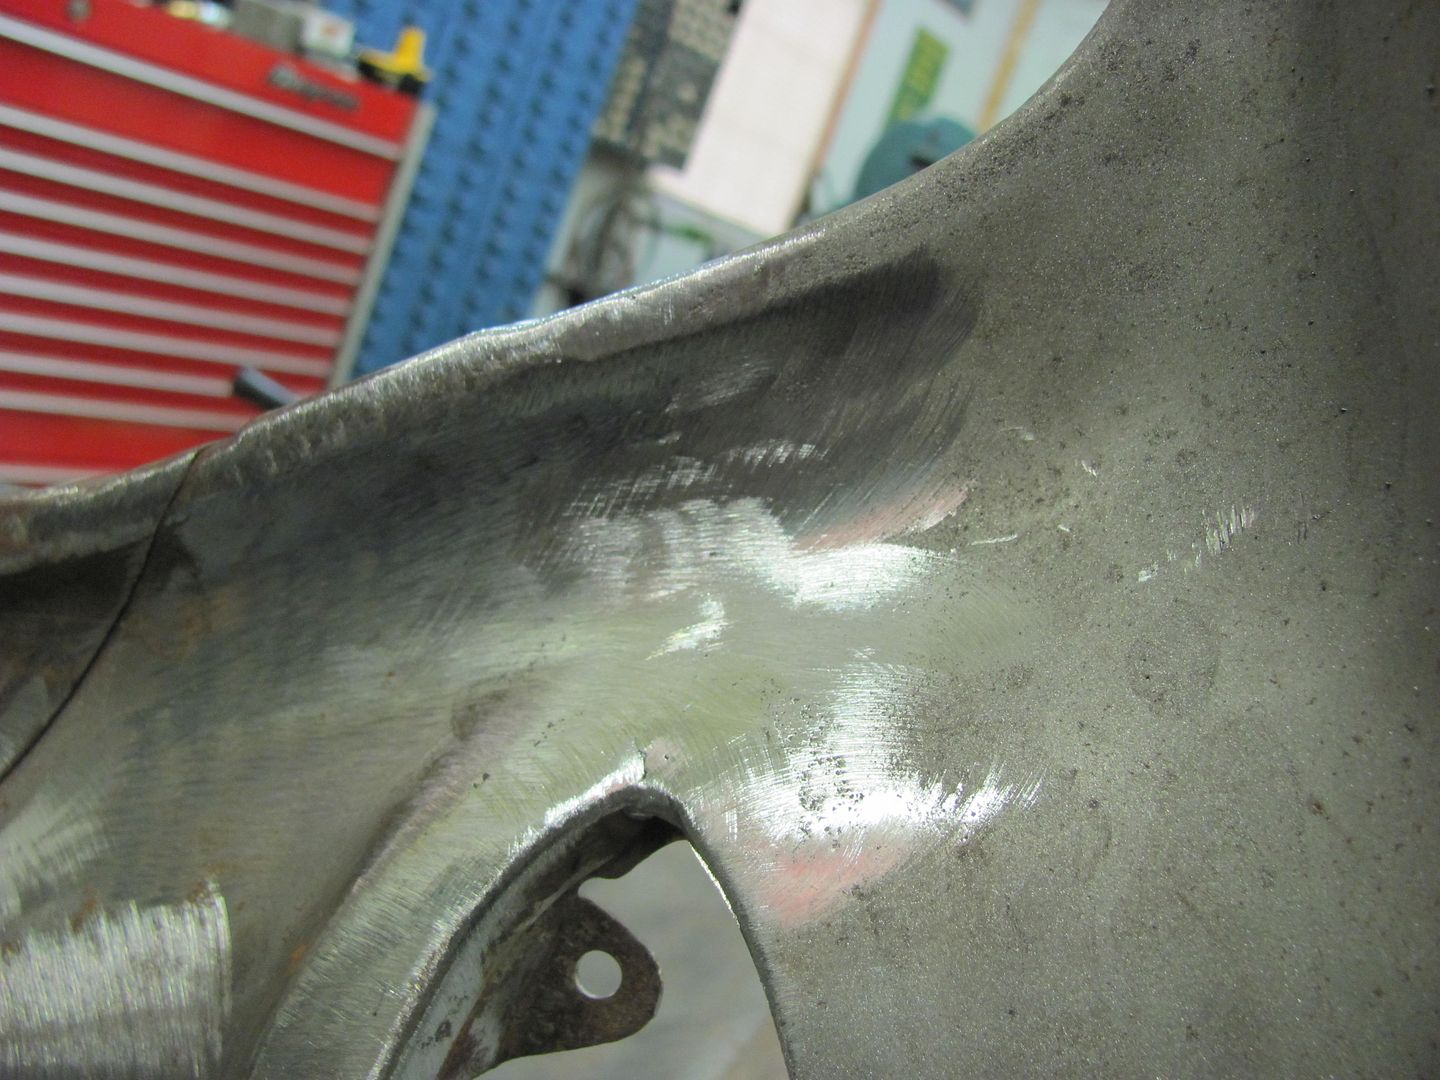 Back side.... 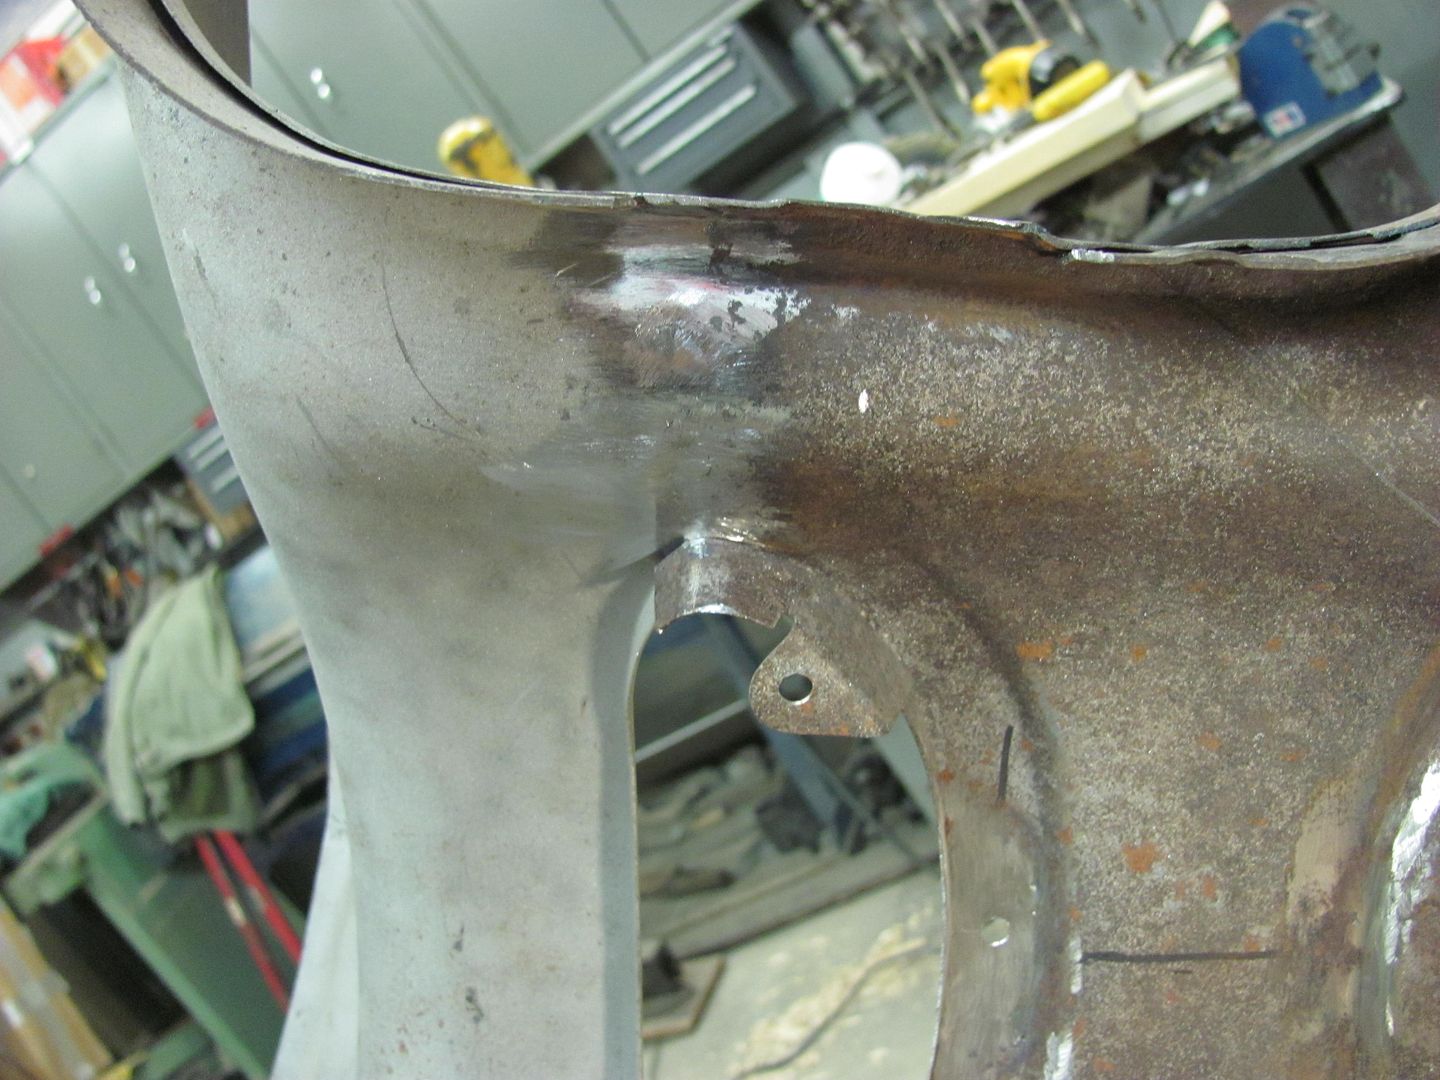 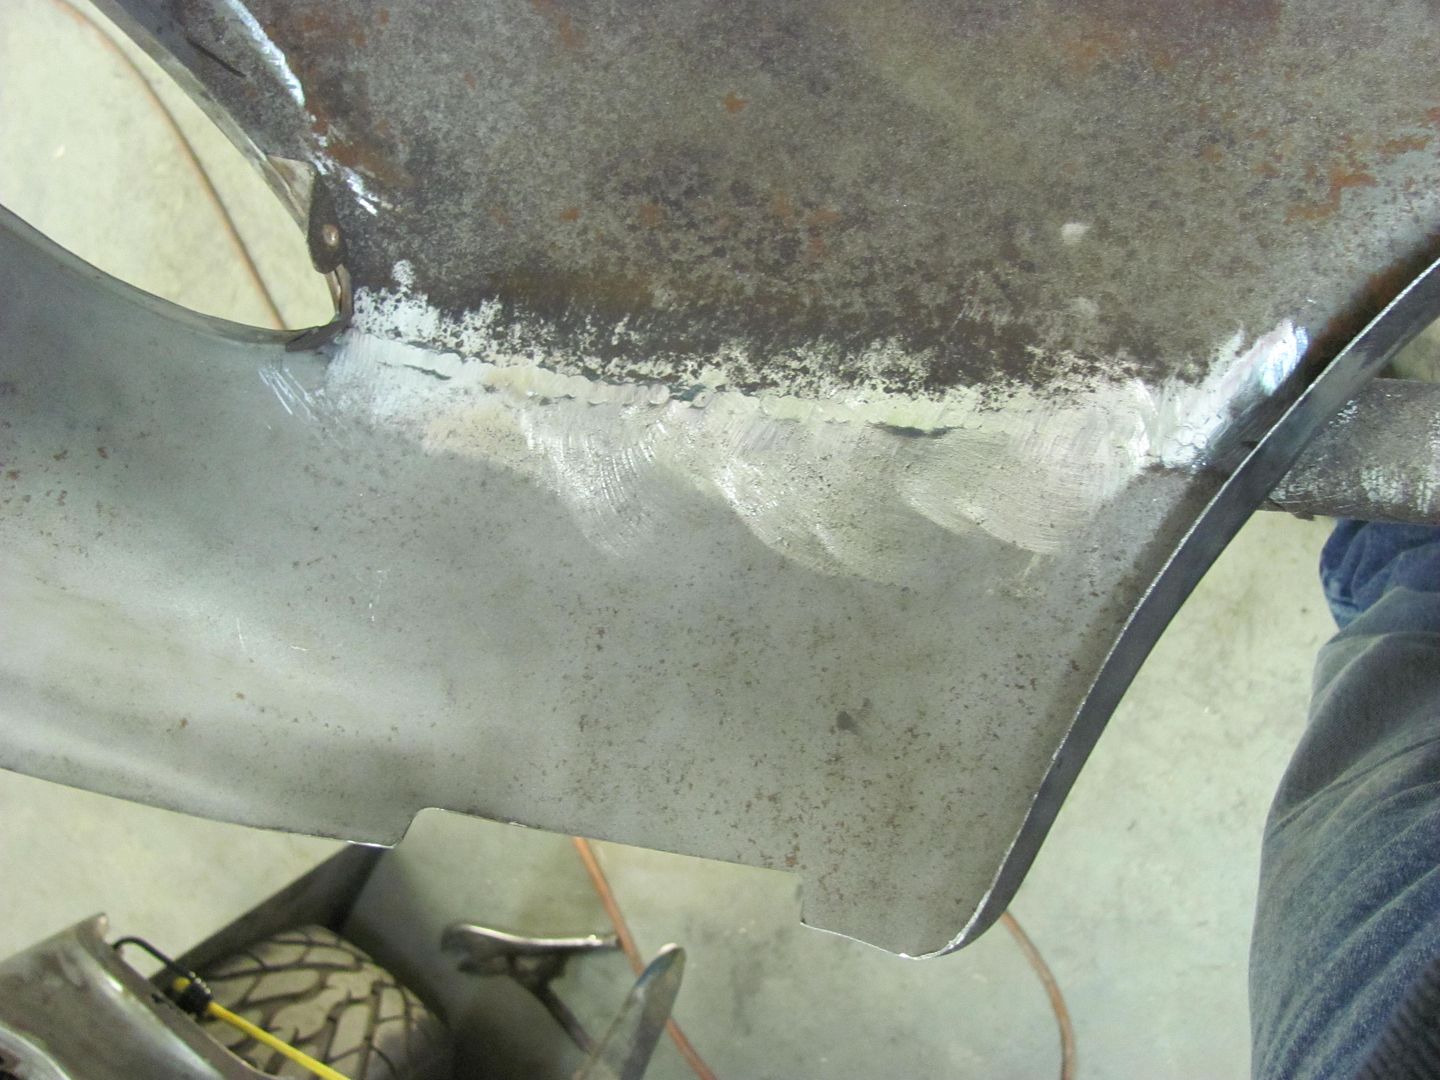 Yeah, I like this much better.... 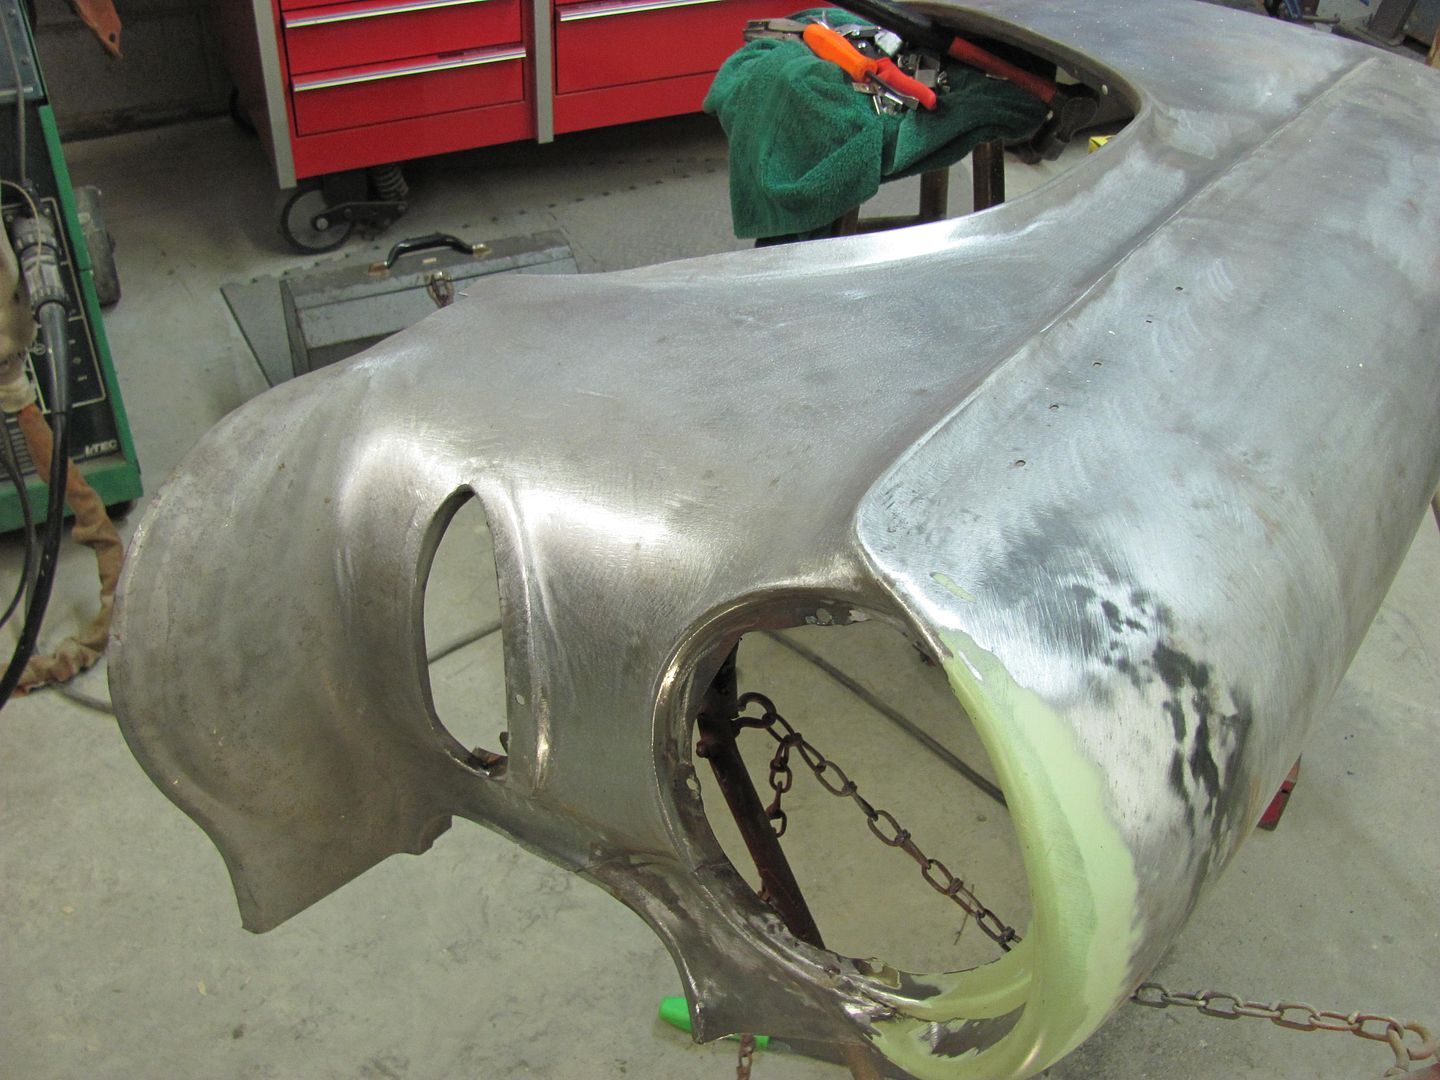 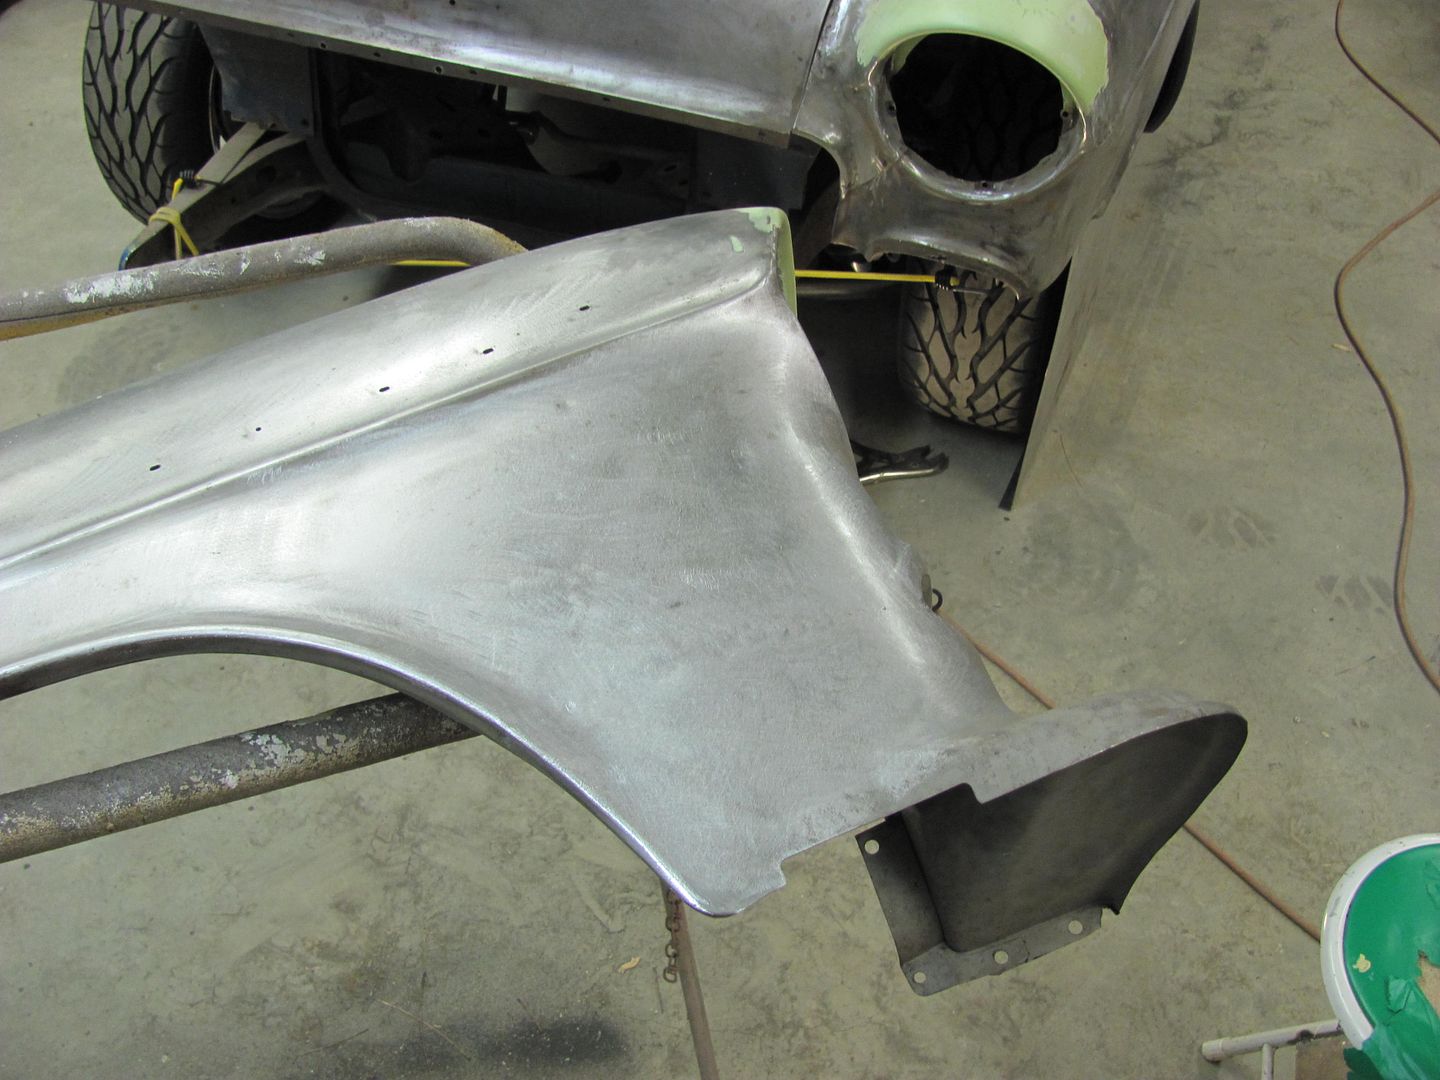 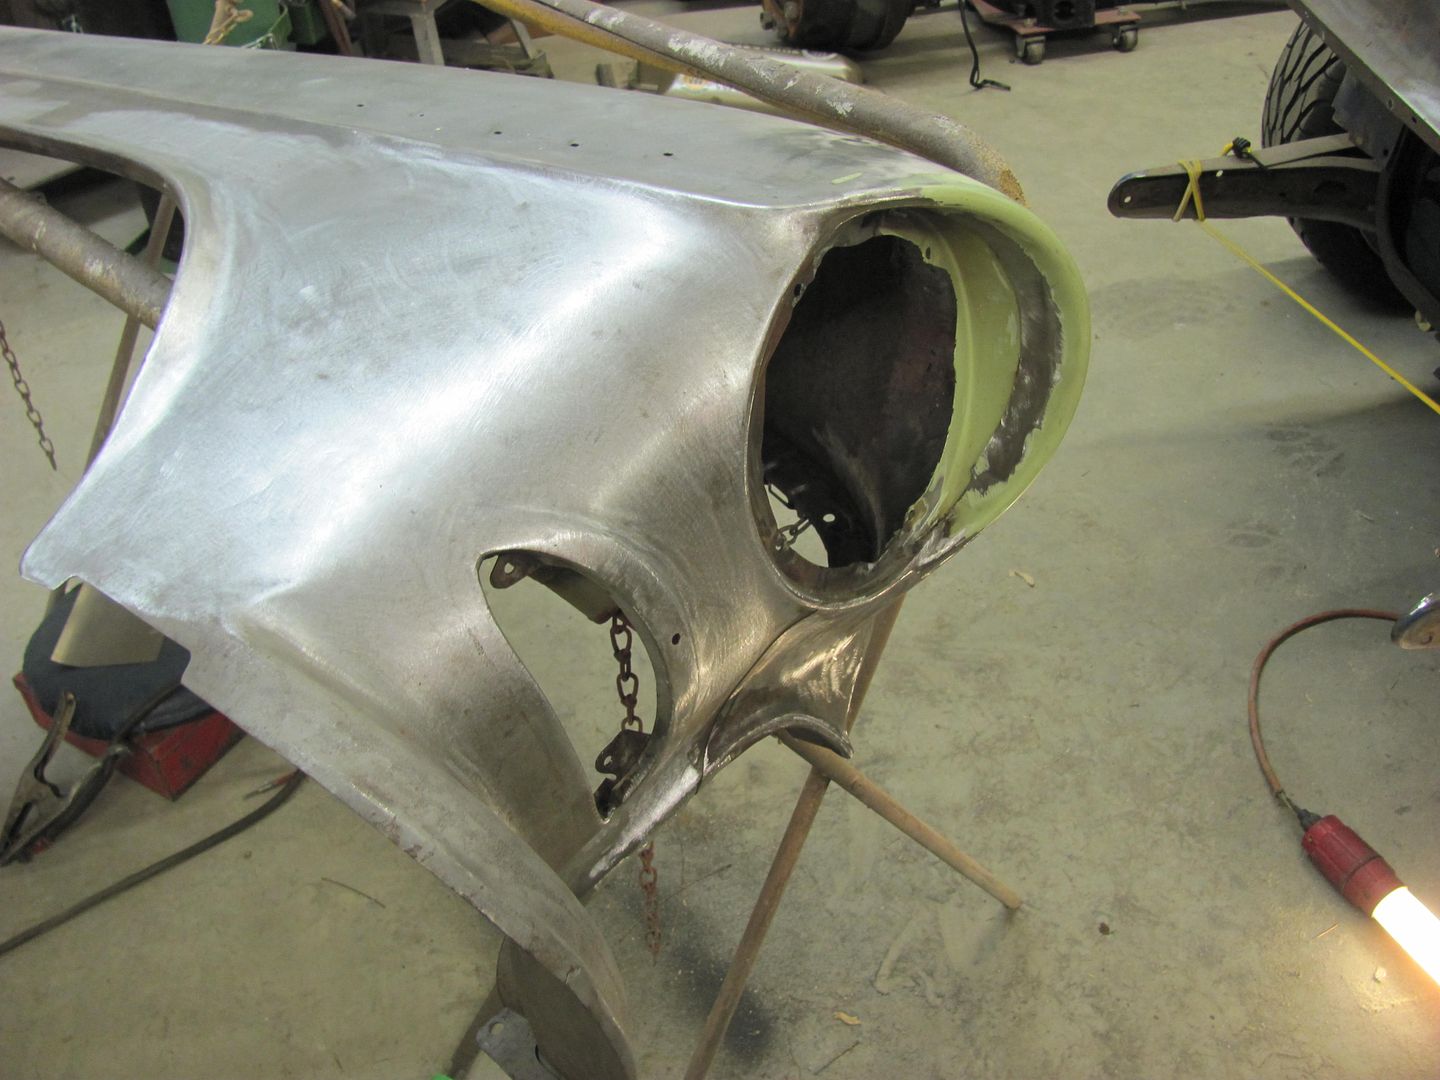
__________________
Robert |
|
|

|
|
|
#3 |
|
Registered User
Join Date: Jan 2013
Location: Leonardtown, MD
Posts: 1,647
|
Re: 55 Wagon Progress
One more piece to finish up the shave, the inner flange for the grille opening needed connecting together after trimming the bolting flanges.
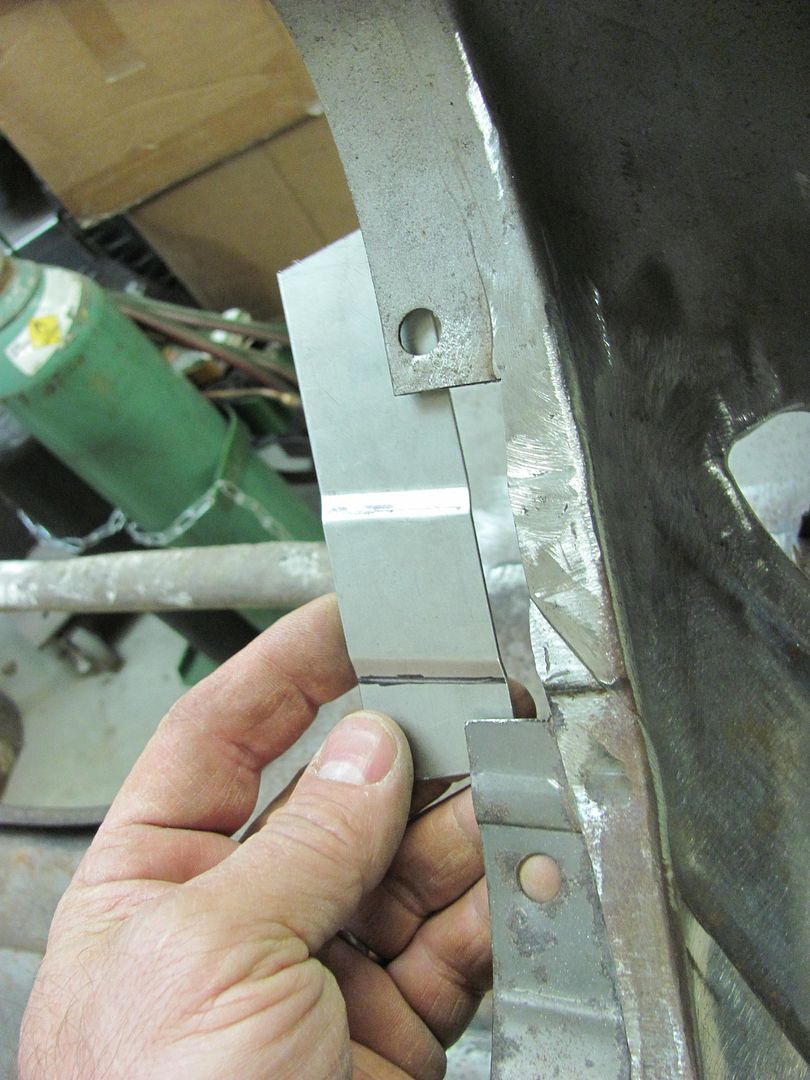 Trimmed and holes drilled for plug welds.... 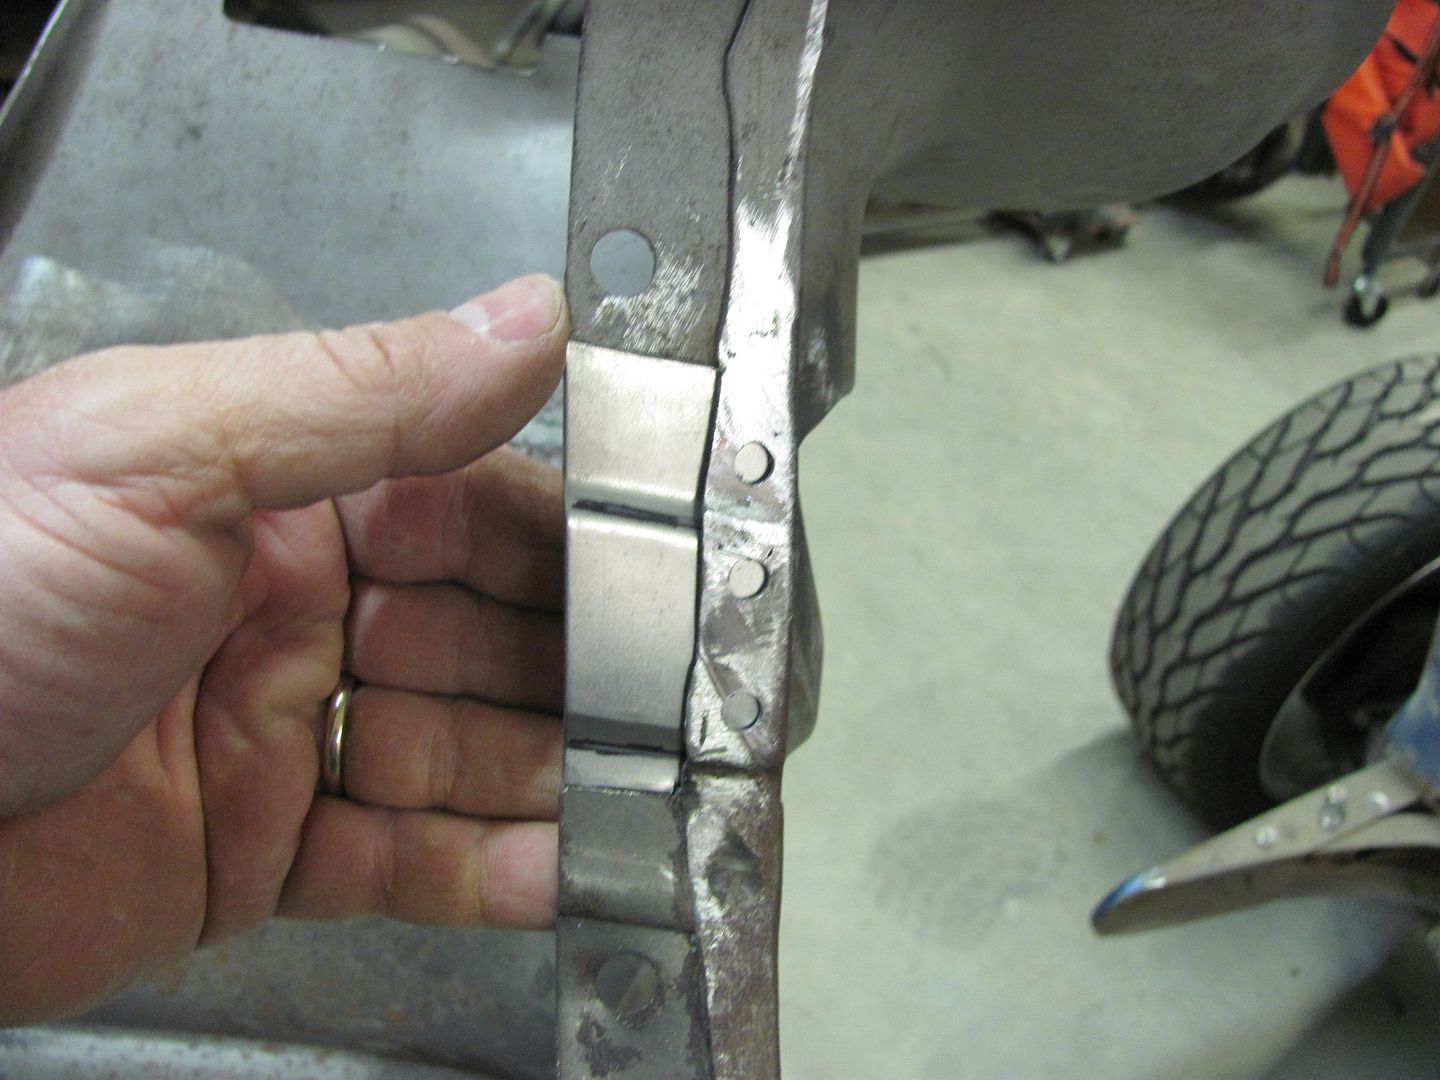 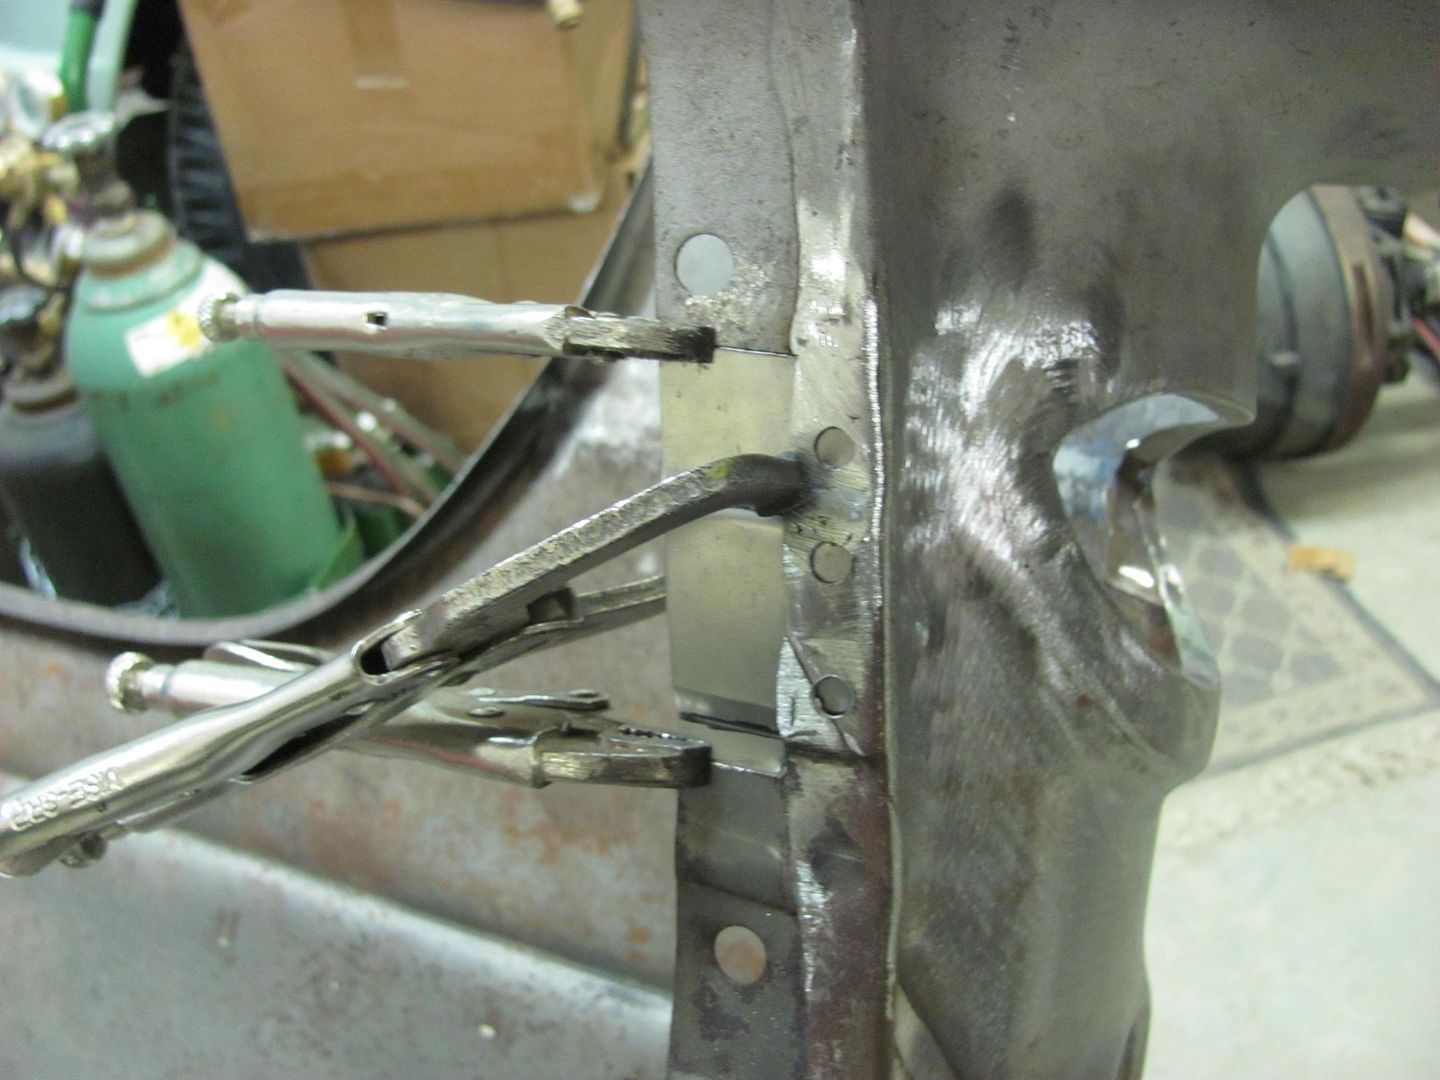  All welded and dressed out.... 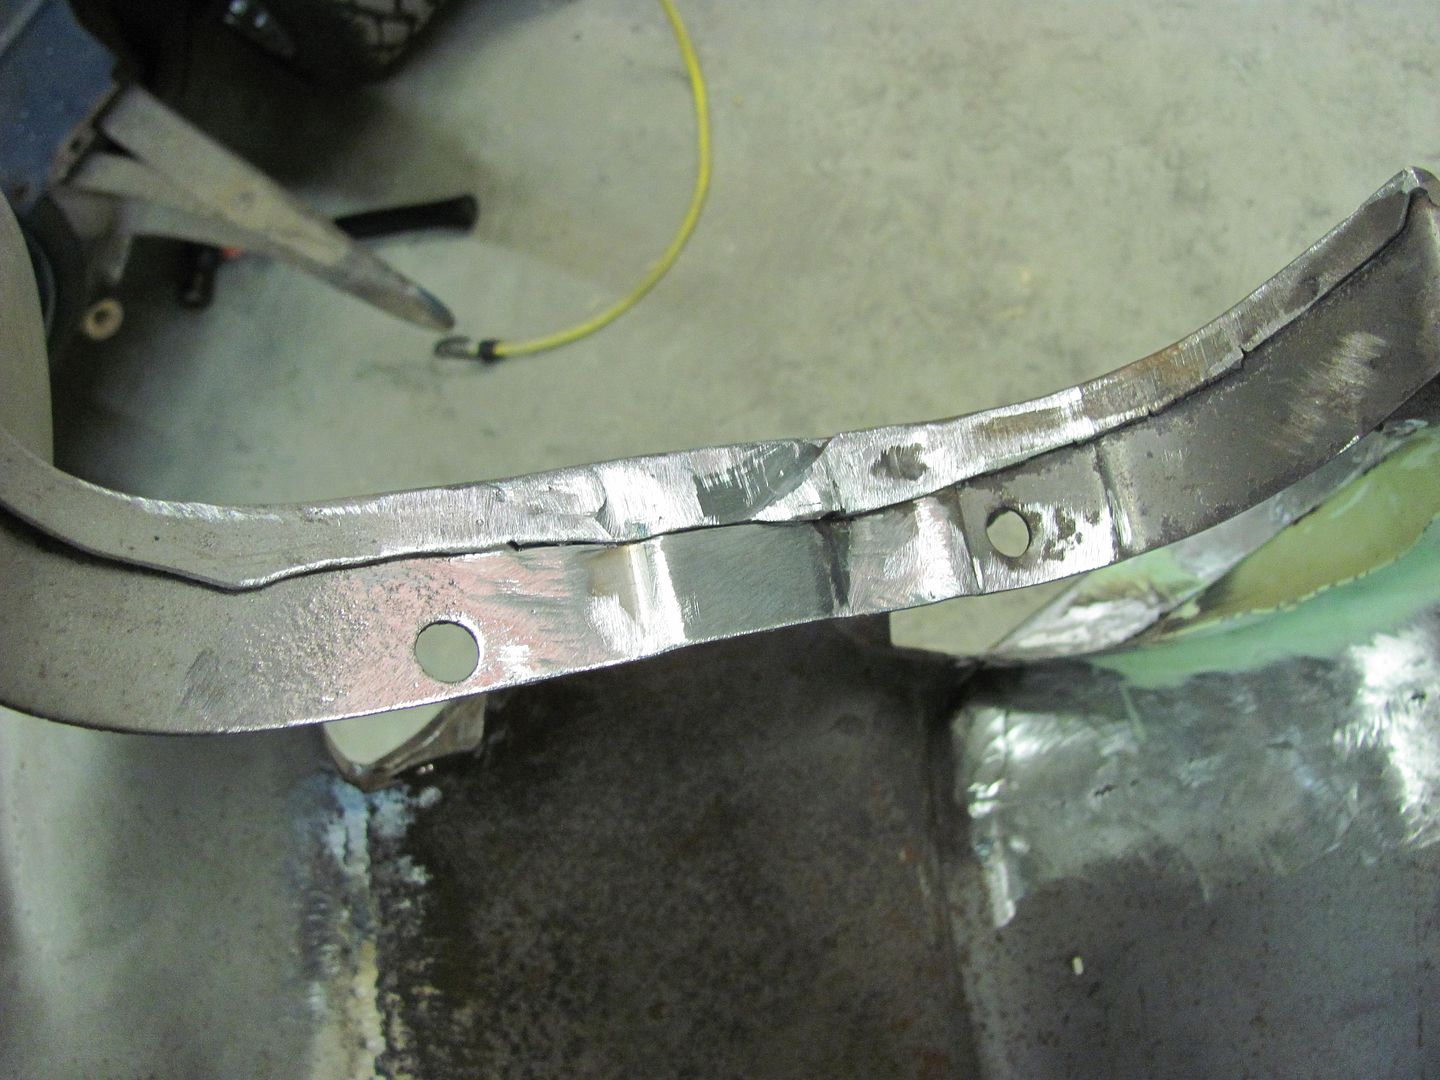 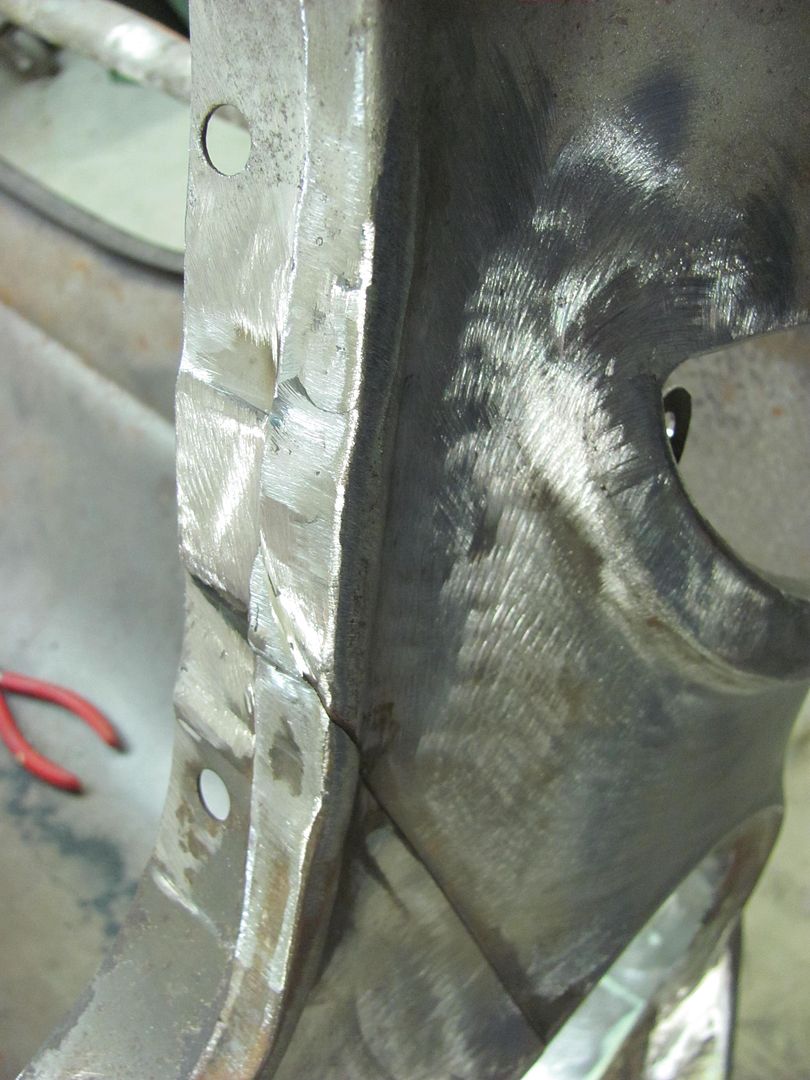
__________________
Robert |
|
|

|
|
|
#4 |
|
Registered User
Join Date: Jan 2013
Location: Leonardtown, MD
Posts: 1,647
|
Re: 55 Wagon Progress
I was going to start the shave on the driver's side this afternoon, but a few stumbling blocks along the way...
Mocked up all the front sheet metal just to see it together again.. Gotta love that hood bird..  Here's the factory seam to compare to the shaved version... 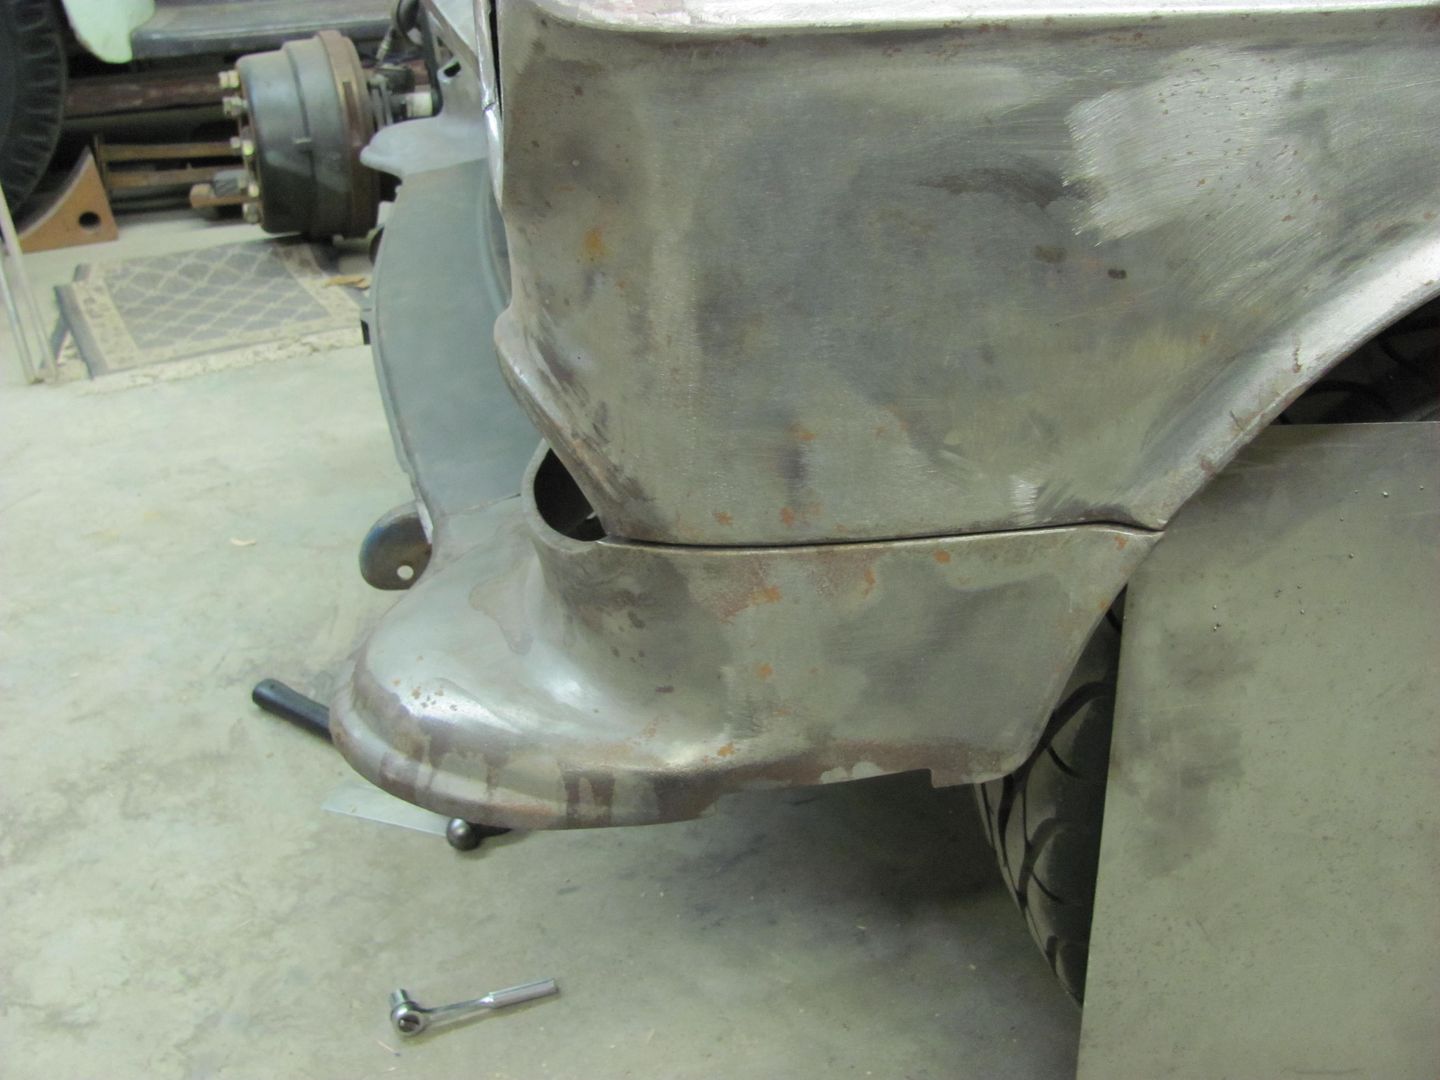 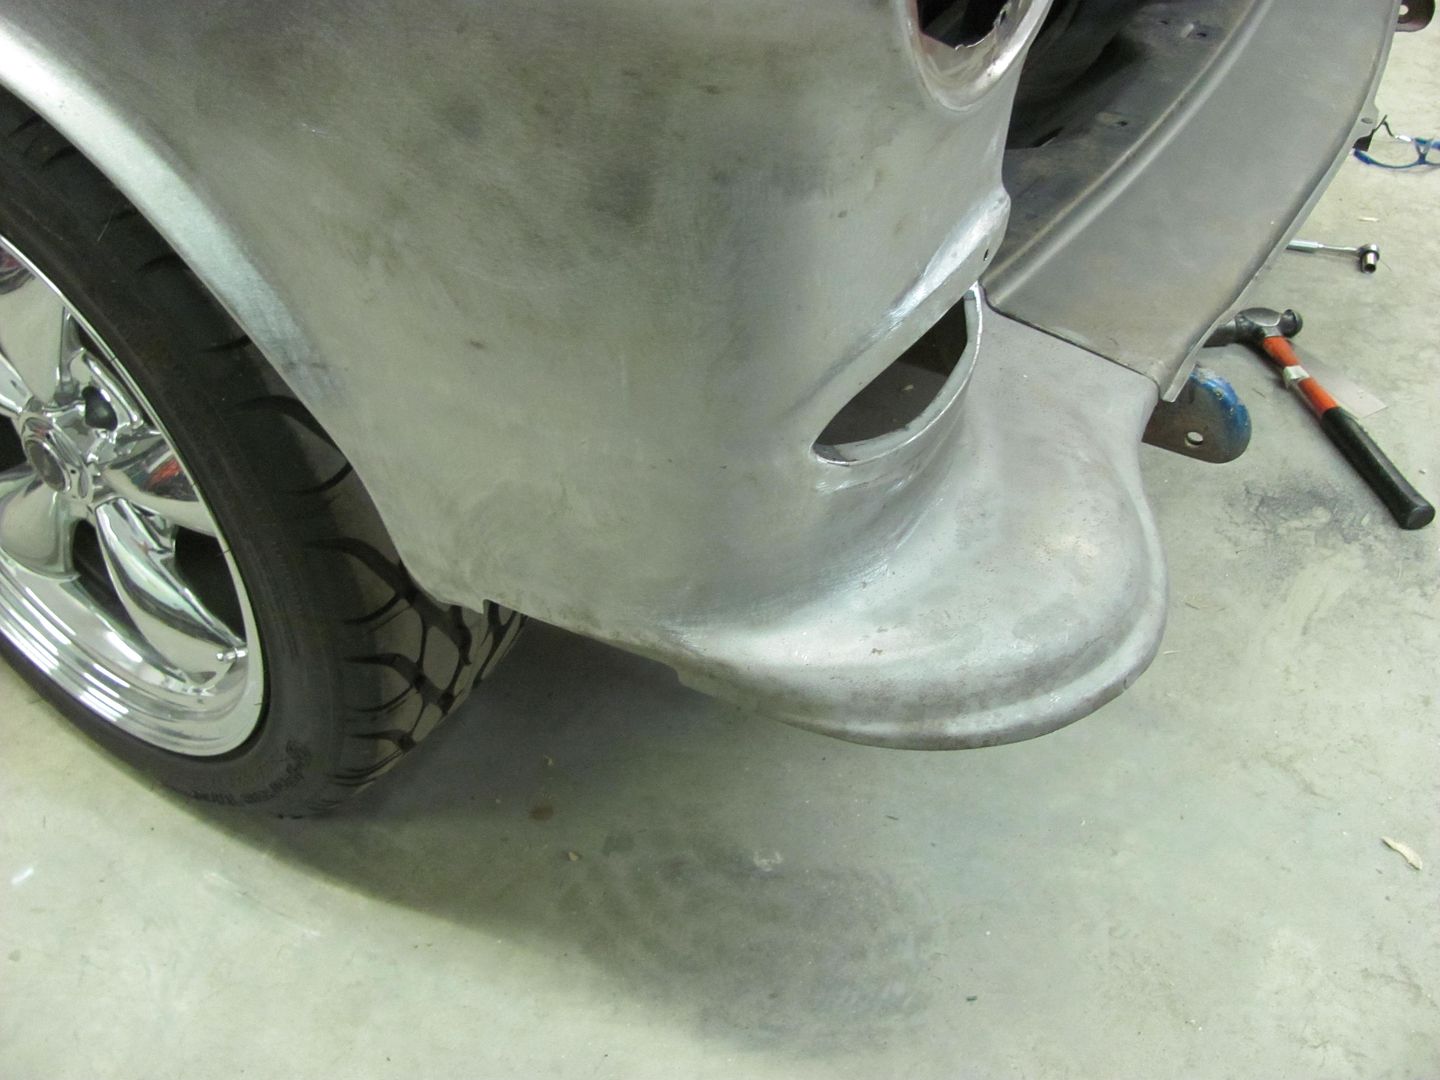 Bumper filler panel had been tweaked at some point in the past 50 years, so let's see what we can do to straighten it out some.... 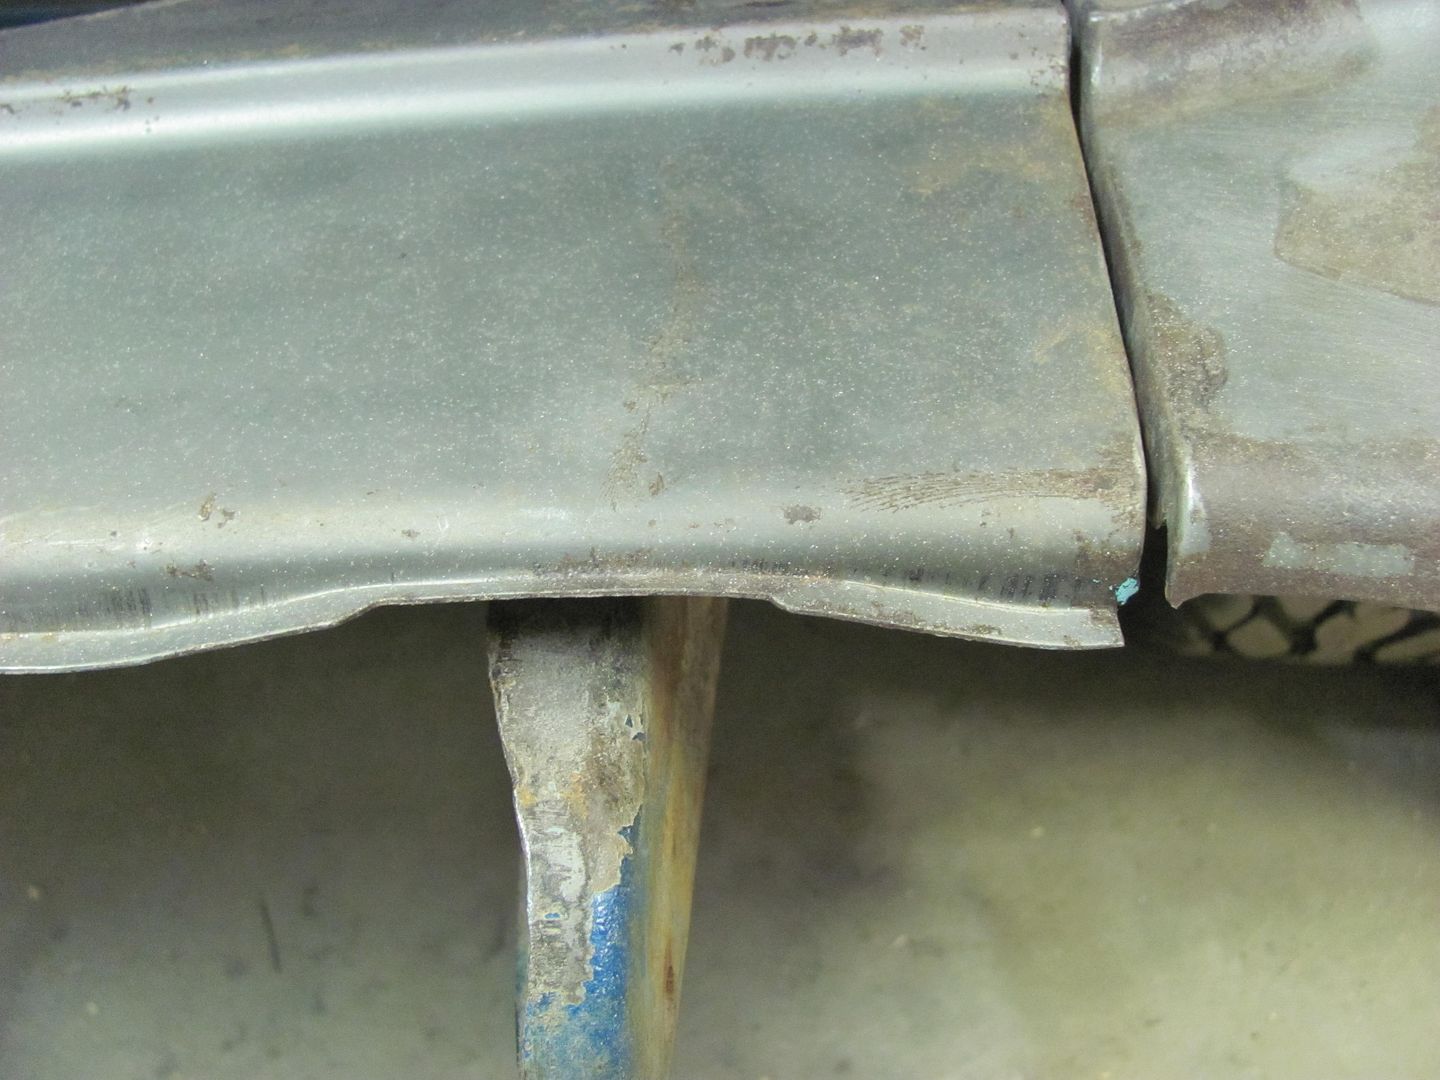 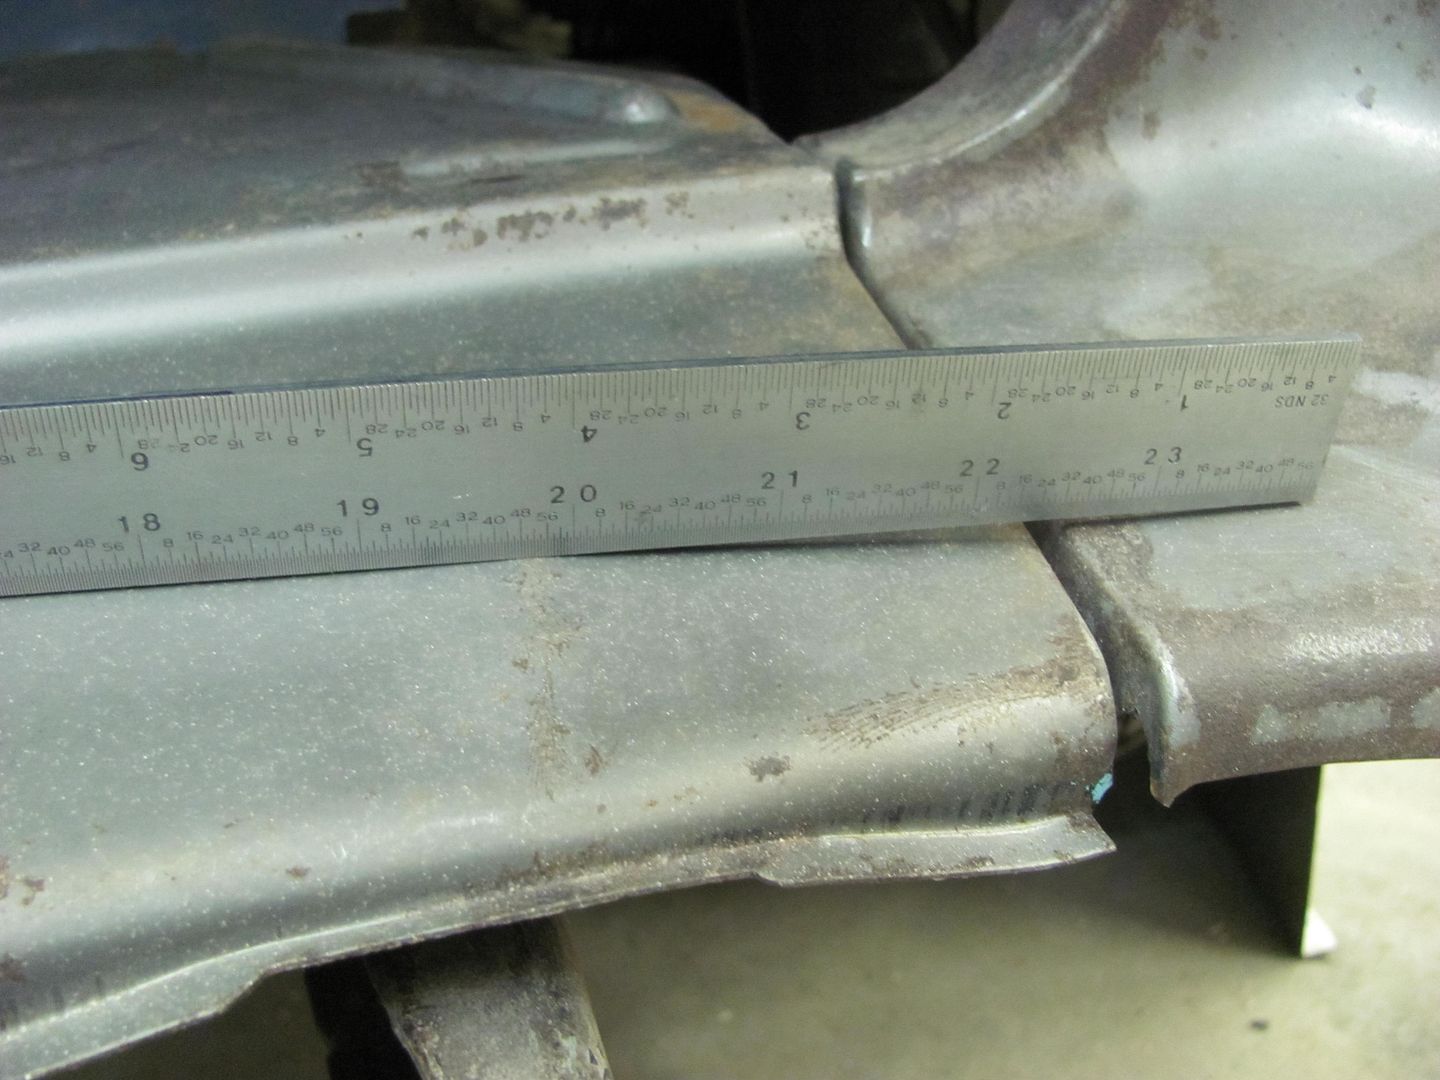 Used a combination of the flat and crowned body hammers, the donut dolly, the 5" dia shot bag, and a round hunk of steel. 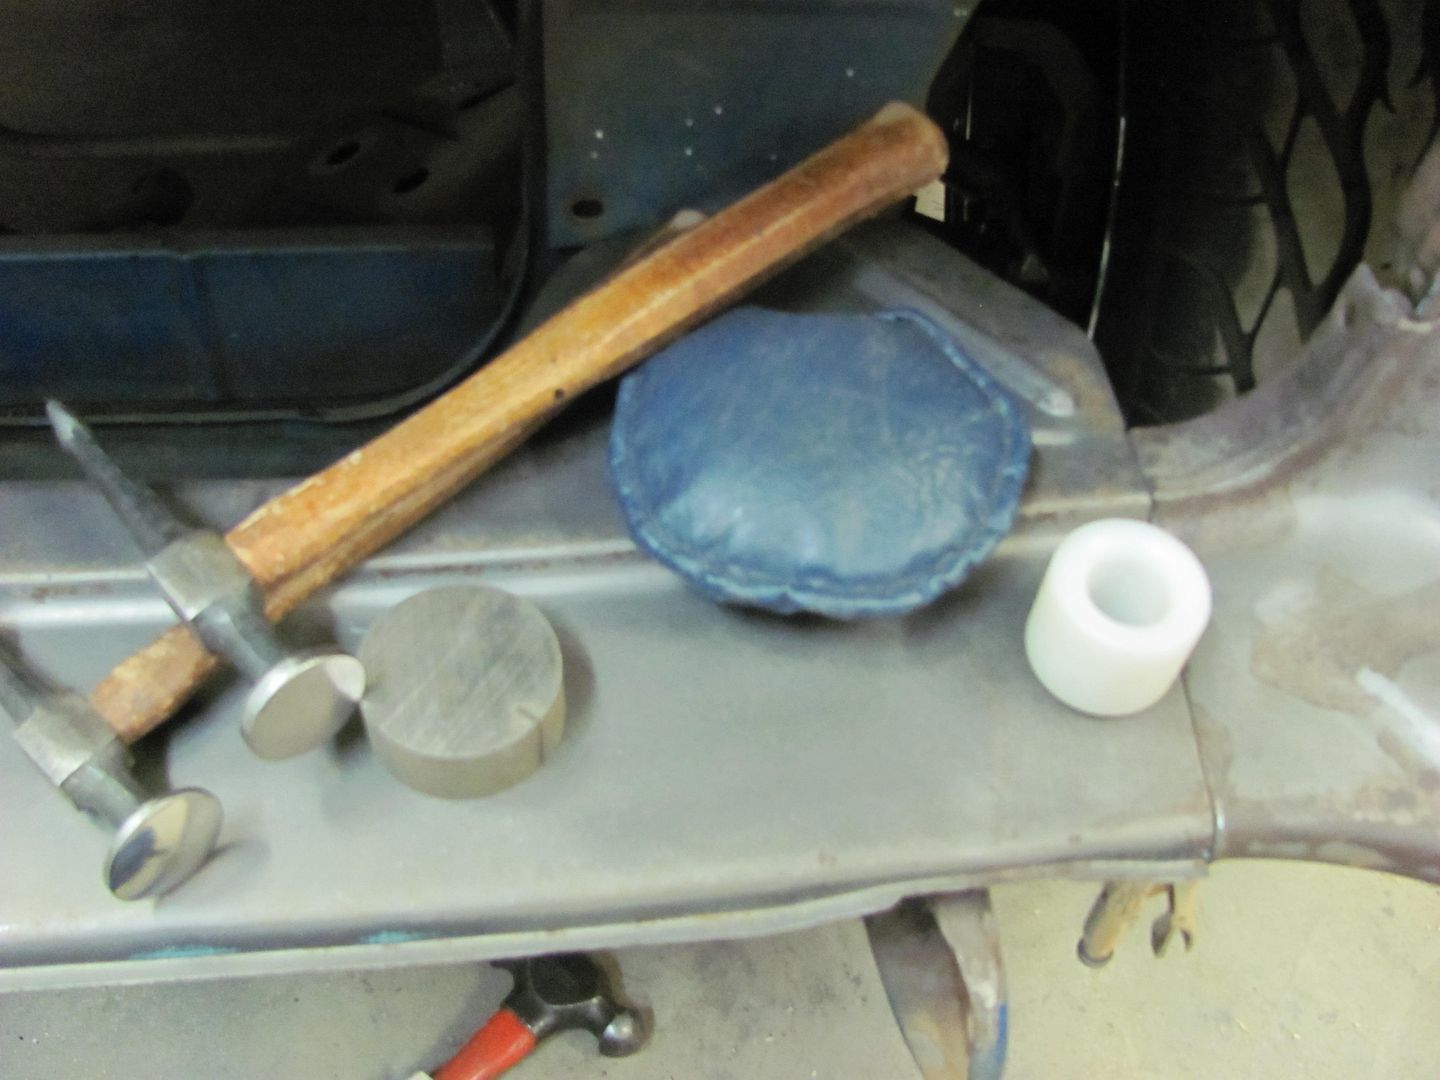 Much better...  Next on the list before the next shave, a bit more rust to attend to... 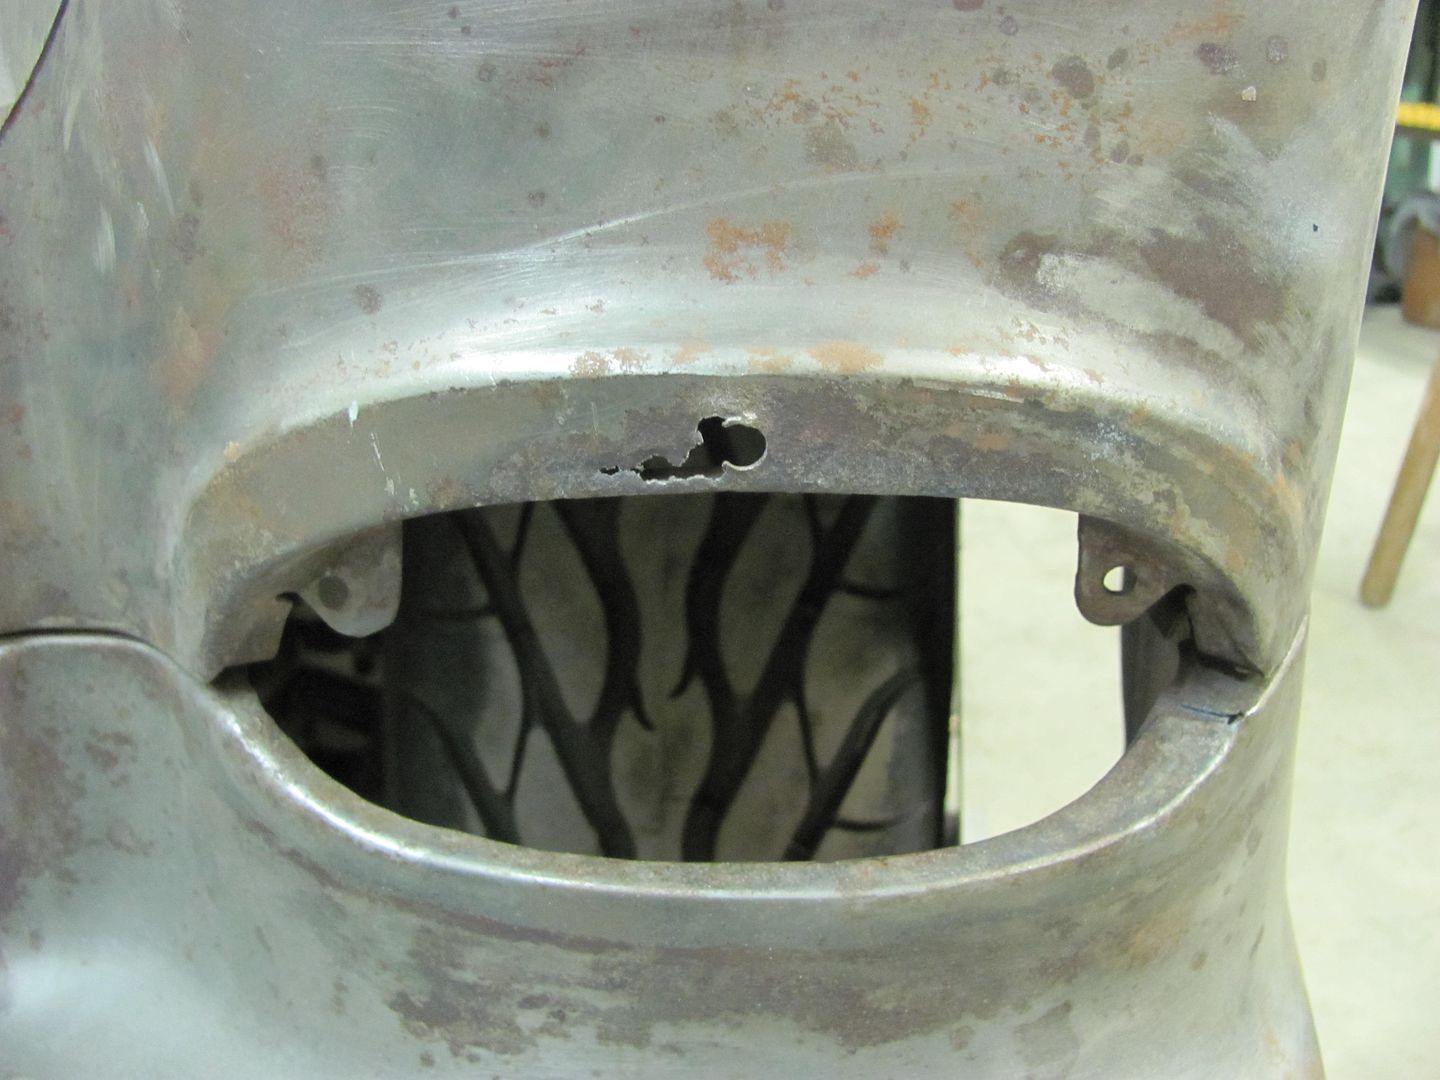 Used a wide sweeping radius on the cut to minimize any extra shrinking that occurs inside tight corners. 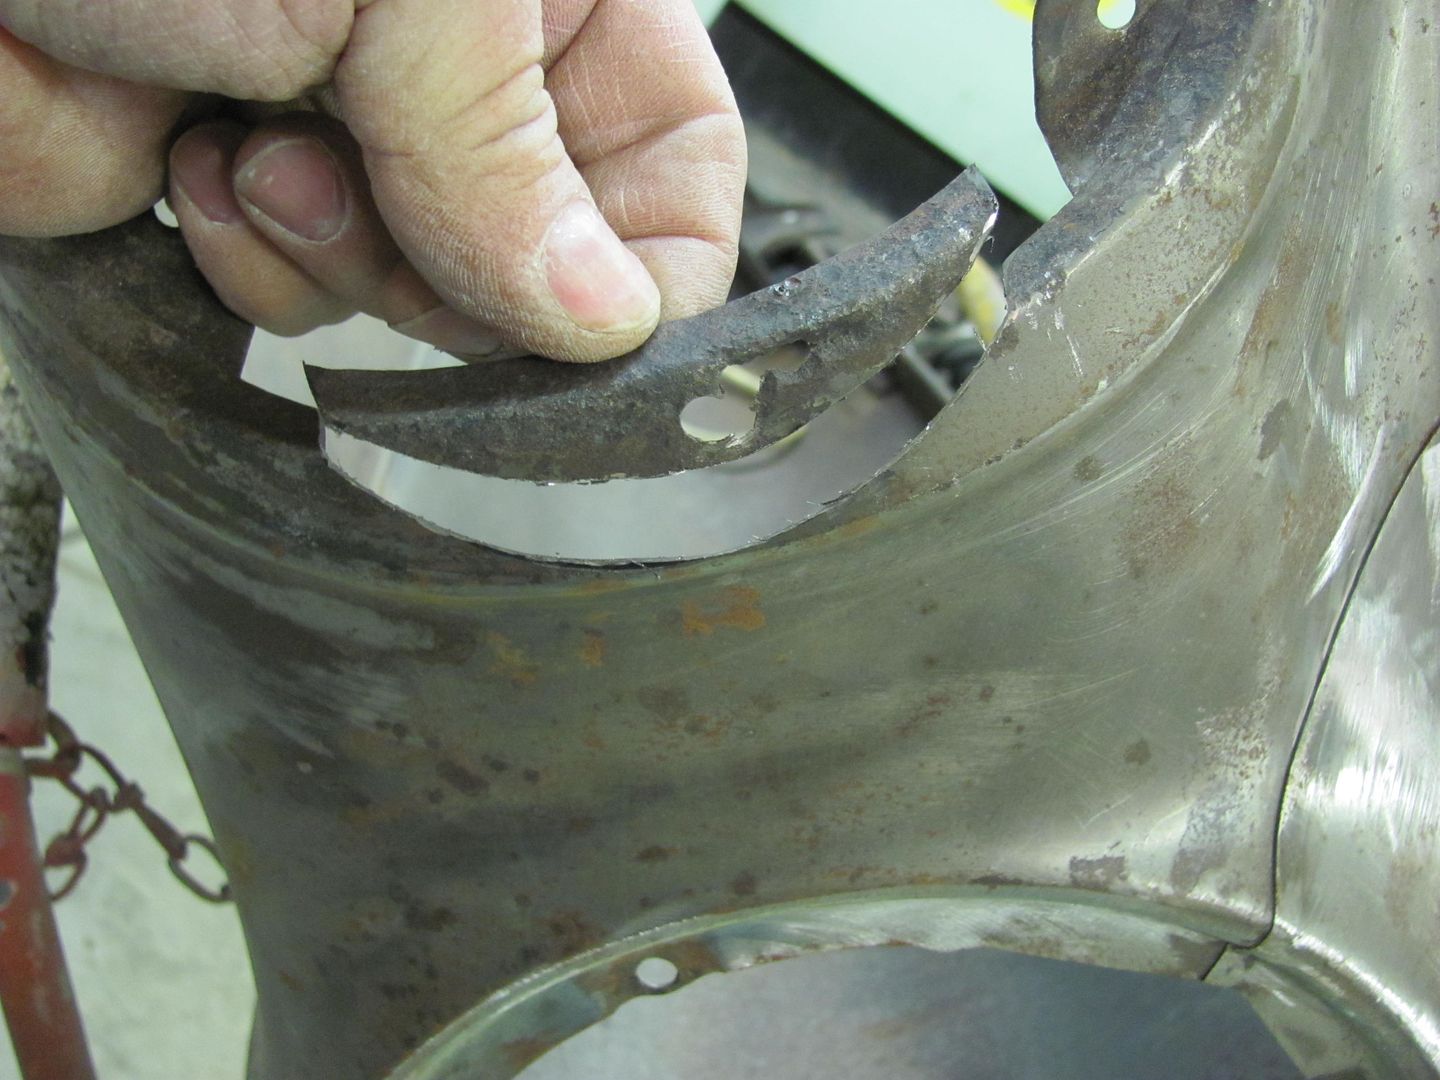 To get a good, consistent profile on the patch, I used the go kart wheel... 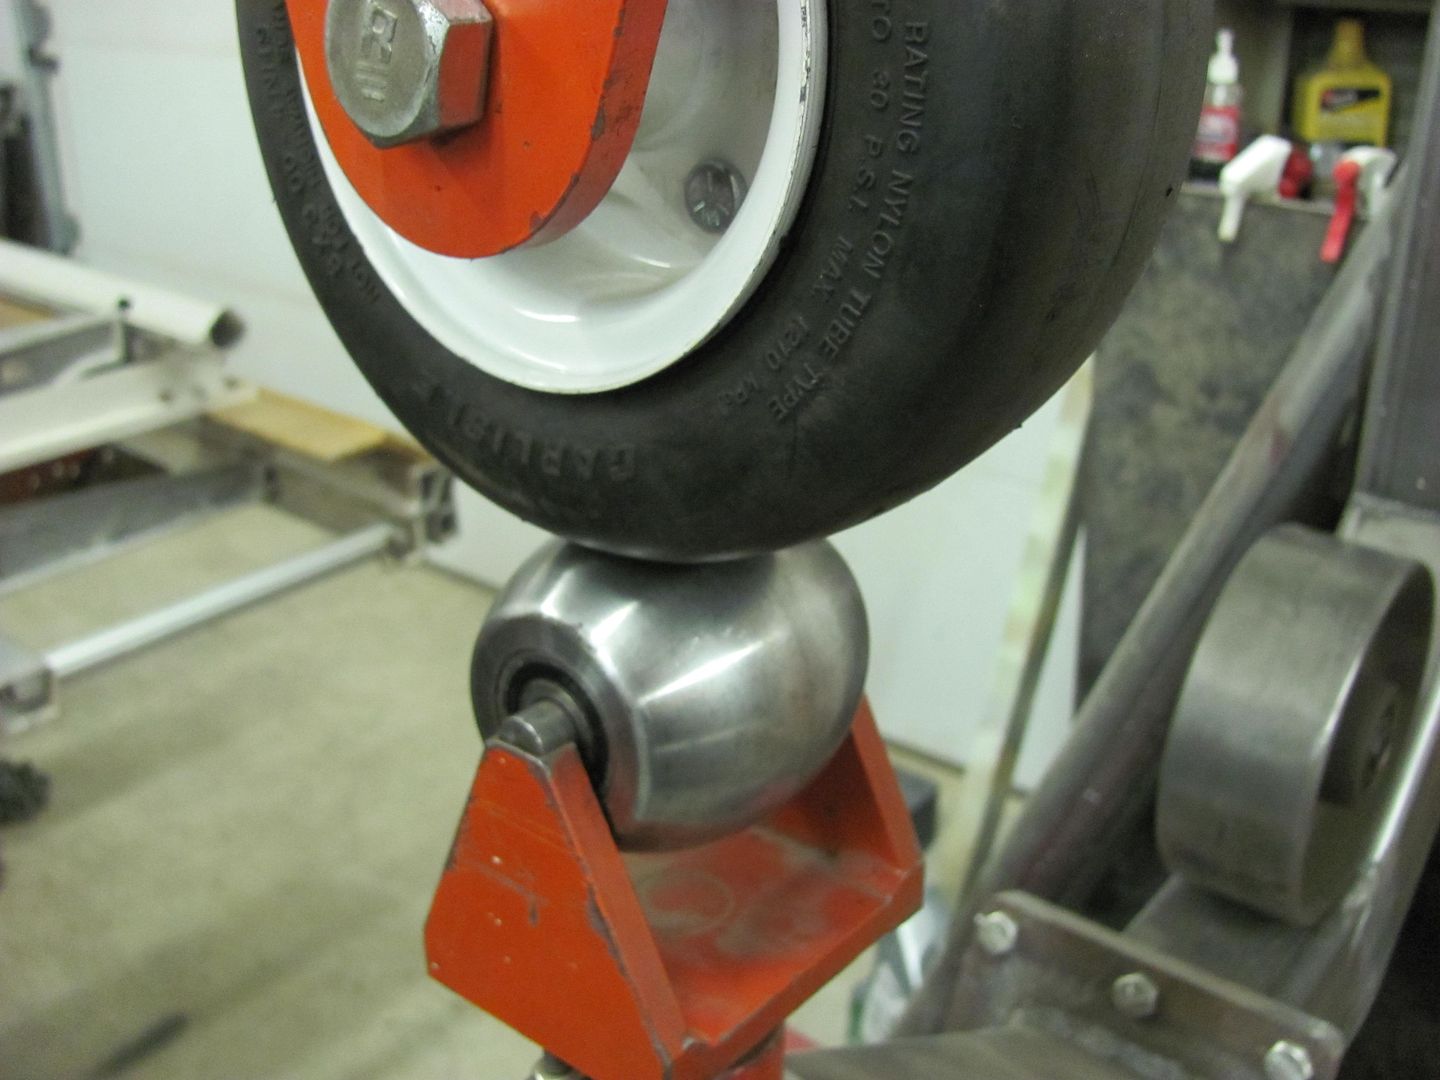  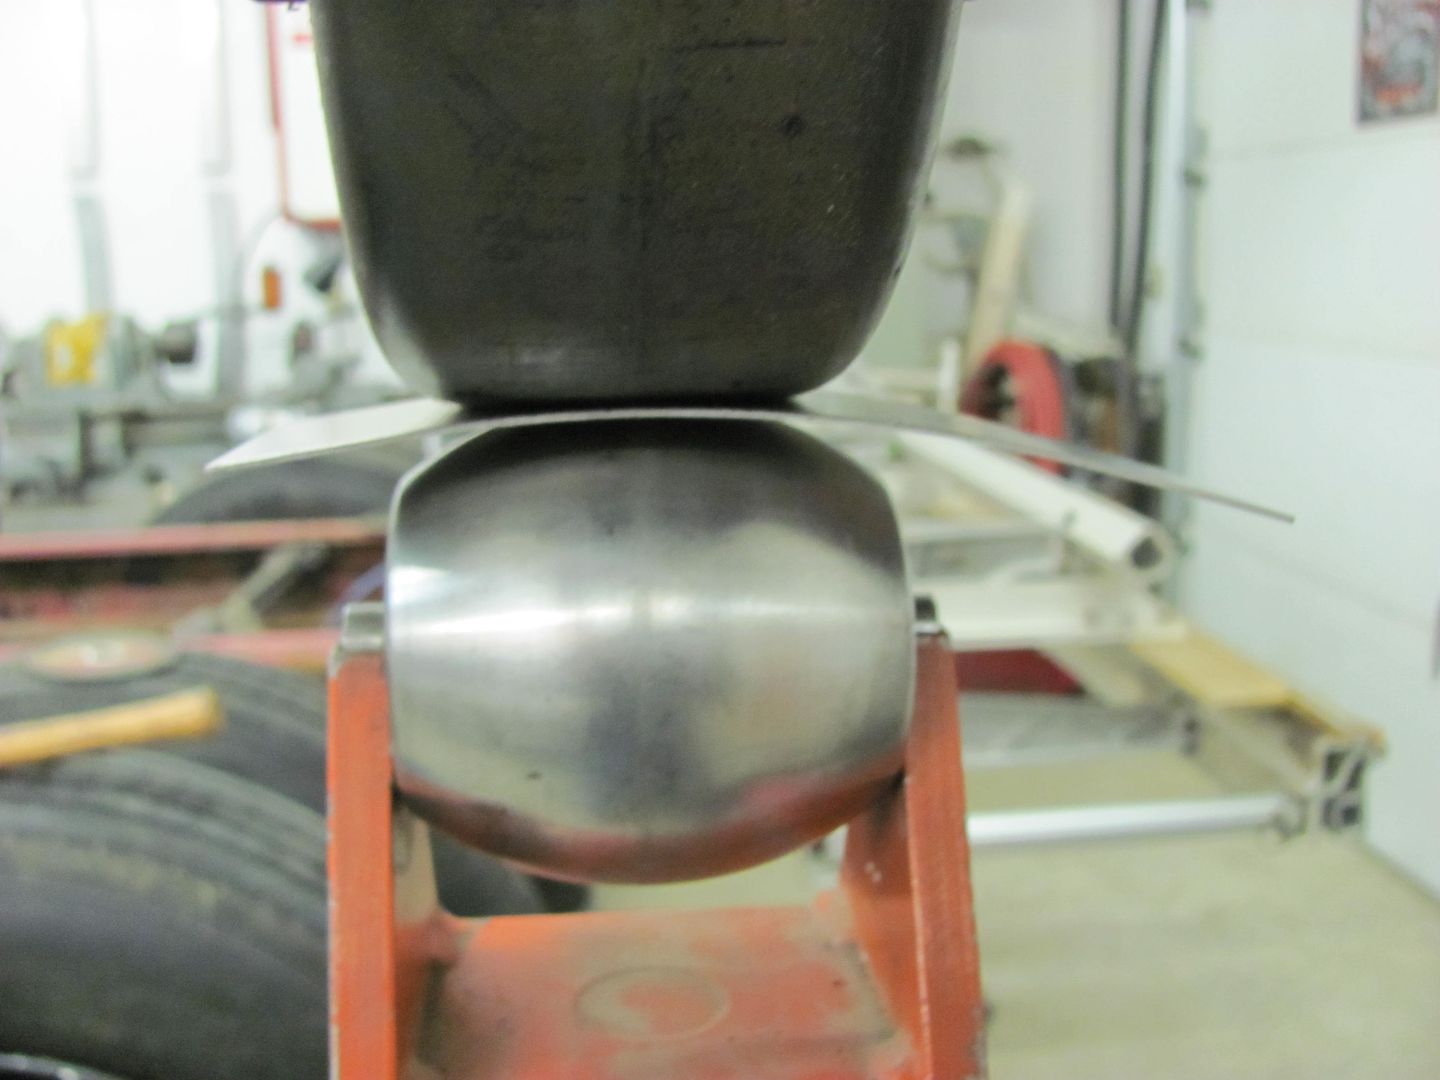 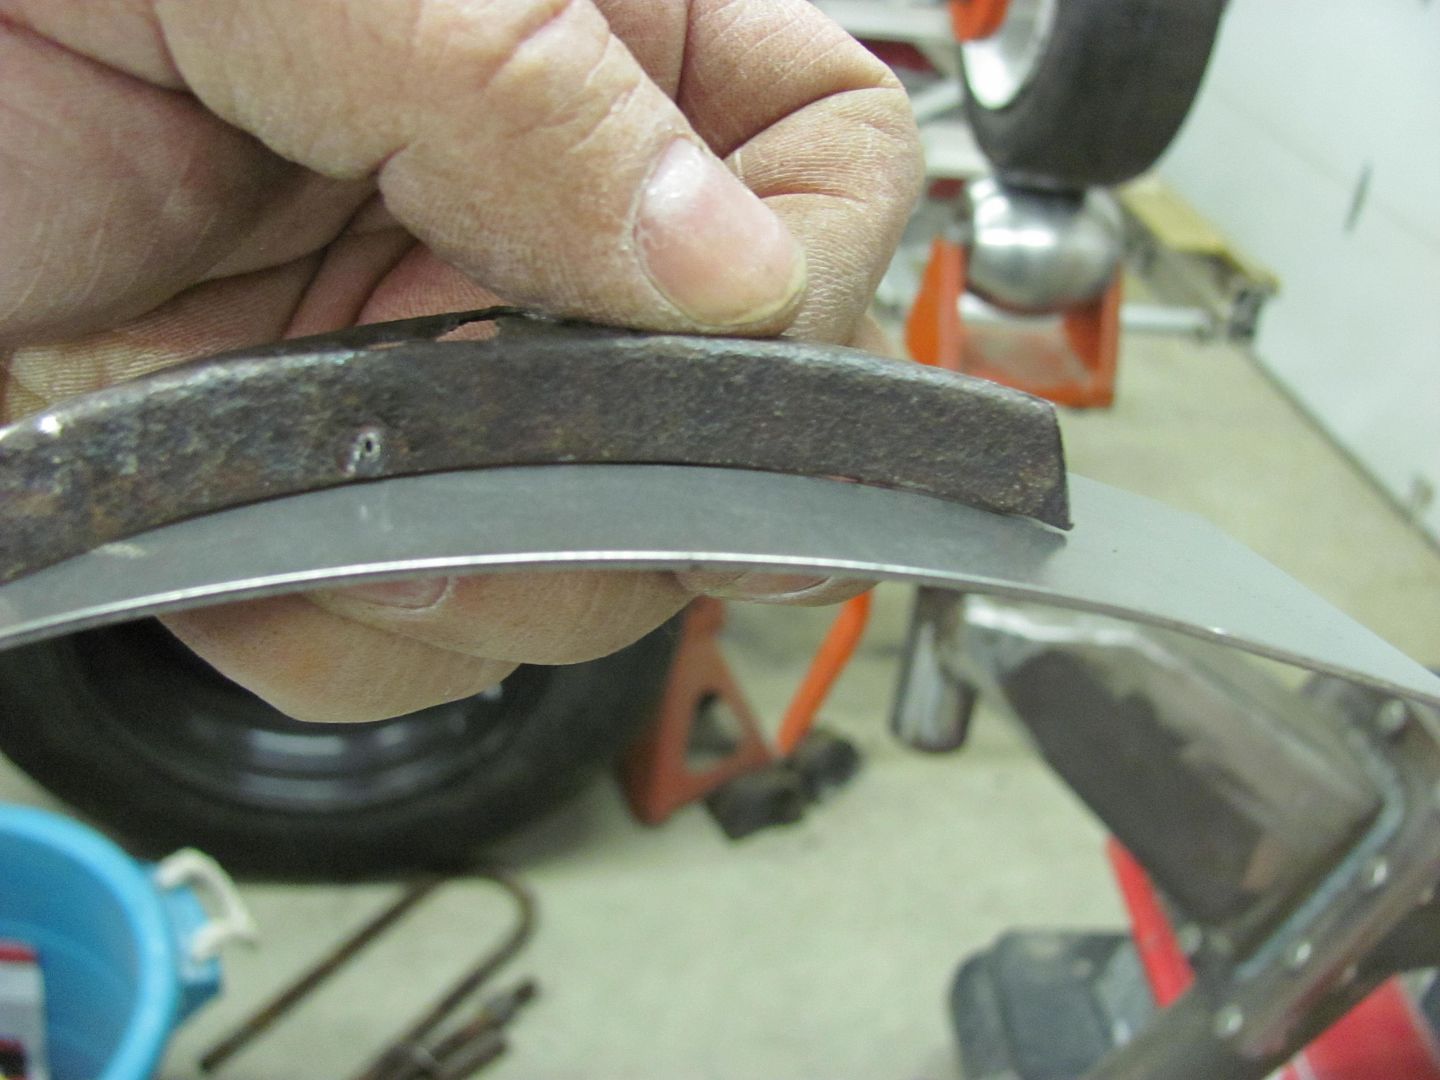 Laying out the pattern.. 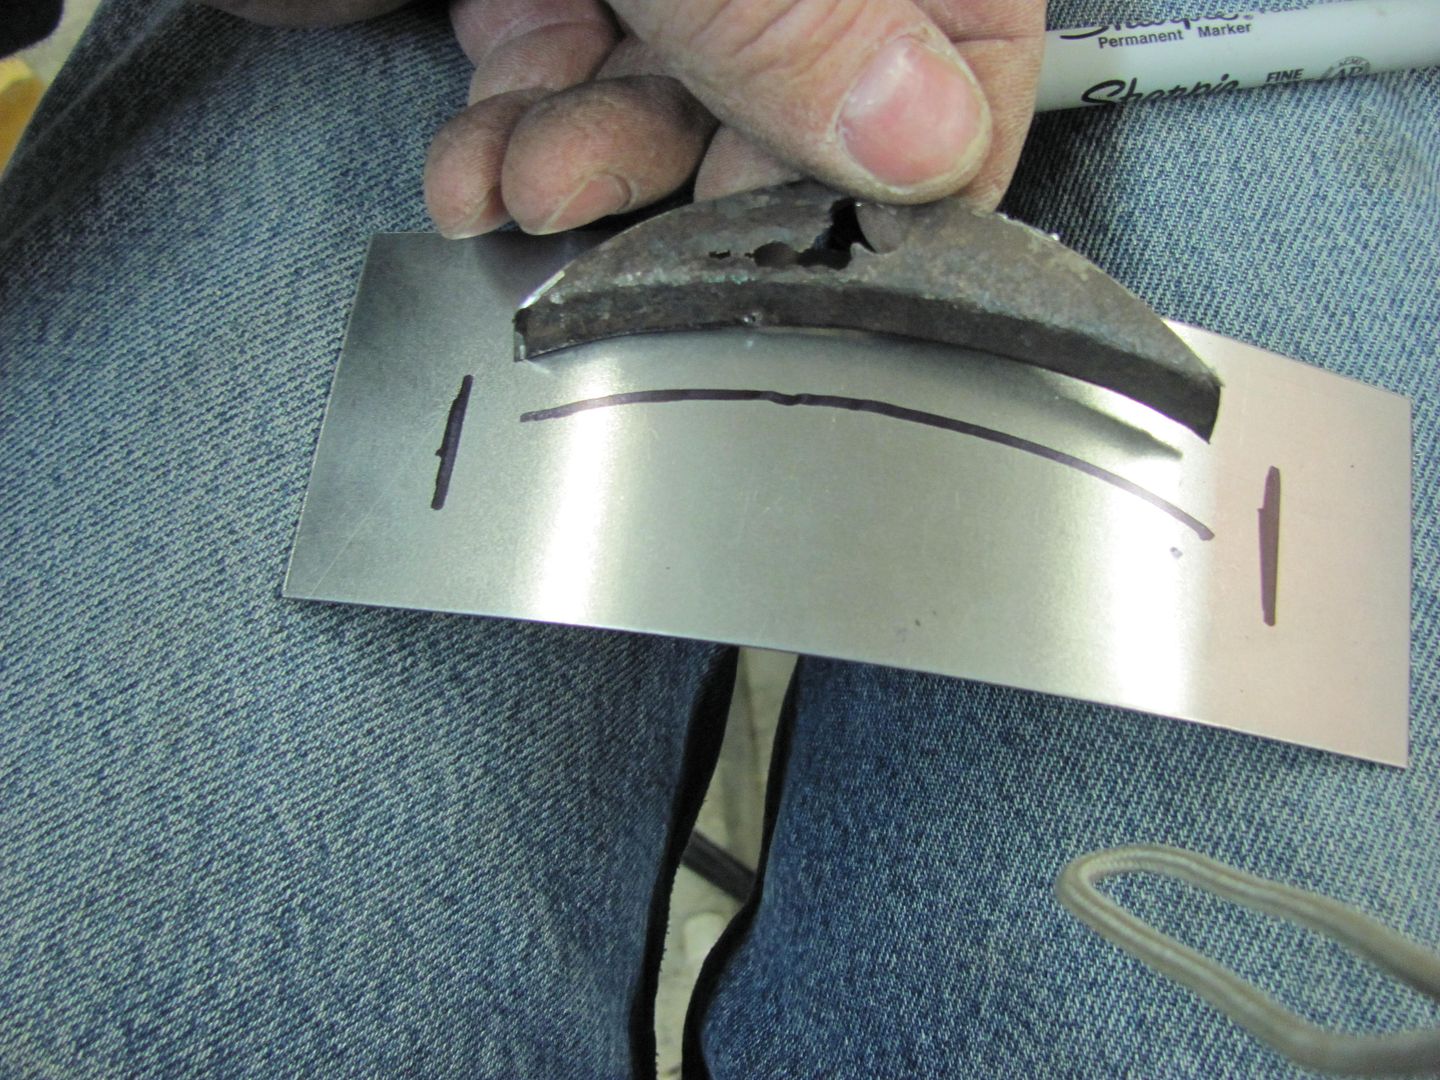 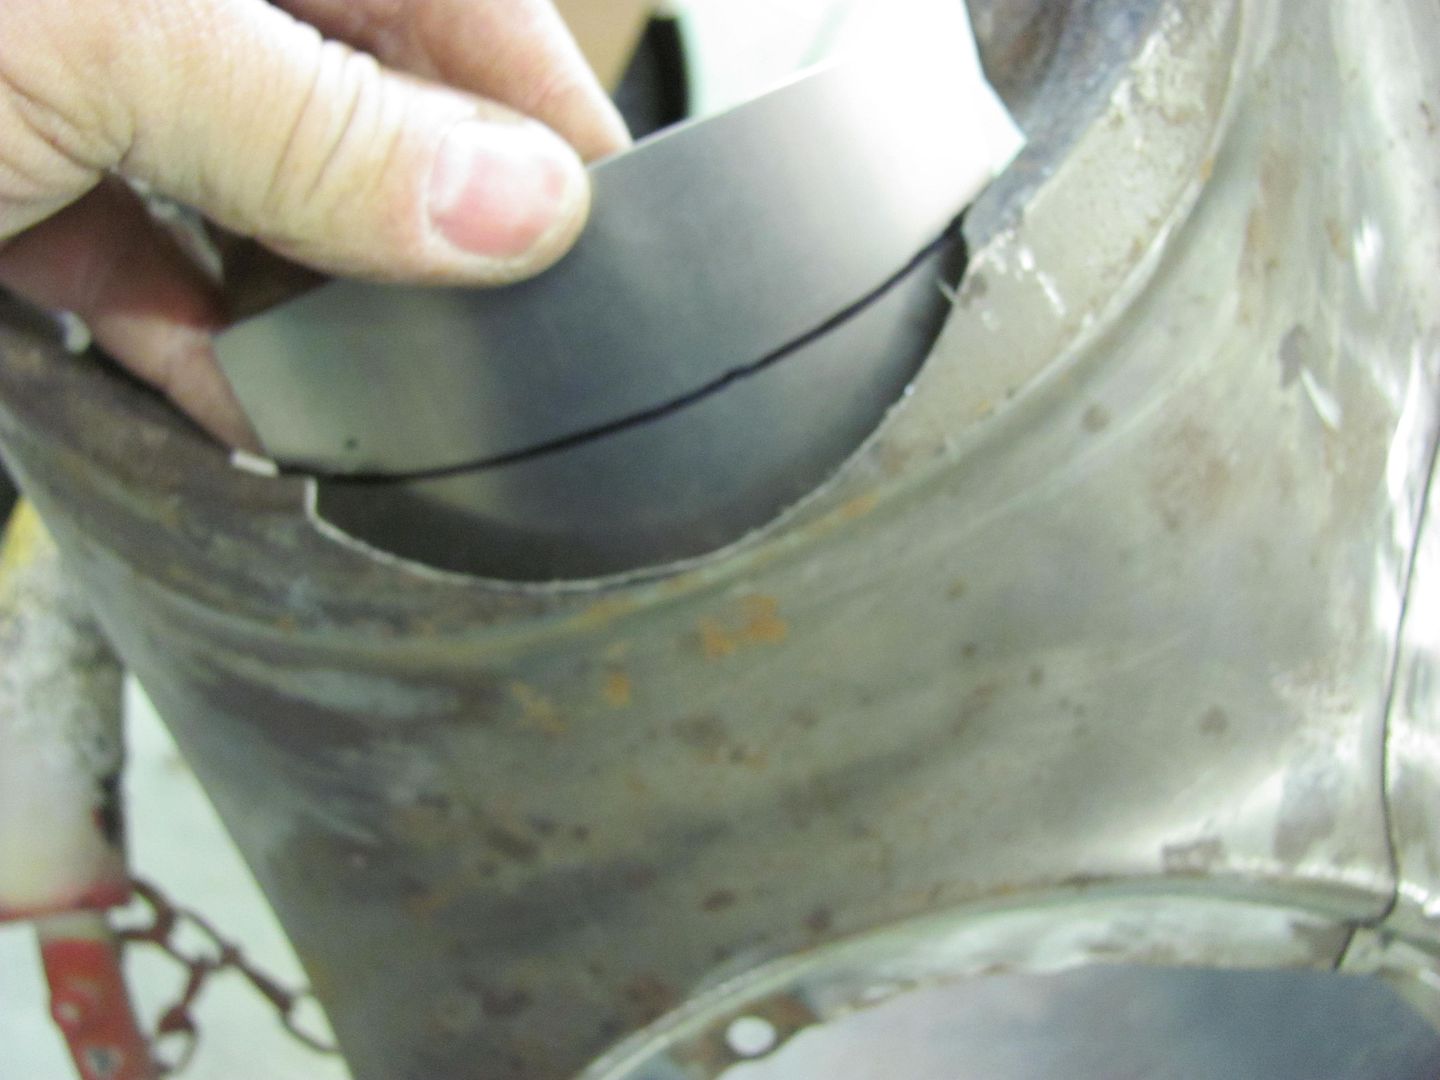  One last test fit before tipping the flange...  Dumb mistake number one....don't cut the patch so small you can't get leverage to force the flange to tip... 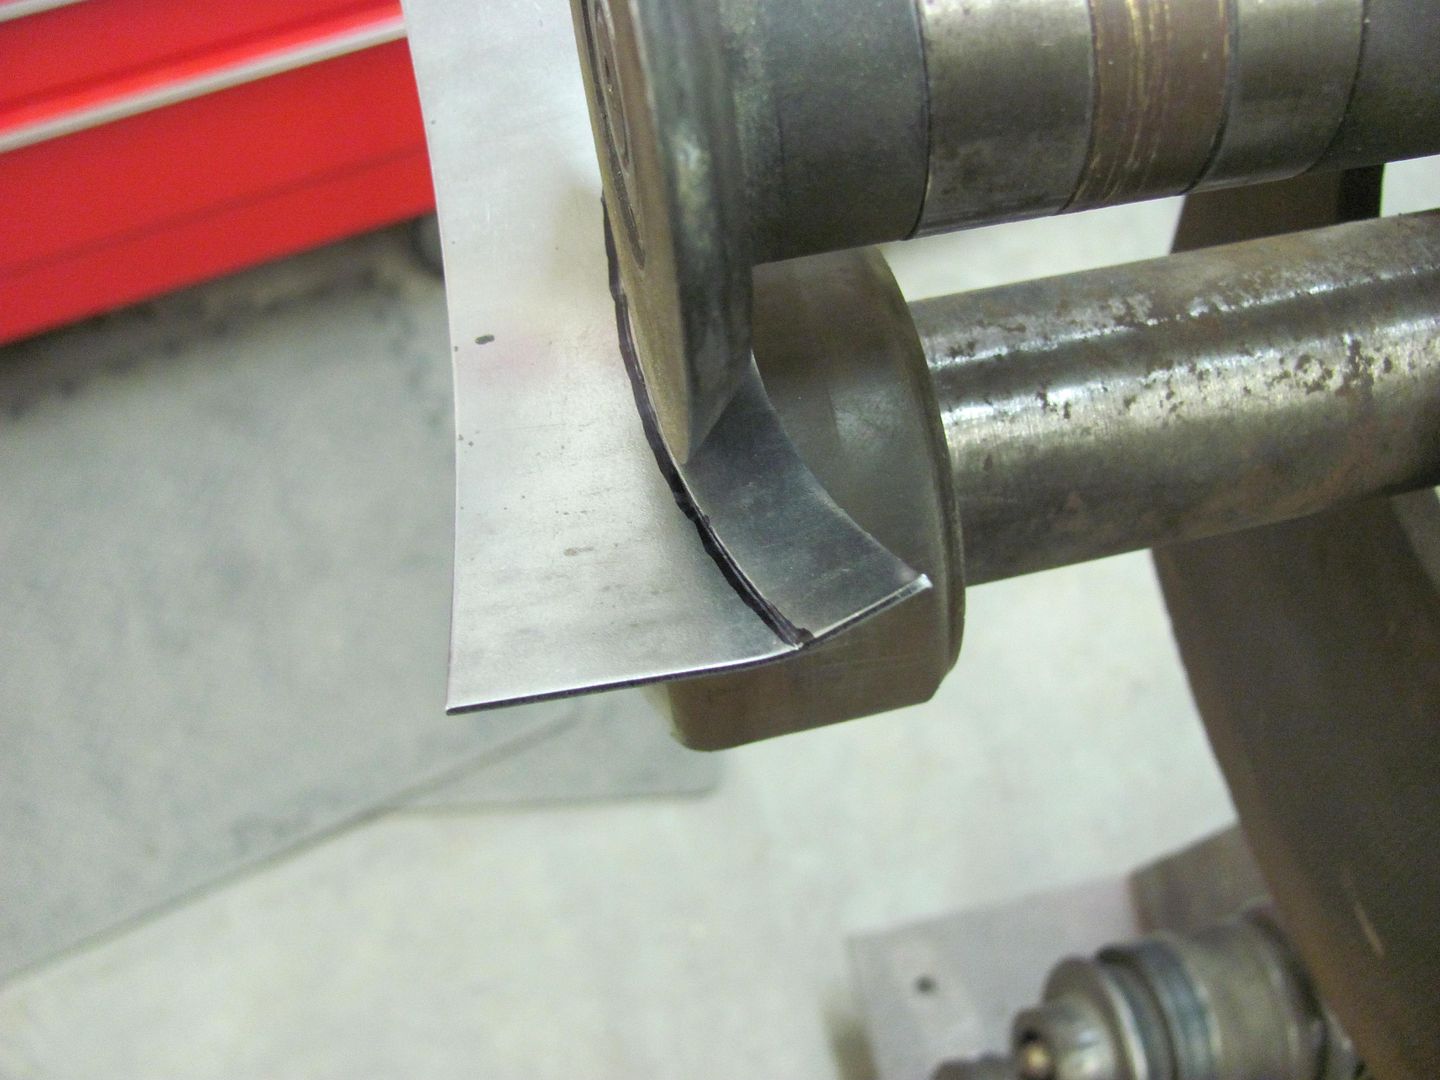 Well, we do have a good crease to work from now. Some hammering on the 2" round anvil will work 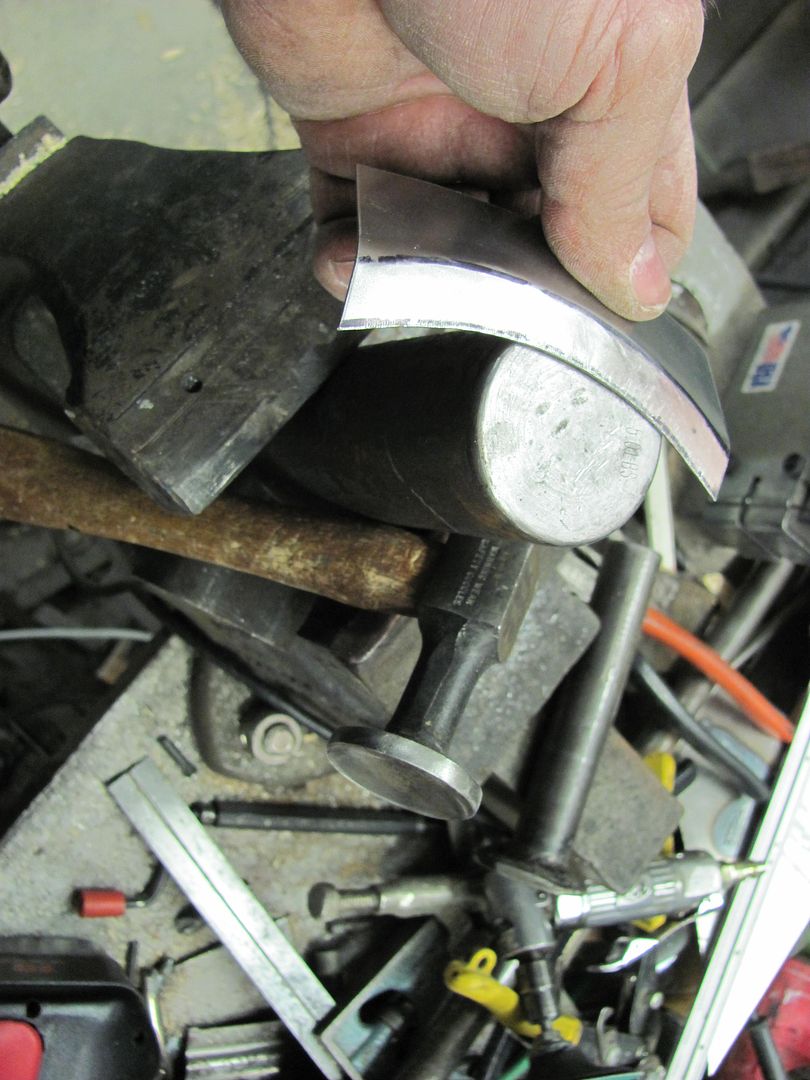 Trimmed to fit... 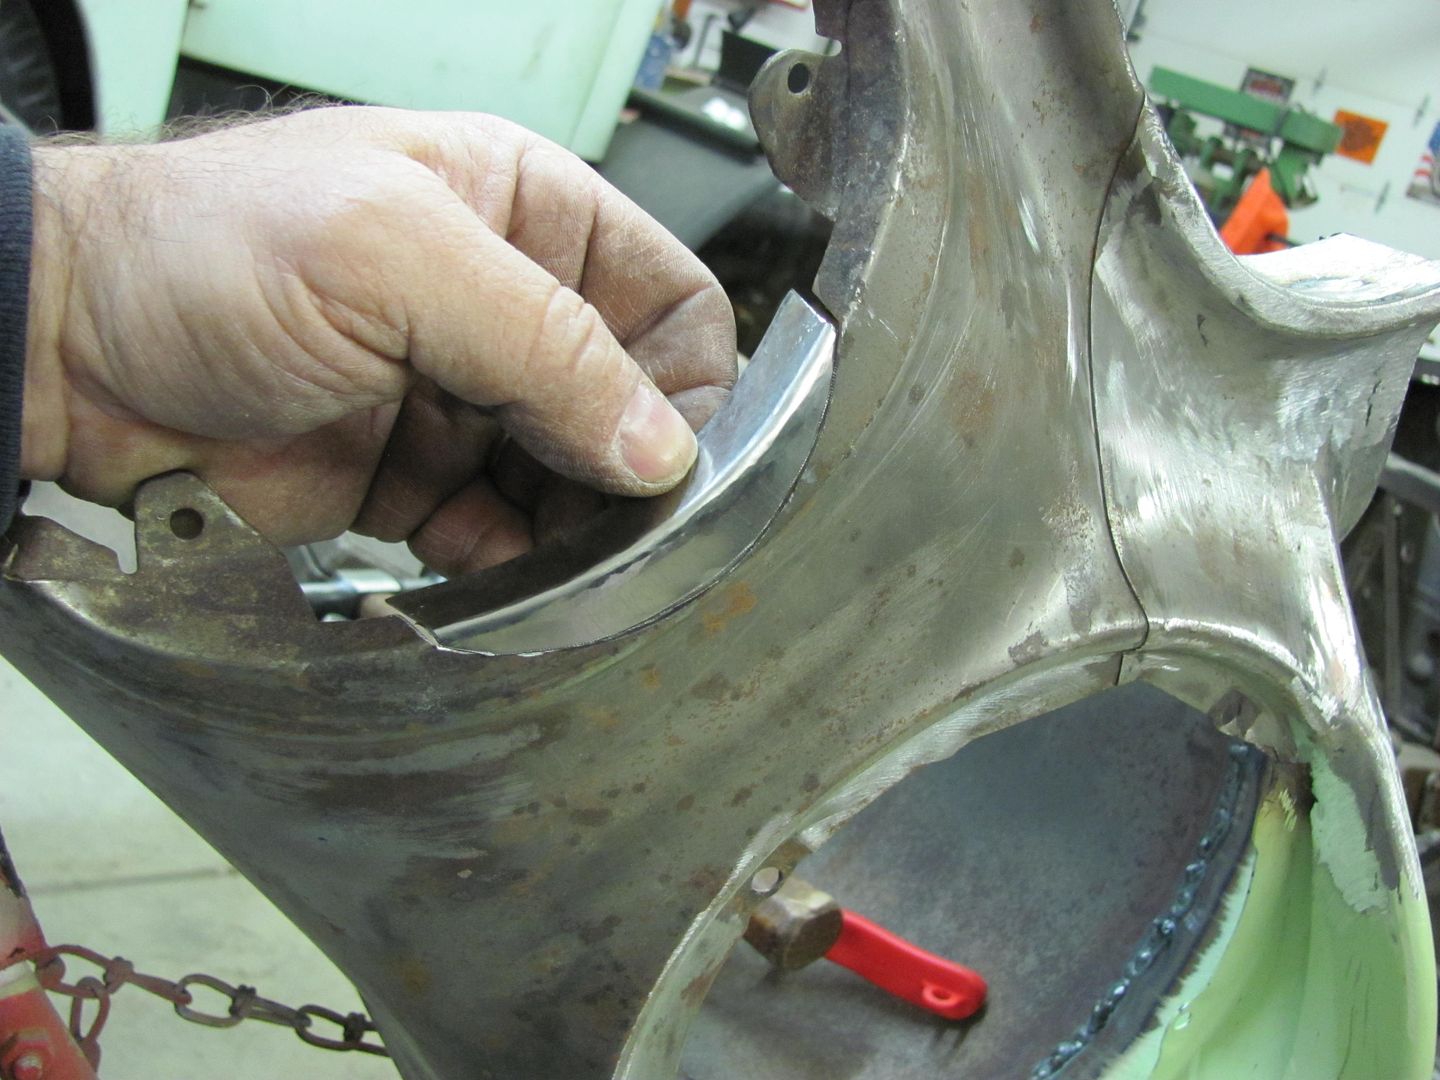 Welded and dressed... 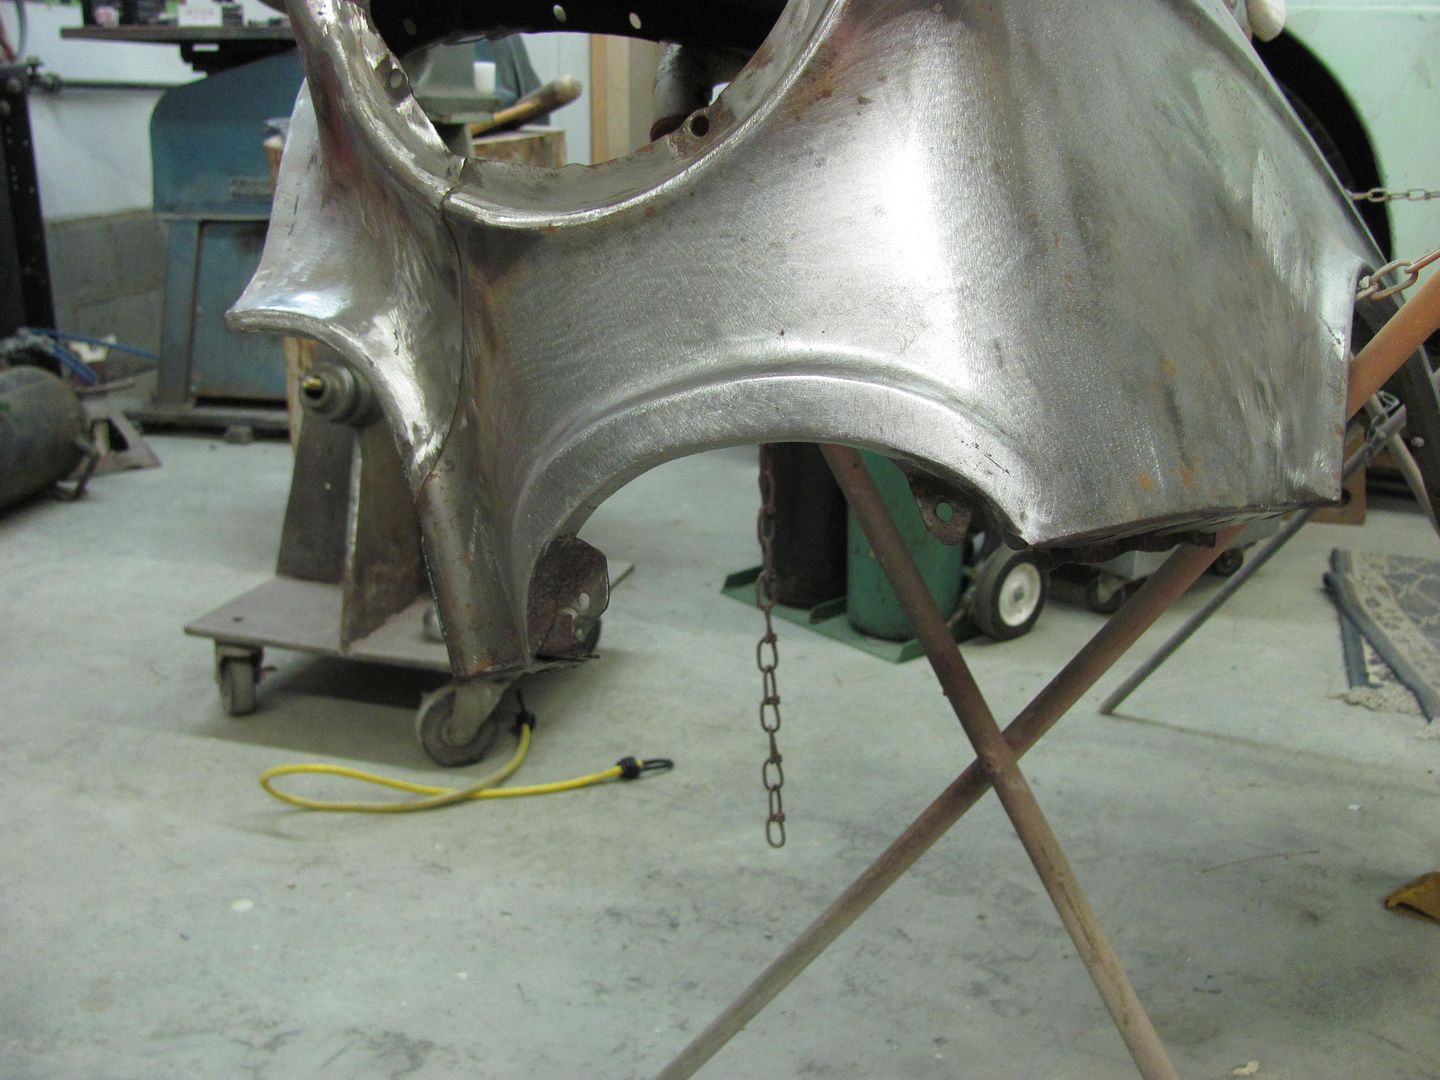 Hey...the light even fits 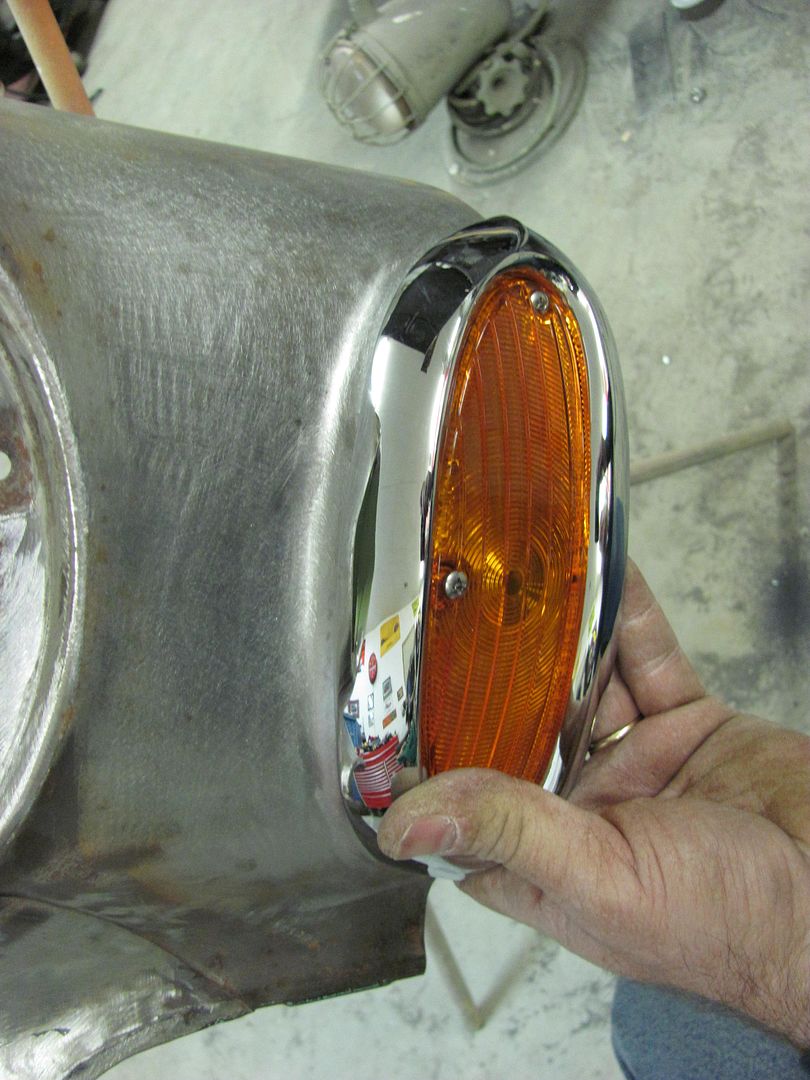
__________________
Robert |
|
|

|
|
|
#5 |
|
Registered User
Join Date: Feb 2012
Location: Mission Viejo, CA
Posts: 1,856
|
Re: 55 Wagon Progress
impressive metal work. That stuff amazes me.
|
|
|

|
|
|
#6 |
|
Senior Member
Join Date: Jun 2005
Location: Clovis Ca.
Posts: 3,311
|
Re: 55 Wagon Progress
Nice work!
__________________
Classic Trucks Link http://www.classictrucks.com/feature...uck/index.html 1958 GMC.Project Build http://67-72chevytrucks.com/vboard/s...d.php?t=162816 1966 Chevelle Build http://67-72chevytrucks.com/vboard/s...d.php?t=443576 Video http://www.youtube.com/watch?v=prrNKo8F7Zw#GU5U2spHI_4 |
|
|

|
|
|
#7 |
|
Special Order
  Join Date: Nov 2004
Location: Mt Airy, MD
Posts: 85,852
|
Re: 55 Wagon Progress
I'd say you have that whole metal workin' thing down. Nice work!
__________________
"BUILDING A BETTER WAY TO SERVE THE USA"......67/72......"The New Breed" GMC '67 C1500 Wideside Super Custom SWB: 327/M22/3.42 posi.........."The '67" (project) GMC '72 K2500 Wideside Sierra Custom Camper: 350/TH350/4.10 Power-Lok..."The '72" (rolling) Tim "Don't call me a redneck. I'm a rough cut country gentleman" R.I.P. ~ East Side Low Life ~ El Jay ~ 72BLUZ ~ Fasteddie69 ~ Ron586 ~ 67ChevyRedneck ~ Grumpy Old Man ~ |
|
|

|
|
|
#8 |
|
KEEP ON TRUCKIN'
 Join Date: Jun 2005
Location: Sterling, Va.
Posts: 5,731
|
Re: 55 Wagon Progress
Very nice work. My favorite of the tri-5's.
__________________
JIM '97 GMC Sierra K1500 '95 Chevy Silverado C1500 '71 Cheyenne Z71 / LT1 & 4-Speed SWB K/10  Father/Son Project Father/Son Projecthttp://www.youtube.com/watch?v=4l689JKXPnA http://67-72chevytrucks.com/vboard/payments.php "LIVIN' FREE FOREVER" 
|
|
|

|
|
|
#9 |
|
Senior Member
Join Date: Nov 2003
Location: Brookings, SD
Posts: 10,497
|
Re: 55 Wagon Progress
Goodness, you certainly know your metal work!! Great job!!
__________________
Some people are like slinkies, they aren't good for anything, but you can't help but smile when you see one tumble down the stairs. |
|
|

|
|
|
#10 |
|
Registered User
Join Date: Jan 2013
Location: Leonardtown, MD
Posts: 1,647
|
Re: 55 Wagon Progress
Thanks for the comments! It comes with many years of practice and quite a few not as nice results....

__________________
Robert |
|
|

|
|
|
#11 |
|
Registered User
Join Date: Mar 2008
Location: Waukee, Iowa
Posts: 1,608
|
Re: 55 Wagon Progress
Fantastic work MP&C, I've been following your What's in my shop thread on metalmeet for quite some time and always love when you post up new things. Can you give more details on the donut dolly? What does it do, how does it work, etc?
Thanks!
__________________
build threads: 86 Suburban 88 Jeep 6.0 swap 49 Chevy truck 54 Chevy wagon 86 Suburban lowered 4/6 54 Chevy wagon 49 Chevy/s10 mix 88 Jeep Wrangler rockcrawler |
|
|

|
|
|
#12 | |
|
Registered User
Join Date: Jan 2013
Location: Leonardtown, MD
Posts: 1,647
|
Re: 55 Wagon Progress
Thanks for following the thread! The day job kept me travelling much of last year, so the posts were few and far between. I'm trying to catch up a bit now..
I've got a couple threads I did on the donut dolly, one on 18 ga cold rolled steel using my fake donut dolly, and another on a flat of sorts aluminum door, that seemed to respond much better. I think the factory 19 ga steel would respond much better than the 18. But anyhow, here we go... Donut on steel: Quote:
__________________
Robert |
|
|
|

|
|
|
#13 | |
|
Registered User
Join Date: Jan 2013
Location: Leonardtown, MD
Posts: 1,647
|
Re: 55 Wagon Progress
Donut on Aluminum:
Quote:
It was difficult to hold a hammer, donut dolly, and camera all at once, so what you don't see is that the hammer is used on the inside of the door, or "high" side of the dent, and the dolly was used on the outside, or "low" side of the dent. So that shows the theory of the donut dolly, basically using off-dolly principle but by spanning a dent/ding, the off dolly benefit is realized on both sides of the dent for more effective bumping.
__________________
Robert |
|
|
|

|
|
|
#14 |
|
Registered User
Join Date: Jun 2010
Location: Dotsonville, Tennessee
Posts: 194
|
Re: 55 Wagon Progress
Nice, detailed explanations! I admire your thoroughness and attention to detail. Ms. '55 Panel Owner will be pleased!
__________________
'65 GMC Suburban 4X4, '71 GMC 4X4 LWB - The Yellow Eyed Monster, '86 C10 Silverado - Oldest Daughter's Pickup, '88 S15 GMC Work Truck, '95 GMC SLE 4X4 - Second Daughter's Truck, '99 K1500 GMC Suburban Road Trip Machine, 2000 C2500 W/T Utility Bed Work Truck, '03 Silverado - Wife's Grocery Getter |
|
|

|
|
|
#15 |
|
Registered User
Join Date: Apr 2009
Location: Amarillo, Texas
Posts: 636
|
Re: 55 Wagon Progress
Nice work. Thanks for taking the time to show us novices how to do it right.
__________________
Father and son built. Driven daily since 2012. 283, 3 speed. Mostly original. '81 PS and disk front. Fuel tank relocate. Maintenance, repairs and upgrades on his dime now. http://zacks64longfleet.shutterfly.com/ Higher res. photos in my gallery. |
|
|

|
|
|
#16 |
|
Registered User
Join Date: Jan 2013
Location: Leonardtown, MD
Posts: 1,647
|
Re: 55 Wagon Progress
Thanks for the comments. Well after the 390 valve cover diversion, time to get back to work on the 55's driver fender. The two pieces have been trimmed for a tight butt joint, shown here clamped together...
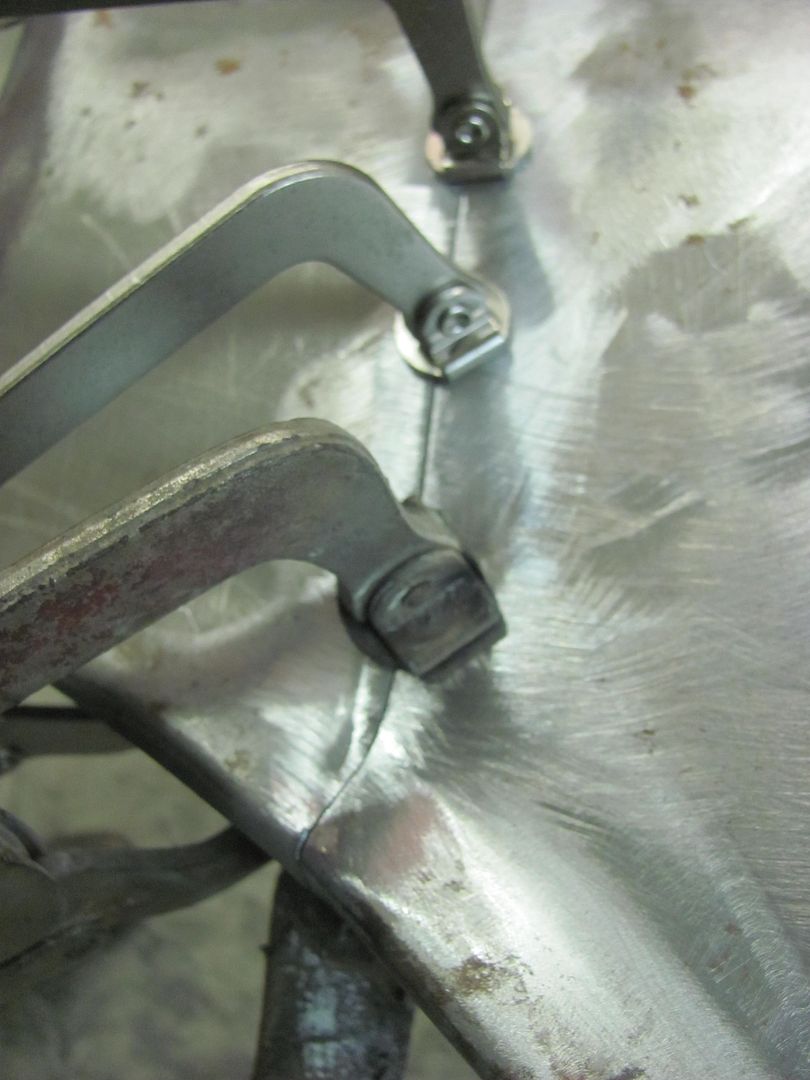 It was then I noticed the crease just above the seam.. 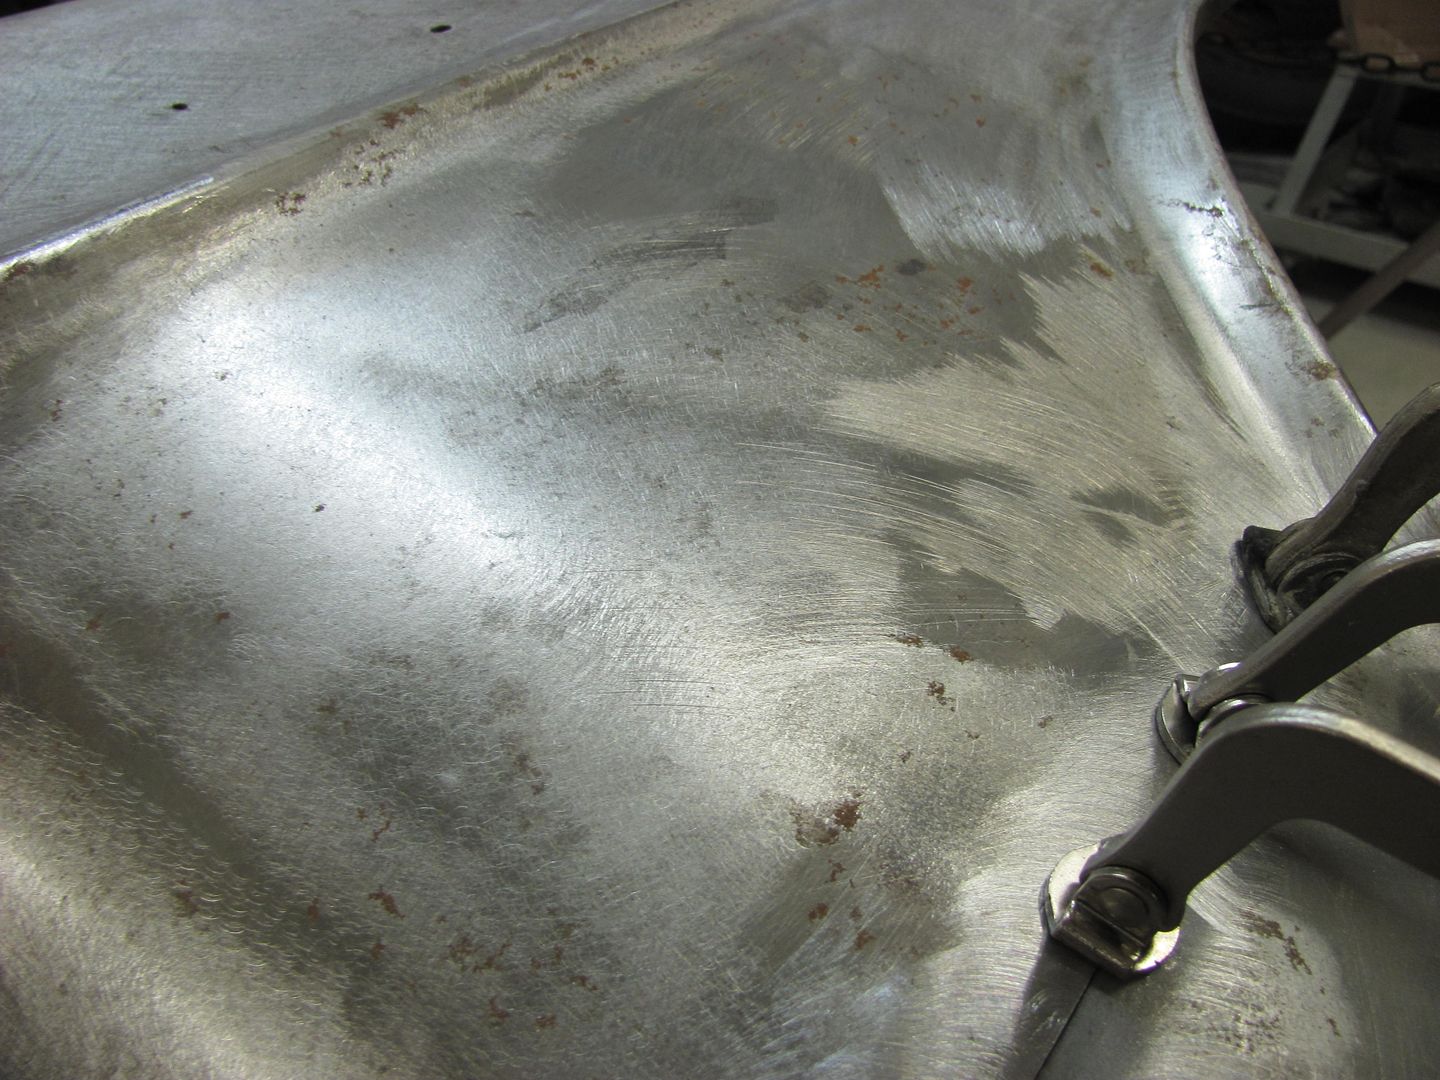 Ahhh, the dreaded fender bump. I believe this is caused by someone bumping into something with the corner of the bumper, which in turn forces the lower portion of the fender backward, thus forming the inward crease (red line) and outward crease (yellow line). Always better to fix the body damage before attempting to weld panels together. 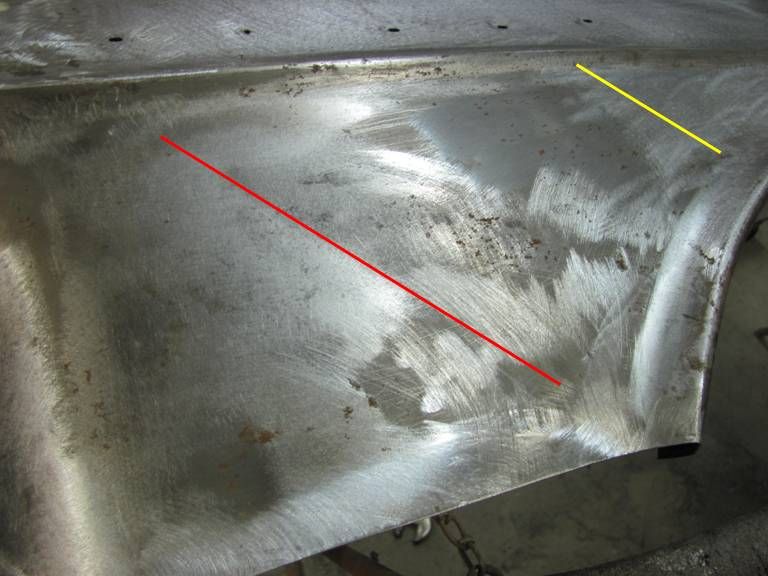 Another view of the outward crease.... 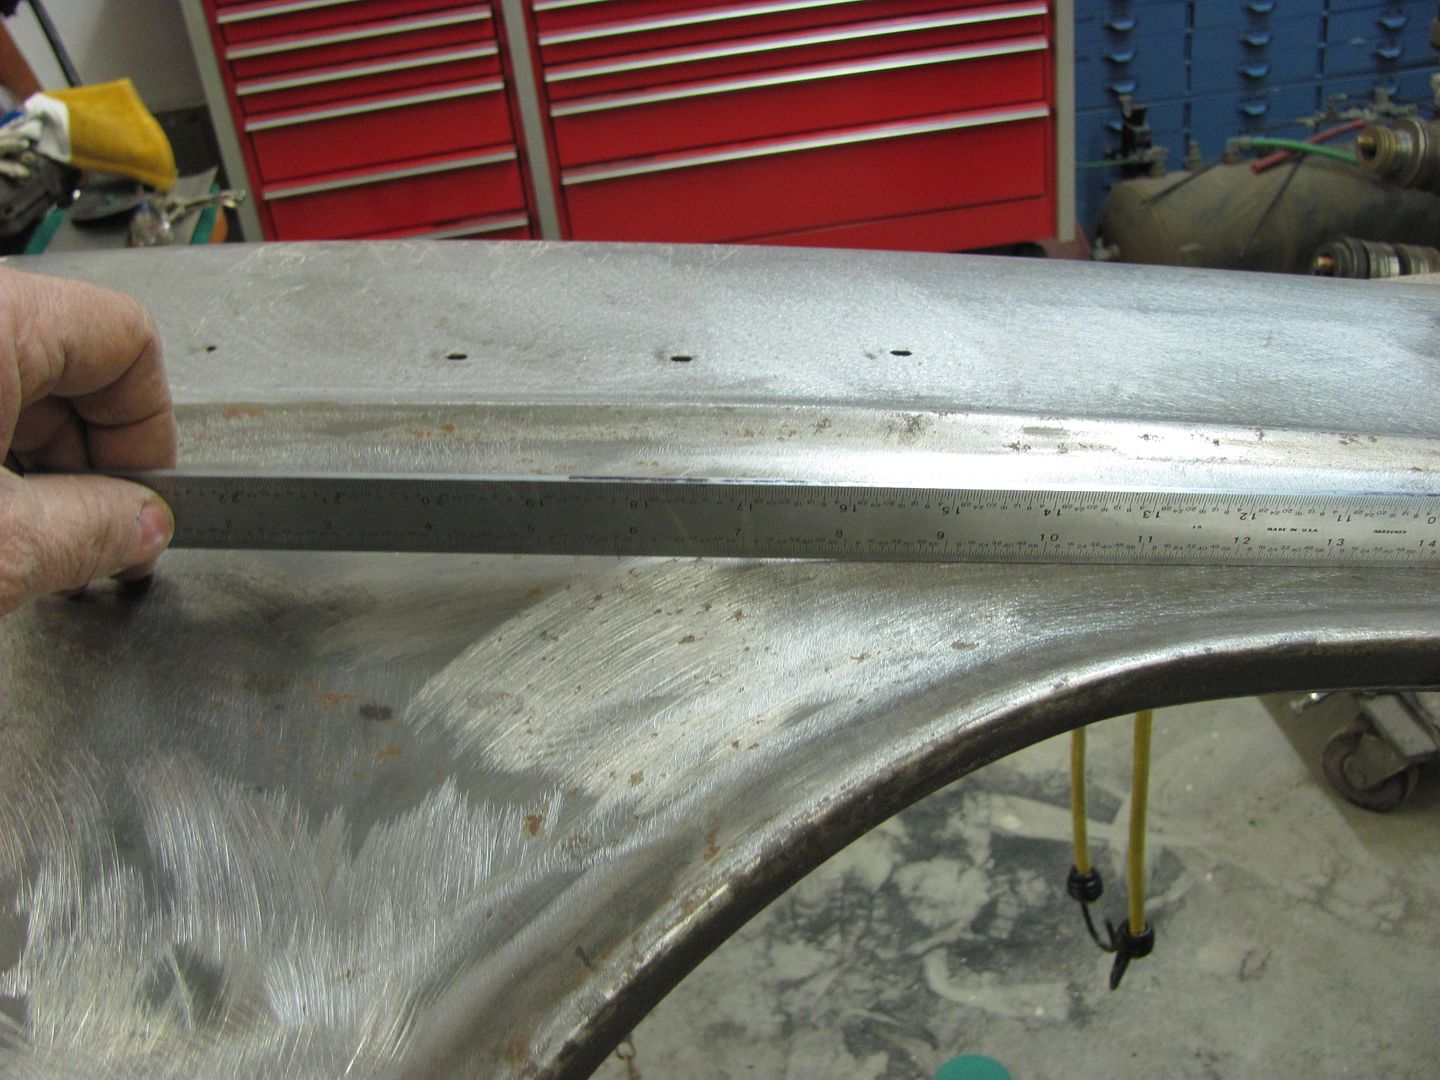 A 3" roloc disc scuffed across the lower crease on the inside of the panel quickly shows the area that needs to be bumped outward... 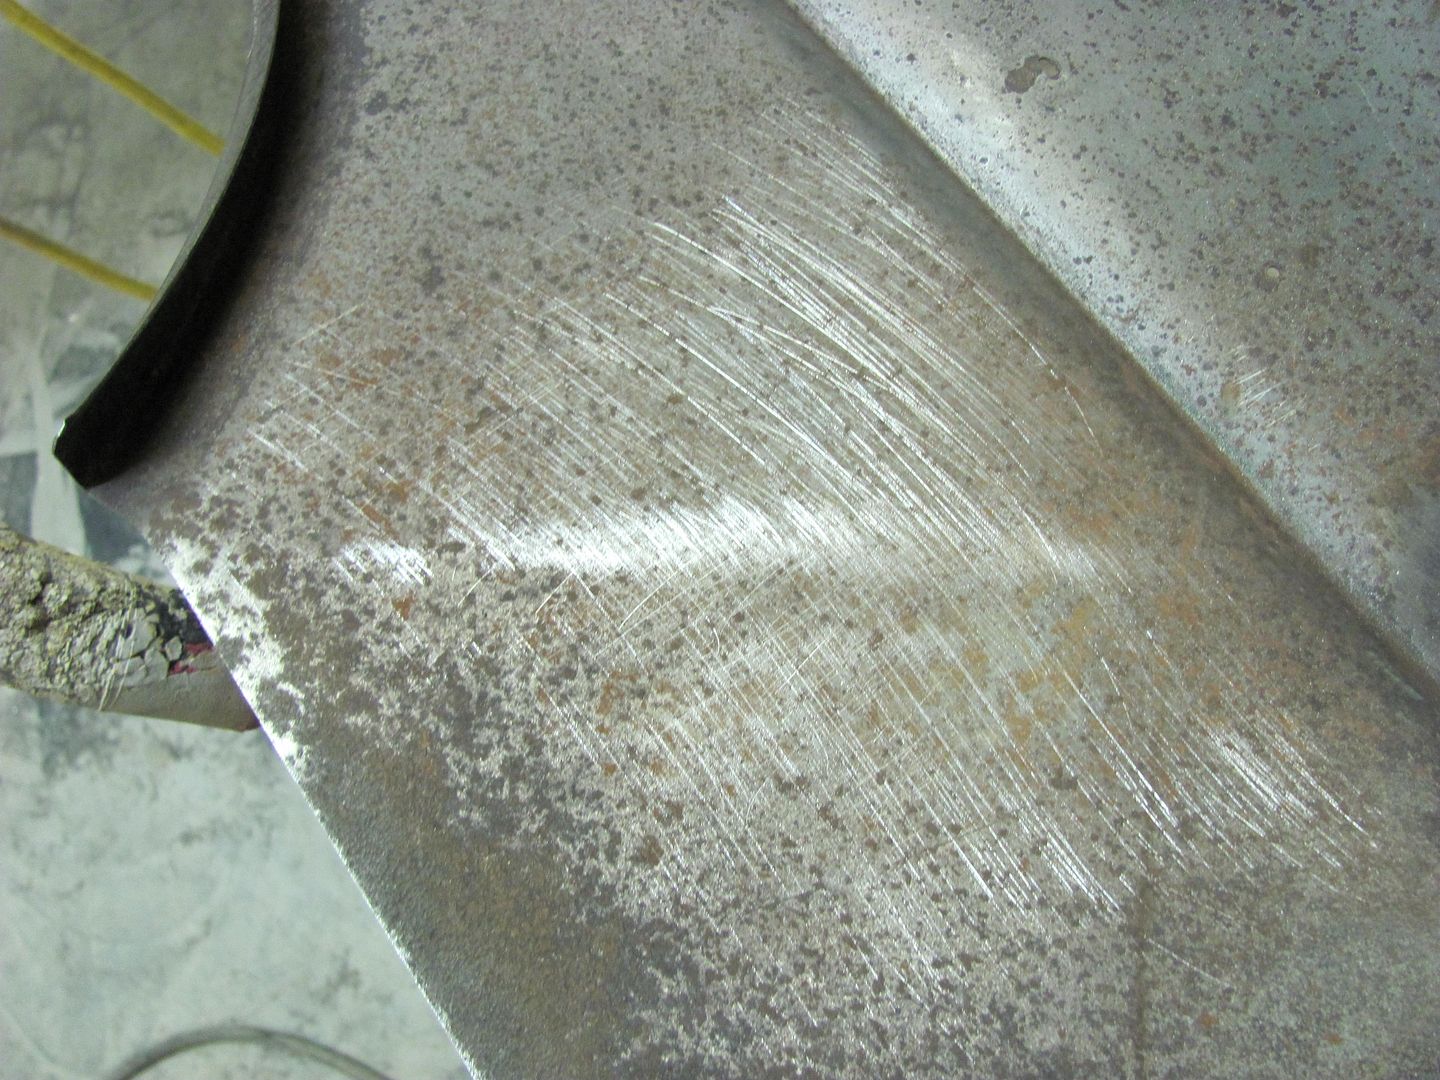 The tools used will be the donut dolly, a small shot bag, and body hammer.  The area was worked using the hammer and dolly, with progress checked by scuffing with the roloc disc.  Needs just a bit more cleanup, but shows a much more repectable crown, as shown by the #32 sweep 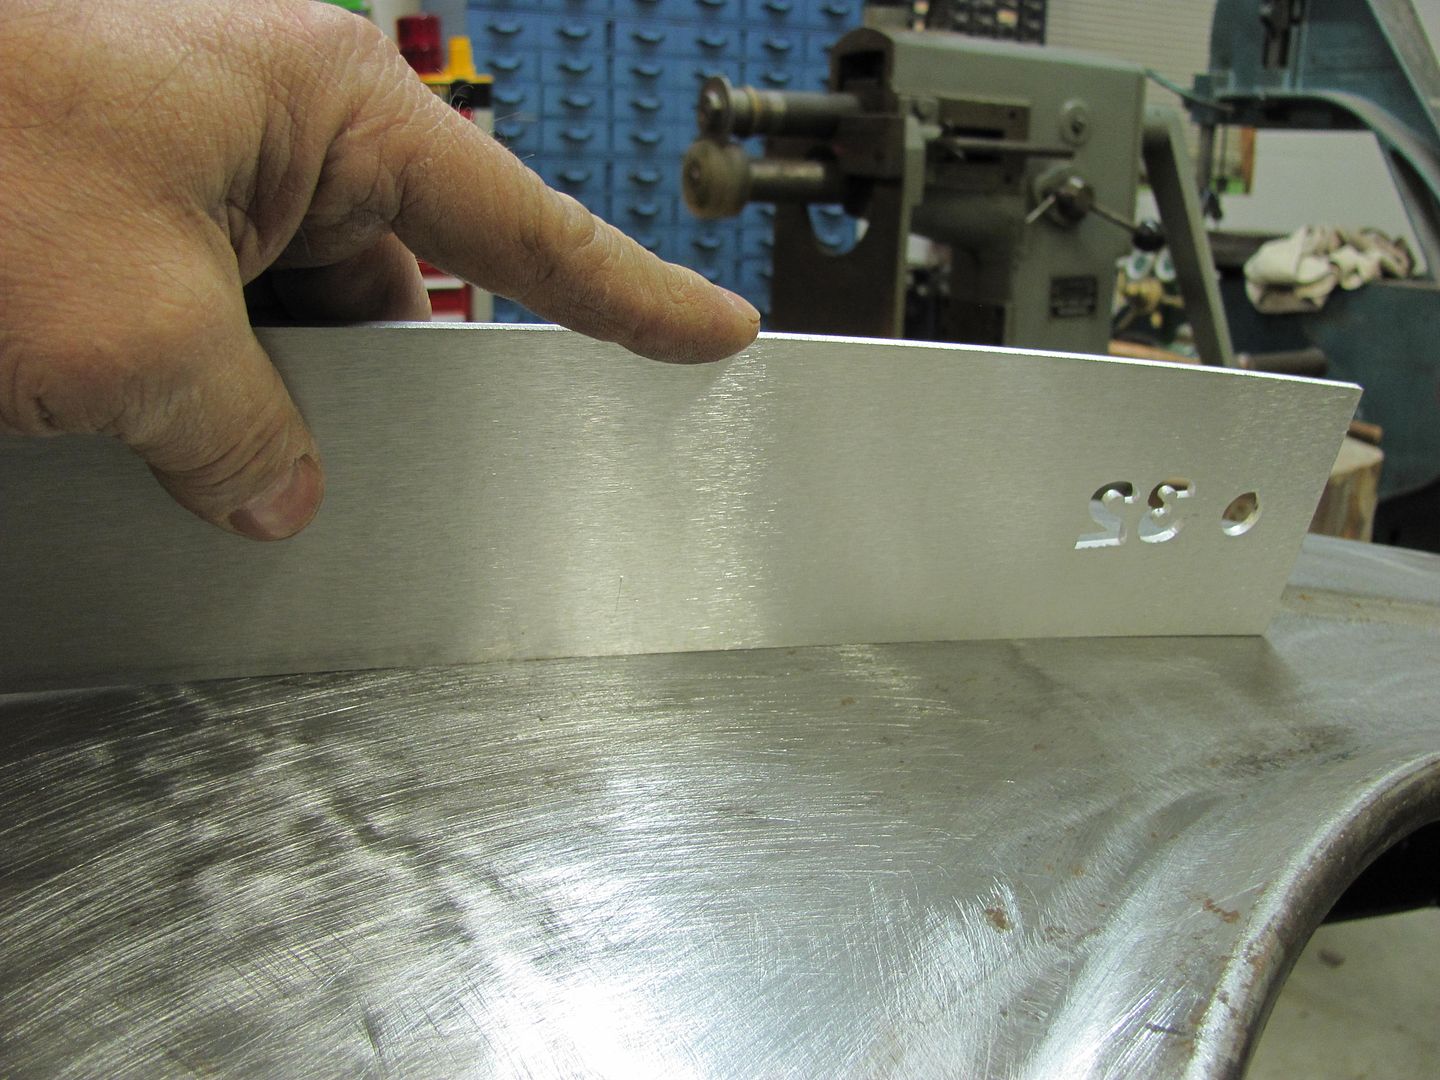
__________________
Robert Last edited by MP&C; 02-17-2013 at 10:11 PM. |
|
|

|
|
|
#17 |
|
Registered User
Join Date: Jan 2013
Location: Leonardtown, MD
Posts: 1,647
|
Re: 55 Wagon Progress
Back to welding... All clamped up, again...
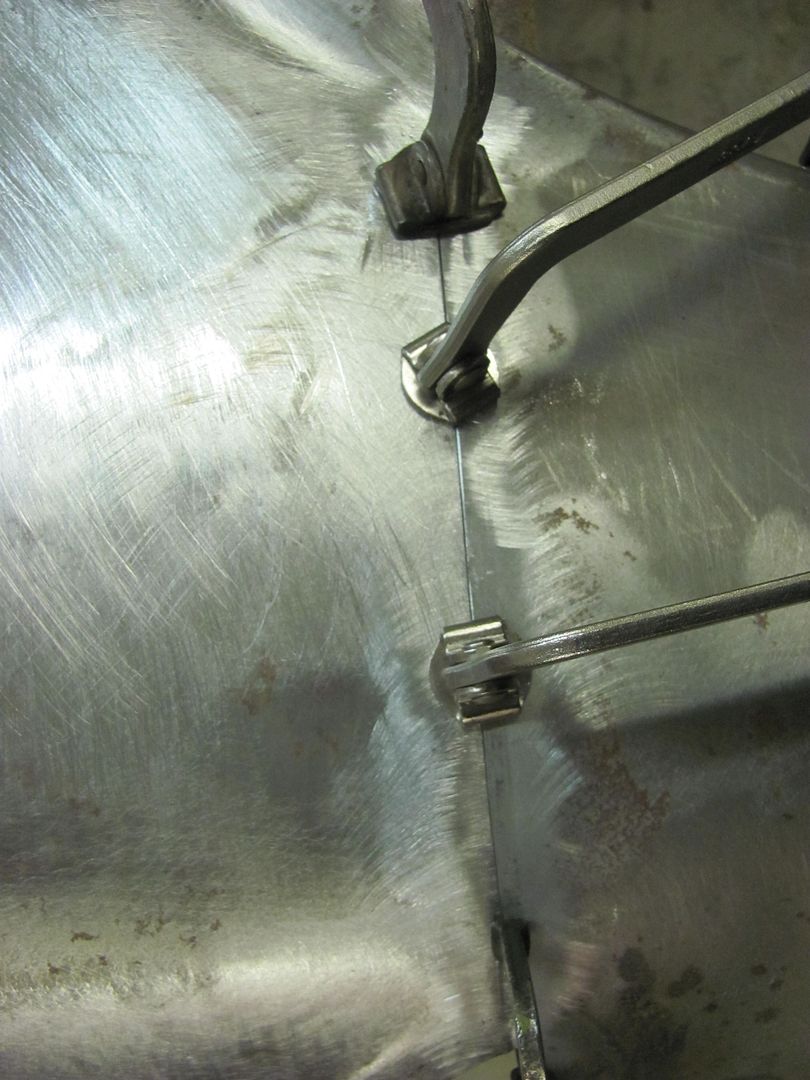 First set of tacks... 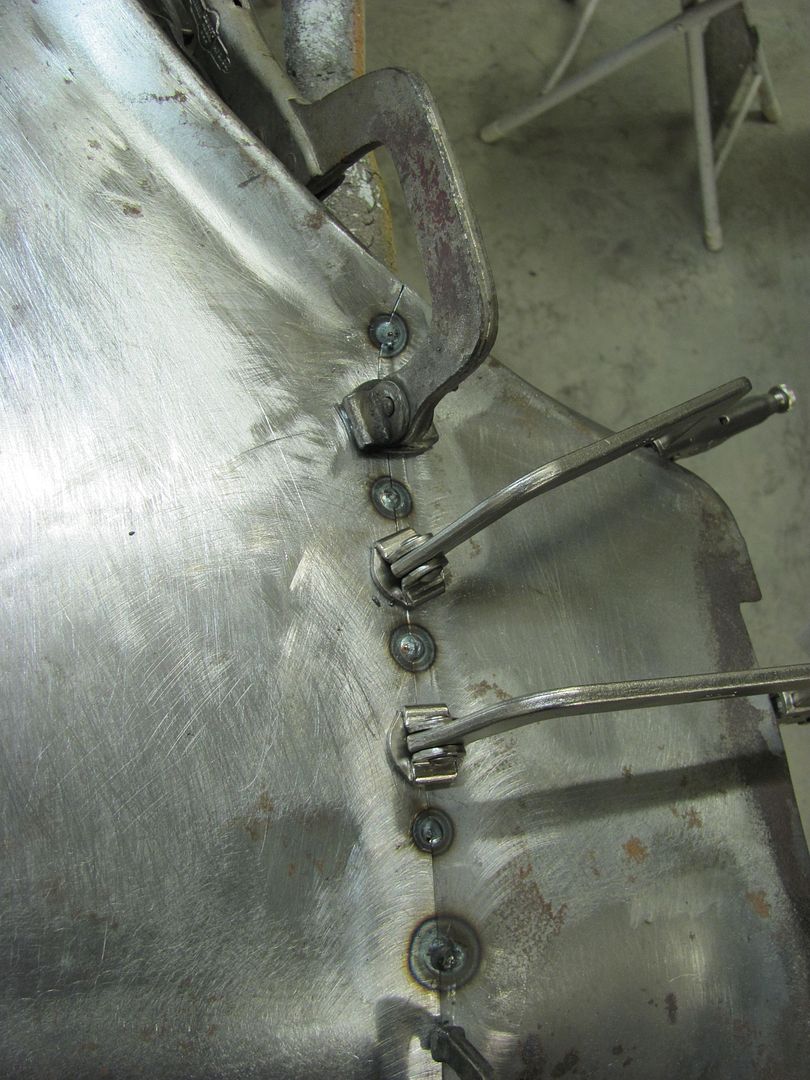 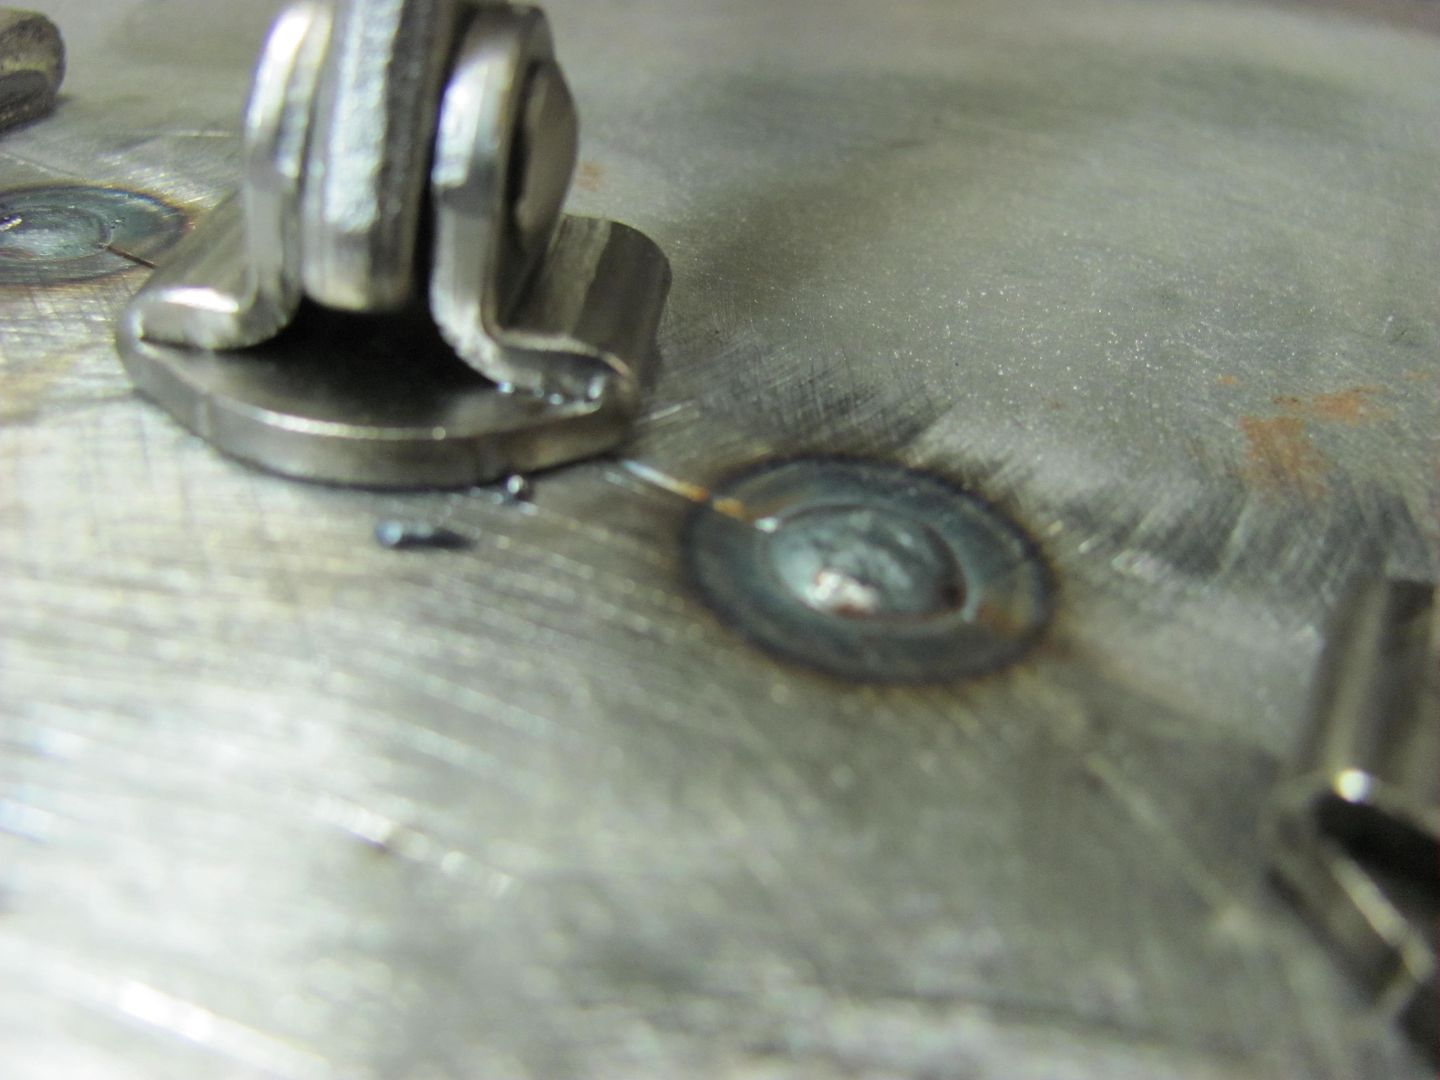 Weld penetration, the back side.... 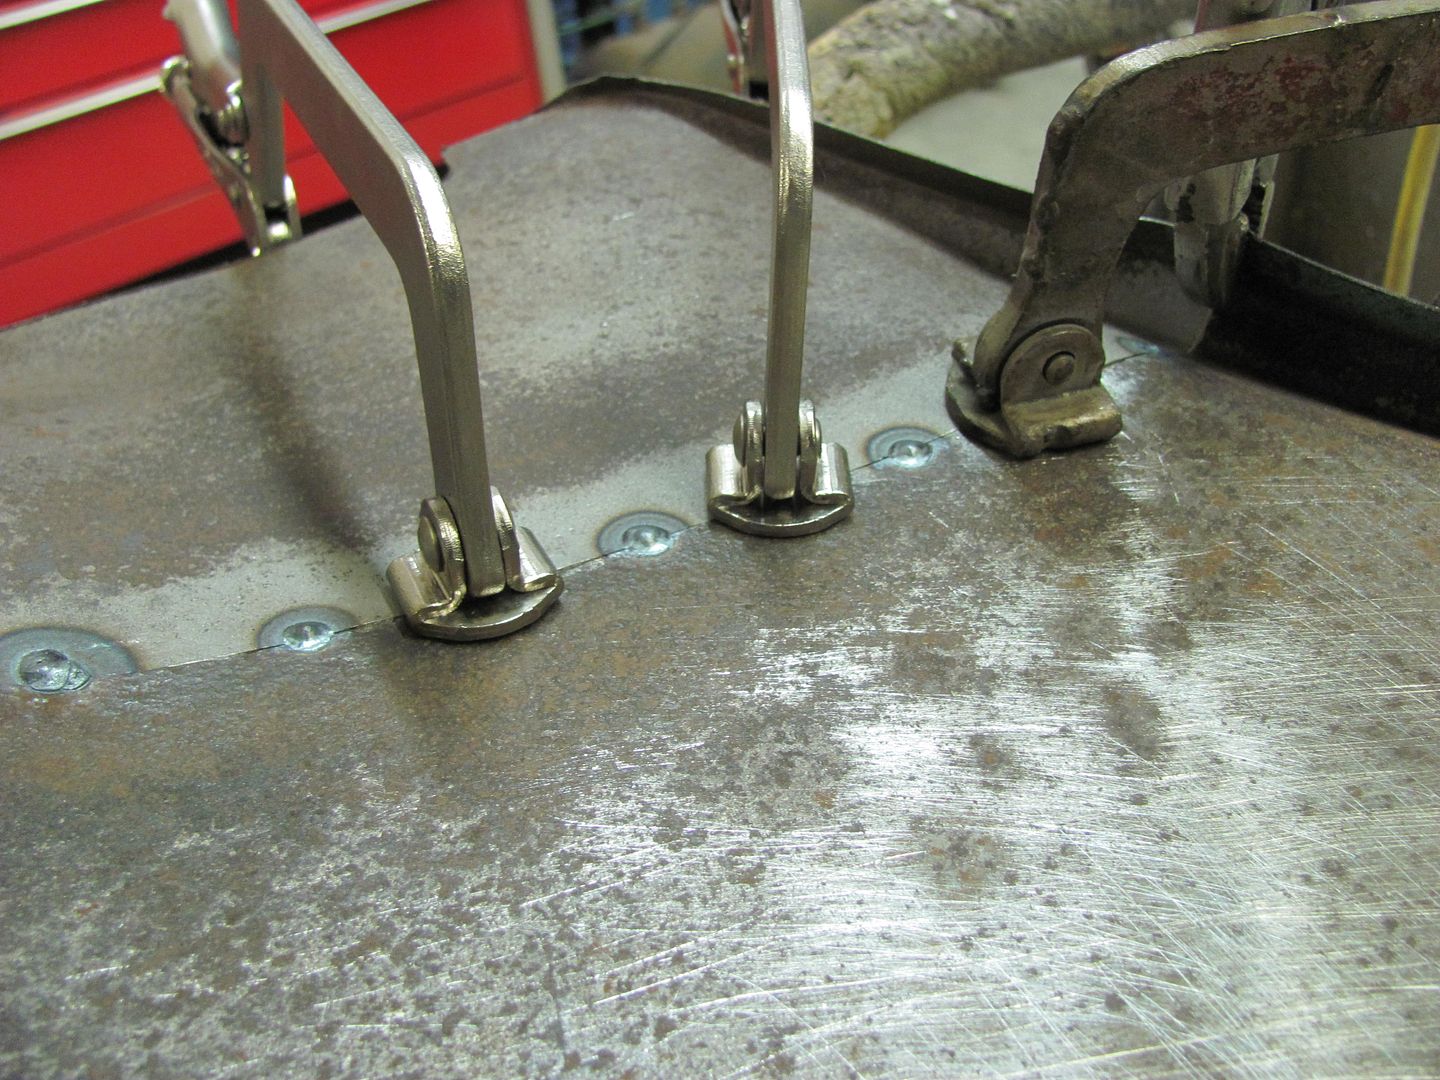 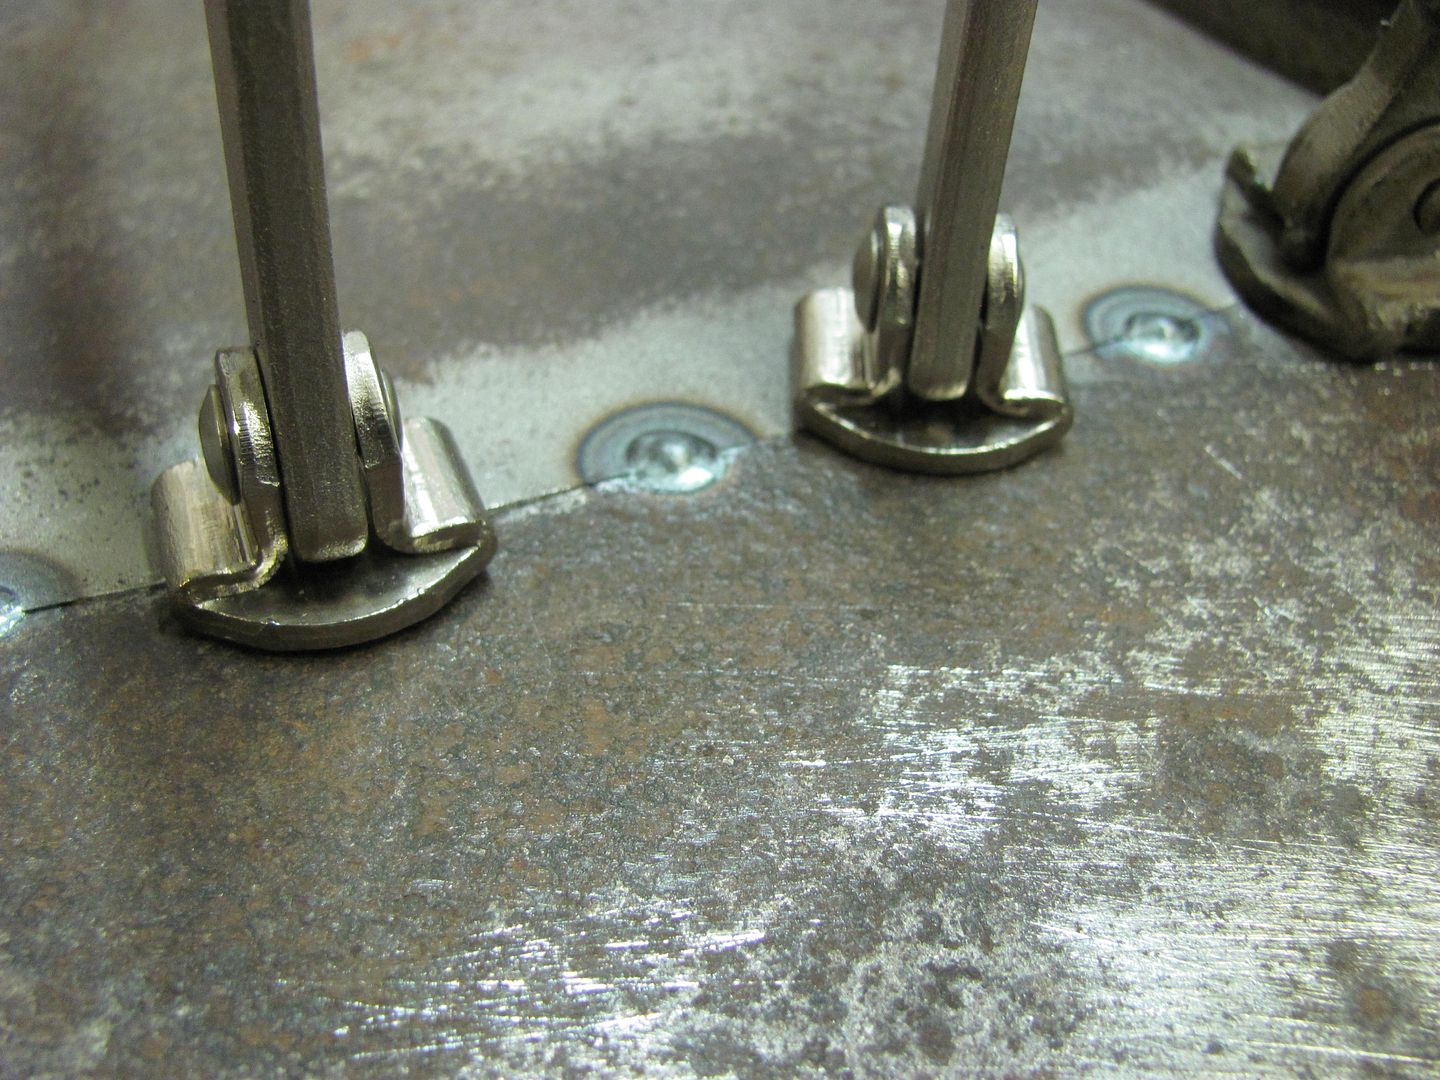 I had someone asking about the process I used with the mig, so I took the close ups to show it a little better... Weld, planish, grind, overlap, repeat... 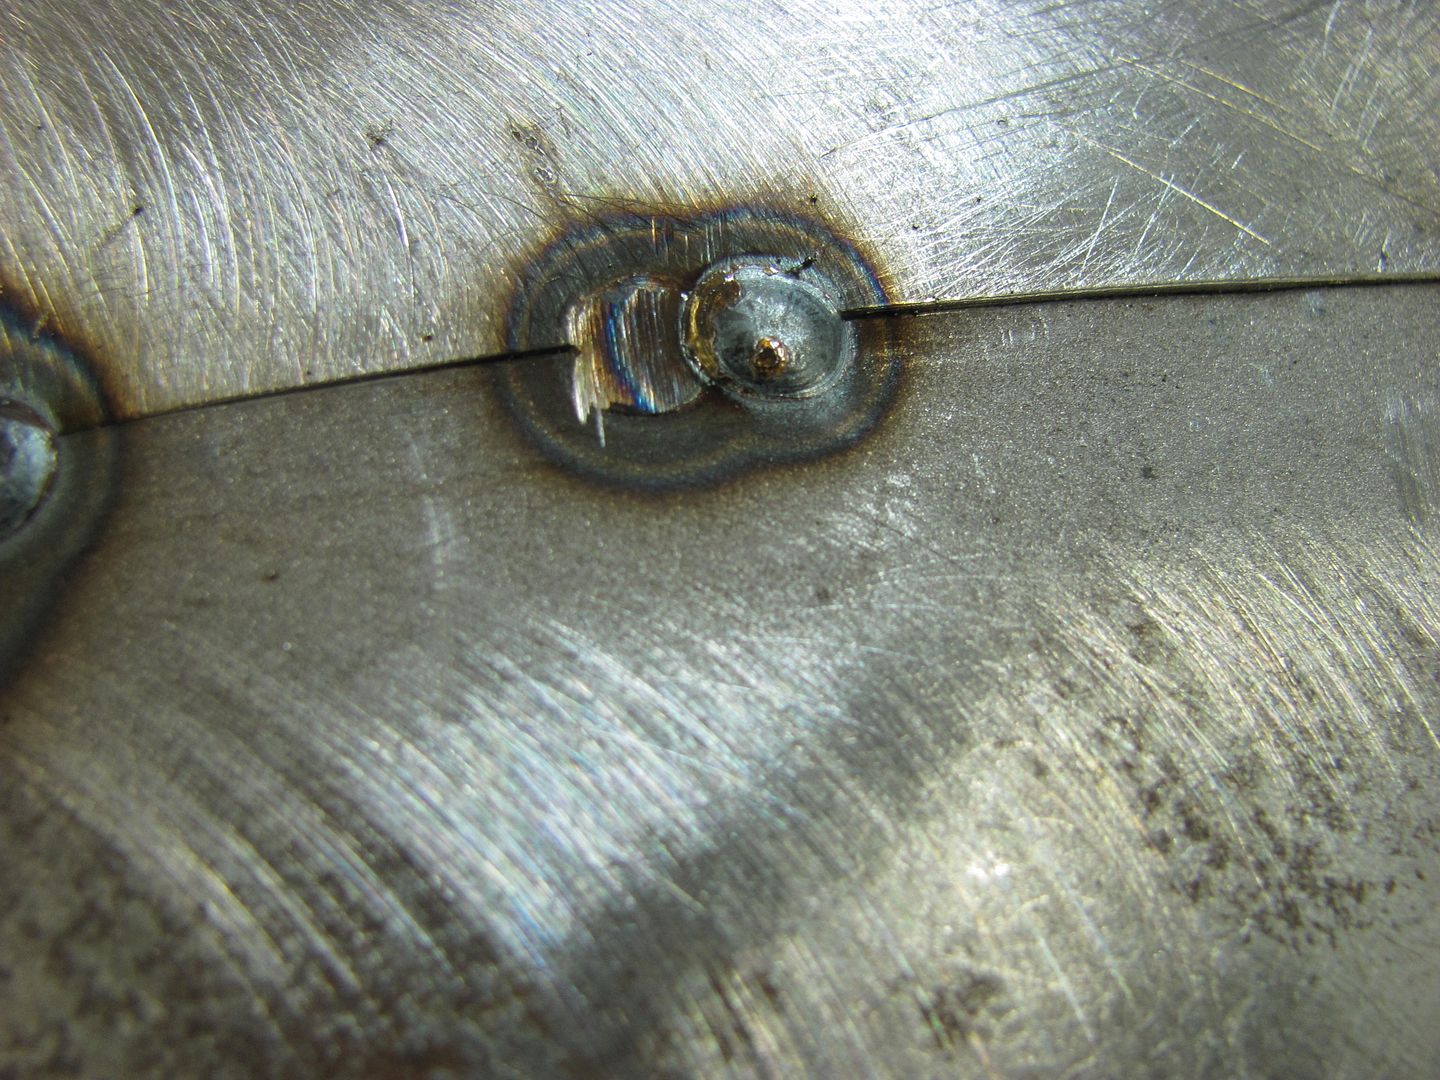 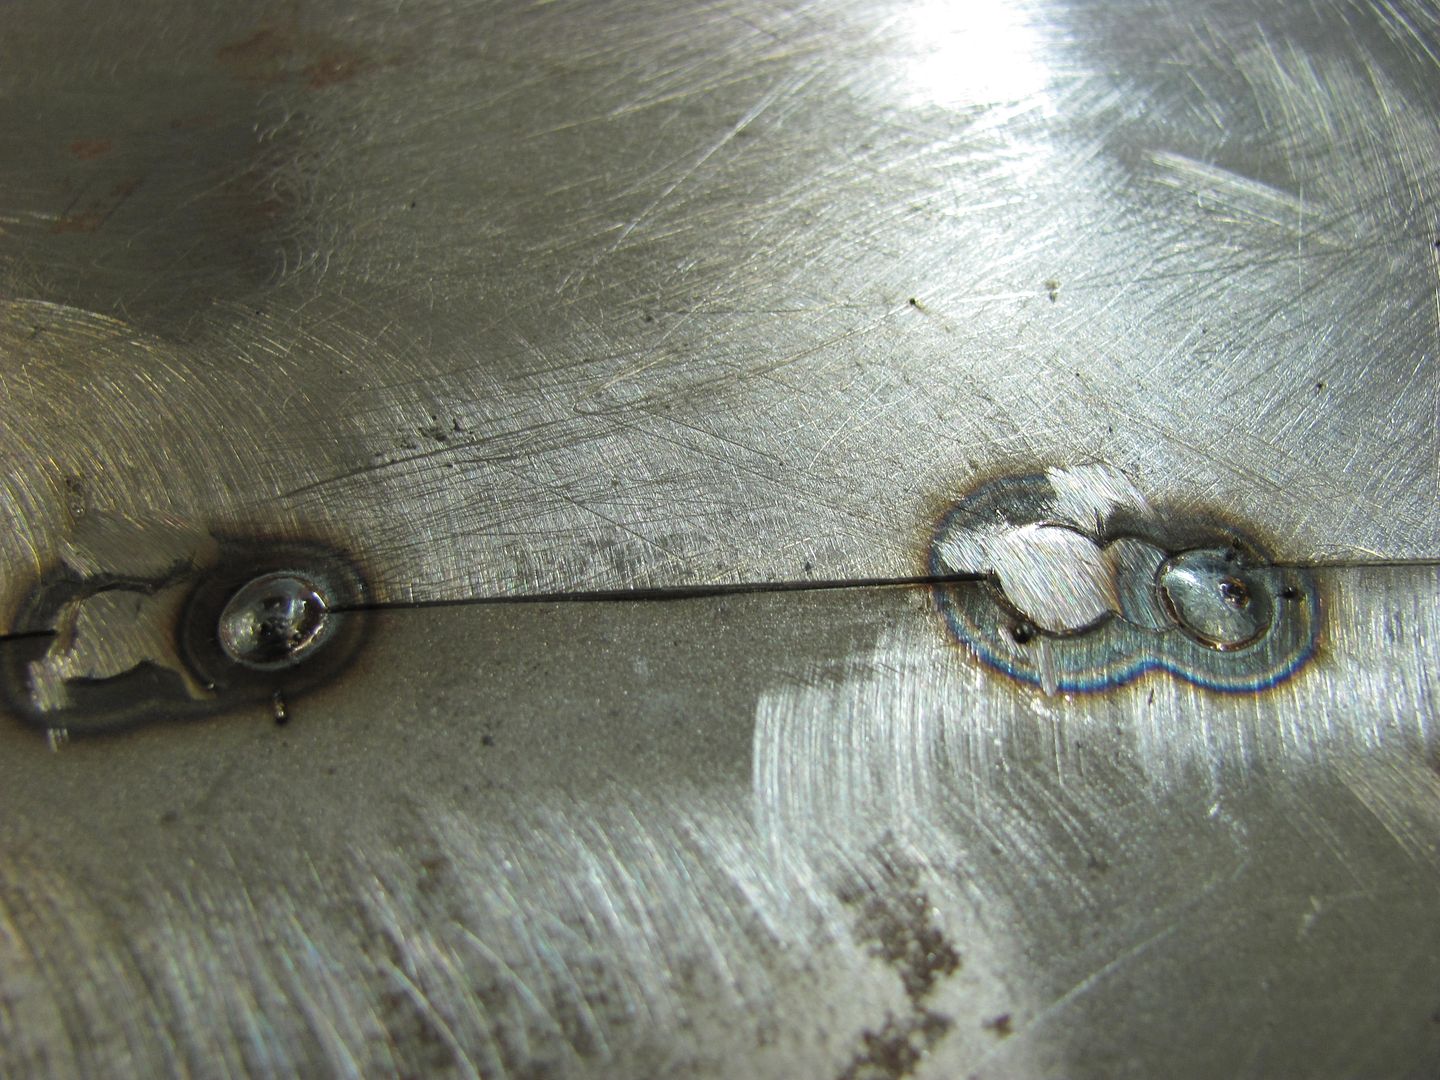 Planishing as you go helps to keep the panel's shape in check... 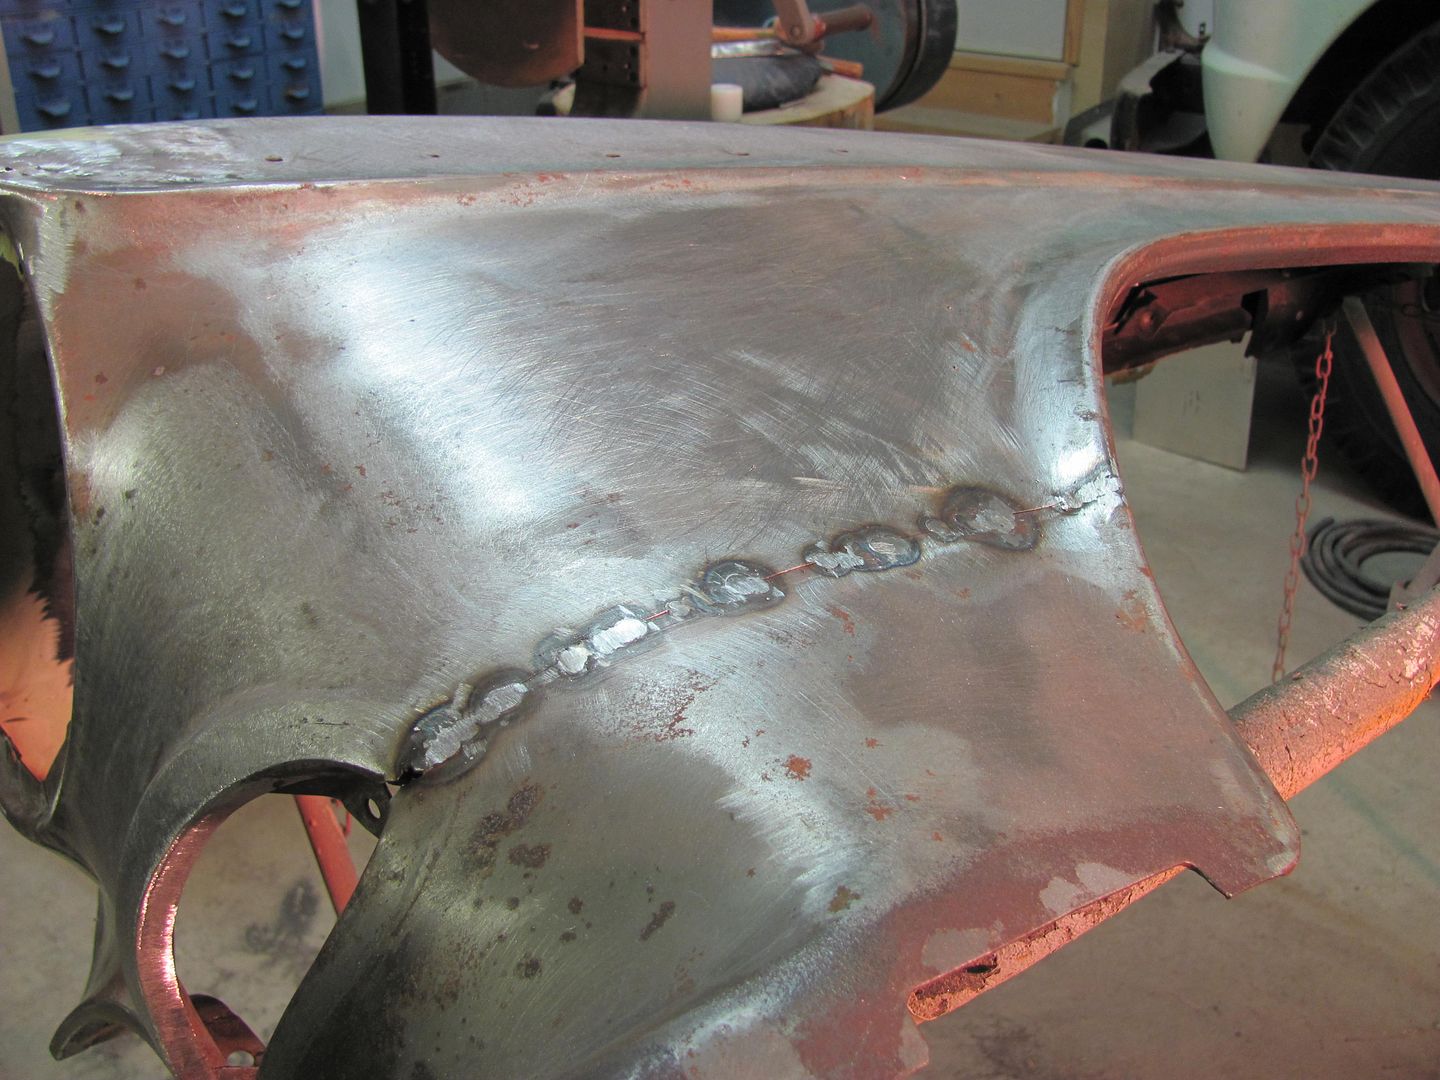 Still needs a bit of bumping but not too bad overall.. 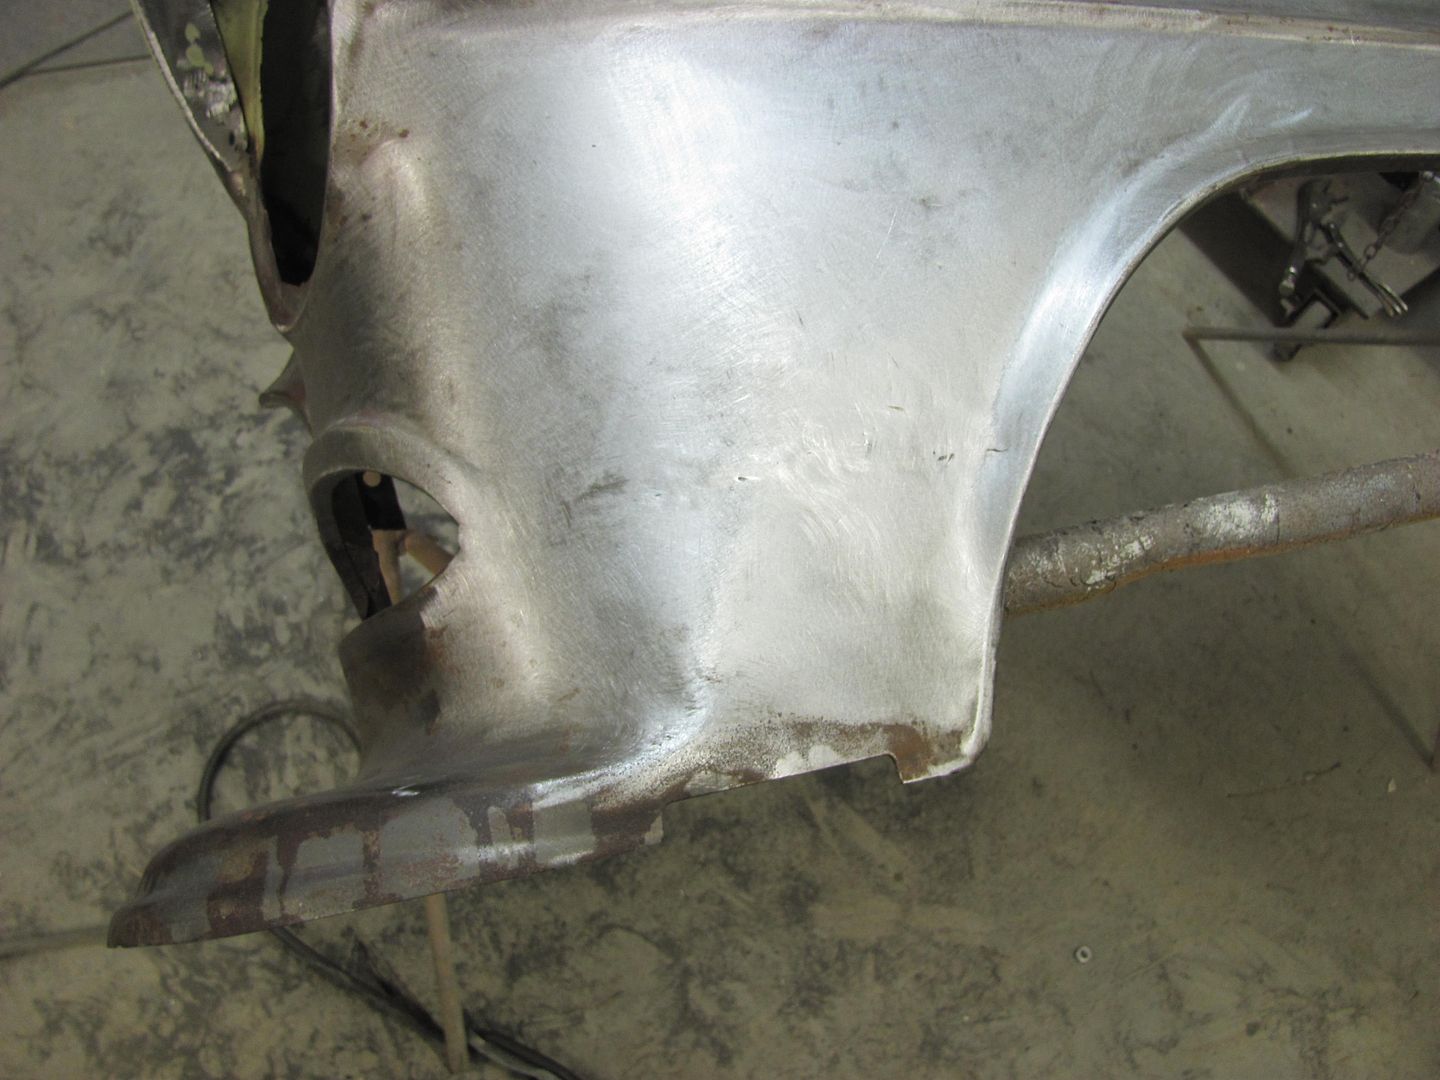 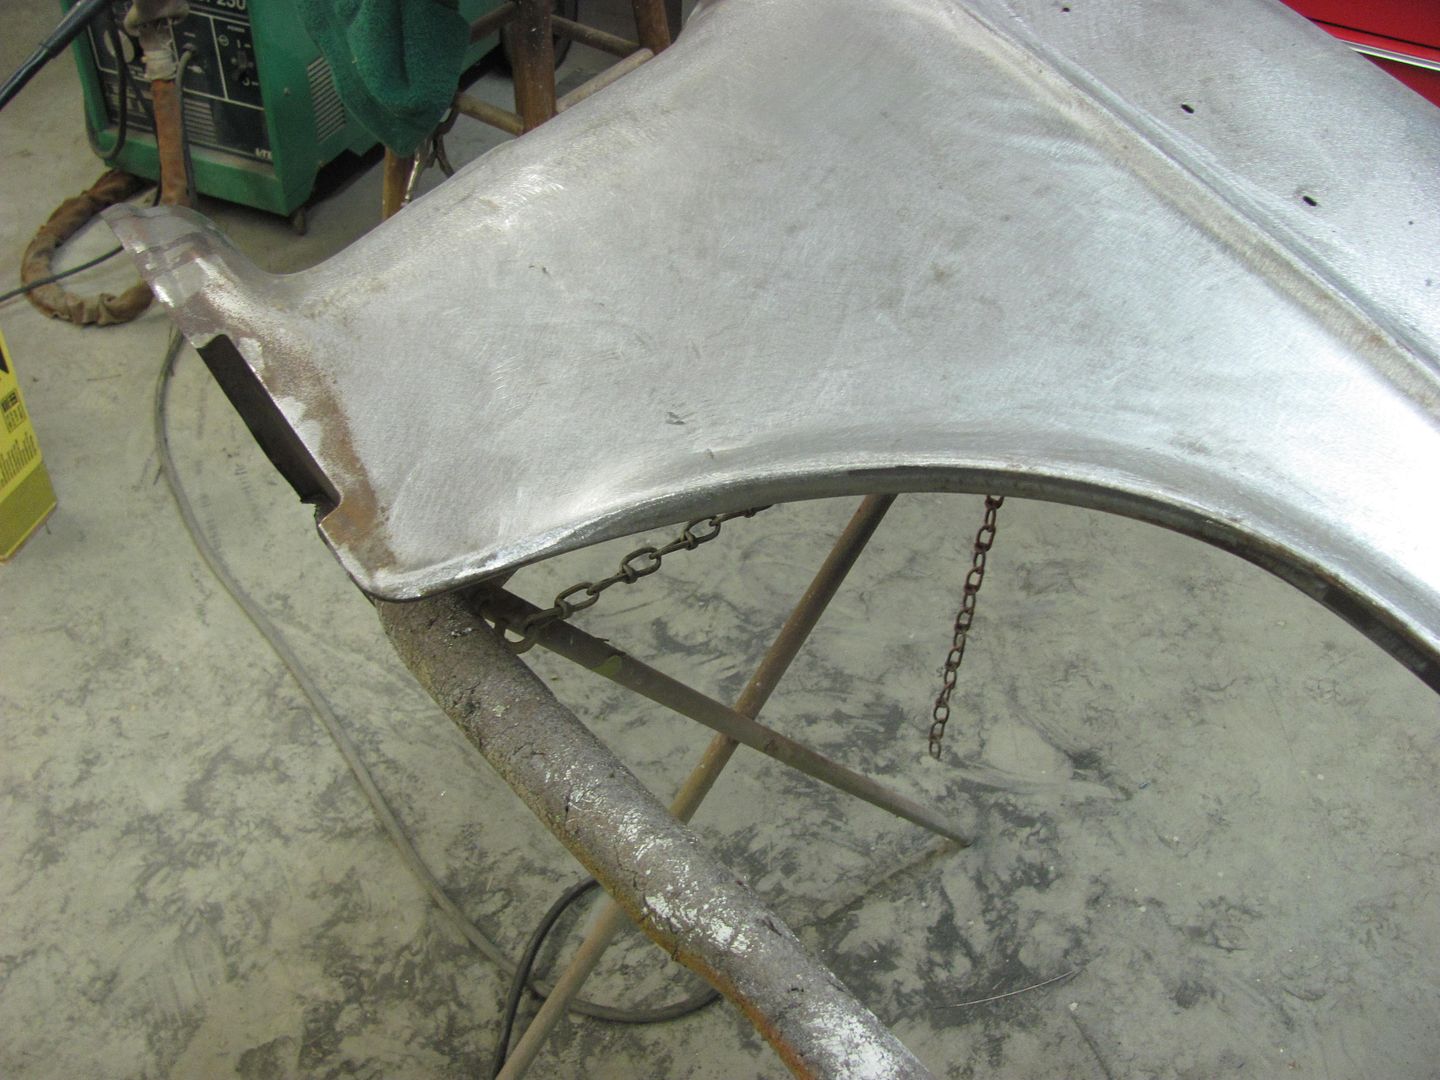
__________________
Robert |
|
|

|
|
|
#18 |
|
Registered User
Join Date: Jan 2013
Location: Leonardtown, MD
Posts: 1,647
|
Re: 55 Wagon Progress
Tonight's accomplishment, back to the driver fender. I still had the inner seam to finish up...
 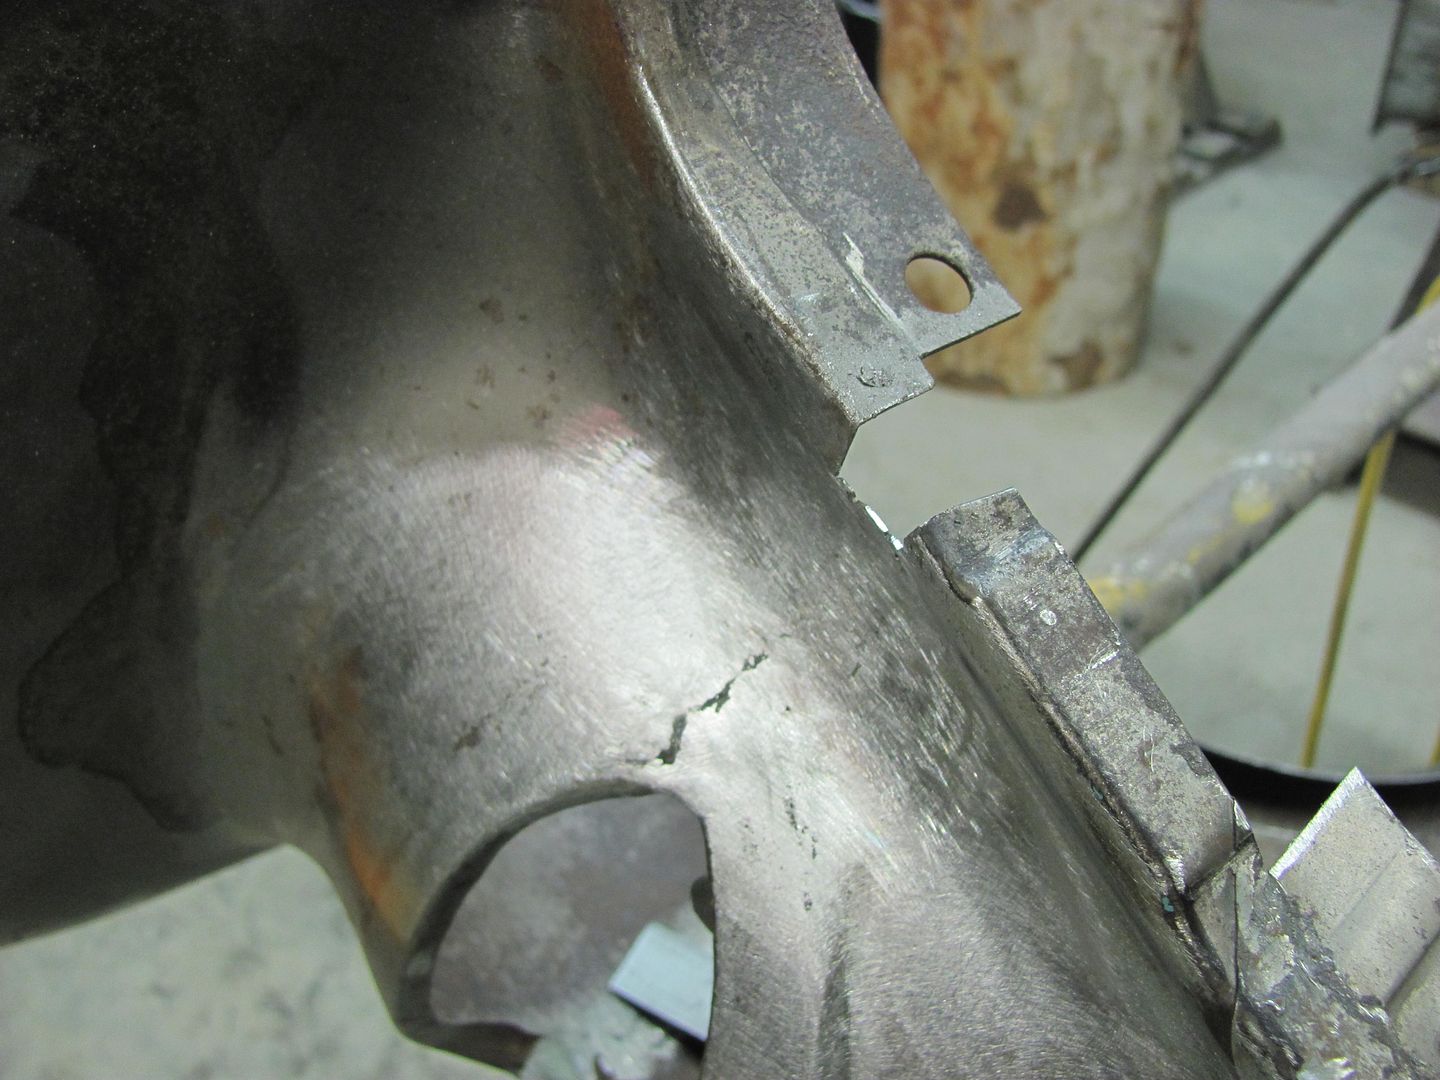 Bridging the gap where the flanges were cut out... 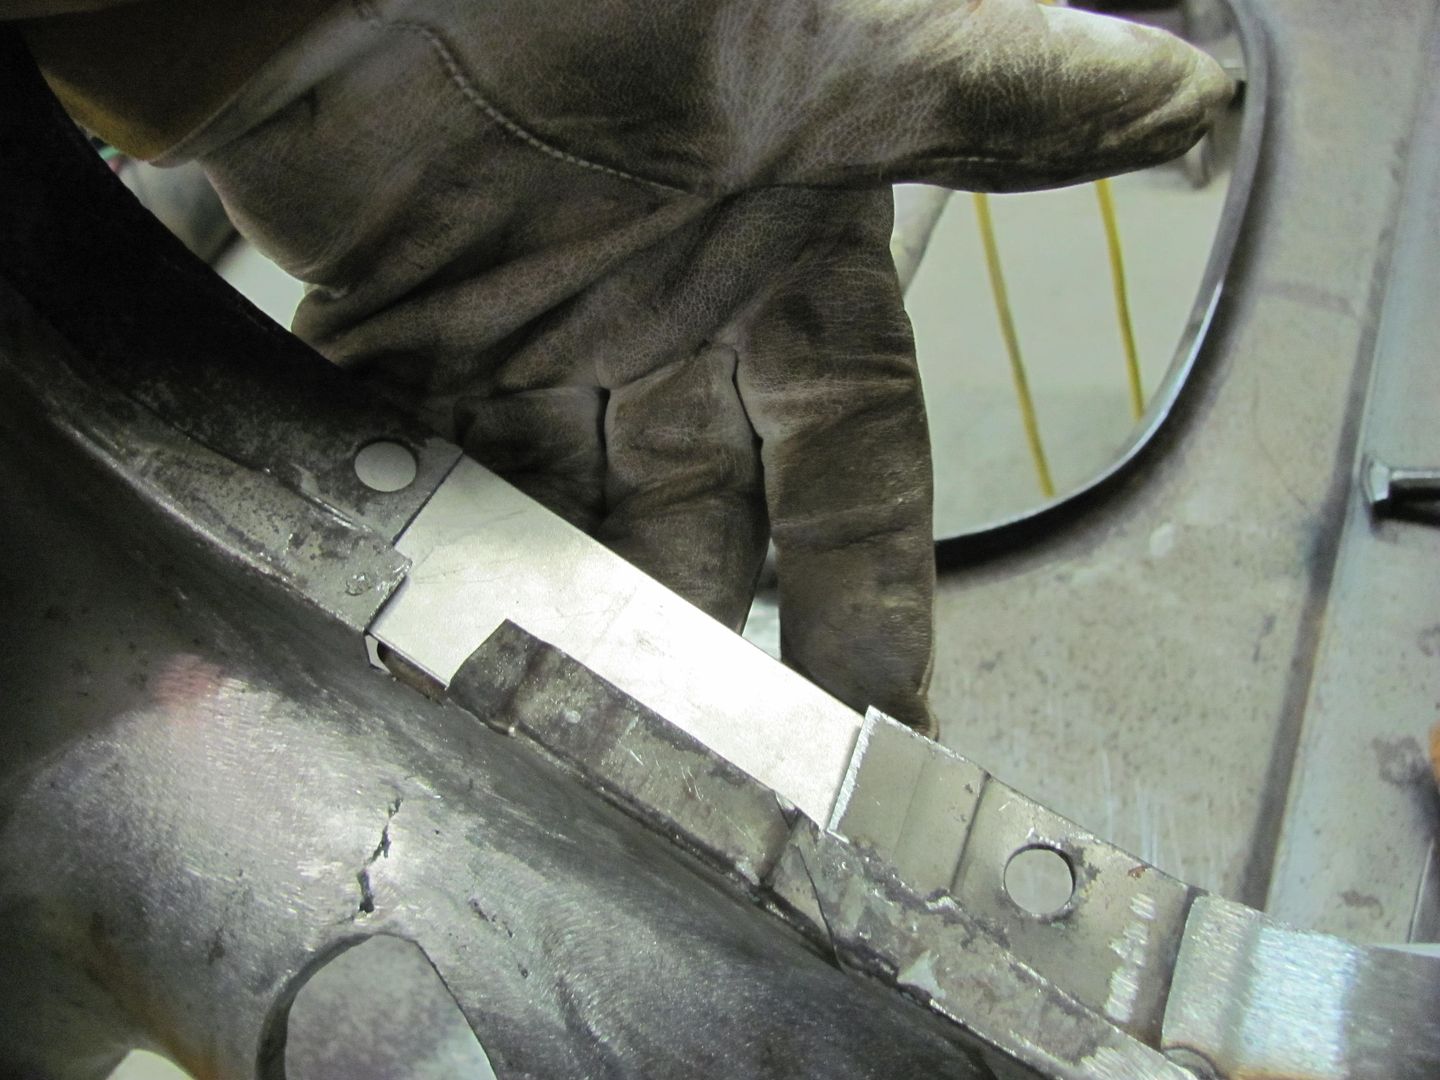 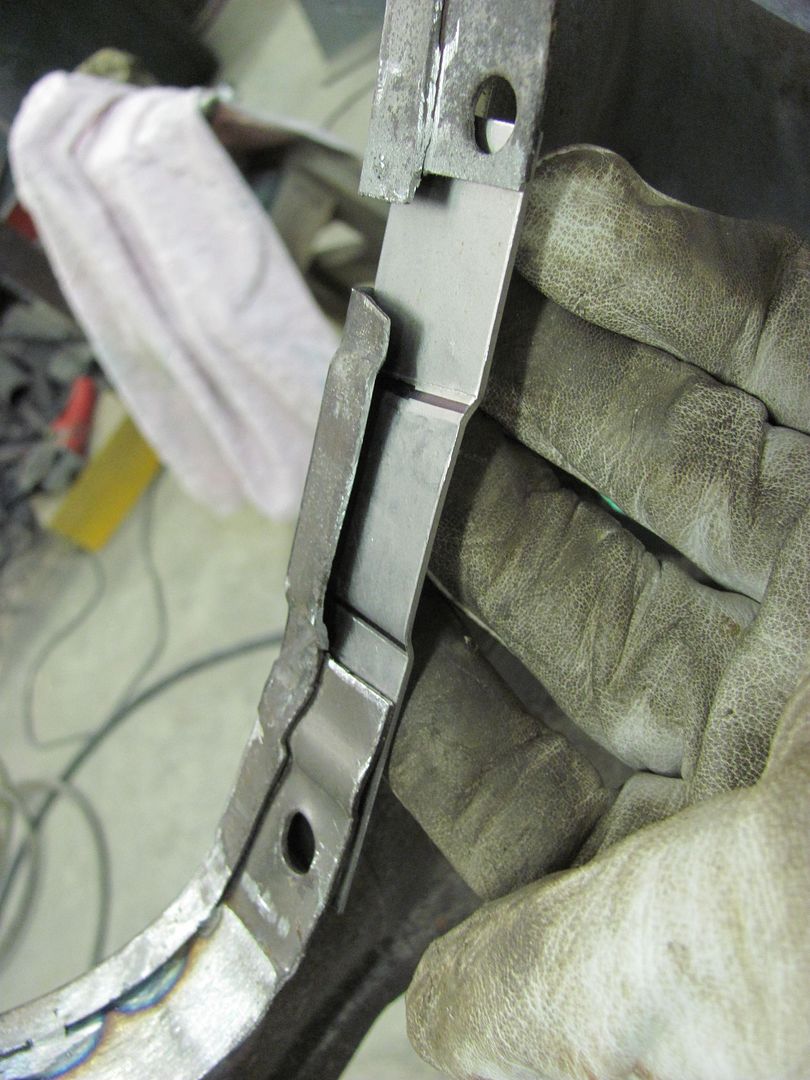  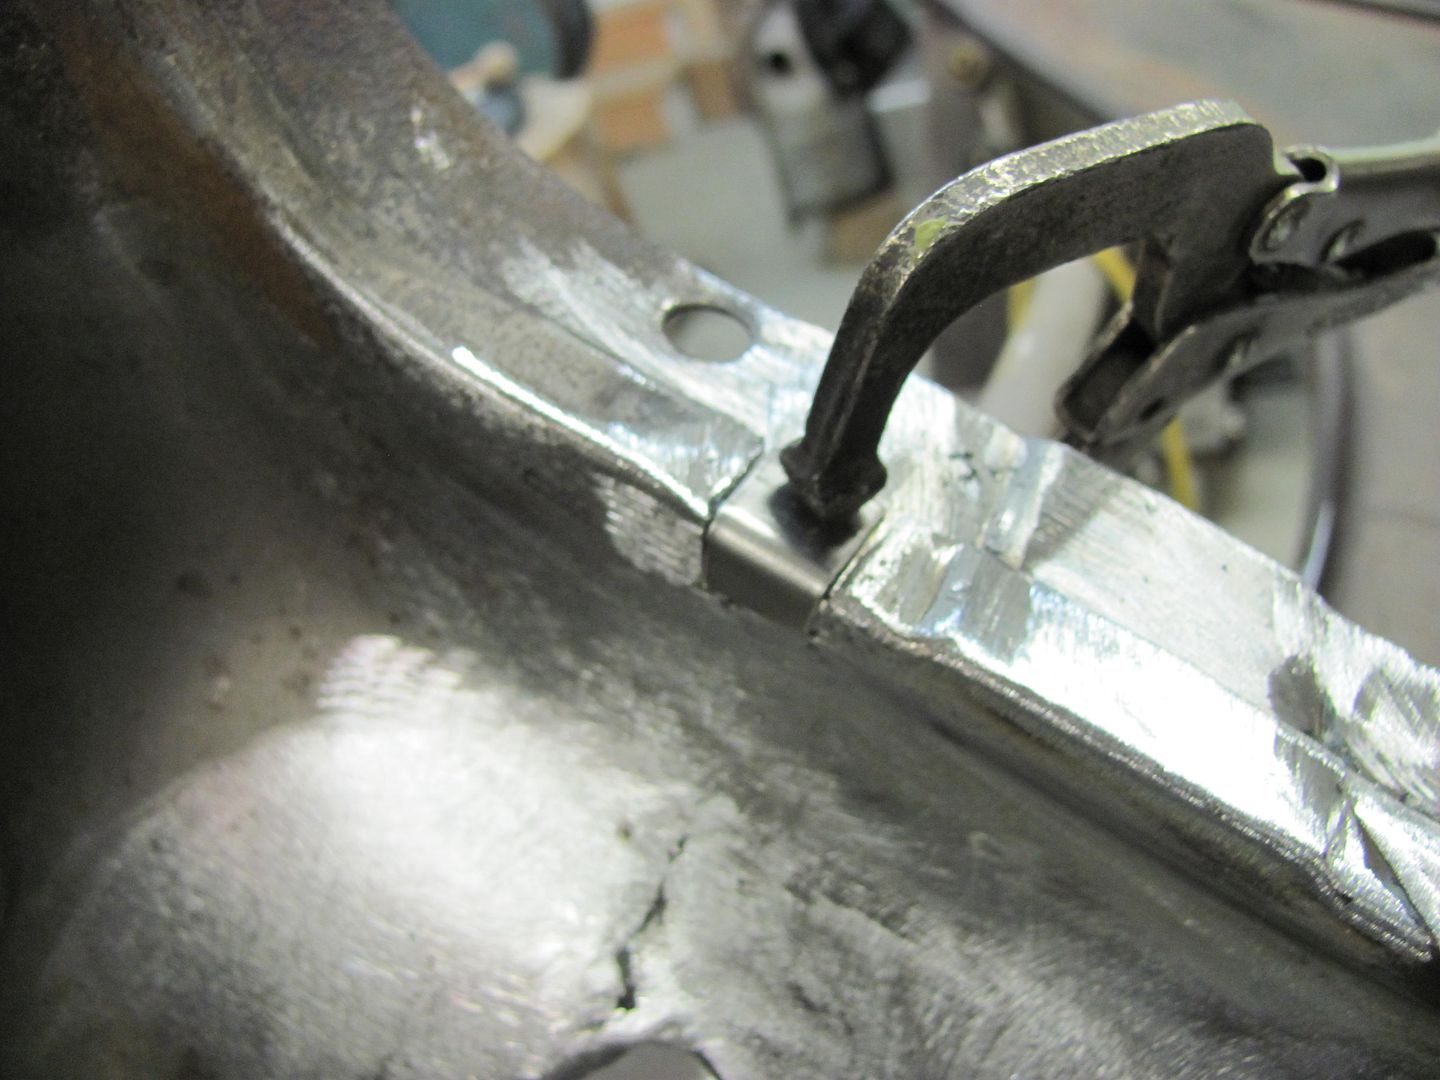 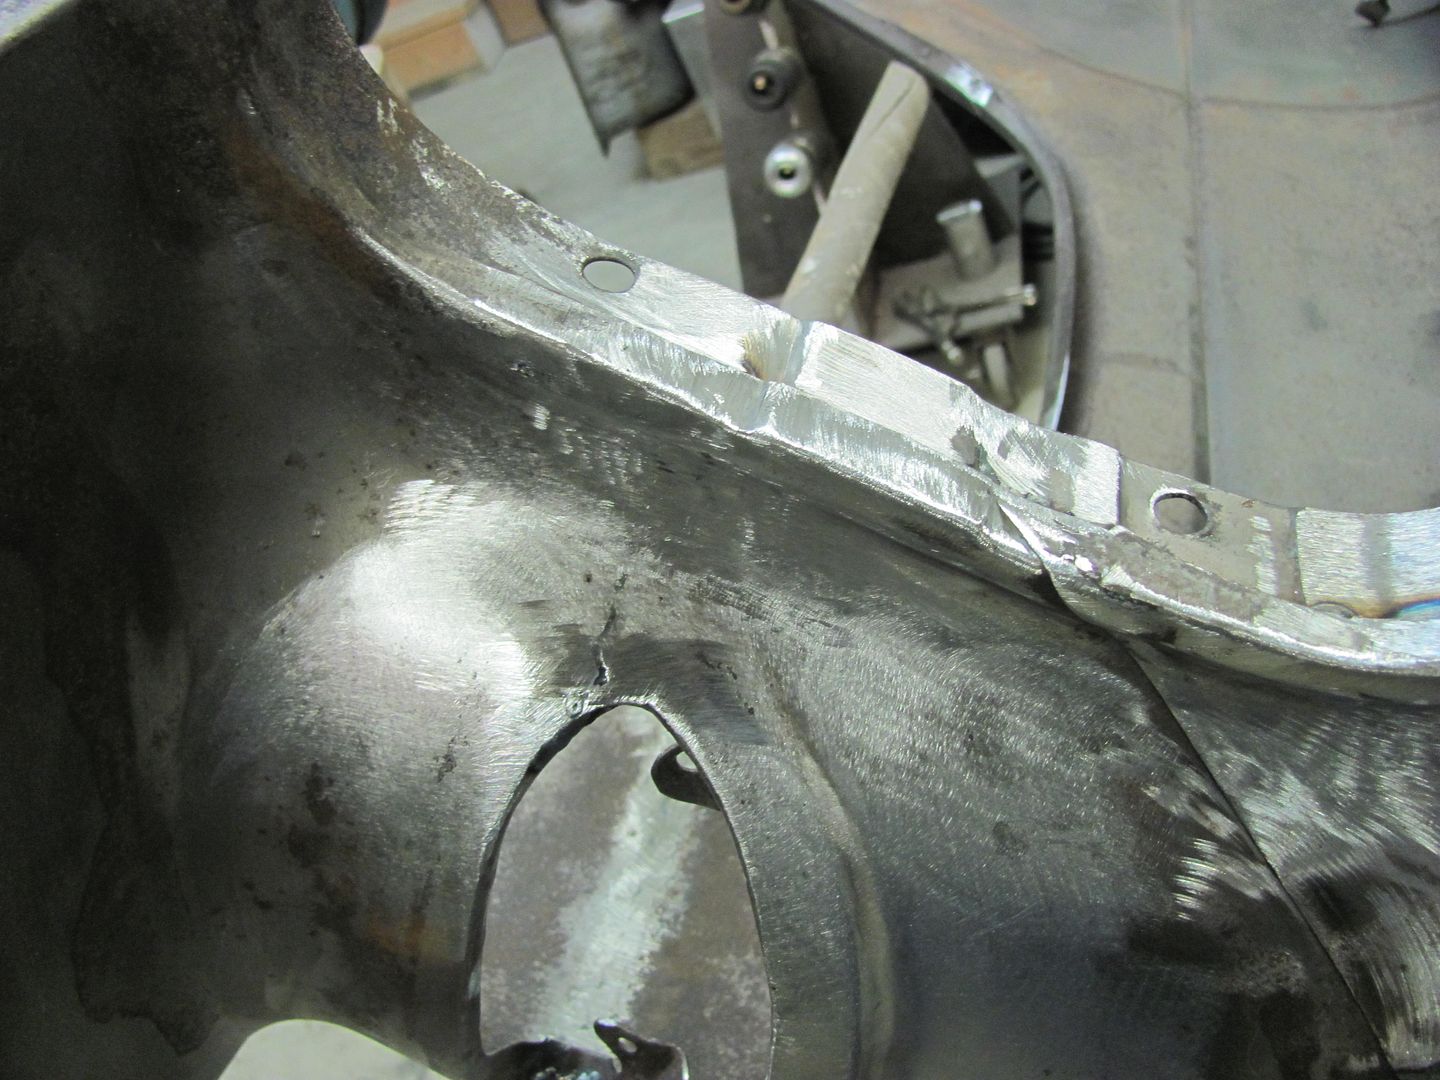 Installed.... 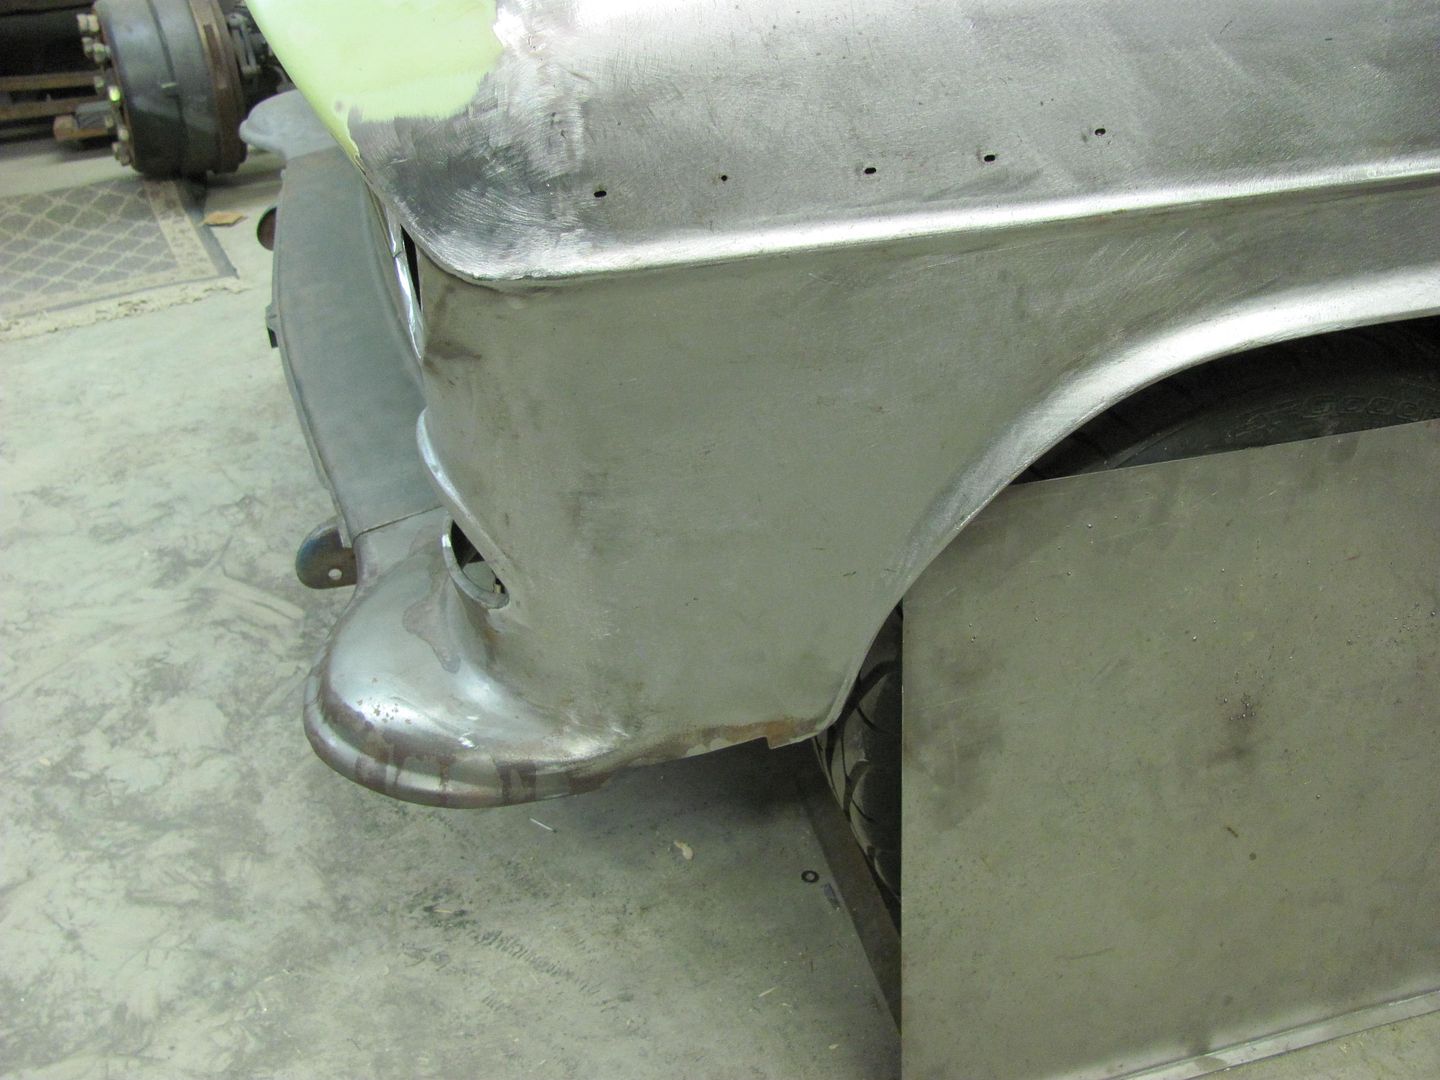 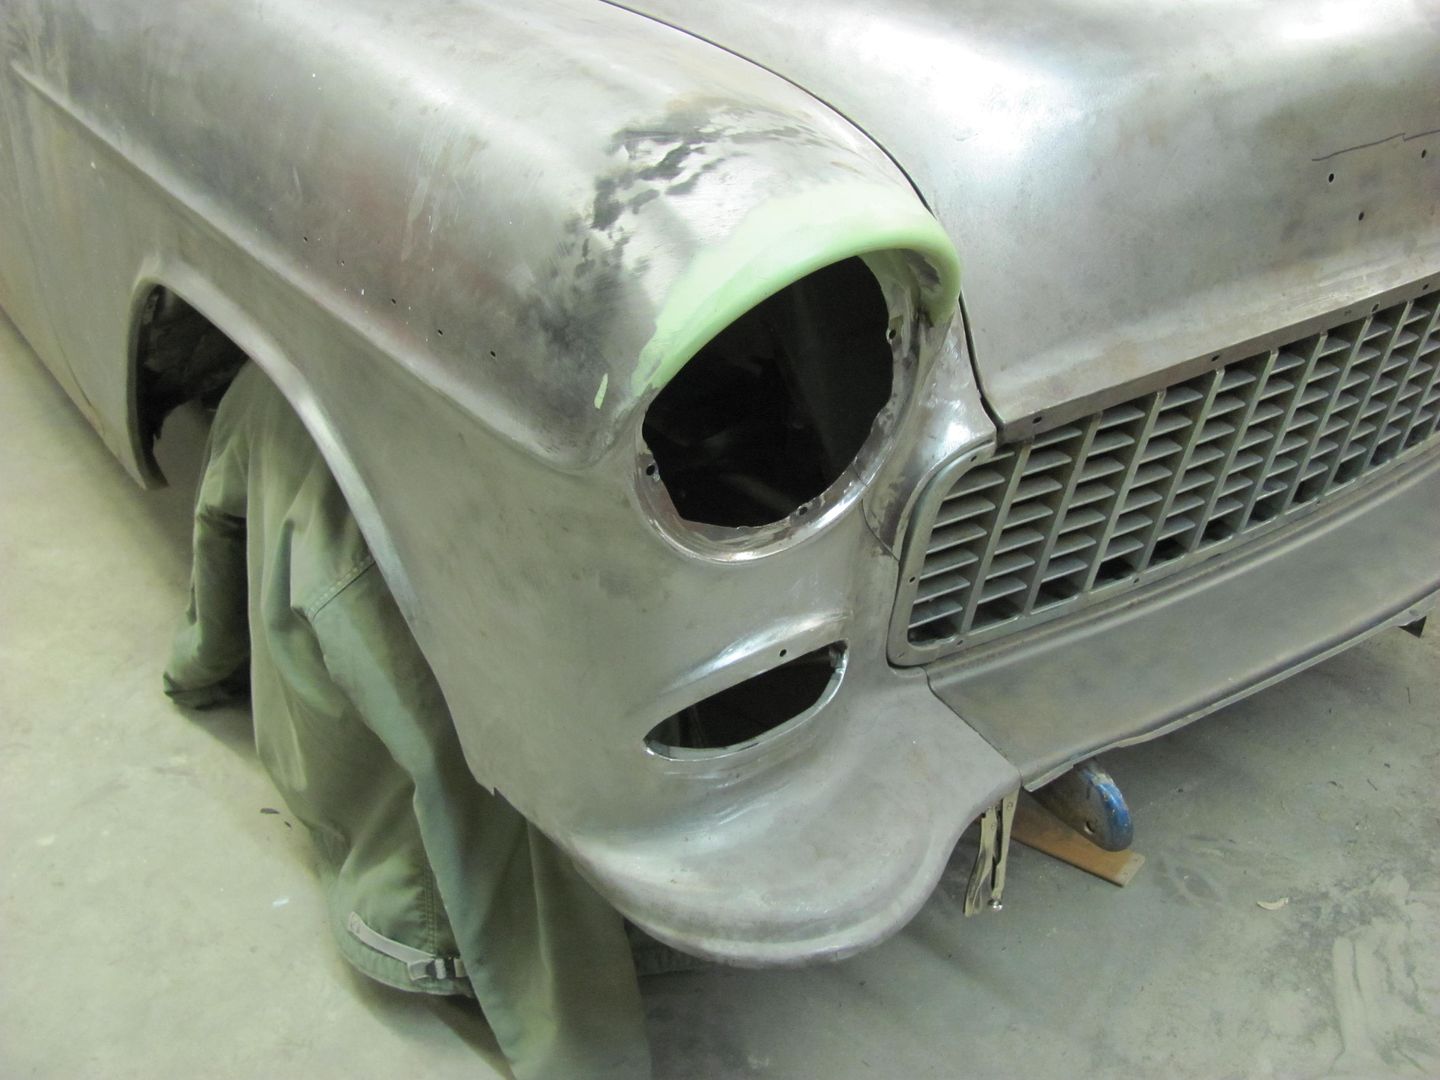 A look from the front... 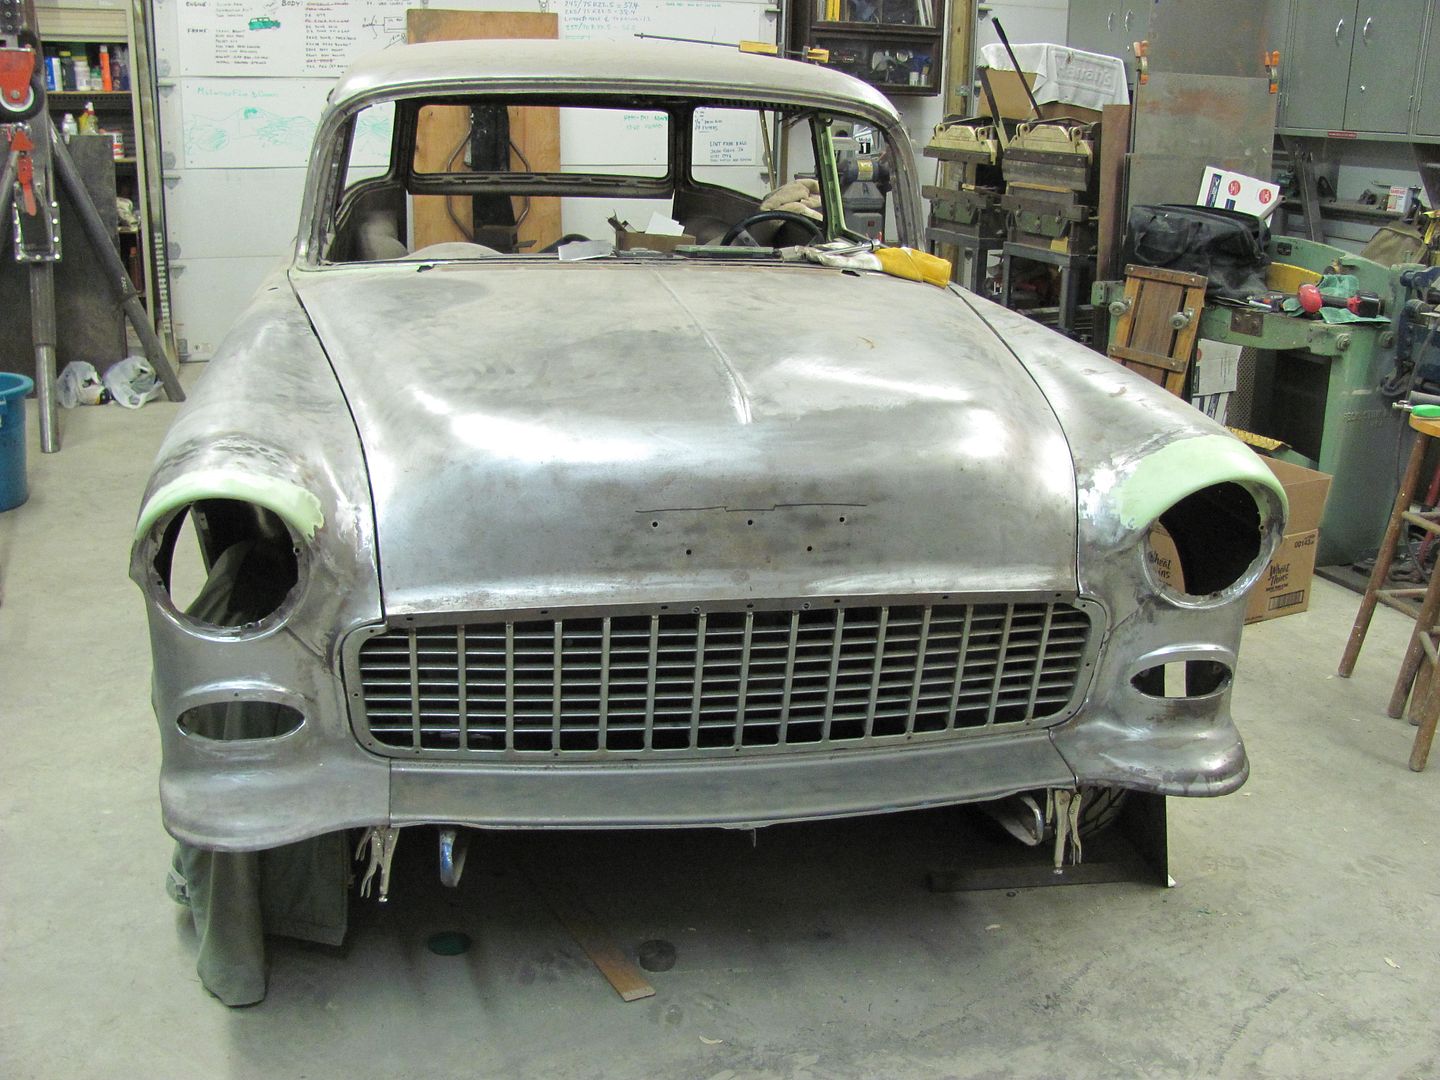
__________________
Robert |
|
|

|
|
|
#19 |
|
Registered User
Join Date: May 2010
Location: Shreveport, LA
Posts: 115
|
Re: 55 Wagon Progress
very nice. I really like all the detail you provide.
__________________
81 GMC C15 RC SWB 5.3L 4L80E project 
|
|
|

|
|
|
#20 |
|
Registered User
Join Date: Dec 2011
Location: Mobile, Alabama
Posts: 996
|
Re: 55 Wagon Progress
Great tutorial. Subscribed...keep the lessons coming. Thx Dug
__________________
My Build - http://67-72chevytrucks.com/vboard/s...d.php?t=515876 |
|
|

|
|
|
#21 |
|
Registered User
Join Date: Jan 2013
Location: Leonardtown, MD
Posts: 1,647
|
Re: 55 Wagon Progress
Started back in the wagon tonight, the rear hatch was a bit snug for the opening the factory provided.
 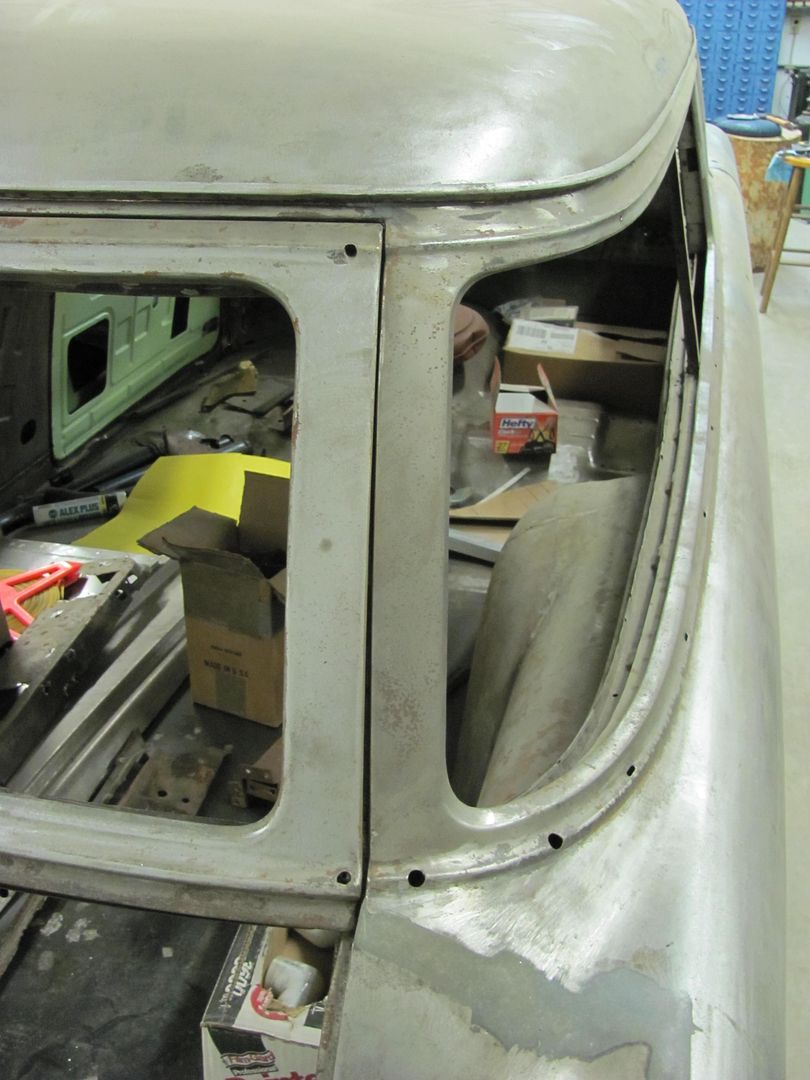 Rather than risk certain chipped paint, we'll work to get the gaps more consistent... 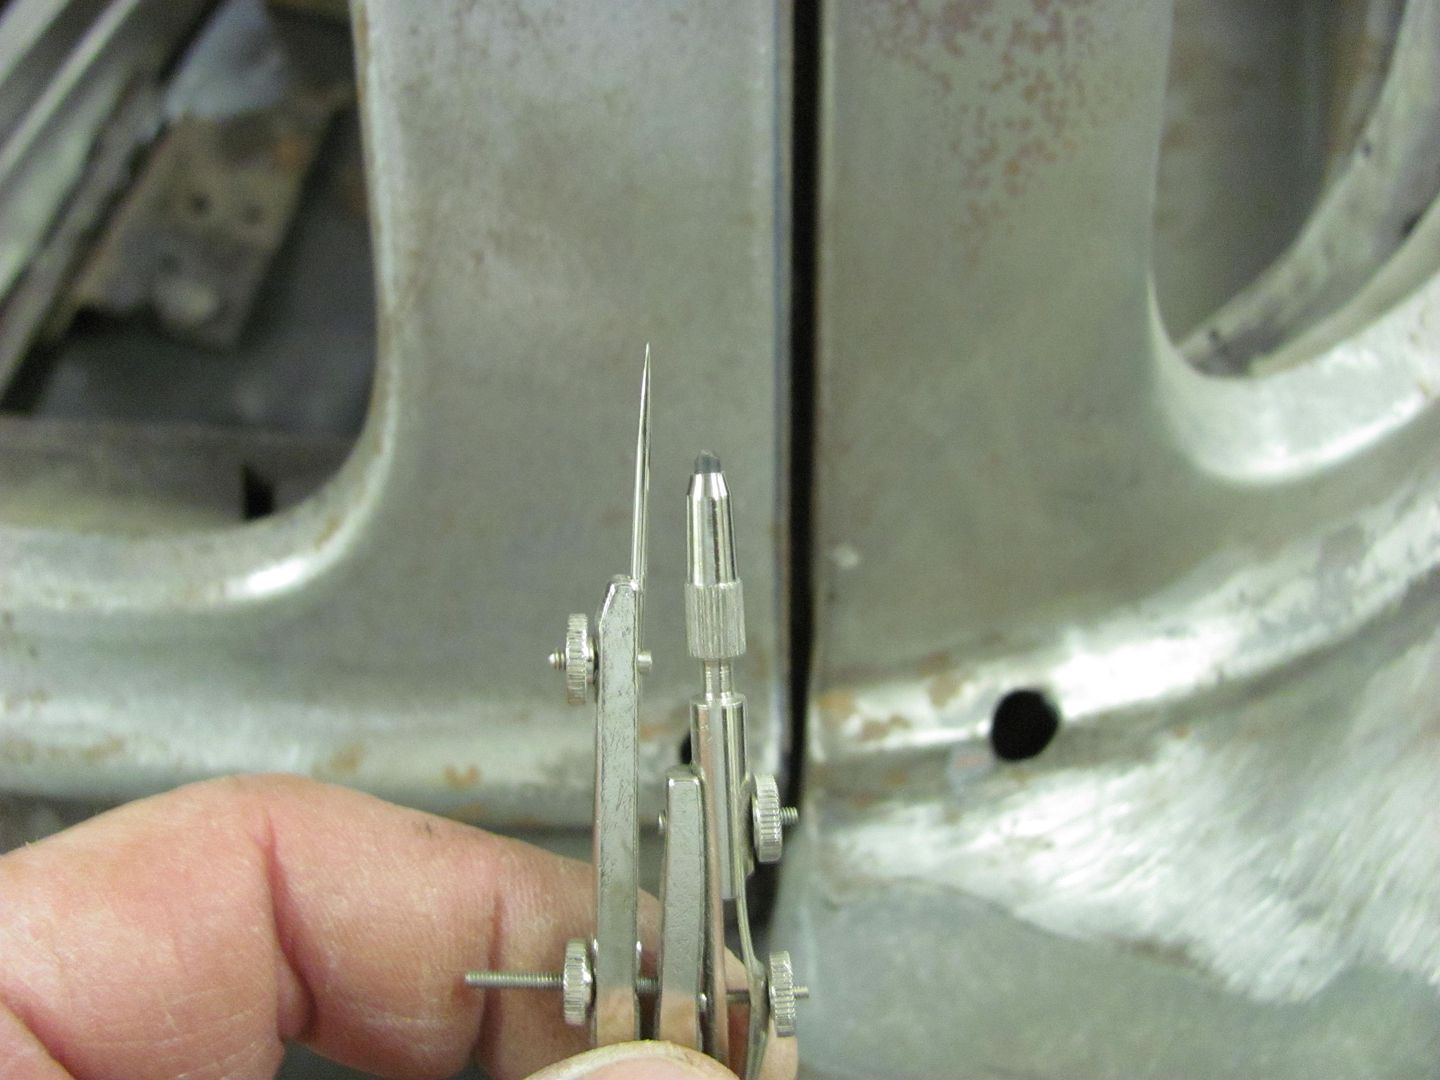 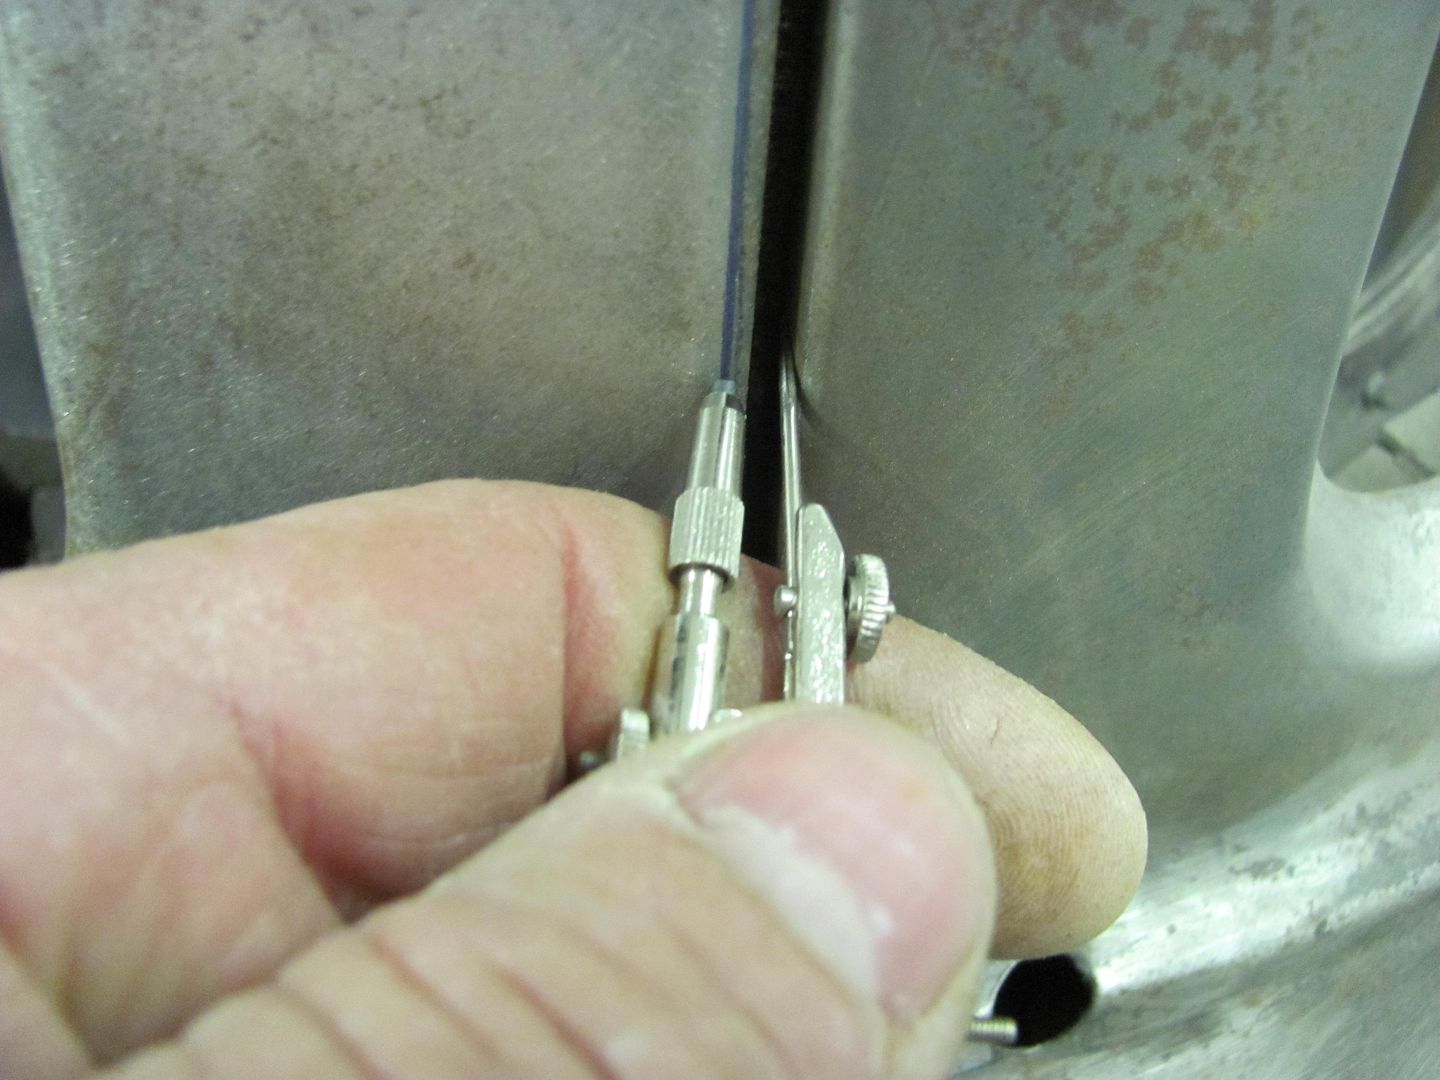 Then the edge was ground to our mark and some c-clamp vise grips held all three pieces snug while they were tacked in place. 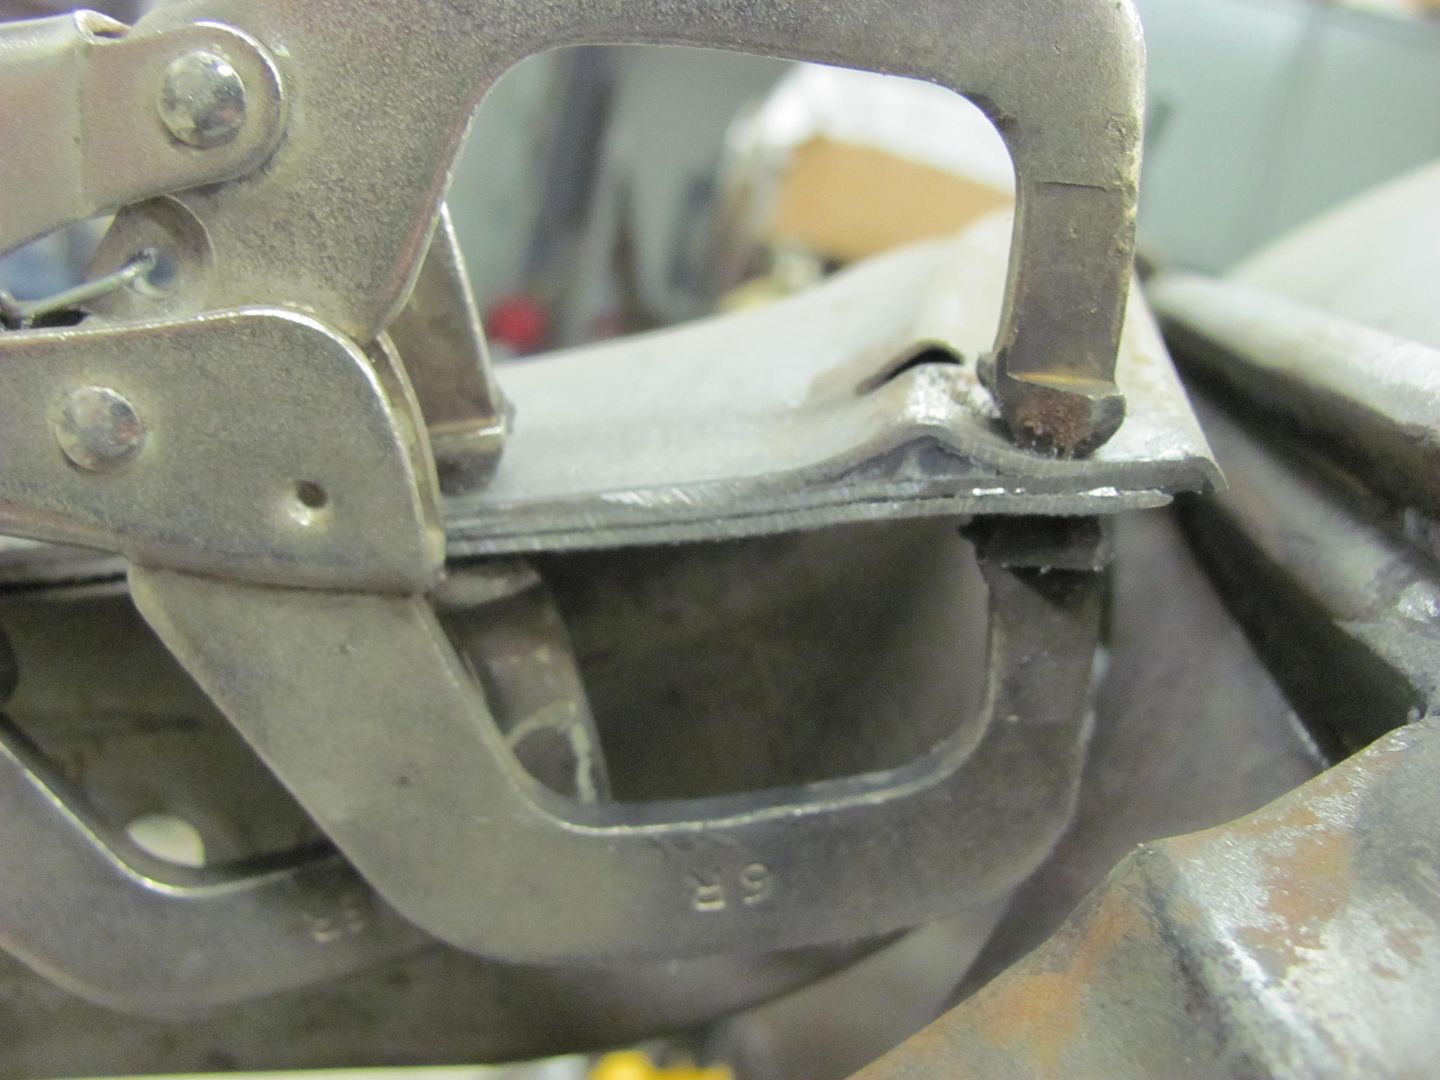 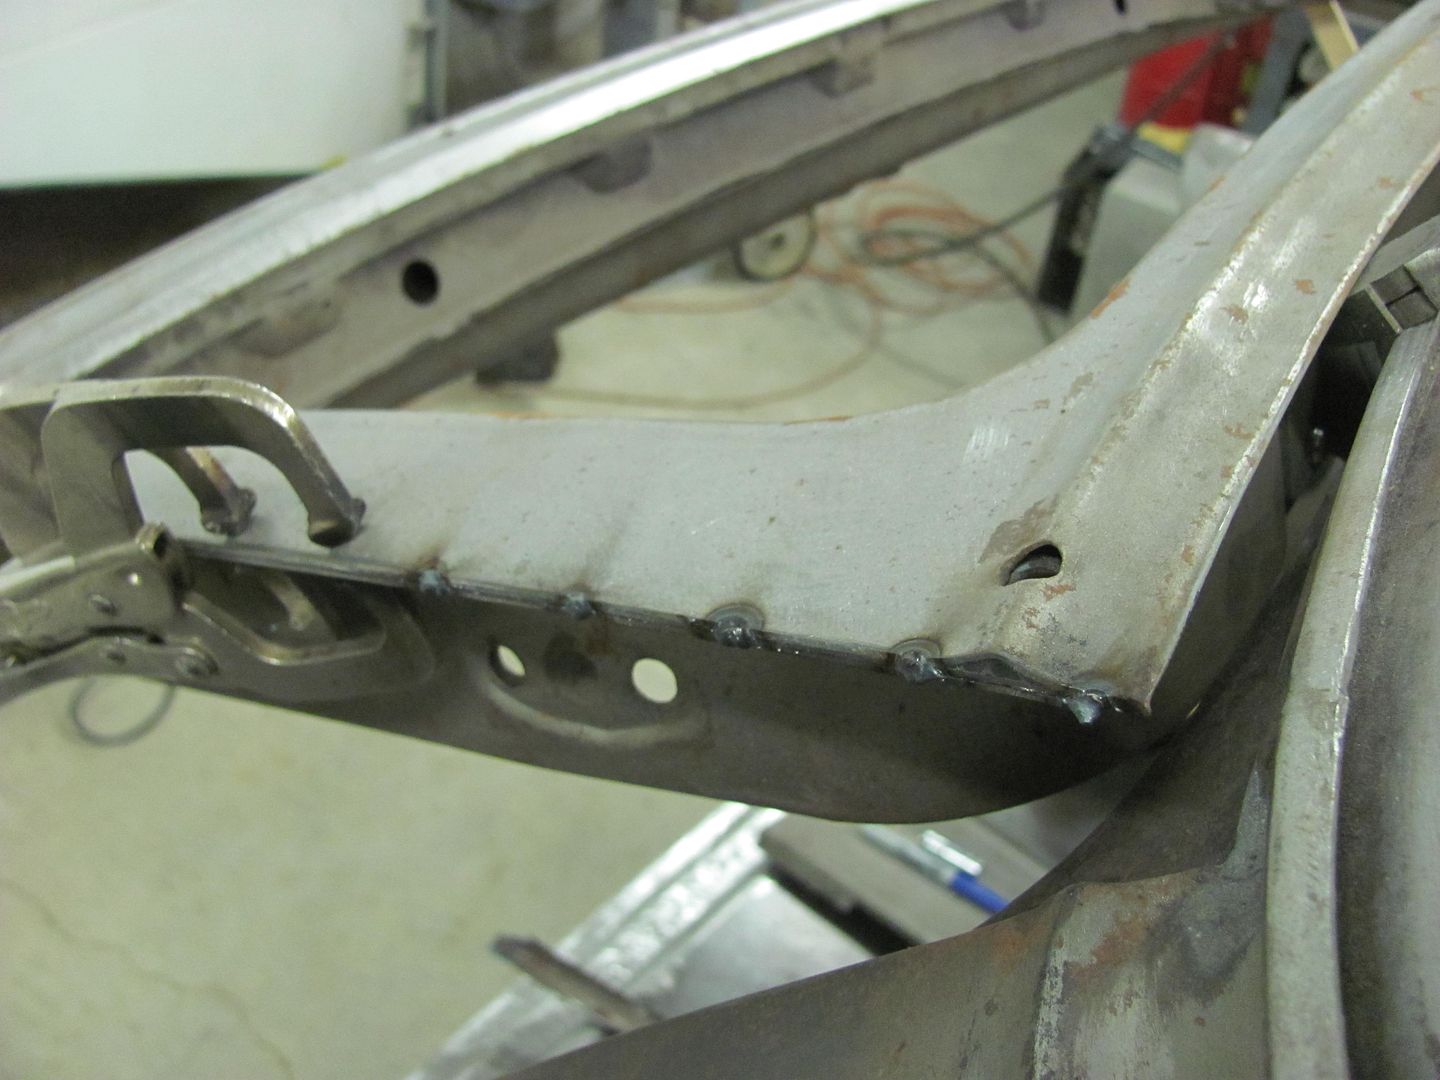  Then the top and bottom sides of the weld are ground flush with the panels. This removes the bulk of the weld and makes it easier in trimming the side....  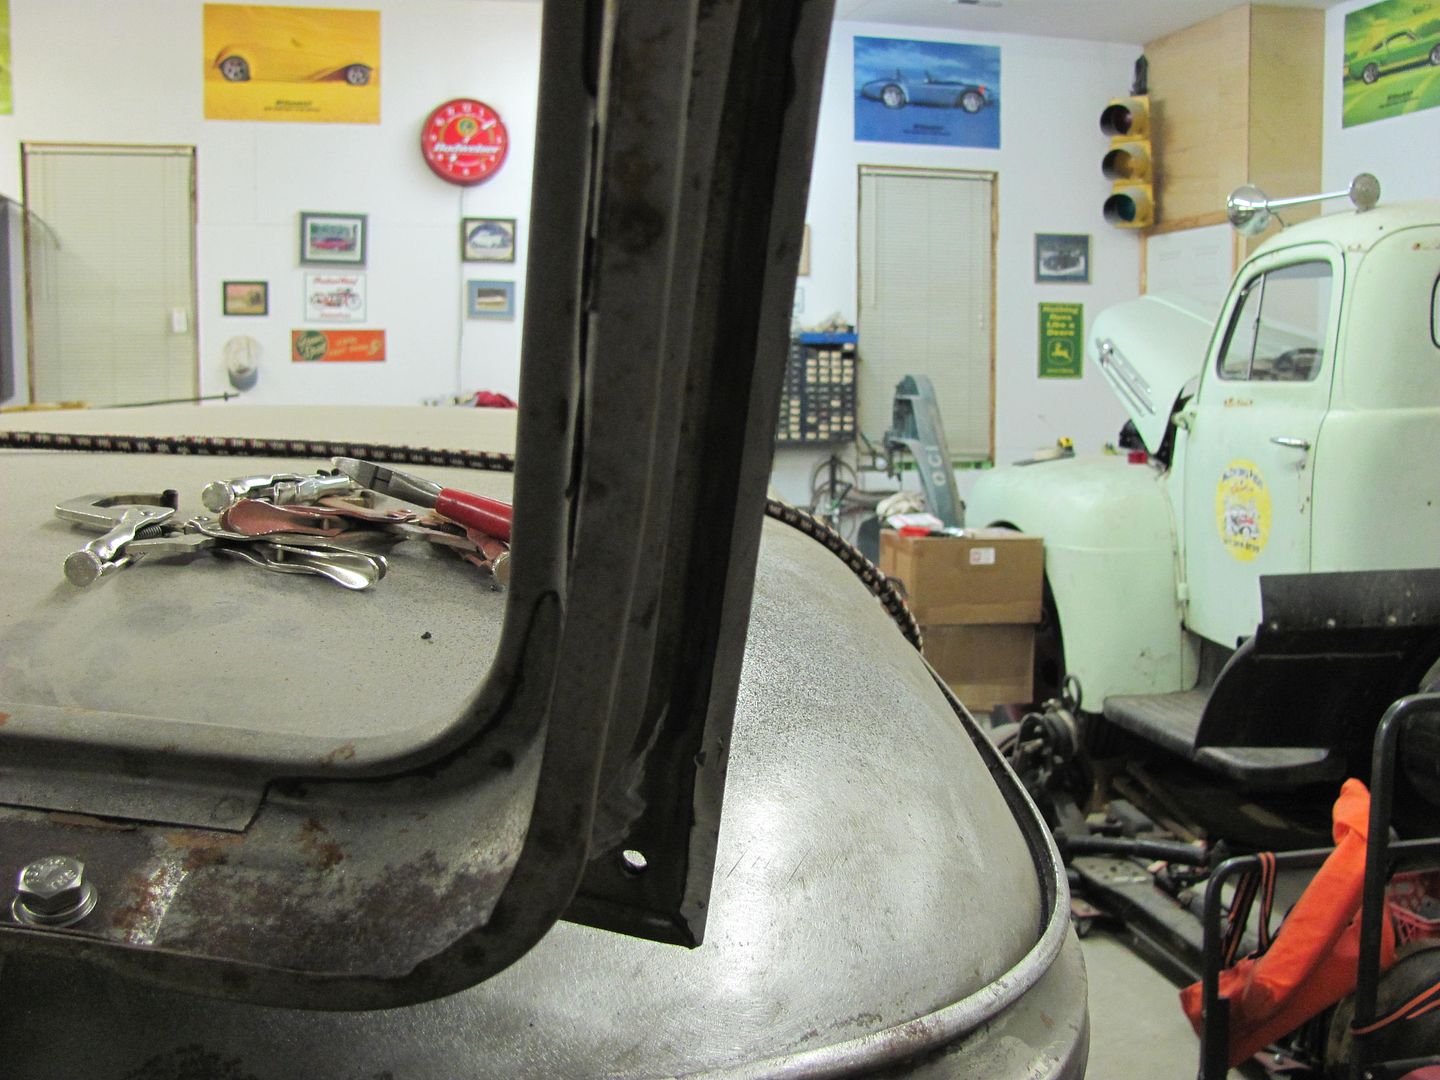 Marked again.... 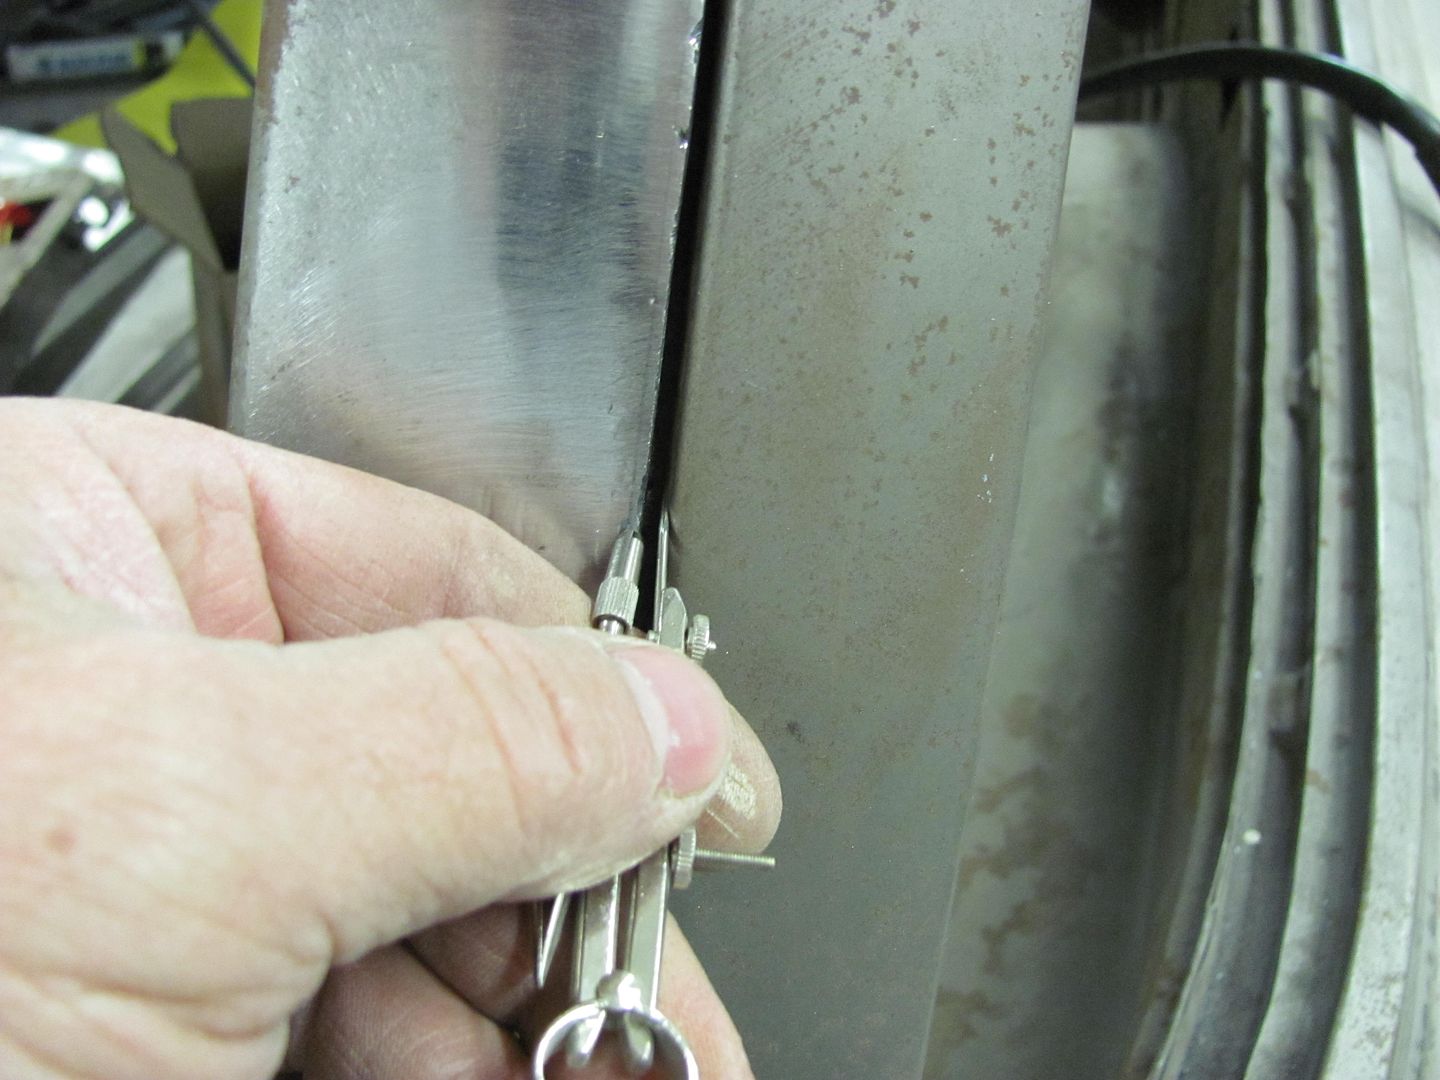 ....and ground to yield a much better gap. One down...... 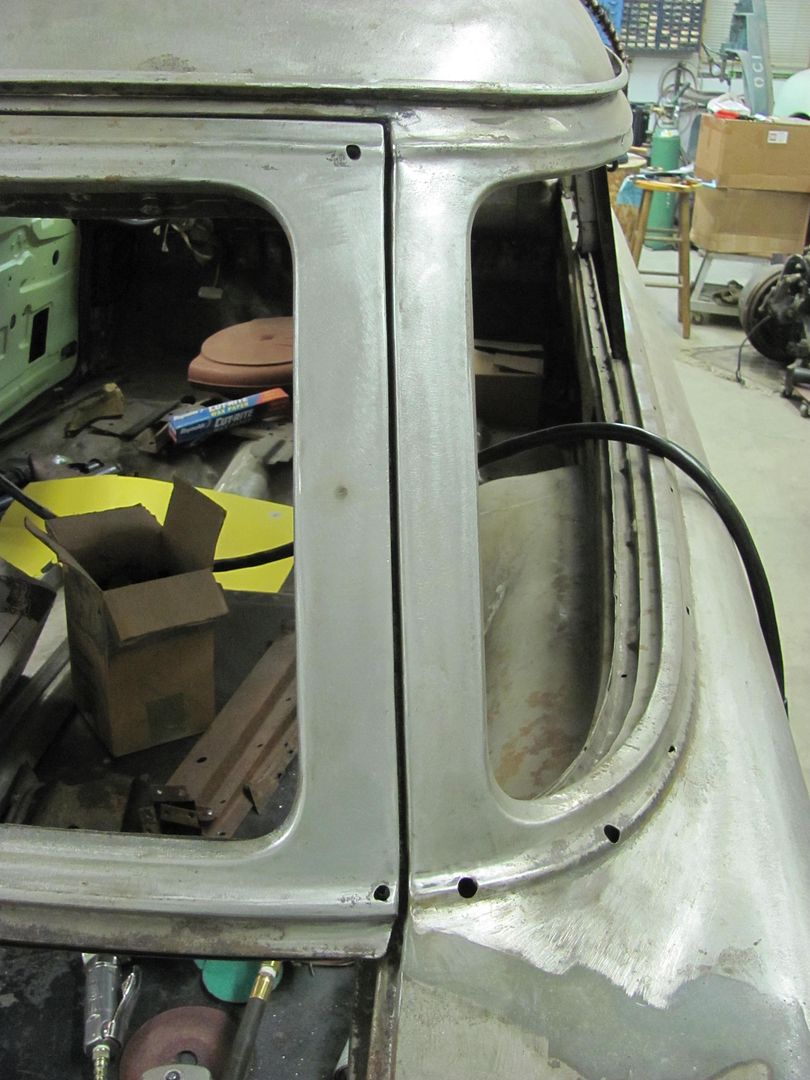
__________________
Robert |
|
|

|
|
|
#22 |
|
Registered User
Join Date: Jan 2013
Location: Leonardtown, MD
Posts: 1,647
|
Re: 55 Wagon Progress
Continuing on to the driver's side, this one is a bit tighter at the bottom than the other, shows about 1/32 gap. Used the compass again to mark the cut line...
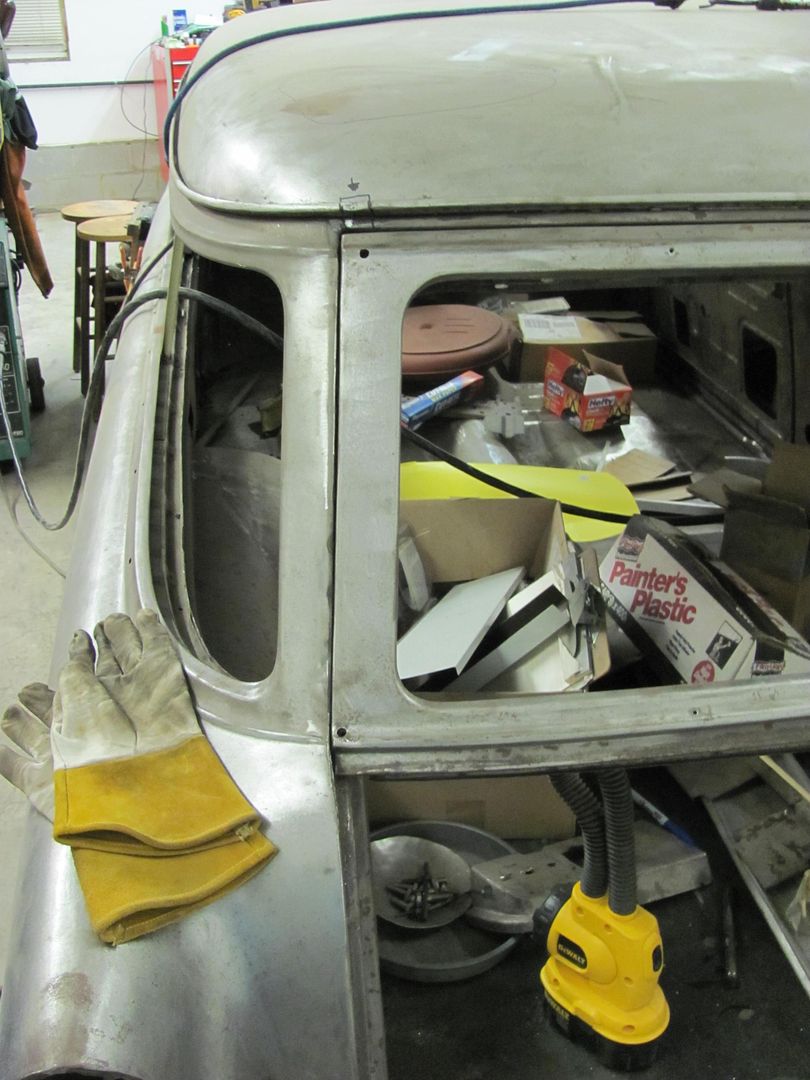 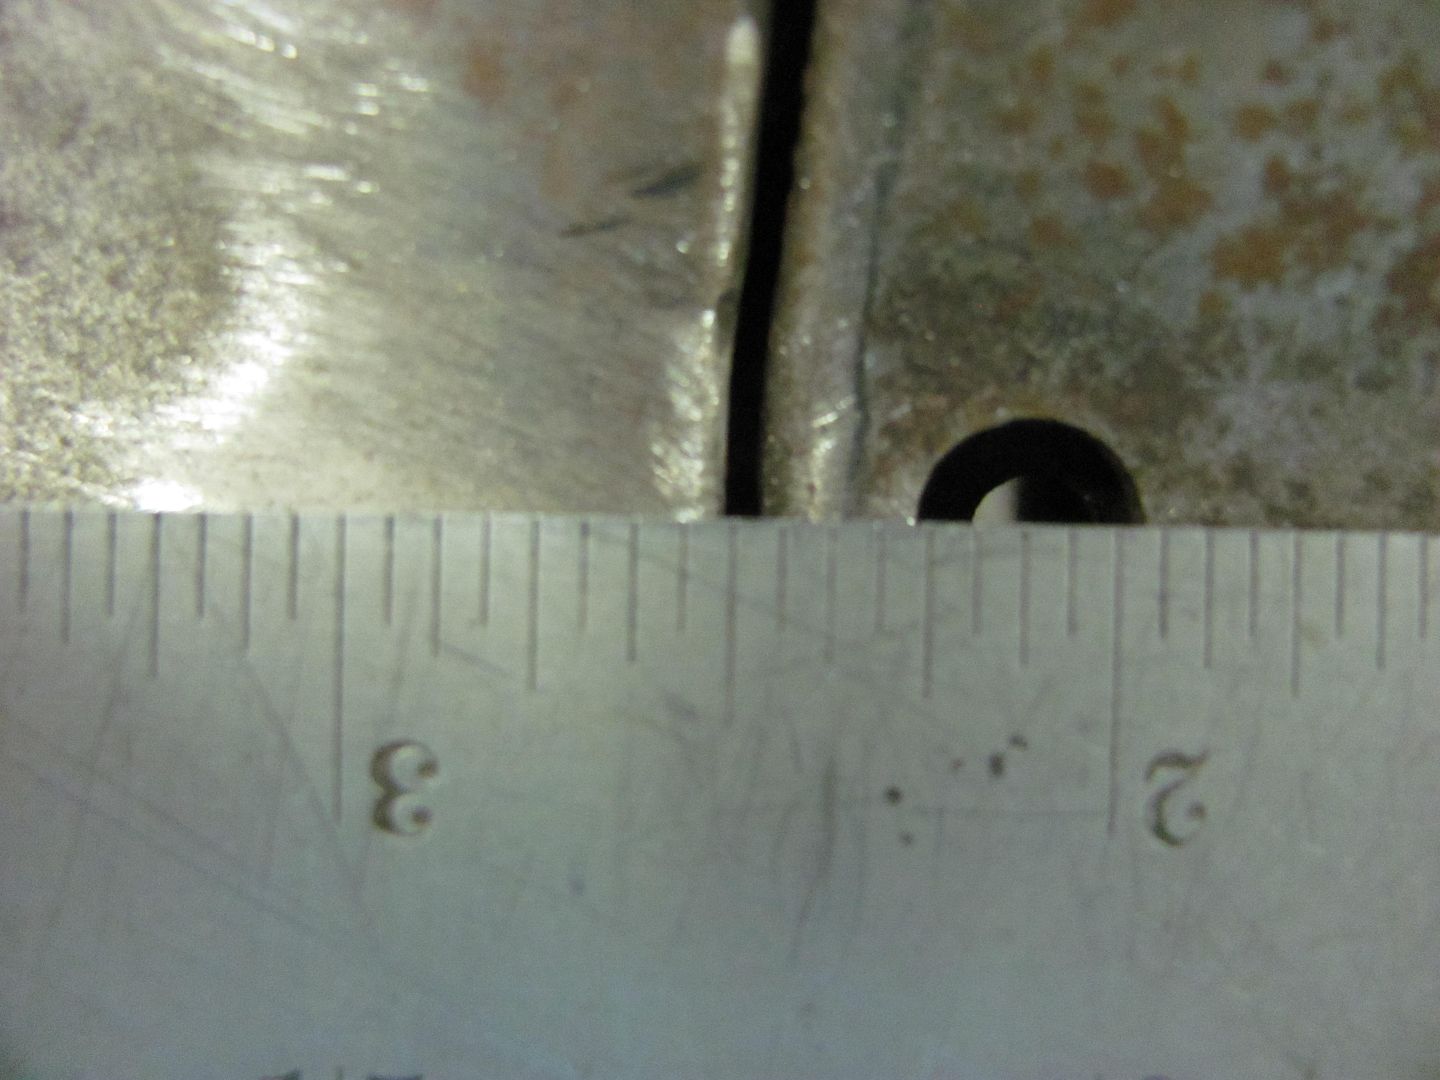 Tacked, welded, and welds dressed... 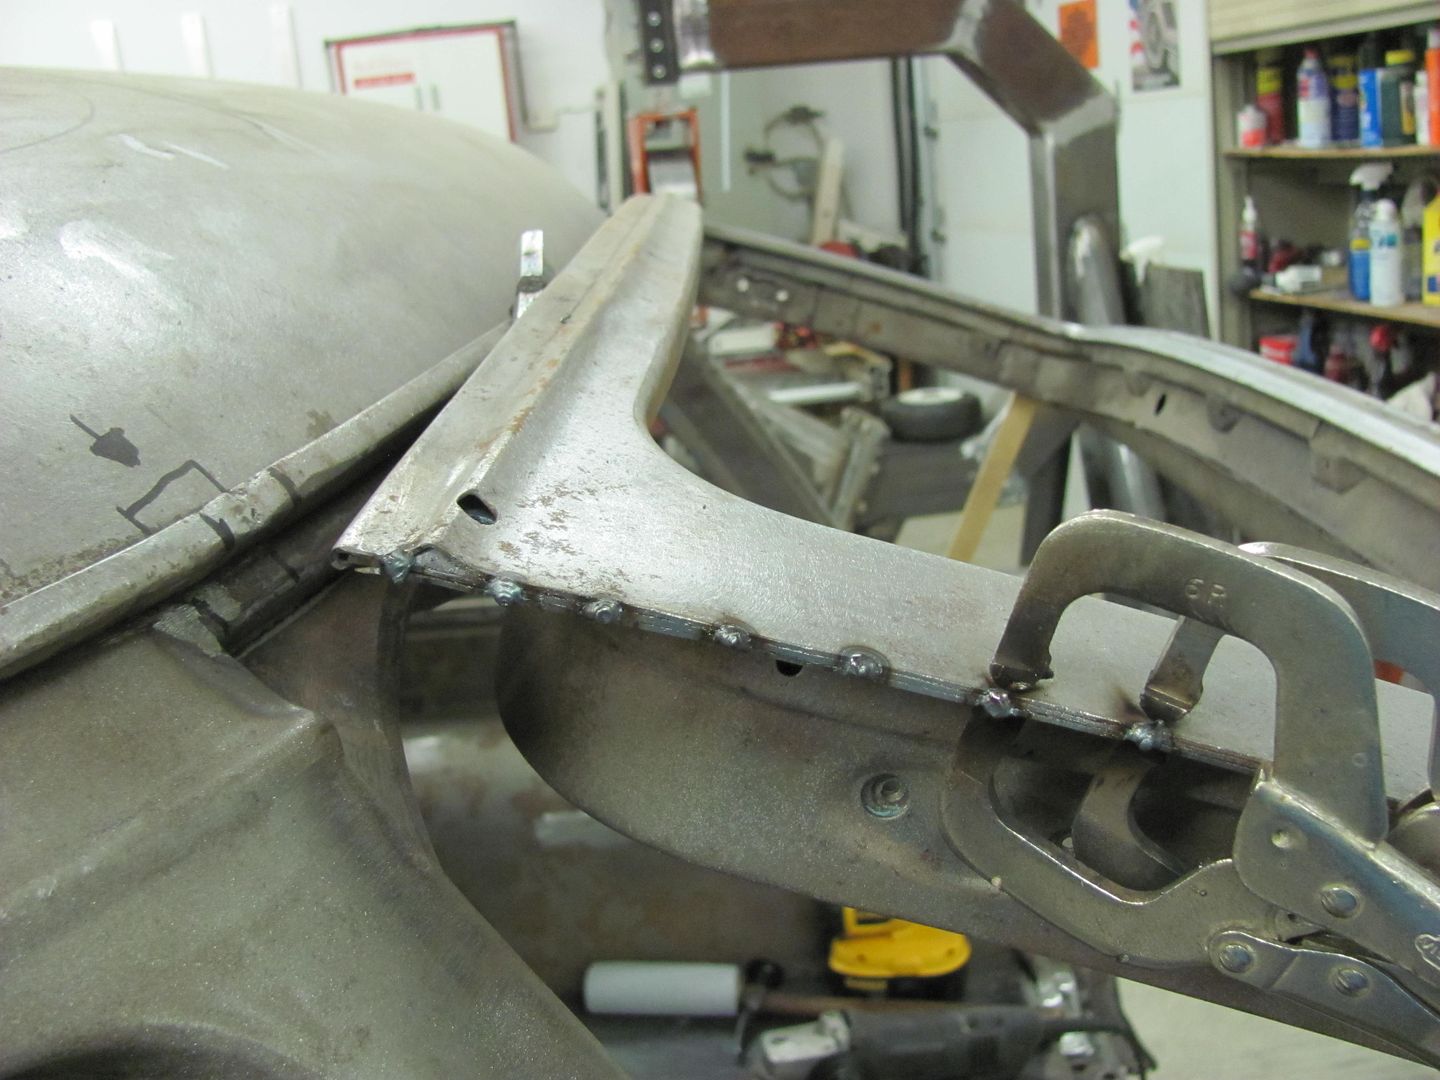 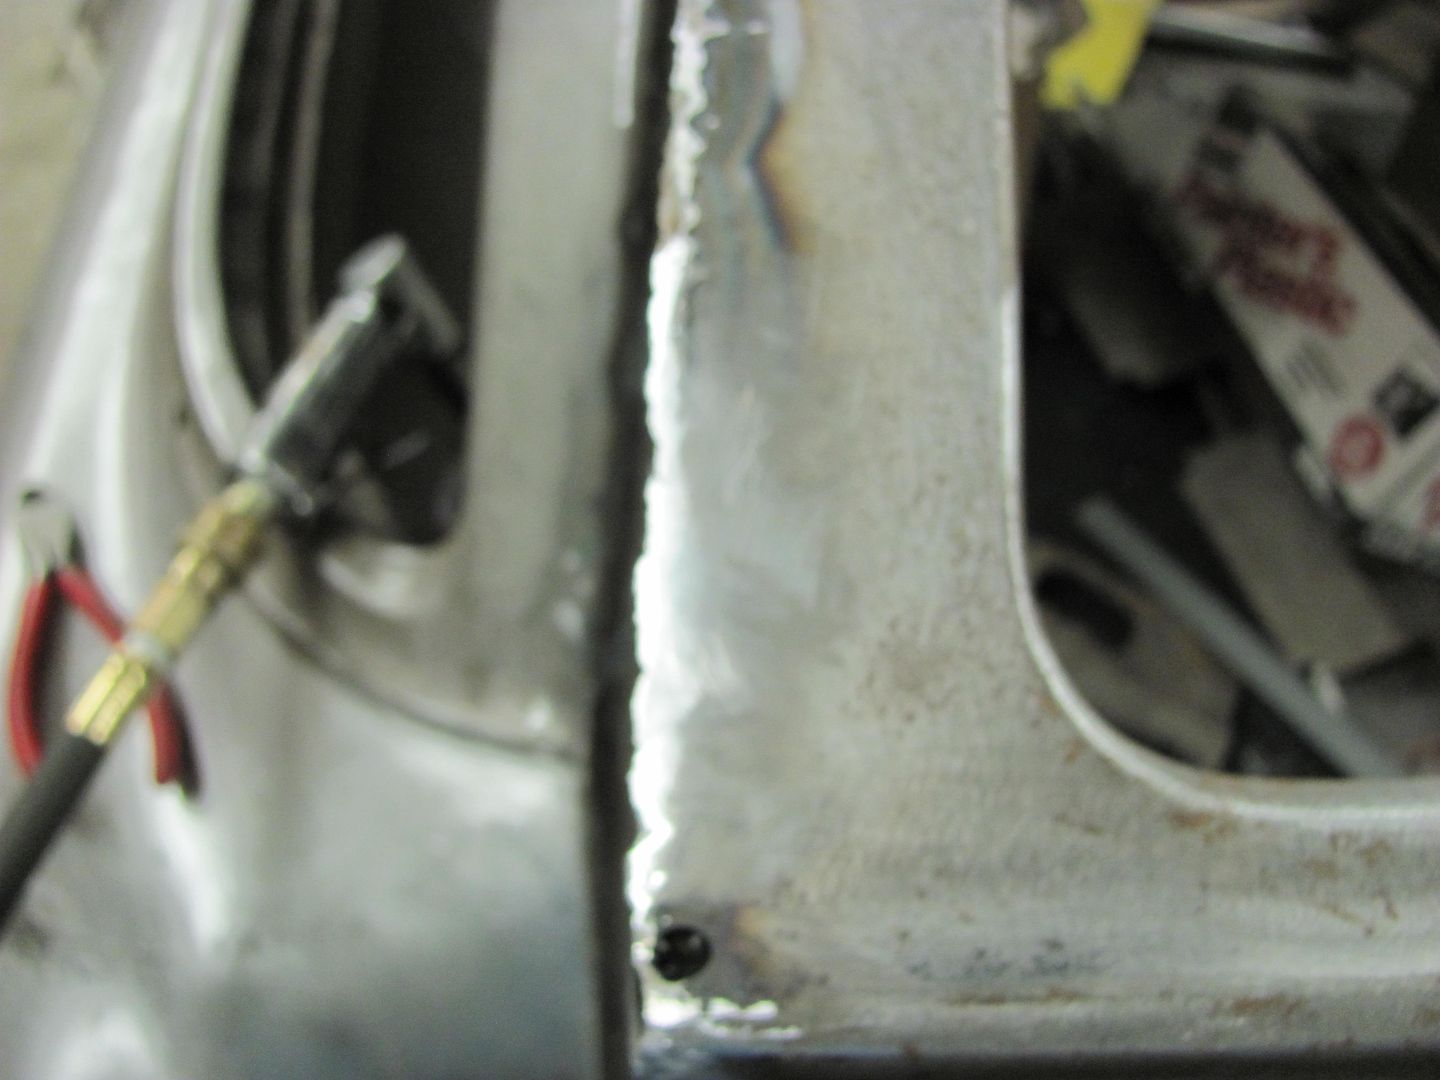 All finished for this evening, have a couple pin holes to fix, will get them when we do the top... 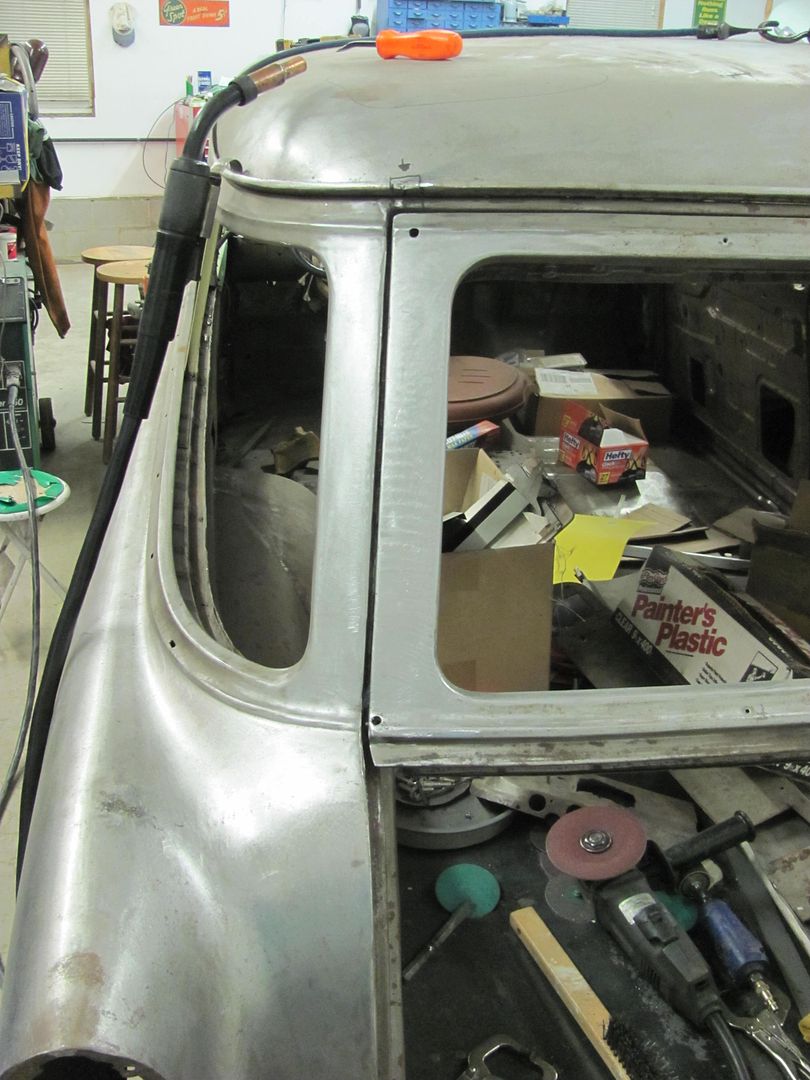 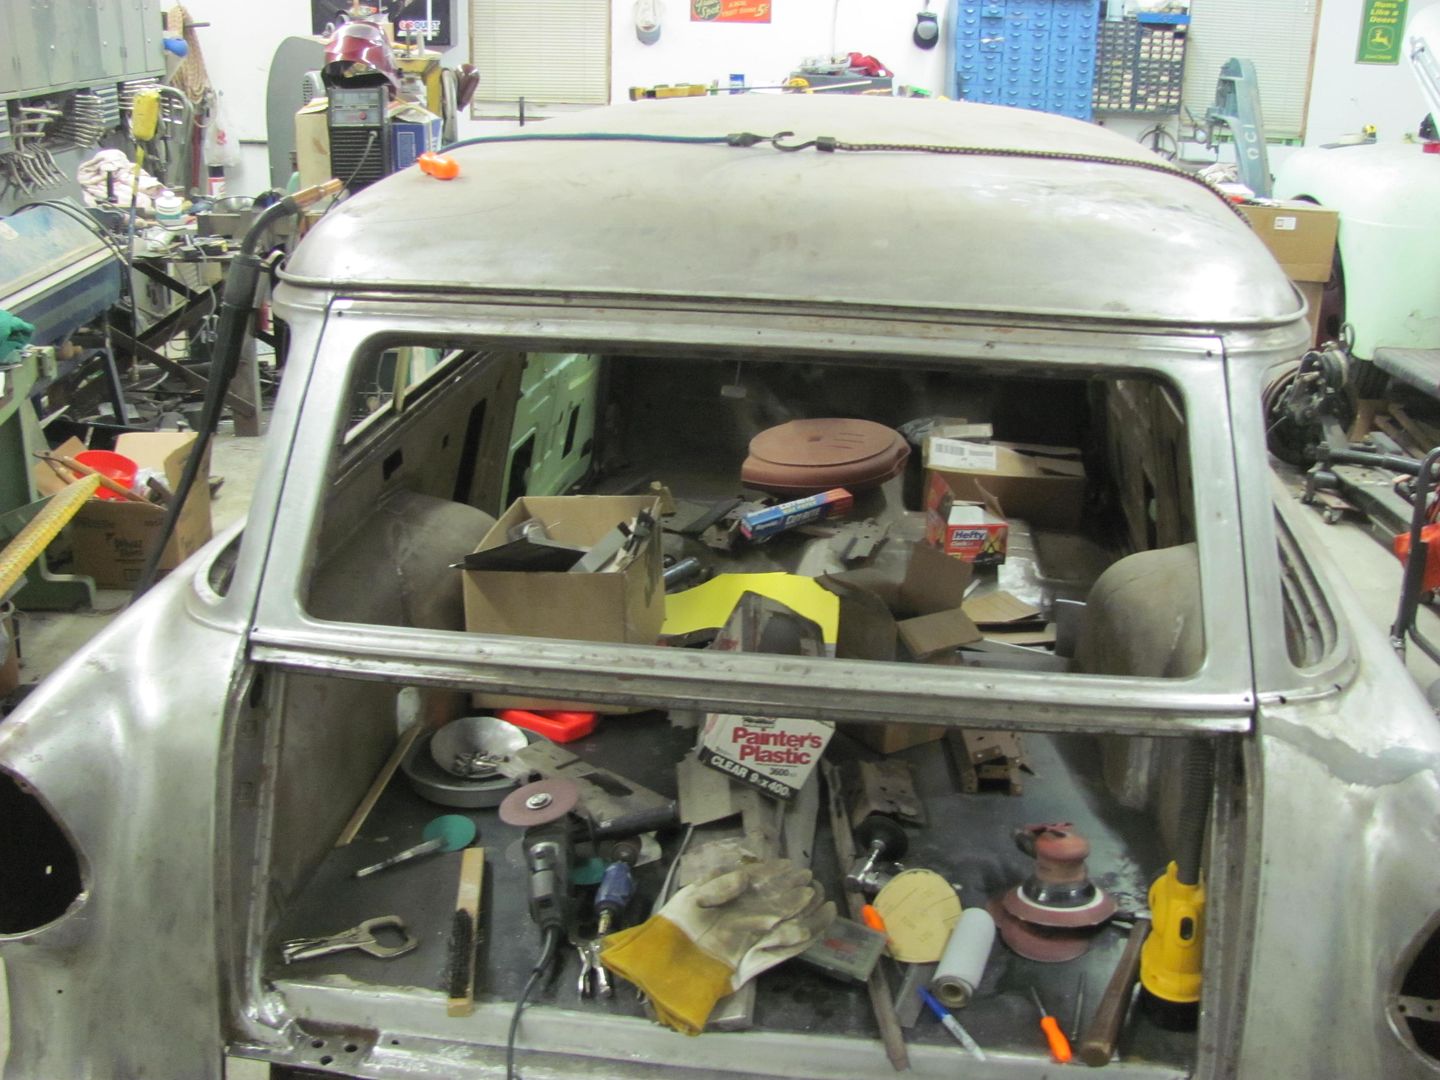 New gap is right at 5/32", or to be more technical, one paint stick width.... 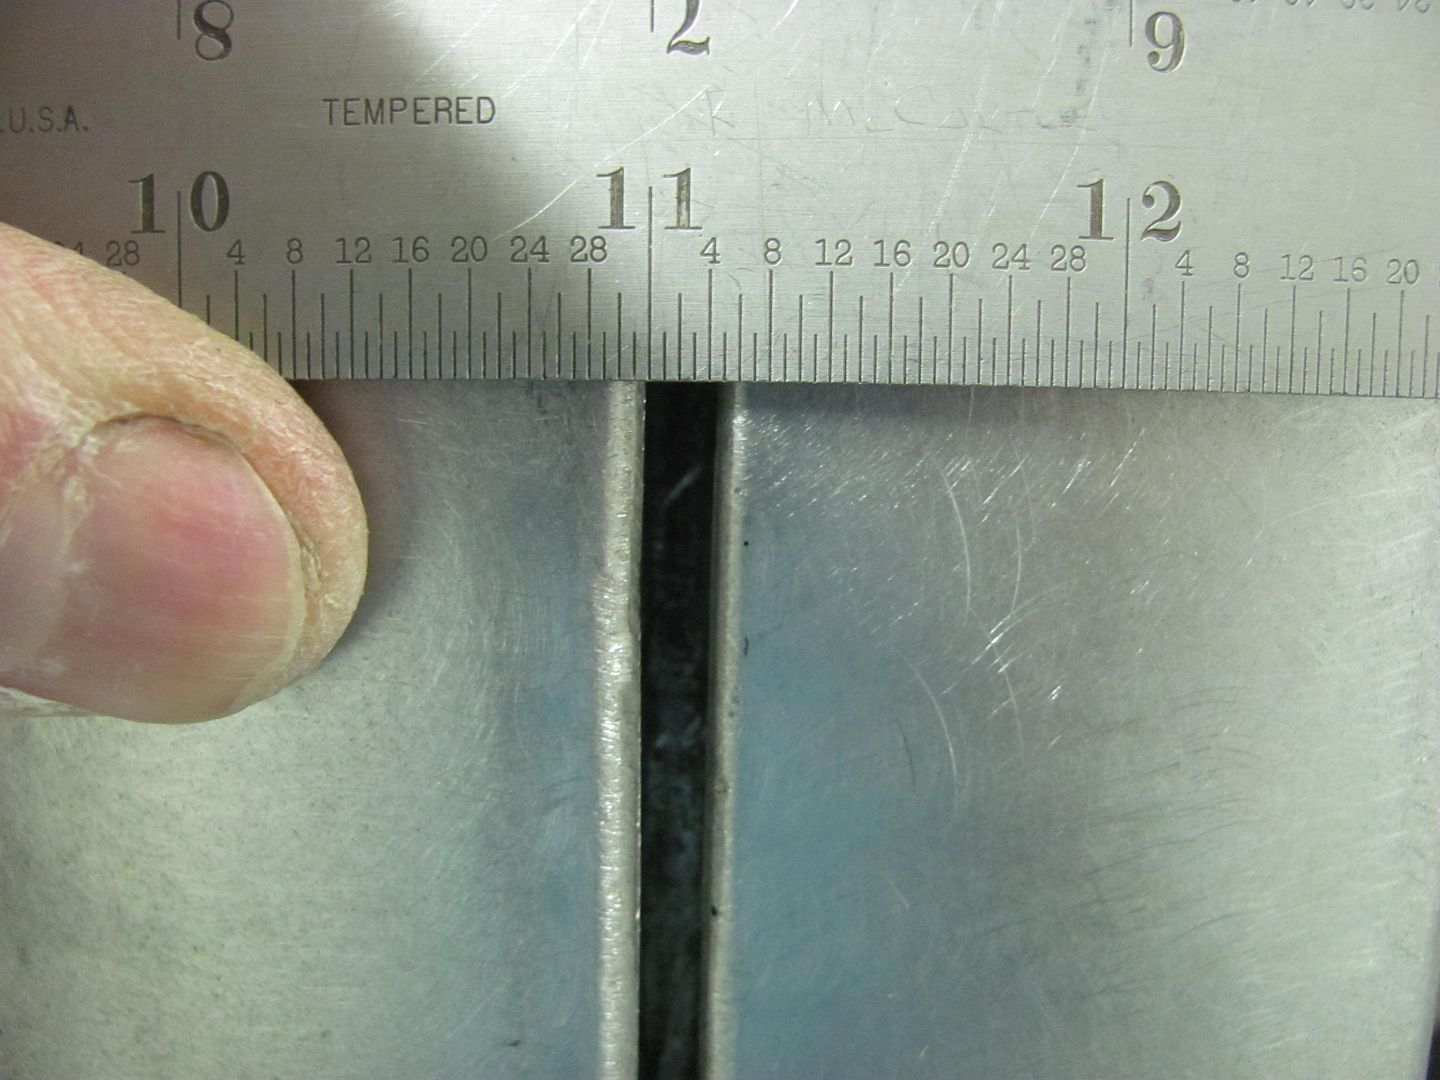 
__________________
Robert |
|
|

|
|
|
#23 |
|
Registered User
Join Date: Jan 2013
Location: Leonardtown, MD
Posts: 1,647
|
Re: 55 Wagon Progress
Ok, one side left to go...
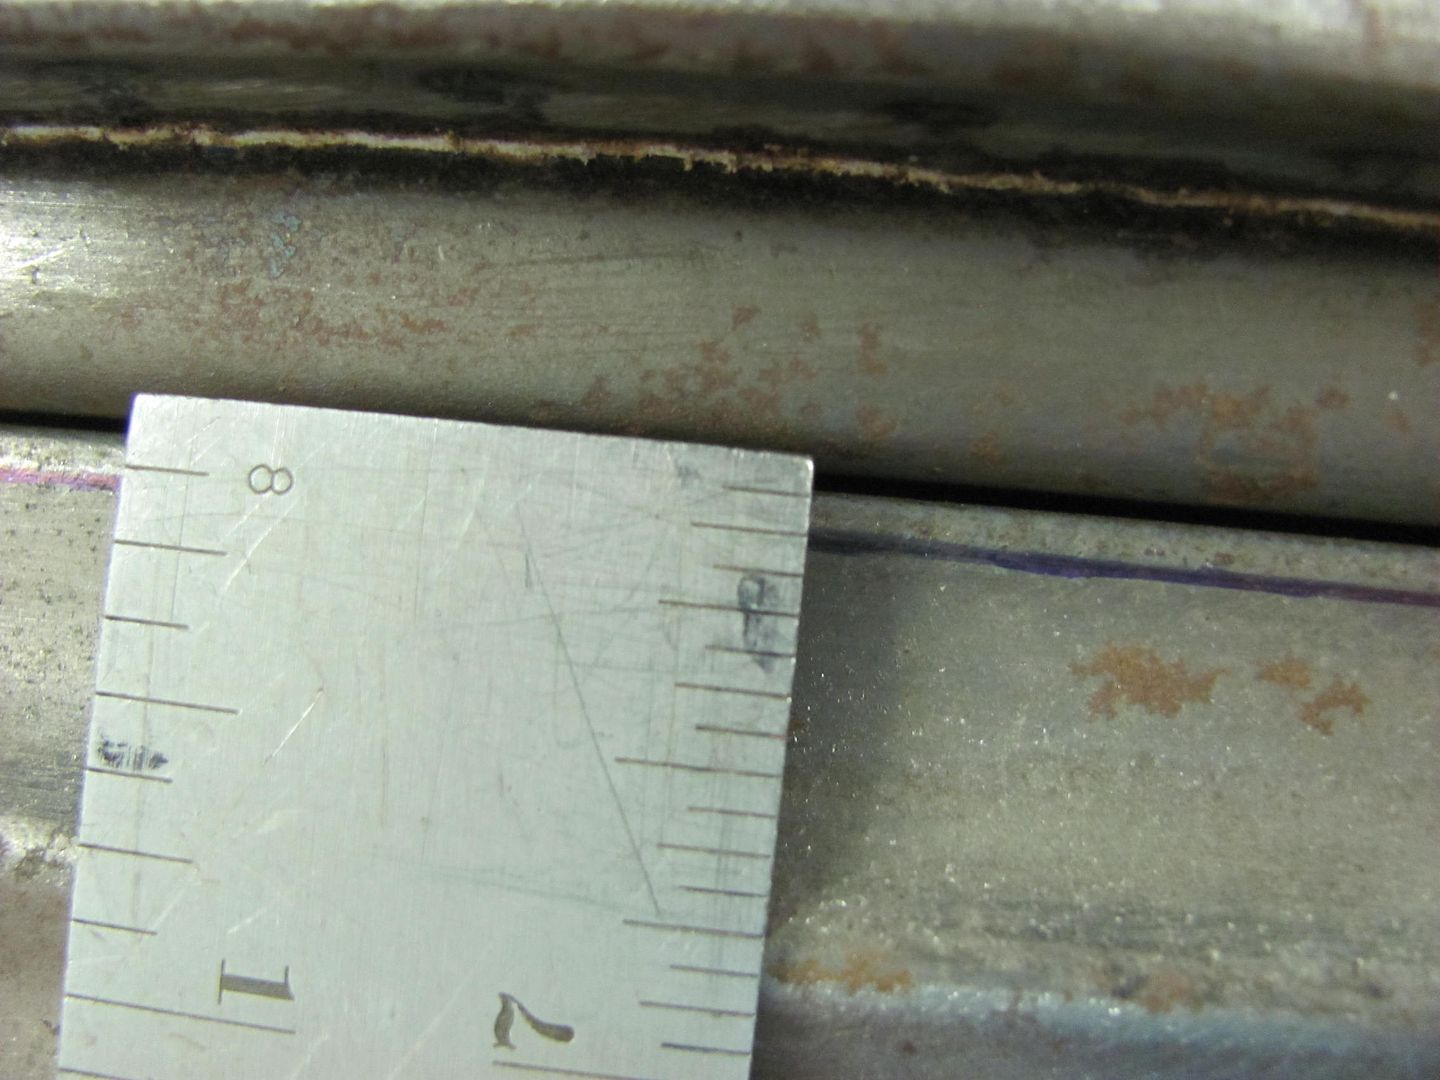  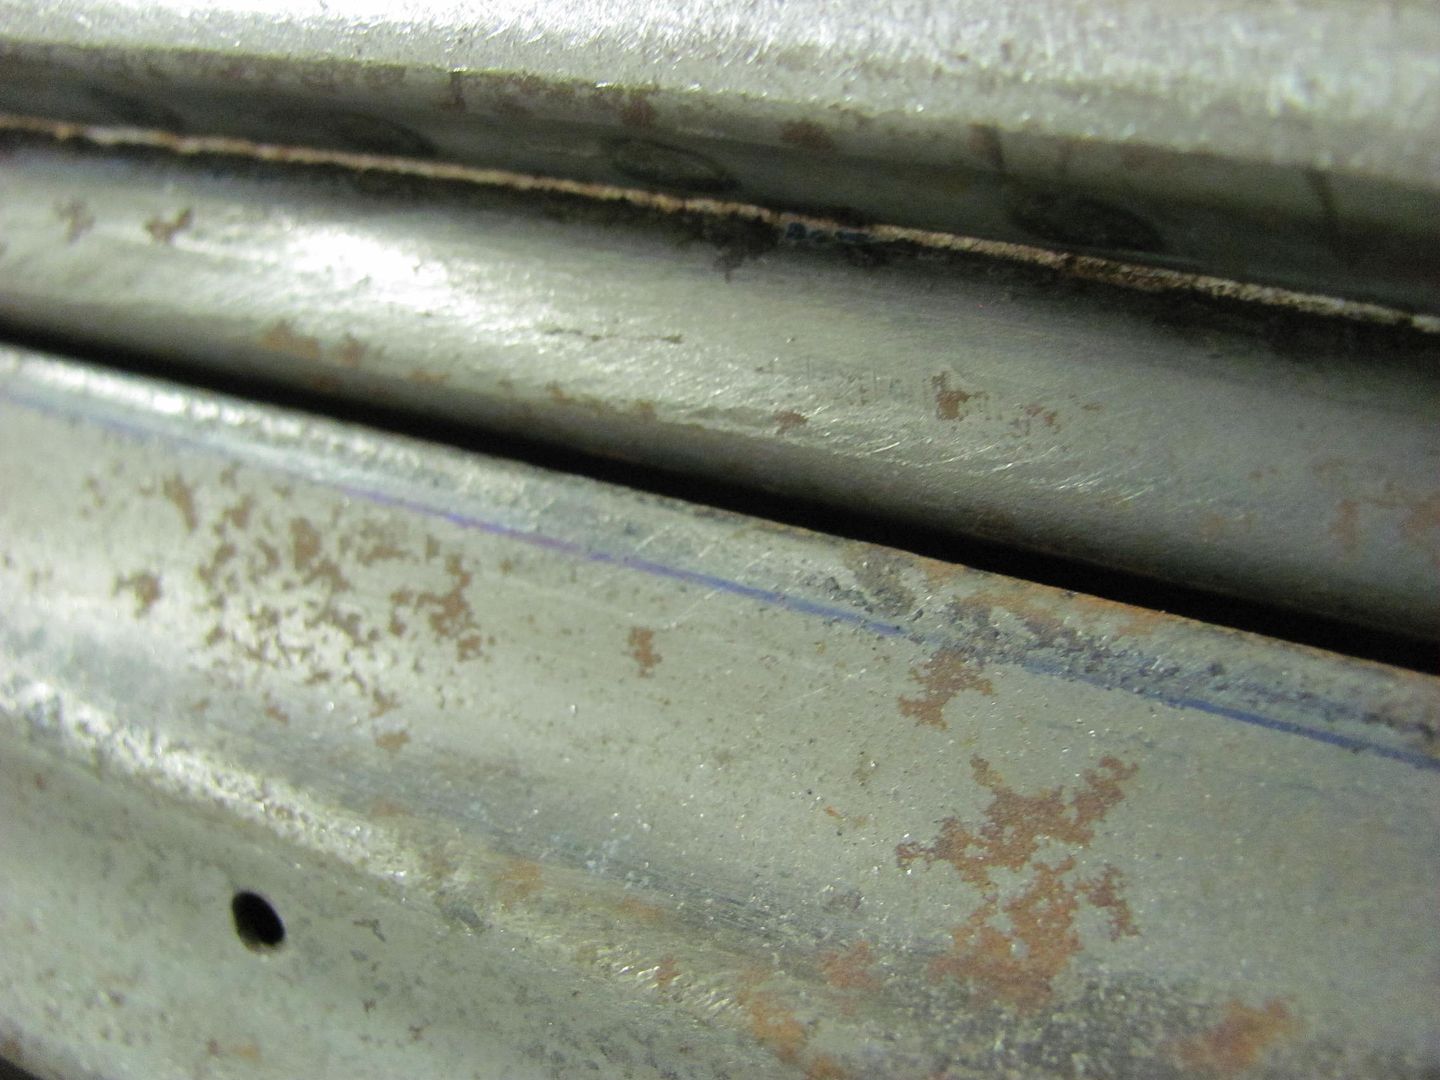 Trimming to fit.......... 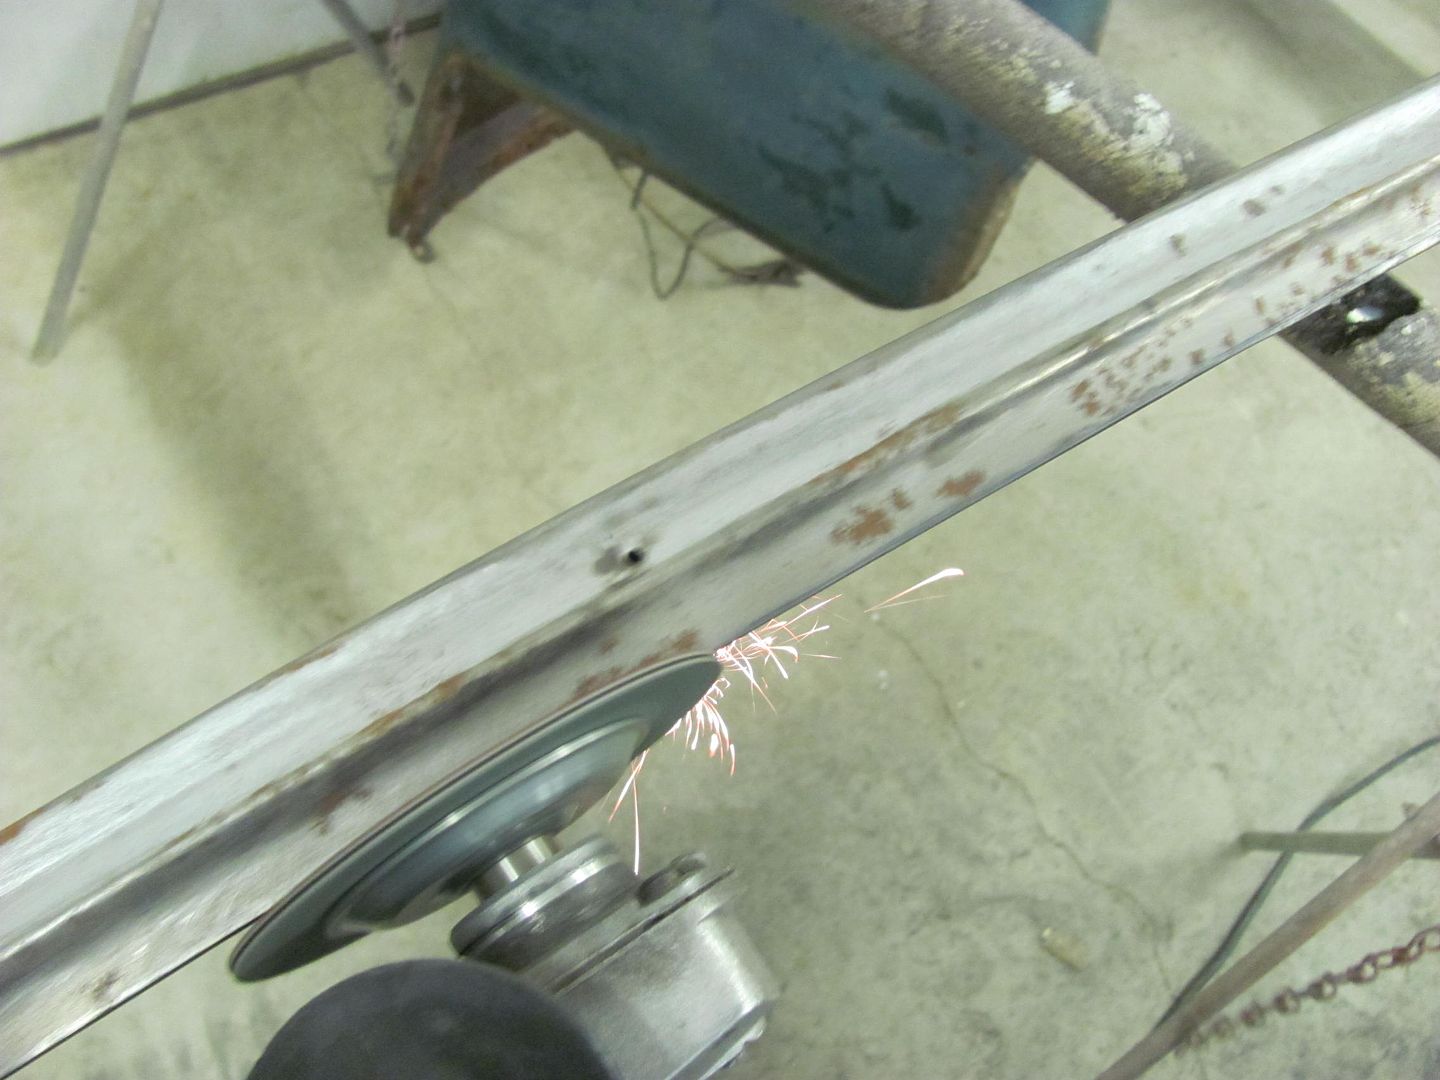 Welding the layers together.... 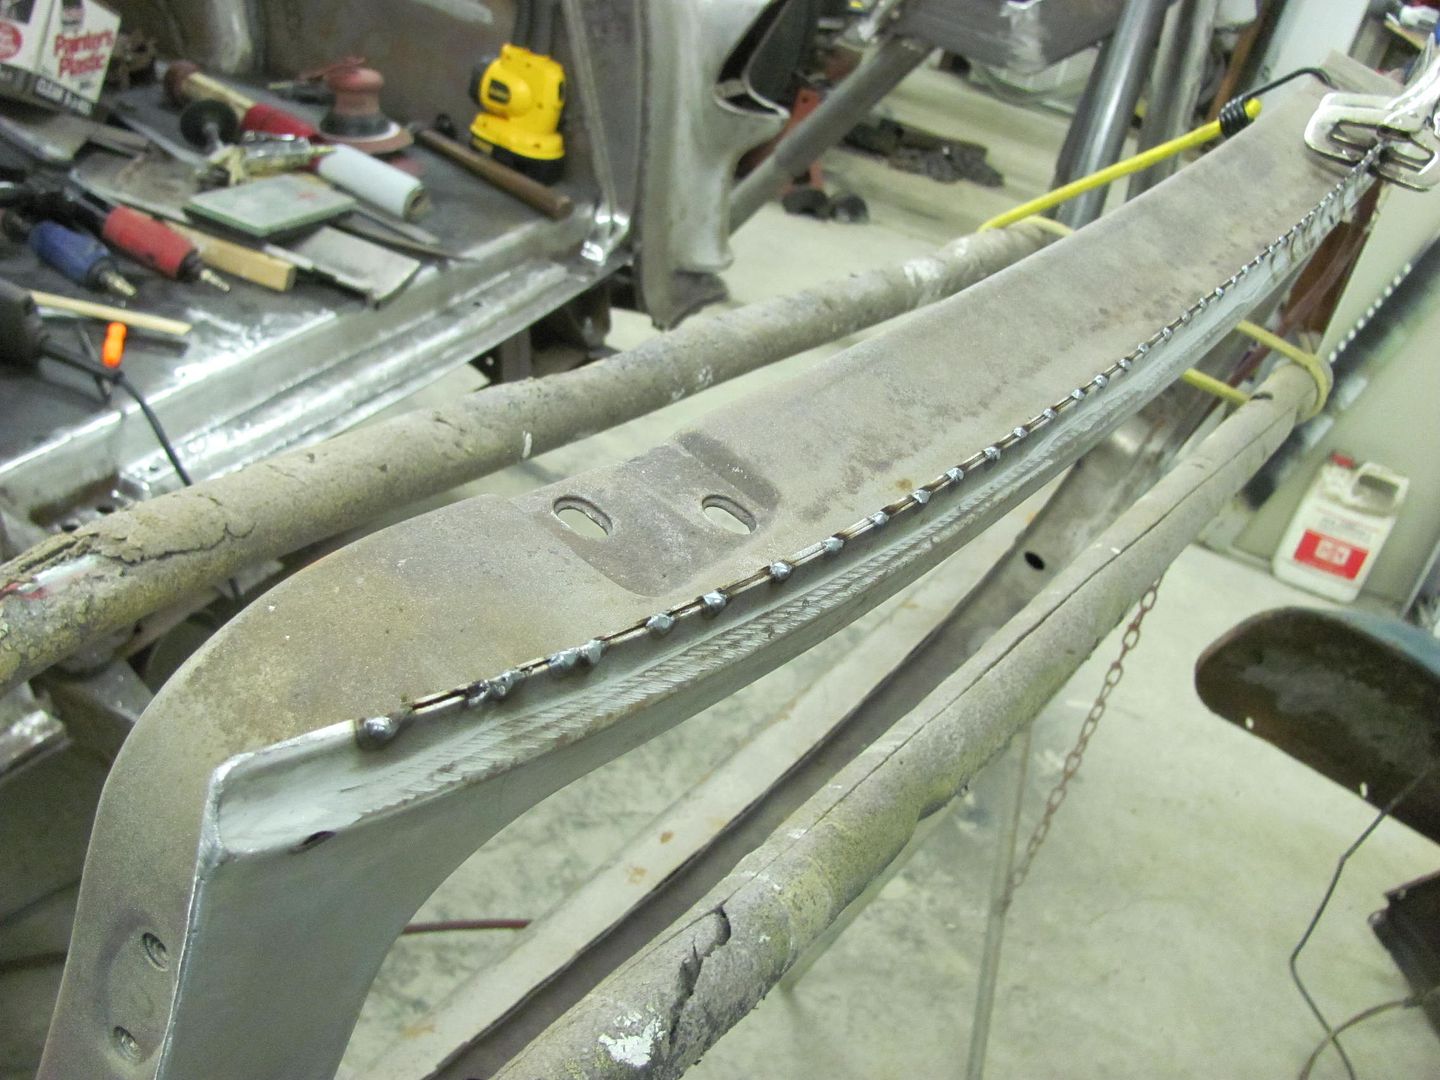 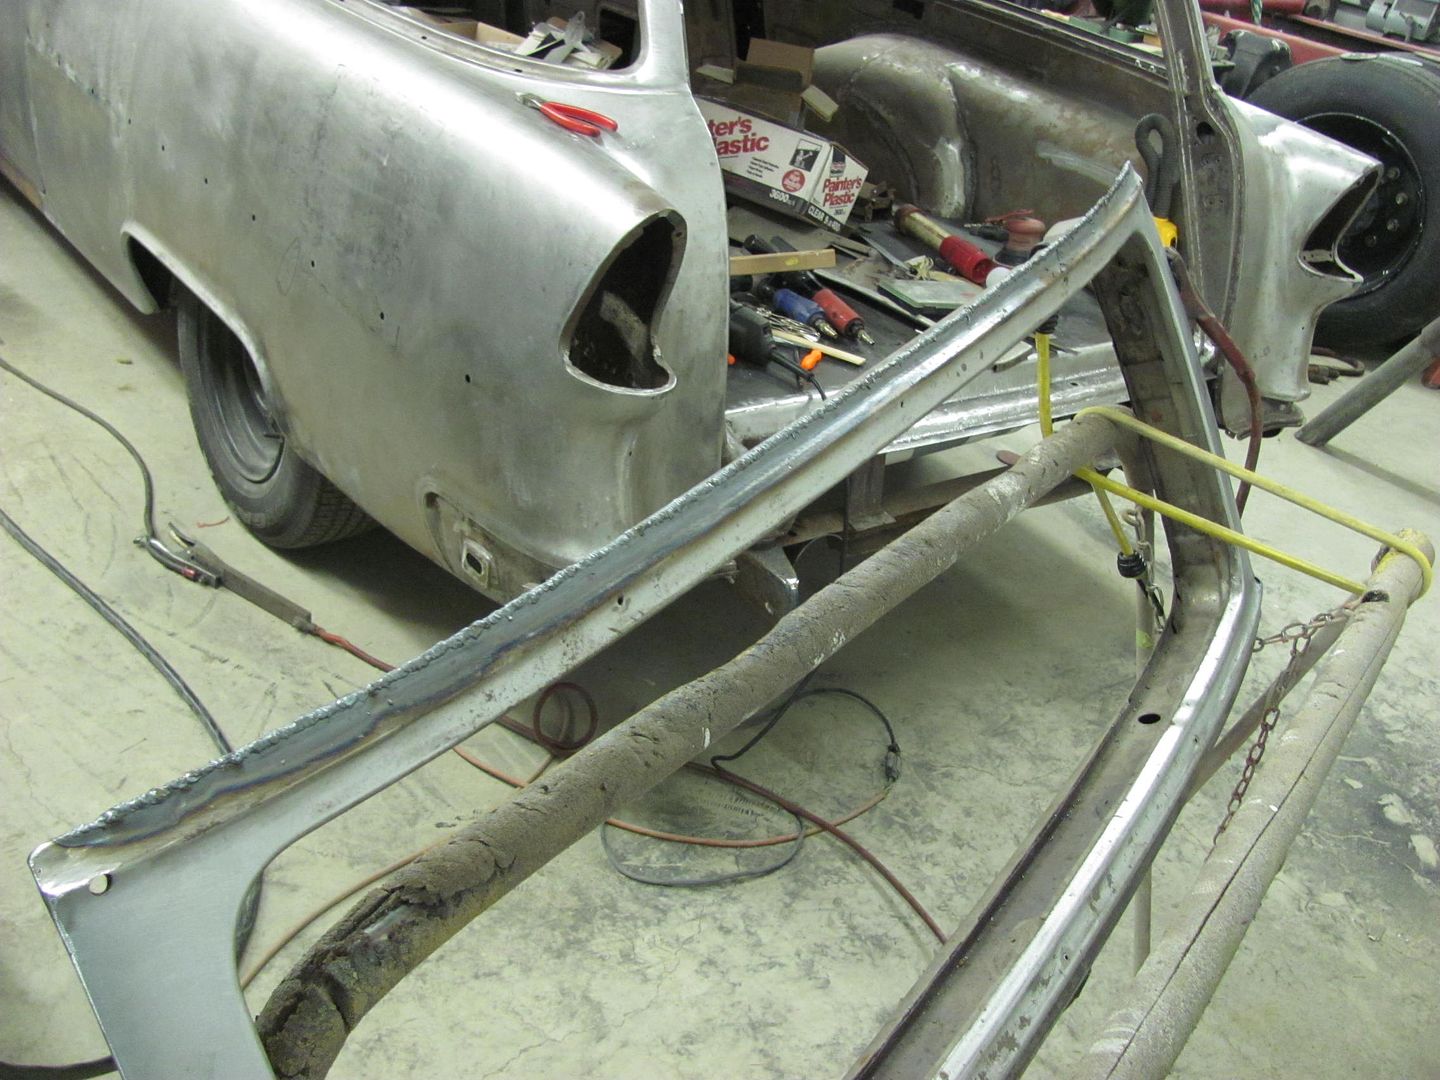 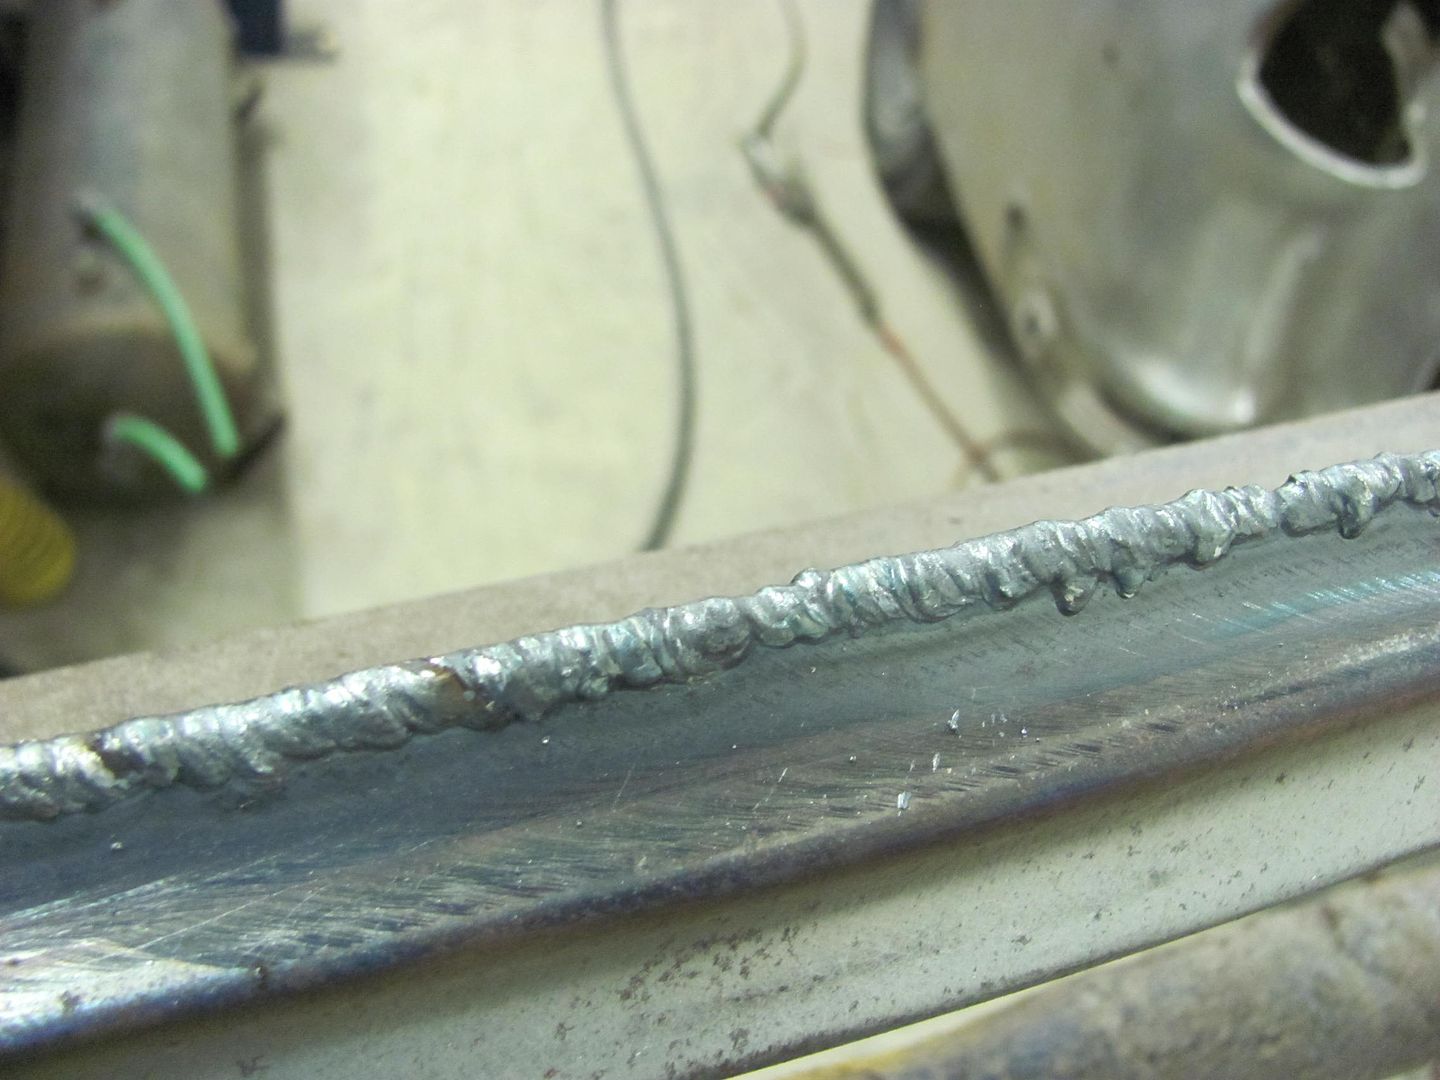 After dressing the welds..... I do have a couple pin holes to fix, but the gap is looking much better.  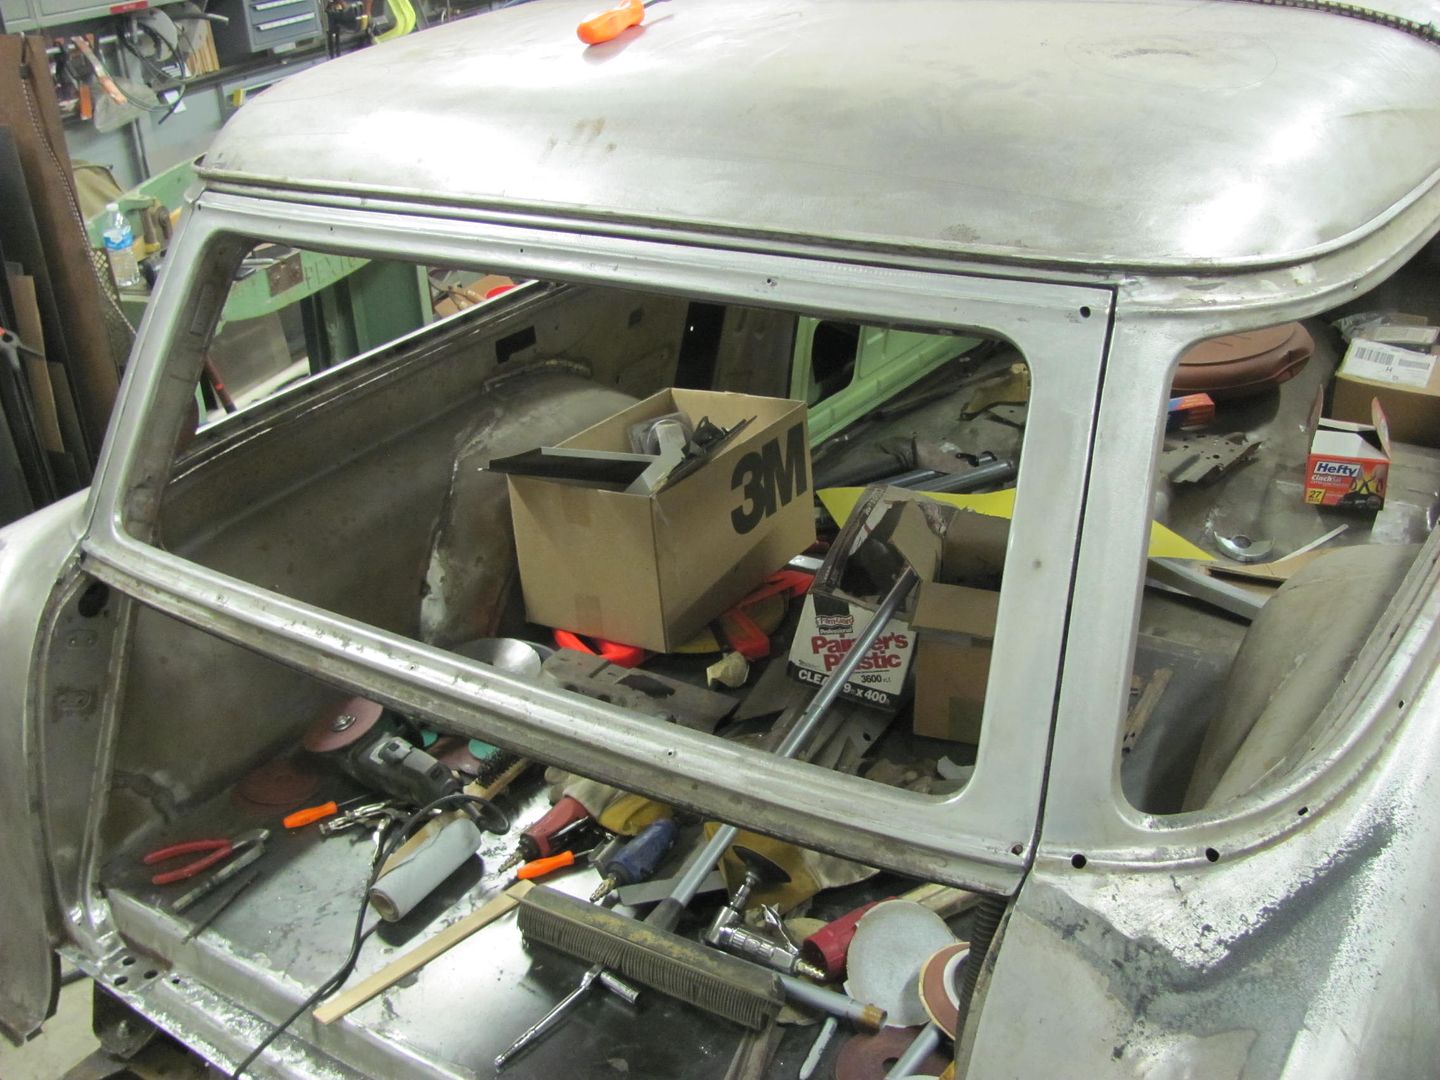 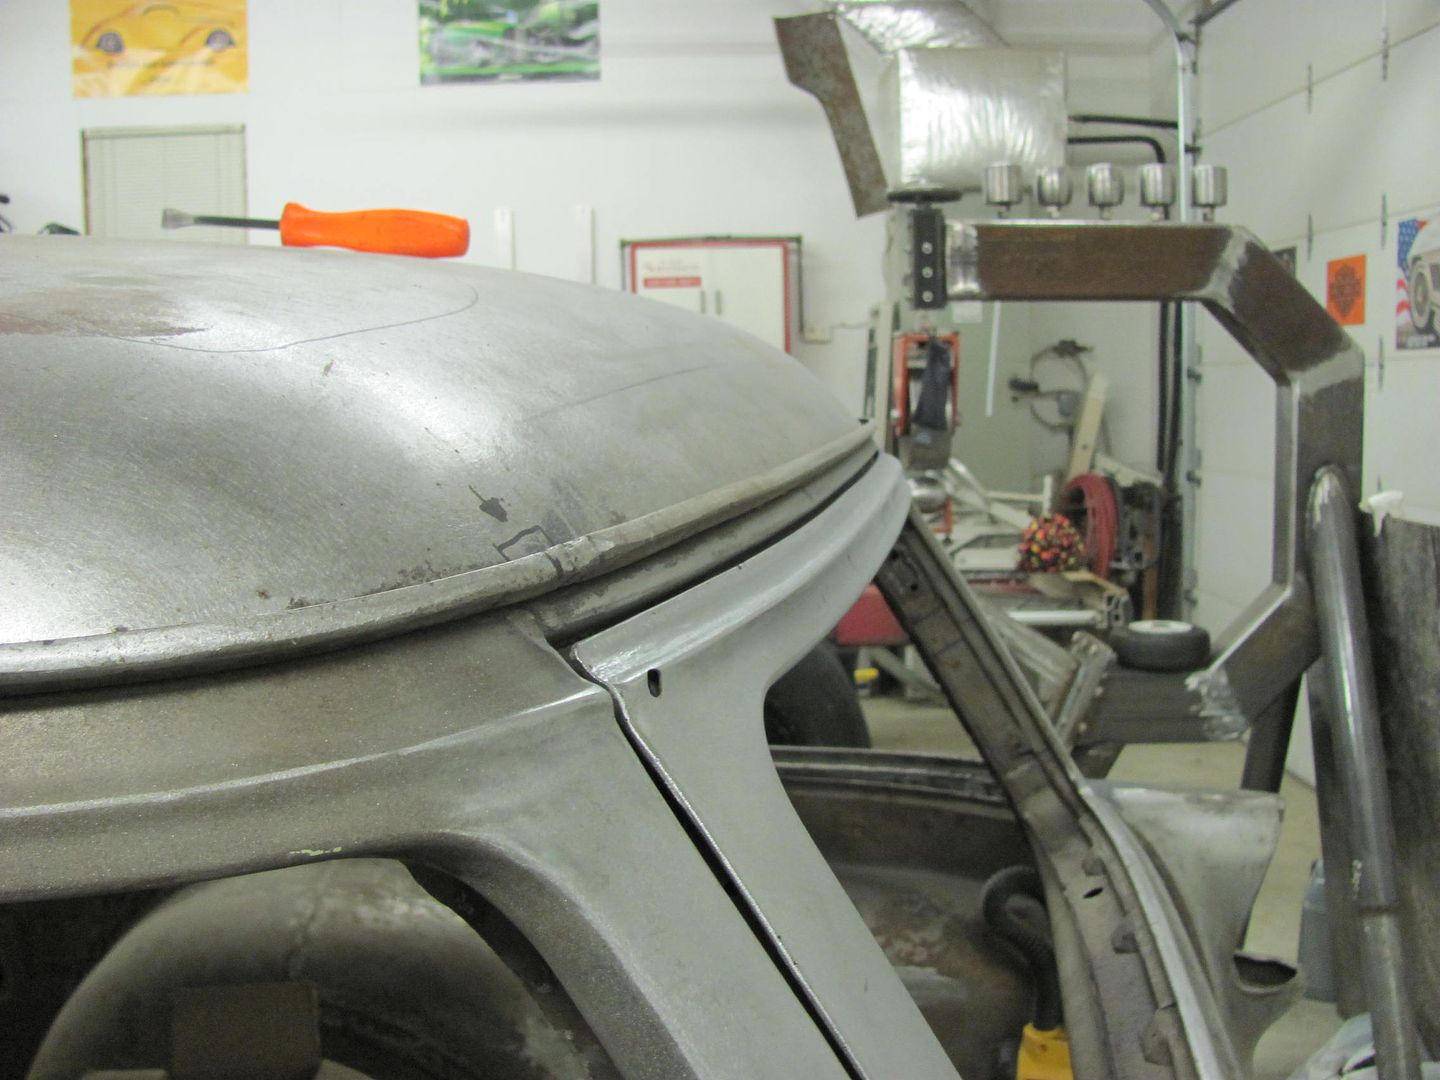
__________________
Robert |
|
|

|
|
|
#24 |
|
Registered User
Join Date: Jan 2013
Location: Leonardtown, MD
Posts: 1,647
|
Re: 55 Wagon Progress
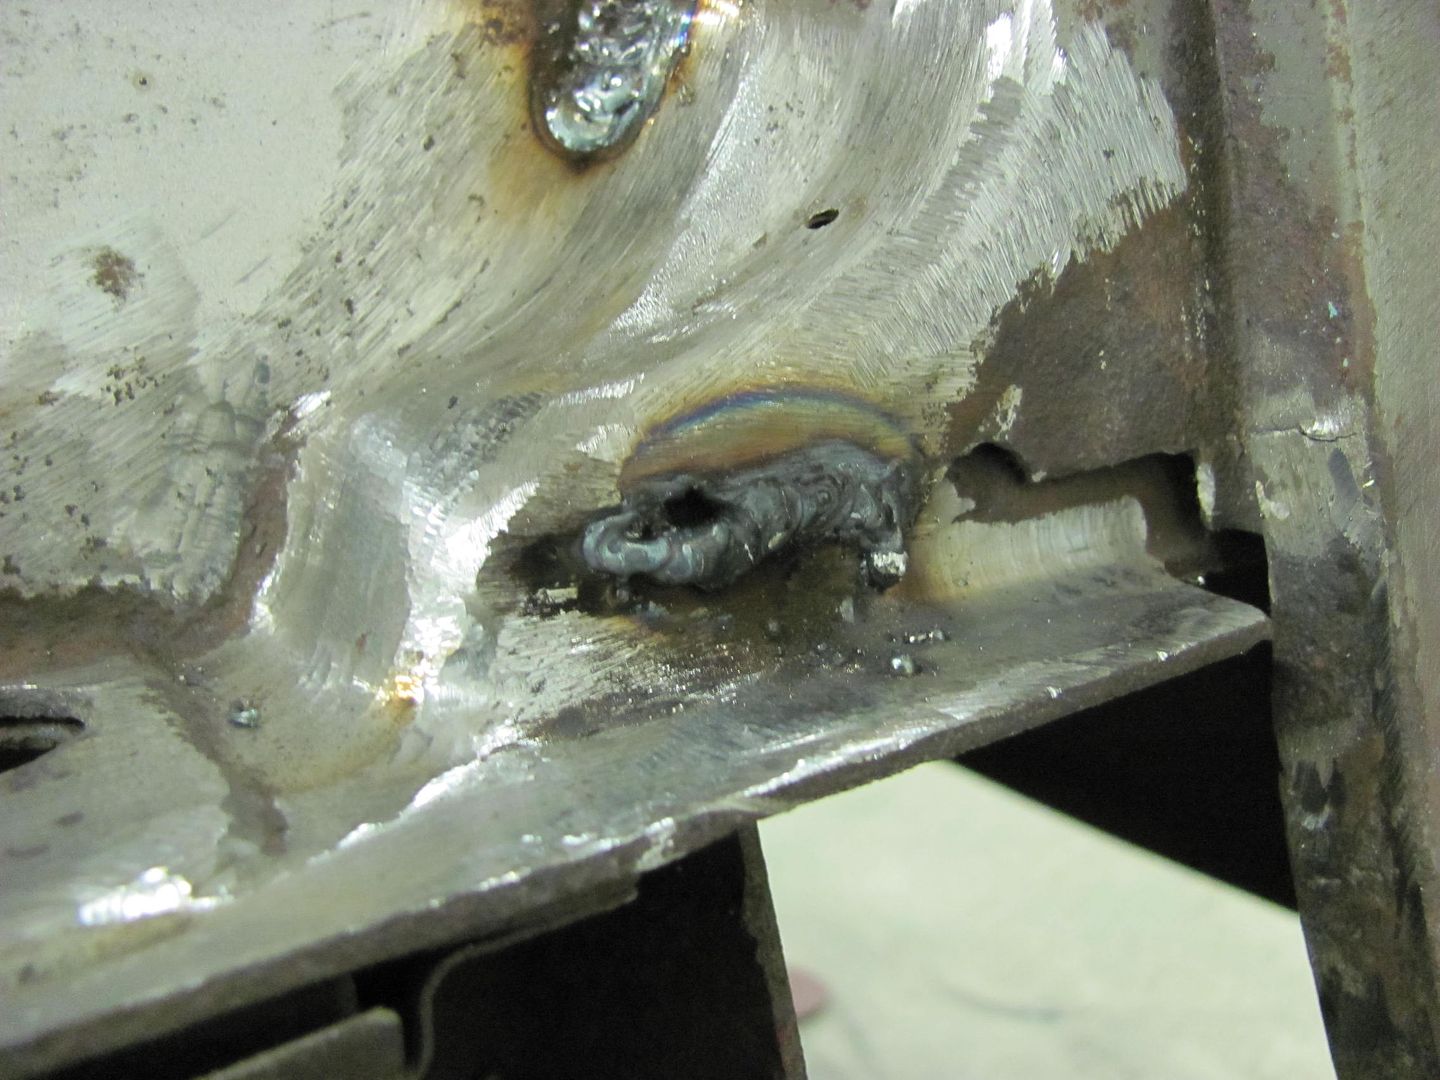
Spent tonight working on the tailgate jamb area, touching up some factory welds in preparation of installing the rear tail pan. Wasn't too long before Murphy's law reared its ugly head, and the lower part of the jamb showed some signs of rust lurking inside.
 Cut open an access hole and cleaned out the inside as best I could for welding in some new metal.. 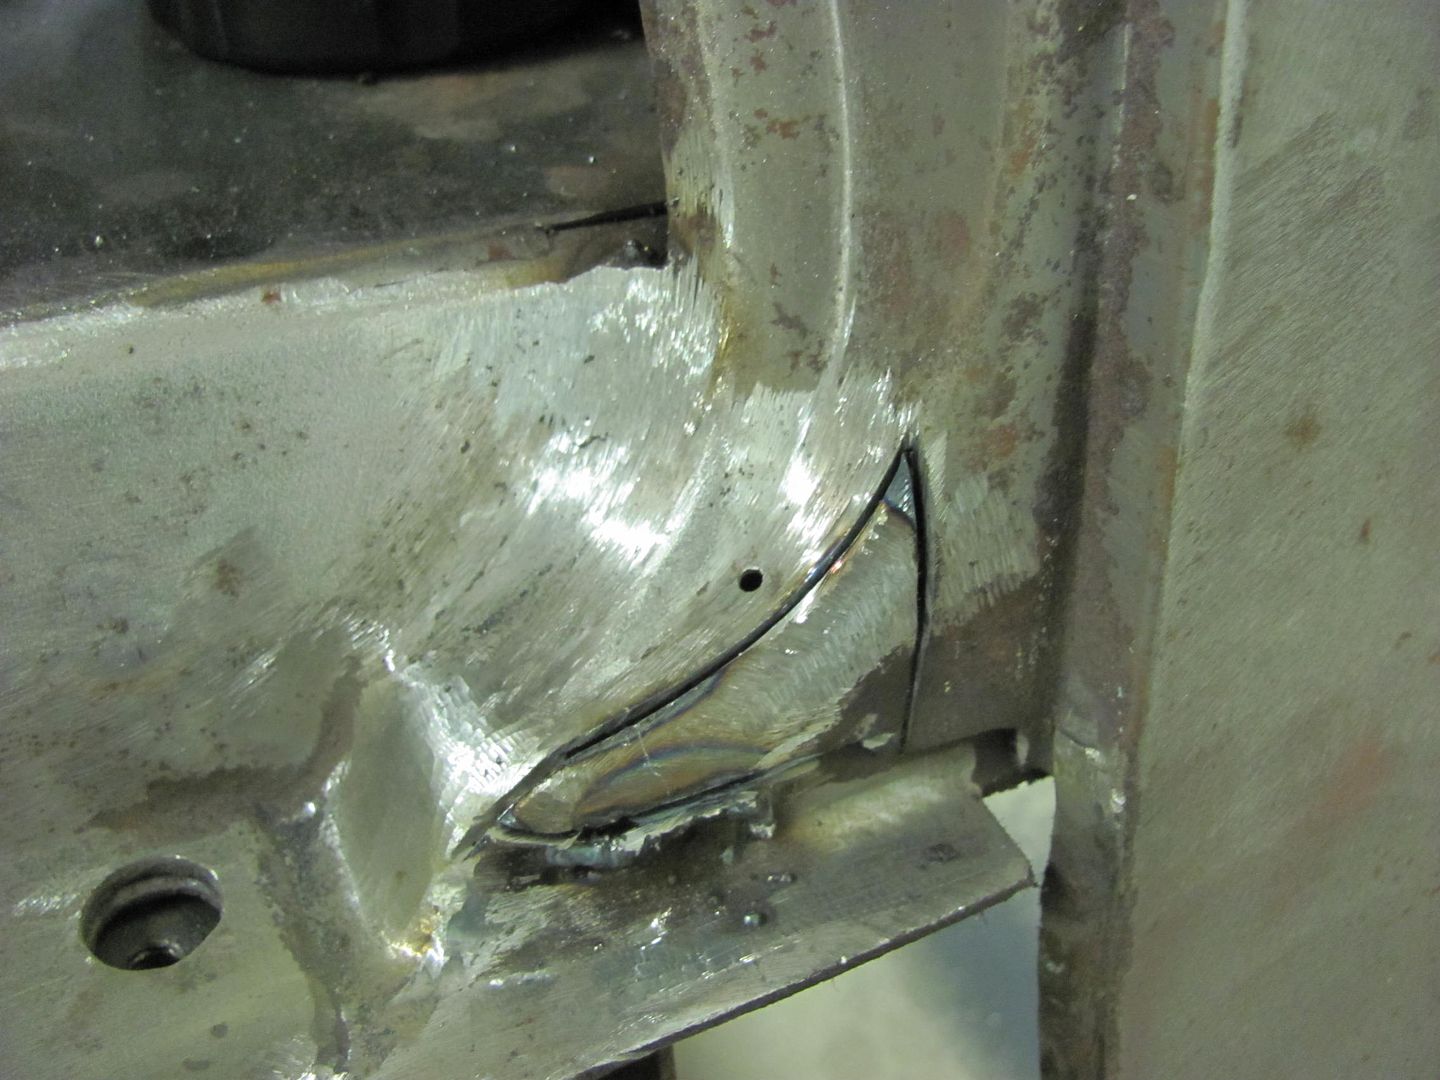  For making a replacement, I have an "anvil" I made recently out of some scraps from under the welding table...   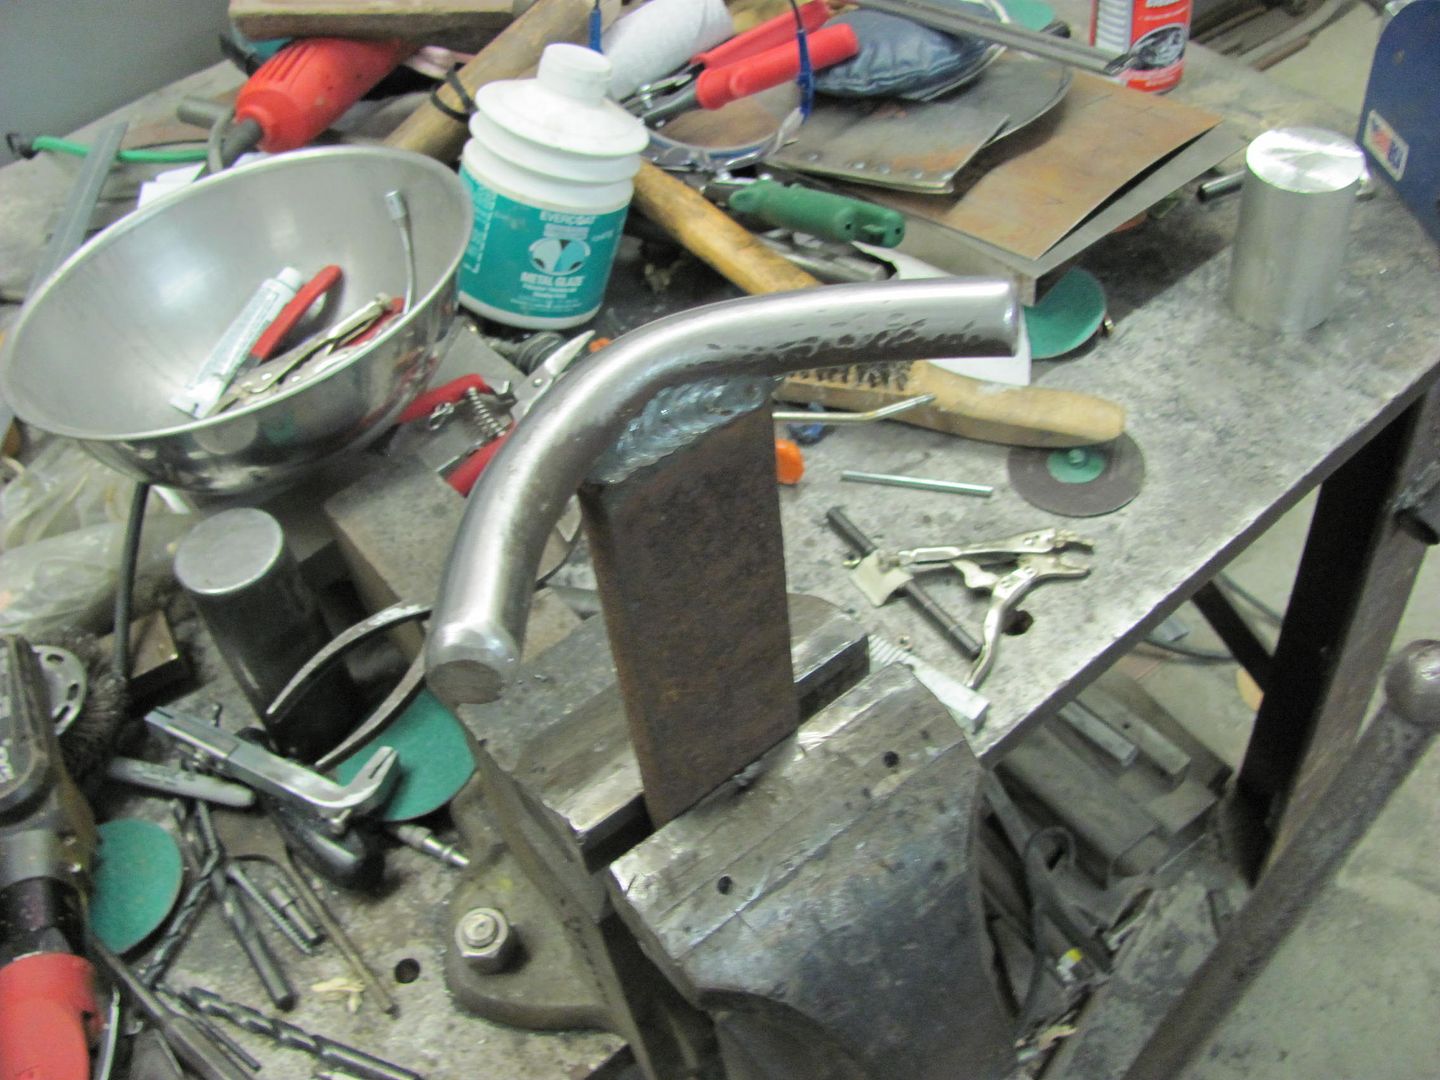 Here's the anvil end we'll use this evening as matched up to the original...  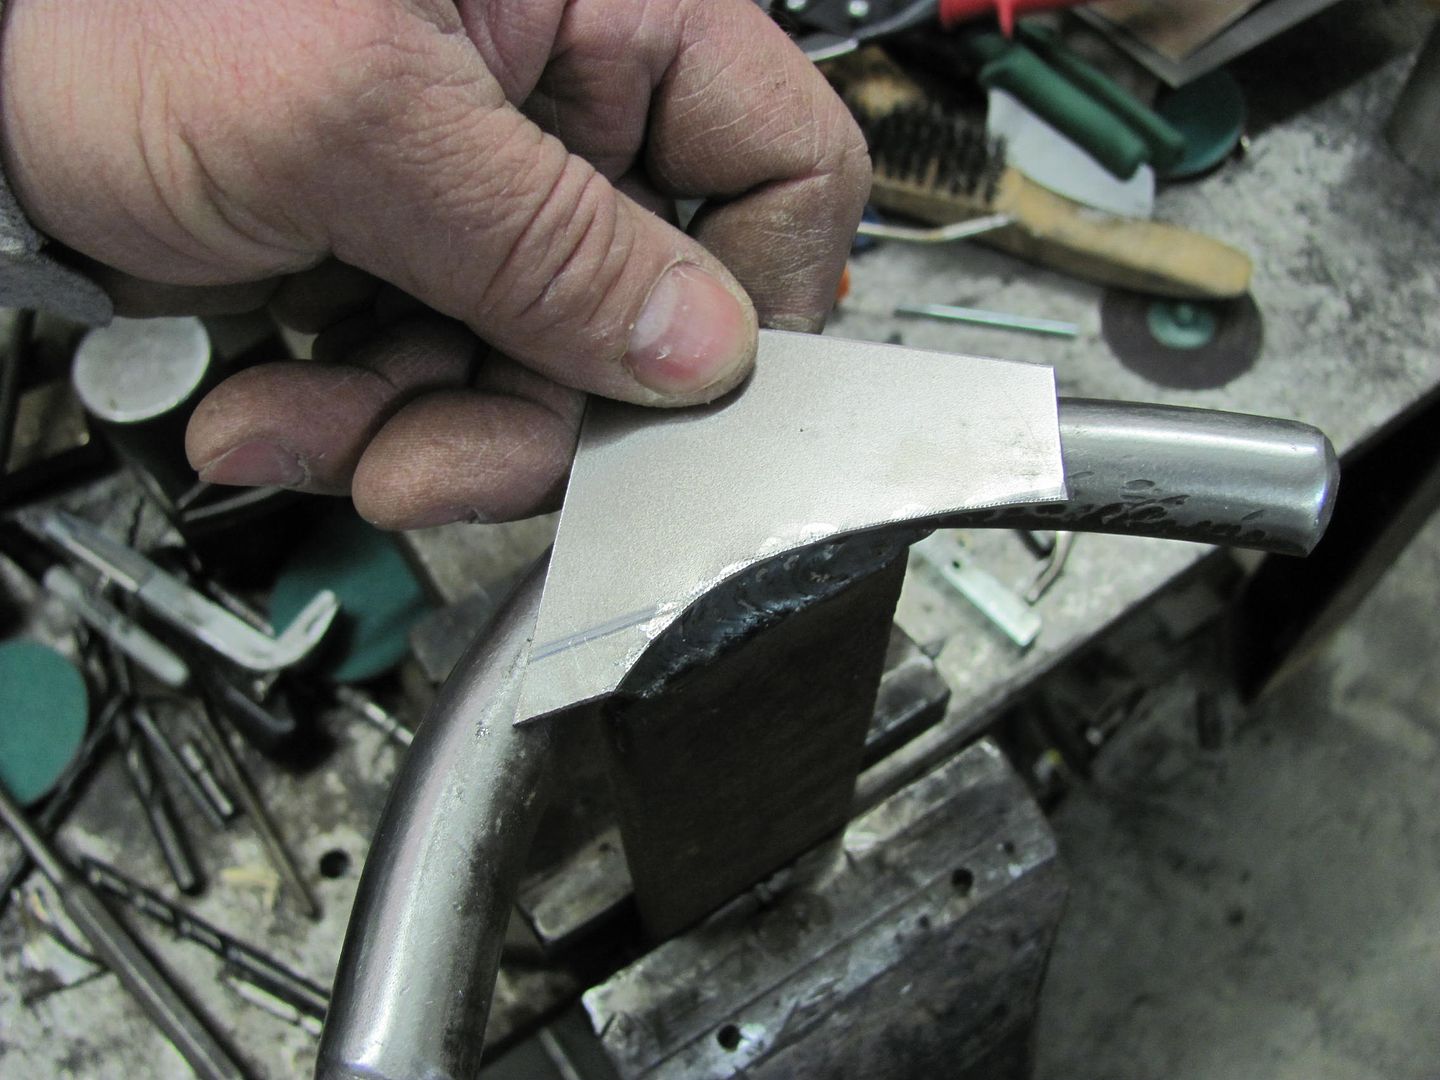 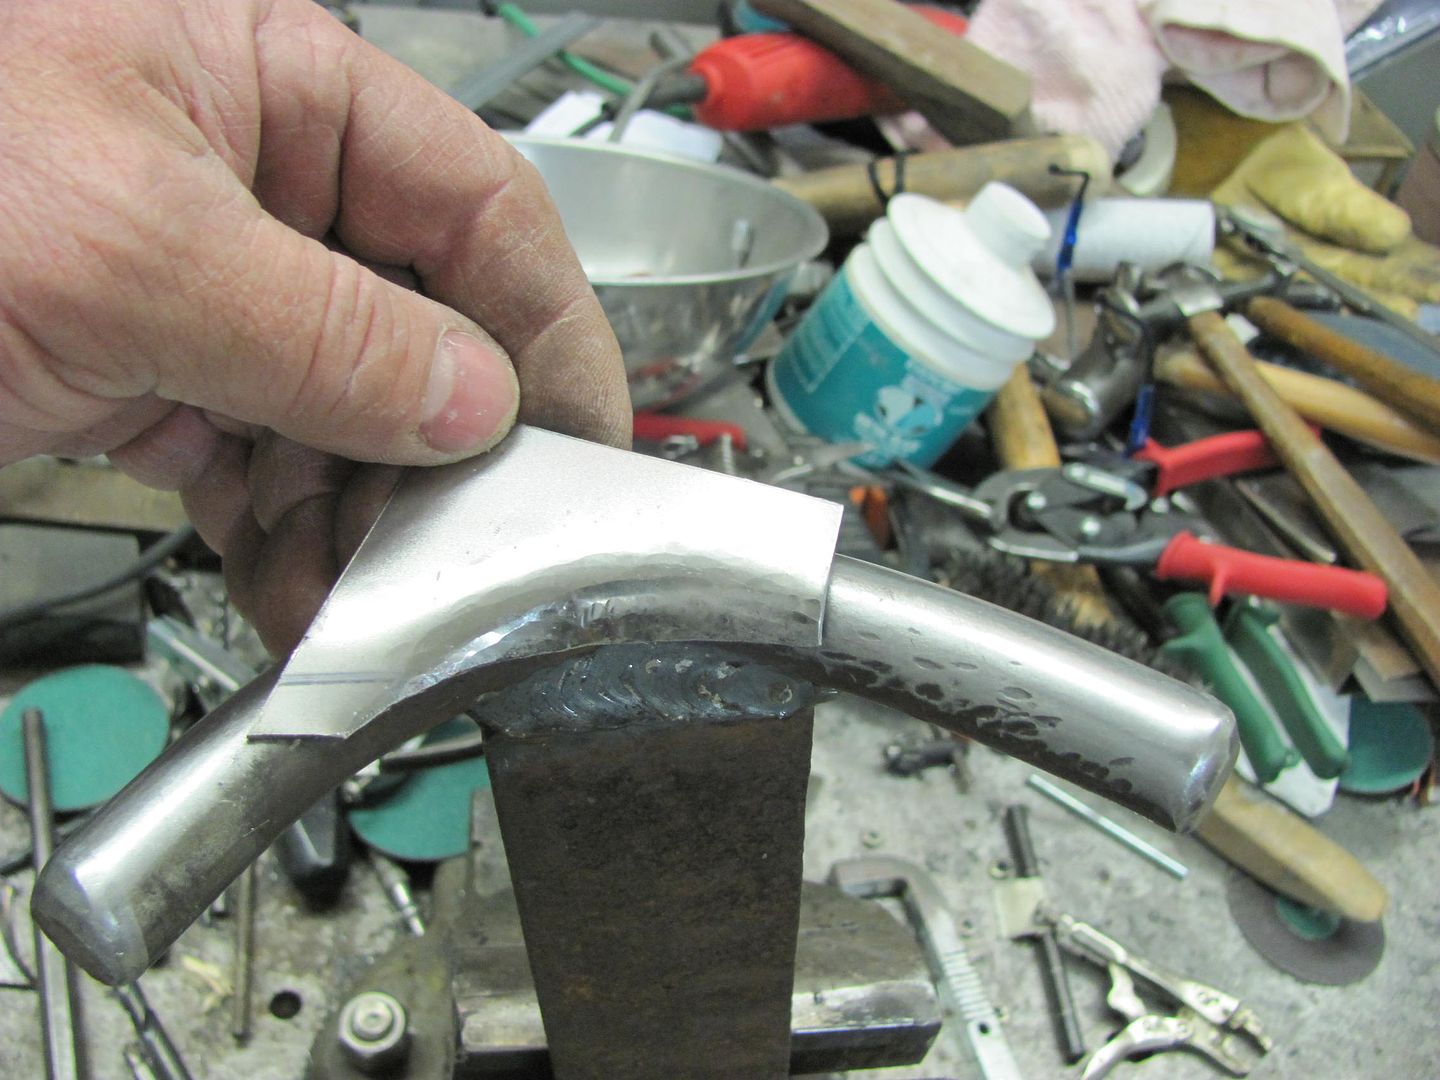 Fitting, trimming, and welding... 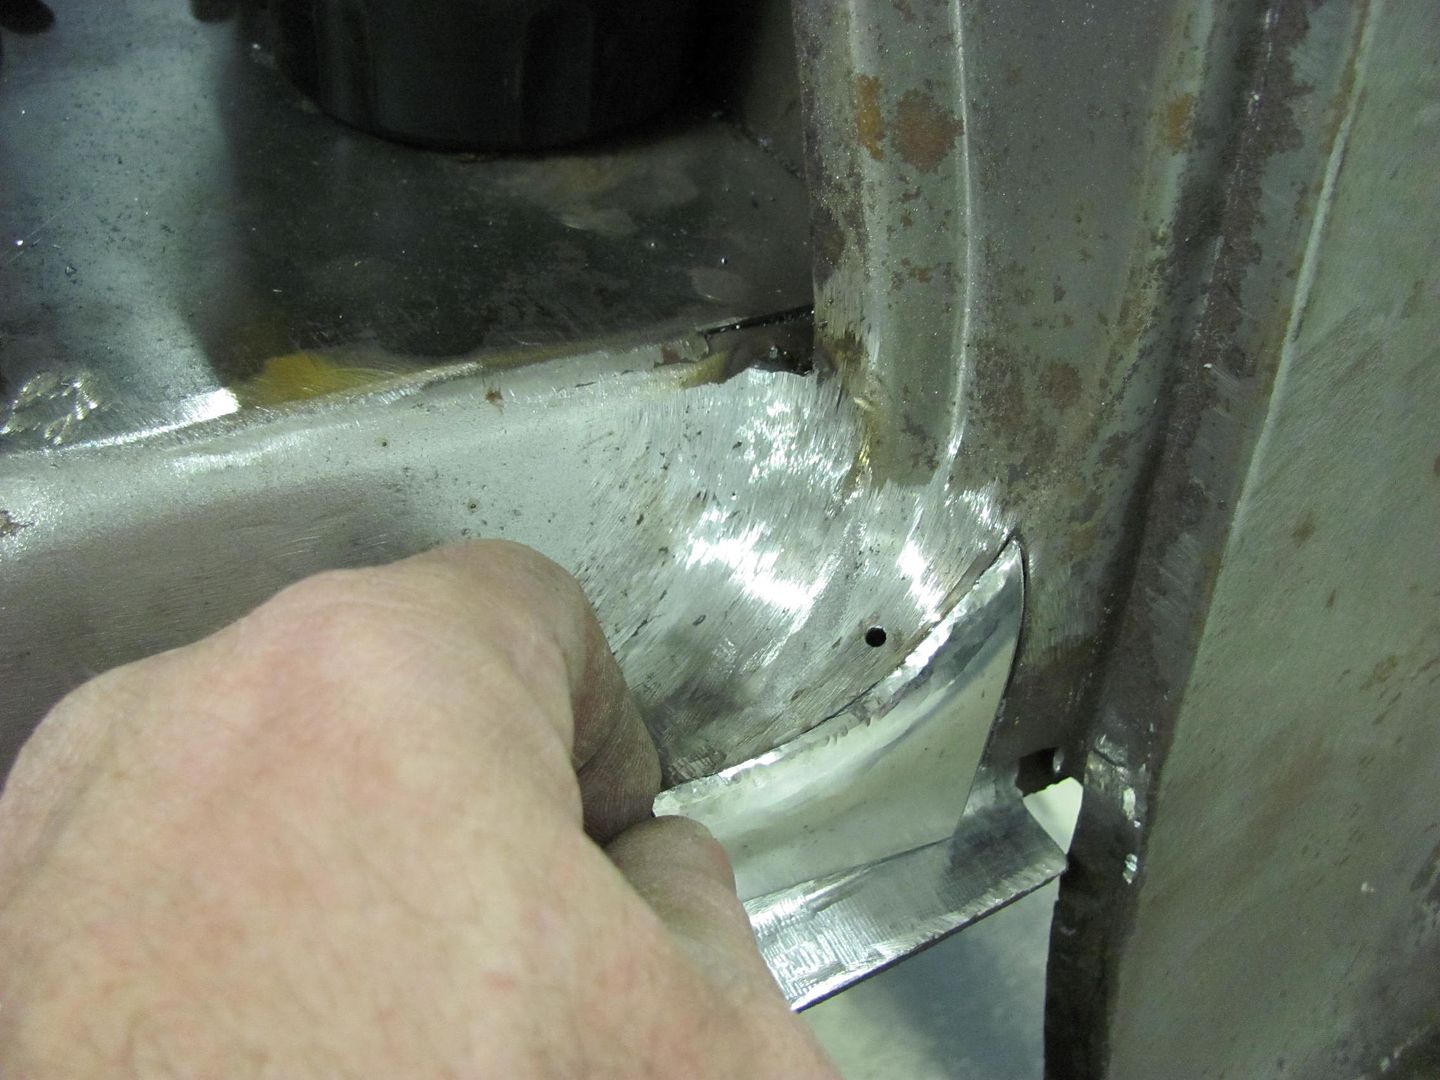 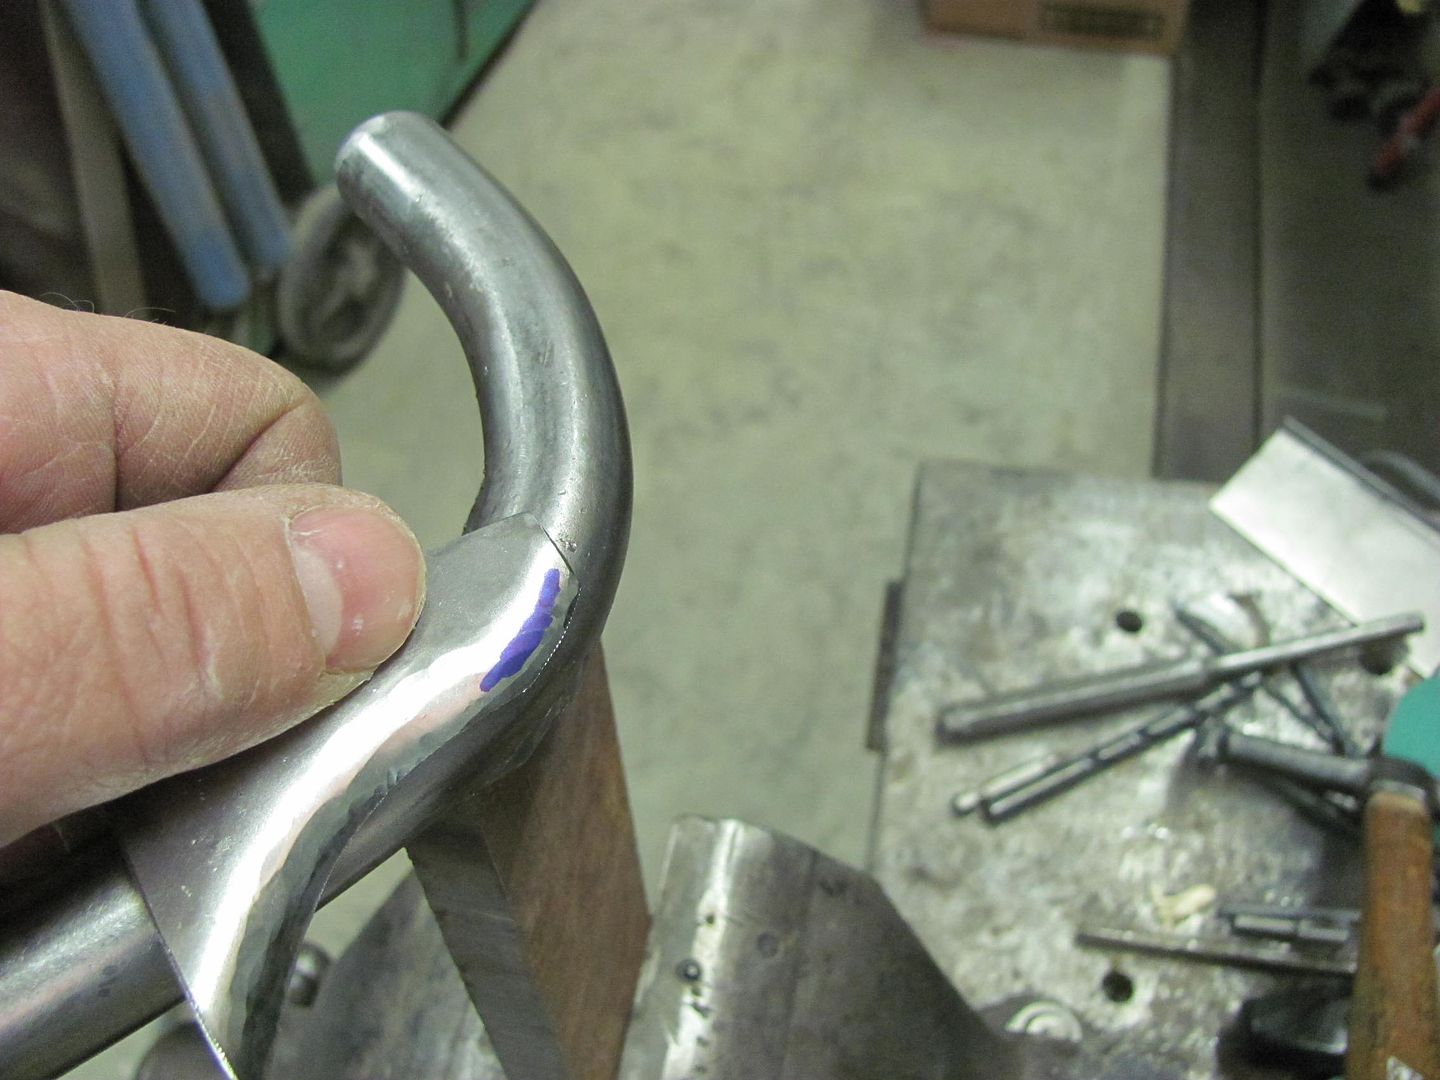 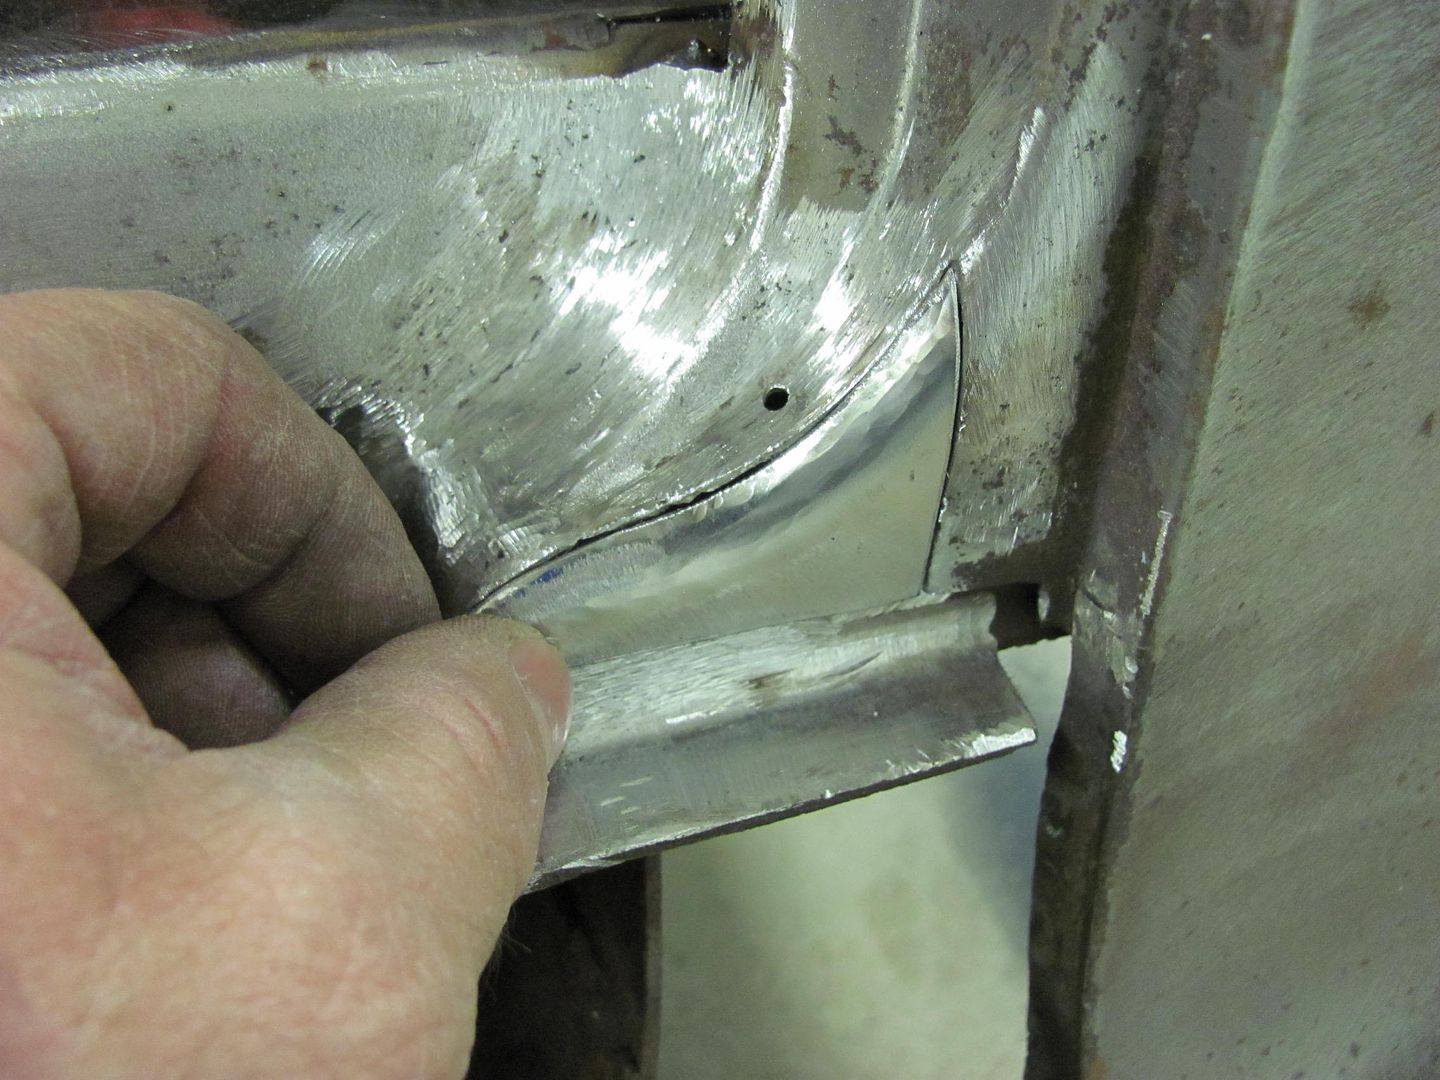 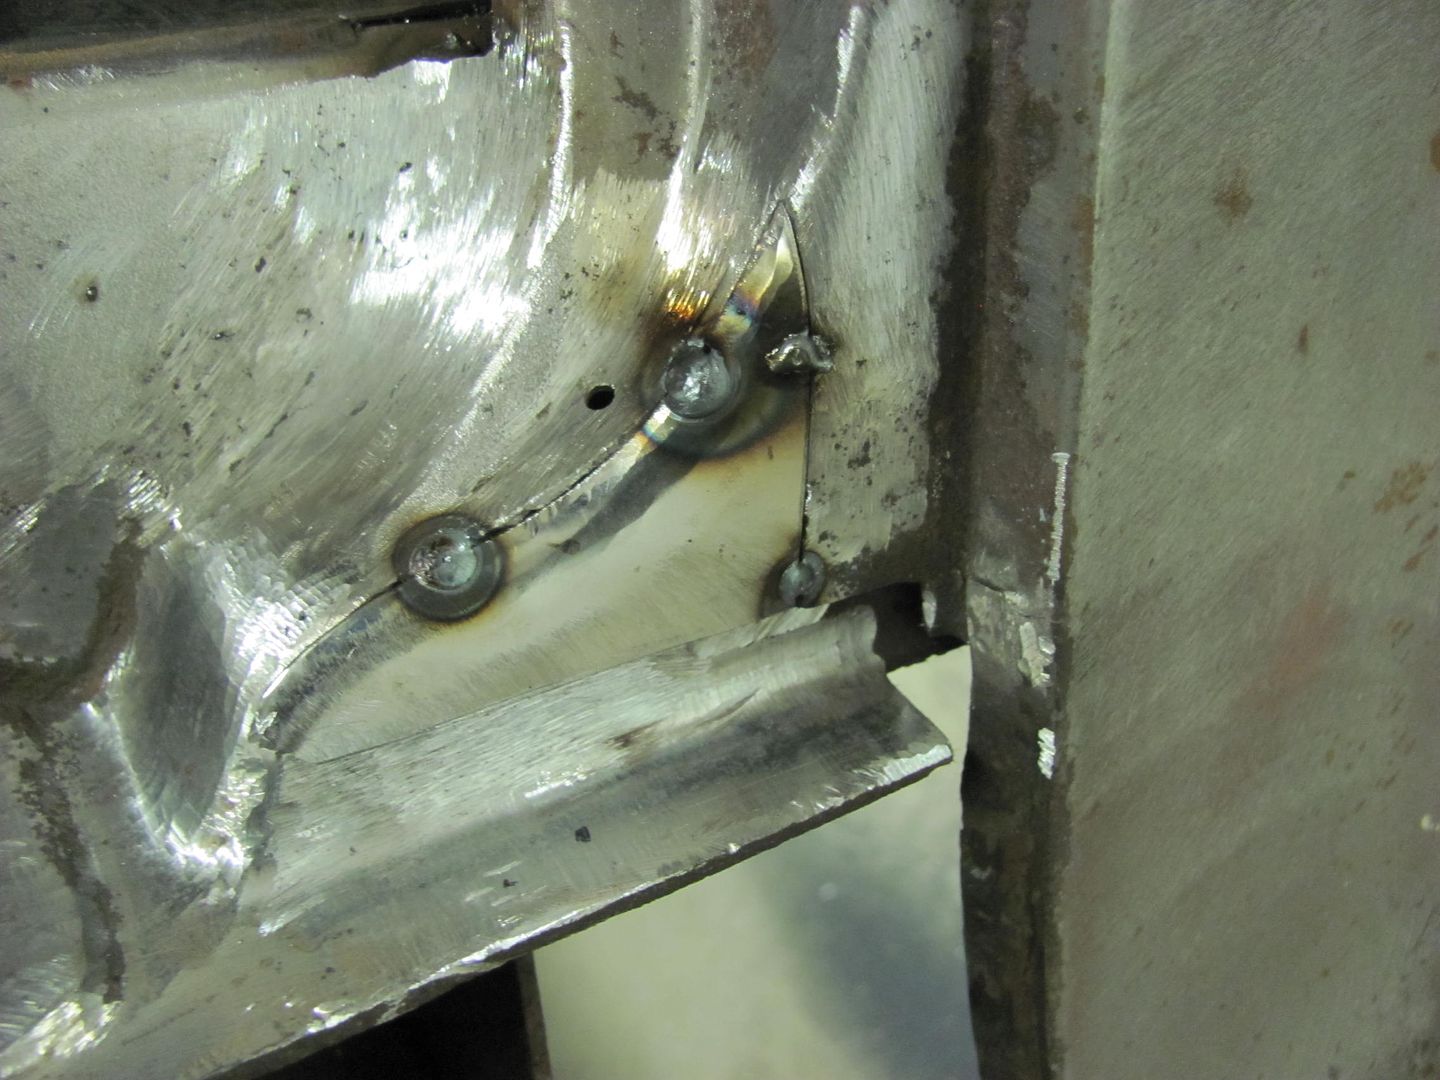  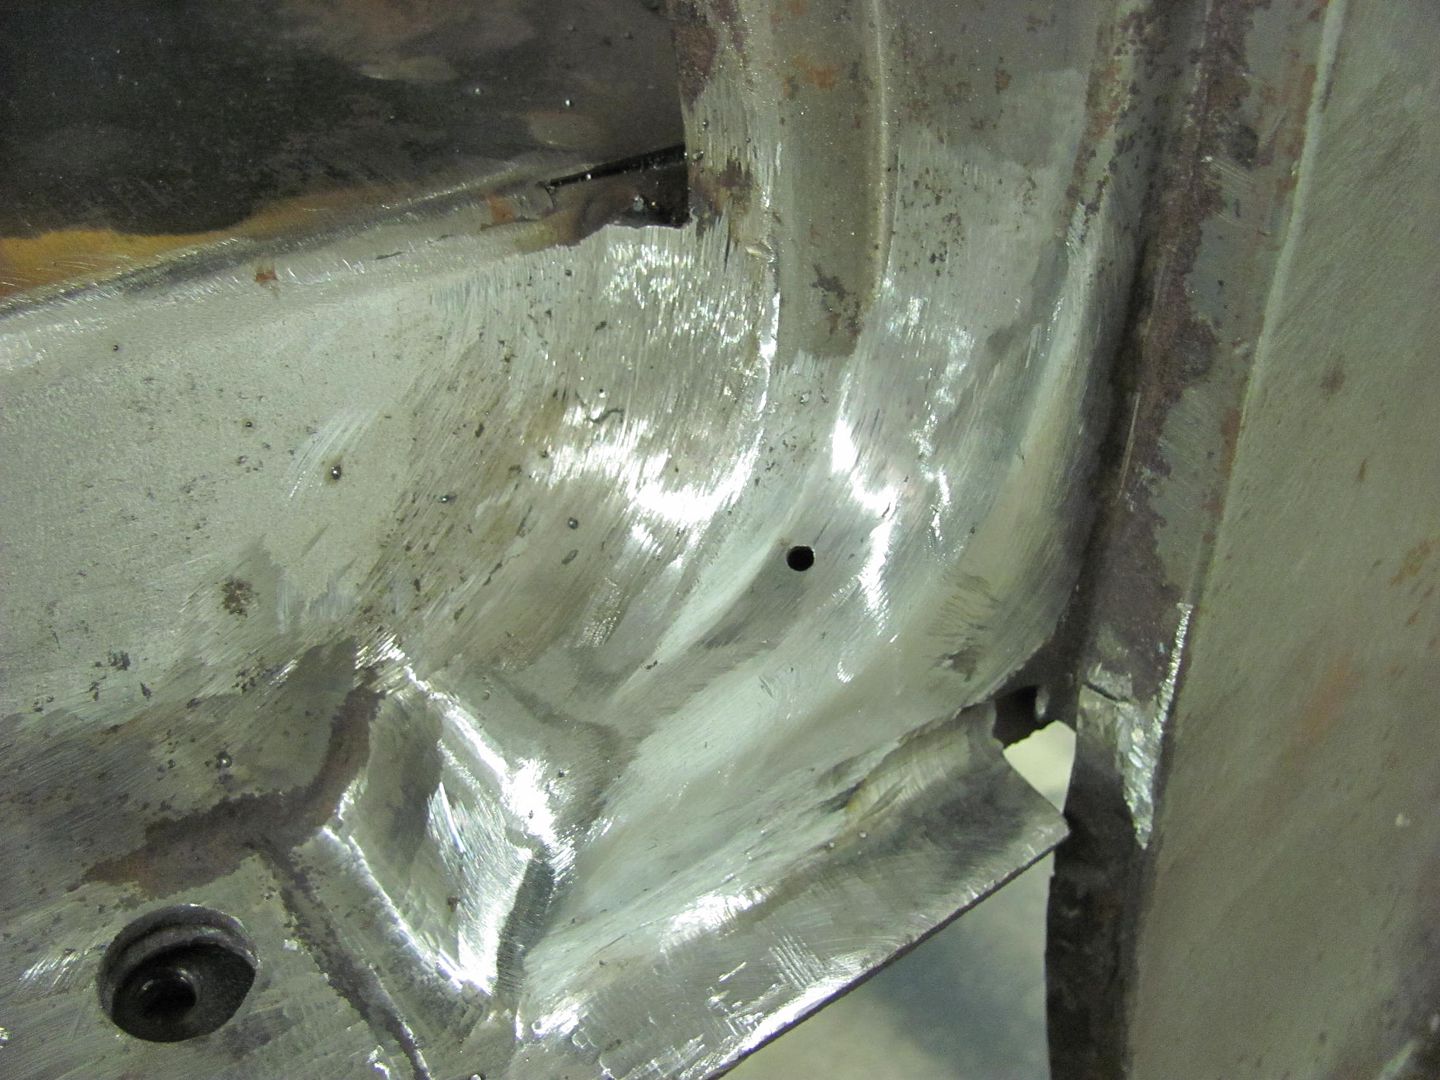 ....and, as can be expected, one more to go... Until next time. 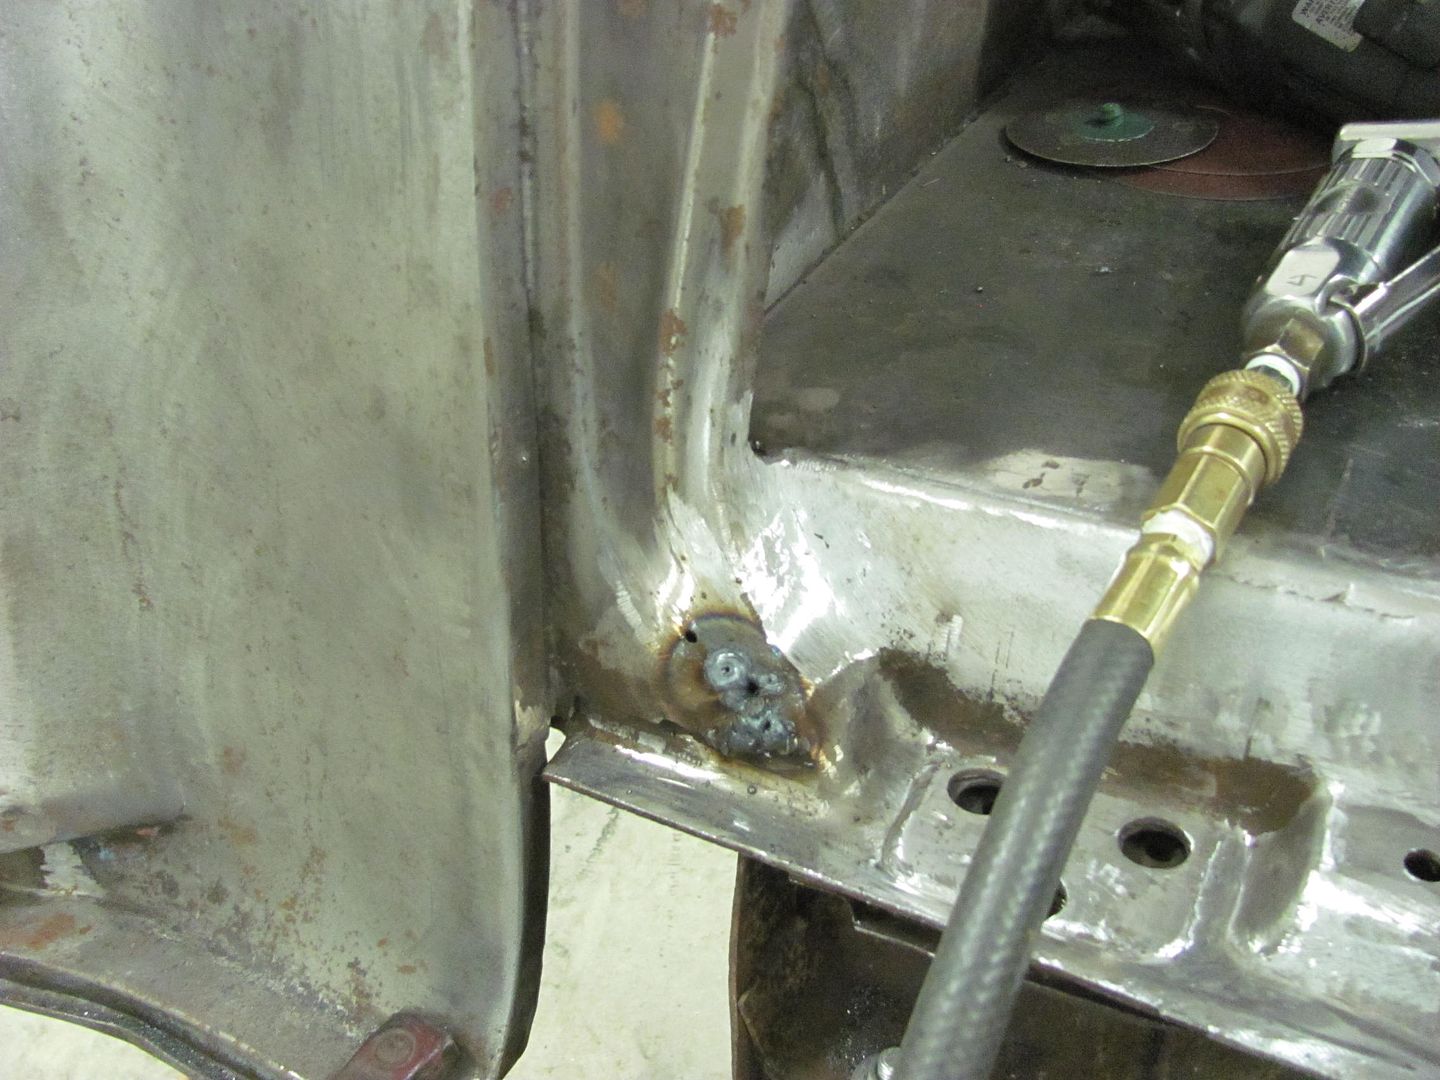
__________________
Robert |
|
|

|
|
|
#25 |
|
Registered User
Join Date: Apr 2012
Location: Beaver, Pa.
Posts: 197
|
Re: 55 Wagon Progress
Very nice work, love to watch a real pro do this type of repair.
|
|
|

|
 |
| Bookmarks |
|
|