
 |
|
|
#26 |
|
Senior Member
 Join Date: Apr 2012
Location: Otway OH
Posts: 788
|
Re: Our 1965 C10 Project
Quote:
|
|
|

|
|
|
#27 | |
|
Registered User
Join Date: Apr 2013
Location: Louisiana
Posts: 553
|
Re: Our 1965 C10 Project
Quote:
On a side note, I was able to pick up a new hood yesterday. The hood is pretty nice with no real problems. My old one was dented right on the crease where the front top and bottom come together as seen in the pic above. Here is the hood while it was still on the 66 long fleet. Sorry for the bad angle. I took it while I was waiting on the owner to arrive. 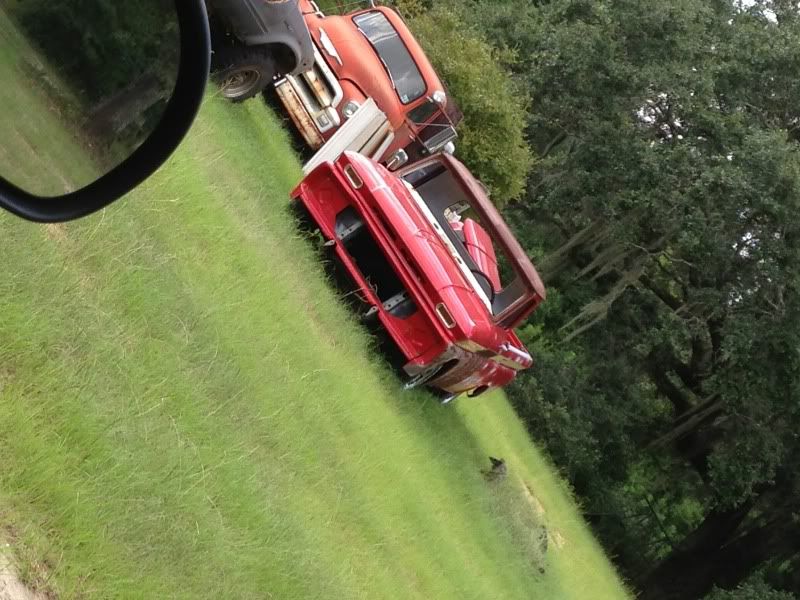
|
|
|
|

|
|
|
#28 | |
|
Registered User
Join Date: Apr 2013
Location: Louisiana
Posts: 553
|
Re: Our 1965 C10 Project
Quote:
In the LMC book I don't see any short reinforcing strips...just the one. Know where to get the short ones? Does anyone have a picture of their bed without wood but complete sills? Would love to see it if so. |
|
|
|

|
|
|
#29 |
|
Moderator
 Join Date: Dec 2012
Location: ON, Canada
Posts: 2,181
|
Re: Our 1965 C10 Project
|
|
|

|
|
|
#30 |
|
Registered User
Join Date: Apr 2013
Location: Louisiana
Posts: 553
|
Re: Our 1965 C10 Project
Thanks.
Posted via Mobile Device |
|
|

|
|
|
#31 |
|
Registered User
Join Date: Apr 2013
Location: Louisiana
Posts: 553
|
Re: Our 1965 C10 Project
I have looked through several threads and could not find it so I have a question about the bed and bed wood if someone can help me out......
When putting the bed and bed wood back on the truck; Do you bolt the bed to the frame and then put the wood in or do you put the wood in and then bolt all of that to the cross sills and the frame at that time? |
|
|

|
|
|
#32 |
|
Registered User
Join Date: Apr 2013
Location: Louisiana
Posts: 553
|
Re: Our 1965 C10 Project
Well I have not had much going on here the last couple of months due to my son having football practice nearly every day and then games on the weekend. Also, my daughter has cheer practice and games also. Did I mention that I also have a 7 month old? lol. After football season I may have some more time.
I did sit the "new to me" fleetside bed onto the frame to get it out of the shop for a while. Here is a picture I snapped of it this past weekend. 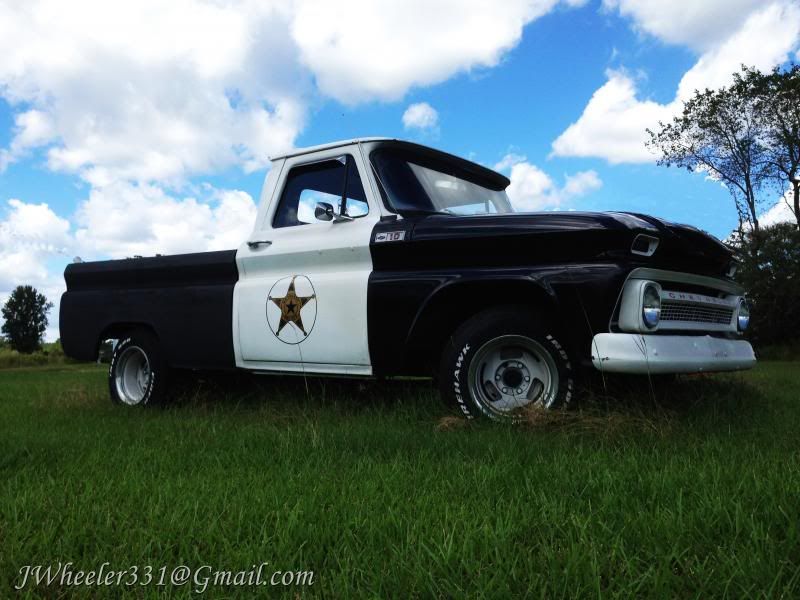
|
|
|

|
|
|
#33 |
|
Registered User
Join Date: Apr 2012
Location: Searcy, AR
Posts: 4,203
|
Re: Our 1965 C10 Project
New Bed...

__________________
DON Proverbs 27:17  US Air Force Retarded errr Retired My '65 Stepper Build:http://67-72chevytrucks.com/vboard/s...d.php?t=533920 My '60 Rusty Patina Build:http://67-72chevytrucks.com/vboard/s...66#post7402266 My '72 http://67-72chevytrucks.com/vboard/s...59#post7204359 SOLD |
|
|

|
|
|
#34 |
|
Registered User
Join Date: Apr 2013
Location: Louisiana
Posts: 553
|
Re: Our 1965 C10 Project
Yeah. While the stepside did grow on me..... I realized that I still liked the fleet sides a little more. |
|
|

|
|
|
#35 |
|
But Found Her 25yrs Later!
Join Date: Oct 2010
Location: Oregon City, Oregon
Posts: 10,530
|
Re: Our 1965 C10 Project
You could make a cool trailor out of the stepside bed.
__________________
I lost my 65 - Found it 25 years later: http://67-72chevytrucks.com/vboard/s...d.php?t=426650 66 C20 Service Truck: http://67-72chevytrucks.com/vboard/s...d.php?t=428035 |
|
|

|
|
|
#36 |
|
Registered User
Join Date: Apr 2013
Location: Louisiana
Posts: 553
|
Re: Our 1965 C10 Project
Gave it to my father in law for his 64 since his was rusted.
|
|
|

|
|
|
#37 |
|
Registered User
Join Date: Aug 2011
Location: Montrose, CO
Posts: 972
|
Re: Our 1965 C10 Project
Don't know if you have got the bed wood done yet or not, but I just did mine not too long ago. Bottom line, if you have help with lifting it onto the frame, I would definitely put the wood and bed strips in while it is OFF the truck. Don't fully tighten everything until you get it on the frame, so you can square everything up first, then tighten.
I almost always work alone, and had to take advantage of some guests at the house to lift the bed onto the frame, and then I installed the wood and bed strips myself. Getting all those washers and nuts onto the bolts from underneath, while working around the frame and suspension was a real *****. Some were easy, but a lot were not. Probably took me a total of 4 hours to get them all started, lots of dropped washers and nuts, and a few swear words, but it's finally done. |
|
|

|
|
|
#38 | |
|
Registered User
Join Date: Apr 2013
Location: Louisiana
Posts: 553
|
Re: Our 1965 C10 Project
Quote:
Thanks for the pointers. I do have use of a couple people to help lift it and we also have a lift. Did you have a short bed fleet? |
|
|
|

|
|
|
#39 |
|
Registered User
Join Date: Aug 2011
Location: Montrose, CO
Posts: 972
|
Re: Our 1965 C10 Project
No, mine is a longbed fleet, so it was heavier than yours will be.
|
|
|

|
|
|
#40 |
|
Registered User
Join Date: Apr 2013
Location: Louisiana
Posts: 553
|
Re: Our 1965 C10 Project
|
|
|

|
|
|
#41 | |
|
Registered User
Join Date: Feb 2012
Location: Grand Rapids, Michigan, otherwise known as Beer City U.S.A.
Posts: 1,081
|
Re: Our 1965 C10 Project
Quote:
You are right! That thing has a bit of garbage on it compared to mine! Forge ahead!
__________________
My Build: http://67-72chevytrucks.com/vboard/s...d.php?t=512904 |
|
|
|

|
|
|
#42 |
|
Registered User
Join Date: Sep 2012
Location: Oregon
Posts: 3,303
|
Re: Our 1965 C10 Project
When I did my bed I loosened and removed all bolts, pulled the wood. Reinstalled the wood and strips loose. Some of the strips are through bolted through the cross braces, I also left them loose. I squared the bed with a tape measure and snugged the main 8 large frame bolts down then installed the outer perimeter wood panels. I then worked my way from those to the main board that hold the 8 larger frame bolts and finally the 2 thinner center boards last. Resting long 2x4s on top of the strips after installing all of the bolts through the wood helps when you are underneath and fitting the washers and nuts by yourself. Having an extra person up top would be a ton of help.
I have also seen guys lay the box upright resting on the front panel and installing all of the wood and cross bars then lifting the whole assembly onto the truck and installing the 8 frame bolts. |
|
|

|
|
|
#43 |
|
Registered User
Join Date: Apr 2012
Location: Searcy, AR
Posts: 4,203
|
Re: Our 1965 C10 Project
Wow! Is there really a motor under all that?

__________________
DON Proverbs 27:17  US Air Force Retarded errr Retired My '65 Stepper Build:http://67-72chevytrucks.com/vboard/s...d.php?t=533920 My '60 Rusty Patina Build:http://67-72chevytrucks.com/vboard/s...66#post7402266 My '72 http://67-72chevytrucks.com/vboard/s...59#post7204359 SOLD |
|
|

|
|
|
#44 | |
|
Registered User
Join Date: Apr 2013
Location: Louisiana
Posts: 553
|
Re: Our 1965 C10 Project
Quote:
Somewhere. 
|
|
|
|

|
|
|
#45 |
|
Registered User
Join Date: Apr 2013
Location: Louisiana
Posts: 553
|
Re: Our 1965 C10 Project
I have not had much do update in a while with a new baby and the wife being laid off and all.
The last few weeks I have finally been able to get some work done. My original goal was a really nice truck but as some things happened over the last year I have decided to learn as I go with this truck along with my son. I have learned a lot of new things working on this and have also learned a lot of what not to do. I have struggled at times with the direction of this build often changing directions only to find out I wish I had not. In the end we are just wanting to make this thing a daily driver and enjoy it as we go. This weekend we got some new color on our 65 this week and weekend. I was tired of it being so many different colors. Still has plenty of work yet to do on it but I can at least start to see some progress. I am by no means a painter and this is not a show truck but rather a driver that I can get out there and have fun with. I am happy with the direction it is going now. Was thinking about a Faux-Tina paint job to start with but nothing overdone. 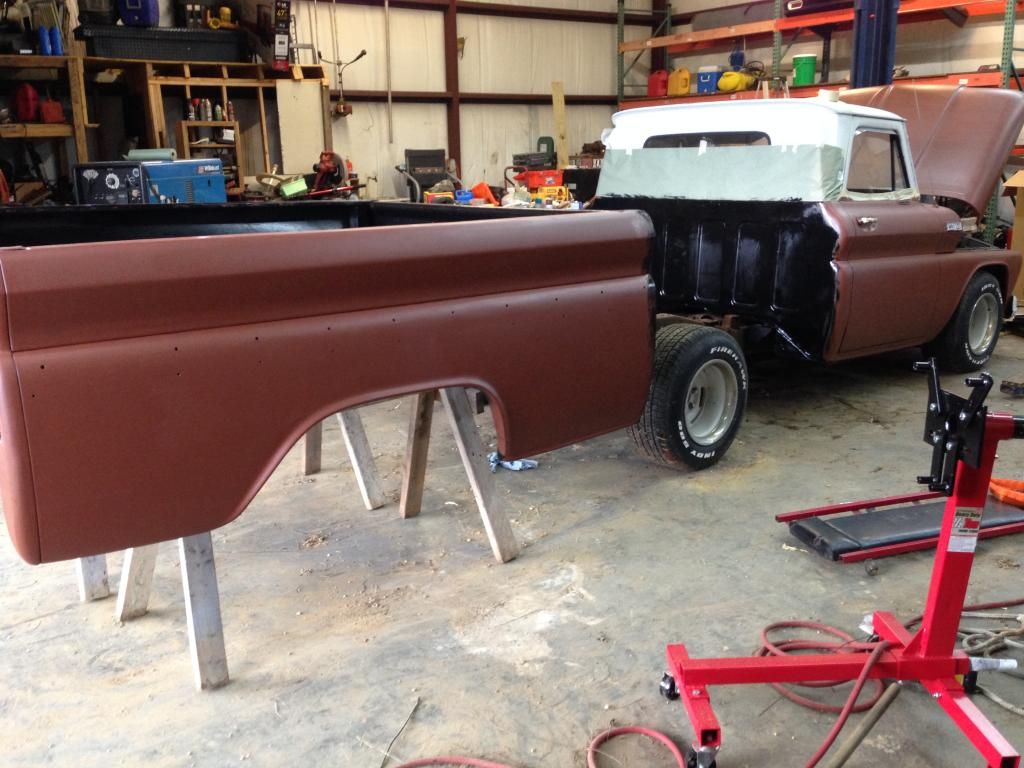 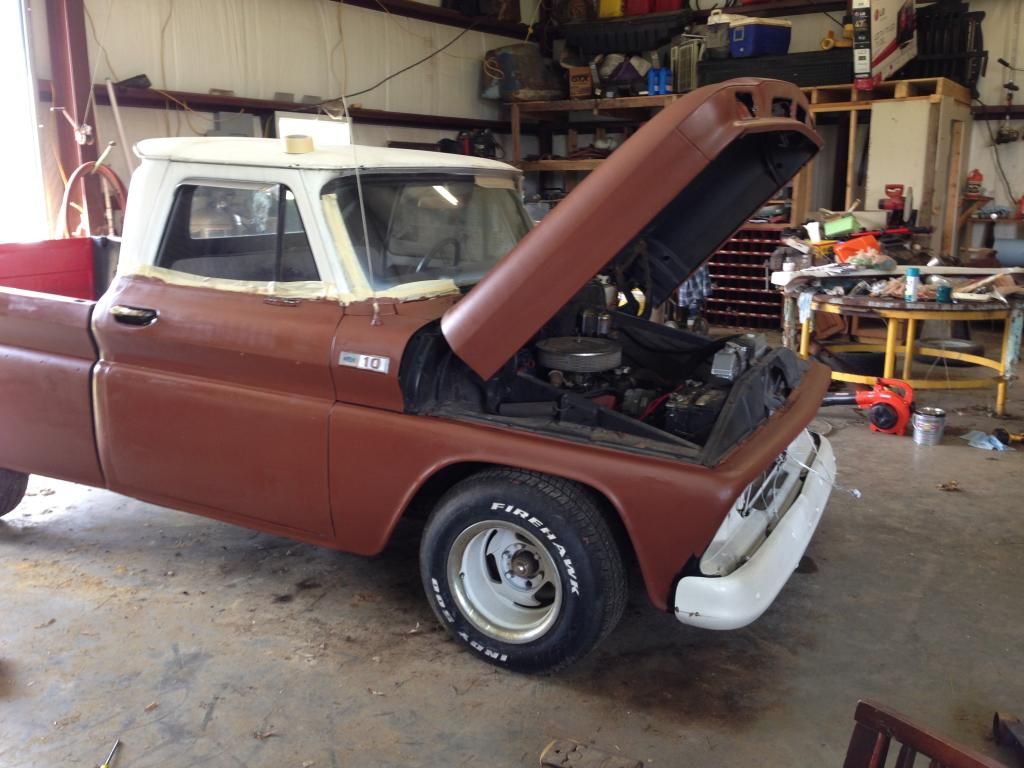 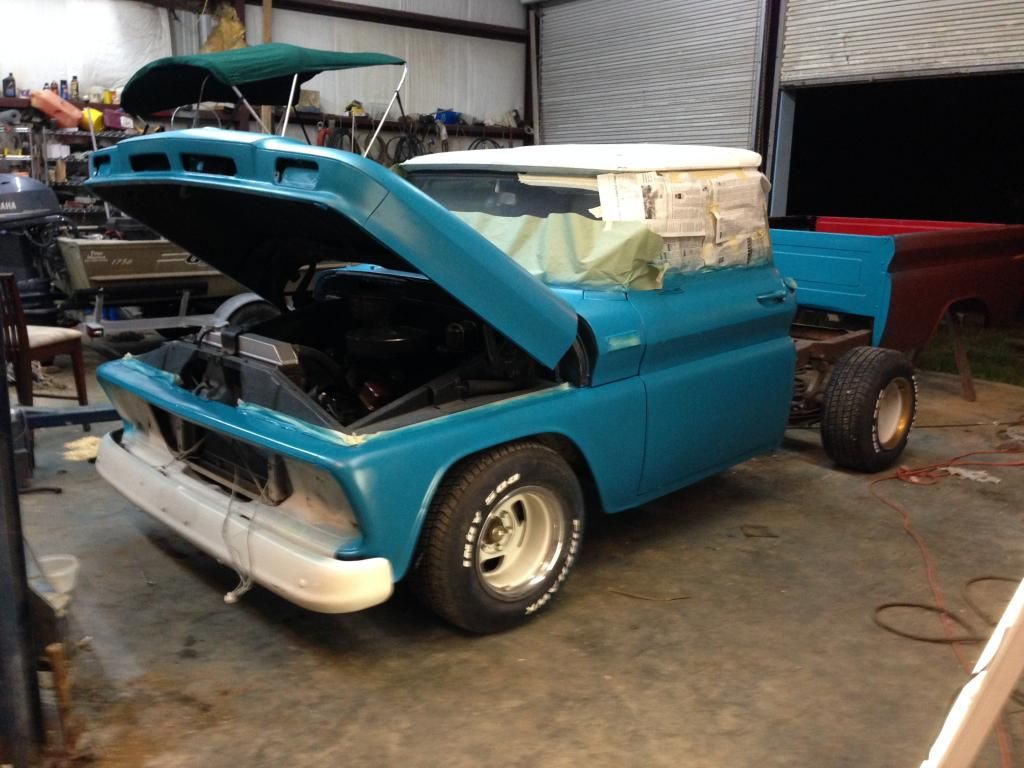 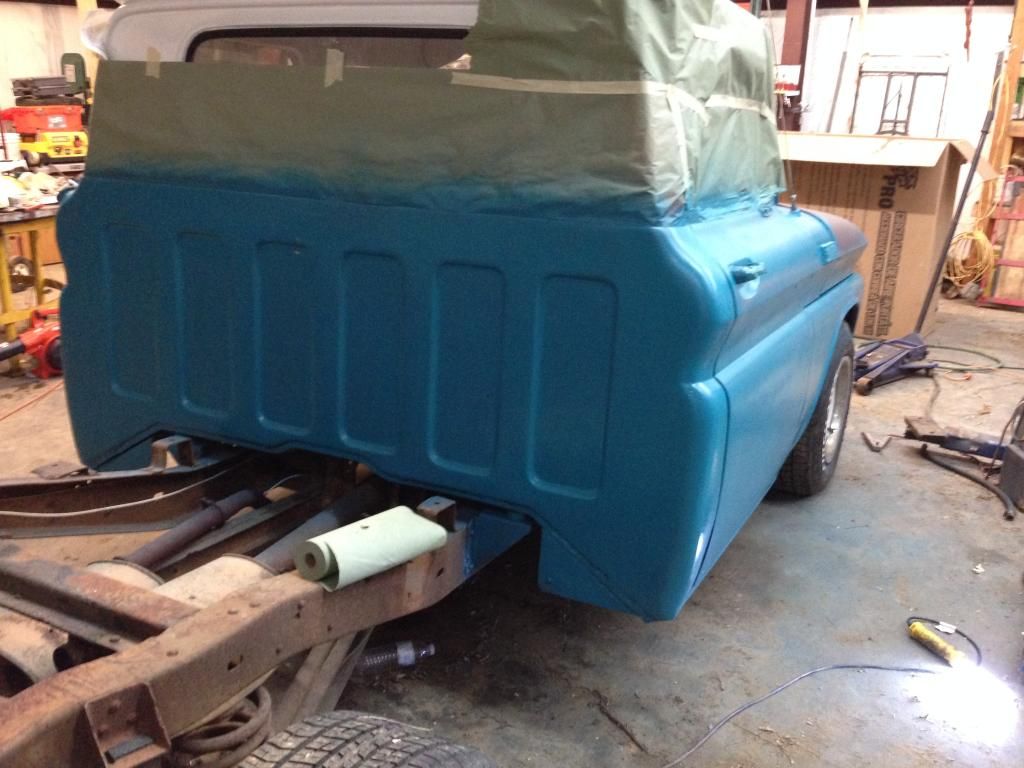
|
|
|

|
|
|
#46 |
|
Registered User
Join Date: Jun 2008
Location: space station delta farce (justin tx)
Posts: 594
|
Re: Our 1965 C10 Project
like the blue what is it also is that rattle can or gun?
__________________
Between saying and doing many a pair of shoes are worn out 
|
|
|

|
|
|
#47 |
|
But Found Her 25yrs Later!
Join Date: Oct 2010
Location: Oregon City, Oregon
Posts: 10,530
|
Re: Our 1965 C10 Project
Quote:
If you stripped it down to the frame and then some big life issue came up, it could stay that way for many years. . Use it. Tinker on it. Keep it simple. Keep it fun.
__________________
I lost my 65 - Found it 25 years later: http://67-72chevytrucks.com/vboard/s...d.php?t=426650 66 C20 Service Truck: http://67-72chevytrucks.com/vboard/s...d.php?t=428035 |
|
|

|
|
|
#48 |
|
Registered User
Join Date: Apr 2013
Location: Louisiana
Posts: 553
|
Re: Our 1965 C10 Project
Thanks guys. It is called Satin Lagoon. It was rewarding to let my 12 year old work on the paint and not really have to worry about it too much. Yes it's rattle can. We are at least trying to do as good of a job as we can.... For rattle can.
|
|
|

|
|
|
#49 |
|
Registered User
Join Date: Oct 2012
Location: Midland NC
Posts: 118
|
Re: Our 1965 C10 Project
Nothing wrong with that. Paint is looking good. Sometimes its just more fun to do it the way you are. That's how I plan to do mine as well.
Expensive paint jobs mean you have to wash them all the time.
__________________
1961 C60 Viking 8' Dump 261 SM420 2-Speed Rear 1966 C10 Fleetside 350 W/ Saginaw 4 speed 1985 K10 Chevy 6.2 diesel 700r4 longbed 2001 Dodge 3500 Dually 24v NV5600 4x4 USMC Reserves Jason |
|
|

|
|
|
#50 | |
|
Registered User
Join Date: Jun 2008
Location: space station delta farce (justin tx)
Posts: 594
|
Re: Our 1965 C10 Project
Quote:

__________________
Between saying and doing many a pair of shoes are worn out 
|
|
|
|

|
 |
| Bookmarks |
| Thread Tools | |
| Display Modes | |
|
|