
 |
|
|
#1301 |
|
Registered User
Join Date: Apr 2003
Location: Indep, MO
Posts: 5,893
|
Re: 1969 Short Wide
Looks great! Buy some more BC, shoot somethin' else!
__________________
Boppa's Old Yeller Truck Build, Old Yeller's New Heart! Project Buzz Bomb Flyin' Low! |
|
|

|
|
|
#1302 | |
|
Still Learning
Join Date: Jul 2009
Location: Central Oklahoma
Posts: 10,108
|
Re: 1969 Short Wide
Thanks it's going to be a nice "driver" paint job.
Thanks Keith I pretty pumped. Quote:
Thanks Mark. Look forward to having your company in the shop. Thanks, I'm buying the rest today. $$ |
|
|
|

|
|
|
#1303 |
|
Registered User
 Join Date: Dec 2006
Location: Toms River, NJ
Posts: 5,518
|
Re: 1969 Short Wide
When do you think you are going to paint the rest of the truck? Are you going to paint it in sections at a time or paint all the areas you can't reach and then put the truck together and paint it as one?
__________________
Keith 66 Suburban Burb Build Thread: http://67-72chevytrucks.com/vboard/s...d.php?t=751361 IG: bennett68c10 |
|
|

|
|
|
#1304 | |
|
Still Learning
Join Date: Jul 2009
Location: Central Oklahoma
Posts: 10,108
|
Re: 1969 Short Wide
Quote:
here's what I have in mind: 1.) finish bodywork on all interior bed panels / paint the inside surfaces and floor 2.) assemble the bed/ seam seal check tailgate fitment 3.) mount the cab on the frame/ mount doors make sure my gaps are still good 4.) mount core support/ fenders fit my fender gaps 5.) mount hood check gaps 6.) mount bed check fitment to cab 7.) disassemble 8.) finish bodywork on cab and doors 9.) finish bodywork on fenders/ hood - paint inside surfaces 10.) finish bodywork on outside of bed 11.) paint all exterior surfaces at the same time/temp 12.) reassemble. I'm sure I missed a few steps. This is my first time doing one to this extreme. |
|
|
|

|
|
|
#1305 |
|
Registered User
 Join Date: Dec 2006
Location: Toms River, NJ
Posts: 5,518
|
Re: 1969 Short Wide
Thanks for the break down Mike, I have a similar plan for mine if I ever get to it
__________________
Keith 66 Suburban Burb Build Thread: http://67-72chevytrucks.com/vboard/s...d.php?t=751361 IG: bennett68c10 |
|
|

|
|
|
#1306 |
|
Senior Member
 Join Date: Jun 2011
Location: Washburn, IA
Posts: 600
|
Re: 1969 Short Wide
Color looks awesome Mike. Keep at it!
|
|
|

|
|
|
#1307 | |
|
Registered User
Join Date: Nov 2011
Location: Edmond, OK.
Posts: 1,362
|
Re: 1969 Short Wide
Quote:
__________________
Mark ----------------------- Crash's 69 4x4 SWB Crash's Roof over Lake Home Crash's 1988 Land Cruiser Build |
|
|
|

|
|
|
#1308 |
|
Here kitty kitty kitty
Join Date: Aug 2010
Location: Perrysville, IN
Posts: 548
|
Re: 1969 Short Wide
OK man...I got paint and pics of mine up....where are yours???? LOL
|
|
|

|
|
|
#1309 |
|
Still Learning
Join Date: Jul 2009
Location: Central Oklahoma
Posts: 10,108
|
Re: 1969 Short Wide
Hope to have some in the next few days.
|
|
|

|
|
|
#1310 |
|
Laid Back
 Join Date: Apr 2010
Location: mcloud ok
Posts: 2,658
|
Re: 1969 Short Wide
Everything ready to paint?
__________________
72 chevy swb Direct dealers for.. Vintage Air, Porterbuilt, Billet Specialties,Budnik wheels ,eddie motorsports, raceline wheels, intro wheels, Dakota Digital, precision, unisteer, Trimparts, and many many more... Laid Back Recreations.. Full restoration shop and full paint and body.. Kyle http://67-72chevytrucks.com/vboard/s...d.php?t=574629 |
|
|

|
|
|
#1311 |
|
GEARHEAD
Join Date: Aug 2003
Location: MN
Posts: 6,126
|
Re: 1969 Short Wide
This is based entirely on my experience the past couple years with 1st, the paint job done on my C-10 and 2nd, my first paint job I did on my jimmy.
Get all your body work done before you spray any paint. When my truck was painted I did all the bodywork before sending it to the body shop to get sprayed. I knew I wasn't "ready" to spray it myself yet. I was making too many mistakes. Once I had the sheetmetal where I was comfortable with it I sprayed a final coat of primer and that was it. I let the body shop do the final sanding so they knew what they were spraying over. Everything turned out great. I was happy. The body shop was happy. Fast forward to the Jimmy. Knowing I was going to spray it all myself I did basically how you described it above. I had most of the body work done, but as I finished up the sanding on the insides of panels I sprayed them with paint, then mounted them up. Because of the paint choice I had with lots of flake and translucency I knew the outside would all have to be shot at once. But the biggest hassle really was having to have all the previously painted sheetmetal masked off whenever I needed more primer sprayed. Total PITA. Looking back I wished I had just got all the primer and sanding done before I had sprayed any of the paint, like I had done with my C-10.
__________________
If no one knows what you're doing, they can't tell you you're doing it wrong HG's Dream Car Build - Shelby Cobra Kit Build your own adjustable track bar 71  Long Fleet C/10 Long Fleet C/10 72  Jimmy 4x4 (Junkyard Jimmy) Jimmy 4x4 (Junkyard Jimmy)HG's Plow Truck '78  K35 Dually K35 DuallyBigass Farm Truck HG's thread of miscellaneous stuff |
|
|

|
|
|
#1312 | |
|
Still Learning
Join Date: Jul 2009
Location: Central Oklahoma
Posts: 10,108
|
Re: 1969 Short Wide
Not yet but getting closer.
Quote:
Actually, I have thought about what you are talking about with finishing the inside then having to tape off to finish primer and blocking. But, what I didn't mention above is I'm finishing all the block sanding on the bed panels inside and outside. So now all I lack is the final wet sanding on them. I will do the same on the doors, hood, fenders and cab. Basically the whole exterior will be done in one shooting session with the inside of the bed being the only taping off I have to do. Right now it's the plan I have but things change. I really wish I could put the truck together and paint it with everything already lined up and gapped. There are some negative aspects to this too. BTW, you did all the hard work and let the bodyshop get the reward of painting? that must have been tough. 90% of the paint job is the bodywork 
|
|
|
|

|
|
|
#1313 |
|
Still Learning
Join Date: Jul 2009
Location: Central Oklahoma
Posts: 10,108
|
Re: 1969 Short Wide
Can't have an update without some pictures. These were on my cell, sorry quality.
Shows the high build primer I'm using LINK HERE. It's sprayable polyester filler basically. So far I'm pretty happy with it but my bodywork leaves some to be desired. 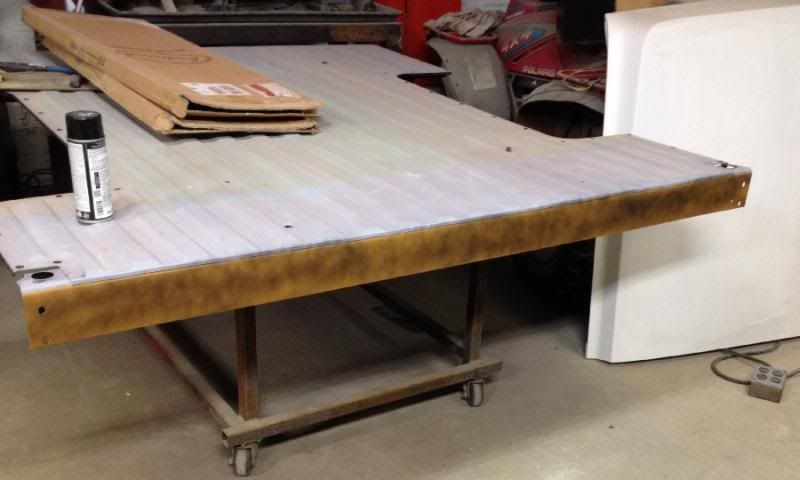 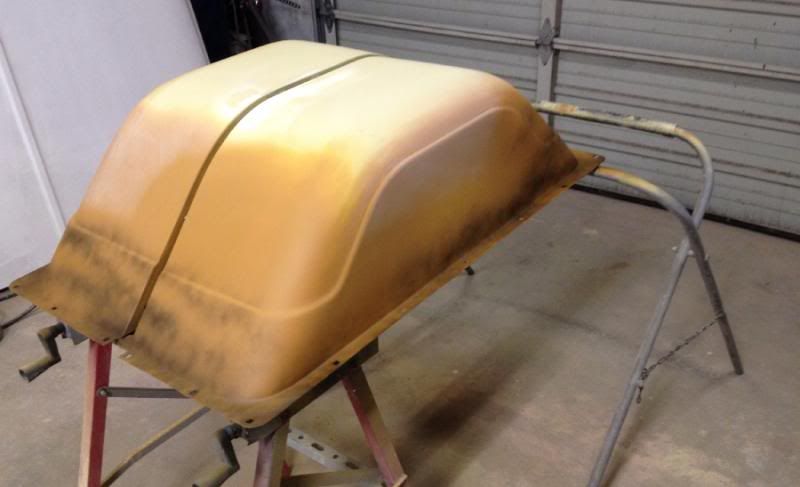 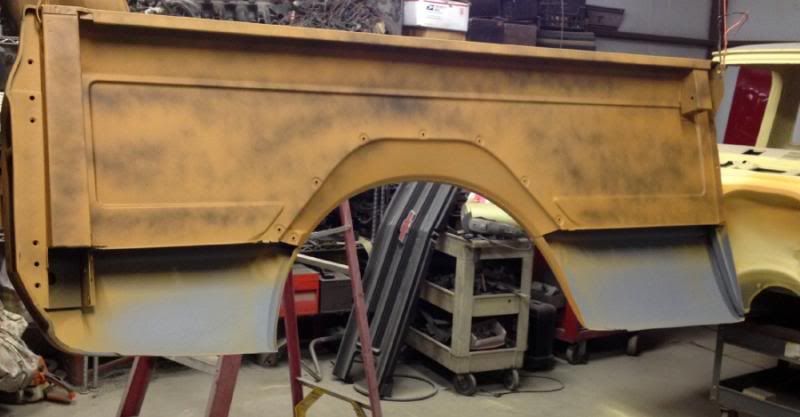 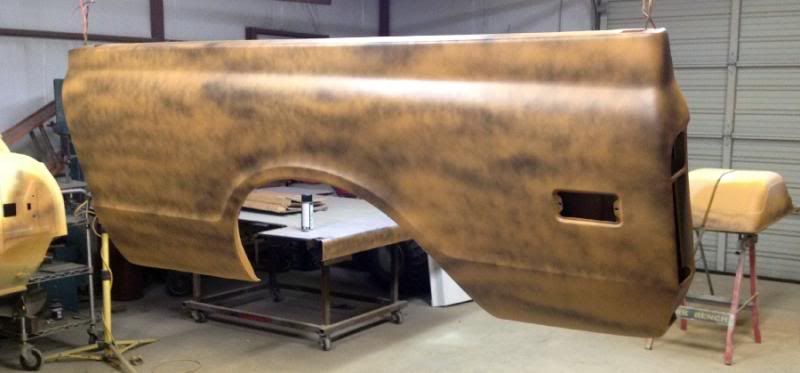
|
|
|

|
|
|
#1314 |
|
Registered User
 Join Date: Dec 2006
Location: Toms River, NJ
Posts: 5,518
|
Re: 1969 Short Wide
Nice job on the bed panels Mike, I have the same primer waiting for me to use. From what I have seen and read, it fills in the imperfections nicely. Which is good for this amateur bodyman and painter
 What size tip did you use to spray it with? What size tip did you use to spray it with?
__________________
Keith 66 Suburban Burb Build Thread: http://67-72chevytrucks.com/vboard/s...d.php?t=751361 IG: bennett68c10 |
|
|

|
|
|
#1315 | |
|
Still Learning
Join Date: Jul 2009
Location: Central Oklahoma
Posts: 10,108
|
Re: 1969 Short Wide
Quote:
I think if I was better at the filler sanding it wouldn't take near as much primer. Just like the filler most of it ends up on the floor as dust. Maybe on my next one I will take more time finishing the mud work? I have a lot of respect for the guys that do this crap for a living. It's hard work to say the least. |
|
|
|

|
|
|
#1316 | |
|
GEARHEAD
Join Date: Aug 2003
Location: MN
Posts: 6,126
|
Re: 1969 Short Wide
Quote:
As for not spraying it myself, there were a few reasons. 1st and foremost almost every time I sprayed something on my truck I made some kind of mistake. Hit the fresh primer with a hose, my shirt, etc. Or missing areas by not getting the spray angle right, too heavy, too light, improper cleaning and fish eyes. I knew my limitations and after spending so much time and money on a project that means so much to me I didn't want to be frustrated at the end with a paint job that I did and would likely be sub-par. The body shop that sprayed it is just around the corner from my house. They advised me, lent me tools, came by to check my work and offer tips to help me progress. They have become friends and even though they have an antique shop with a converted garage space as a paint booth that most people would look at and walk away from, they do excellent work and don't let anything out of the shop that isn't done right. They let me be involved with every part of it, including letting me go into the spray booth and watch and learn. I even took breaks from my home office work to go over and help wet sand. In the end, I got invaluable lessons on painting, an excellent paint job, and knowing that all the prep work I did made that a possibility. And a little ego boost is when the pro's tell me they hate doing jobs like this, where the owner did the bodywork, cuz it's usually not good and they end up reworking most of it. But with mine, the only rework was a cracked seam on a adhesive joint they fixed. All they had to do was sand it and spray and told me I could work for them anytime. I also knew, even at that time that I would be spraying the Jimmy myself no matter what. So it helped ease the pang of letting that part of the project go. I paid them $50 to use their spray booth for a full day, including the plastic for masking. I had to wait my turn, and my patience was tested, but in the end, I got it in and got it done. And that paint job wouldn't have turned out nearly as well as it did without their direct input that day and more free lessons. When I pulled it out of the booth the next morning and had 3 painters with about 120 cumulative years of experience look it over, the only real flaw they could spot was a single run on the fender (clear only, not in the base) and that because of the amount of coats its a bit orange peely. There is absolutely no way I would have been able to do that with my C-10. I just wasn't ready. Man, that got a little long winded. Guess I'll skip chapter 2. 
__________________
If no one knows what you're doing, they can't tell you you're doing it wrong HG's Dream Car Build - Shelby Cobra Kit Build your own adjustable track bar 71  Long Fleet C/10 Long Fleet C/10 72  Jimmy 4x4 (Junkyard Jimmy) Jimmy 4x4 (Junkyard Jimmy)HG's Plow Truck '78  K35 Dually K35 DuallyBigass Farm Truck HG's thread of miscellaneous stuff |
|
|
|

|
|
|
#1317 |
|
Registered User
Join Date: Apr 2003
Location: Indep, MO
Posts: 5,893
|
Re: 1969 Short Wide
I use the hell out of a similar product called Slick Sand. I get the metal as close as I can, 'cause I suck at mudwork. Then, I leave it a tad high, 'cuz I'm the king of one stroke too many on mud. Then I put a good spot over all my mud, then 2 good rounds over the whole panel. Usually blocks right out with 80, and enough left to guide it again and 150 it if I'm lucky. Shoot another good coat and block with 320, wet block with 400 or 600 depending on the base, and HOSE that sucker! You guys' stuff all looks great!
__________________
Boppa's Old Yeller Truck Build, Old Yeller's New Heart! Project Buzz Bomb Flyin' Low! |
|
|

|
|
|
#1318 | |
|
*************
 Join Date: Apr 2005
Location: Pensacola, FL
Posts: 17,858
|
Re: 1969 Short Wide
Quote:
 . Thanks, . Thanks,Rob
__________________
Rob - https://www.instagram.com/hart_rod_c10 As Iron Sharpens Iron, So One Man Sharpens Another. Proverbs 27:17 FOR SALE: DBW pedal bracket - http://67-72chevytrucks.com/vboard/s...d.php?t=651123 FOR SALE: Hood Brackets http://67-72chevytrucks.com/vboard/s...d.php?t=679945 1987 Silverado SWB - 34.5K original miles http://67-72chevytrucks.com/vboard/s...d.php?t=801834 1969 SuperBurb - http://67-72chevytrucks.com/vboard/s...d.php?t=200387 1968 Farm truck - http://67-72chevytrucks.com/vboard/s...d.php?t=358692 1968 SWB - http://67-72chevytrucks.com/vboard/s...d.php?t=551258 1948 Chevy - http://67-72chevytrucks.com/vboard/s...=122164&page=3 |
|
|
|

|
|
|
#1319 | ||
|
Still Learning
Join Date: Jul 2009
Location: Central Oklahoma
Posts: 10,108
|
Re: 1969 Short Wide
Quote:
Quote:
|
||
|
|

|
|
|
#1320 |
|
Still Learning
Join Date: Jul 2009
Location: Central Oklahoma
Posts: 10,108
|
Re: 1969 Short Wide
More pictures:
  Managed to knock one end of this bed side off the stands. Minor setback Ouch! 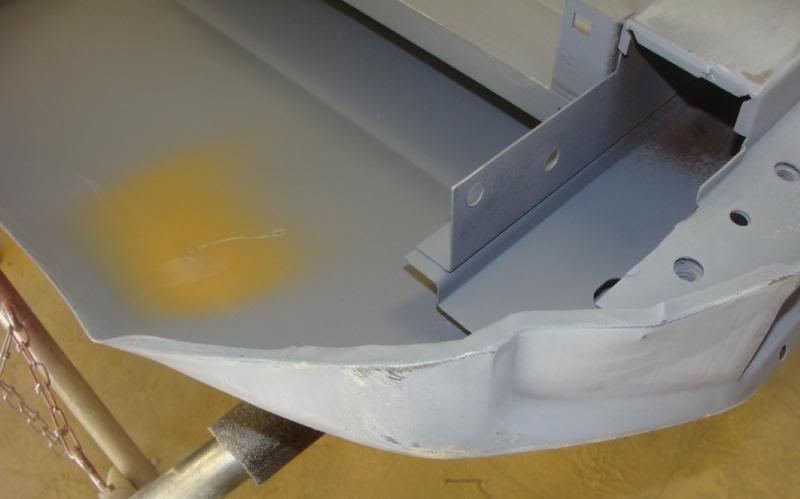 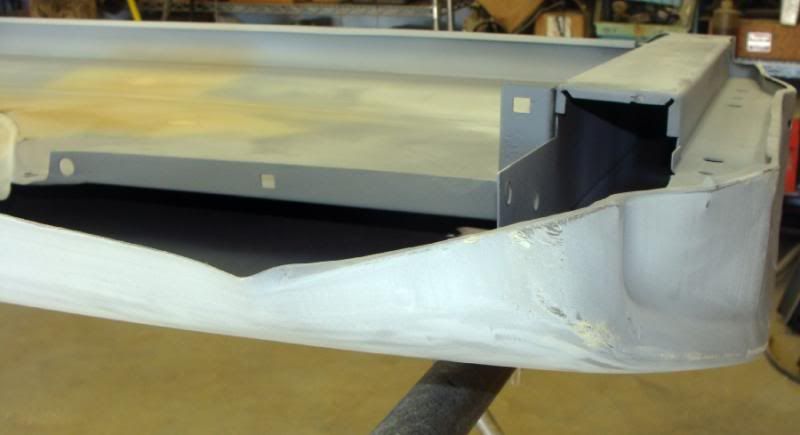 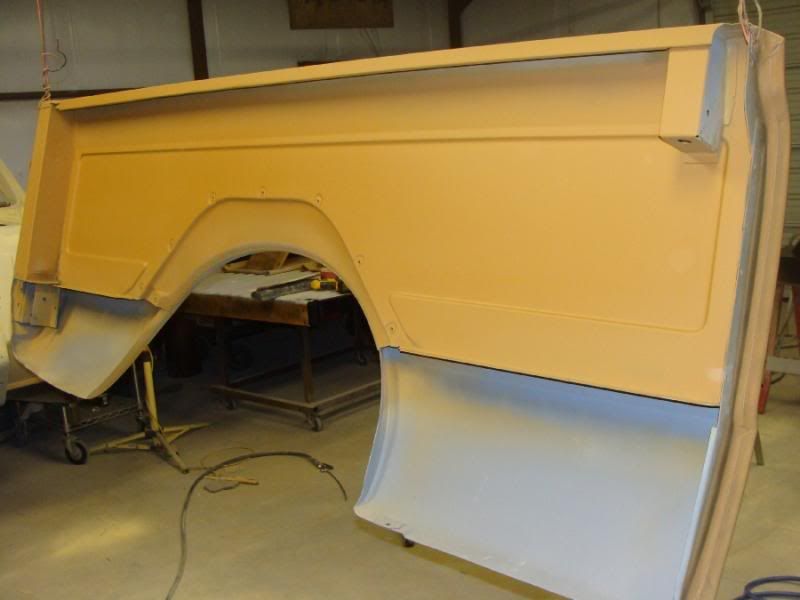 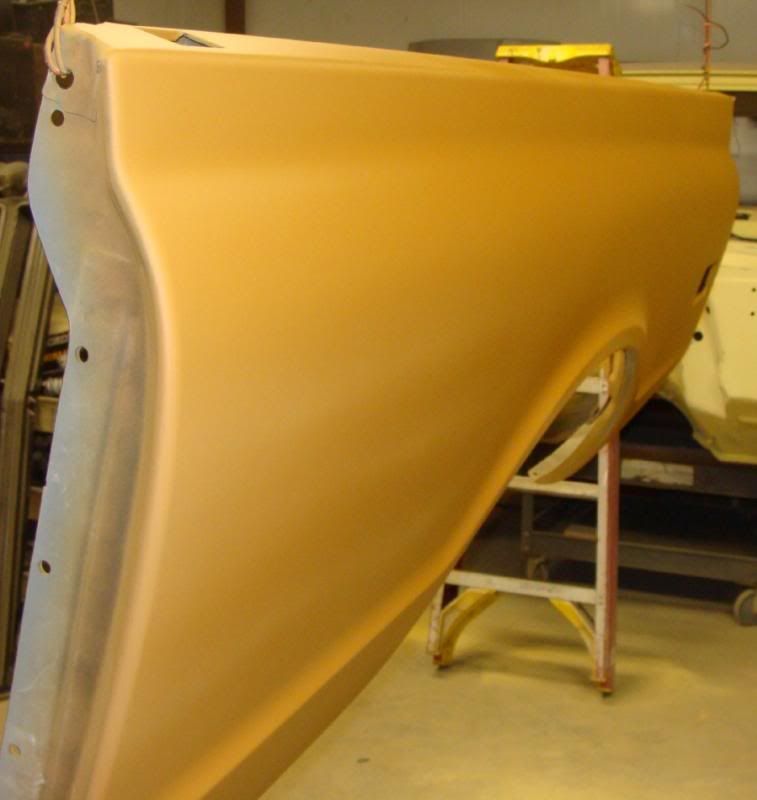 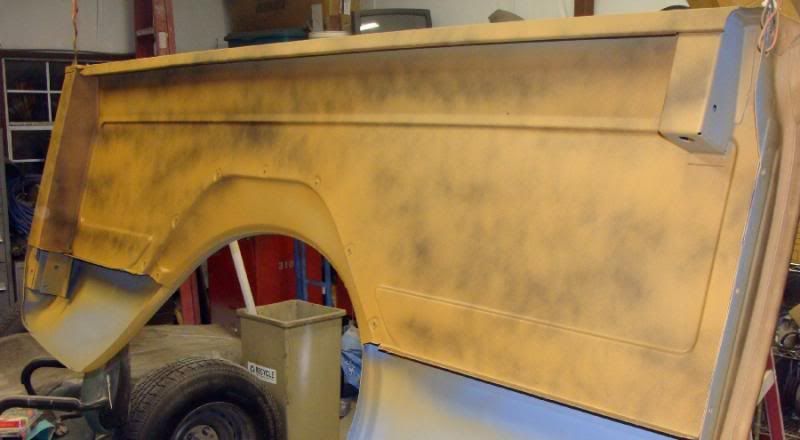 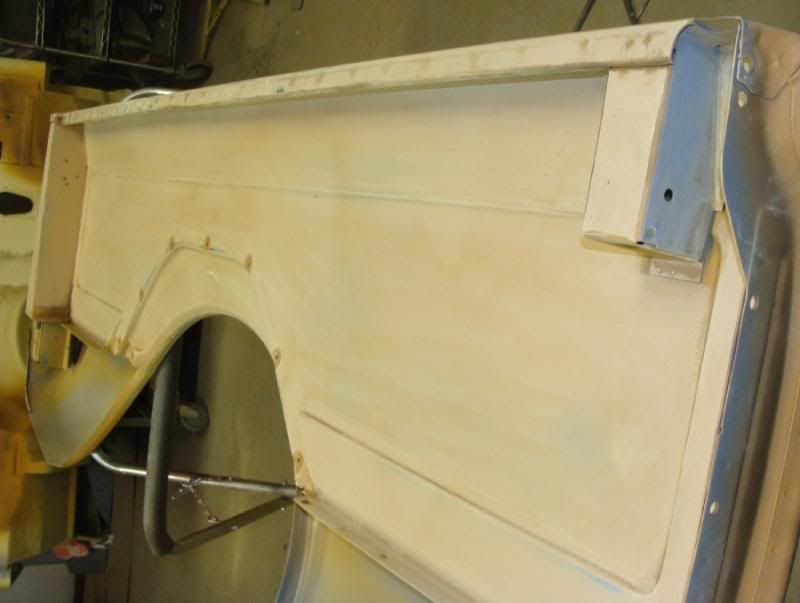 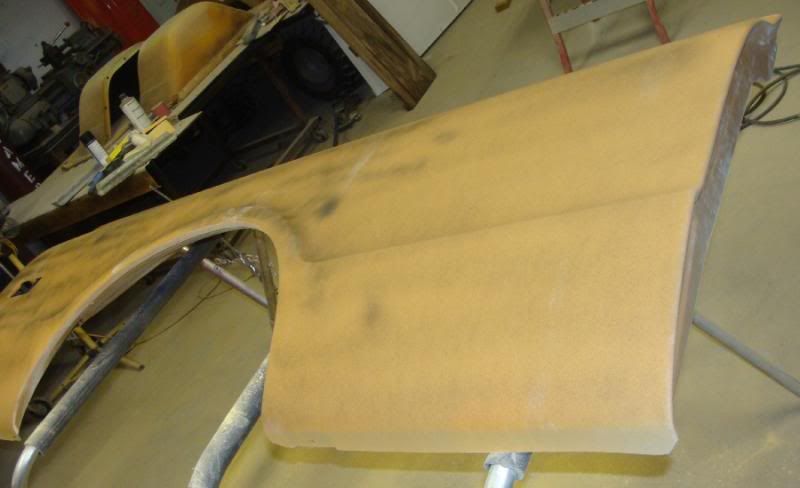 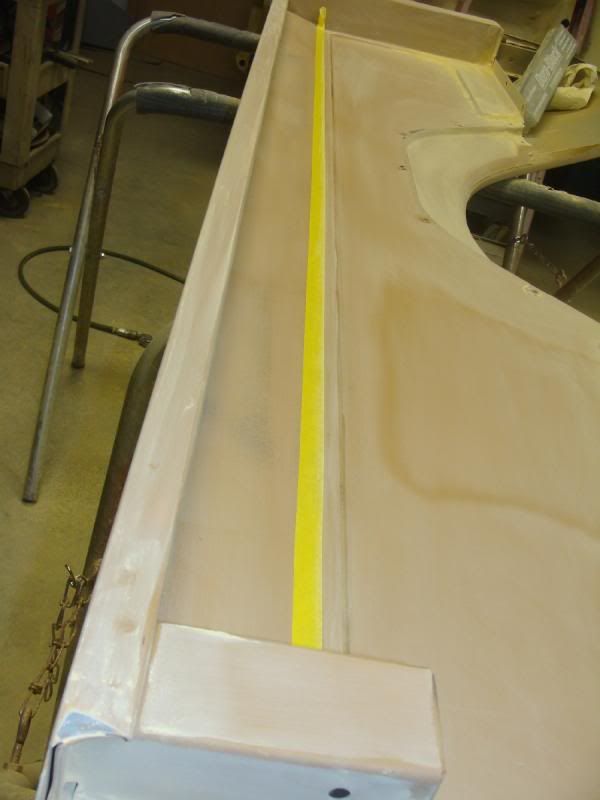 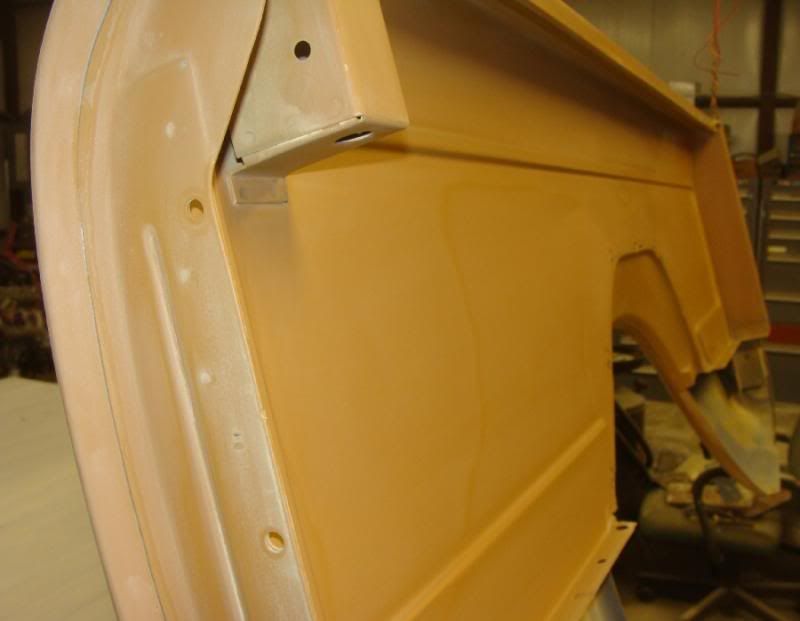 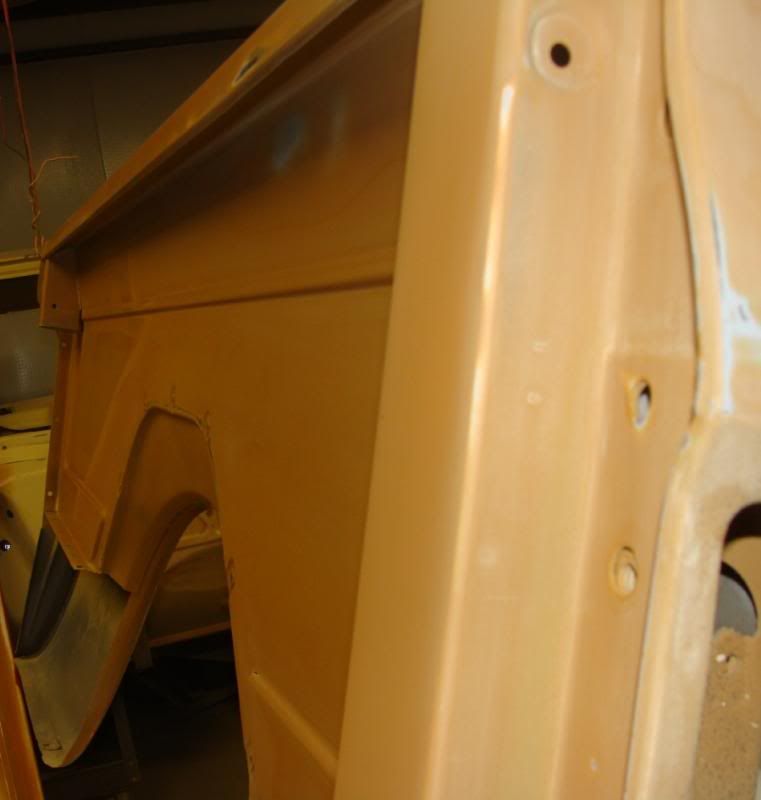 Another small distraction.... 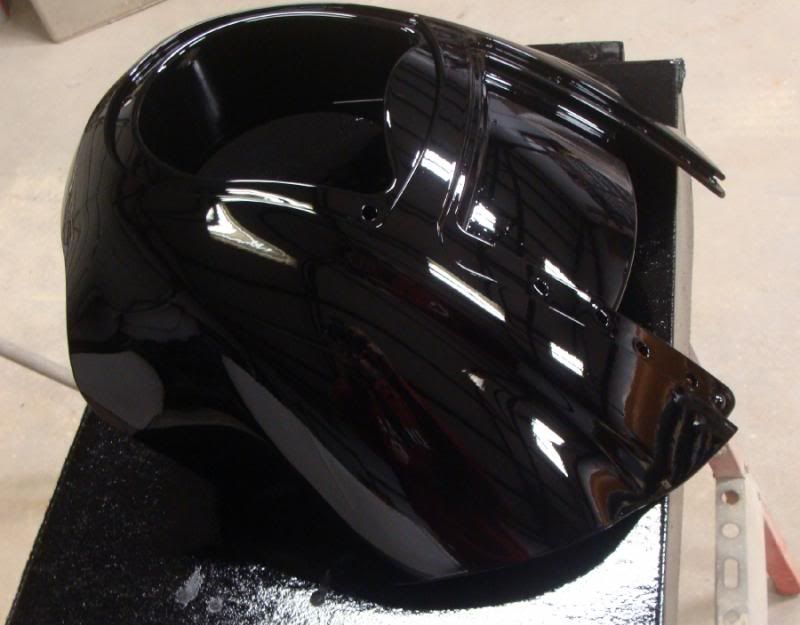 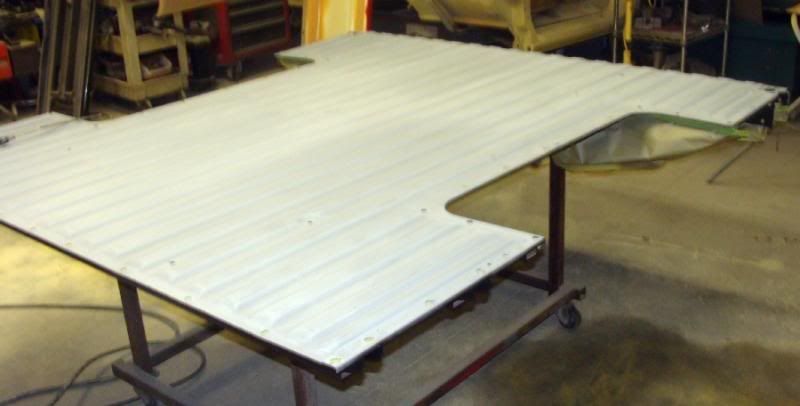
|
|
|

|
|
|
#1321 |
|
Still Learning
Join Date: Jul 2009
Location: Central Oklahoma
Posts: 10,108
|
Re: 1969 Short Wide
More pictures from today:
Long hard weekend.... 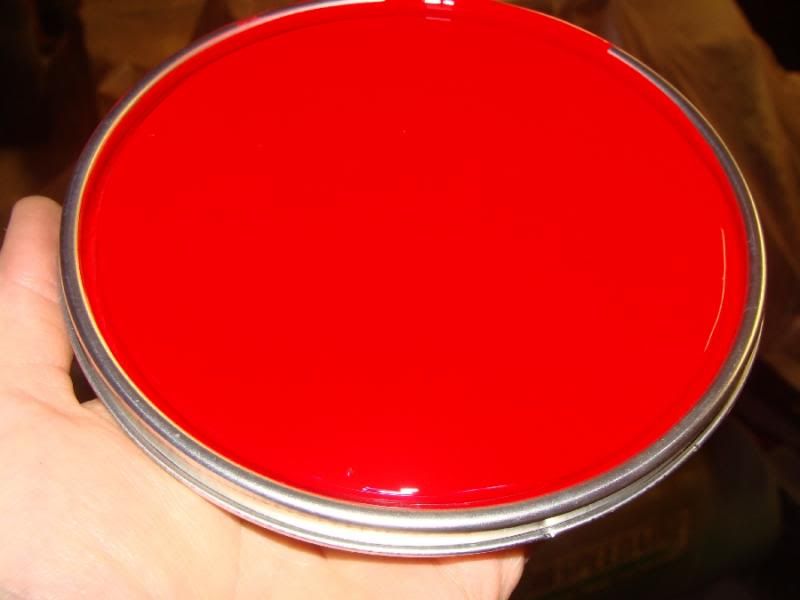 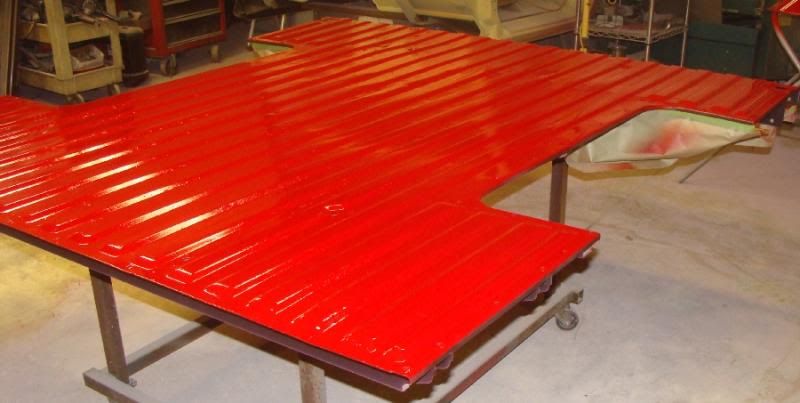 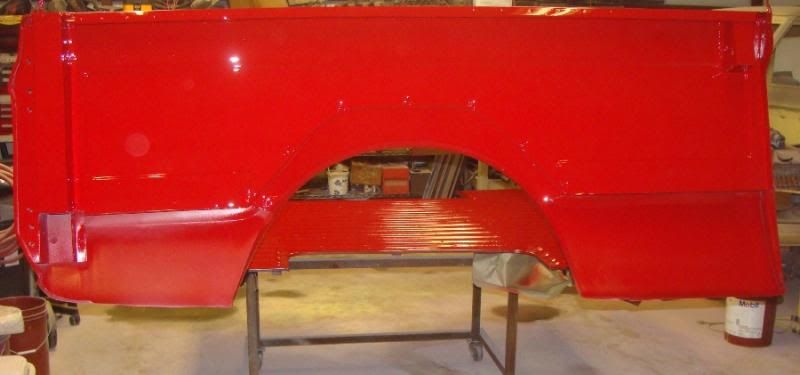 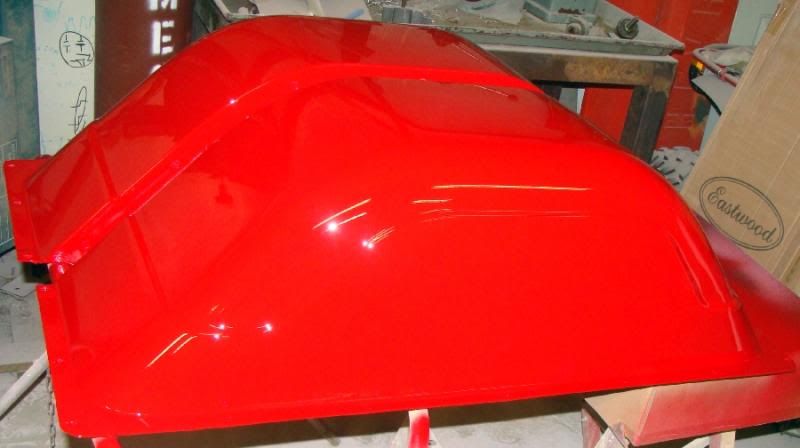 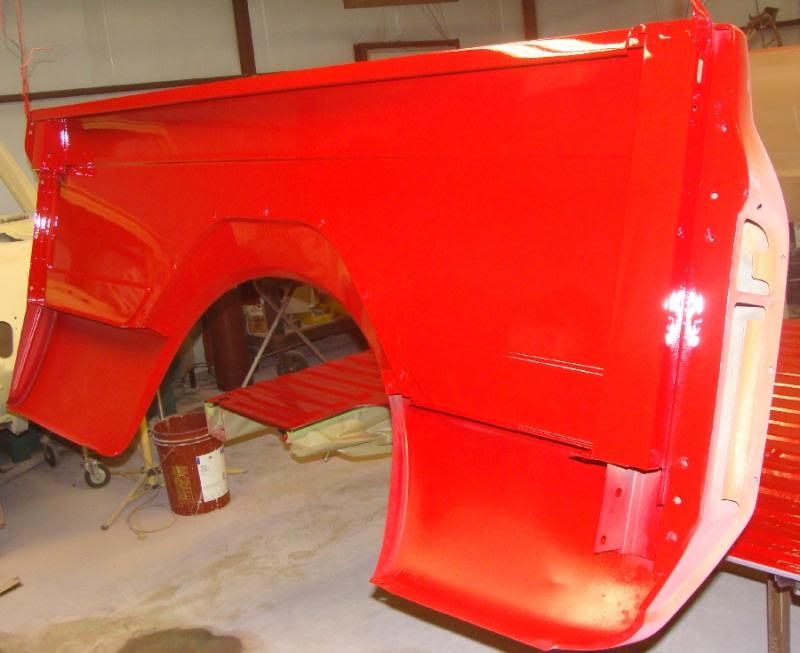 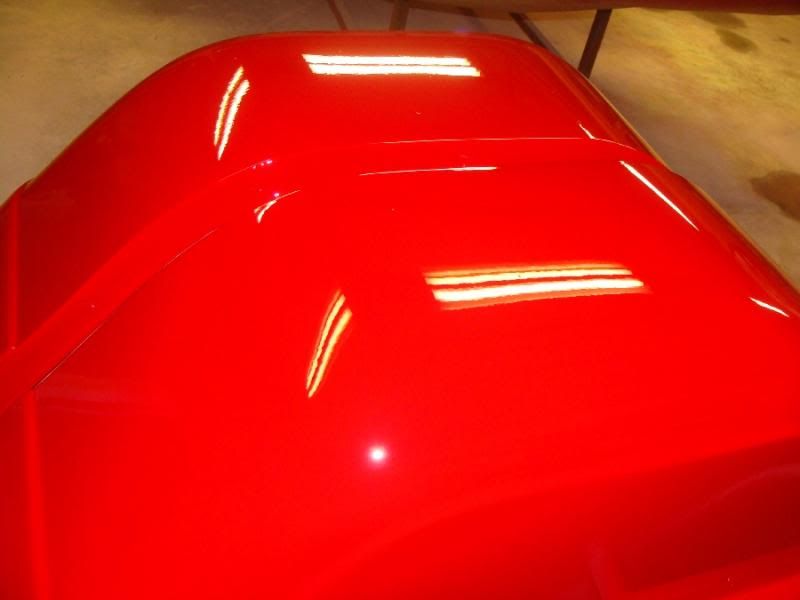
|
|
|

|
|
|
#1322 |
|
Man of Mini-Talents
Join Date: Sep 2009
Location: Oklahoma City, OK
Posts: 4,295
|
Re: 1969 Short Wide
Wow, made great progress!
__________________
Steve Project - Ruth 66 Skylark Project - Lola 60 Biscayne Project - Iron Ox 54 GMC 100 Project - Darth 69 Camaro |
|
|

|
|
|
#1323 |
|
Registered User
 Join Date: Dec 2006
Location: Toms River, NJ
Posts: 5,518
|
Re: 1969 Short Wide
Wow Mike that red looks awesome, great job
__________________
Keith 66 Suburban Burb Build Thread: http://67-72chevytrucks.com/vboard/s...d.php?t=751361 IG: bennett68c10 |
|
|

|
|
|
#1324 |
|
Laid Back
 Join Date: Apr 2010
Location: mcloud ok
Posts: 2,658
|
Re: 1969 Short Wide
Looking good mike..
__________________
72 chevy swb Direct dealers for.. Vintage Air, Porterbuilt, Billet Specialties,Budnik wheels ,eddie motorsports, raceline wheels, intro wheels, Dakota Digital, precision, unisteer, Trimparts, and many many more... Laid Back Recreations.. Full restoration shop and full paint and body.. Kyle http://67-72chevytrucks.com/vboard/s...d.php?t=574629 |
|
|

|
|
|
#1325 |
|
Registered User
Join Date: Jun 2011
Location: Spokane, WA
Posts: 2,372
|
Re: 1969 Short Wide
Great update! Really really really nice work there. That red is RED!!
__________________
'77 K30 3+3 - "The Crummy" http://67-72chevytrucks.com/vboard/s...d.php?t=640134 '67 C10 L/SWB - Soon to be daily driver! http://67-72chevytrucks.com/vboard/s...d.php?t=471776 
|
|
|

|
 |
| Bookmarks |
| Thread Tools | |
| Display Modes | |
|
|