
 |
|
|
#476 |
|
Registered User
Join Date: Aug 2007
Location: Corona, California
Posts: 7,998
|
Re: 1957 Chevy truck re-rebuild
Looking real nice.
Kim |
|
|

|
|
|
#477 |
|
Registered User
Join Date: May 2009
Location: Under a bad sign
Posts: 498
|
Re: 1957 Chevy truck re-rebuild
Your truck is looking good Jim.
. |
|
|

|
|
|
#478 |
|
Registered User
Join Date: Aug 2012
Location: Salem Mo
Posts: 666
|
Re: 1957 Chevy truck re-rebuild
I was getting excited to get the frame and suspension painted and somewhat together. Yet in the back of my head was the reality that I'm working with satin finish, spray it well and spray it even and I'll be ok.
On the other hand, I knew I wanted a total contrast to the satin, I also wanted areas that will be absolutely polished. I did good on the inner front fender panels, what I didn't do was take them outside to get a good reflection for some camera shots, as I mentioned, I want the black to be a mirror finish. Last night I posted the firewall, the last of the old maroon color. My plan was keep the 57 firewall with it's indents. Being from the 50's and the 50's being all about body lines and what have you, I didn't go with a flat smoothed firewall. Next issue was, can I get the mirror image with all the lines and curves left in the firewall. Ok, here we go..... First issue was welding and filling all the many factory holes. Many were done before but I ended up removing some because they didn't do flush welds, they stuck a piece of metal to the back side, tack welded then filled with body filler. 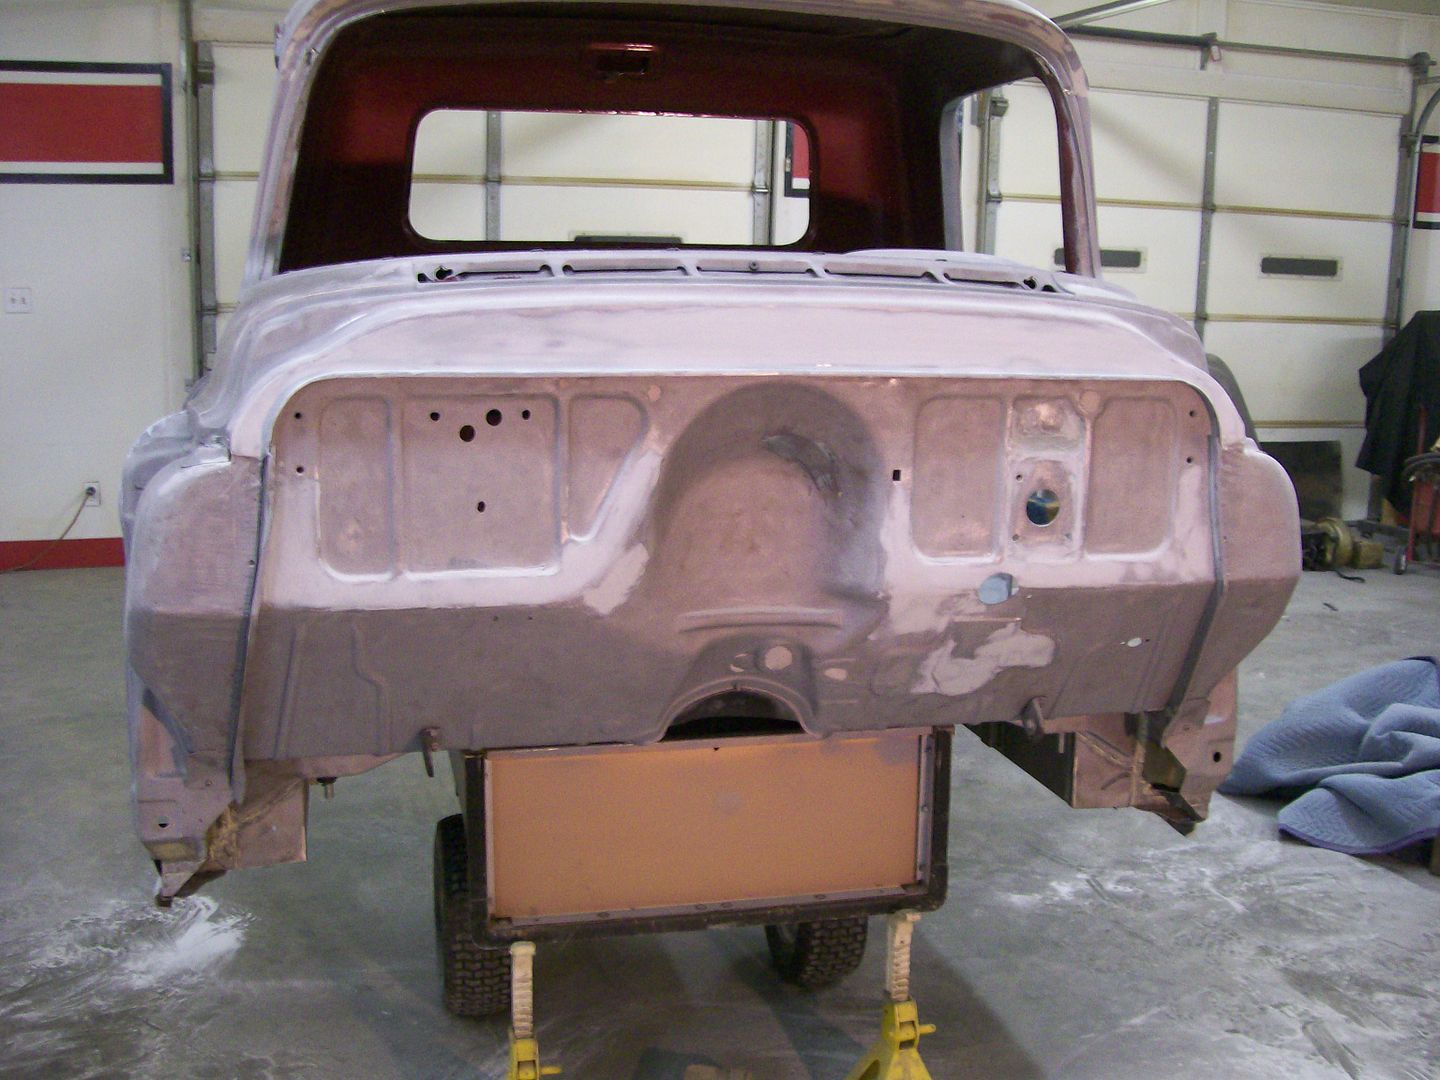 After priming and blocking. How the heck do you block sand so many small areas... very carefully. 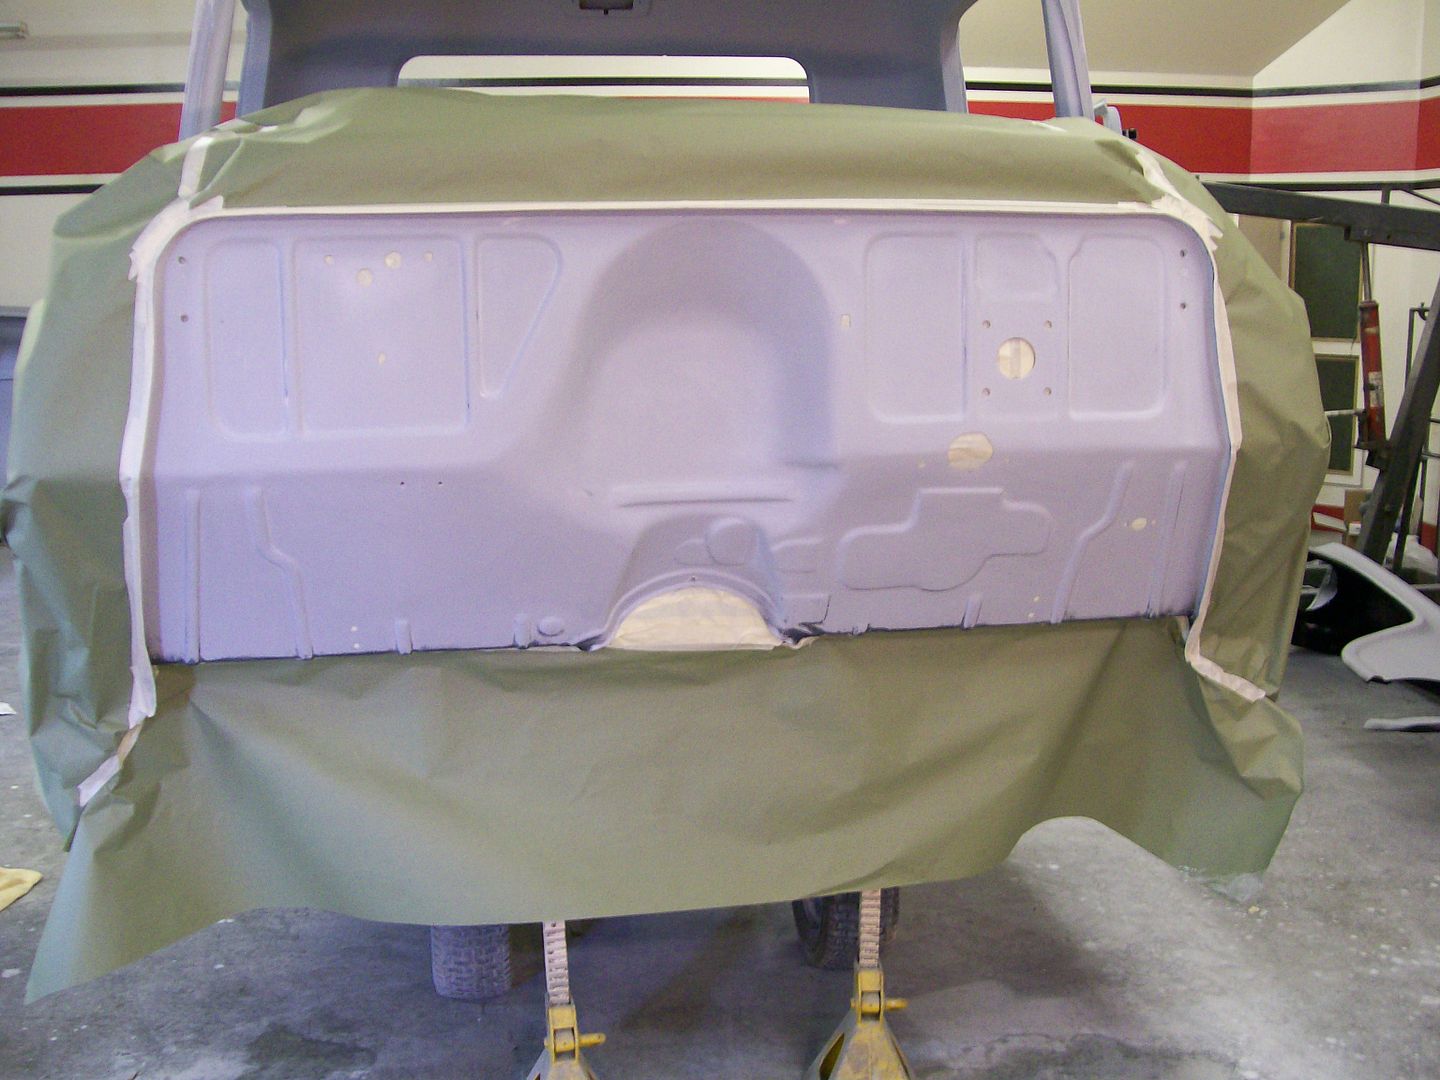 Of course, one final application of epoxy primer. 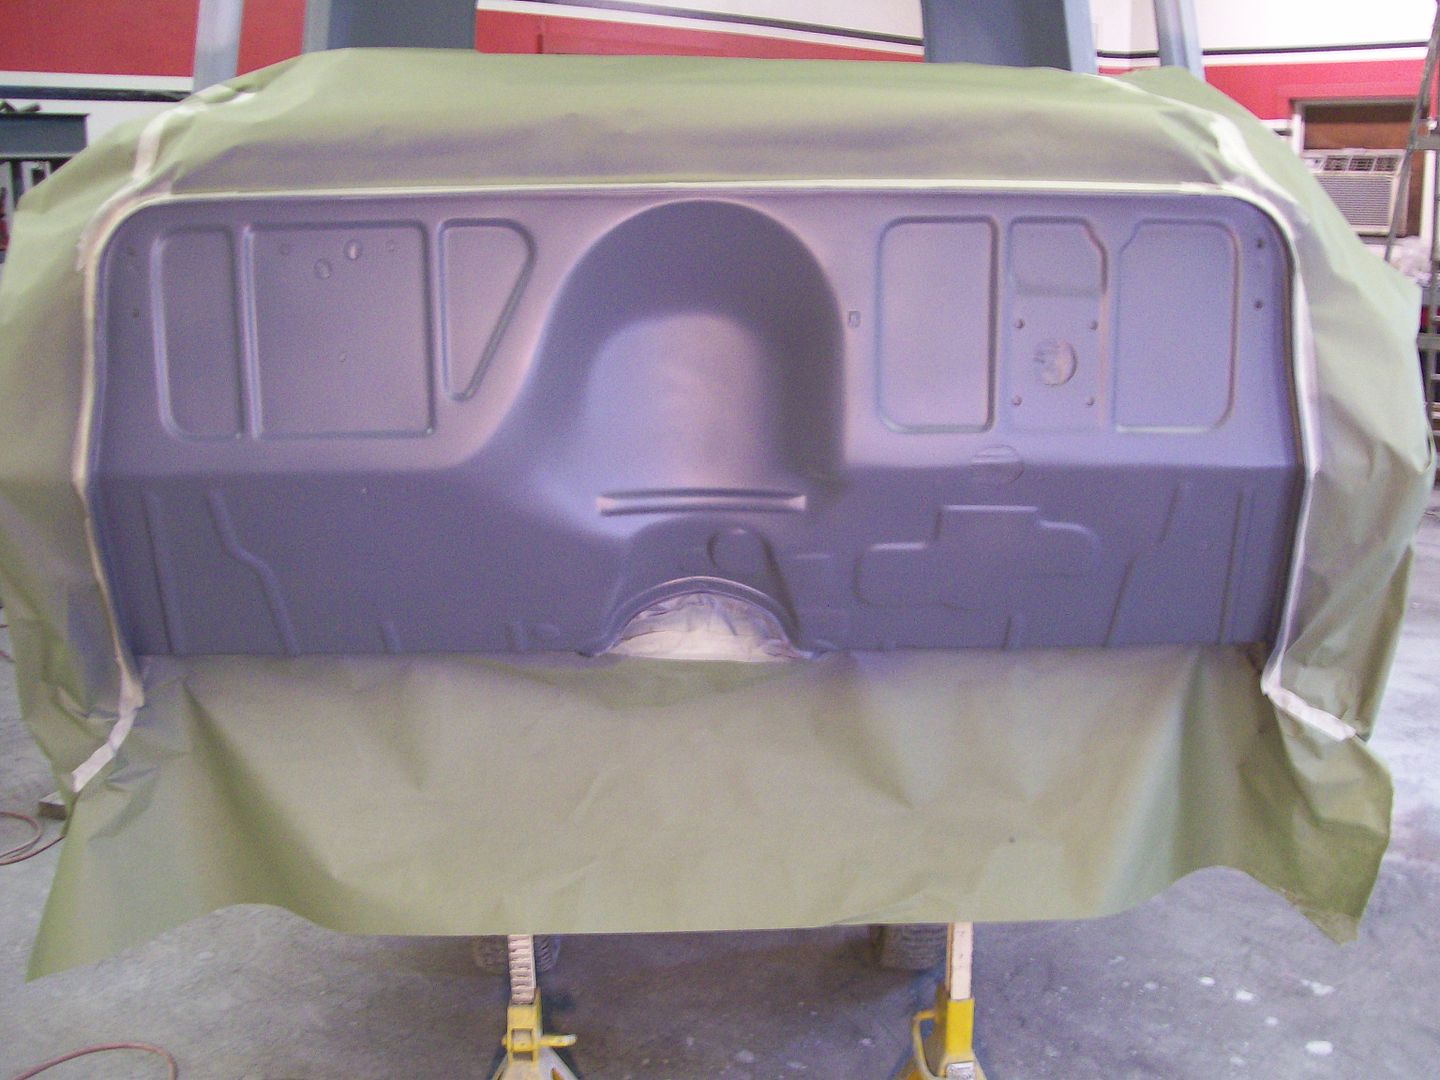 Always remember, base coat paint will be a satin finish, the clear will be the gloss. 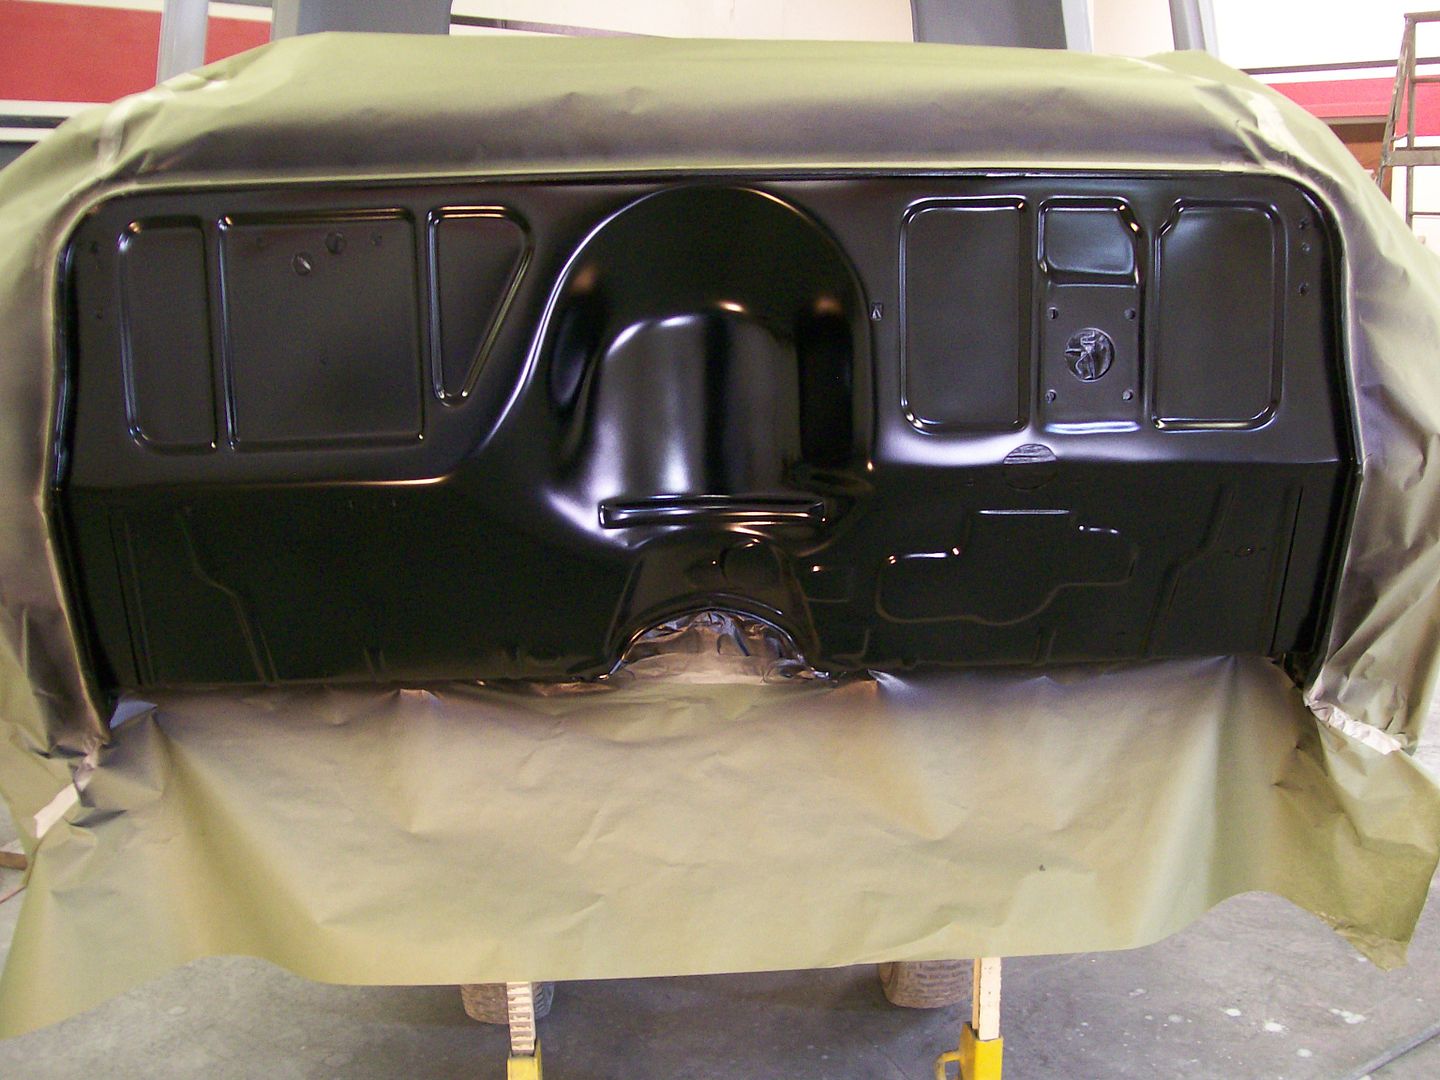 I sprayed two coats of clear, the camera made such a mess of the black it ain't worth showing. The next step however is 24 hours after the clear. I'm back to making a mess of what I just sprayed. 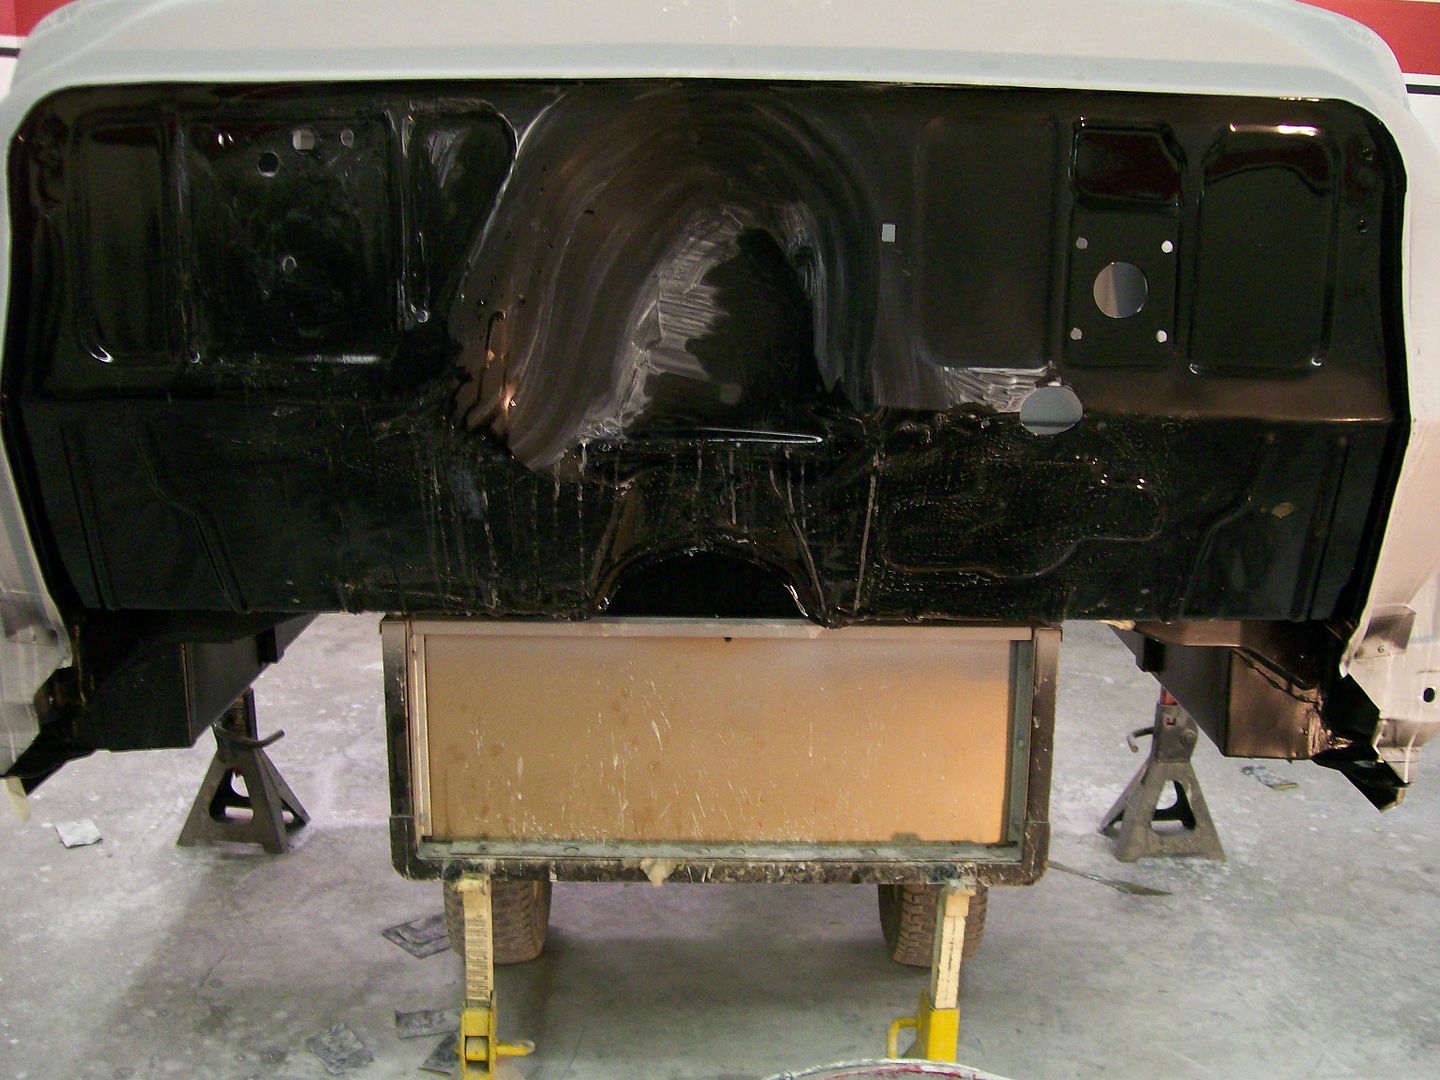 I wet sanded the firewall with 2000 grit paper, then buff. I always roll the chassis outside, far from the shop when I paint, here it is out in the yard. 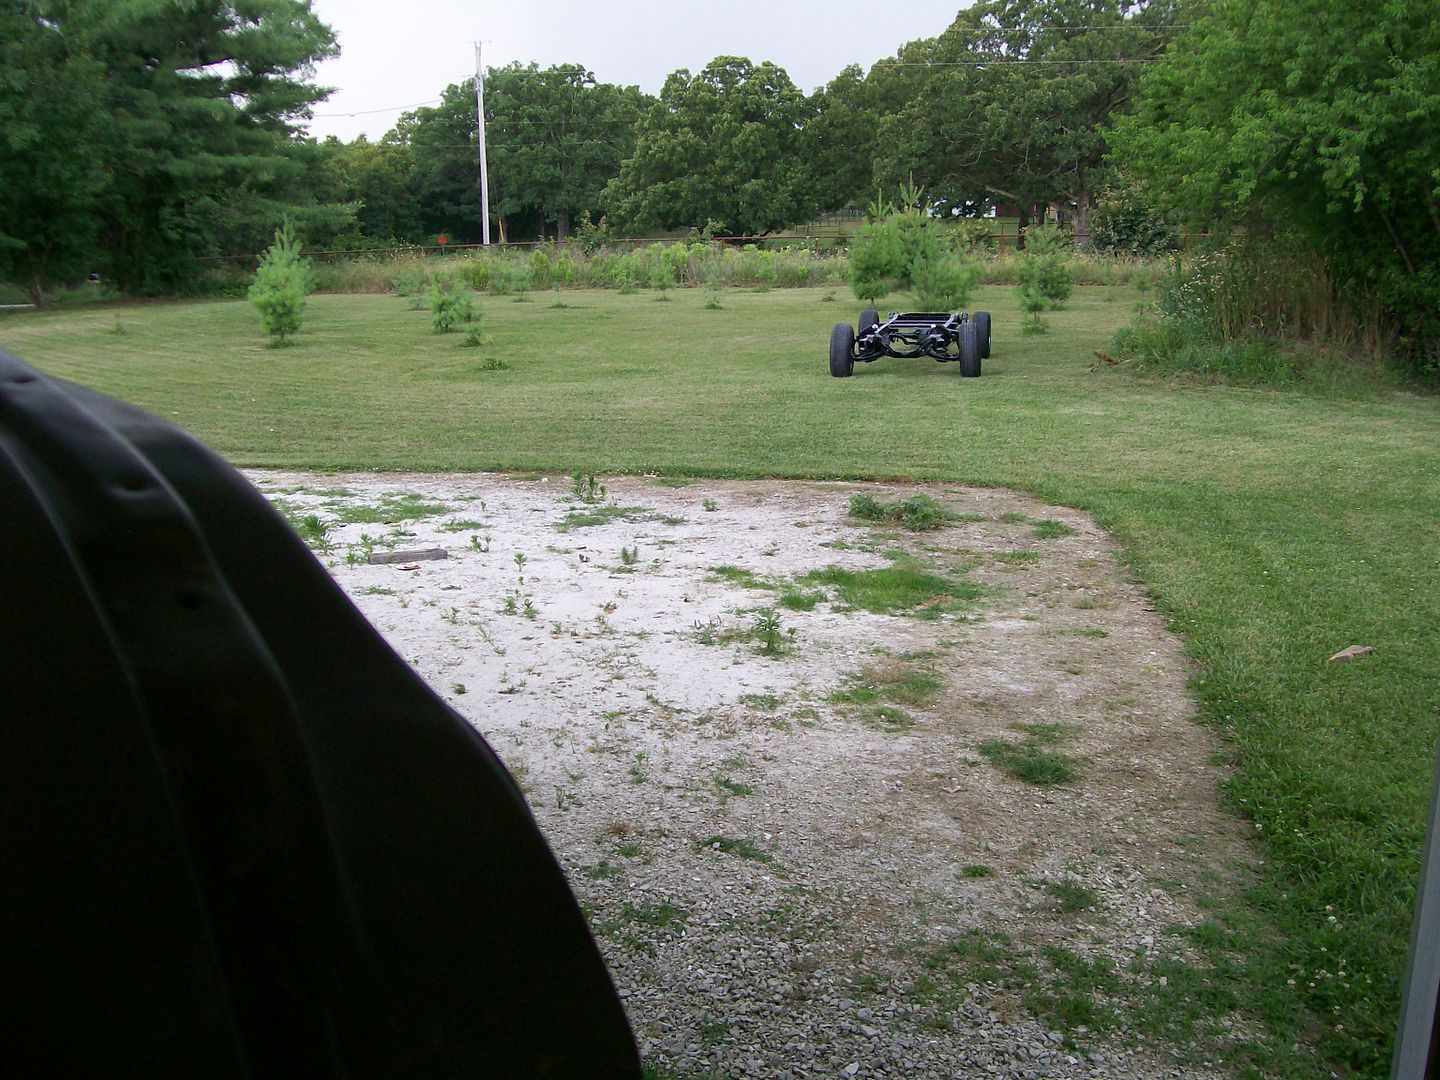 And here it is in the reflection on the firewall. 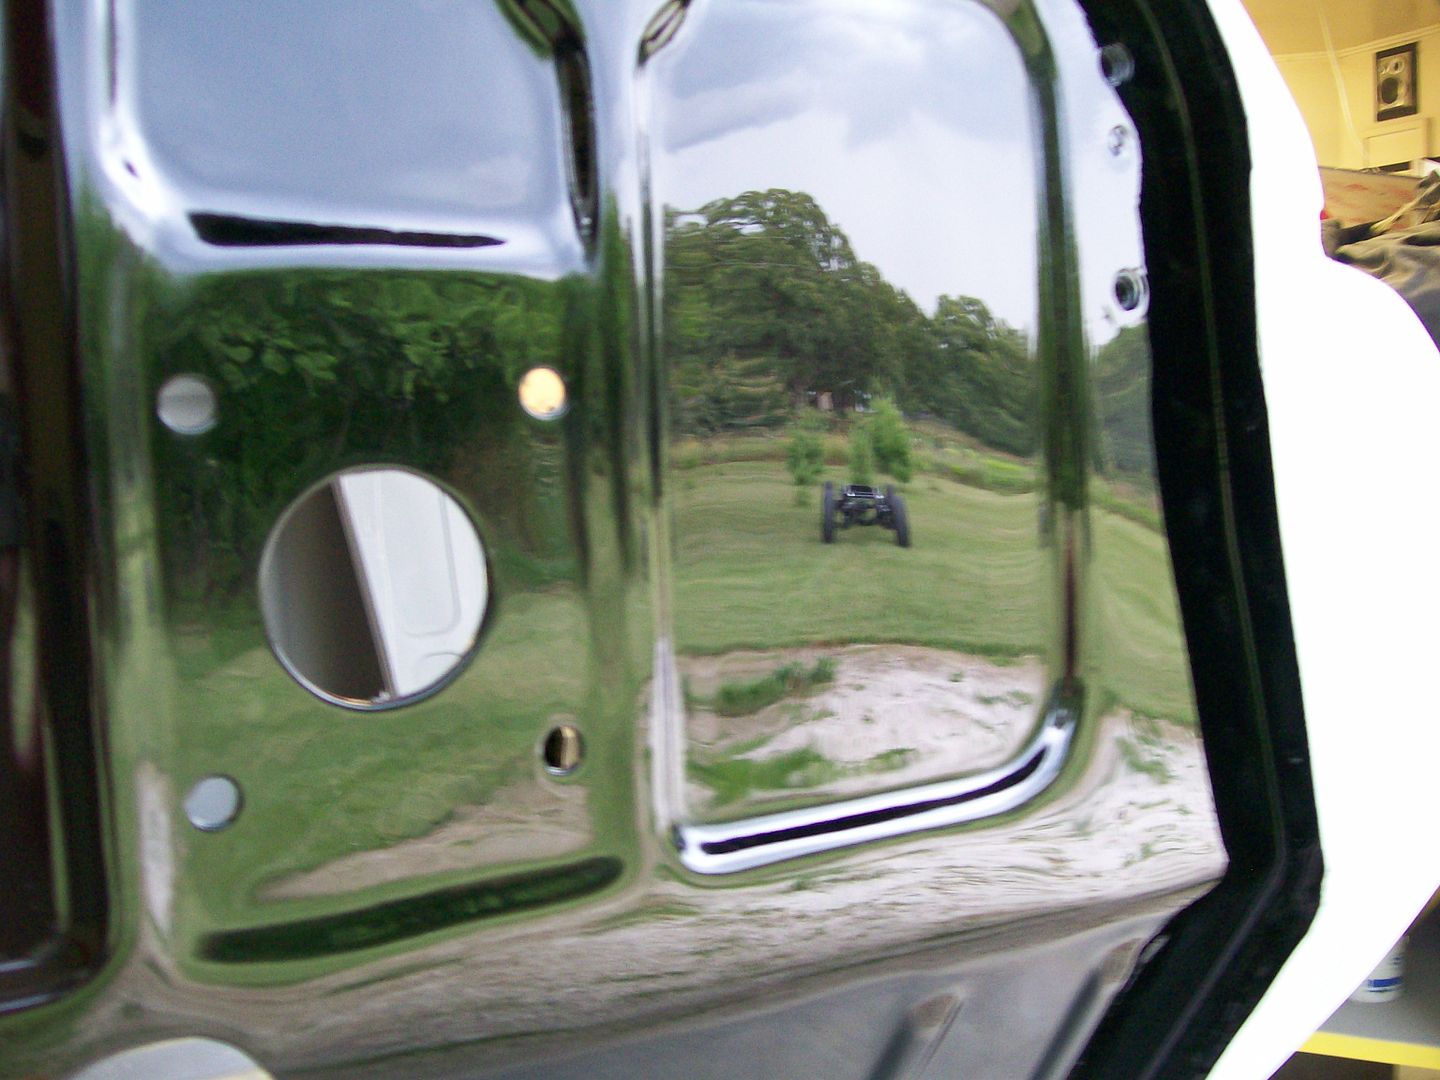 The rest of the firewall. 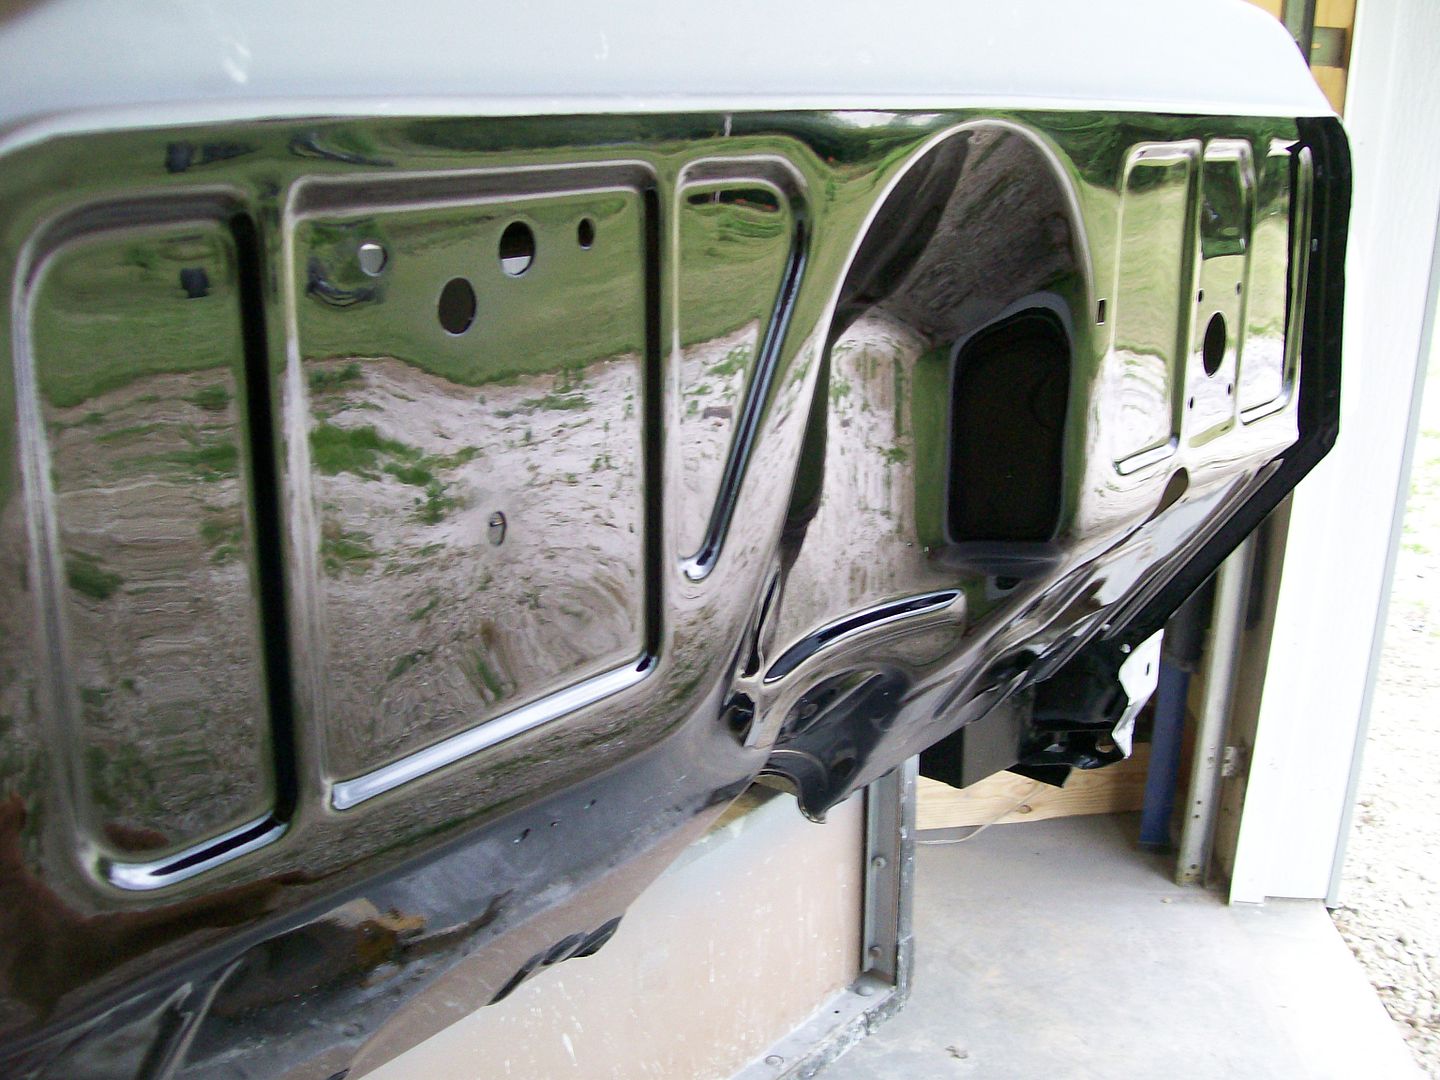 Back in the shop. I see the brown dog in the upper center of the firewall. 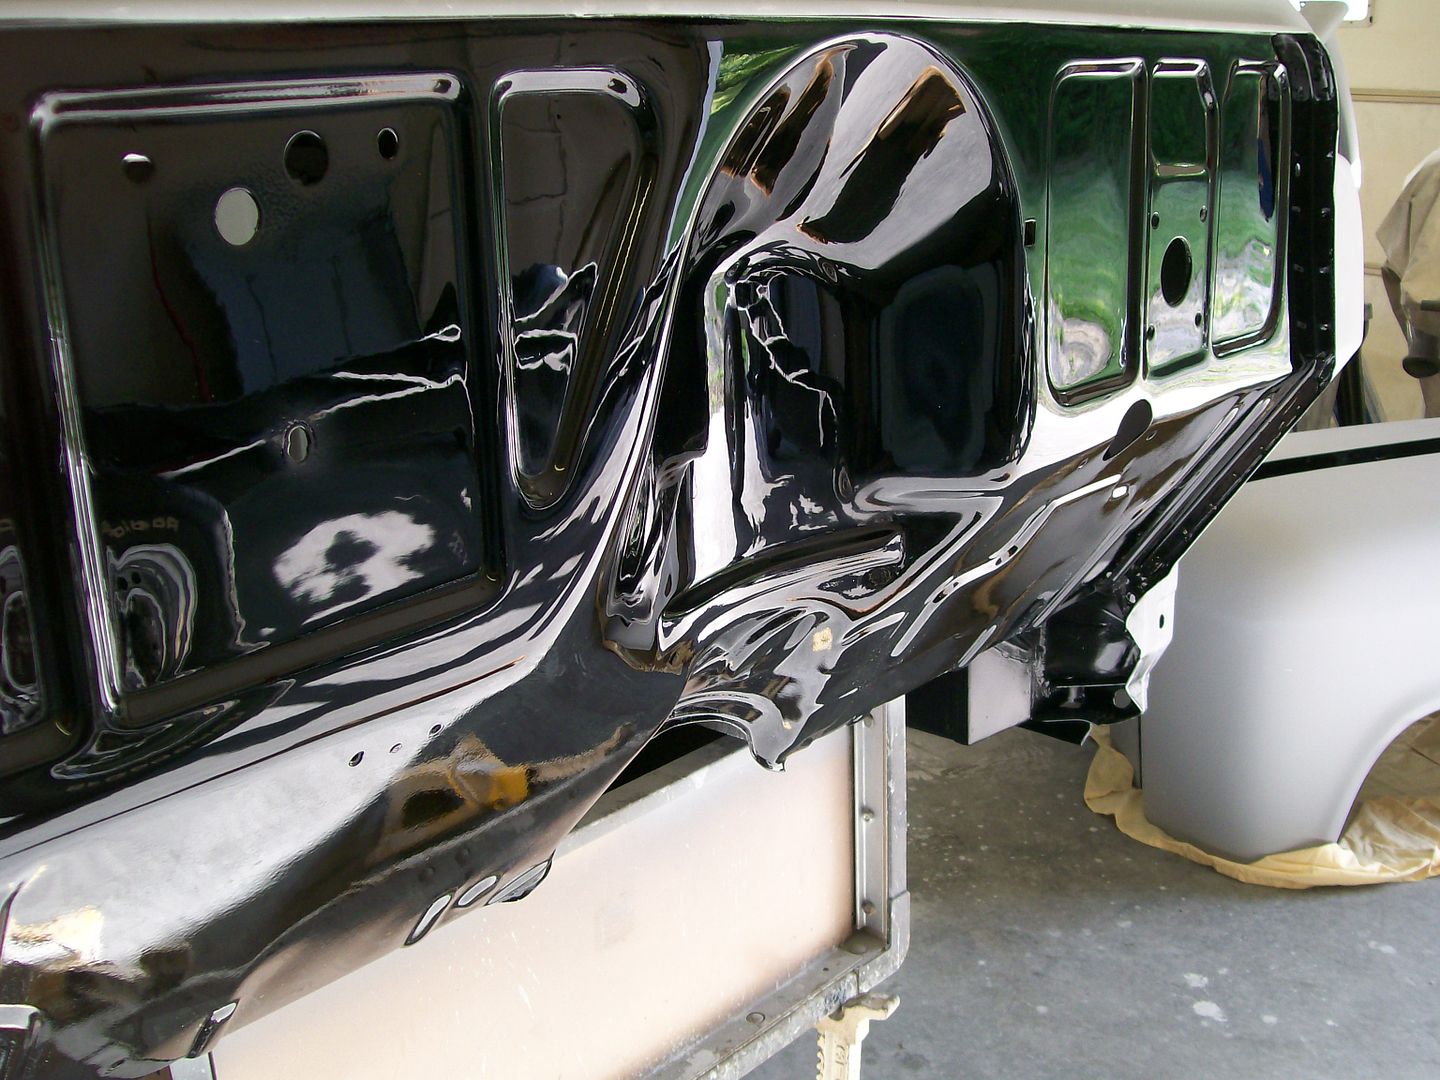 For a better look at the dog, here she is wagging her tail. 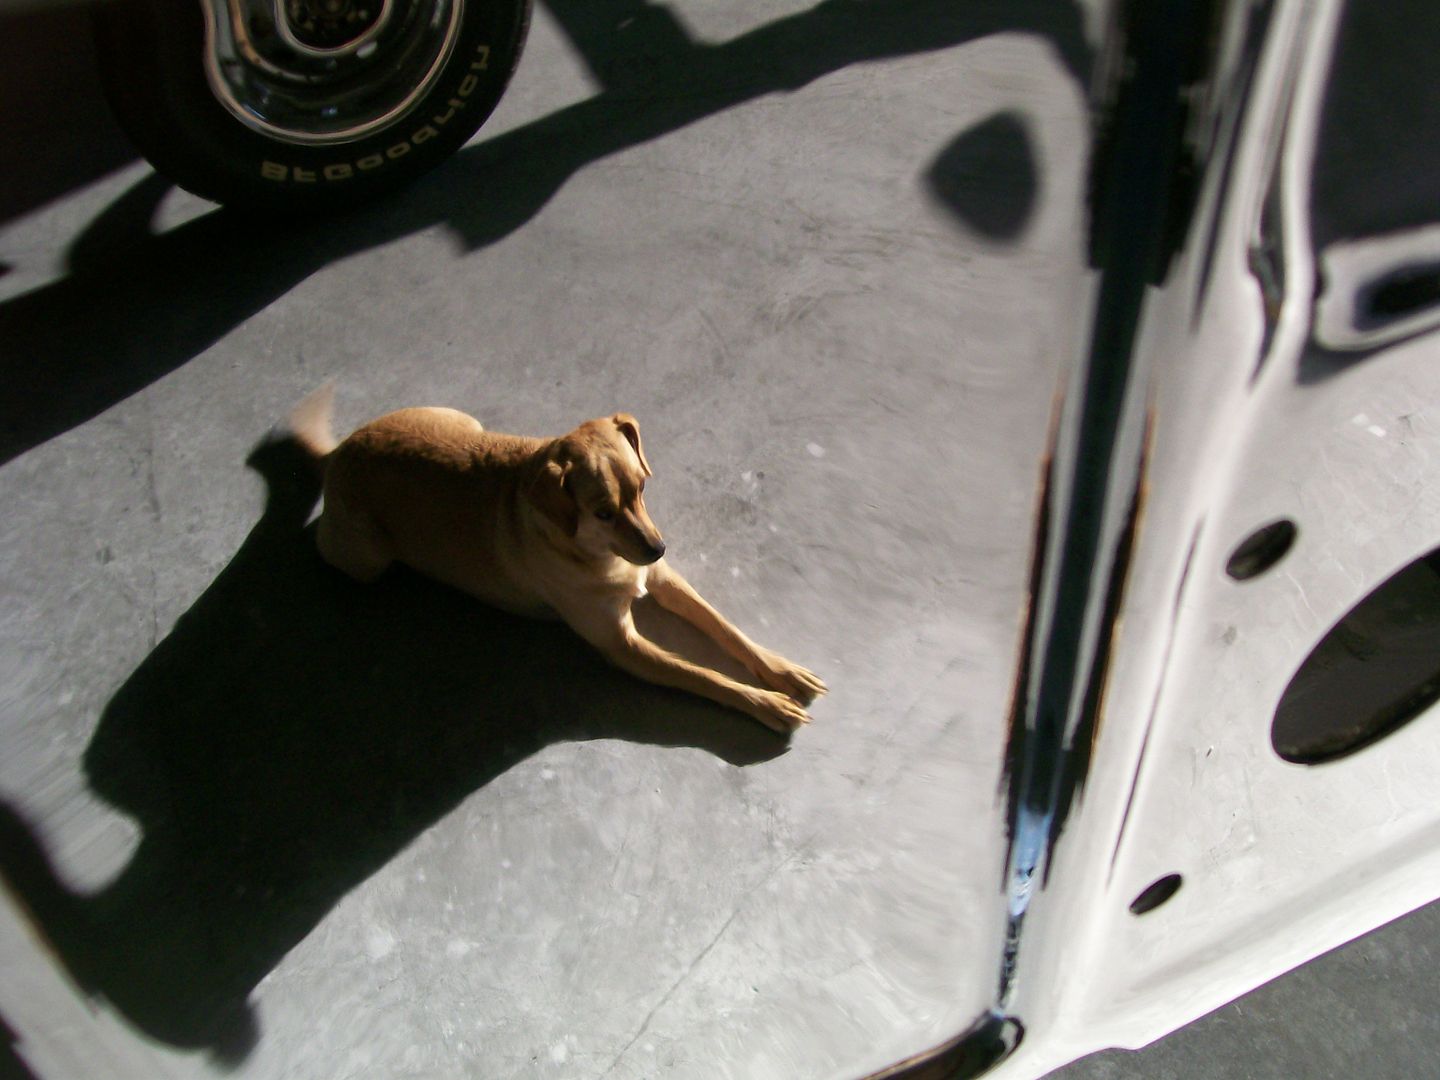 Talk about self motivation, I just have to be the little train that thought he could, and I'll get this thing done. I think I can, I think I can.  I also want to thank everybody for the words of encouragement, we sometimes have to be crazy to be so committed to old vehicles and it's nice to know there are others like us out there.
__________________
My 57 Chevy truck build.http://67-72chevytrucks.com/vboard/s...d.php?t=541132 |
|
|

|
|
|
#479 |
|
Registered User
Join Date: Feb 2013
Location: Lakeside Ariz
Posts: 445
|
Re: 1957 Chevy truck re-rebuild
Wow that is nice.
Rich |
|
|

|
|
|
#480 |
|
Registered User
Join Date: Jun 2006
Location: Idaho
Posts: 8,800
|
Re: 1957 Chevy truck re-rebuild
That IS nice, also well crafted the brake mounting pad looks like it was supposed to be there.
__________________
1959 Chevy Short Fleetside w/ 74 4WD drive train (current project) OrrieG Build Thread 1964 Chevelle Malibu w/ 355-350TH (daily driver) Helpful AD and TF Manual Site Old Car Manual Project |
|
|

|
|
|
#481 |
|
Registered User
Join Date: Aug 2007
Location: Corona, California
Posts: 7,998
|
Re: 1957 Chevy truck re-rebuild
Beautiful fire wall.
Kim |
|
|

|
|
|
#482 |
|
A320 Pilot/USAF Retired
Join Date: Mar 2009
Location: Charleston, SC
Posts: 2,629
|
Re: 1957 Chevy truck re-rebuild
Outstanding!
__________________
JJ My 1957 build: http://67-72chevytrucks.com/vboard/s...d.php?t=334552 http://www.trifive.com/forums/showthread.php?t=22037 Instagram - Chuckdriver57 |
|
|

|
|
|
#483 |
|
Registered User
Join Date: Aug 2013
Location: Adelaide, South Australia
Posts: 241
|
Re: 1957 Chevy truck re-rebuild
Wow!!! Great job.
If that was my dog he would be barking at his reflection.
__________________
Nev Need a bigger garage so I can keep more cool cars alive My build, a long way to go.  http://67-72chevytrucks.com/vboard/s...d.php?t=595909 |
|
|

|
|
|
#484 |
|
Senior Member
  Join Date: Nov 2008
Location: Glendora, CA
Posts: 6,344
|
Re: 1957 Chevy truck re-rebuild
Yikes! Now THATS a kickass firewall. You sure you didn't mistake it for the hood or something?
Wow, you are a wonderful painter, truly impressed.
__________________
'55 Big Window Shortbed, Drive-It-&-Work-On-It slid down the "slippery slope" to a Frame-Off Rodstoration! LQ4/4l85e/C4 IFS/Mustang 8.8 rearend w/3.73's Dan's '55 Big Window "Build" - Well, Kinda! |
|
|

|
|
|
#485 |
|
Registered User
Join Date: Aug 2012
Location: Salem Mo
Posts: 666
|
Re: 1957 Chevy truck re-rebuild
Thanks everybody, I've been on the edge thinking about getting the firewall looking like that. I've done very little painting since the early 90's, twenty years ago the clear coat revolution was just getting going. The lacquer was pretty well done and Acrylic enamels were the main focus. Fast forward to today, urethane paints and clears, fast drying, sanding and buffing in 24 hours ,this is great.
I really didn't do anything special on the application of the paint and clear. The sanding and buffing is where the finish changes from normal to spectacular. My patience with the sanding and buffing comes from my early days of using lacquer, pretty well everything had to be buffed back then. Next up on the project is getting as many things on the cab taken care of before I put it back on the frame. Time to deal with the door hinges. First I want to alter the slots where the hinges mount to the cab. Once the hinges are in place, a part of the slot is exposed either above or below the flange part of the bolt. Since these hinges are now specific for this truck I marked the hinges where the slots are exposed and welded shut some of the slot. The slot on the left has been welded shut slightly. 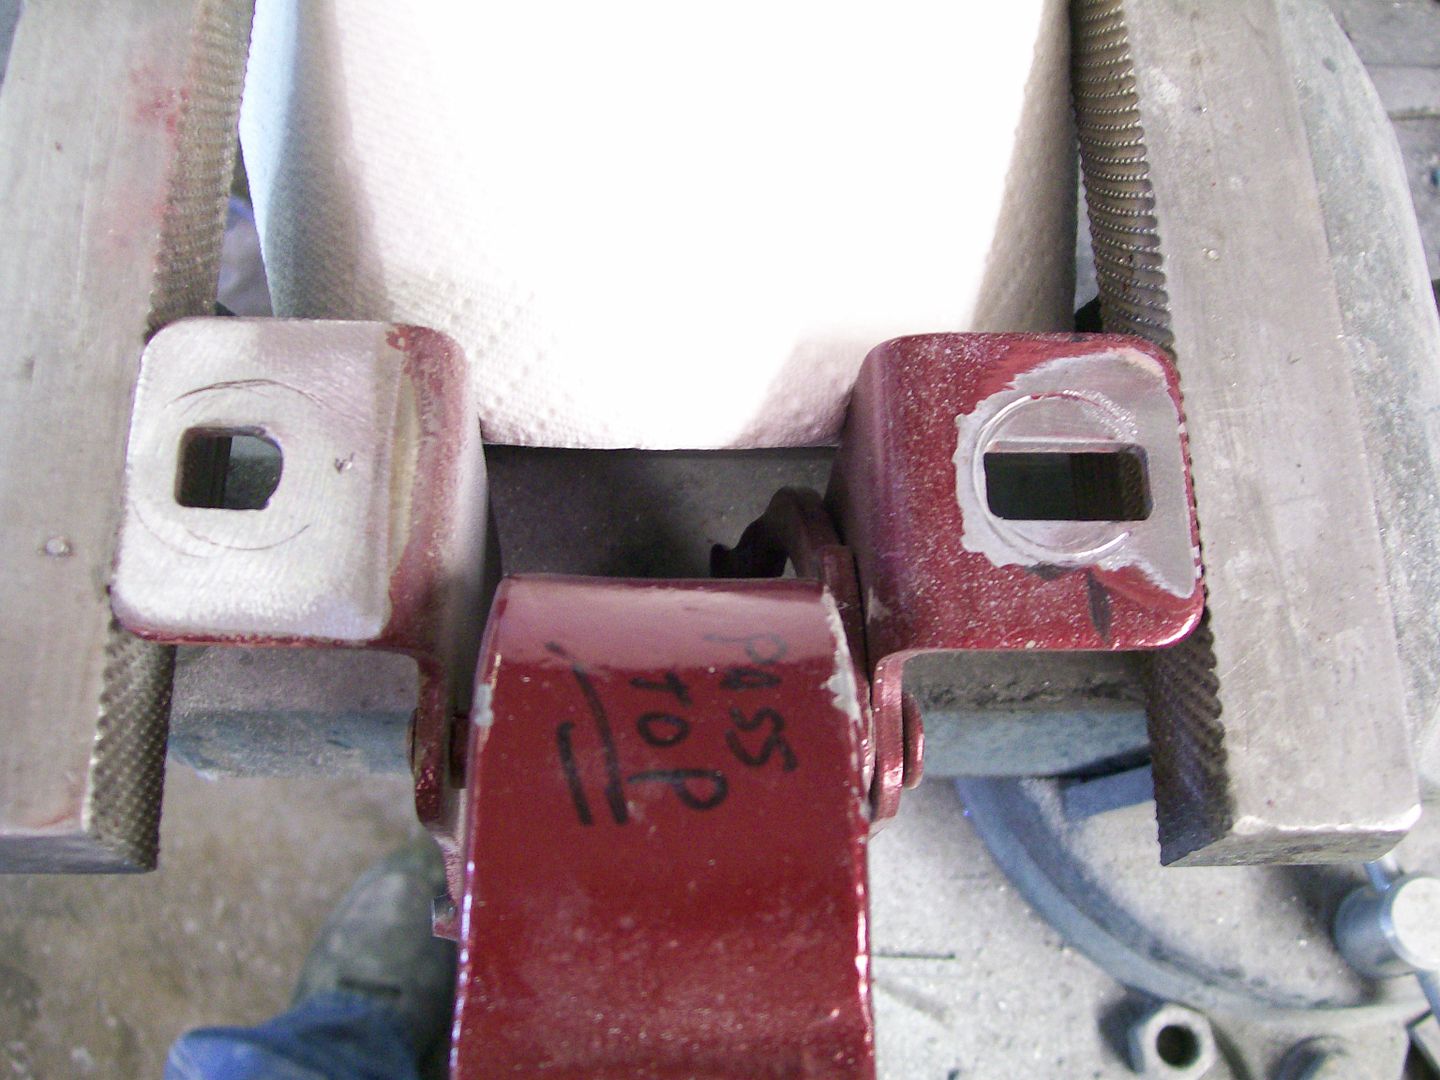 After disassembling it was out to the sandblaster. 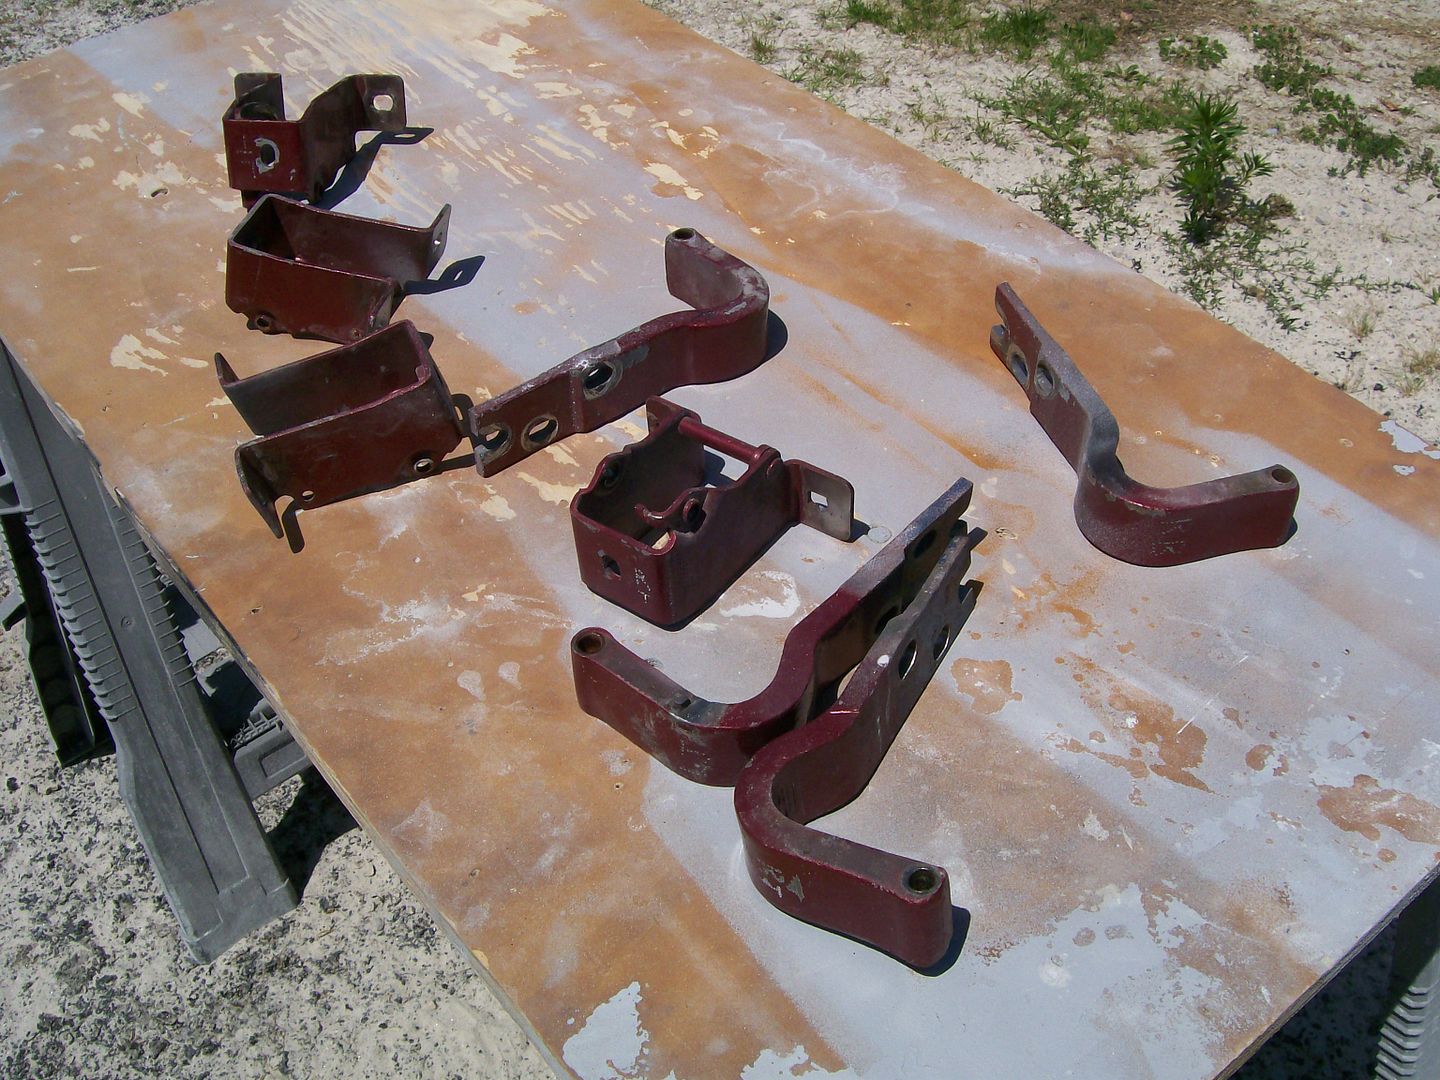 Ready to go right to priming and painting.... 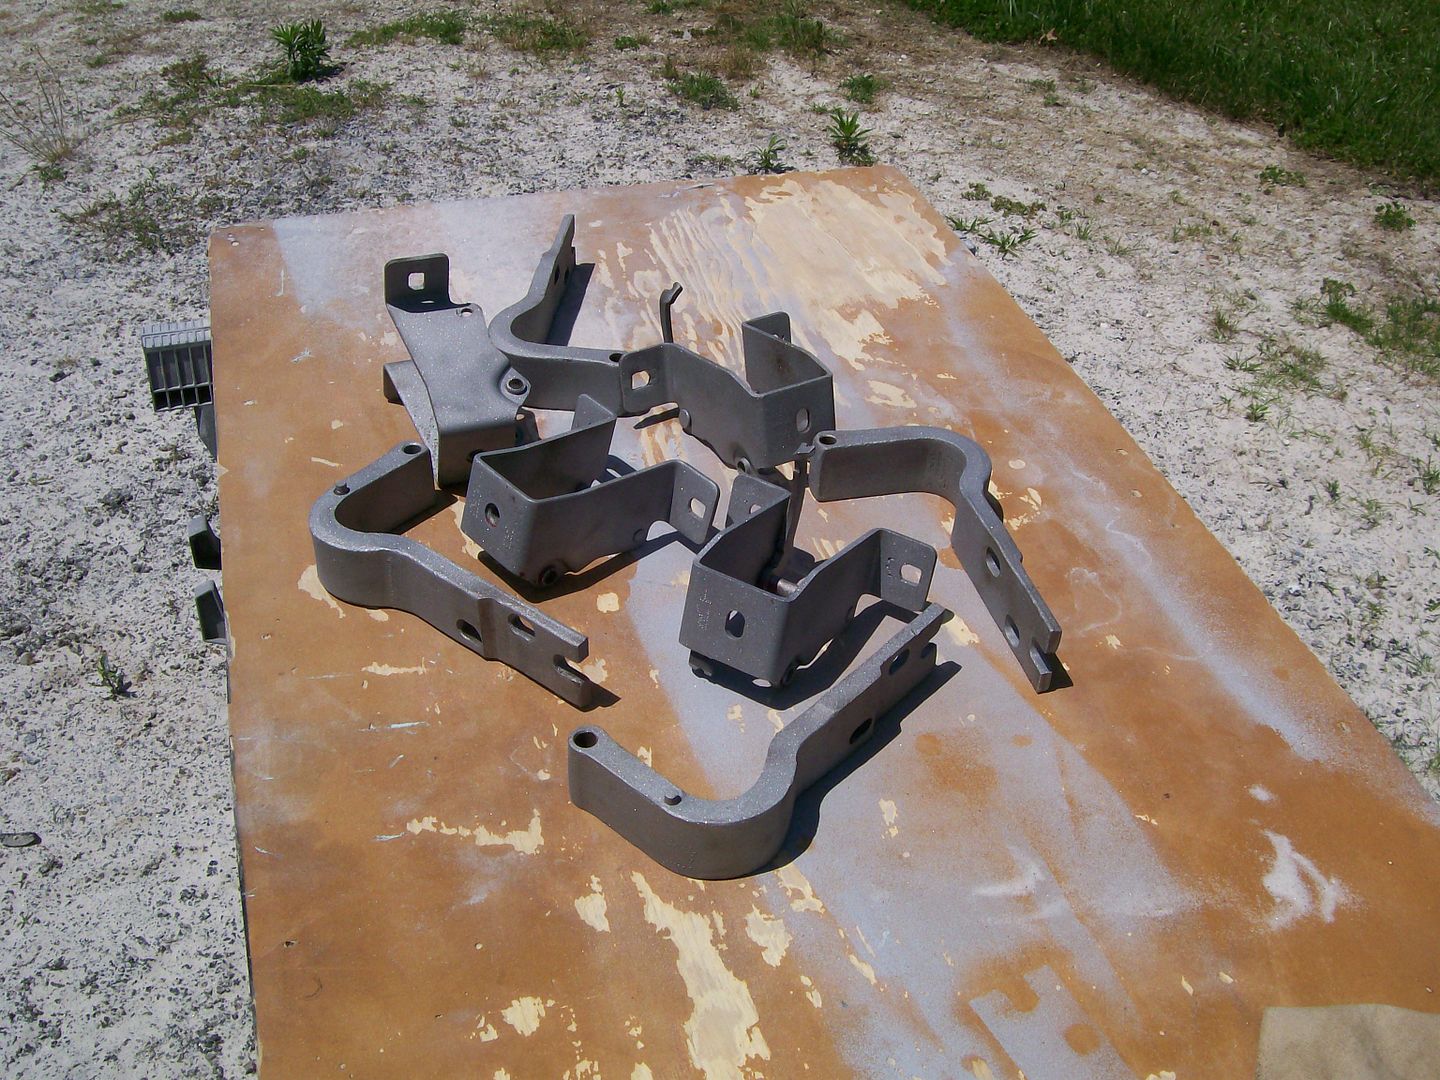
__________________
My 57 Chevy truck build.http://67-72chevytrucks.com/vboard/s...d.php?t=541132 |
|
|

|
|
|
#486 |
|
Registered User
Join Date: Feb 2013
Location: Lakeside Ariz
Posts: 445
|
Re: 1957 Chevy truck re-rebuild
Jim what kind of buffer and pad do you use? Thanks Rich
my build http://67-72chevytrucks.com/vboard/s...d.php?t=576185 |
|
|

|
|
|
#487 |
|
Registered User
Join Date: Aug 2007
Location: Corona, California
Posts: 7,998
|
Re: 1957 Chevy truck re-rebuild
Hinges are looking good.
Kim |
|
|

|
|
|
#488 | |
|
Registered User
Join Date: Aug 2012
Location: Salem Mo
Posts: 666
|
Re: 1957 Chevy truck re-rebuild
Quote:
Kim, they're looking like brand new, I now have to paint and install new pins and bushings and I think they will be new. 
__________________
My 57 Chevy truck build.http://67-72chevytrucks.com/vboard/s...d.php?t=541132 |
|
|
|

|
|
|
#489 |
|
Registered User
Join Date: Aug 2012
Location: Salem Mo
Posts: 666
|
Re: 1957 Chevy truck re-rebuild
Baldeagle SR, I use 3M brand buffing pads and the mounting pad.
It works on a vel-cro situation and the buffing pad is foam. 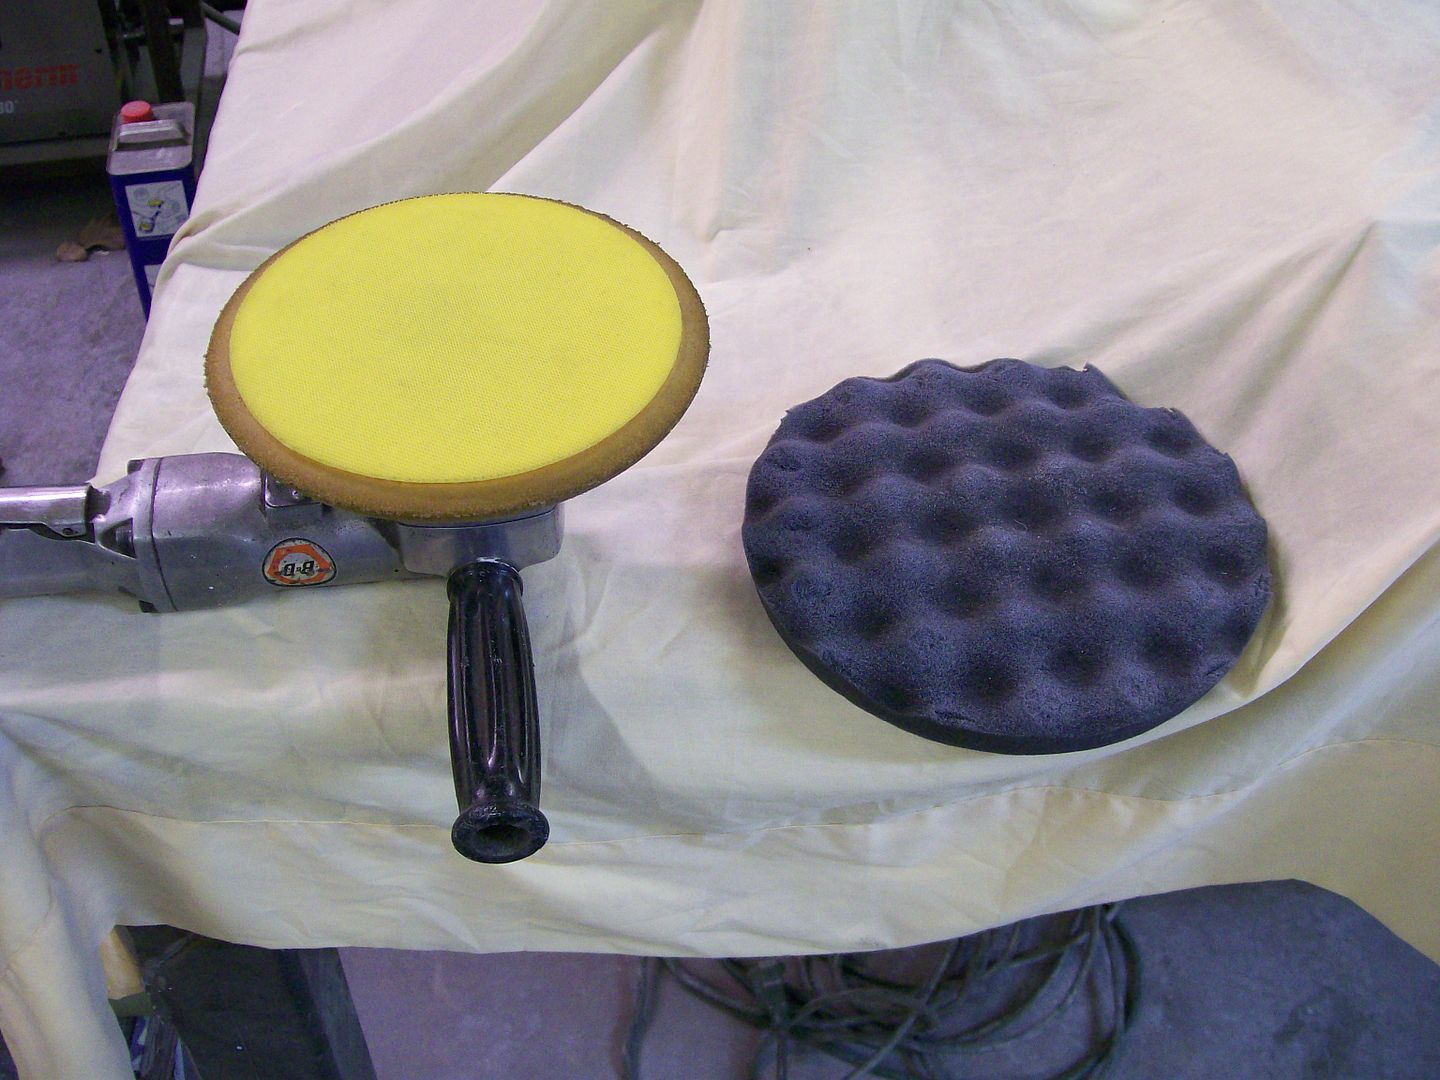 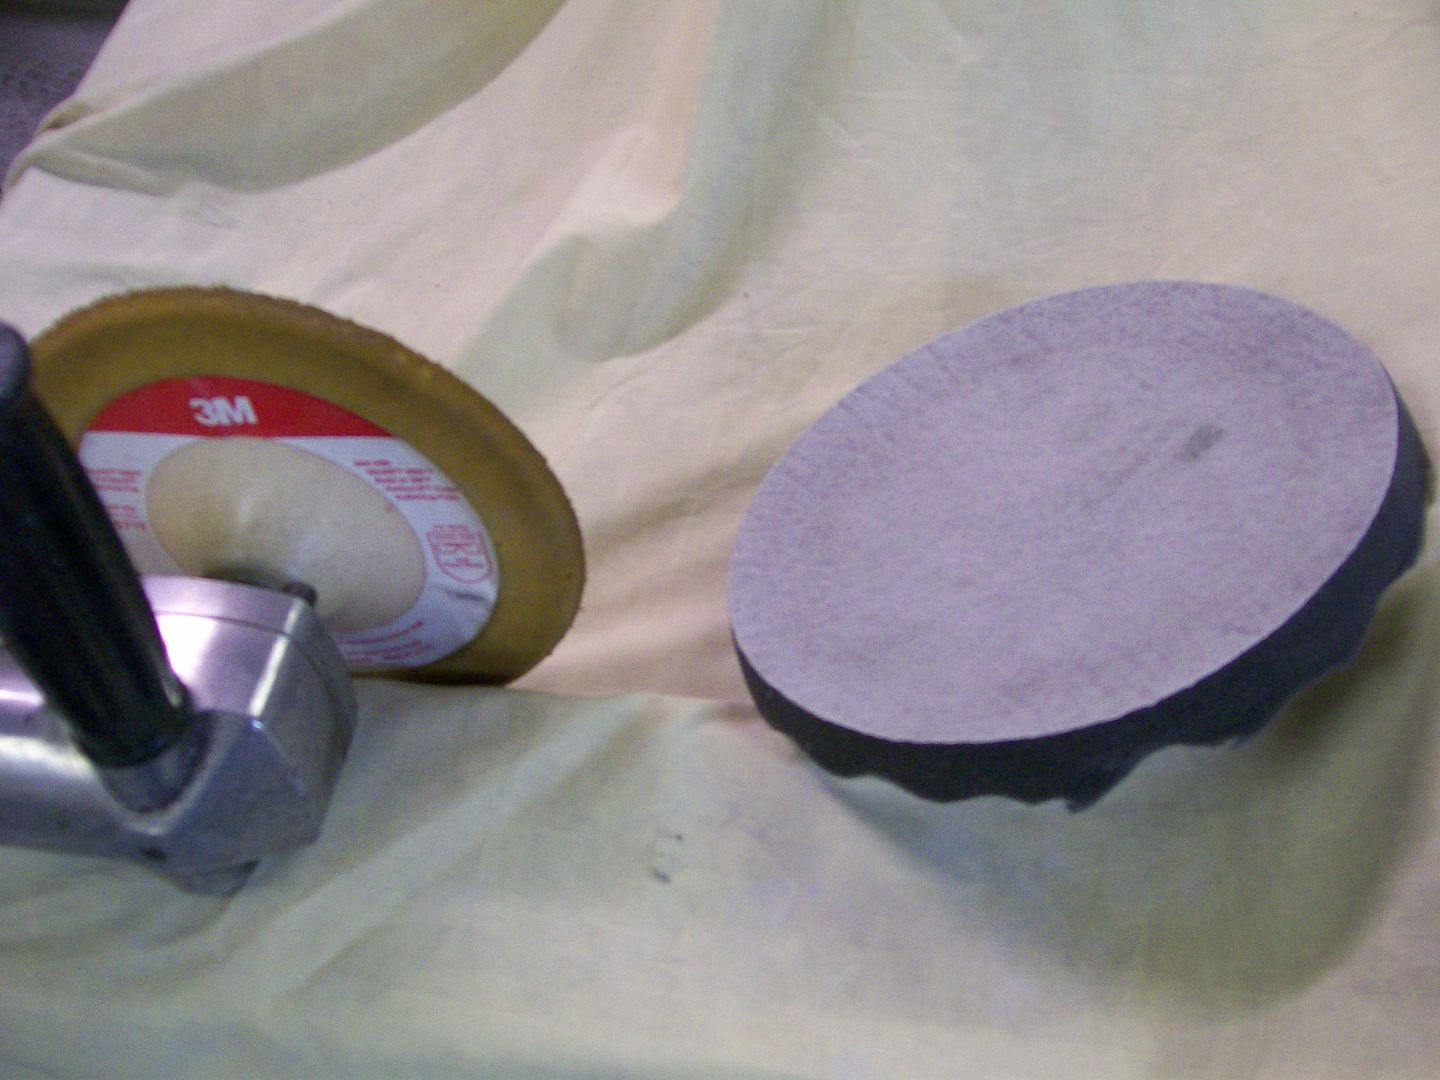 I try to stay with 2000 grit paper. I know 1500 will get the surface flat faster, but if I can I stick with 2000. It's just shortens the amount of buffing done later. I also used an air powered grinder/buffer. I turned the air pressure down to around 70 pounds. I could get a good speed with no torque which means if I started to hook an edge so to speak, the buffer would slow down immediately. If I used my electric buffer here I can slow it down but it would torque it's way through an edge and possible burn the edge. As for the small angles I had to deal with on the firewall I used one of the Mothers mag wheel polishers. It was a slow process, but I didn't burn any edges. 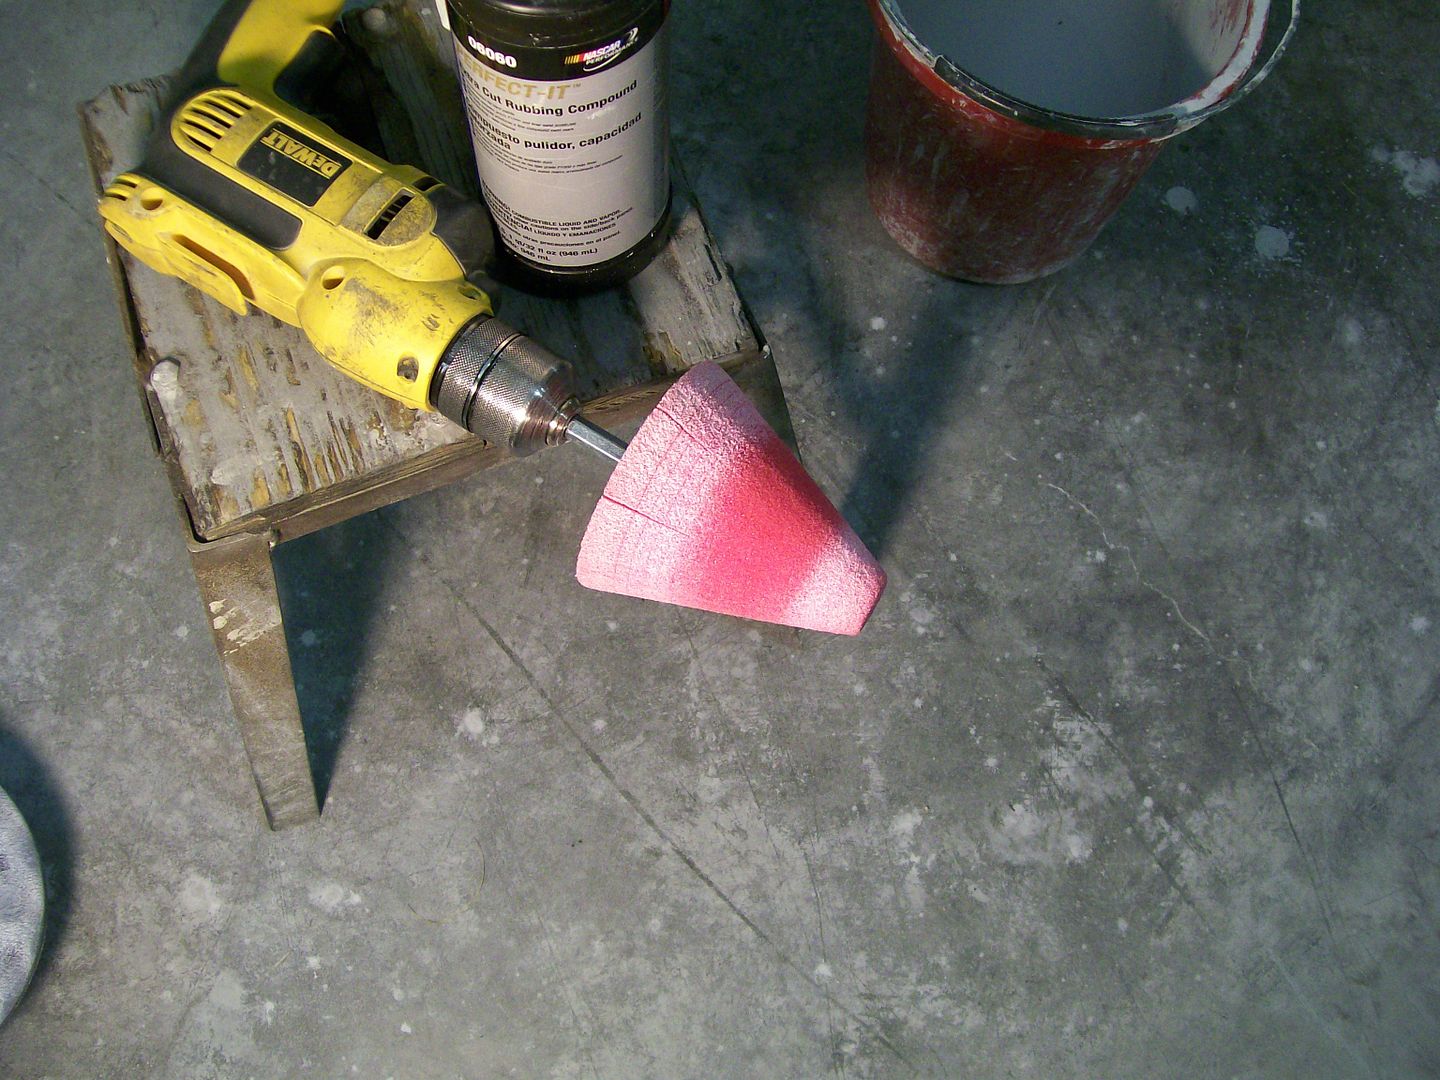 On a different note I got the items back from chrome plating today. One of the items were the eye brows over the taillights. I am going to bring the black around the back of the truck and I thought chrome would really pop and would also have a factory feel to them. Just for an idea of the eye brows. 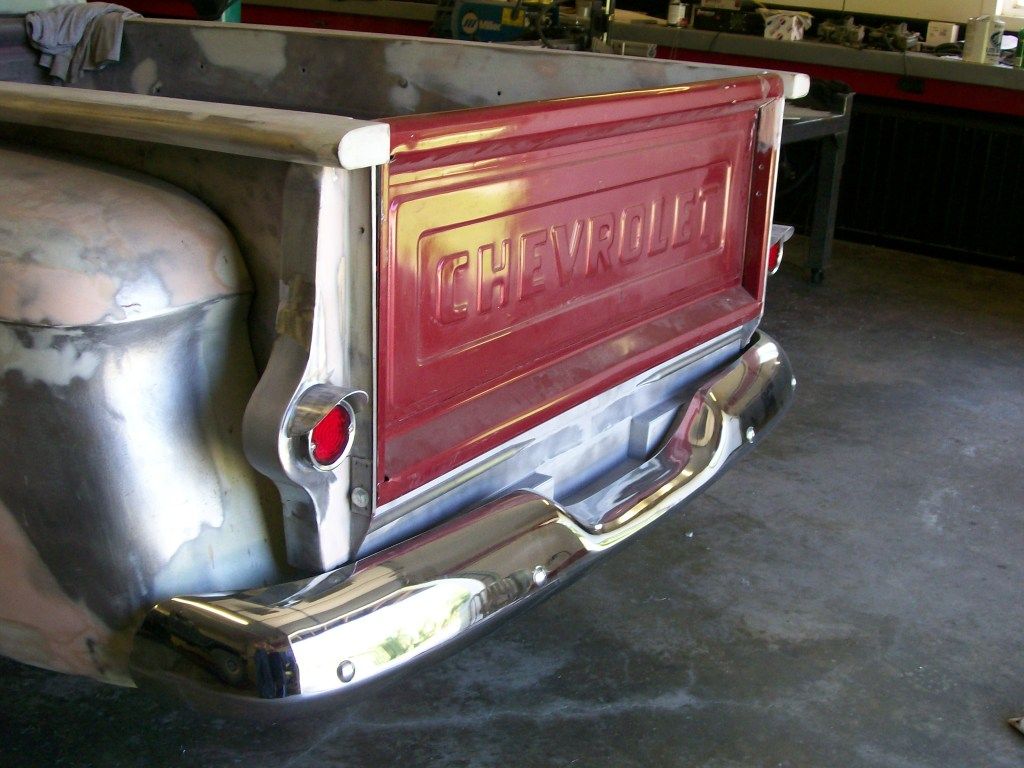 This picture doesn't do the finish justice. I also had them do the finishing metal work to ensure it was up spec for perfect chroming. 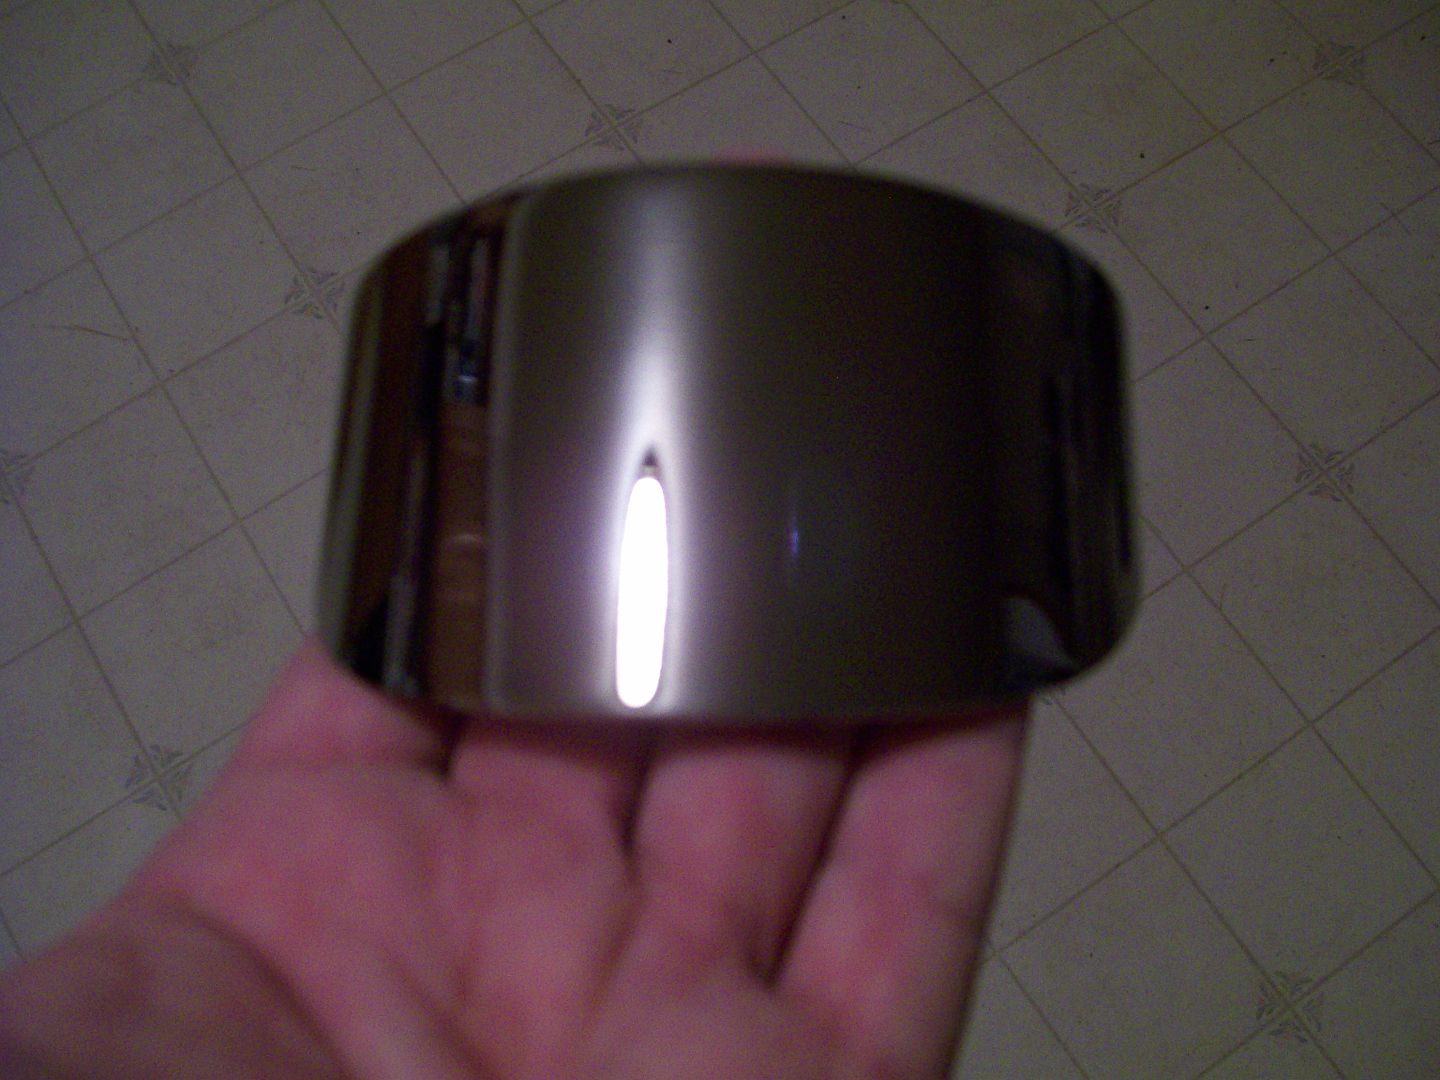 The chrome is perfect, these will look great when the truck is back together. I had Paul's Chrome do the work. The process was about 2 months which was exactly what they thought it would take. The process is.... send them the parts with your own inventory sheet. They photo and evaluate each piece. They send an e-mail explaining the work and cost per piece. If you agree, print a contract, sign and send a check. I will probably send a few more pieces, it's not cheap, but the parts came back exactly what I wanted, sometimes peace of mind is worth a few bucks. I've struggled inside trying to decide chrome or paint. If I went with paint, then what color... problem solved. 
__________________
My 57 Chevy truck build.http://67-72chevytrucks.com/vboard/s...d.php?t=541132 |
|
|

|
|
|
#490 |
|
Registered User
Join Date: Feb 2013
Location: Lakeside Ariz
Posts: 445
|
Re: 1957 Chevy truck re-rebuild
Jim Thanks for the info. I have been using a variable polisher a cheep one with a wool pad and it would burn the paint pretty easy. You grinder polisher looks like the air grinder I have . I never tried using it for polishing. I think my problem is the wool pad. The chrome came out nice.
Rich |
|
|

|
|
|
#491 |
|
Registered User
Join Date: Aug 2007
Location: Corona, California
Posts: 7,998
|
Re: 1957 Chevy truck re-rebuild
Nice looking parts.
Kim |
|
|

|
|
|
#492 |
|
Registered User
Join Date: Aug 2012
Location: Salem Mo
Posts: 666
|
Re: 1957 Chevy truck re-rebuild
Ok. now it's commitment time, decisions have to be made.
I've googled dash pics for a couple of months but didn't see exactly what I want. My goal is to keep the black as the dominant color but I want to break the black somehow. Since the gauges have red, the outside will have a red pinstripe the shifter has a touch of red..... well, I had to do red. On with the steps of process. Of course, a coat of epoxy primer. 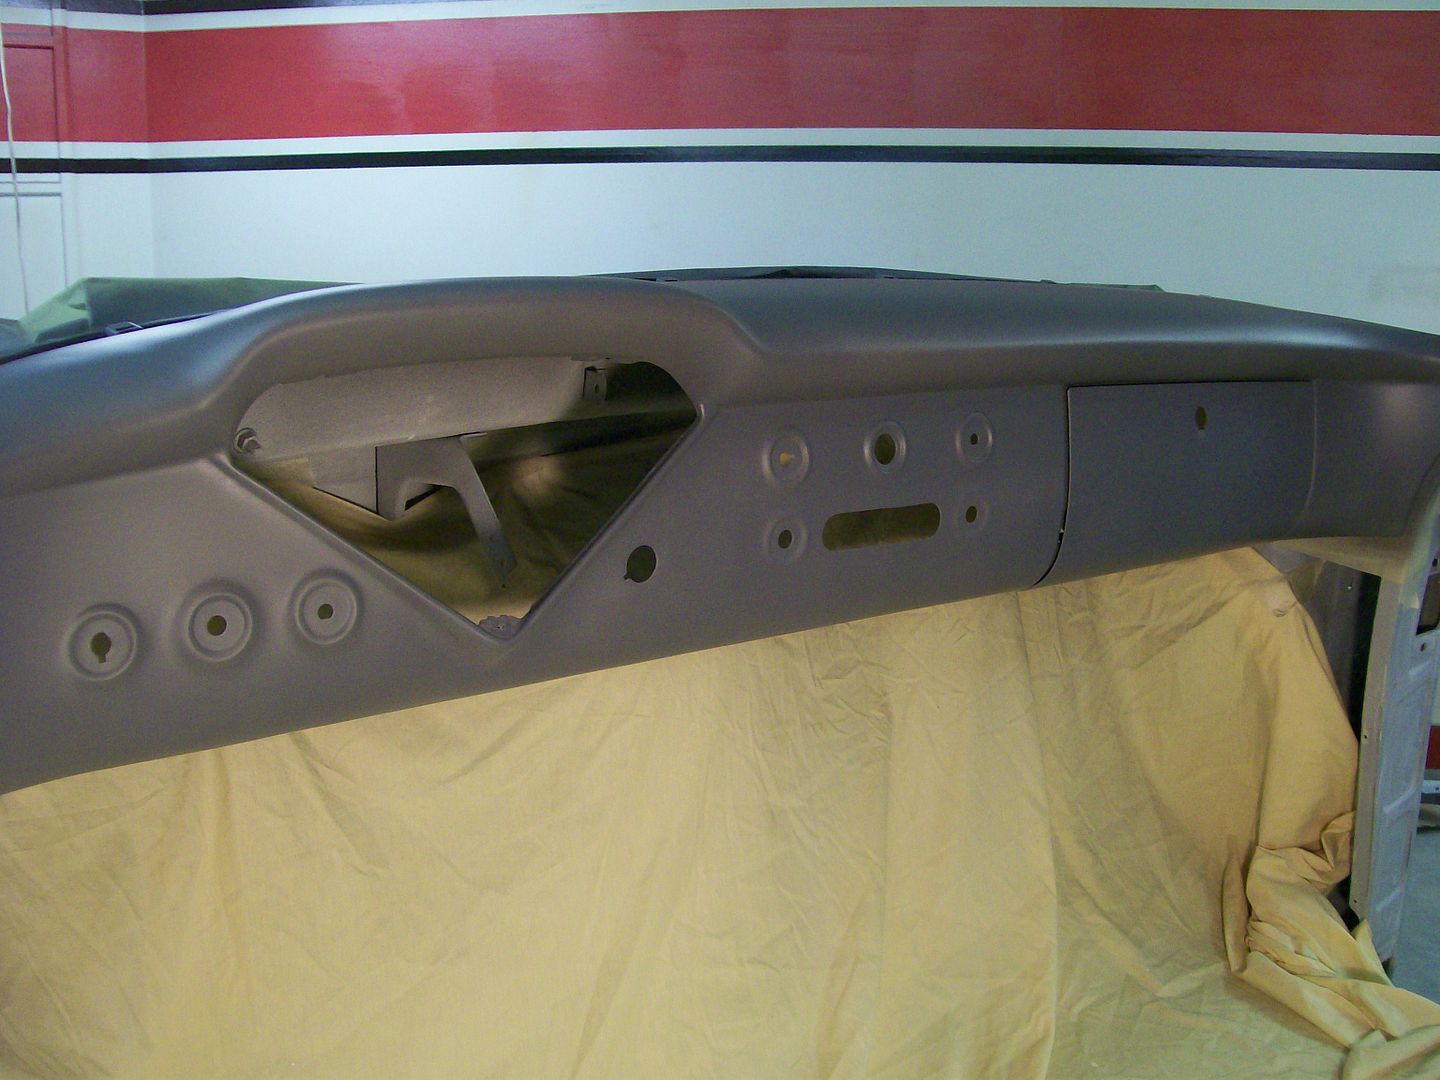 I like to paint on my pinstripes. My process is back wards from most, I spray the pinstripe color first, then use a quality pinstripe tape. Wherever the tape is, that's where the first color will be when done. This way I don't have to do any extra masking and taping later. The red. 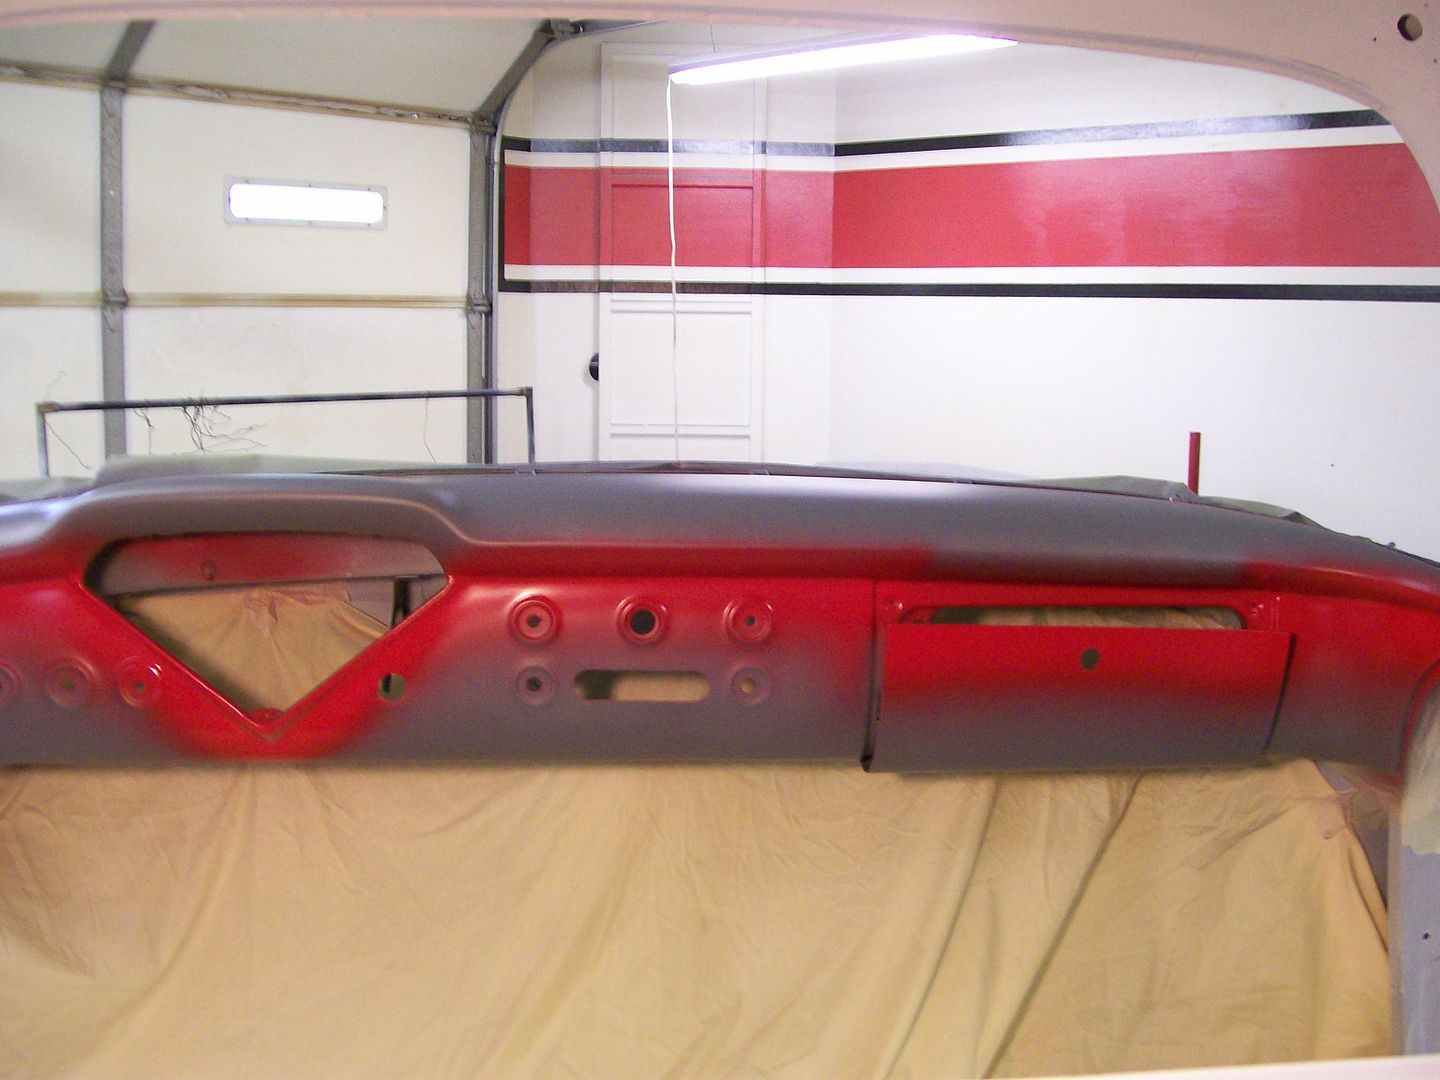 Quality tape, 1/8". 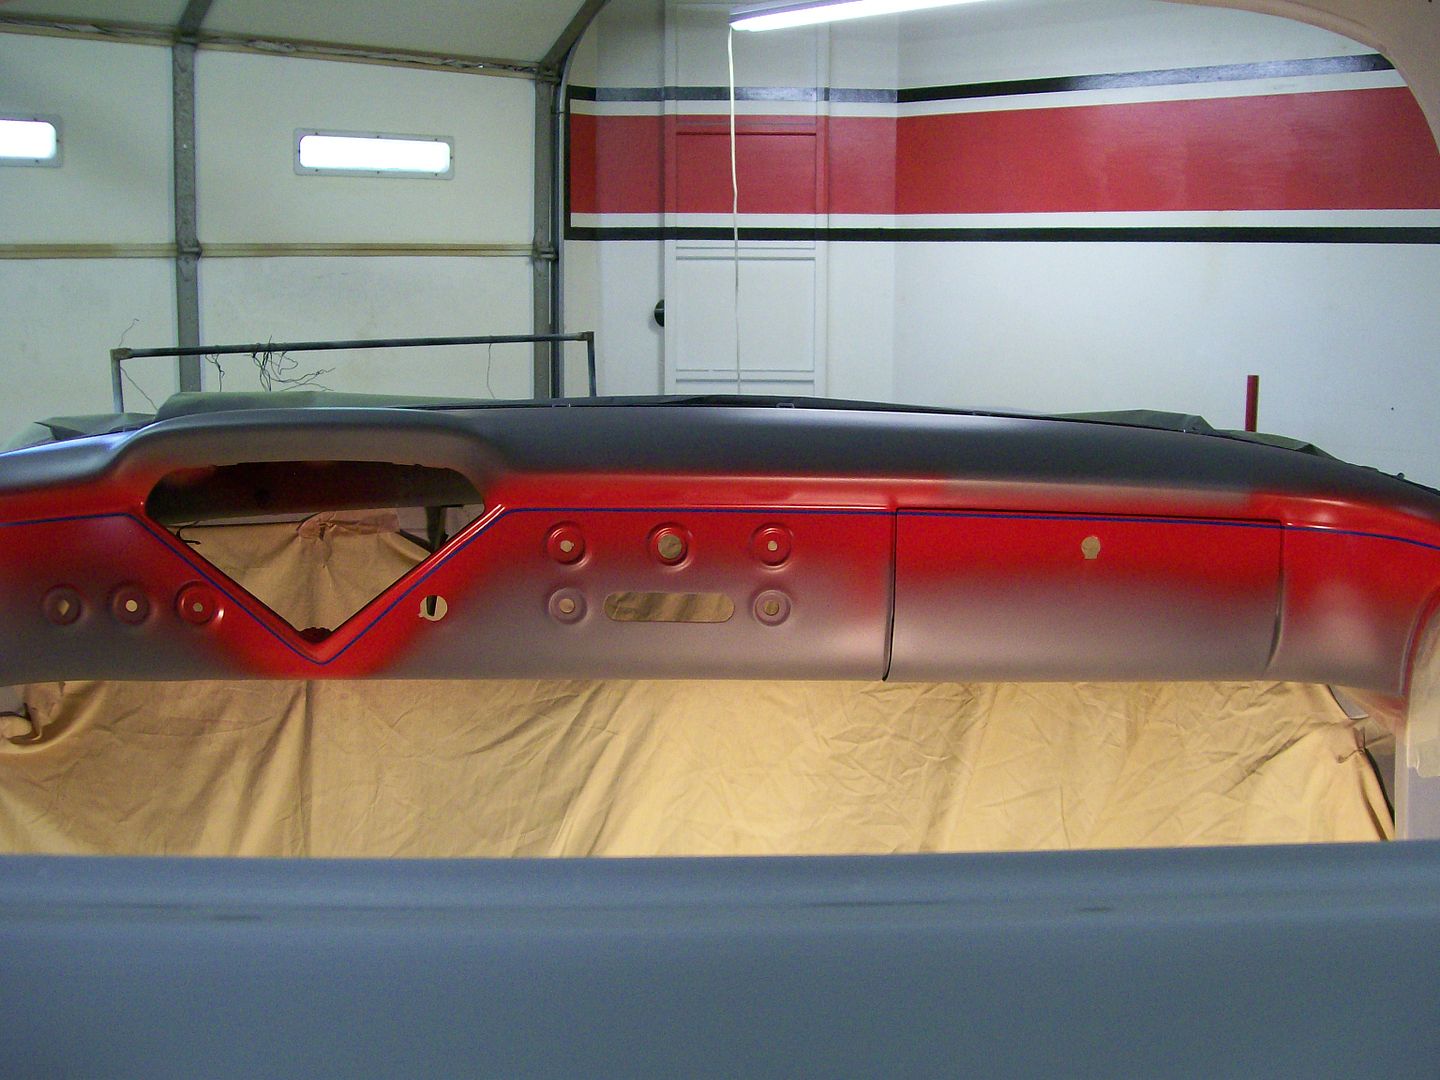 Now for the base coat black. Remember, the red is still under the tape. 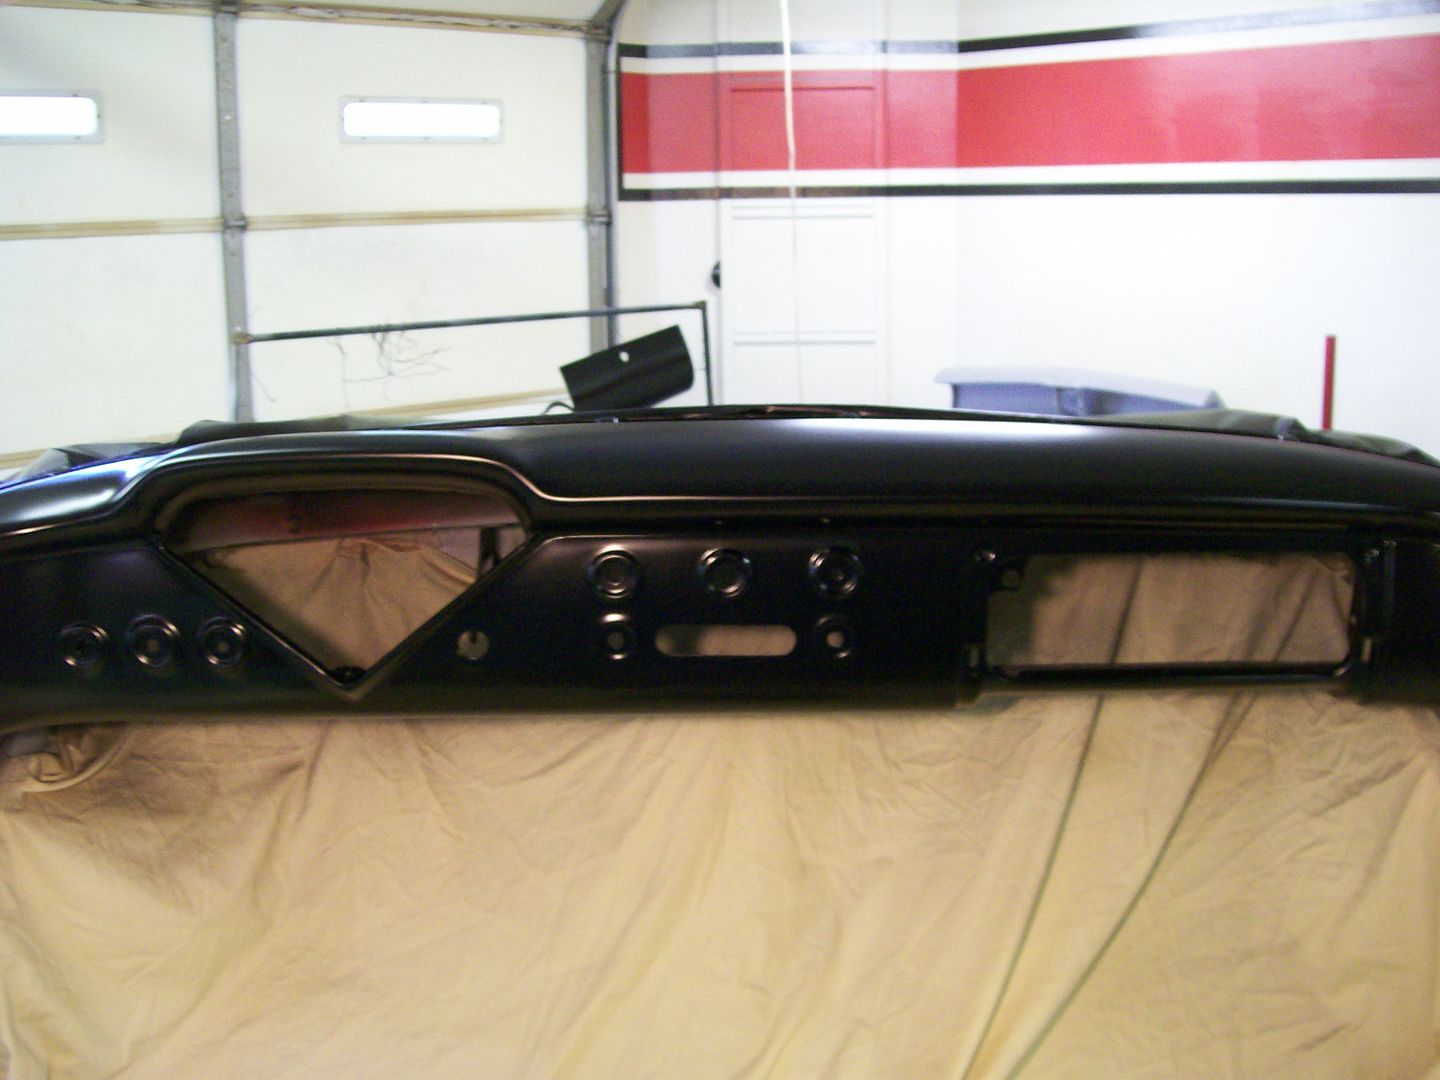 In the back ground I have the glove box door, it's being painted the same as the dash. It has the continuation of the pinstripe on it. Once the black dried for an hour and a half I peeled the tape back off exposing the red. By using a quality tape and peeling it back against itself, it leaves a very nice edge between the red and black. Now to clear the whole thing. I let the clear dry for a few hours then carefully inserted the gauge cluster. It's not in all the way, I just wanted get an idea of the overall look. 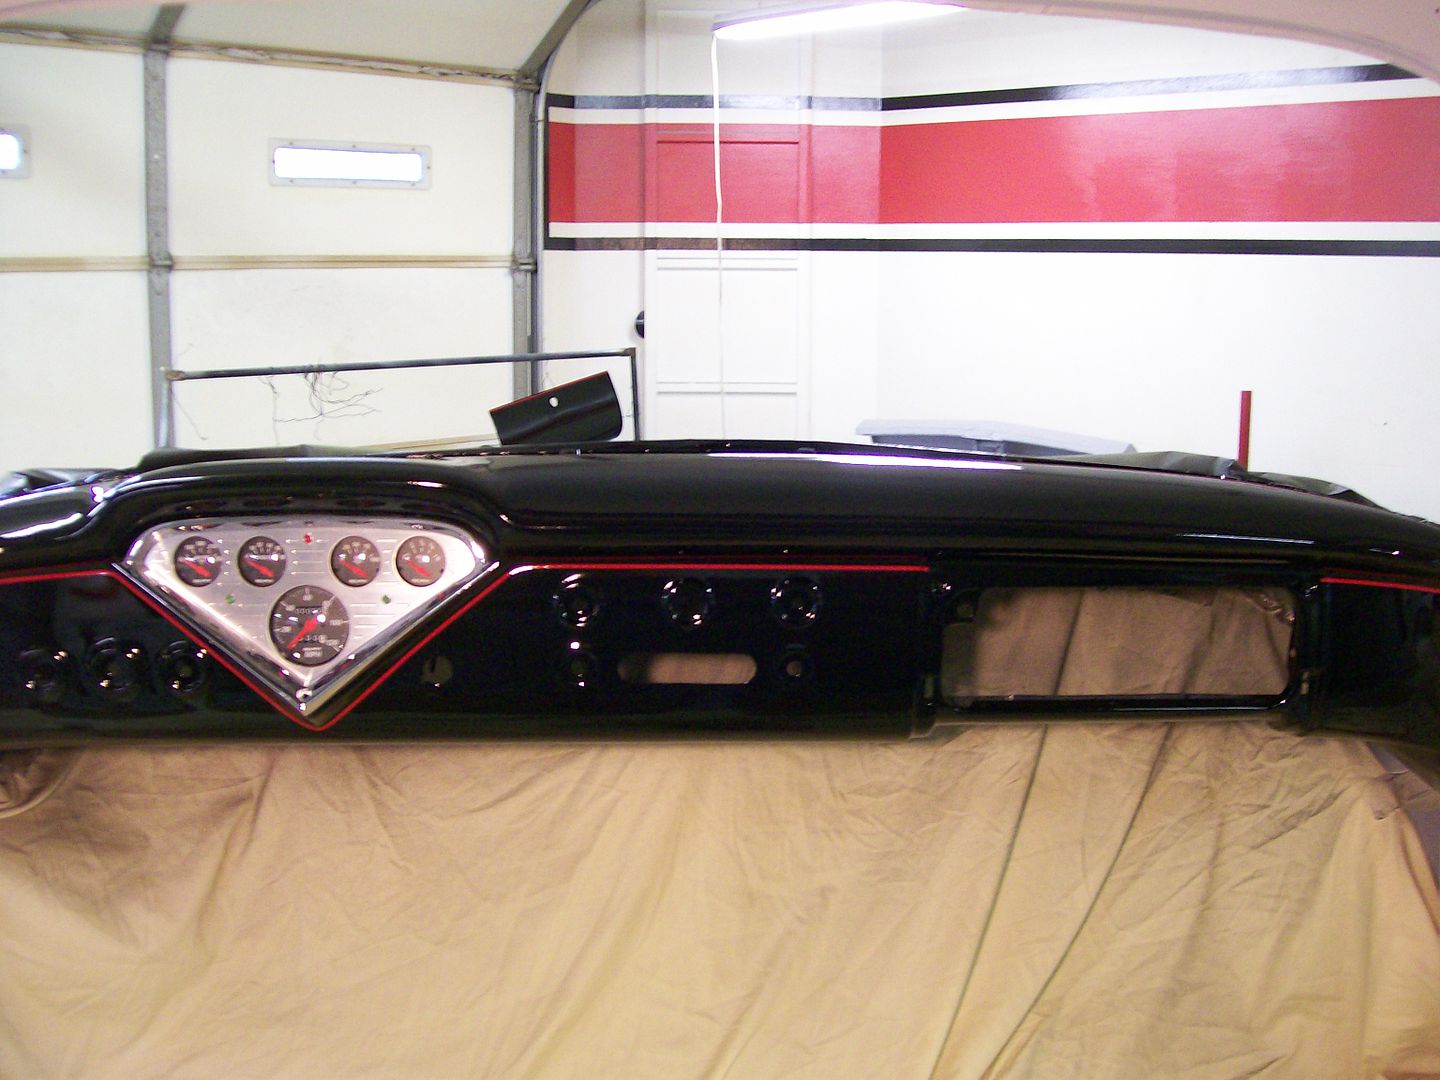 Then a drivers seat view. 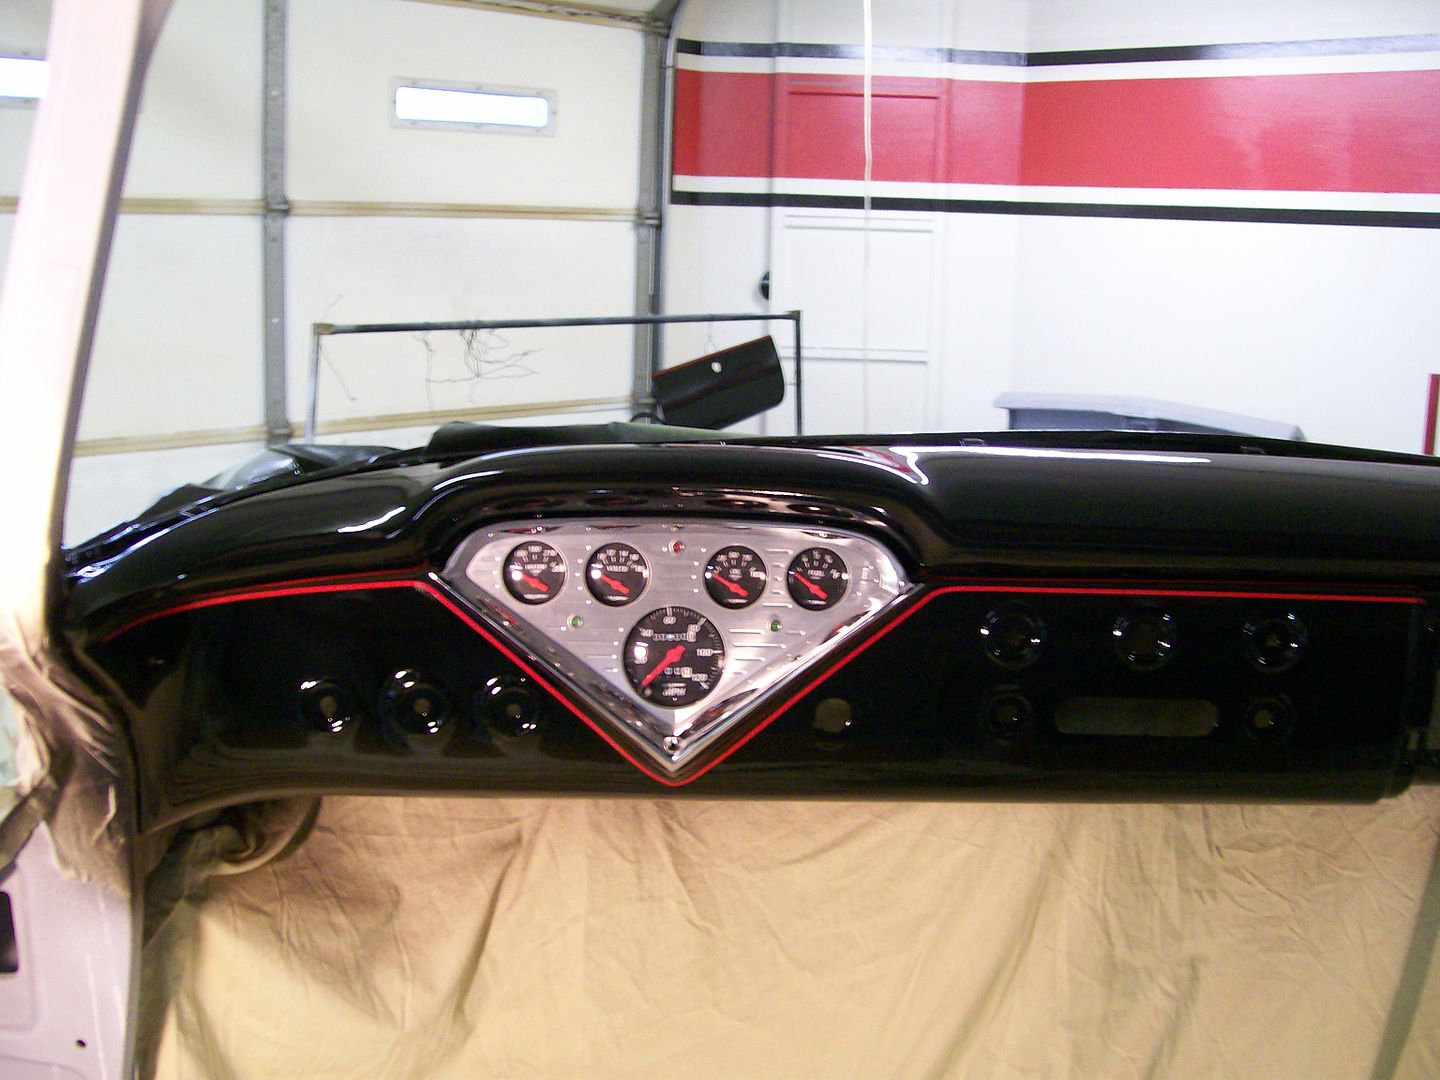 All is not perfect, I really didn't want to do any buffing so I went heavy on the clear for a smooth finish, I have one very slight sag just above the far right control hole, grrrrrrr. I 'll work on that tomorrow night but overall, once the handles and radio are all in I think I'll be very pleased with the red. Oh... paint dash, check. 
__________________
My 57 Chevy truck build.http://67-72chevytrucks.com/vboard/s...d.php?t=541132 Last edited by Stepside Jim; 07-04-2014 at 11:49 PM. |
|
|

|
|
|
#493 |
|
Registered User
Join Date: Aug 2007
Location: Corona, California
Posts: 7,998
|
Re: 1957 Chevy truck re-rebuild
That came out real nice.
Kim |
|
|

|
|
|
#494 |
|
A320 Pilot/USAF Retired
Join Date: Mar 2009
Location: Charleston, SC
Posts: 2,629
|
Re: 1957 Chevy truck re-rebuild
Very cool!
__________________
JJ My 1957 build: http://67-72chevytrucks.com/vboard/s...d.php?t=334552 http://www.trifive.com/forums/showthread.php?t=22037 Instagram - Chuckdriver57 |
|
|

|
|
|
#495 |
|
Registered User
Join Date: Jul 2008
Location: Buckeye, Arizona
Posts: 694
|
Re: 1957 Chevy truck re-rebuild
that looks fantastic Jim, I've looked over your build thread and love the way you approach things. I don't know if it was mentioned but what kind of taillights are those?
__________________
"Fear makes the wolf look bigger" http://67-72chevytrucks.com/vboard/s...d.php?t=305629 |
|
|

|
|
|
#496 |
|
Registered User
Join Date: May 2010
Location: Lawrenceville, Ga
Posts: 2,648
|
Re: 1957 Chevy truck re-rebuild
That looks great. But then, we have come to expect greatness from you, LOL.
|
|
|

|
|
|
#497 |
|
Registered User
Join Date: Aug 2012
Location: Salem Mo
Posts: 666
|
Re: 1957 Chevy truck re-rebuild
For just a 1/8" stripe it really made a huge difference. I started with 1/4" but realized it was too wide for the effect I was looking for.
greystoke, the tail lights are actual 1957 Chevy truck tail lights. They are however the LED upgrades. By going with the LED's they require less space than the bulb type and fit within the space better as far as depth was concerned. Greatness.... hmmmmm,  As I mentioned before, I don't know if I'm doing anymore major projects like this again, I figure I'm gonna lay it all on the line with this one. As I mentioned before, I don't know if I'm doing anymore major projects like this again, I figure I'm gonna lay it all on the line with this one. So far I'm glad I am and thanks everybody for checking in. Jim
__________________
My 57 Chevy truck build.http://67-72chevytrucks.com/vboard/s...d.php?t=541132 |
|
|

|
|
|
#498 |
|
Registered User
Join Date: Jul 2010
Location: Granite city, Ill.
Posts: 236
|
Re: 1957 Chevy truck re-rebuild
Wow that is a shiny firewall, looks great!
|
|
|

|
|
|
#499 |
|
Registered User
Join Date: Oct 2013
Location: Oklahoma City Okla
Posts: 196
|
Re: 1957 Chevy truck re-rebuild
I really enjoy you posts and your comments on how and why you did something. Like the way the dash turned out. I can use that idea on the pinstripe.
Dwight |
|
|

|
|
|
#500 |
|
Registered User
Join Date: Aug 2012
Location: Salem Mo
Posts: 666
|
Re: 1957 Chevy truck re-rebuild
Thanks longbike, I knew it wasn't going to be easy, but it was worth the effort.
tune_1, it's almost like going to school, I only wish school was this fun.  ..... fun, what am I talking about, this can be boring as can be at times, we just have to believe the effort will pay off in the long run. Thanks for checking. ..... fun, what am I talking about, this can be boring as can be at times, we just have to believe the effort will pay off in the long run. Thanks for checking.I've got the whole dash sanded and buffed. I did the glove box door by itself. My second dog was jealous that she didn't get into the picture last time so once I finished sanding and buffing it I got her picture also. 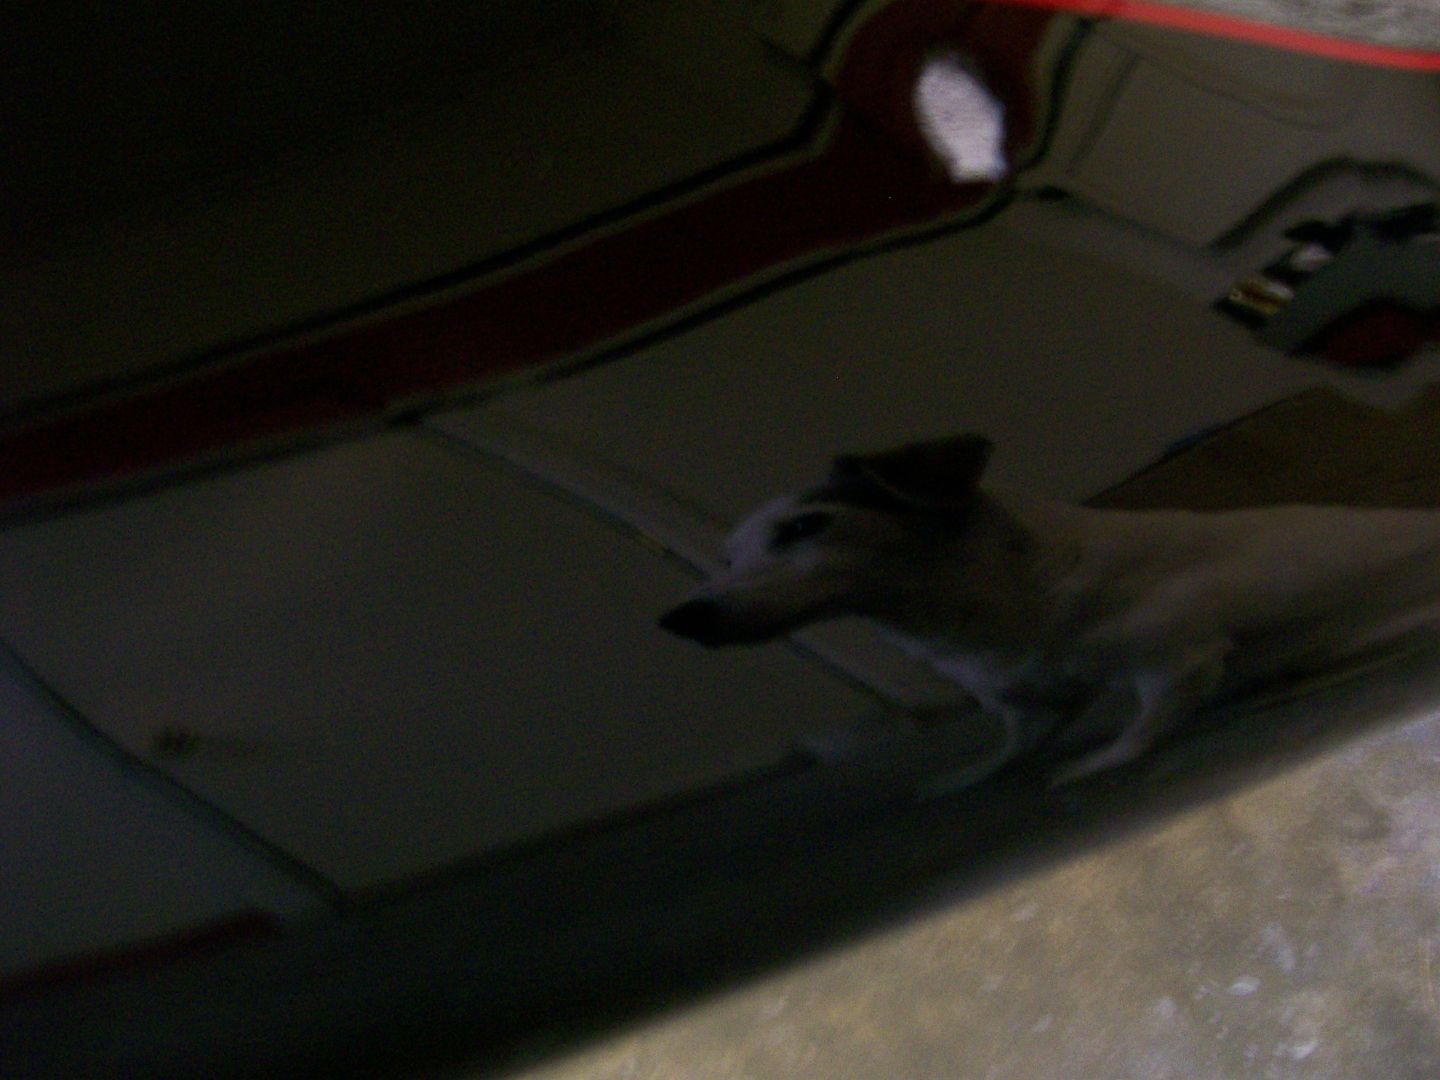 Just a little on my order of progress.... I could have painted the firewall and dash both at the same time but I'm dealing with time issues. Plan ahead.... I know it's gonna take hours to "cut and buff". I want to cut and buff 24 hours after painting. In 24 hours the sanding cooperates great, I can use 2000 grit paper. The buffing will remove the sand scratches quickly. As the paint hardens, the sand scratches are still buffable, it just takes more effort to remove them. Now, with working around all the edges, I sometimes have to finish buffing by hand, the softer paint is easier to work with. Plus I have to deal with working around my work schedule, that blocks huge chunks of the day that the clear is drying and I can't sand and buff. So by doing this in sections I don't feel the urgency to rush, I have time to fully finish an area before moving to the next area.
__________________
My 57 Chevy truck build.http://67-72chevytrucks.com/vboard/s...d.php?t=541132 |
|
|

|
 |
| Bookmarks |
| Thread Tools | |
| Display Modes | |
|
|