
 |
|
|
#26 |
|
Registered User
Join Date: Oct 2006
Location: Orland Park Il
Posts: 2,041
|
Re: Project 1972
How do the tabco panels compare thickness wise to the original sheet metal?
__________________
68 GMC C3500 Longhorn DRW 67 Chevy C10 LWB 90 Mustang Gt 90 Mustang Notchback |
|
|

|
|
|
#27 |
|
Registered User
Join Date: Apr 2009
Location: Lowell AR
Posts: 360
|
Re: Project 1972
|
|
|

|
|
|
#28 |
|
Registered User
Join Date: Oct 2006
Location: Orland Park Il
Posts: 2,041
|
Re: Project 1972
That's good to hear! I bought there stuff in the past, glad they haven't changed. Thank you.
__________________
68 GMC C3500 Longhorn DRW 67 Chevy C10 LWB 90 Mustang Gt 90 Mustang Notchback |
|
|

|
|
|
#29 |
|
Registered User
Join Date: Apr 2009
Location: Lowell AR
Posts: 360
|
Re: Project 1972
I finished sanding the top and fixing and welding where the rust was around the windshield. I sprayed some black epoxy primer. Tomorrow I am going to reseal the drip rails and get it ready for some 2k gray primer.
 
|
|
|

|
|
|
#30 | |
|
Registered User
Join Date: Oct 2007
Location: Spanaway
Posts: 8,451
|
Re: Project 1972
Quote:
__________________
Mike. Swamp Rat build thread : http://67-72chevytrucks.com/vboard/s...d.php?t=595019 72 3/4T 4X4 4" BDS Lift 33" BFG's |
|
|
|

|
|
|
#31 |
|
Registered User
Join Date: Apr 2009
Location: Lowell AR
Posts: 360
|
Re: Project 1972
|
|
|

|
|
|
#32 |
|
Registered User
Join Date: Apr 2009
Location: Lowell AR
Posts: 360
|
Re: Project 1972
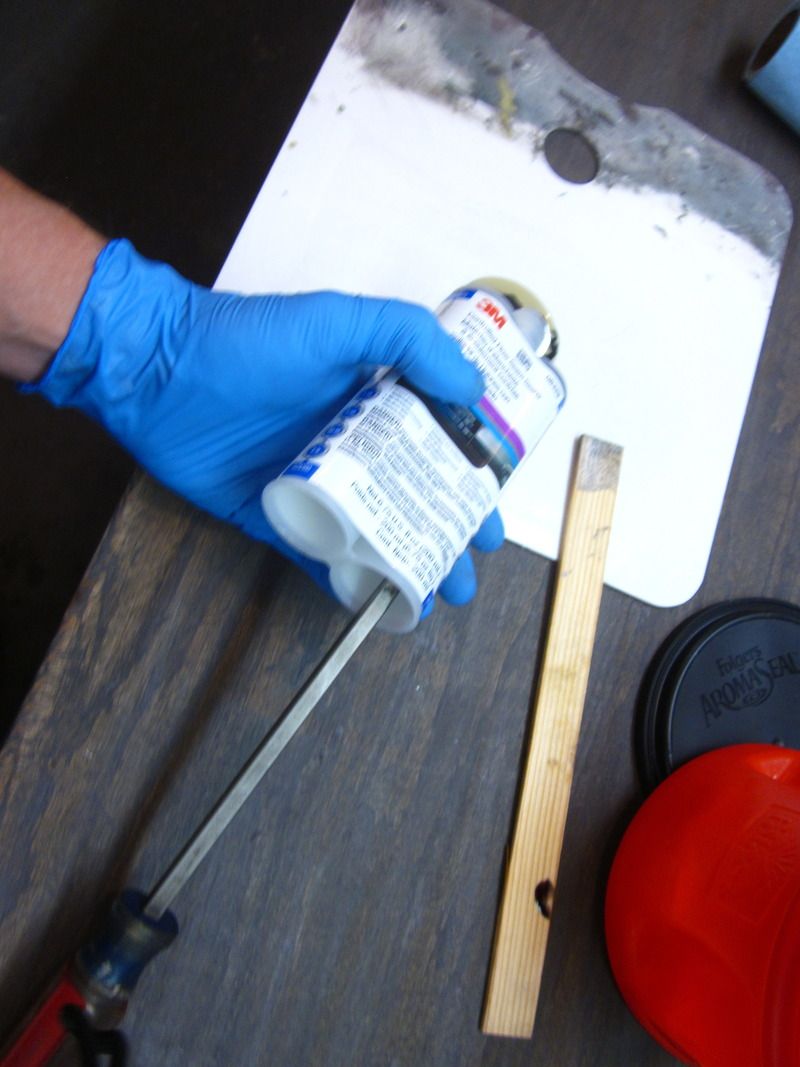
Today I sealed the drip rails. I did not have the duel caulk gun so I just push out equal amounts with a screwdriver and mixed it on a mixing board. I used a paint stick to put it in place then used my finger with a glove on to smooth it out. This stuff flowed out real nice.
|
|
|

|
|
|
#33 |
|
Registered User
Join Date: Dec 2009
Location: El Dorado Ca
Posts: 3,374
|
Re: Project 1972
You are very talented , great job you are doing!!!!
|
|
|

|
|
|
#34 |
|
Registered User
Join Date: Apr 2009
Location: Lowell AR
Posts: 360
|
Re: Project 1972
|
|
|

|
|
|
#35 |
|
Registered User
Join Date: Apr 2009
Location: Lowell AR
Posts: 360
|
Re: Project 1972
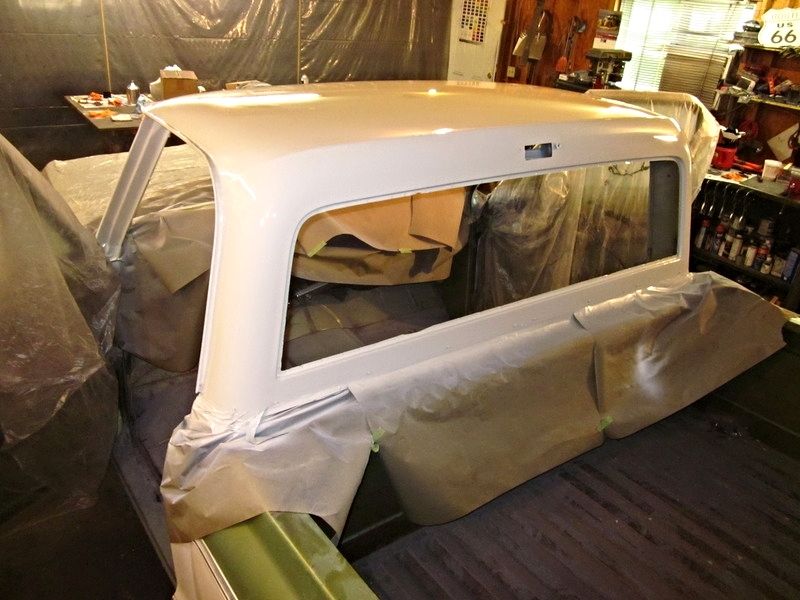
Today I got the top painted! It turned out real good.
|
|
|

|
|
|
#36 |
|
Registered User
Join Date: Apr 2009
Location: Lowell AR
Posts: 360
|
Re: Project 1972
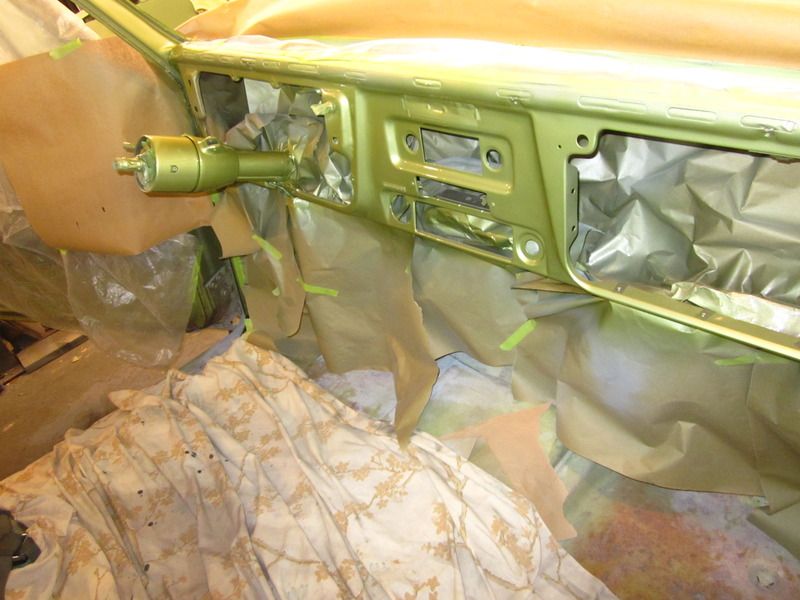
Today I painted the inside of the cab!
|
|
|

|
|
|
#37 |
|
Registered User
Join Date: Oct 2009
Location: canton ga
Posts: 12,724
|
Re: Project 1972
Looking great ,waiting for more .I cant play with my toys right now so Im enjoying all the builds on here .
|
|
|

|
|
|
#38 |
|
Registered User
Join Date: Jan 2009
Location: San Antonio, Texas
Posts: 1,376
|
Re: Project 1972
Nothing more exciting than fresh paint! It looks great!
__________________
1972 C10 LWB, 350/350 Deconstruction began 5/2009, mostly completed restoration, 5/2017 |
|
|

|
|
|
#39 |
|
Registered User
Join Date: Jul 2015
Location: Warner Robins, Ga
Posts: 32
|
Re: Project 1972
Transformation looks great. Love fresh paint.
|
|
|

|
|
|
#40 |
|
Registered User
Join Date: Apr 2009
Location: Lowell AR
Posts: 360
|
Re: Project 1972
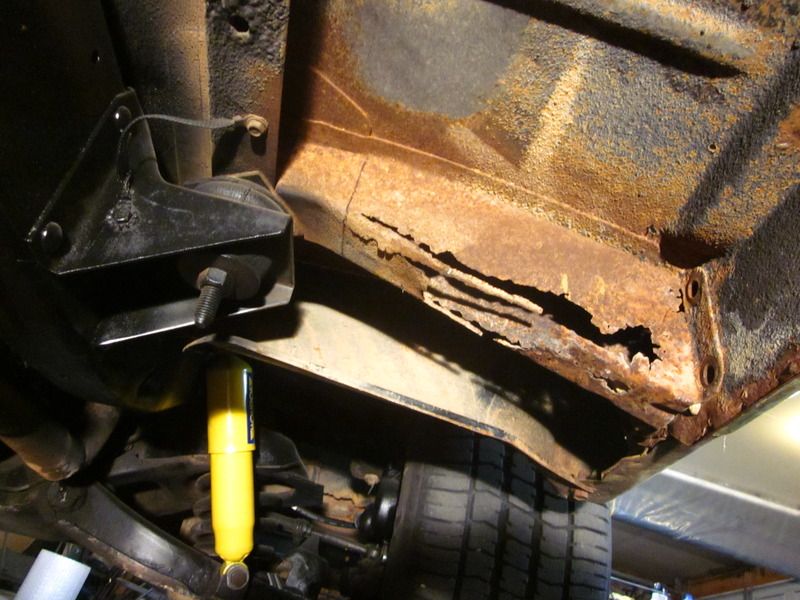
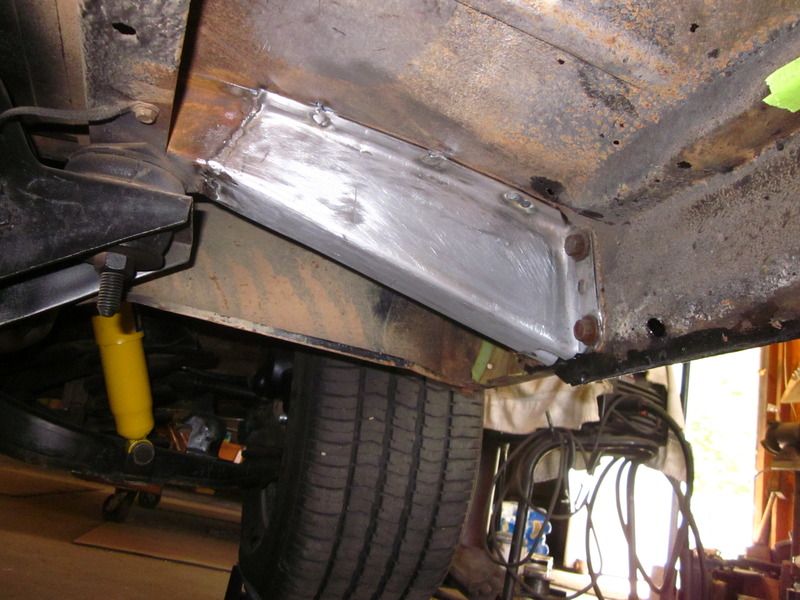
Today I cut out the rusted support and installed one of my tabco cab suppports.
|
|
|

|
|
|
#41 |
|
Registered User
Join Date: Apr 2009
Location: Lowell AR
Posts: 360
|
Re: Project 1972
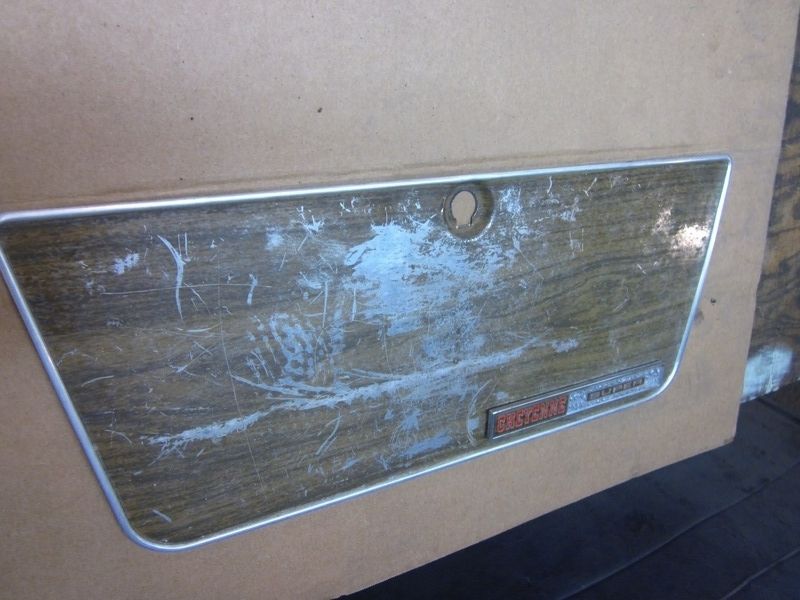
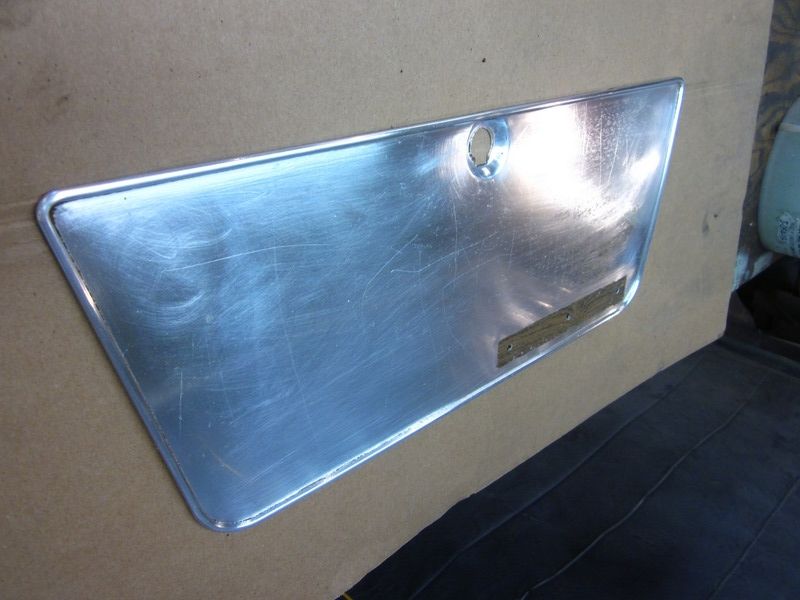
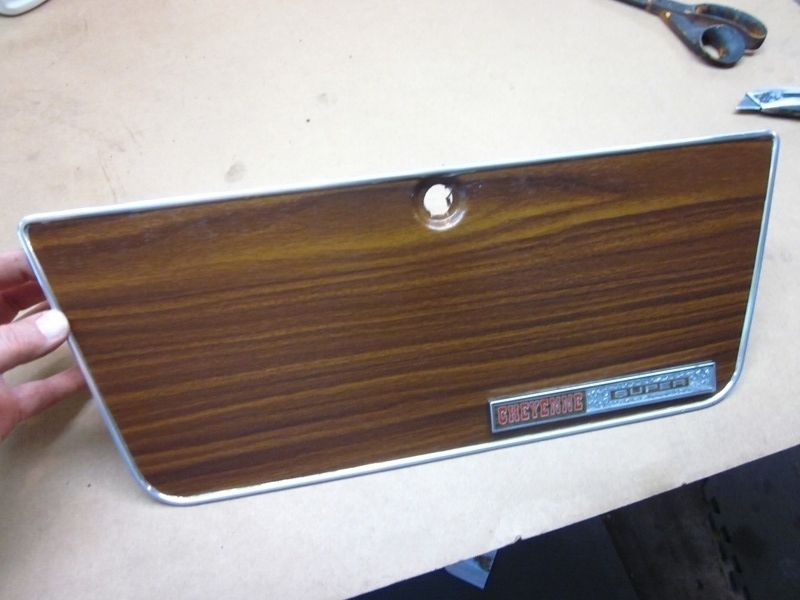
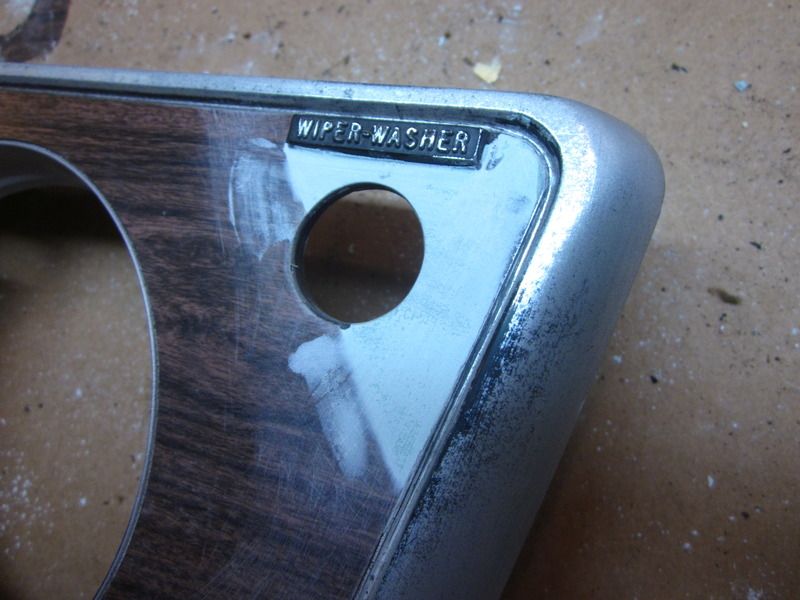
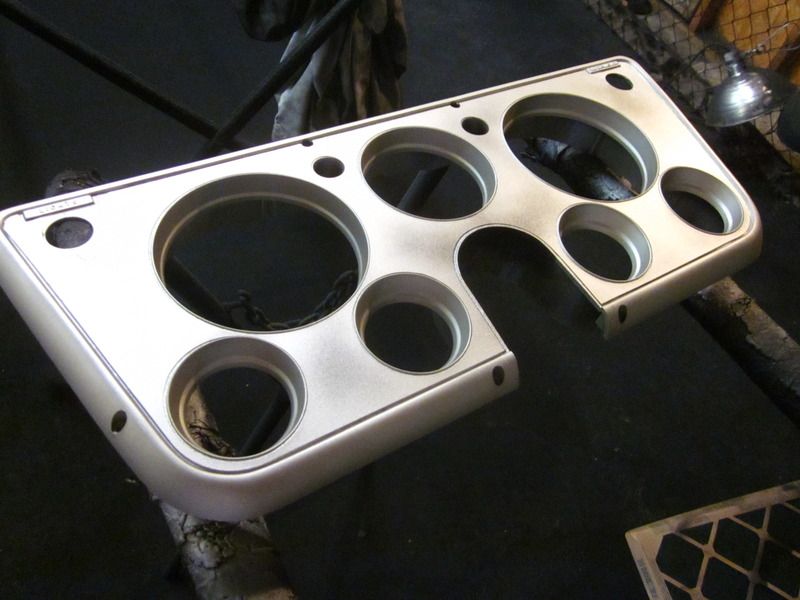
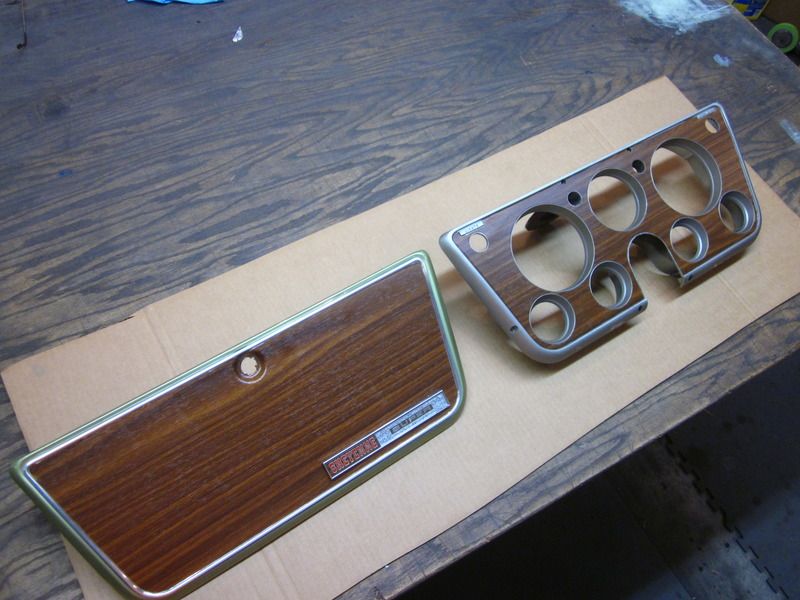
I worked on my glove box cover. I cleaned it with an sos pad and all of the finish came off except where the emblem was. I installed some oak vinyl wrap to it. I am working on the instrument cluster now. I had to cut off some of the peeling corners and smooth it with body filler. I painted the edges and tomorrow I am going to try my hand again with the vinyl wrap.
|
|
|

|
|
|
#42 |
|
Registered User
Join Date: Apr 2009
Location: Lowell AR
Posts: 360
|
Re: Project 1972
I did it! It wasn't as hard as I thought it would be. The vinyl I am using is from R/vinyl it is a premium vehicle wrap.
|
|
|

|
|
|
#43 |
|
Registered User
Join Date: Jul 2012
Location: Jonestown, TX
Posts: 471
|
Re: Project 1972
Dude.... Nice work, love the green!
|
|
|

|
|
|
#44 |
|
Registered User
Join Date: Oct 2014
Location: Location:
Posts: 8,451
|
Re: Project 1972
.
. X2 - looks great w/ the gauges installed:
__________________
... Click here to see thousands of 'Abandoned & Neglected' Chevy trucks rotting away... ... |
|
|

|
|
|
#45 |
|
Registered User
Join Date: Apr 2009
Location: Lowell AR
Posts: 360
|
Re: Project 1972
Installed the new windshield. Precision gasket and a $100.00 windshield from a local glass place. I used 3m strip caulk. Me and my wife installed it today.
 
__________________
http://67-72chevytrucks.com/vboard/s...d.php?t=698292 |
|
|

|
|
|
#46 |
|
Registered User
Join Date: Sep 2005
Location: S. Georgia
Posts: 254
|
Re: Project 1972
Really enjoying the work your doing. Seems you waited and found the perfect truck.
|
|
|

|
|
|
#47 |
|
Registered User
Join Date: Apr 2009
Location: Lowell AR
Posts: 360
|
Re: Project 1972
Hey thanks. This truck is more than I was hoping to find. I wasn't sure about the color but it is growing on me.
__________________
http://67-72chevytrucks.com/vboard/s...d.php?t=698292 |
|
|

|
|
|
#48 |
|
Registered User
Join Date: Sep 2005
Location: S. Georgia
Posts: 254
|
Re: Project 1972
I had a 76 with a 454 that was painted with the same scheme. Seems they called the green on that model "Springtime Green". Loved that truck! Lwb, sliding back window, tool box, big mud slingers out back, big block, thought I was "the man".
|
|
|

|
|
|
#49 |
|
Registered User
Join Date: Apr 2009
Location: Lowell AR
Posts: 360
|
Re: Project 1972
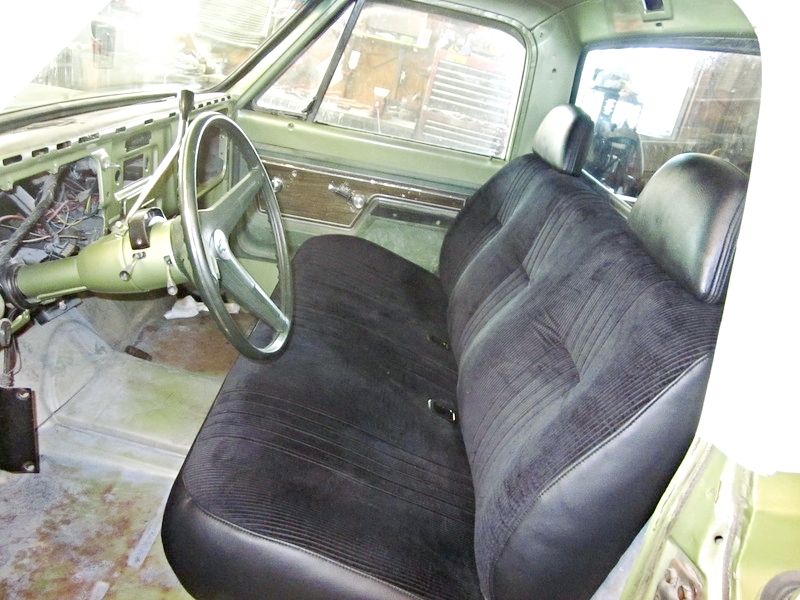
I got my seat back from the upholstery shop today. Installed the back glass today.
__________________
http://67-72chevytrucks.com/vboard/s...d.php?t=698292 |
|
|

|
|
|
#50 |
|
Registered User
Join Date: May 2016
Location: Ohio
Posts: 274
|
|
|
|

|
 |
| Bookmarks |
| Thread Tools | |
| Display Modes | |
|
|