
 |
|
|
#26 |
|
Registered User
Join Date: Aug 2011
Location: phoenix az
Posts: 723
|
Re: my 57 revitalized
I have had it a long long time. It is like an old friend. I sort of looked at it like some day that old friend was going to turn on me if I didn't make him happy.
i finished the front tubing, and it looks better. 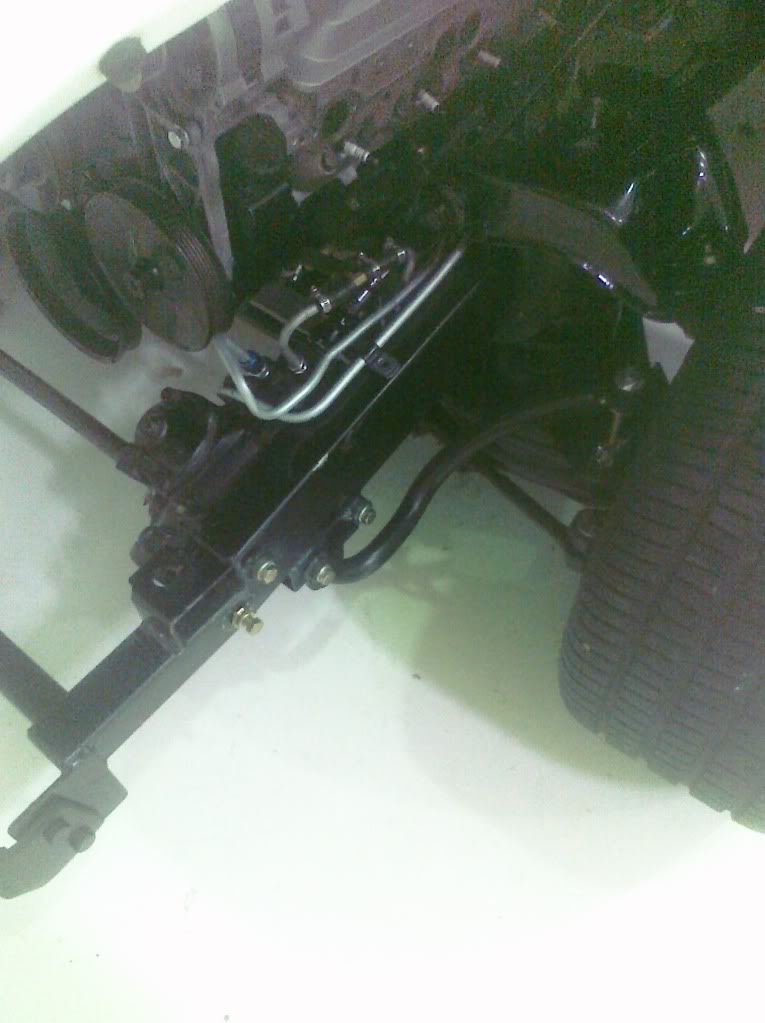 I also thought it would be cool to use the original wheel with the new chrome column. 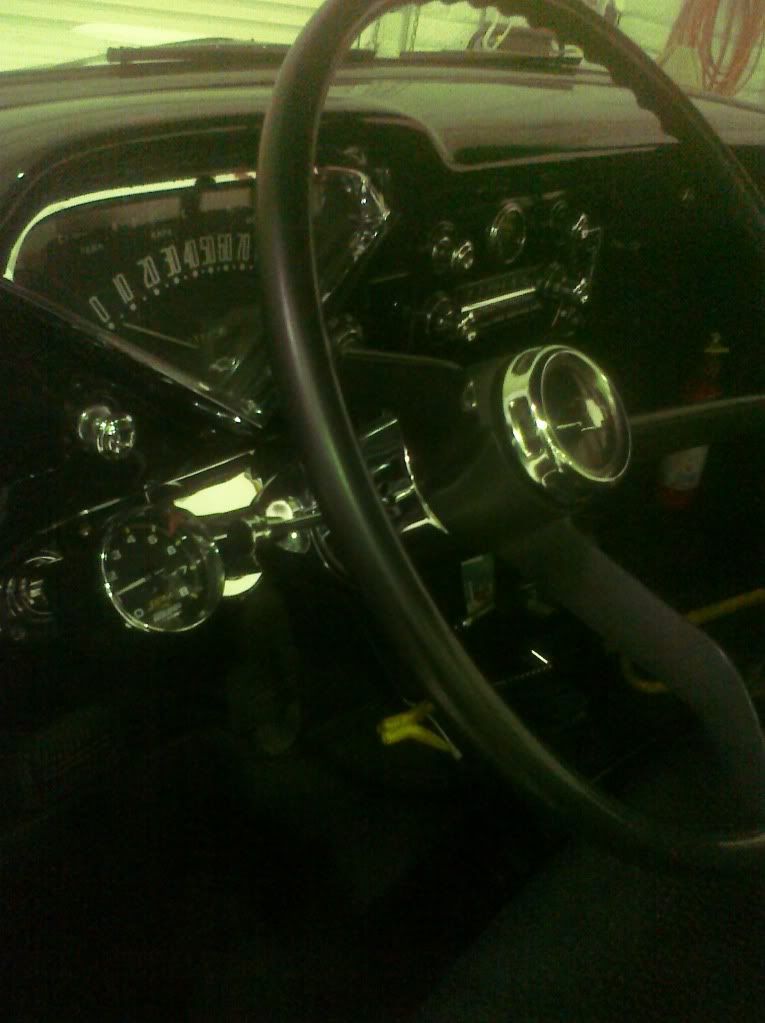 I made a bracket to support the tach. This was the best place for it. I do have an old Sun tach, but I need to get the chrome on it redone. |
|
|

|
|
|
#27 |
|
Registered User
Join Date: Aug 2007
Location: Corona, California
Posts: 7,998
|
Re: my 57 revitalized
Looks real nice. I love the original wheel.
Kim |
|
|

|
|
|
#28 |
|
Registered User
Join Date: Sep 2011
Location: Surrey UK
Posts: 28
|
Re: my 57 revitalized
.....You must be very, very friendly with your boss. Great truck, congratulations!
|
|
|

|
|
|
#29 |
|
Registered User
Join Date: Oct 2011
Location: Roanoke, VA
Posts: 104
|
Re: my 57 revitalized
Looking REALLY good Coupeguy.
|
|
|

|
|
|
#30 |
|
Registered User
Join Date: Aug 2011
Location: phoenix az
Posts: 723
|
Re: my 57 revitalized
Thanks!
I have been doing stuff, and here's sort of the latest. I put a hydro boost on under the floor. in order to have the hydroboost rotated away from the frame to clear it, I had to use a star spacer. It allows the master to still have the reservoir pointing up. Essentially, it is a 4 cornered star with a hole in each corner. That way, I can bolt two of the holes to the hydroboost and two of the holes to the master cylinder. The star was 1/4" thick plate steel originally, which meant that the pin in the hydroboost was going to have to be 1/4" longer. Here is the business end of the hydroboost. 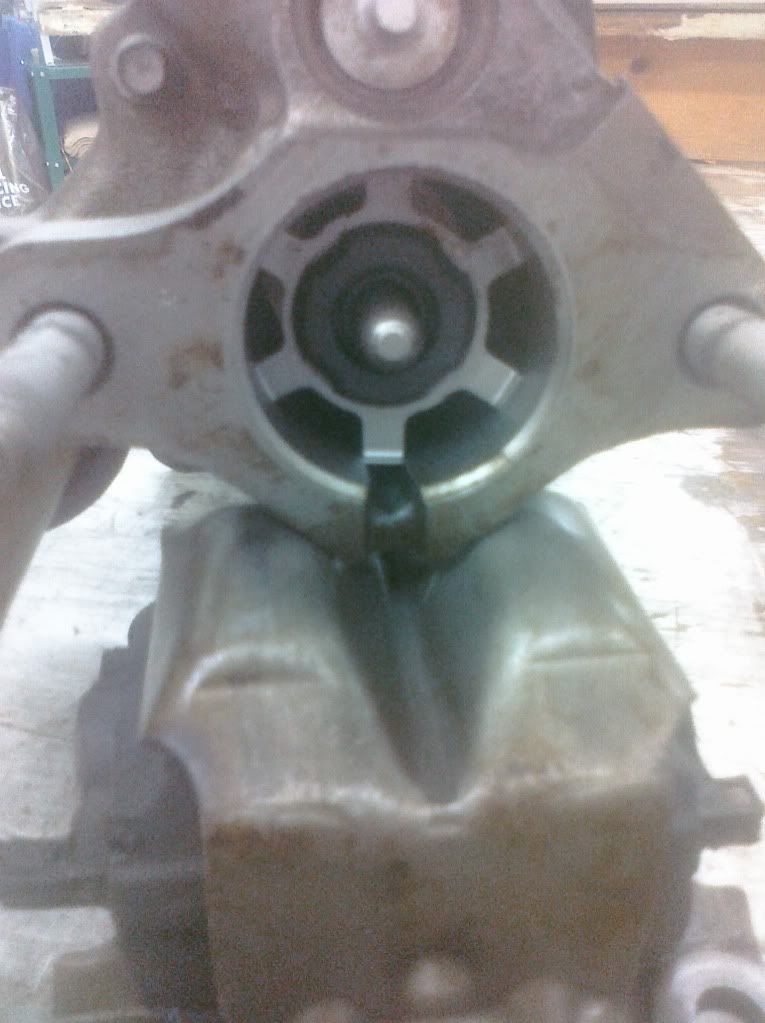 See the pin in the center. I remove the fingered washer you see in the above pic, and made a new pin out of 1/4" rod stock. I tapered each end differently, with the blunt end in the hydroboost, and the sharper end in the master. 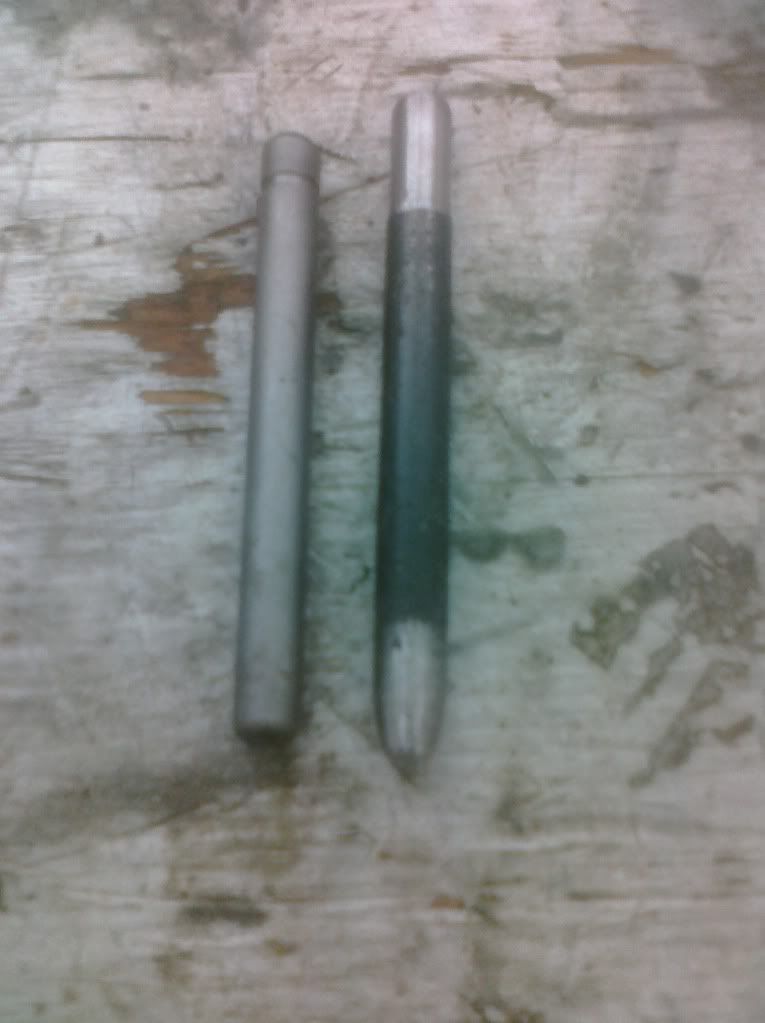 there was a plastic washer on the hydroboost original pin. I broke it trying to remove it, and thought what I could do to fix it. I hit on the fuel line remover tool. It is plastic, and its a metric size in the middle, so it would not go over the new pin just yet. 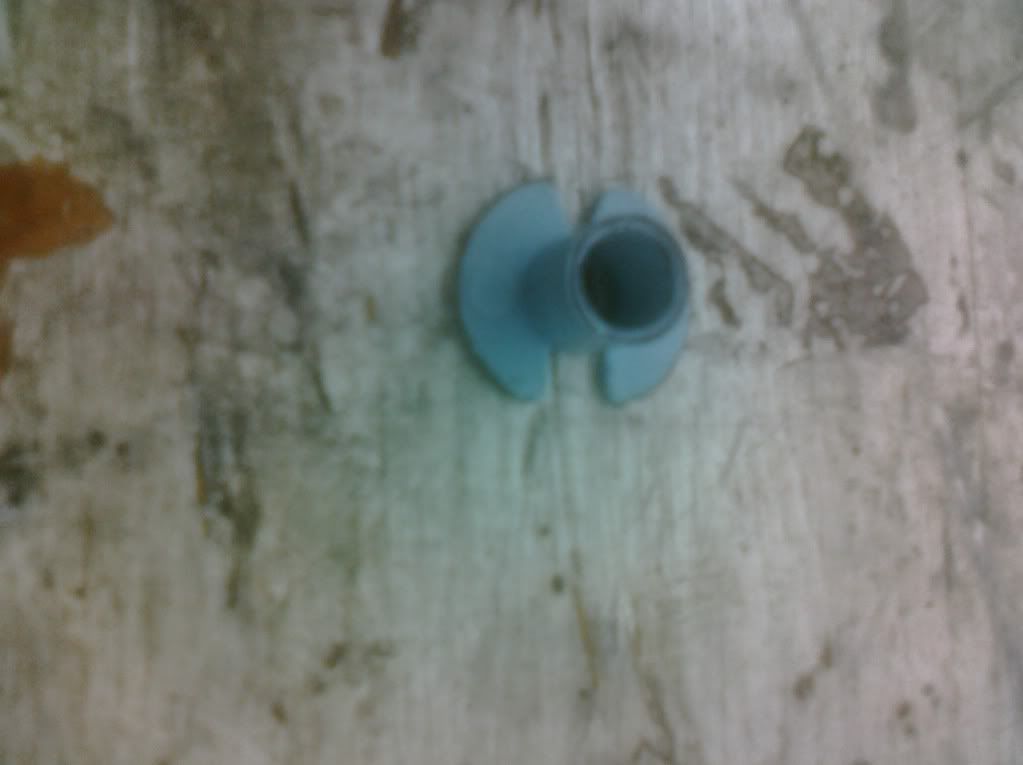 Recognize it? I went to the grinder, and rolled the end across the grinder to reduce the size of the boost end of the pin, and it slides on easy. The ridge keeps it in place. The plastic tool was larger in diameter than the hole in the hydroboost, so I used coarse sand paper to make it smaller in diameter, and it slides in just right. 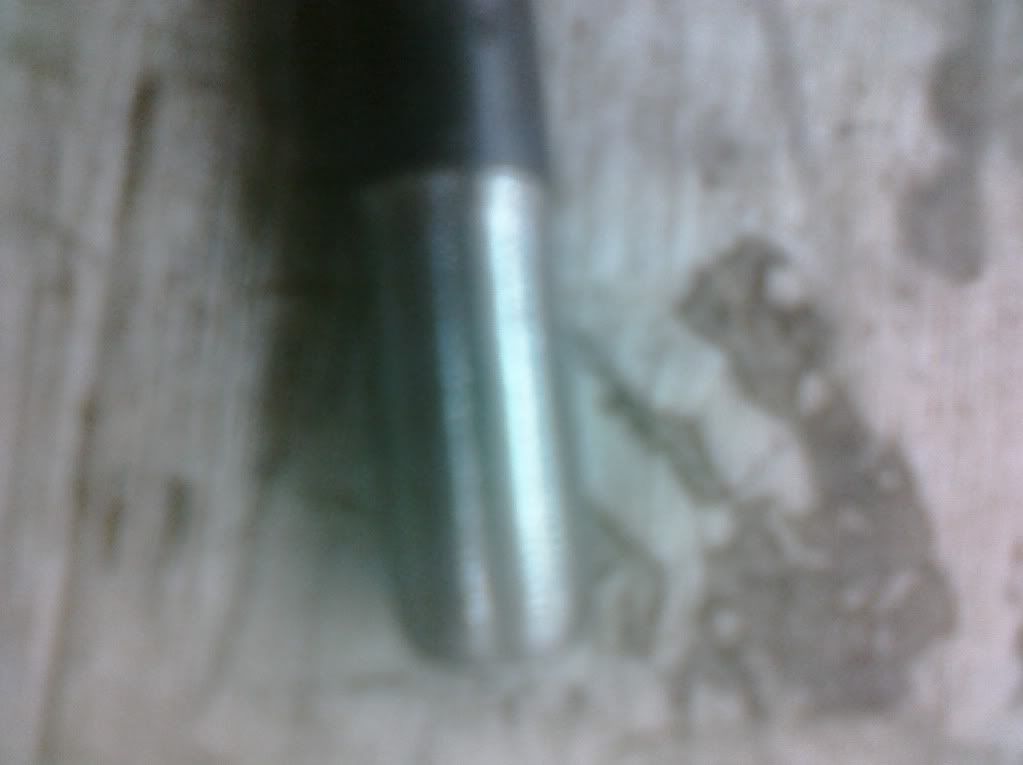 Then with the plastic fuel line tool slid over the end, it looks like this: 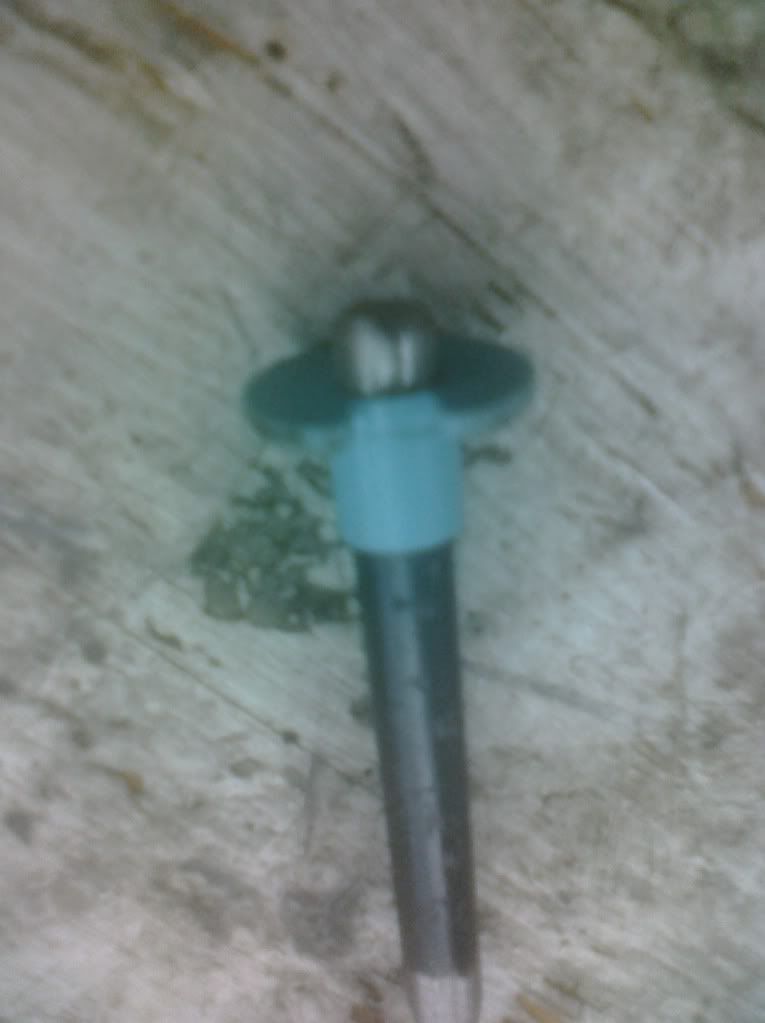 Then I needed something to keep the spring from destroying the fuel line tool, and used a thin, thin washer, and then installed the pin, washer, tool, spring and finger washer. Here's what the end looks like with the new pin installed. you can see it poking out between the studs. 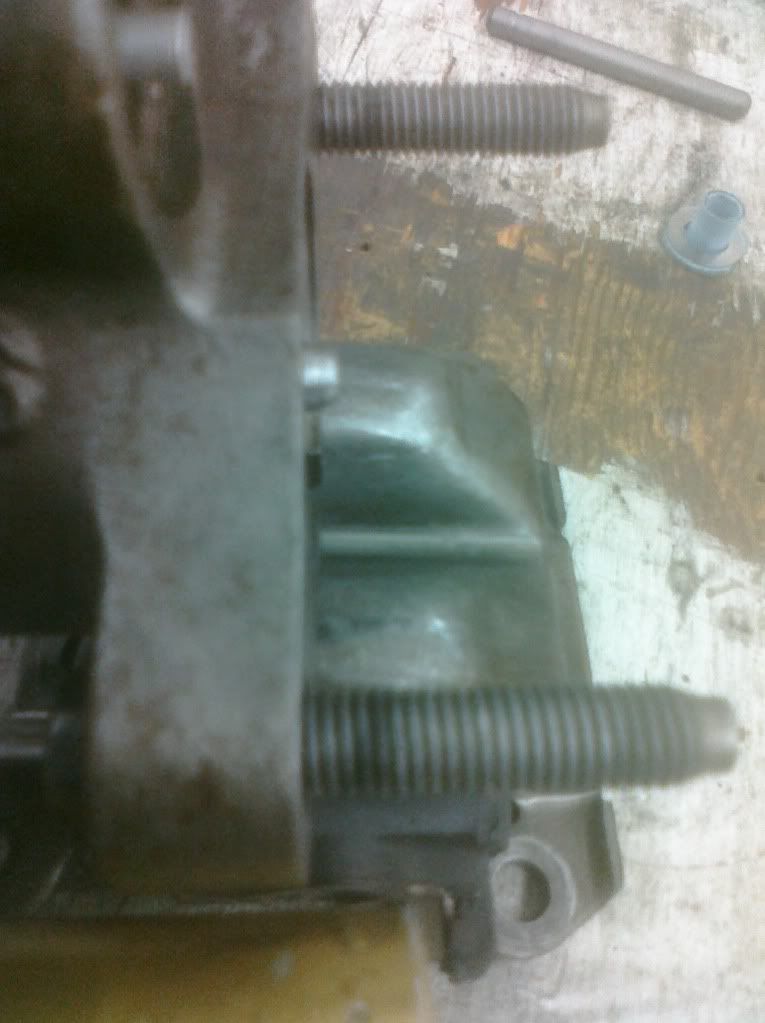
Last edited by Coupeguy2001; 10-22-2011 at 06:36 PM. |
|
|

|
|
|
#31 |
|
Registered User
Join Date: Aug 2011
Location: phoenix az
Posts: 723
|
Re: my 57 revitalized
Then I needed a place to put the MSD box, so I bent up a piece of aluminum just wide enough to go in the edge of the battery box, and mounted the MSD box to it. Then pushed the edge under the battery. Now the battery is going to keep it in place. With this kind of battery, there's no battery acid vapor, and the alumnum will not corrode.
The screw heads are on the battery side of the plate so no screw ends rub on the battery if it ever shifted while driving. 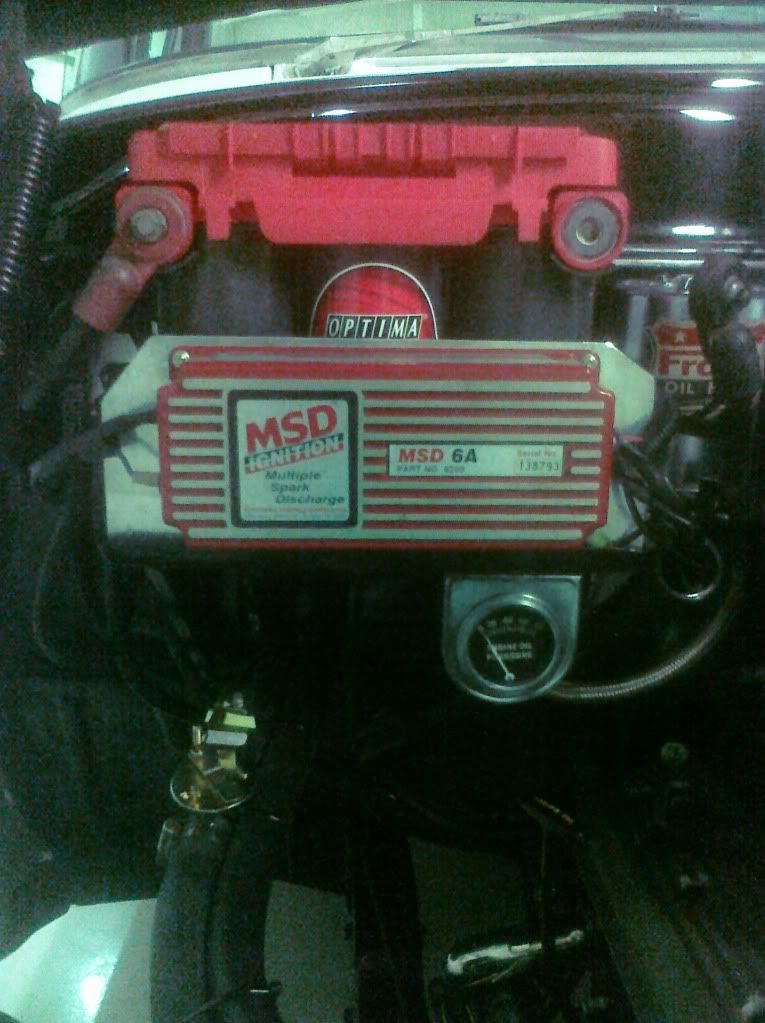
Last edited by Coupeguy2001; 10-22-2011 at 06:49 PM. |
|
|

|
|
|
#32 |
|
Registered User
Join Date: Aug 2011
Location: phoenix az
Posts: 723
|
Re: my 57 revitalized
When you say about me this guy is full of it, I hope you mean ideas........................
|
|
|

|
|
|
#33 |
|
Registered User
Join Date: Aug 2007
Location: Corona, California
Posts: 7,998
|
Re: my 57 revitalized
looking good Coupeguy.
Kim |
|
|

|
|
|
#34 |
|
Registered User
Join Date: Aug 2011
Location: phoenix az
Posts: 723
|
Re: my 57 revitalized
thanks coming from someone who has done so much to one of these trucks, that's great words of encouragement.
|
|
|

|
|
|
#35 |
|
Registered User
Join Date: Aug 2011
Location: phoenix az
Posts: 723
|
Re: my 57 revitalized
ok, here's another update. sorry I am moving at a snails's pace, but I have to work, and have rely on other outside help occasionally.
I took my header to a sand rail place that builds frames and does modification work, only to have them tell me they are too busy for my little project. I had taken them the header bolted to another head with the ugly header so they could duplicate it and weld the duplicate tube to my header. They put it on the shelf for a week, and didn't touch it. I was sort of glad since I had the ugly headers and they cost me no more money out of pocket. Here is how the left one fits 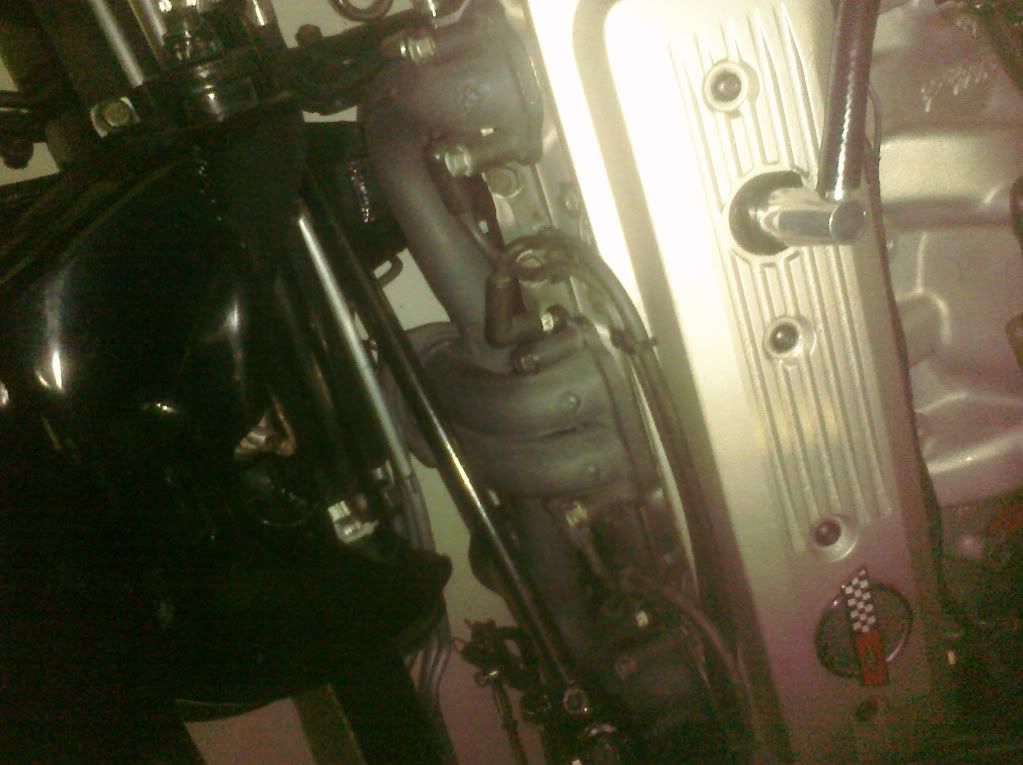
|
|
|

|
|
|
#36 |
|
Registered User
Join Date: Aug 2011
Location: phoenix az
Posts: 723
|
Re: my 57 revitalized
The headers are actually the factory '86 corvette exhaust manifolds with the shrouding removed. I cut off the air tubes and welded the holes closed, then had the left one machined at an angle to kick it in to clear the original 57 steering box. Amazingly, they clear everything, and look lousy to boot.
Here is another shot so you can see how busy the left frame rail is. 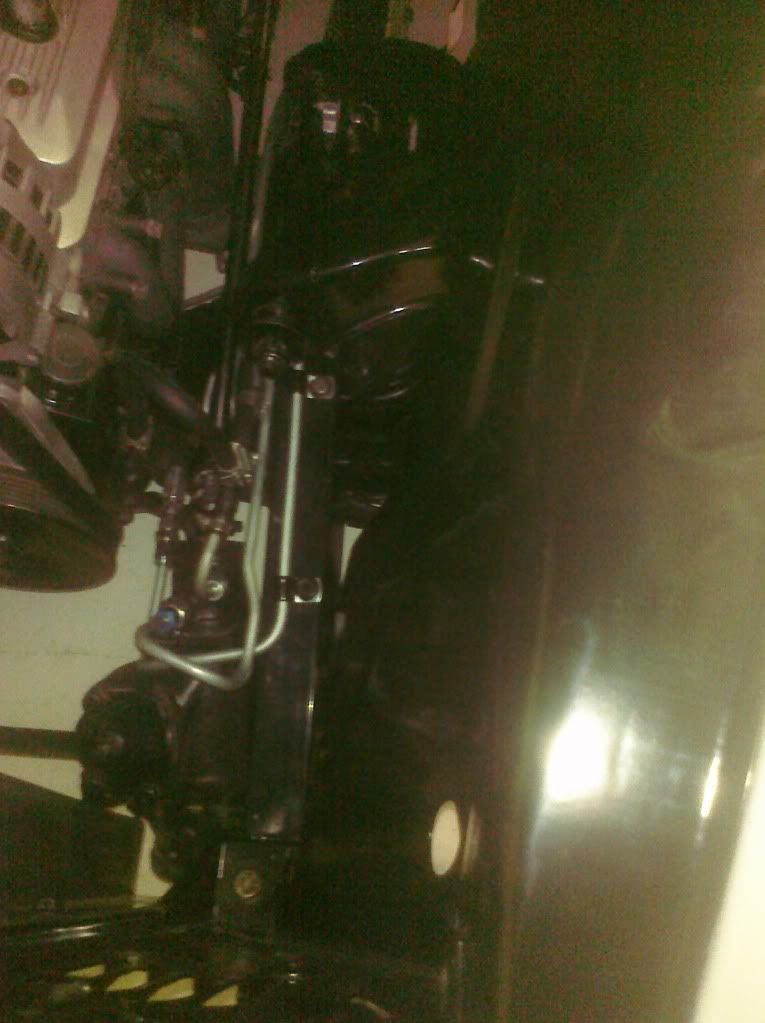
|
|
|

|
|
|
#37 |
|
Registered User
Join Date: Aug 2011
Location: phoenix az
Posts: 723
|
Re: my 57 revitalized
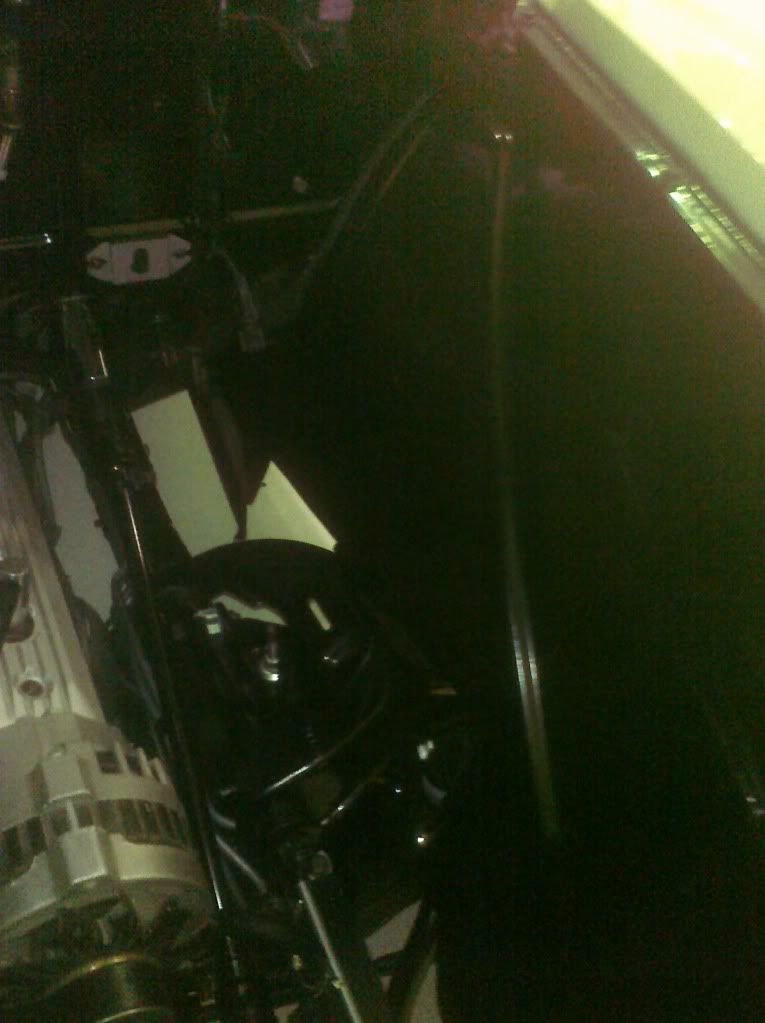
In the last week, I had the inner fenders powdercoated, by of all things, a wrought iron furniture company. They sand blasted the pieces prior to coating, and the parts came out like they were brand new.
$35 for each inner fender panel, and $25 for the radiator core support. Here is a pic of the right inner fender panel. 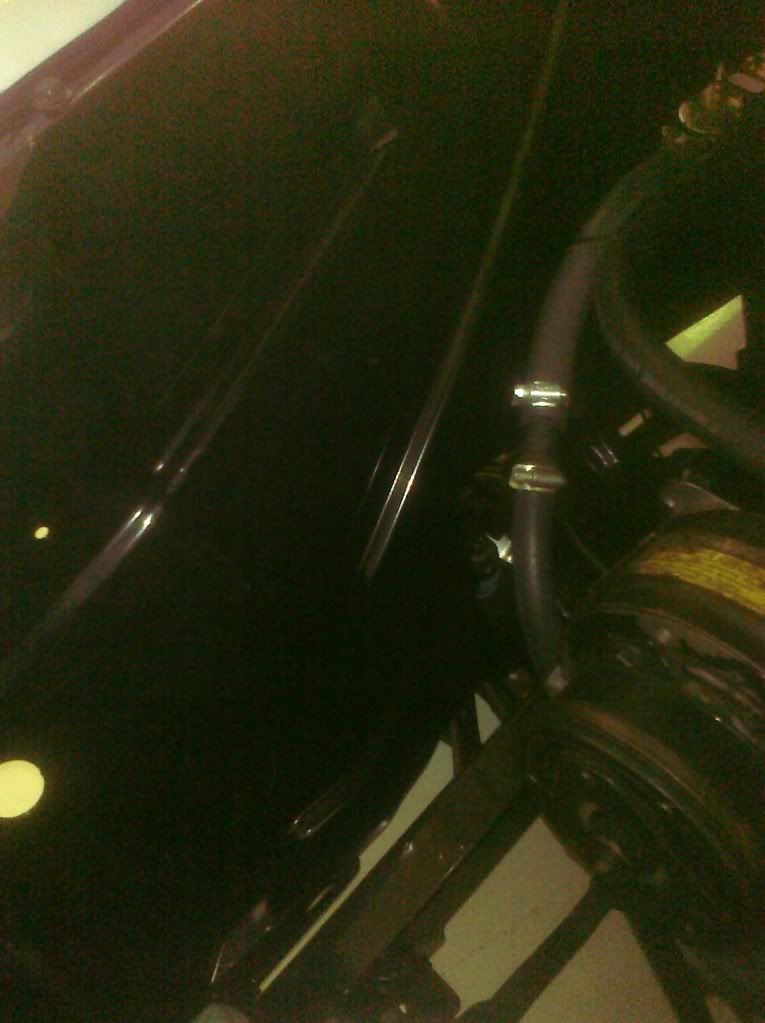
|
|
|

|
|
|
#38 |
|
Registered User
Join Date: Aug 2011
Location: phoenix az
Posts: 723
|
Re: my 57 revitalized
Here is a pic of the left one. Sorry they are phone pics, but you can see through the haze.
|
|
|

|
|
|
#39 |
|
Registered User
Join Date: Aug 2011
Location: phoenix az
Posts: 723
|
Re: my 57 revitalized
I have decided to continue the use of my Frantz oil filter. This is the original toilet paper filter. The cannister houses a roll of toilet paper, and becomes a filter.
Unlike the original filter on the block that filters all of the oil part of the time, this filter filters part of the oil all of the time. They were really popular in the late '50's and up to mid '70's. The maintenance schedule on the filter is based on 1000 miles a month, you change the toilet paper once a month and add a quart of oil. you change the oil once a year. Once a year you change the block oil filter as well. This gives you an oil change interval of 12,000 miles, and uses 12 quarts of oil for toilet roll changes each year. The one oil change a year adds 6 more quarts, The equivalent of 3 oil changes a year, Which you would probably do anyway, BUT! here's the advantage.........your oil stays yellow. The oil contaminants are thrown out once a month, and you don't pump dirt and combustion by-products through your engine and it lasts up to 300,000 miles without the normal wear. That's without overdrive.......... I had the first engine replacement last 20 years, and when I took it out, it still had 50 pounds of oil pressure hot. Now that replacement engines can cost anywhere from $2000 to $10,000 and up, suddenly, this thing is actually worth the effort. Ok, end of sales pitch.......... 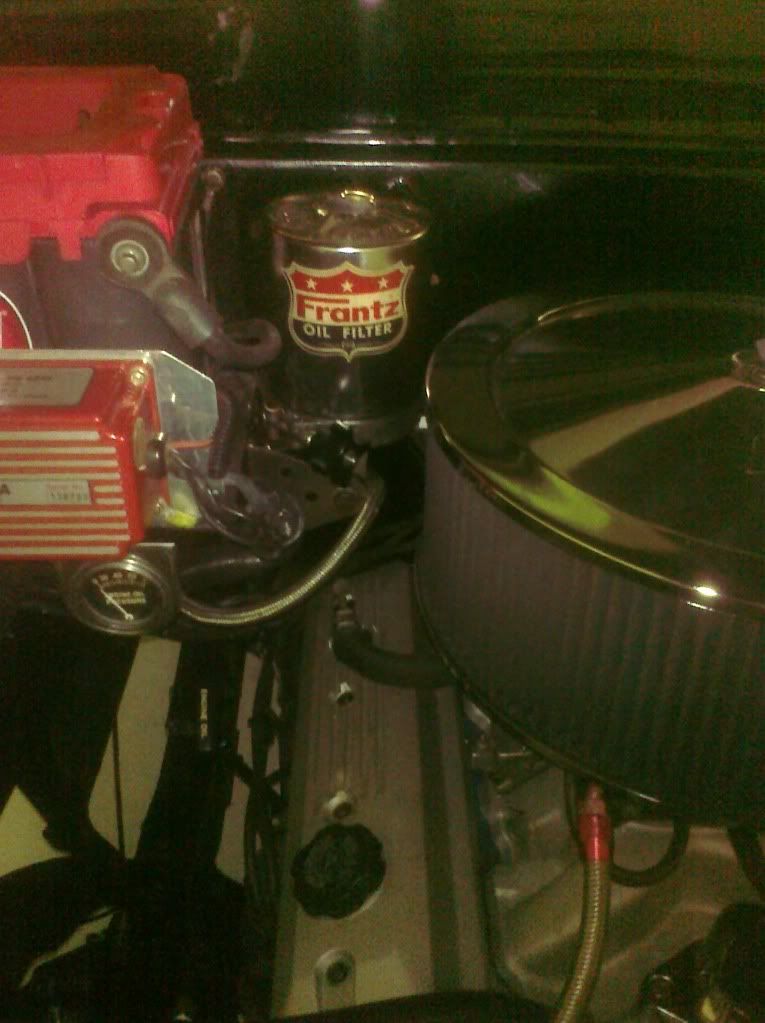
Last edited by Coupeguy2001; 10-29-2011 at 09:10 PM. |
|
|

|
|
|
#40 |
|
Registered User
Join Date: Aug 2011
Location: phoenix az
Posts: 723
|
Re: my 57 revitalized
ok, test fitting the fenders again with new rubber radiator support cushions and proper sized bolts.
Notice that the upper grille support got painted. Years and years ago, I had the 55 donor truck for the bent up sheet metal parts. I just noticed the other day that the fender where the upper grille support bolts to it on the ends had 2 holes and the fender only had one. I had to drill it out, and the bolts line up. I also noticed that in 55, the headlight wires had their own hole and grommet, and the parking light/turn signal had it's own hole and grommet. The 57 has one hole and one grommet for all the wires. I also noticed that the lower grille valance on the 57 sheet metal has 2 holes where it bolts to the fender on the end and the 55 only had one. 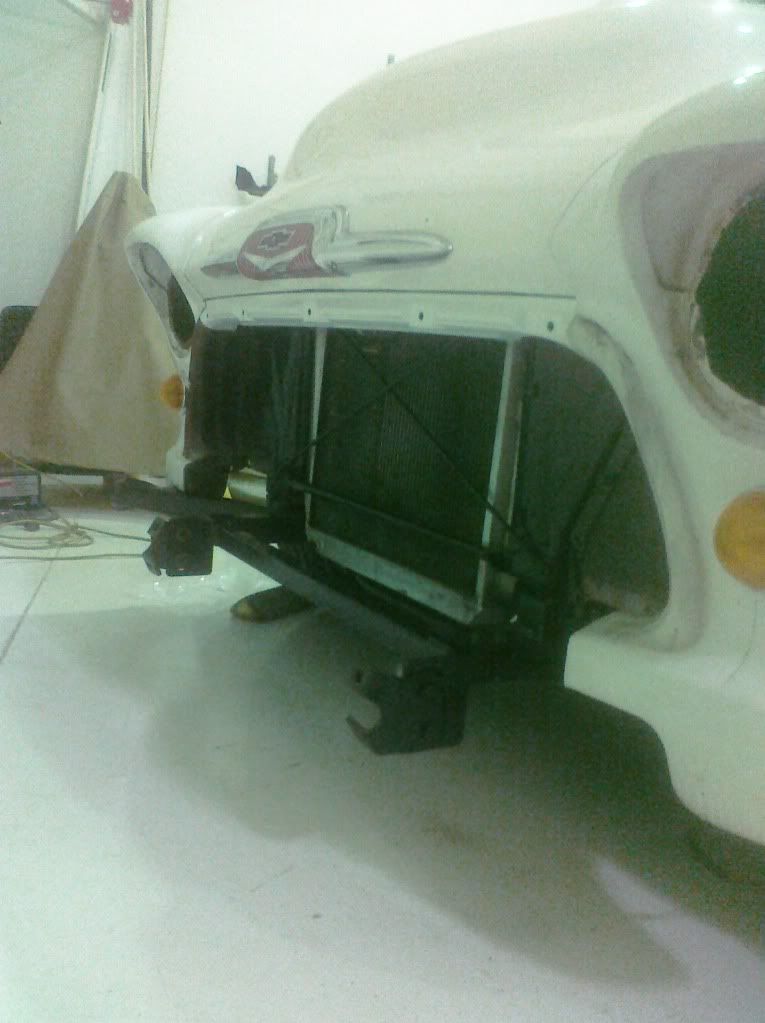
|
|
|

|
|
|
#41 |
|
Registered User
Join Date: Aug 2011
Location: phoenix az
Posts: 723
|
Re: my 57 revitalized
Just to show you the difference in the tires........
Here is the height of the front tire. 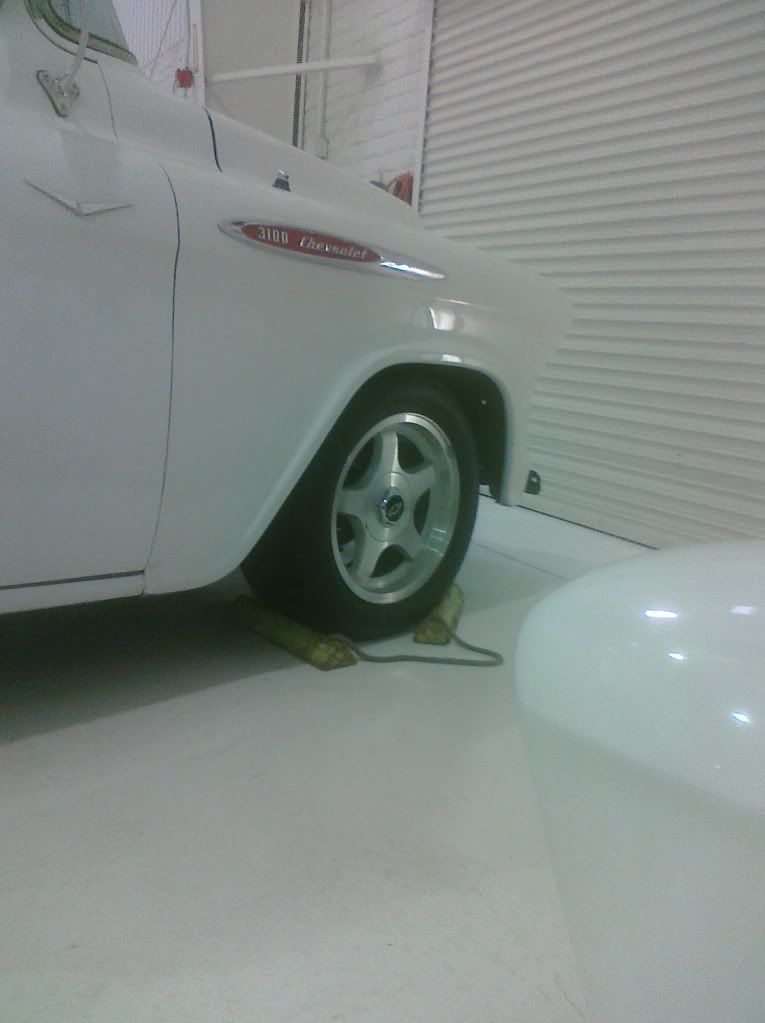 Here is the height of the new tire. Notice that it is 1 1/8" taller at the bottom of the wheel and is taller than the wheel opening. 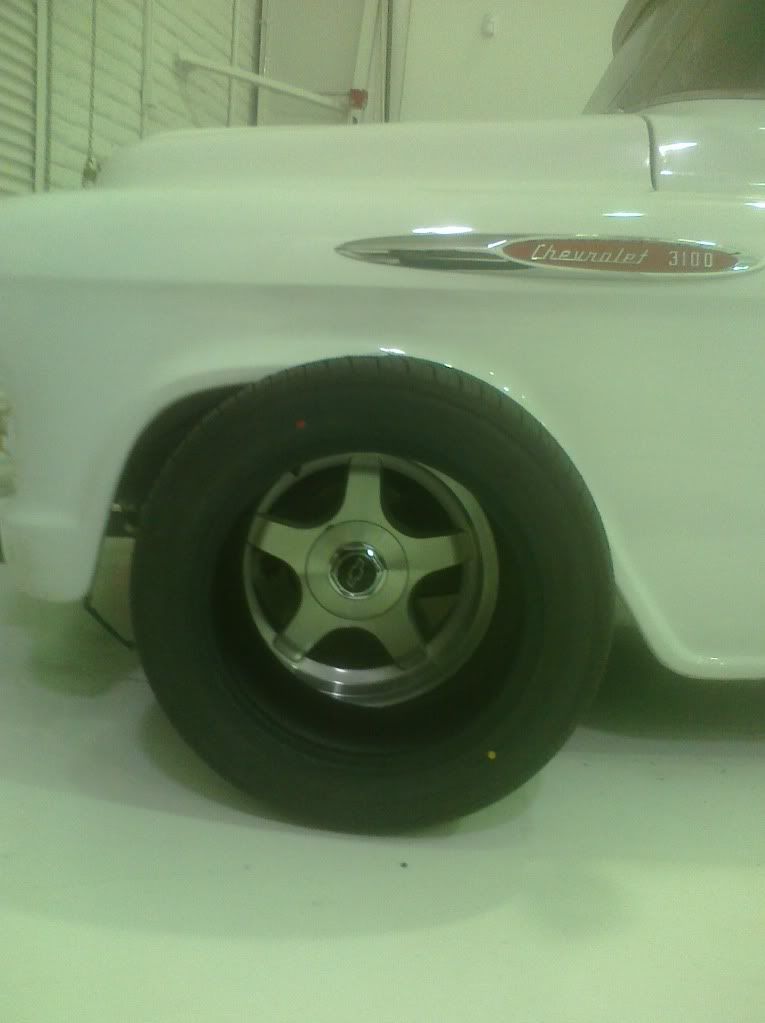 Ok, lousy pic, but look at the back: 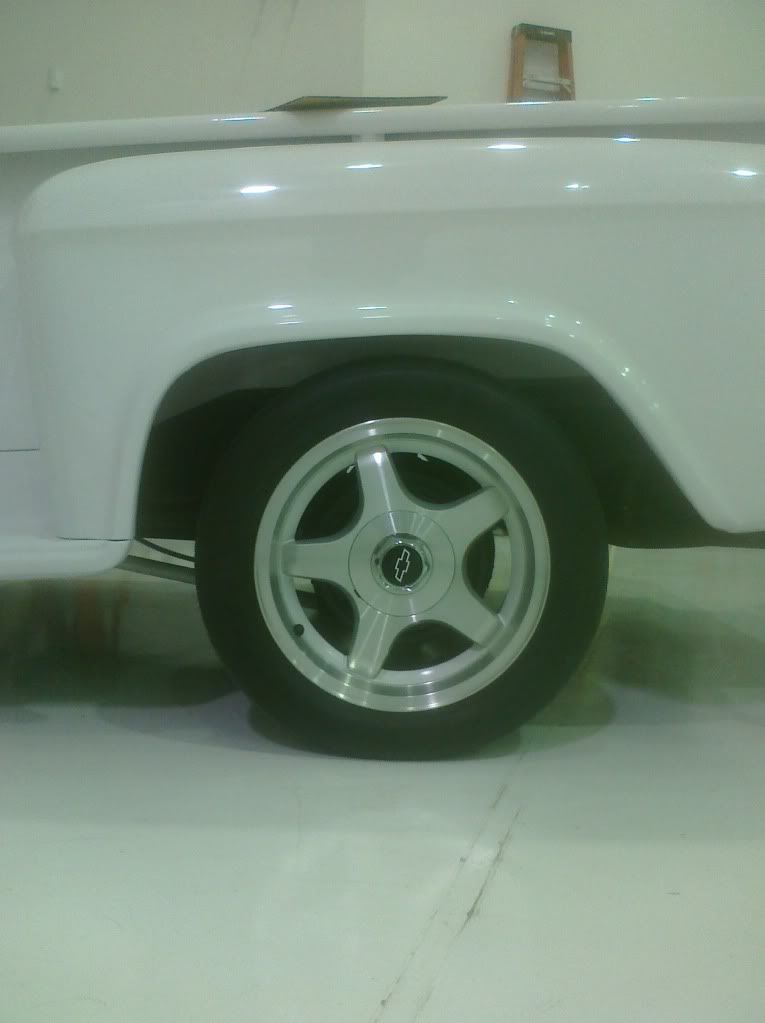 and the new tire, how it is taller than the fender lip 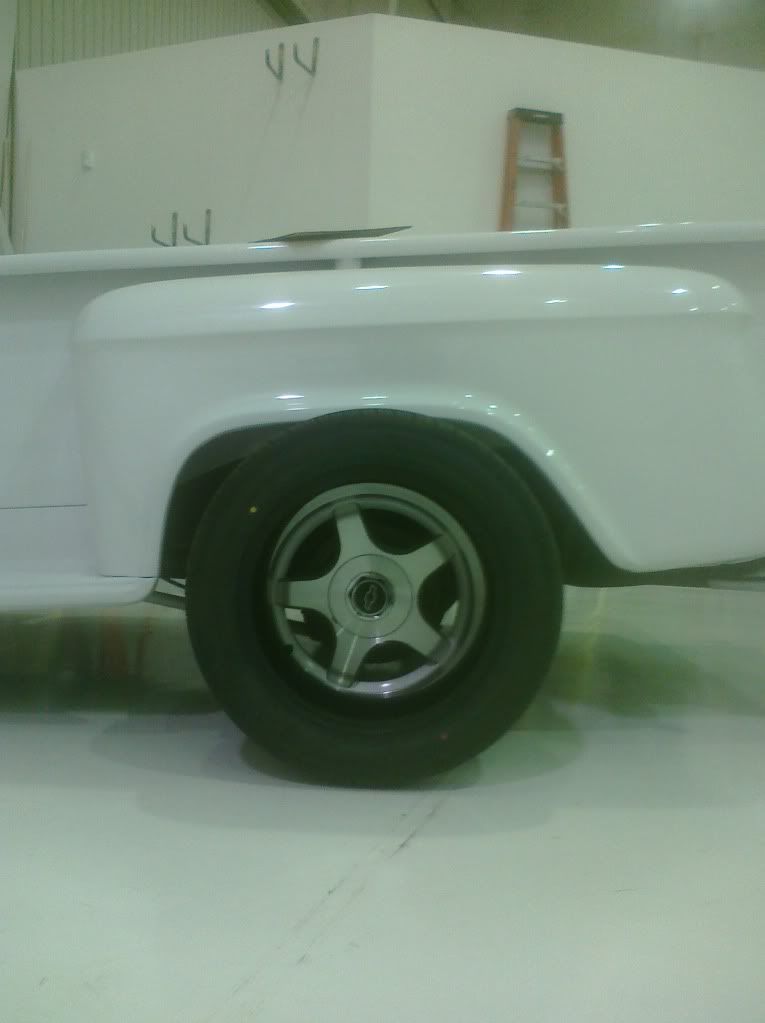 Another angle......... 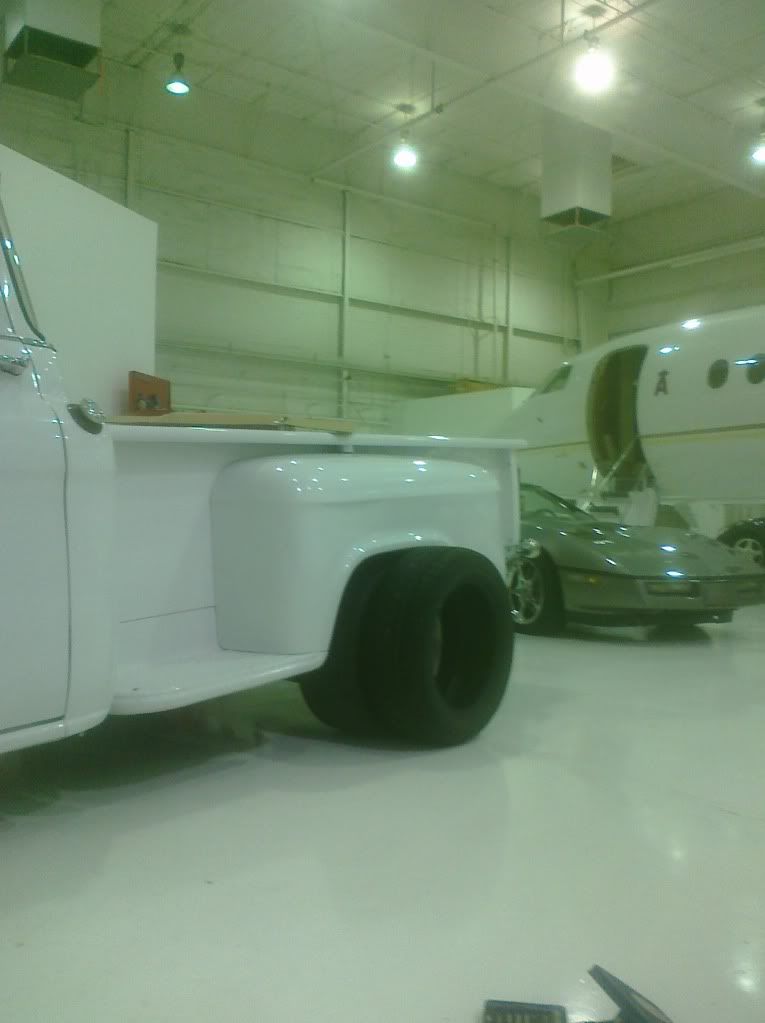
Last edited by Coupeguy2001; 10-29-2011 at 09:38 PM. |
|
|

|
|
|
#42 |
|
Registered User
Join Date: Aug 2007
Location: Corona, California
Posts: 7,998
|
Re: my 57 revitalized
Coming along nicely Coupeguy.
They discussed the Frantz filter on another site I'm on and everyone that had one saids they worked better than an original filter. Frantz has their own brand of filter paper for them. Kim http://www.frantzoil.com/home.html |
|
|

|
|
|
#43 |
|
Registered User
Join Date: Aug 2011
Location: phoenix az
Posts: 723
|
Re: my 57 revitalized
When I first put the frame stub in the frame, and tried to line up the sheet metal, i came out consistently 1/2" short on the left side. When I first got the truck, it was wrecked. I drove it all these years and never noticed that the left front cab mount was bent rearward 1/2". I did notice that the front bumper was uneven between the left and right sides, but thought someone had backed into the bumper and shoved the front bumper mount back a little. Since there was a small "ding" in the left front bumper bolt, and one right next to it in the bumper. That always seemed too much effort to fix since I loathe lining up heavy stuff like bumpers and pickup beds.
When I realized that the bed is a fixed piece, having it's own dedicated holes, i crawled under the truck and took the front left cab mount apart. The bolt was 1/2", and the hole was 1". It was obvious that the cab was shoved back. I had to loosen all the rest of the bolts and use a crowbar to push the left side back. I made this adapter washer to make sure that the cab never slid back in the future. 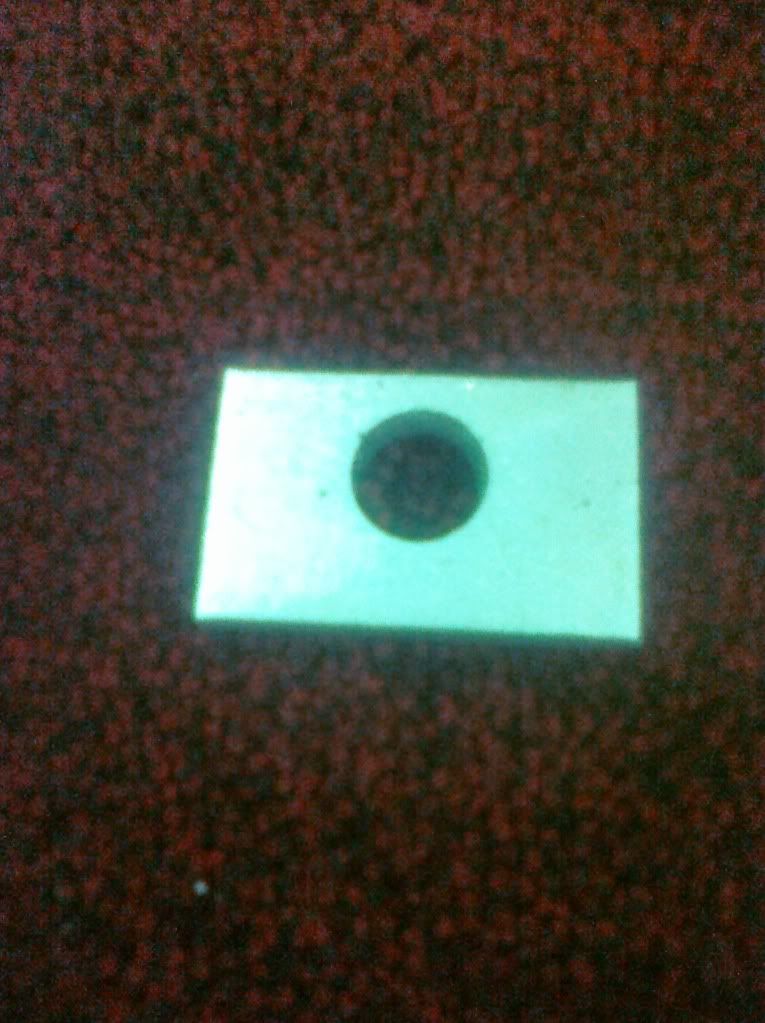
|
|
|

|
|
|
#44 |
|
Registered User
Join Date: Aug 2011
Location: phoenix az
Posts: 723
|
Re: my 57 revitalized
Thanks Kim,
I just use 500 two ply, and it's worked fine for me for a long time. The Charmin brand is worthless since it is 320. I guess they never expected their product to be multi-purpose. |
|
|

|
|
|
#45 |
|
Registered User
Join Date: Aug 2011
Location: phoenix az
Posts: 723
|
Re: my 57 revitalized
Well Gents, for some reason, my phone won't send any emails, so that's why the pics stopped.
I have put the front fenders back on permanently, mounted the master cylinder reservoir, finished up the power steering/hydroboost plumbing, installed the front bumper, and begun plumbing the master cyl reservoir remote fill tubing. The hood lined up pretty well with the fenders, I didn't take the hood off for the simple reason that I wanted to have a second item on the truck for a reference besides the cab. It worked out pretty well. The right side looks as perfect as possible, and the left side is sort of ok, but not perfect. I changed the fender rubber seal at the back of the left fender, and I can't push it in hard enough and tighten the upper blt at the same time to line up the fender and the door. Oh well, that's where I am. Today I mounted an electric fan to the radiator, and I'm crossing my fingers that the plate nuts that I used don't chafe the cooling tubes. everything is ultra tight there. I may take them out and grind them down a little. even .010" would make a difference I guess. Every day i get closer to having brakes, a running engine, and movement under it's own power. |
|
|

|
|
|
#46 |
|
Registered User
Join Date: Aug 2011
Location: phoenix az
Posts: 723
|
Re: my 57 revitalized
Ok,
The master cylinder remote reservoir is mounted. It is one of those cheapie oil catch cans off Ebay for $16 shipped. I removed their fittings and drilled and retapped it for aircraft fittings. I ran aluminum lines under the step and used a clipnut to hold them to the cab reinforcement brace under the step. I had a finger's worth of space between the cab and the bottom of the brace, so there was room for the screw without screwing the screw into the floor of the cab. I had a setback, I filled the hydroboost with fluid with a hydraulic ram to watch it's action, and then installed it. I was under the truck working on the pedal linkage, and a drop of steering fluid hit me on the forhead! My overhauled hydroboost was leaking statically with no pressure! BUMMER! There is a website that sells repair kits for the hydroboost, it's Pirate Jack's or pirate jack .com. Interestingly, they have available the instructions on how to repair the hydroboost on a pdf file. I downloaded the instructions, and some of the mystery of the hydroboost became clear. Since I had the original '85 chevy truck hydroboost just sitting around, I decided to take another look at it. I had bought an accumulator compressor tool, and decided to use it. The accumulator pressure had all leaked out. I used the tool anyway as a safety measure. Then I removed the accumulator from the overhauled unit. It was chromed and was fully charged. I used my tool to remove it, and then swapped the accumulator to the old unit. The rod in the old booster had a round hole at the end of the shaft. I cut the hole off, and threaded the shaft. Then I went to the hardware store and bought a 3 inch threaded adapter and some grade 8 threaded rod, screwed the new round hole fitting on the threaded rod, and put a bolt on the pedal, and measured it and cut the rod to length. I just hope the accumulator check valve and passages are clear and the spring can move. A test drive will answer that question. Just as a note here, I cut the original 1957 master cylinder bore off the cast iron master cylinder with a hack saw, and used the old master cylinder to mount my brake pedal. After all, it has held the pedal up for over 50 years, so why not keep it going? After you cut the cylinder bore off the master cylinder, it is just the reservoir, and the bottom of the reservoir has a groove cast in it and the pedal rod just passes under it like it was made for it! Then I noticed that the hydroboost pins were different lengths! I had to make a new pin, and bolted them together, and installed the old booster and master back in the truck. I finished making the pedal rod, and then installed it. now the pedal pushes the hydroboost, and the hydroboost moves the master. Last edited by Coupeguy2001; 11-13-2011 at 01:21 PM. |
|
|

|
|
|
#47 |
|
Registered User
Join Date: Aug 2011
Location: phoenix az
Posts: 723
|
Re: my 57 revitalized
I moved the engine back 2 inches. That meant that the fuel pump had to go. I got a blank off plate, and removed the fuel pump and reconnected the gas line to the carb. It is still aircraft stainless steel braided line.
Now I am mounting the fuel pump on the frame above the driveshaft on a steel plate. the steel plate will protect the fuel pump should the driveshaft pick anything up and sling it at the bottom of the cab. I just have to pick up some fittings and a 12 inch section of 5/16" doubleflared steel line and plumb in the pump. I have to add the electric circuit for the electric fan, so I will get a couple relays for the fan circuitry, one to arm the fan with the ignition on, and one to actually run the fan. I am sure I have the fan temp sensor off a 1986 Buick Grand National, so I will screw it into the head on the engine before I fill it with coolant. I also removed the top right platenut from the fan, and ground it thinner on the grinder. When I reinstalled it, it cleared, no problem. I am going to verizon today to get my phone fixed, so I will post the pics of what I've done. They will just be out of sequence. |
|
|

|
|
|
#48 |
|
Registered User
Join Date: Aug 2007
Location: Corona, California
Posts: 7,998
|
Re: my 57 revitalized
Nice job on the brakes. Do you have any pics of your mods?
Kim |
|
|

|
|
|
#49 |
|
Registered User
Join Date: Aug 2011
Location: phoenix az
Posts: 723
|
Re: my 57 revitalized
I have been to Verizon, and my phone is fixed. I will post soon.
|
|
|

|
|
|
#50 |
|
Registered User
Join Date: Aug 2011
Location: phoenix az
Posts: 723
|
Re: my 57 revitalized
Ok, pics are back!
here's one of the right side for height. Don't know why it bugs me so much, but it does. By the way, I just love this pic, but I have no idea why. 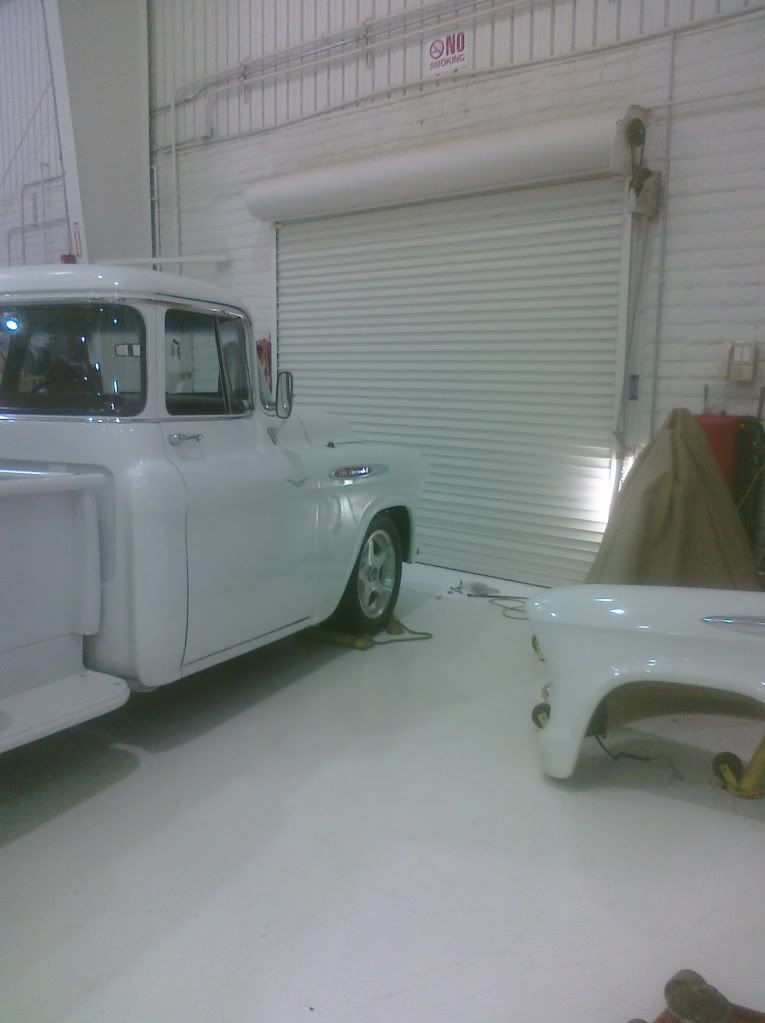
Last edited by Coupeguy2001; 05-20-2016 at 03:51 PM. |
|
|

|
 |
| Bookmarks |
|
|