 |
Register or Log In To remove these advertisements. |
|
|
|
|||||||
 |
|
|
Thread Tools | Display Modes |
|
|
#1 |
|
Registered User
Join Date: Jan 2014
Location: Sacramento,California
Posts: 696
|
Tired of your tailgate latch trim bezel falling off? Me too....
So today I let my tailgate on my 01 Sierra fall a little and the trim ring around the latch fell off on to the ground, this has only happened one other time, but on my bosses 04, he has replaced his ring about 3 times now. I decided I did not want to waste money on a plastic ring that obviously doesn't stay in place, so I modified mine.
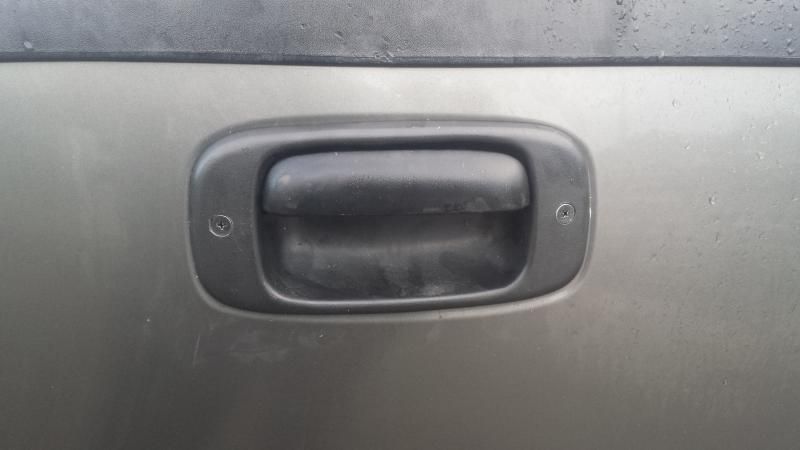
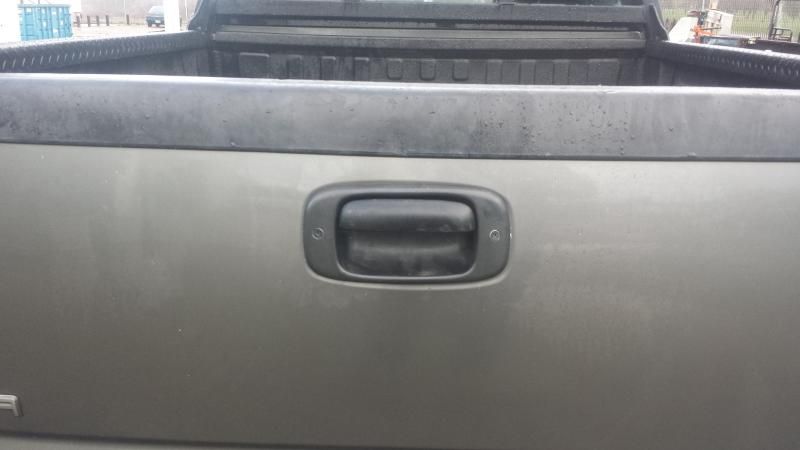
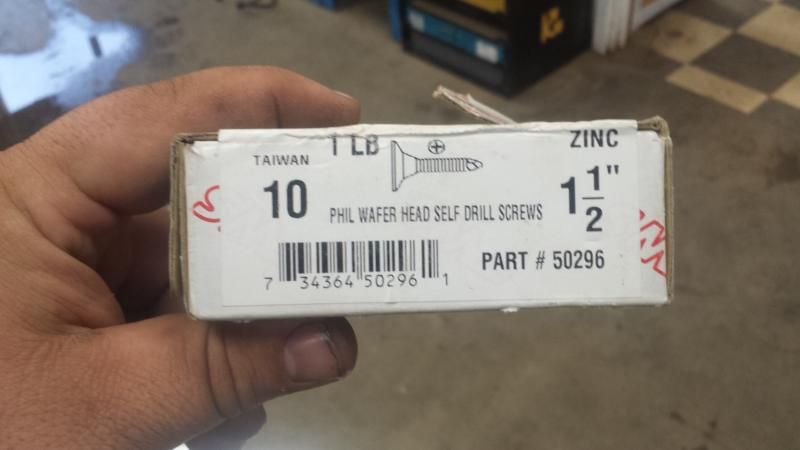
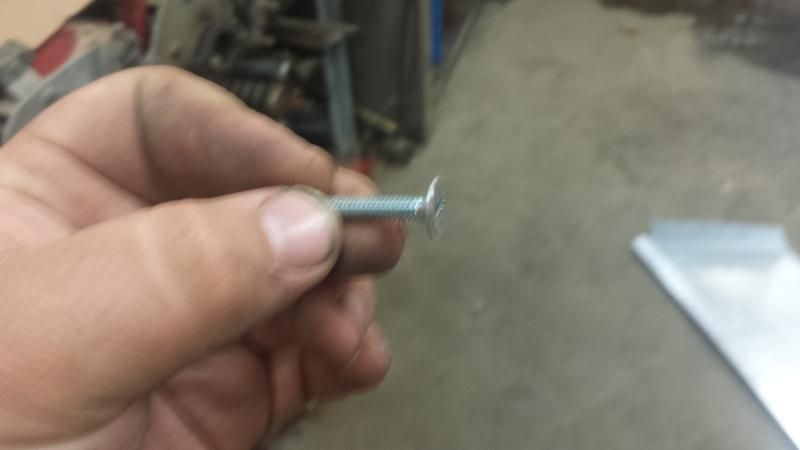
Here's what you need: A drill 3 drill bits, 9/64" to drill the pilot holes in the tail gate, a 13/64" to drill the holes in the bezel, and a 1/2" bit to countersink the screws into the bezel. 2 Waffle head sheet metal screws (available at home depot) Some black paint Some full hardening gasket sealer (rtv or other silicone based) And a ruler and pen. I started by installing the trim ring on the tail gate, then I laid my ruler up against the handle itself to mark a straight, centered, level line across the bezel. Then I removed the bezel and measured the width of the side portion of the bezel and made a cross mark in the center where I will drill my hole. Then I drilled my hole in the bezel using the 13/64" drill bit, then I re-installed the bezel, and drilled my pilot holes in the metal of the tail gate using the 9/64" bit. The bezel is slightly rounded so I angled my drill toward the lever slightly so that when I put in the screws they would sit flush. I removed the bezel and used one of the screws to finish tapping the holes in the tailgate, then I counter sunk the holes in the bezel with the 1/2" drill bit... THIS IS Important: Counter sink the holes very slowly and with very light pressure because if the drill catches and drills through the bezel is done. Next, put a dab of RTV or equivalent on each of the holes and squish a little through the holes, this will both keep the screws from backing out, and act as a glue for the bezel. Paint the heads of your screws black, let them dry, and install with a screw driver and slightly tighten them. Do not crank them down or the bezel will crack when the temperature changes. here's how it looks   here are the screws I used (I had a bunch of them at work)  
__________________
Built not bought! My dad always tried to convince me HEI was pointless! Welding is a lot like sex, you don't have to be great with the rod as long as you thoroughly prep the surface and your good at grinding  My build : 68 C10 Short Bed Conversion |
|
|

|
 |
| Bookmarks |
|
|