
 |
Register or Log In To remove these advertisements. |
|
|
|
|||||||
|
|
Thread Tools | Display Modes |
|
|
#1 |
|
Registered User
Join Date: Jun 2008
Location: Honolulu, Hawaii
Posts: 82
|
Newbie Build, 69 fleetside
well since my first thread got out of hand, i might as well make one more with some progress picture, this truck was in such bad condition after stripping paint and layers of bondo where there shouldnt have been, that im going to be satisfied that its going to end up in omaha orange and driving nice at the end of the day.. also running out of time because i rent a stall to work on it in, and i leave for yet another deployment at the end of january.
this is my first time doing any kind of bodywork, and i usually read up on a lot of everything and practice by doing things, so the work im doing isnt the greatest and i expected that, but if i didnt do anything, this truck would have surely ended up being just a donor truck later to some other guy, and been one less on the road. so heres the pics i have so far. theres some more i havent uploaded yet, of the rear window repair, but it gives a good idea. you can see the rust in the back corners of the rear window, it was rusted trough on both sides, inside and out, so ended up stripping it, cutting out the rust and using the sheetmetal brake at the shop area to make a new piece for both sides 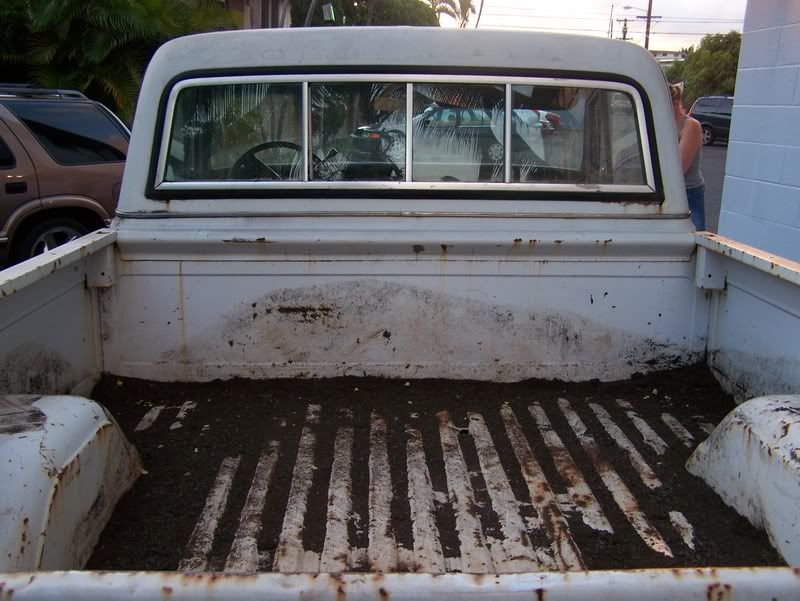 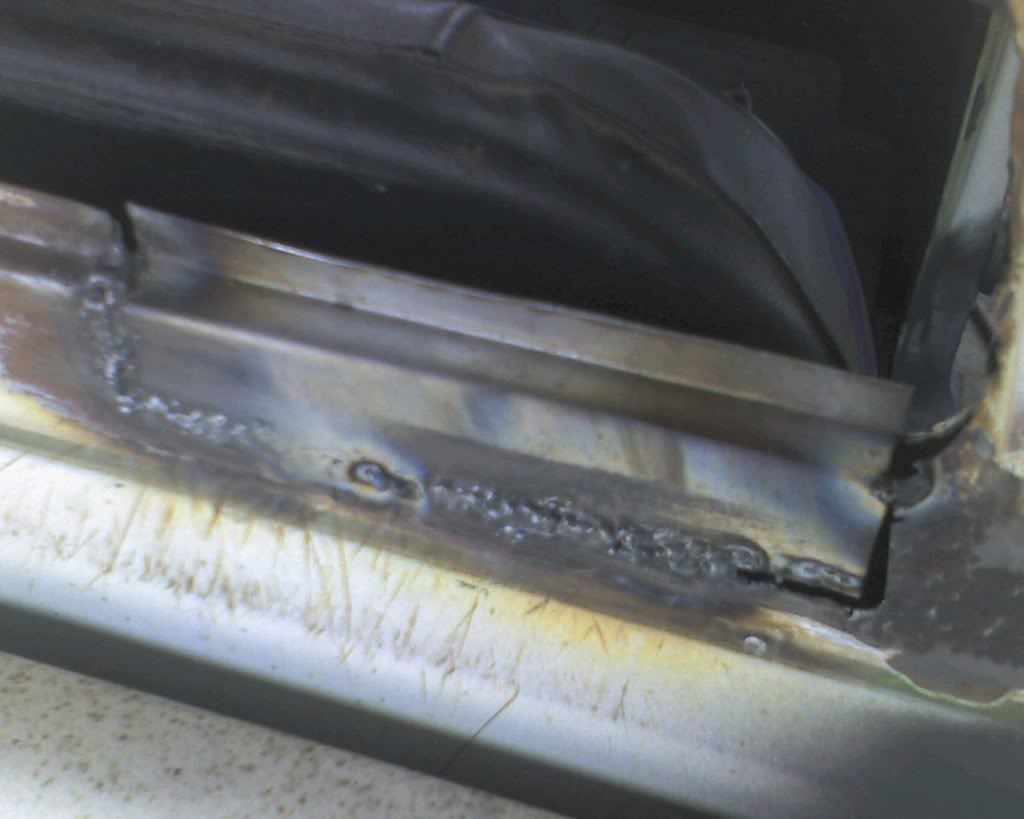 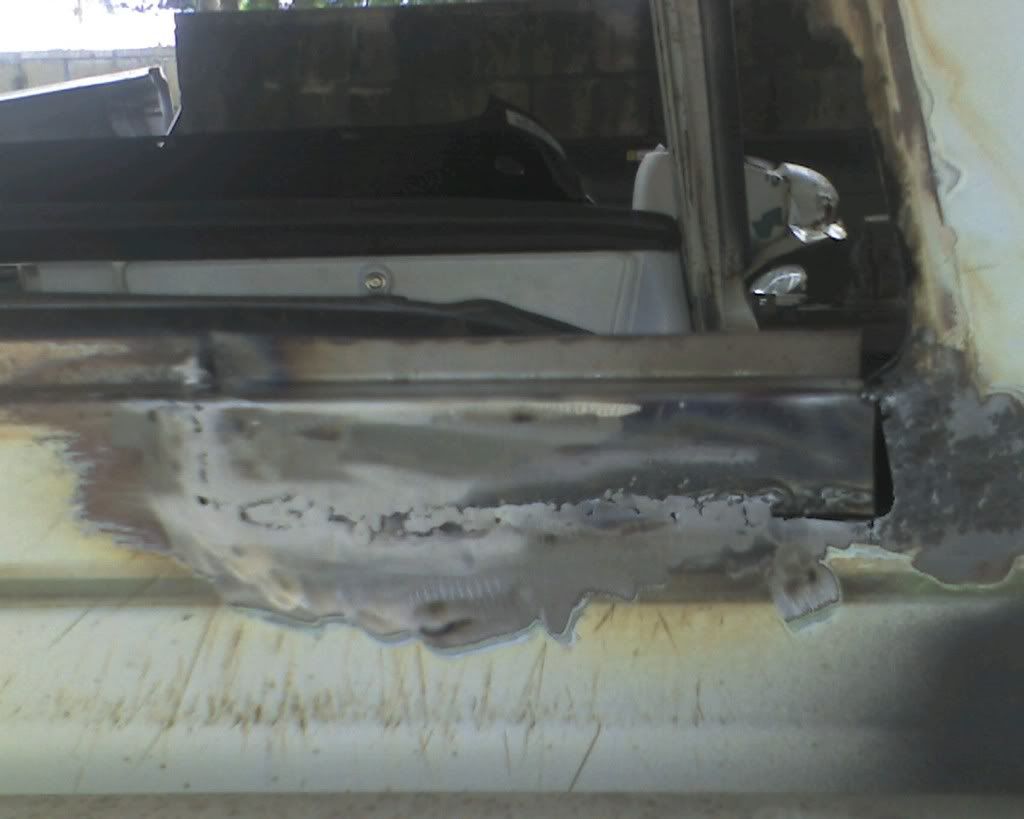 couple more welding of small spots after these two and filling in and i finished it up... bad? first time lol. and the backside before i put another piece of fitted metal and cutout in place to match up to the other repair piece.. kinda fuzzy, bad camera phone 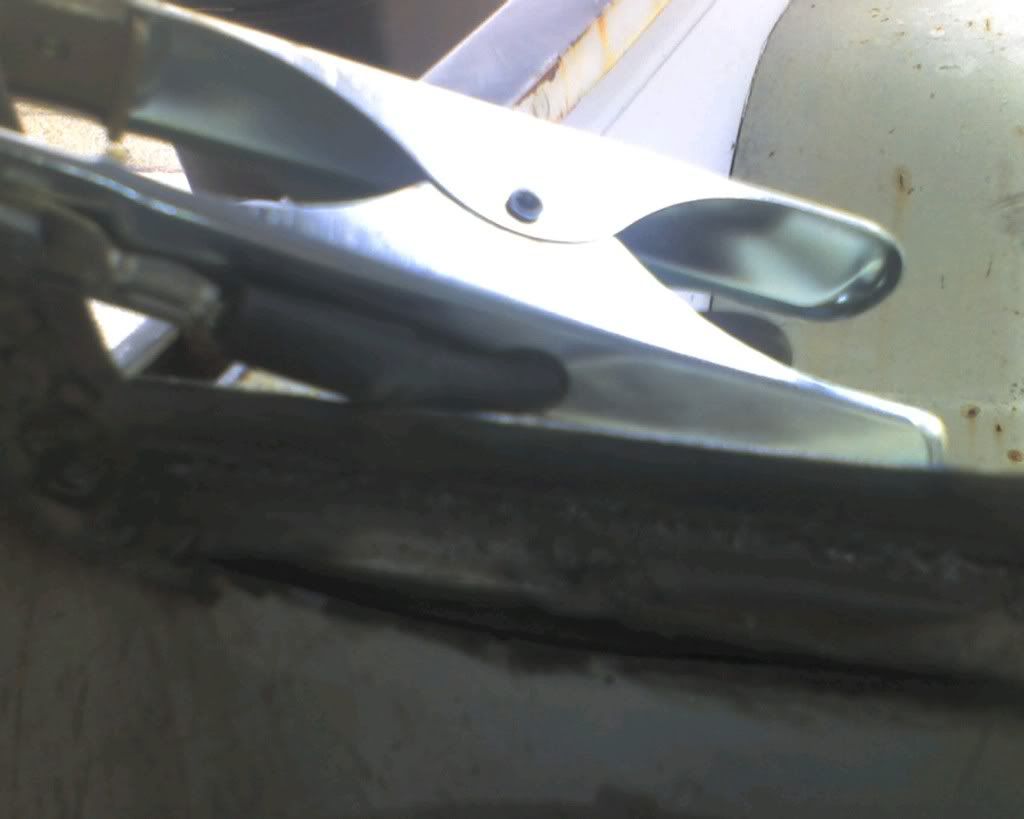 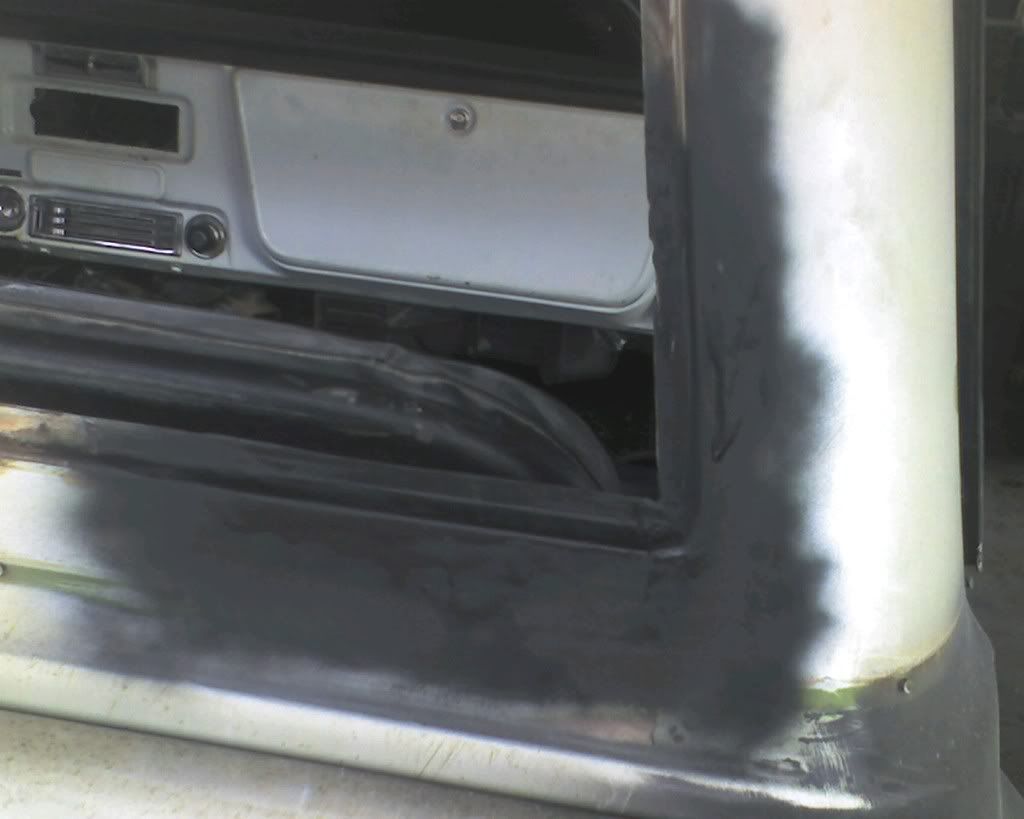 and here is the repaired backside 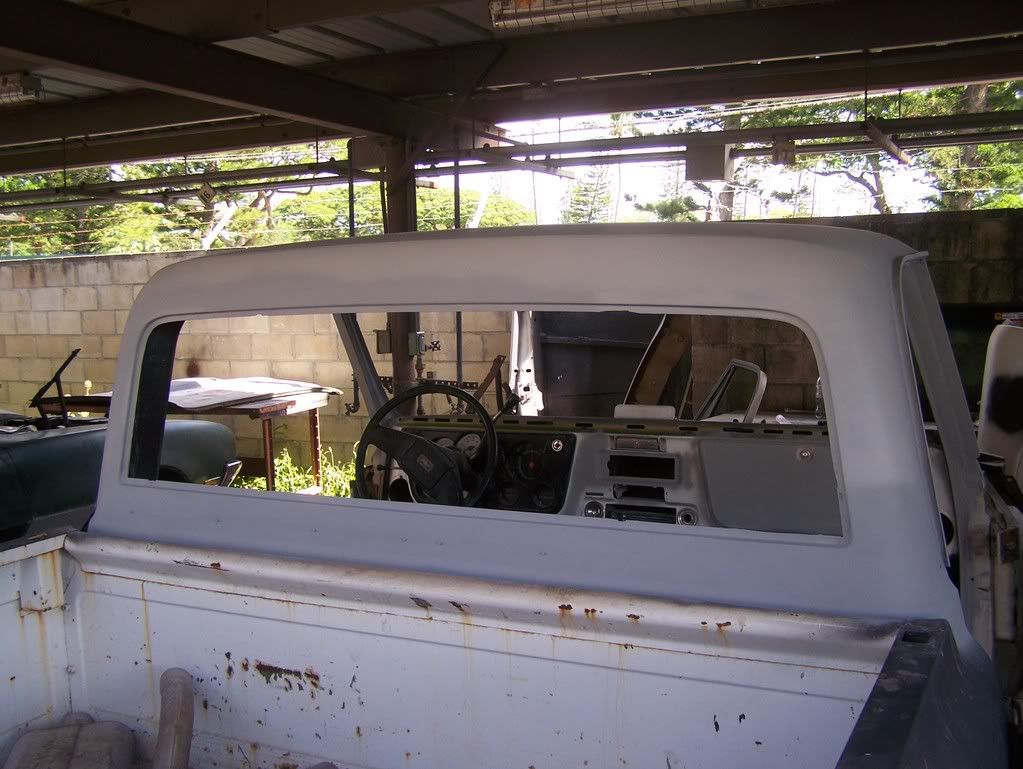 another shot from inside at the corner that was repaired with new metal 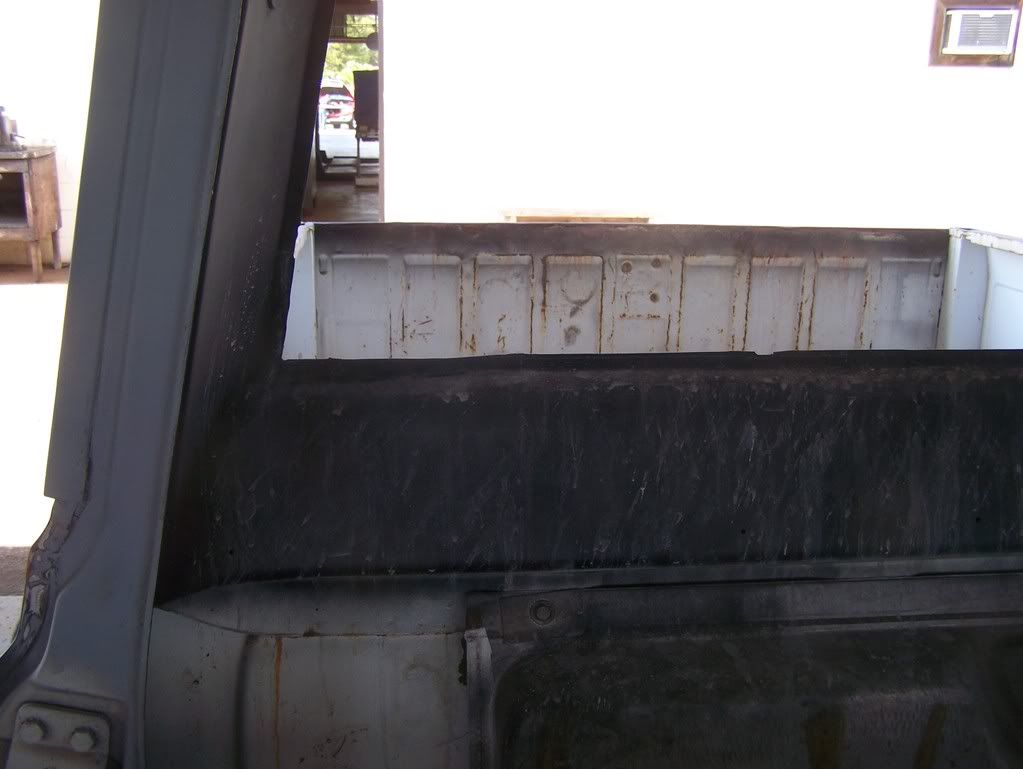 Here the drip rail was rusted through all the way, i had to strip it all the way down, treated with rust converter for the areas that were harder to reach (it was only small pocked areas that were treated, the rest was ground down to good metal), and then patched with small patch panels then smoothed out... sorry i wasn't too good to remember to take pics throughout the process i did things 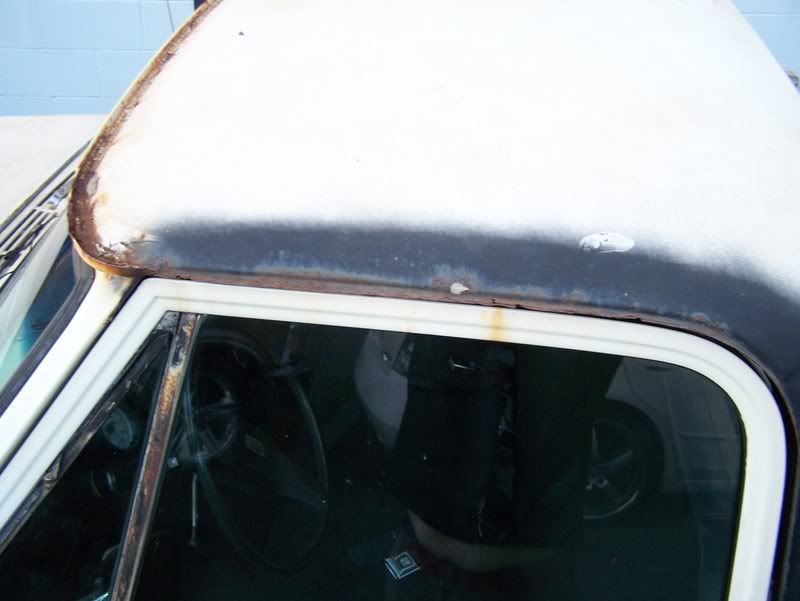 and here is what it looked like after i was done with it, almost completely done with it, but needs to be blocked still, also the front right corner looks weird because the previous over had ground down the drip rail in a couple areas.. i guess in an attempt to fix it early on or alleviate water aches at the corners so it was no longer standing water.... 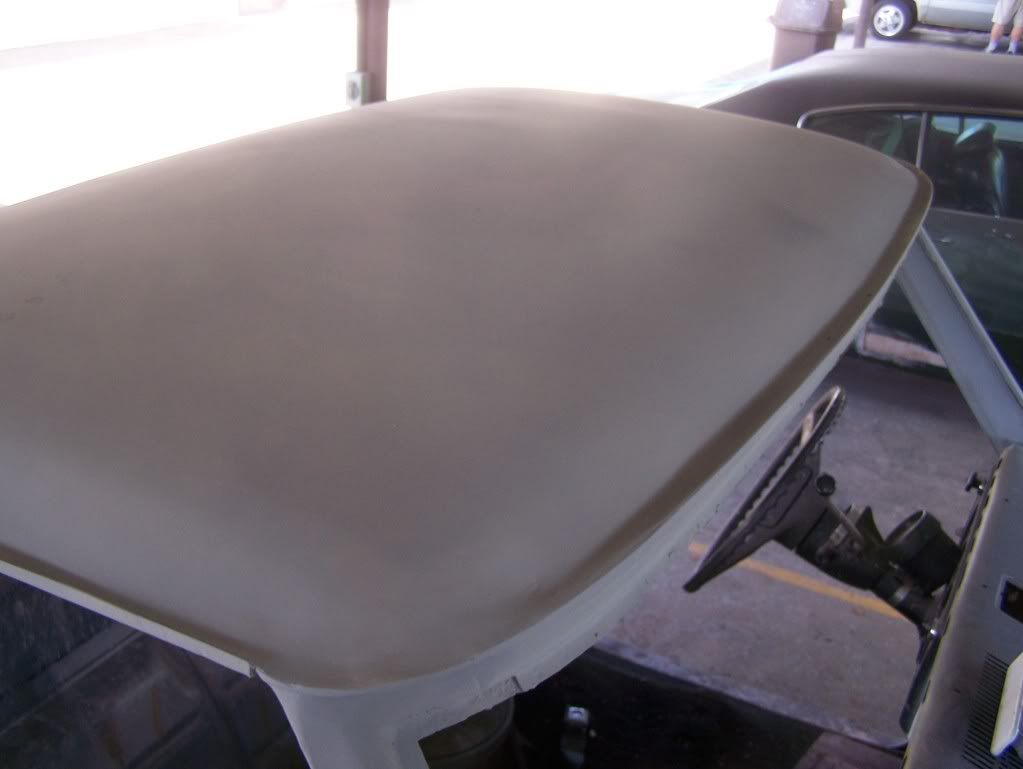
|
|
|

|
| Bookmarks |
| Thread Tools | |
| Display Modes | |
|
|