
 |
|
|
#1 |
|
Registered User
Join Date: Aug 2010
Location: ruston, la
Posts: 97
|
Vintage Air Install
Since I joined this site I have been doing a bunch of reading, but very little posting. I figured is what about time to contribute to this great site. I bought the Gen IV for my 1981 stepside C10 about two months ago and just started the install today. I didn't see a whole lot of pics of the install just the finished product so here is what I have so far:
This is the interior and firewall completely gutted 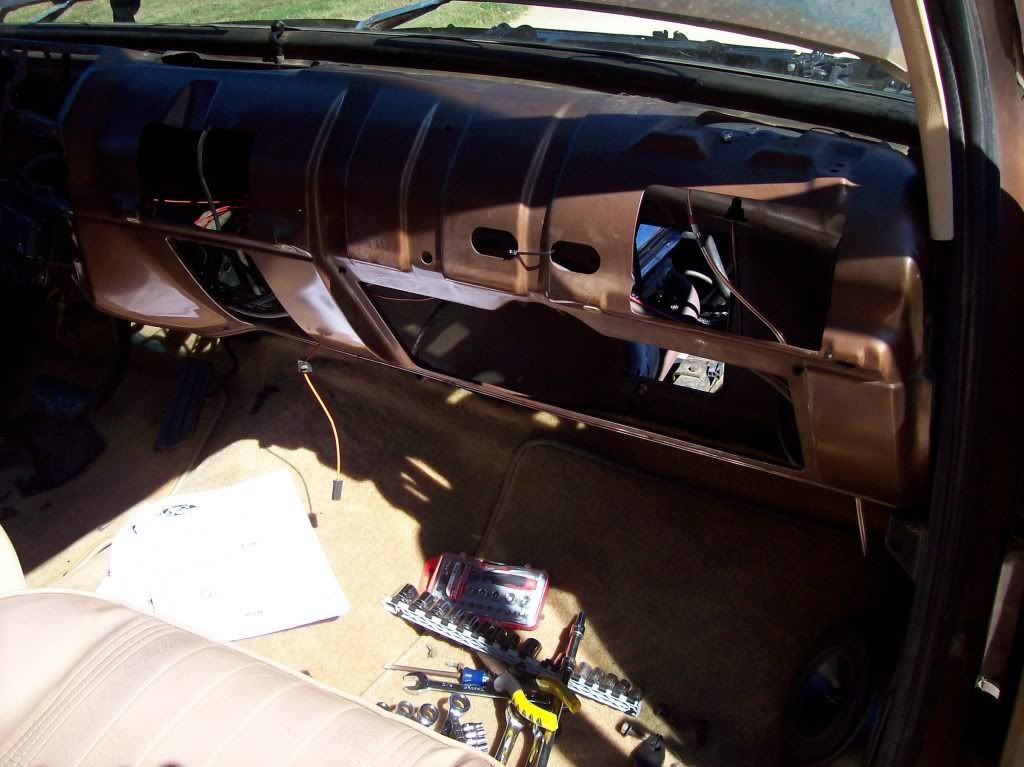 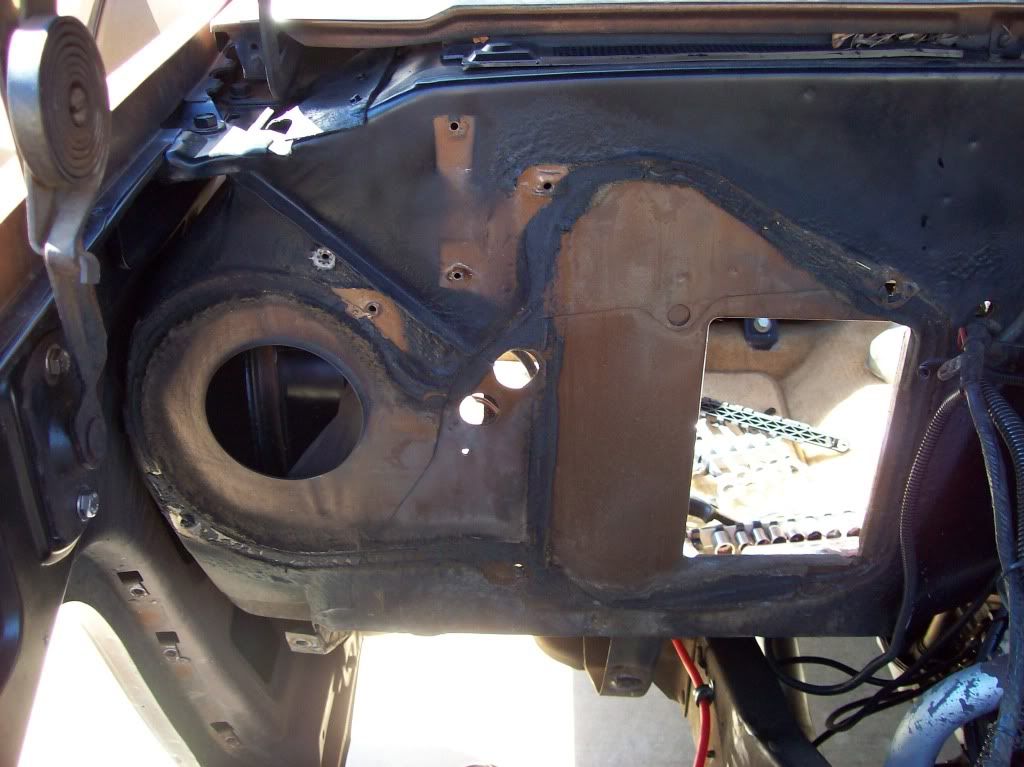 Here are two shots of the underdash unit and one of the firewall. I had problems drilling the top two holes for the top mounting bracket because my drill was too large; a right angle drill would probably work the best. I ended up using my dremel, but could only get one drilled for now. Also, when I installed the grommets on the panel that attaches to the firewall I installed the top one backwards. If you have installed this kit you may know what I'm talking about. If you haven't installed it yet the top grommet is recessed on one side, that side go toward the back of the truck. The manual doesn't state that, but after getting the evaporator installed and the lines through the firewall that makes the most sense. 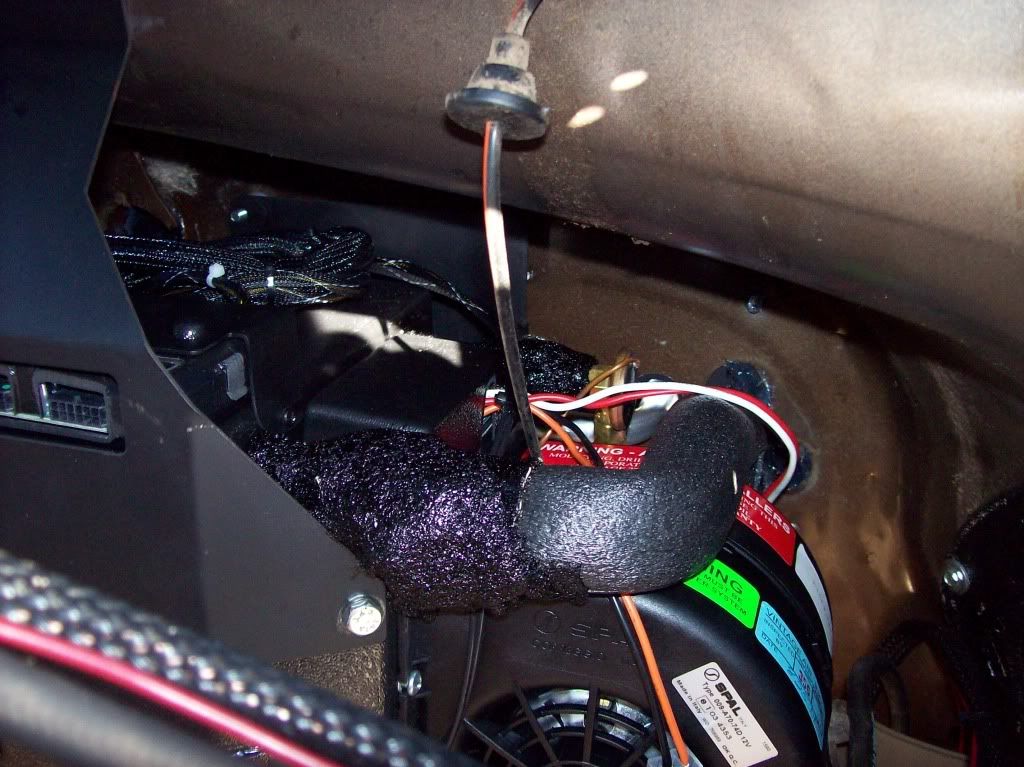 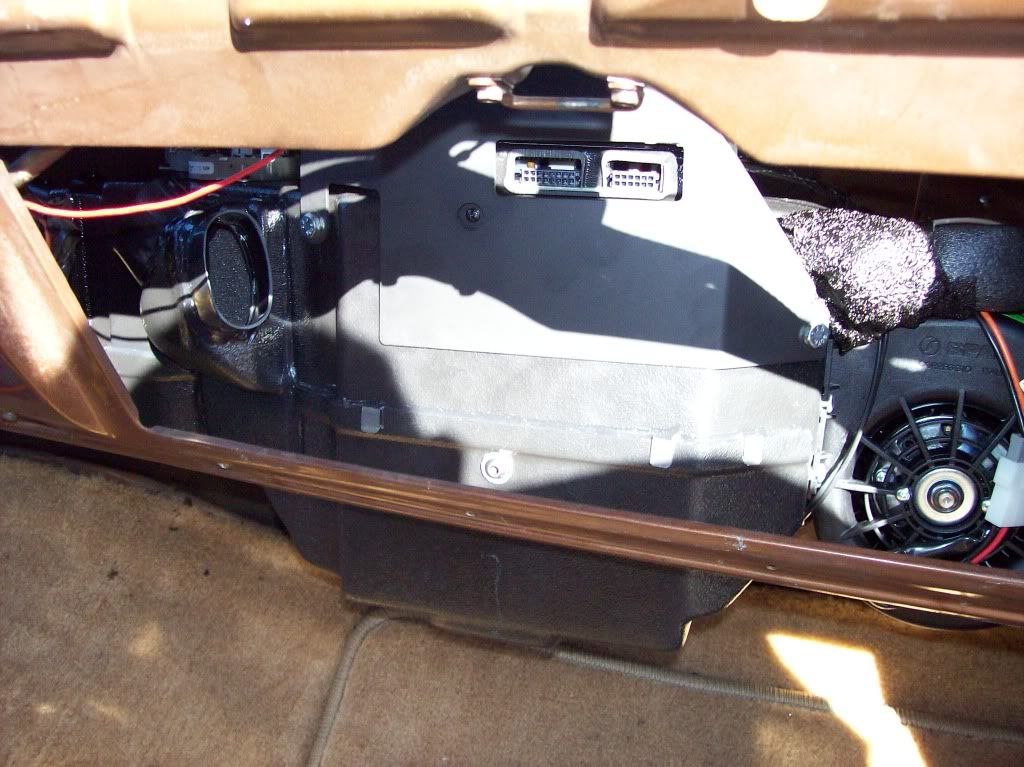 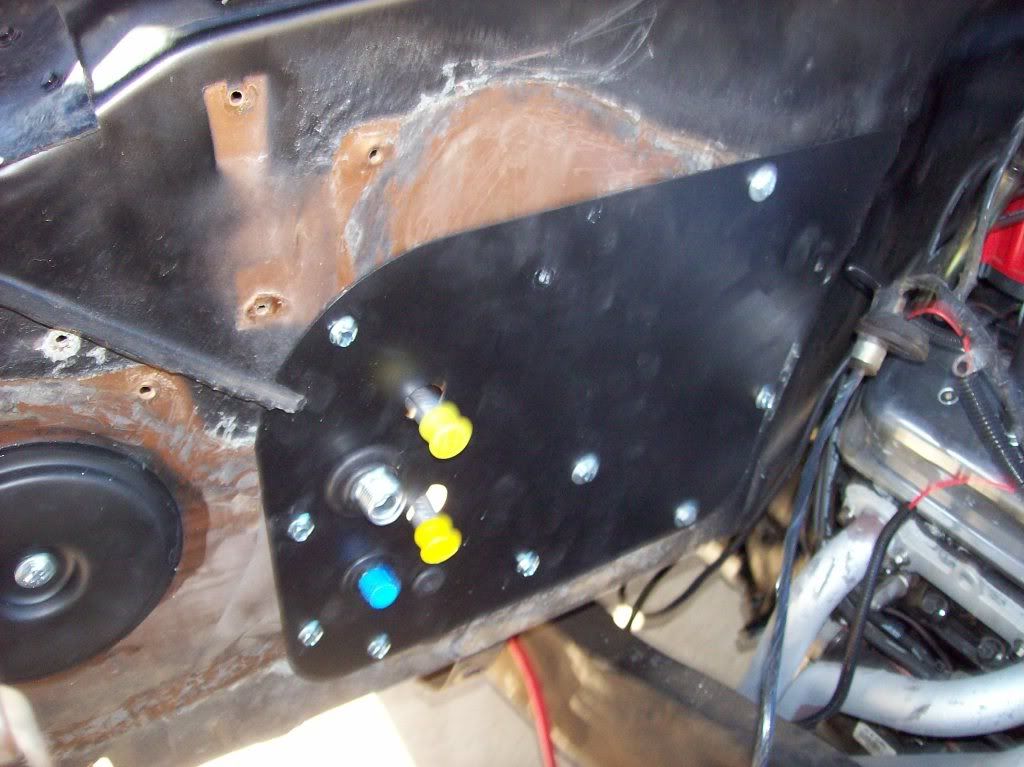 I do have one question so far if anyone can help me out. The instructions show to install the defrost vents with the #8 screws and j-nut; there was no way that I could see this working without taking a cutoff wheel to the dash. I had to modify the vents that Vintage Air sent to work with the stock mounting system, has anyone else ran into this? That is what I have done so far. Tomorrow I will pull the radiator and install the condenser, dryer and compressor. I was pretty intimidated when I started this, but it only took me 2 hours to remove the old and another 2 to install the box under the dash. I hope tomorrow goes as well. Here's a pic of the truck: 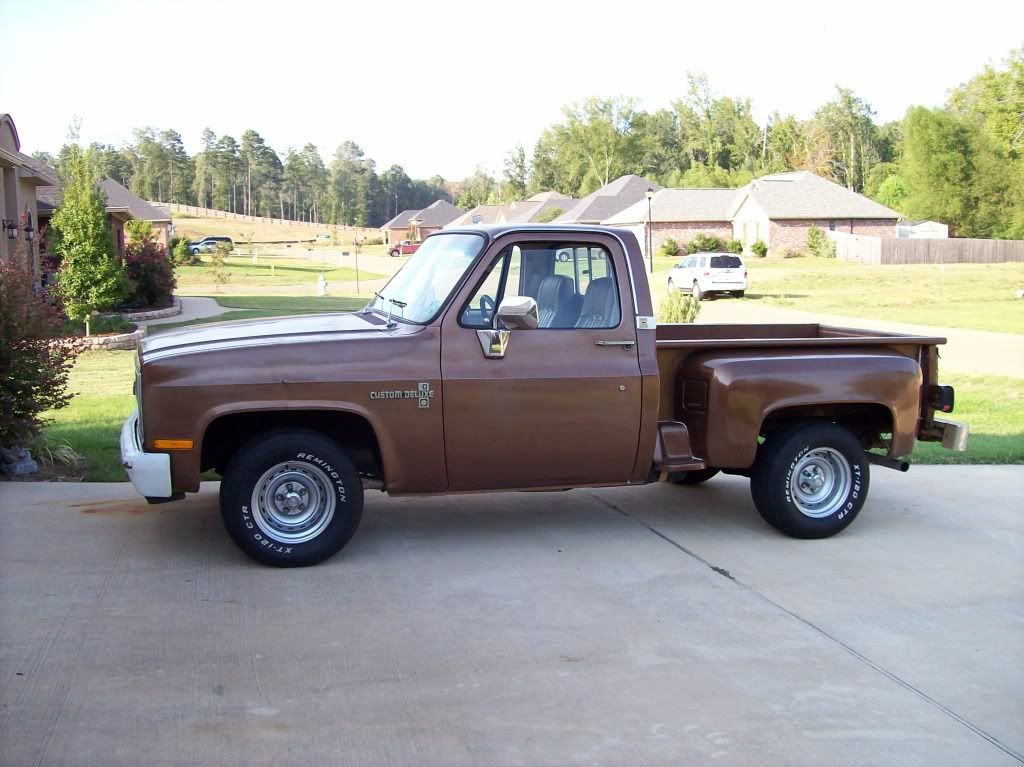 After this I can get to work lowering it 2.5/4 and installing new bumpers and grill. |
|
|

|
| Bookmarks |
| Thread Tools | |
| Display Modes | |
|
|