 |
Register or Log In To remove these advertisements. |
|
|
|
|||||||
|
|
Thread Tools | Display Modes |
|
|
#1 |
|
Registered User
Join Date: Aug 2010
Location: Inland Empire - Southern California
Posts: 86
|
My First Try At An Interior Project!
Well, I have undertaken another project on the SuperSub. If you are anything like me, you handle upgrades in bite size pieces as you have the time and money to do them. Unfortunately, I seem to always be short of time and money, so I end up having to handle upgrades on my own instead of dropping my ride off at a shop. My latest project was to try my hand at improving the interior. To this point, I have been driving around without inner door panels in the Sub. I have never done interior work, so this seemed like a good first time interior project opportunity.
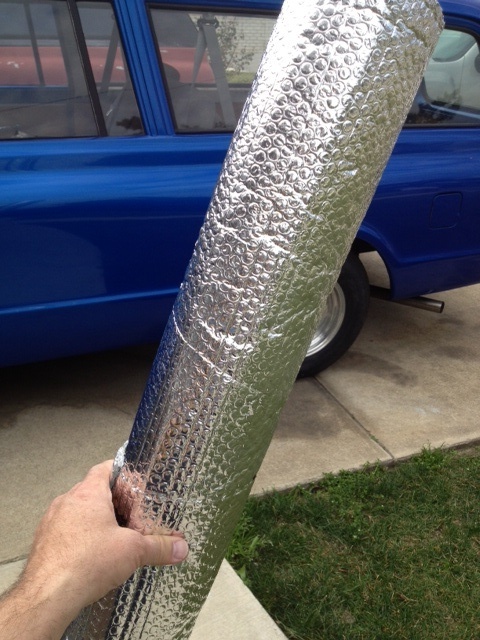
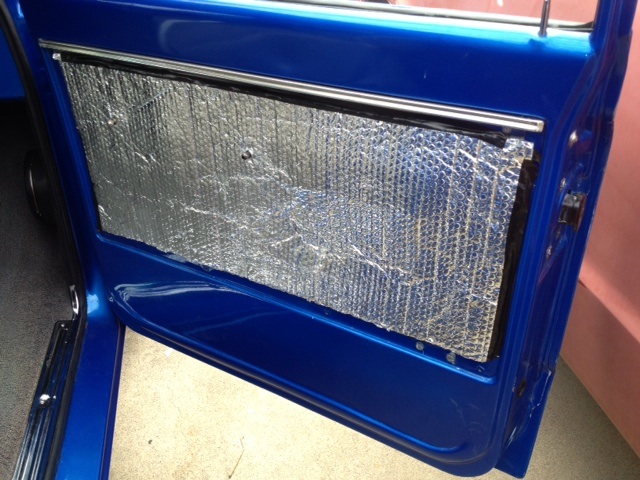
 I did some online research and found that JoAnn’s Fabric (a chain store) carries material that was appropriate for the job. I also learned that they would accept coupons from their competitors. I found a competitor’s coupon online that was valued at 50% any regularly priced item. I went to the store and found they had a variety of colors, textures and grades, including marine grade. The black faux leather material that I liked cost about $20 a yard. I bought two yards using the 50% off coupon. I figured that would give be enough material to complete the front and rear door panels.  I went to Home Depot and bought a thin sheet of 4’ x 8’ particleboard that I could use as a foundation for the door panels.  When I returned home I measured the area to be covered by the door panels. I cut the particleboard to fit and used a hole saw to drill the openings for the door handle and window crank shafts.  I cut the upholstery about an inch larger that the particleboard pieces that I had cut. I applied spray contact cement to the backside of the upholstery, as well as the front side of the particleboard. Once both had dried, I laid the upholstery face down on a flat surface and centered the front side of the particleboard on it. I turned the joined pieces over and used my hands to work out any wrinkles or air that may be trapped in between. I cut a series of intersecting lines in the openings for the door handle and window crank shafts. I turned the upholstered side down again and applied glue to backside of the upholstery that protruded past the edge of the panel, as well as to the edge of the particleboard. I stretched the edge of the material around to the back of the particleboard and used spring clamps to hold it in place.  I cut pieces from a roll of bubble wrap type insulating material that I already had and applied it to the backside of the door with 3M body caulking strips that I had from a past project.    I cleaned and polished the trim pieces that hold the upper part of the door panels in place. I used stainless button head screws to hold the bottom edge of the door panels in place, making sure to put some anti-seize on each of the bolts so they wouldn’t gall in place. I installed the covered panels and topped them off with new arm rests that I purchased from the Truck Shop.  Although these door panels aren’t as fancy as they would be if made by a professional shop, I was quite happy with the finished project. |
|
|

|
| Bookmarks |
| Thread Tools | |
| Display Modes | |
|
|