
 |
Register or Log In To remove these advertisements. |
|
|
|
|||||||
|
|
Thread Tools | Display Modes |
|
|
#1 |
|
Registered User
Join Date: Jan 2013
Location: Leonardtown, MD
Posts: 1,648
|
Multi-machine welding cart
I recently sold my Dinosaur Mig, after owning since '91 I thought it was time for a new one..
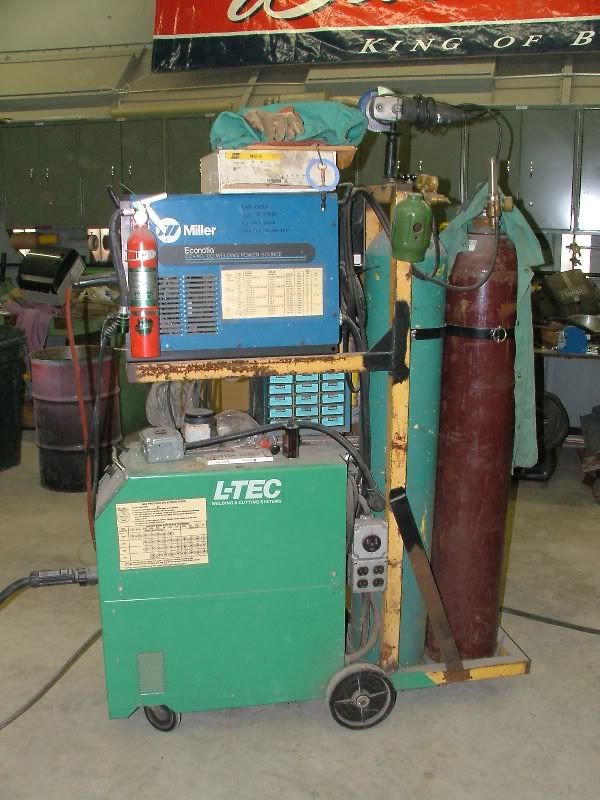 Sold it on CL, time now to consolidate. My shop space is limited, and I need to incorporate the Miller 211, the Hypertherm Tig, and the Snap On dent puller, and two bottles: 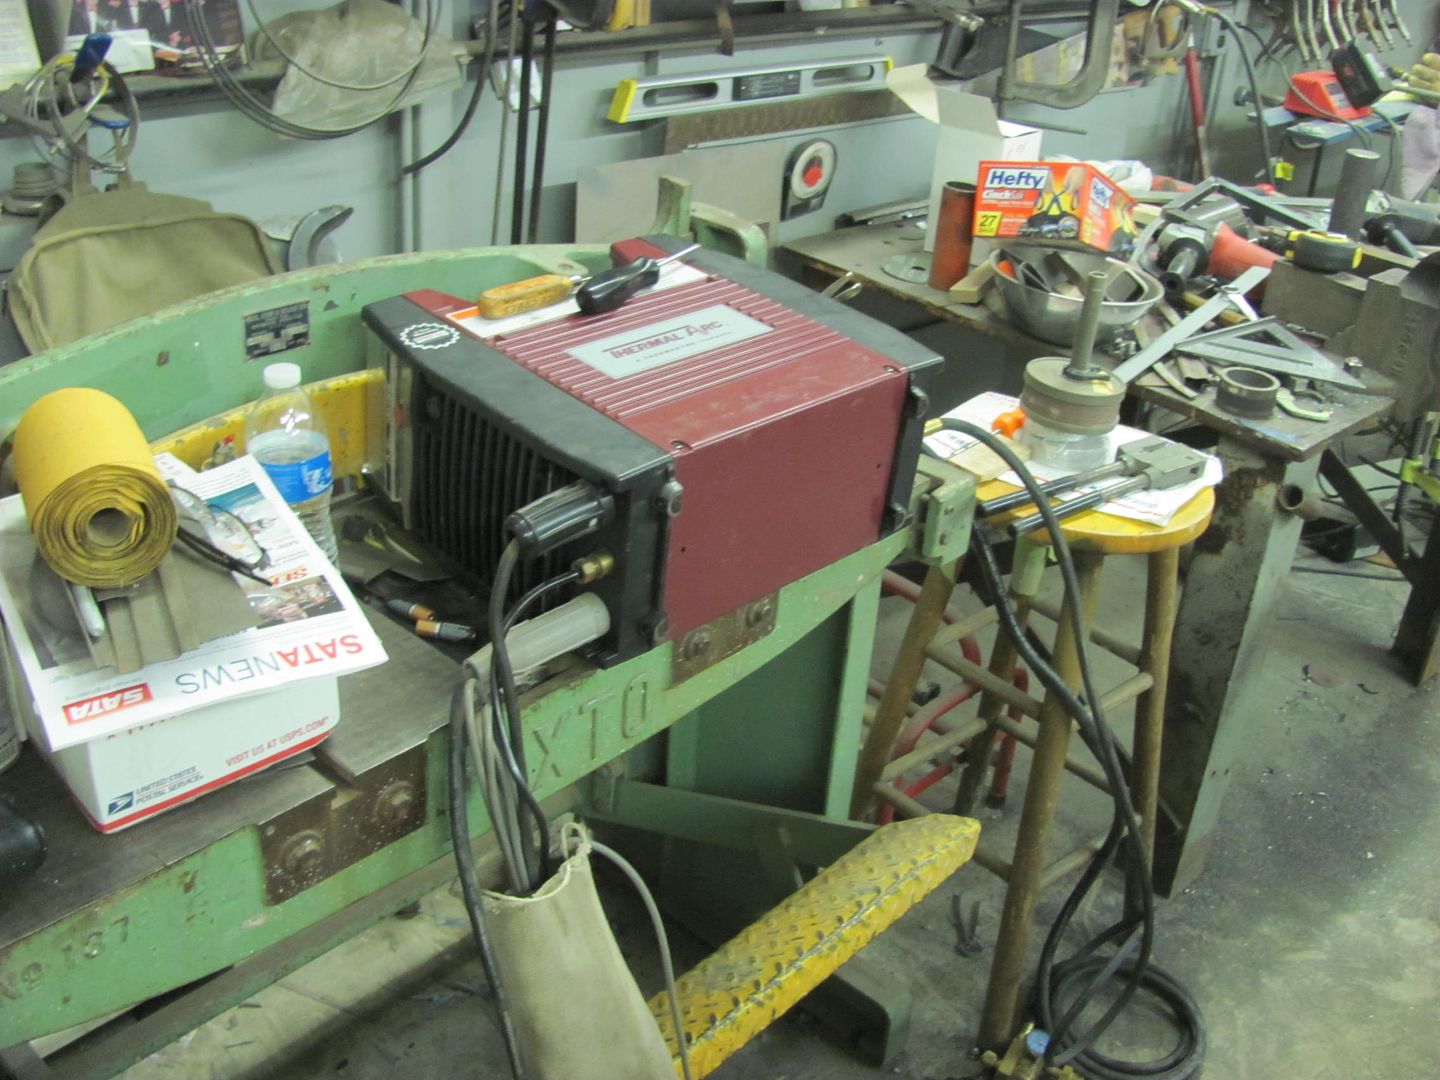 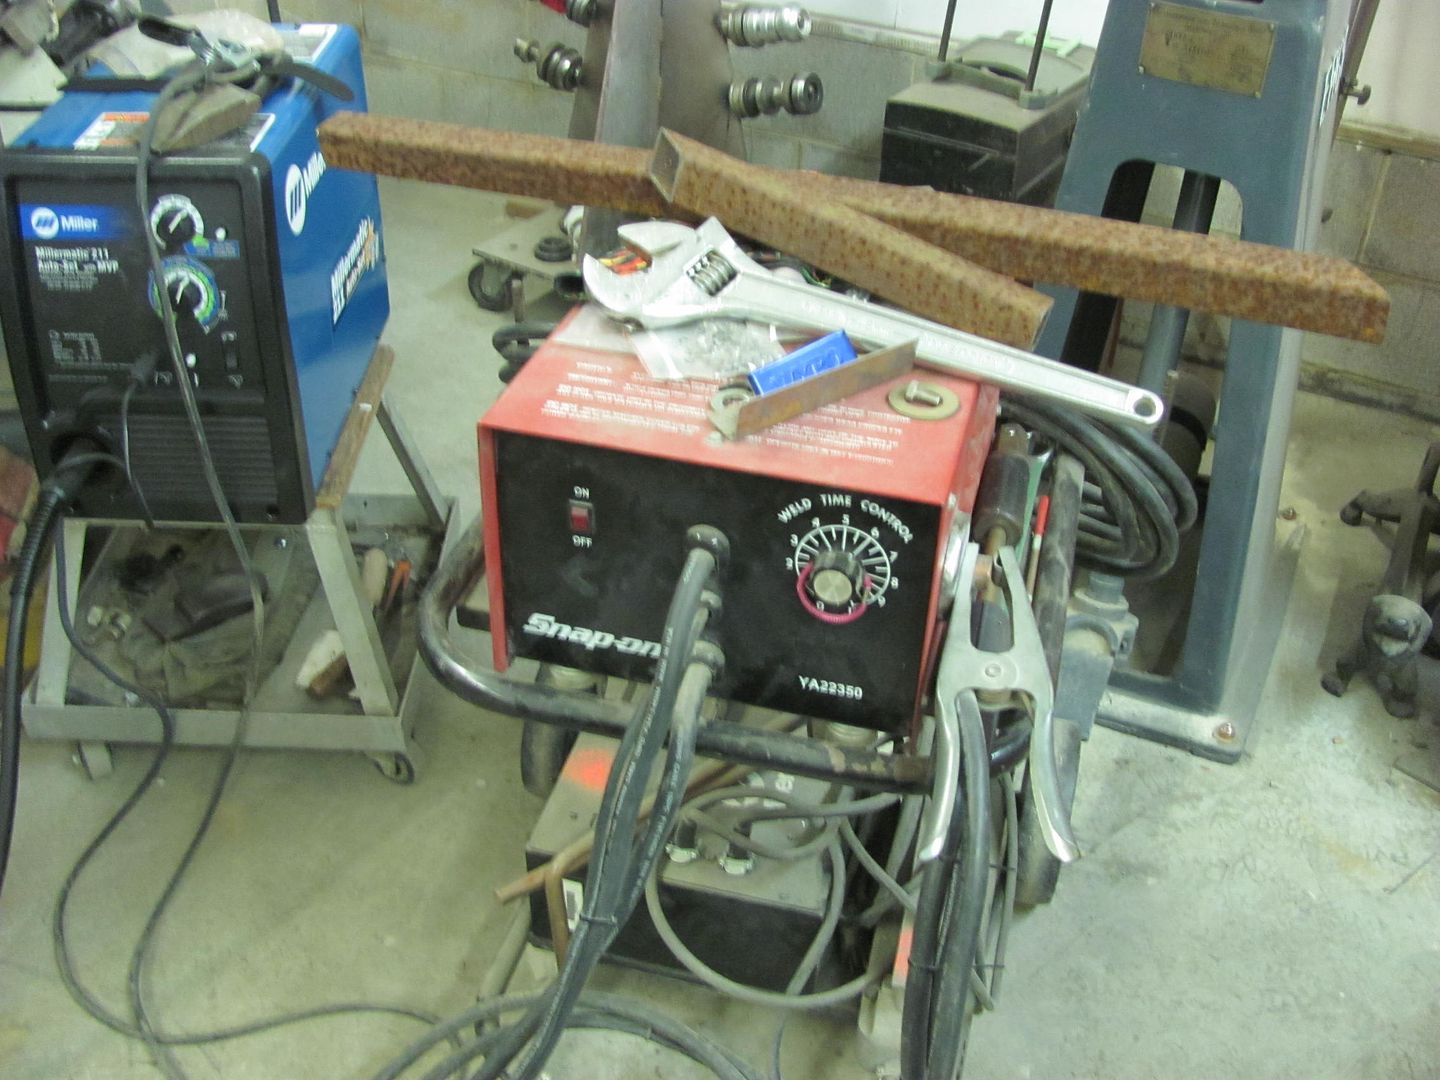 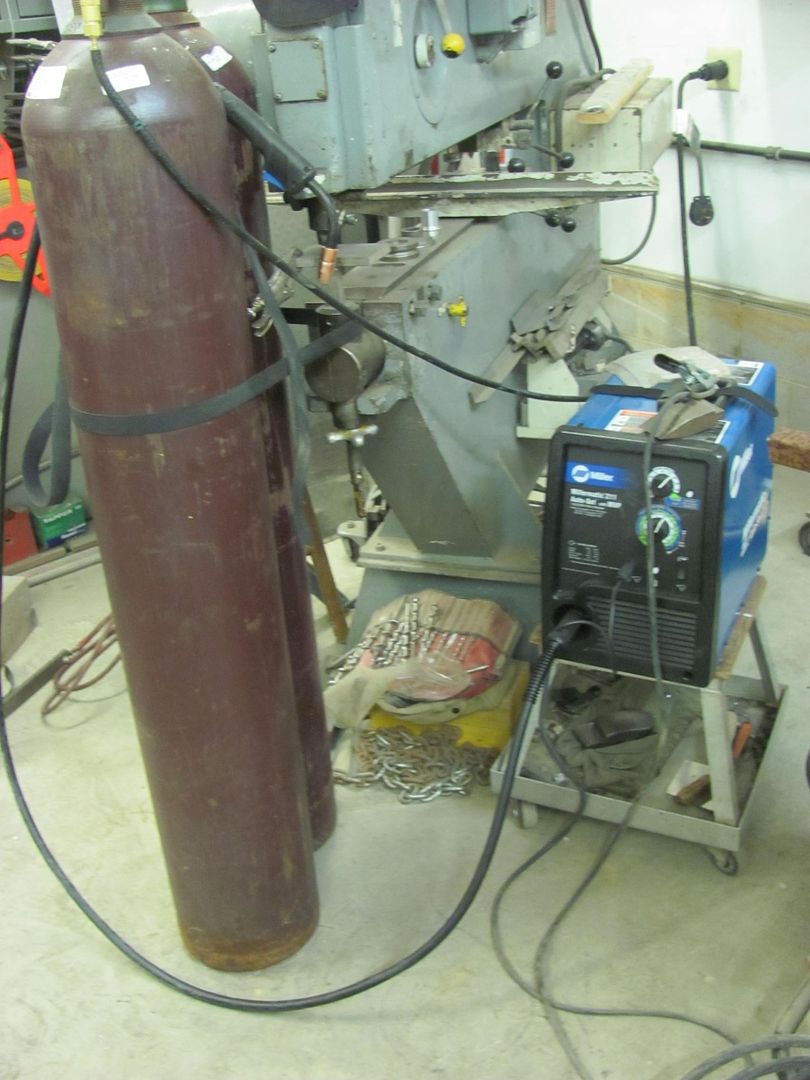 Starting with the base, some 1-1/2 square tubing makes up the frame. This stuff was free, and as with most free stuff, it isn't. Kyle spent quite a bit of time media blasting rusty square tubing that has been sitting outdoors for a number of years. 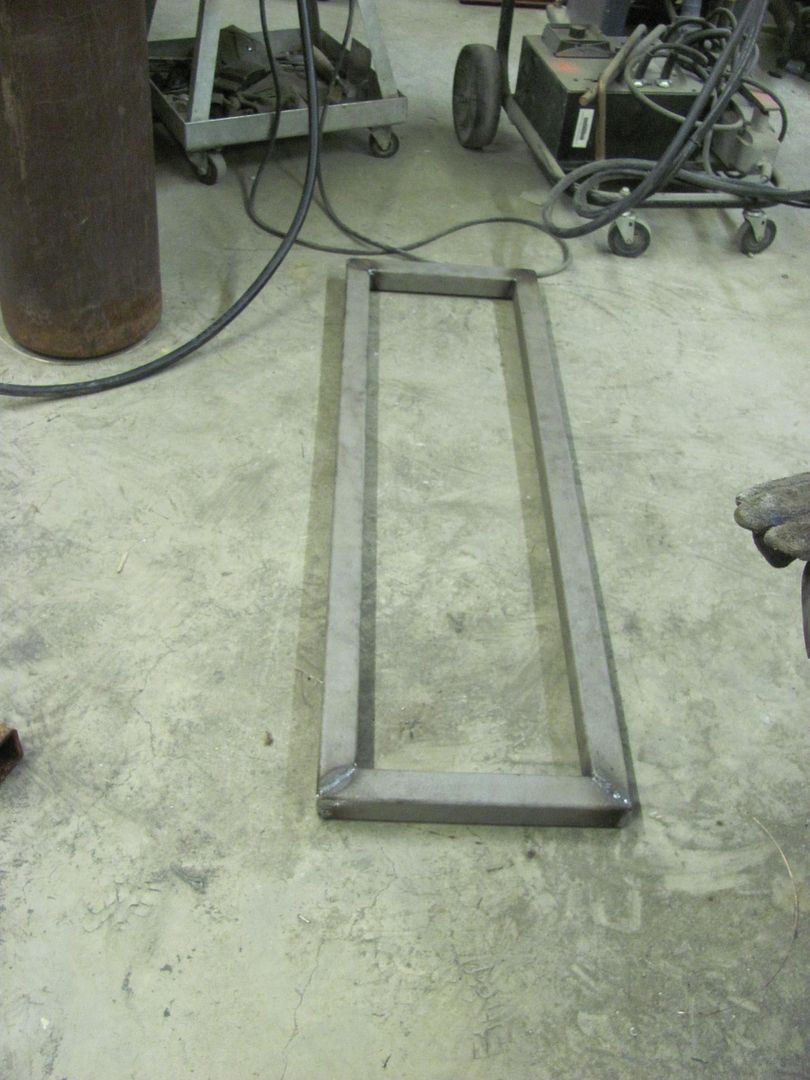 The Tig will go on the bottom, and it has some mounting holes on the bottom side... 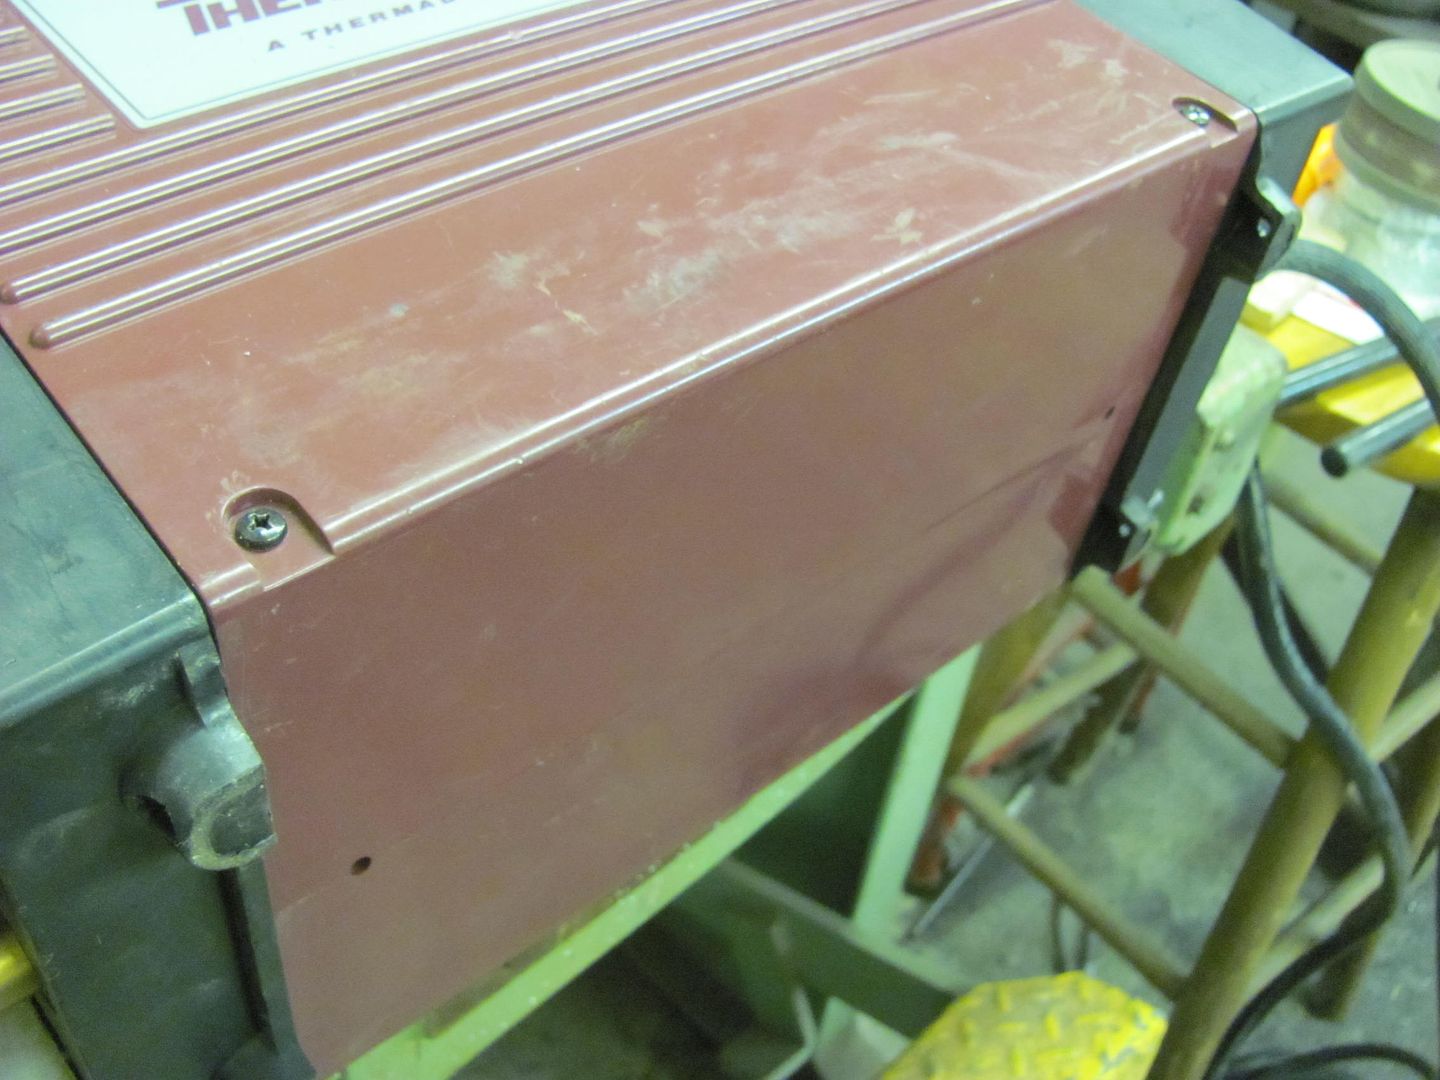 So some 3/4 square stock was used to make some rails for the Tig, along with some holes to tie in the front end.. 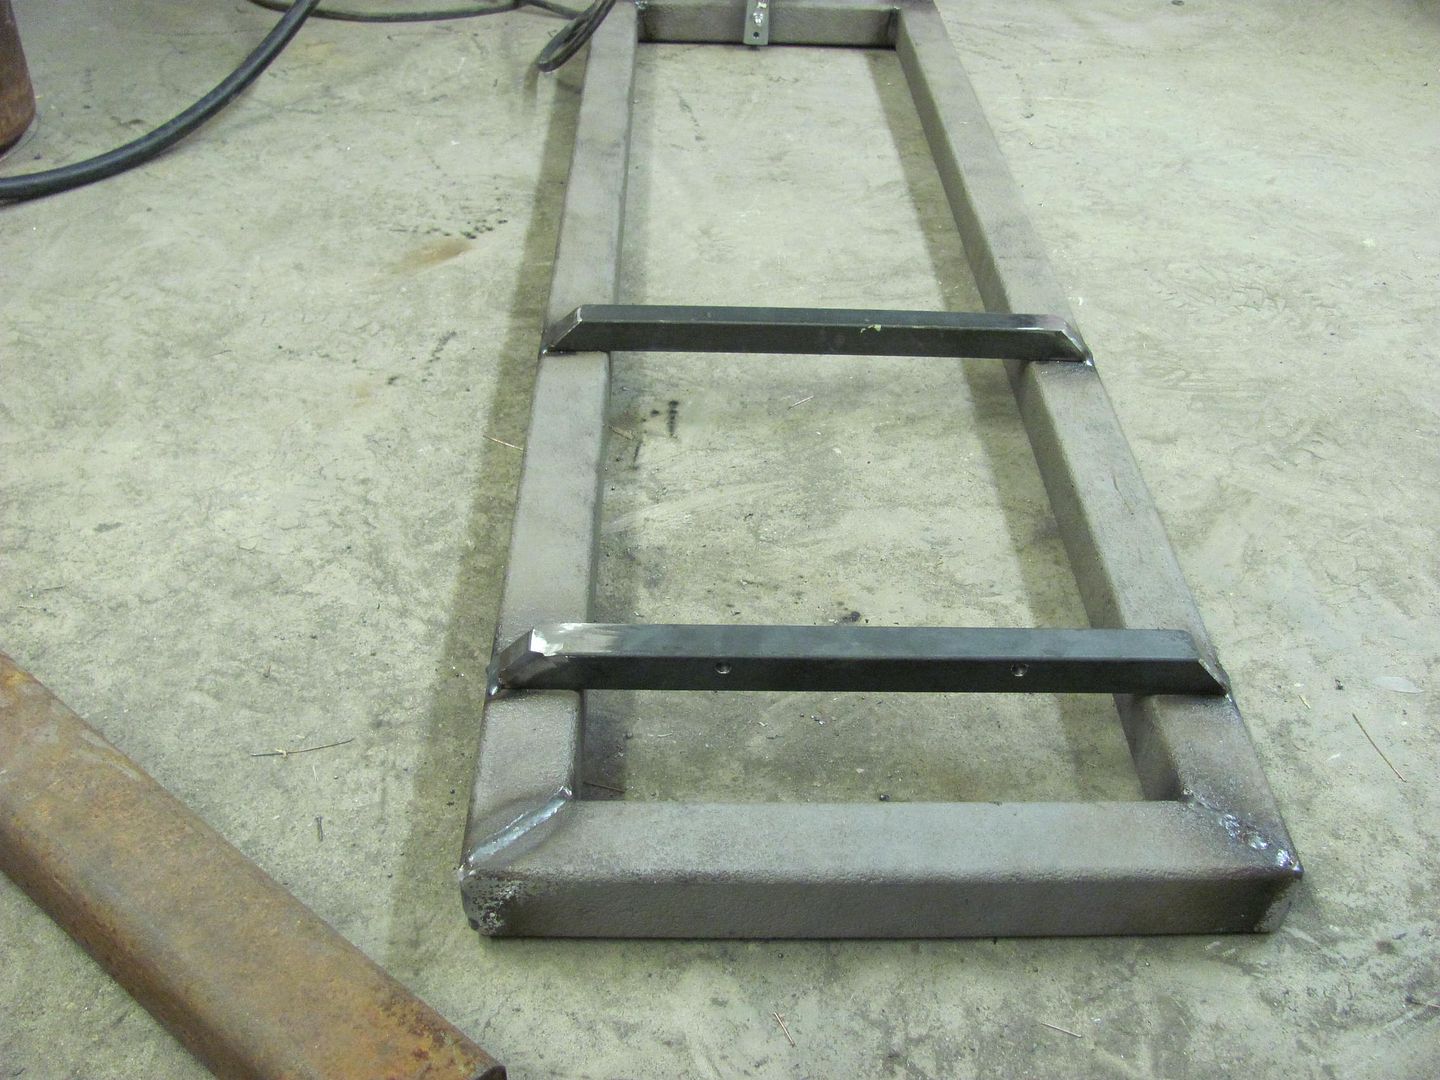 adding the front casters..... 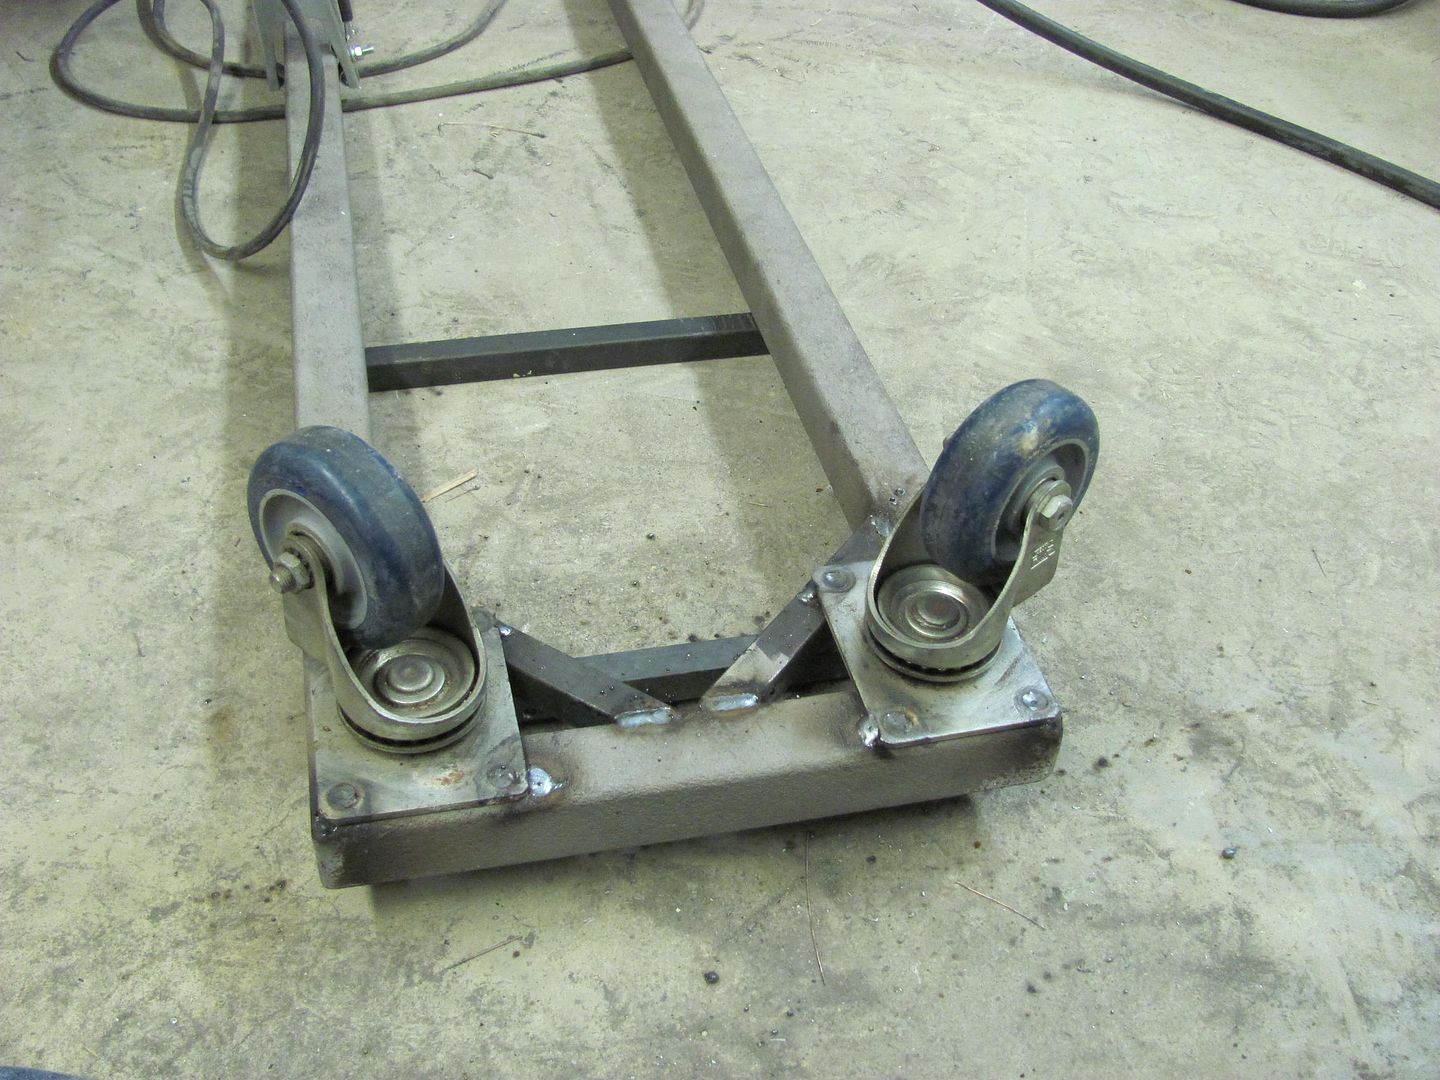 A cross brace was added under the center line of the 2 bottles... 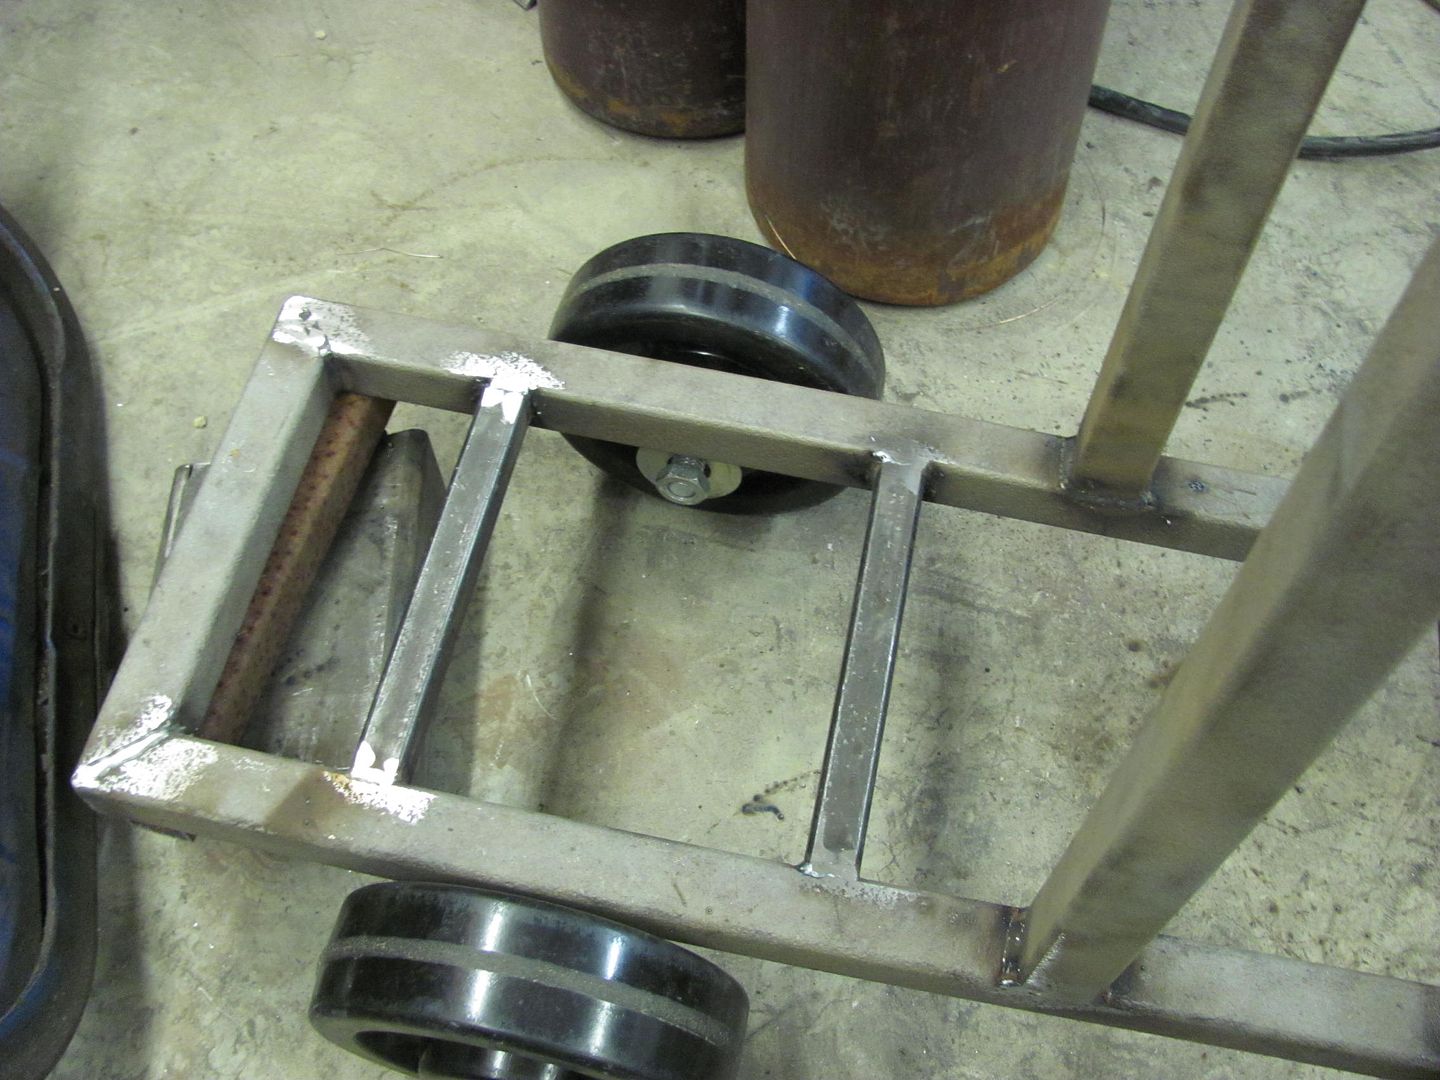 12 gauge will be used to form a tray under the bottles... 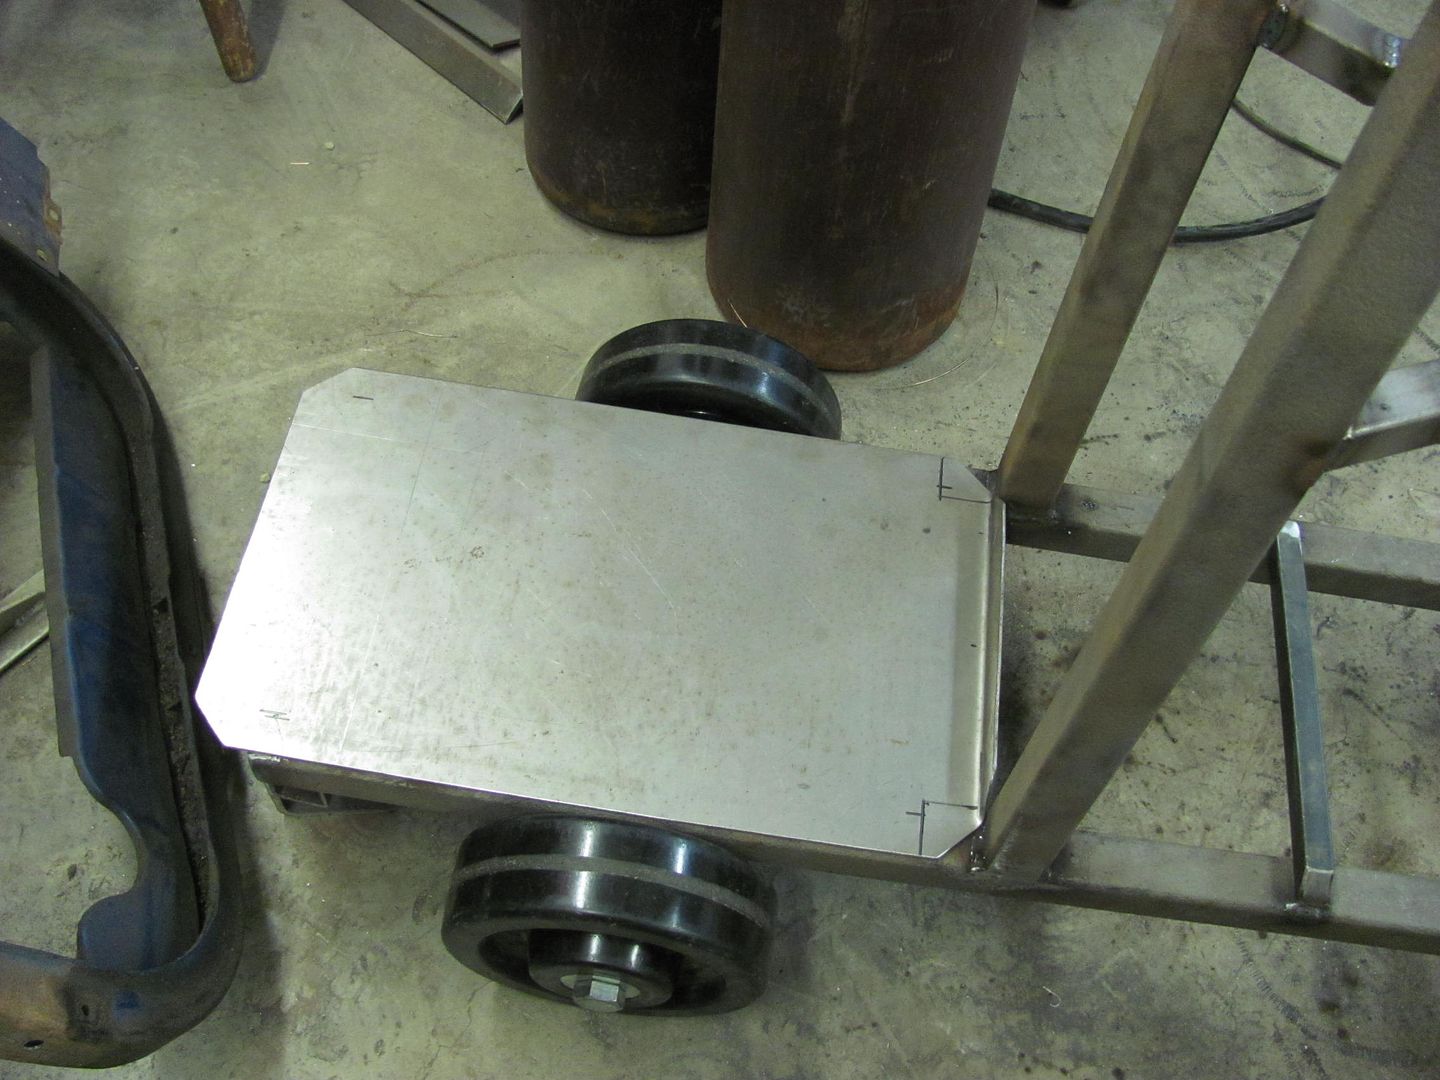 Support bracket added for Mig welder: 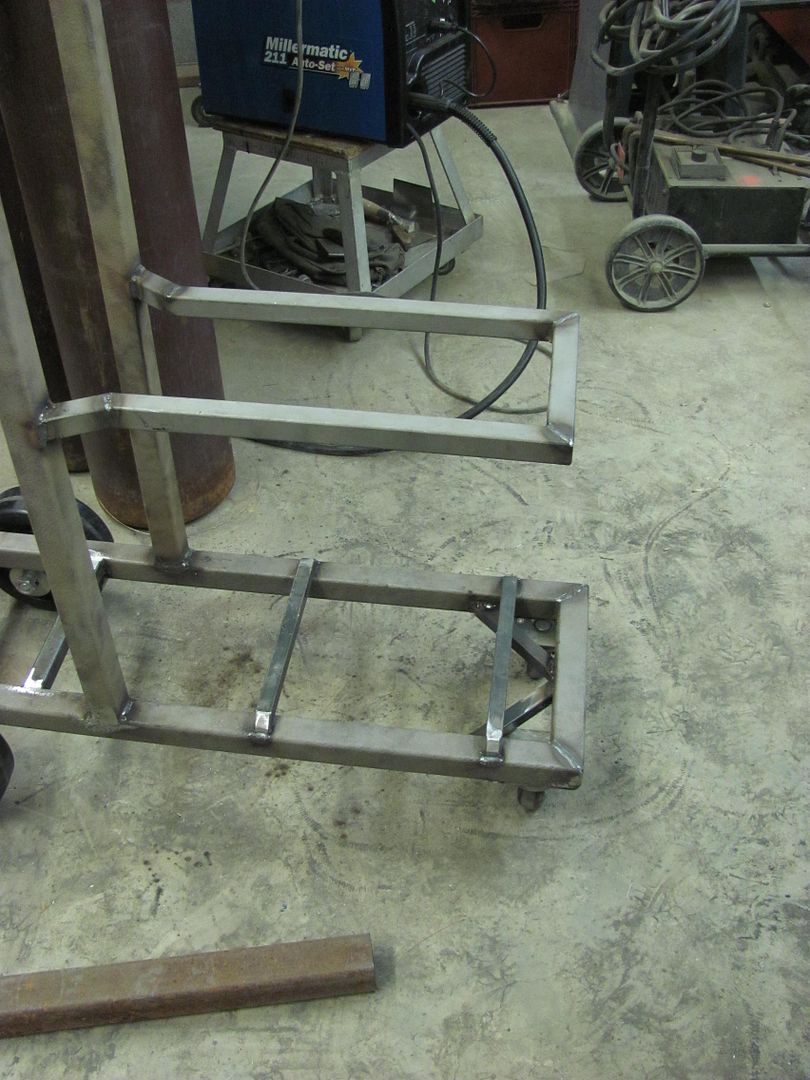 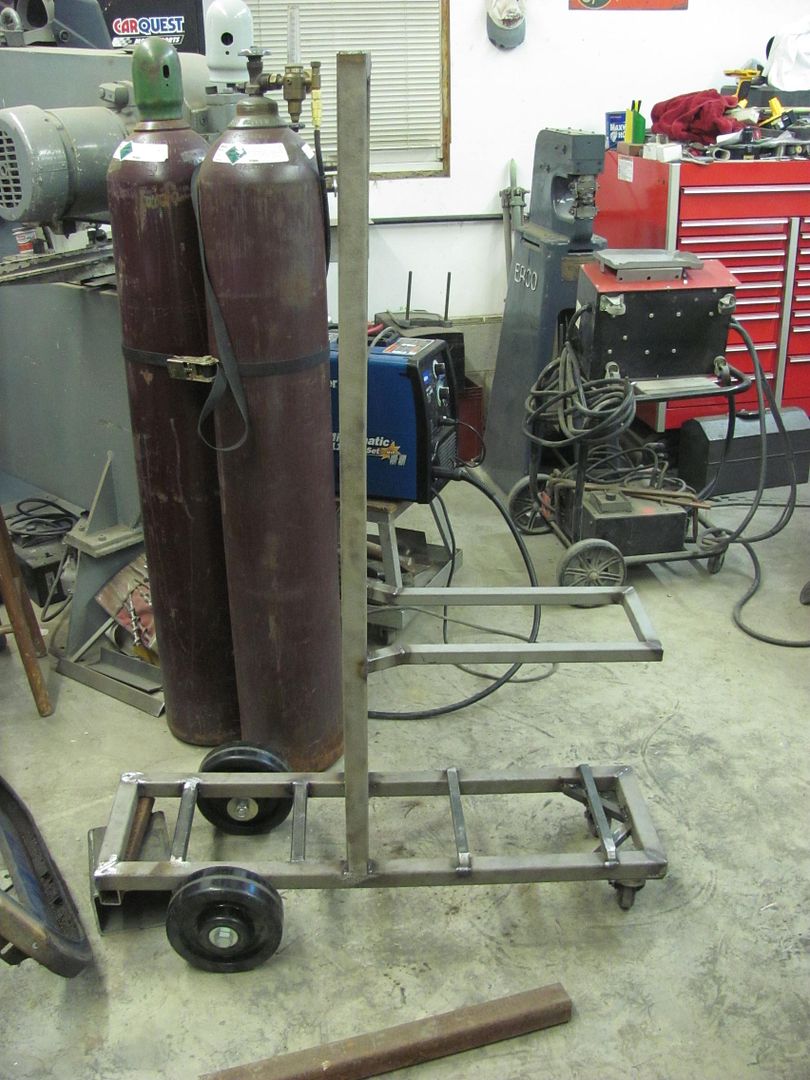 the rear axle was made from a piece of angle and two 3/4-10 bolts.. 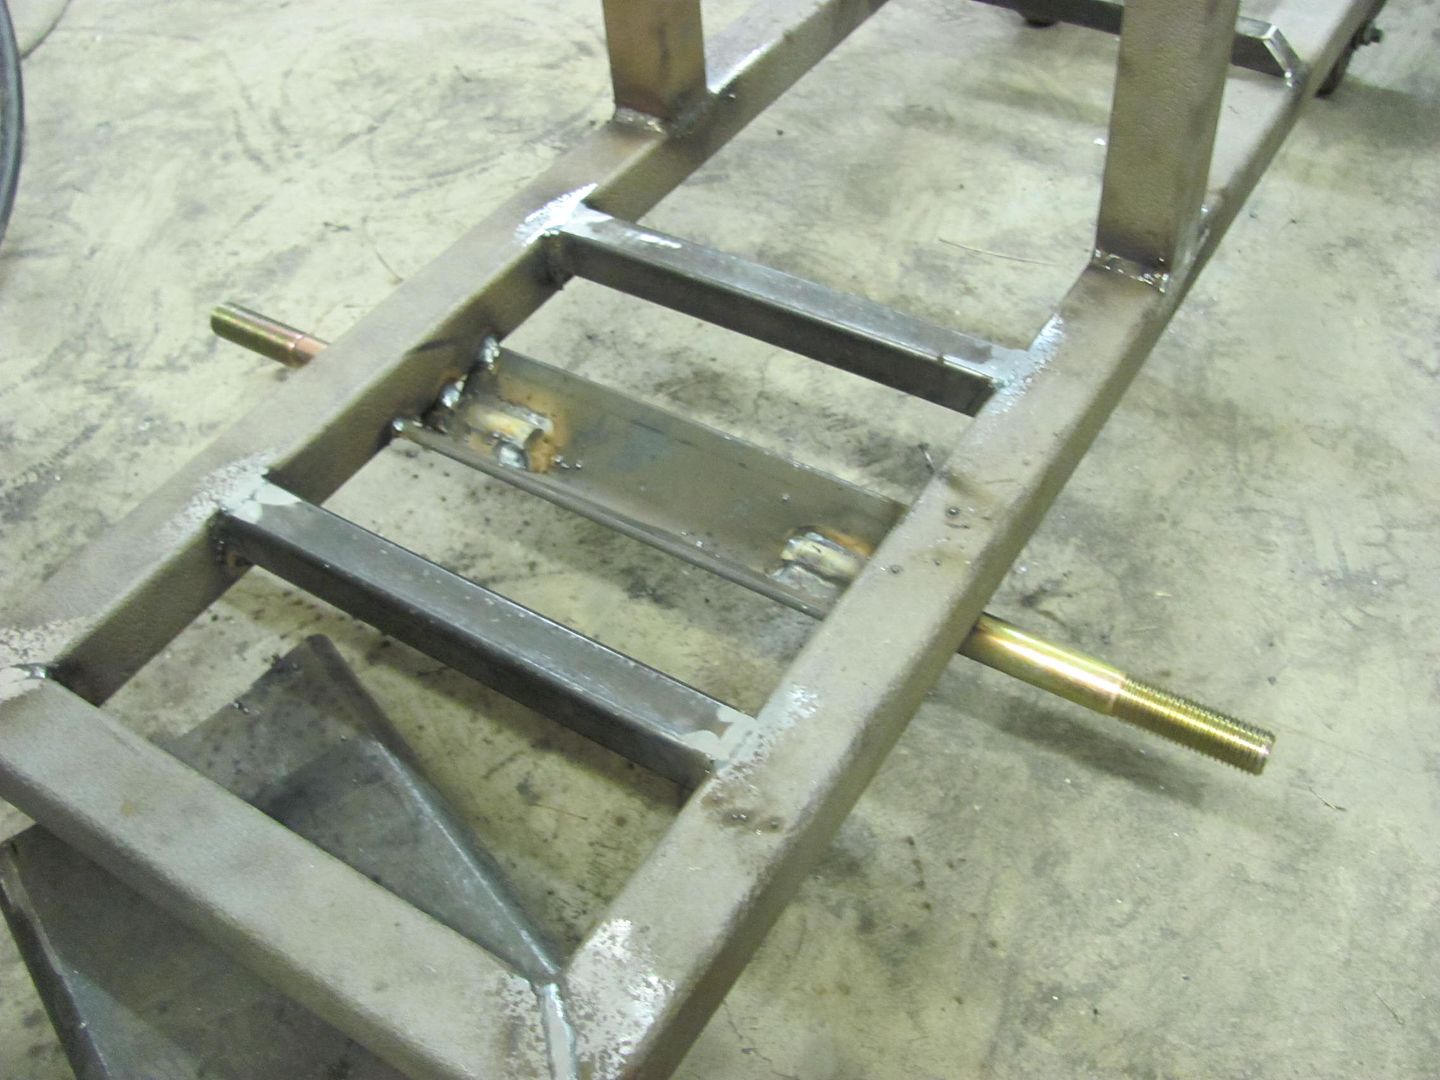 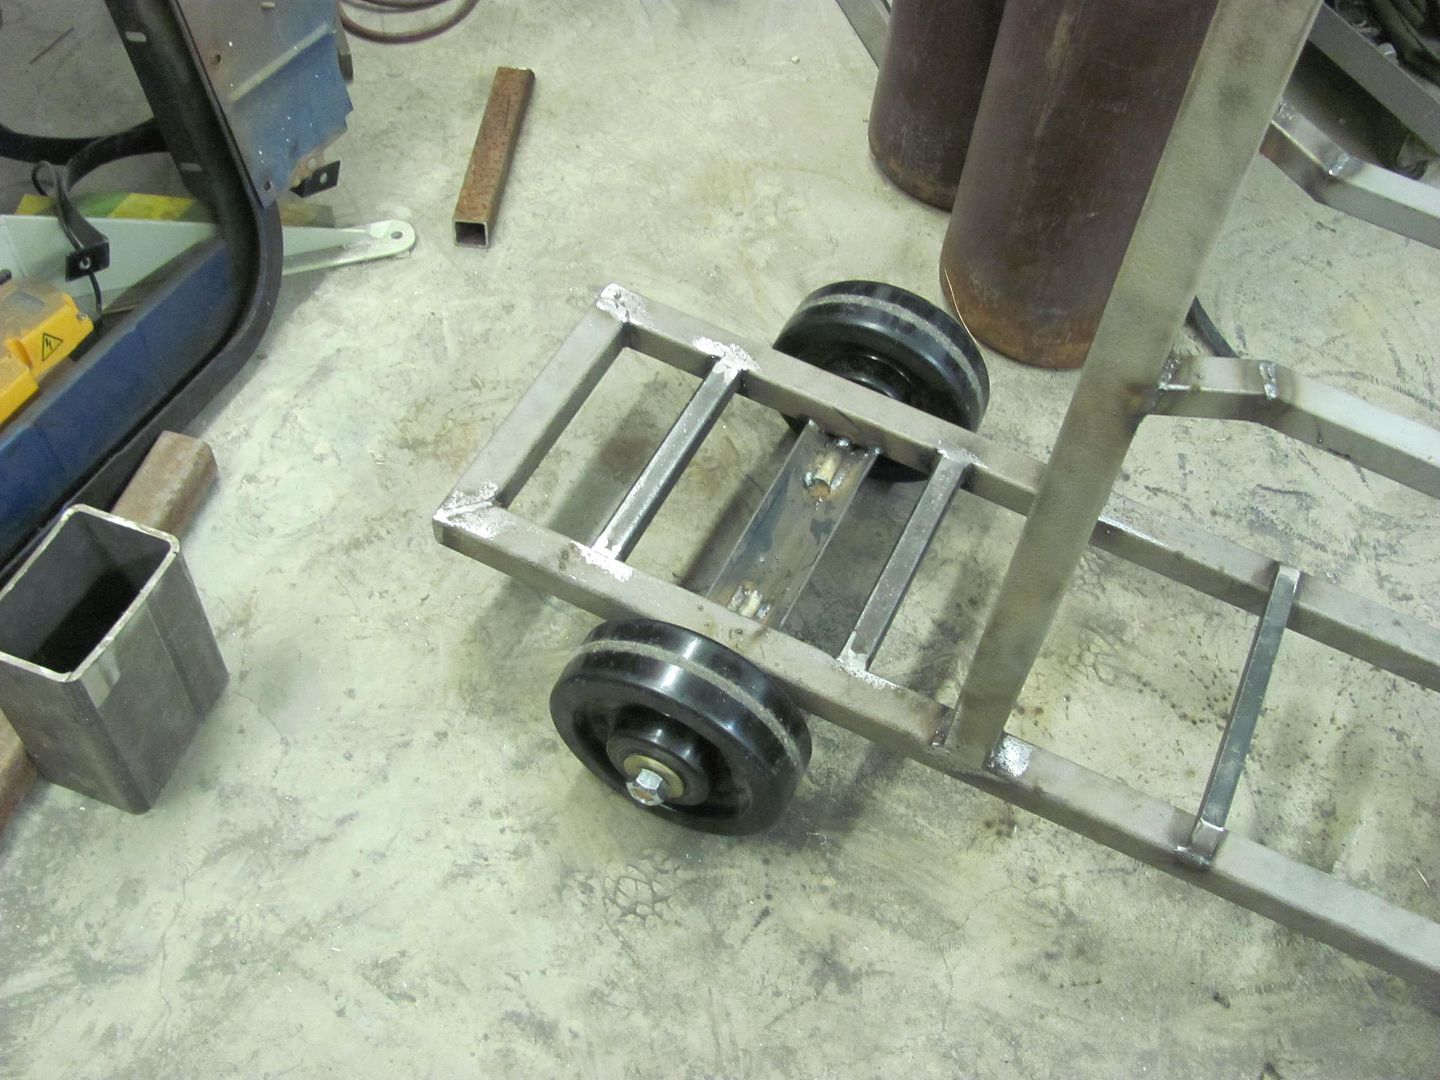 Rear bottle tray made from some 12 gauge, and welded on using about 3/8 diameter plug welds.. 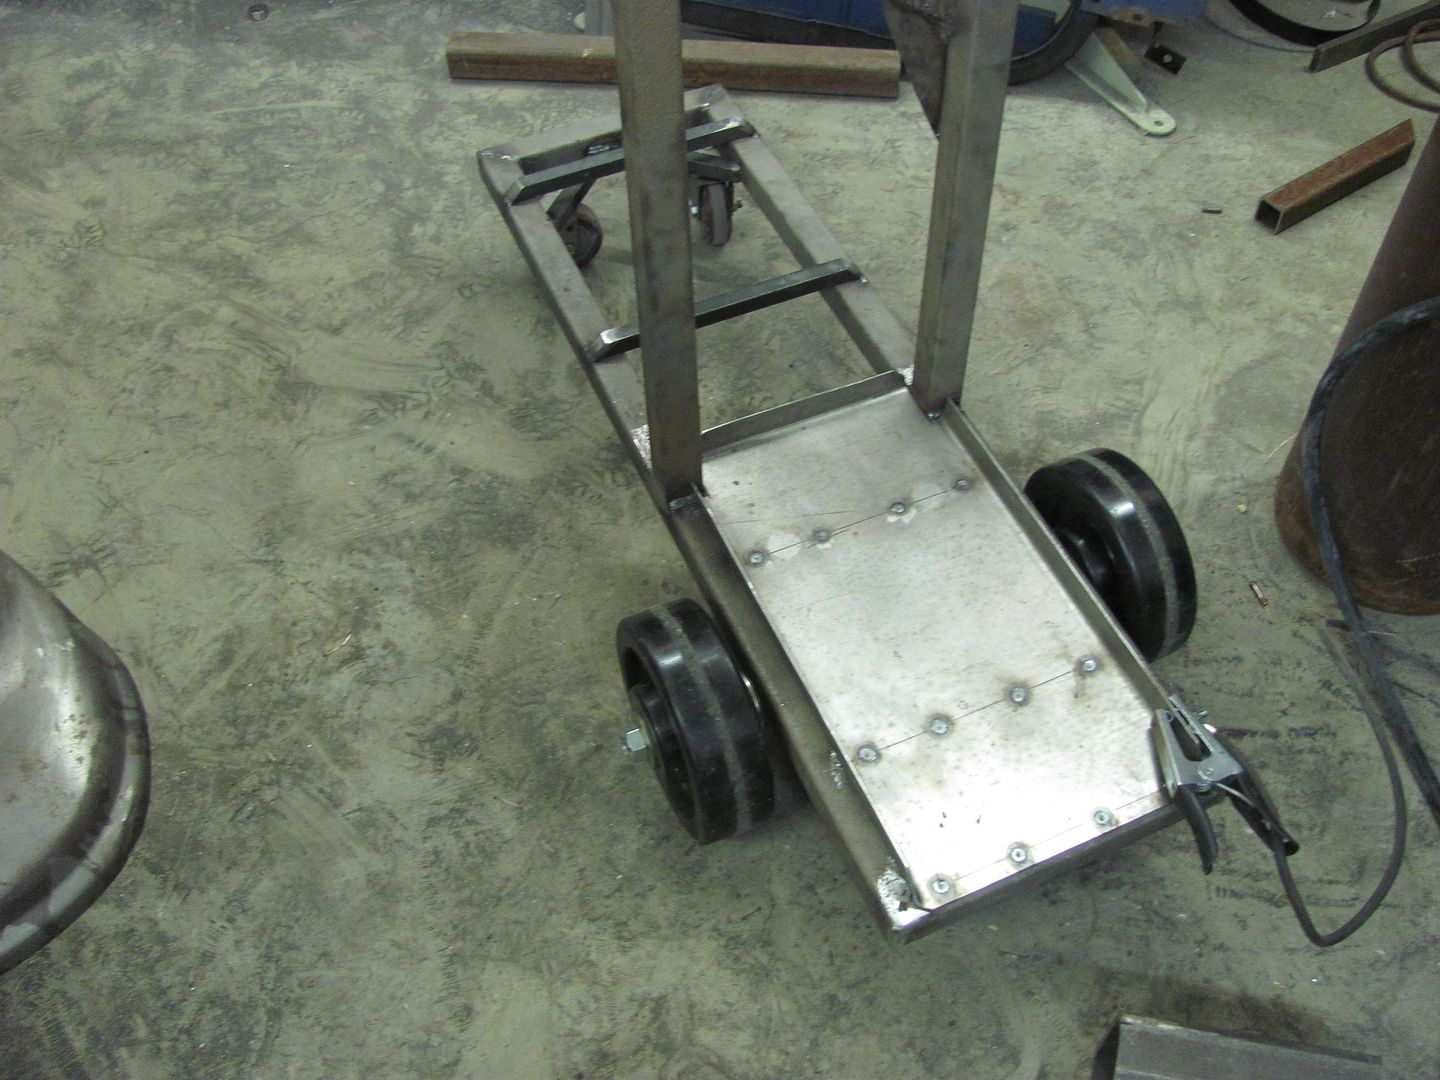 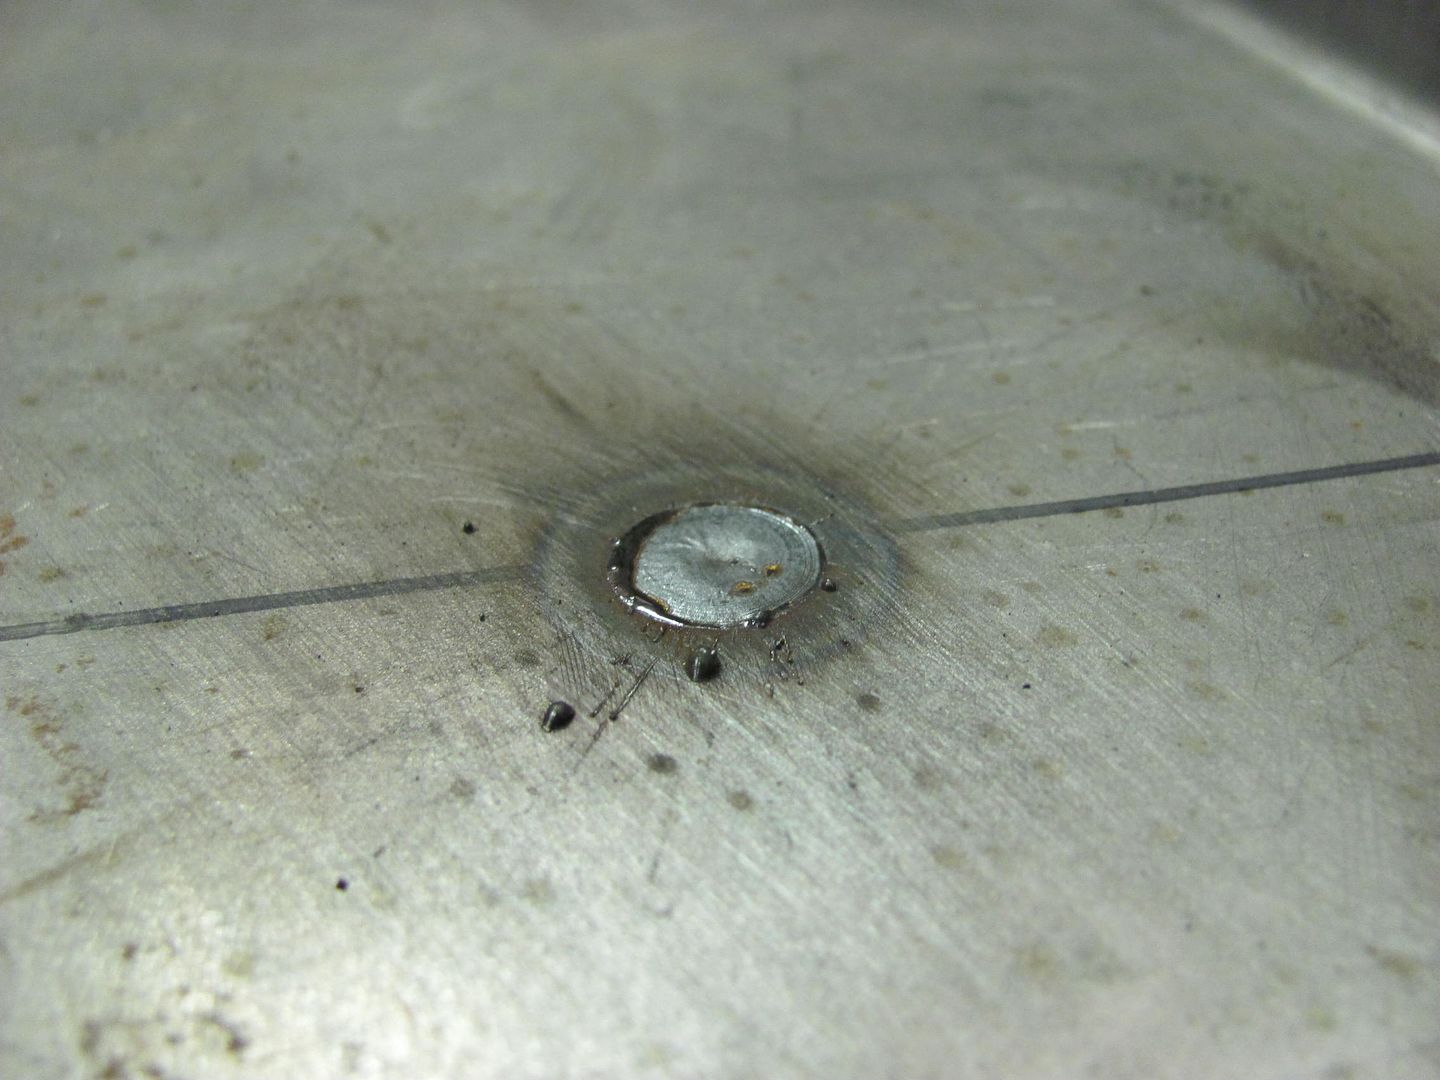 Top shelf added along with some gussets made of 12 gauge.. 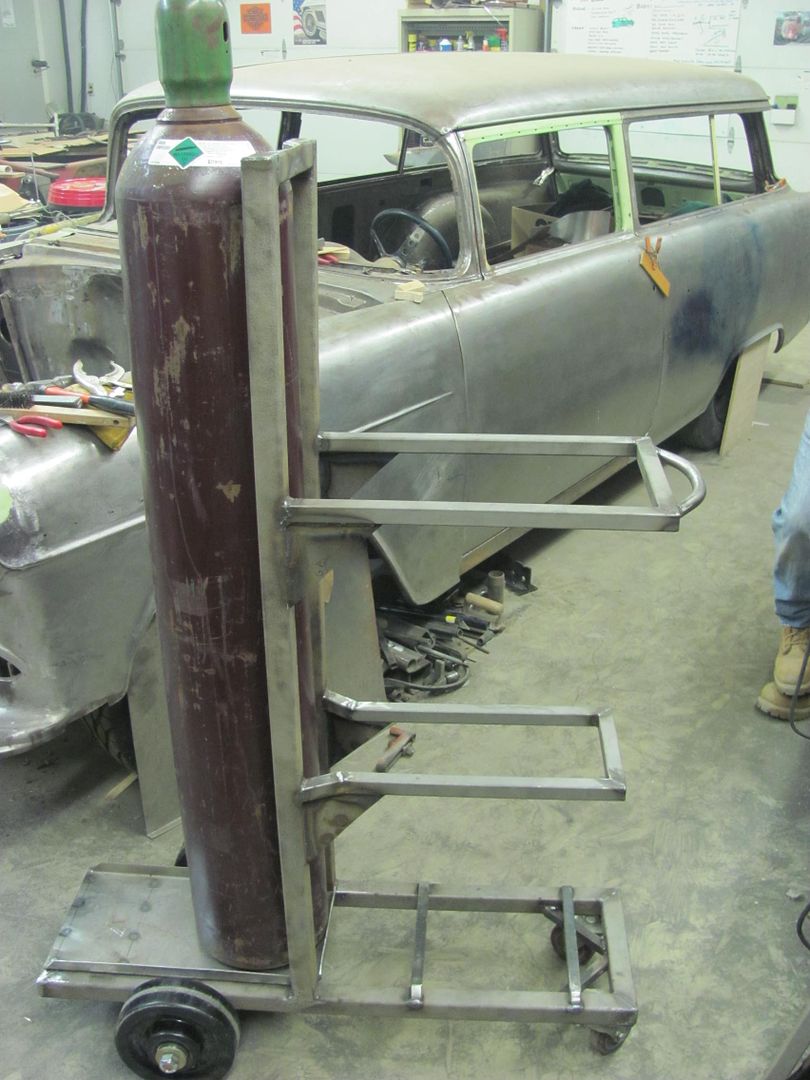 Bottle relief and pull handle added.... 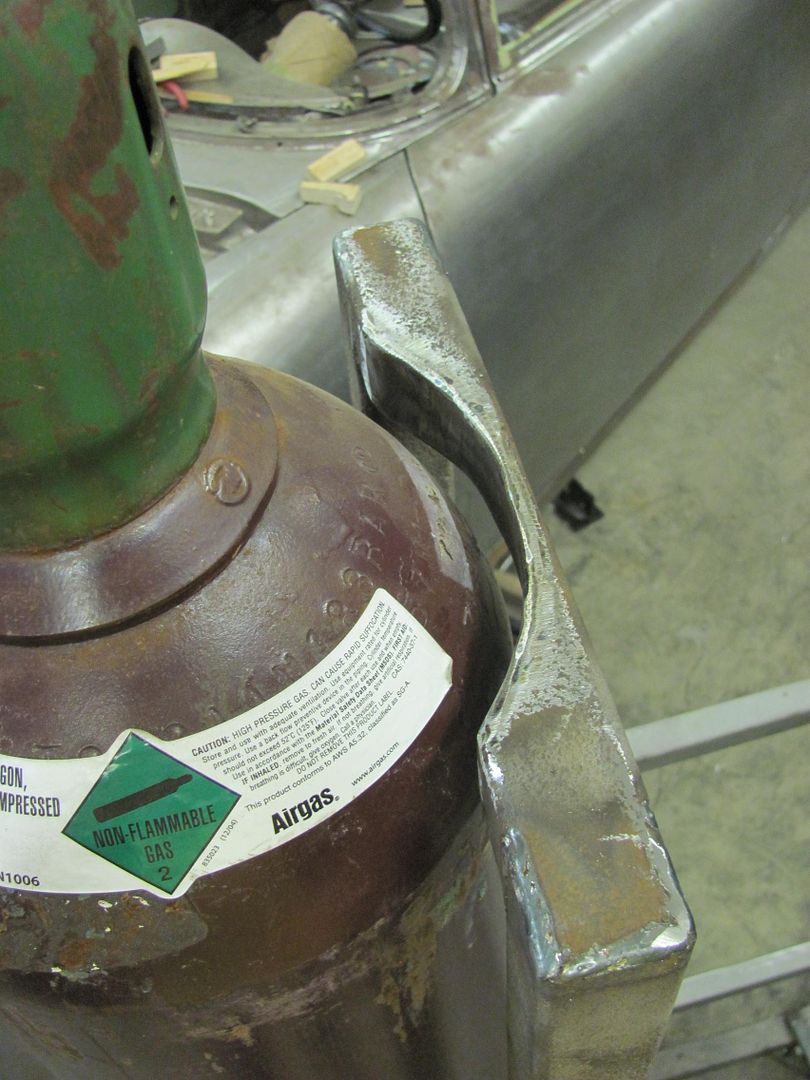 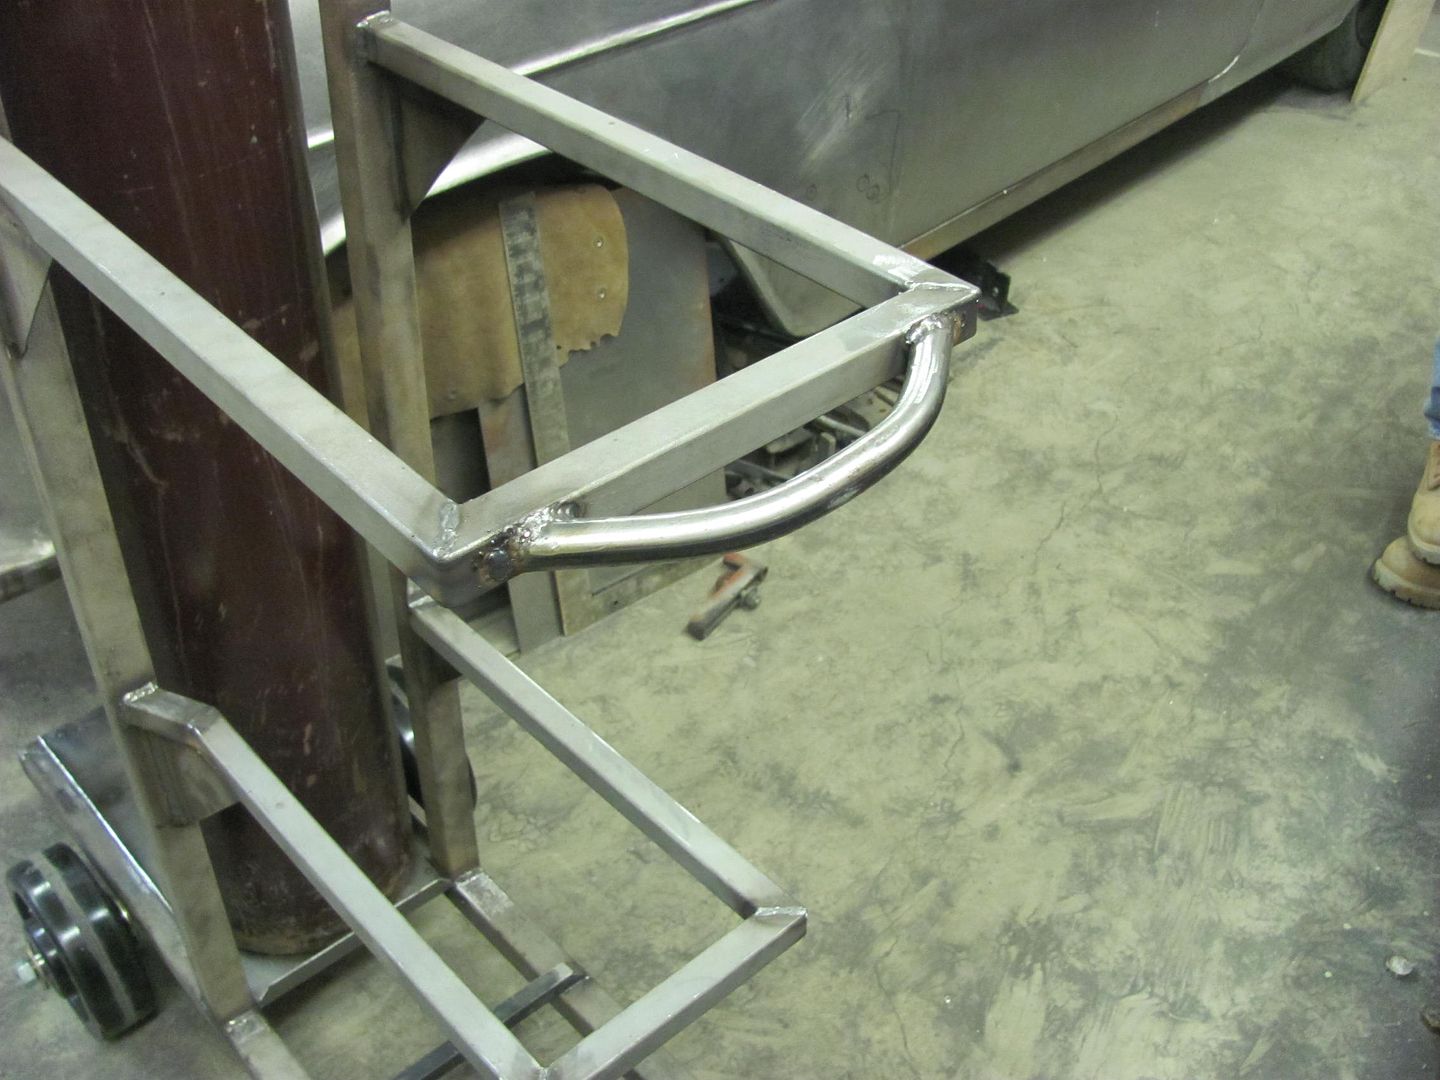 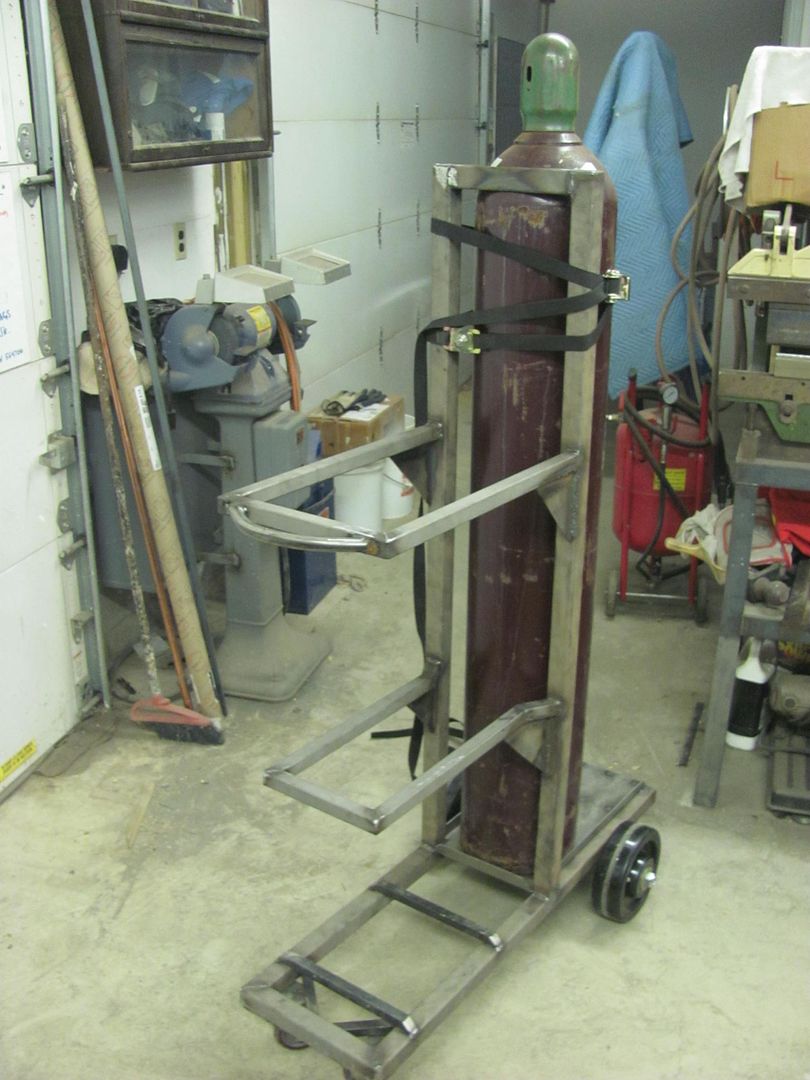 these studs are added to make use of the bottle bracket that came off the old welder. My brother in law had borrowed it at one time, and it came back with the fancy bracket. He retired the ratchet strap I had around the two bottles. This worked pretty well, so rather than reinvent the wheel.... Reminds me, I have some other things needing finishing I should lend him... 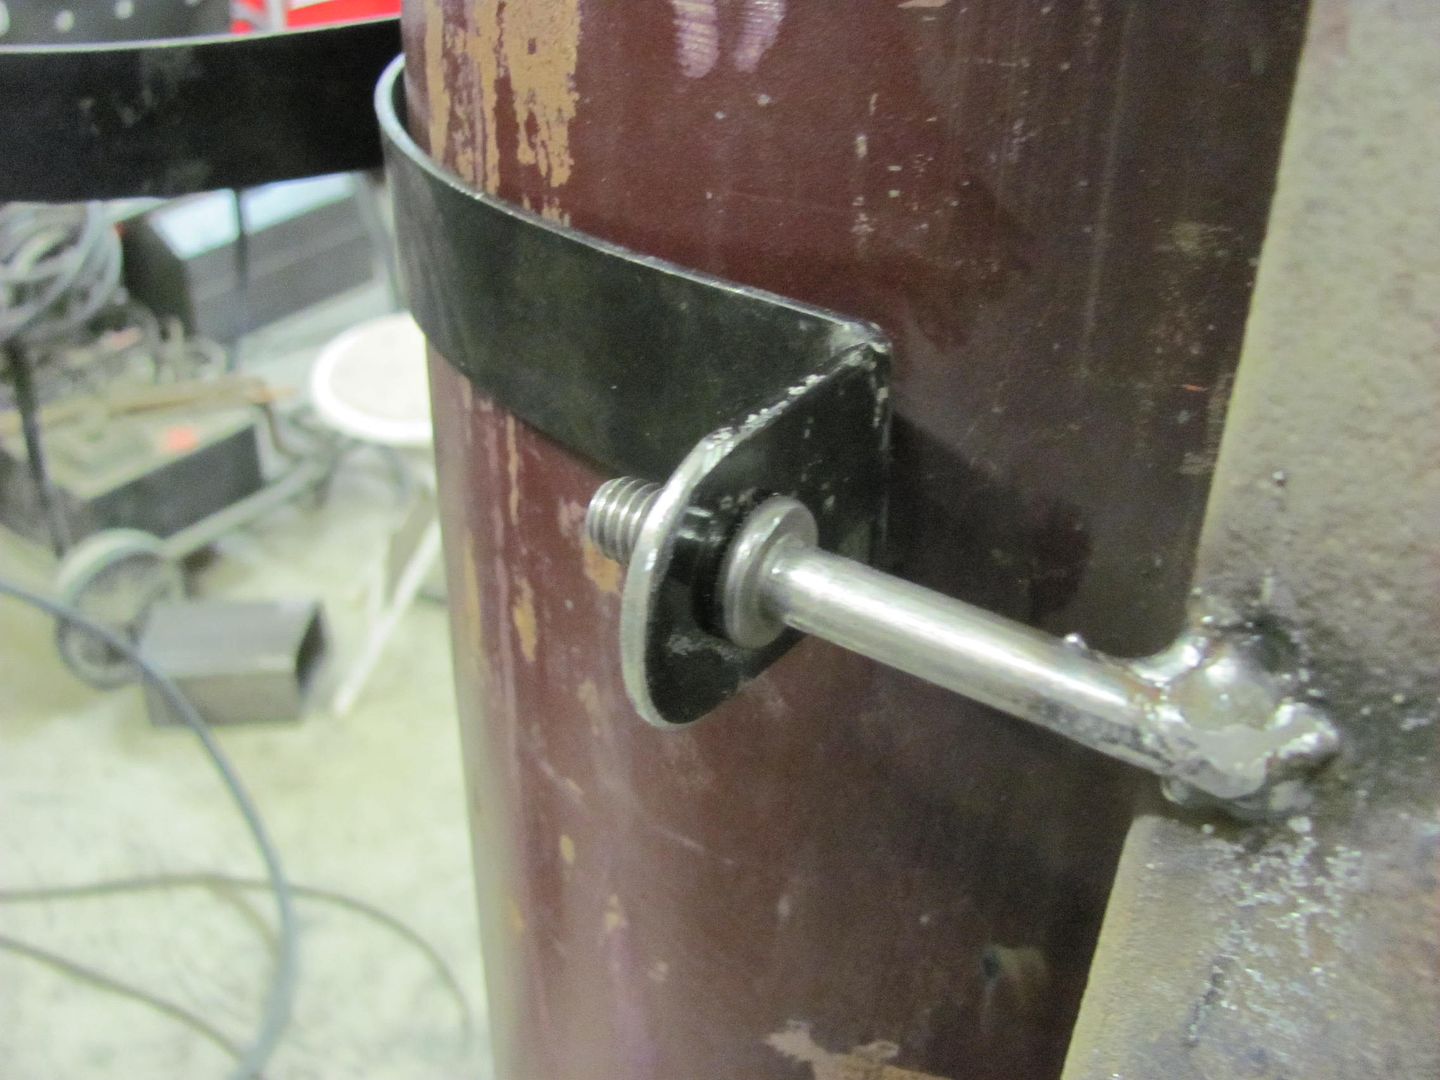 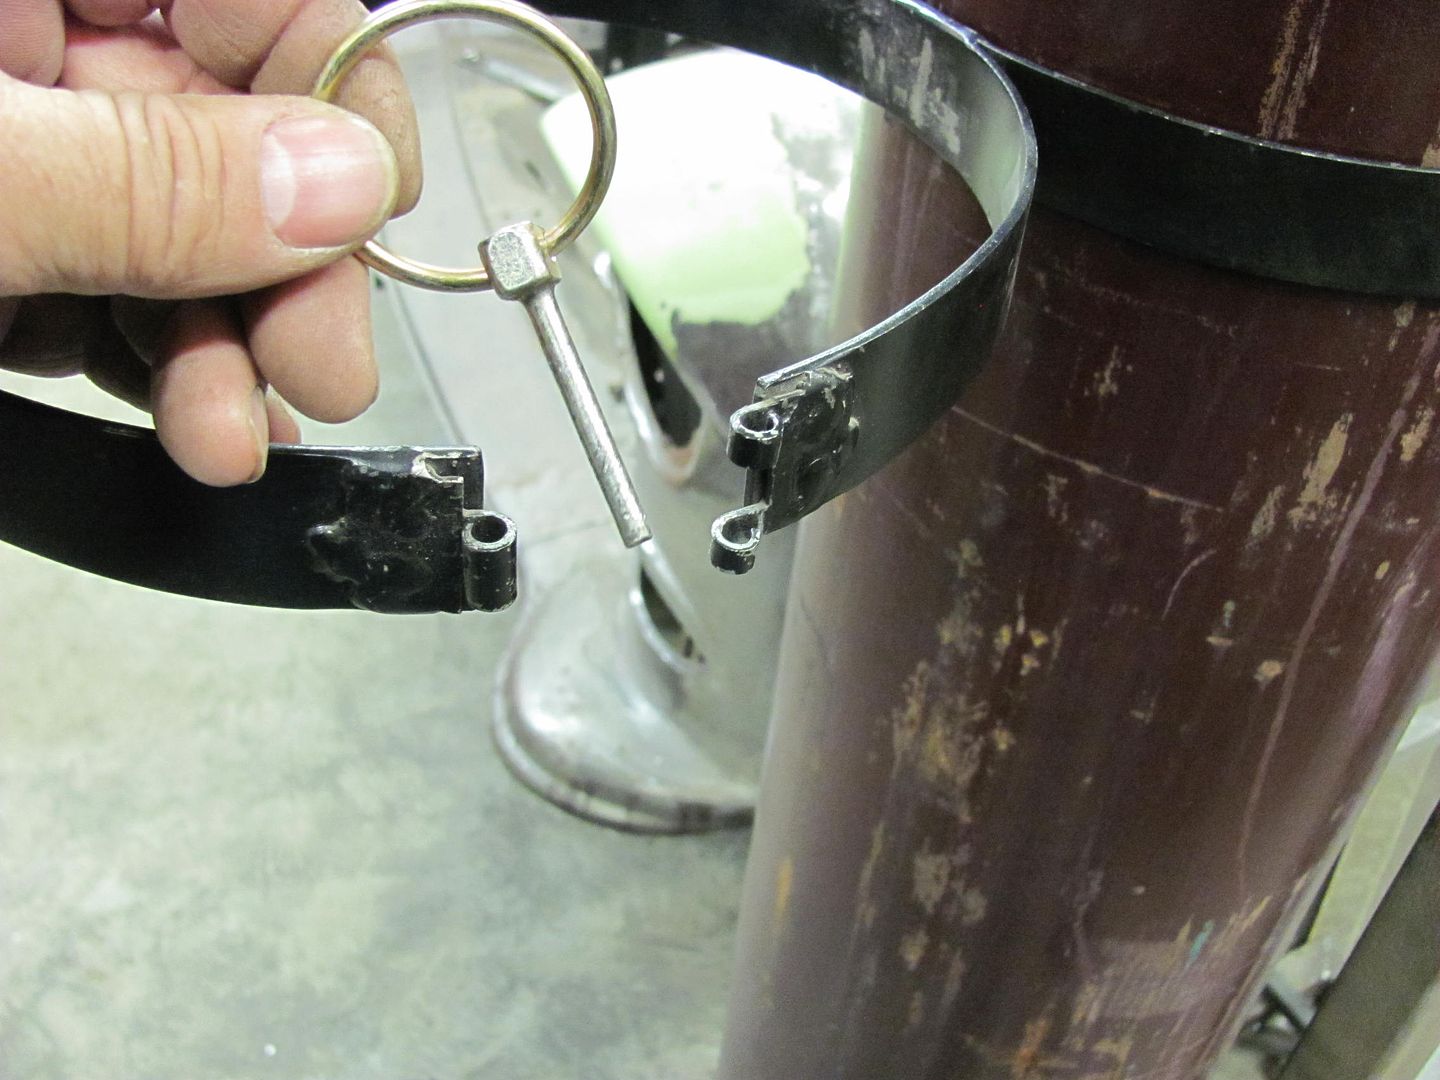 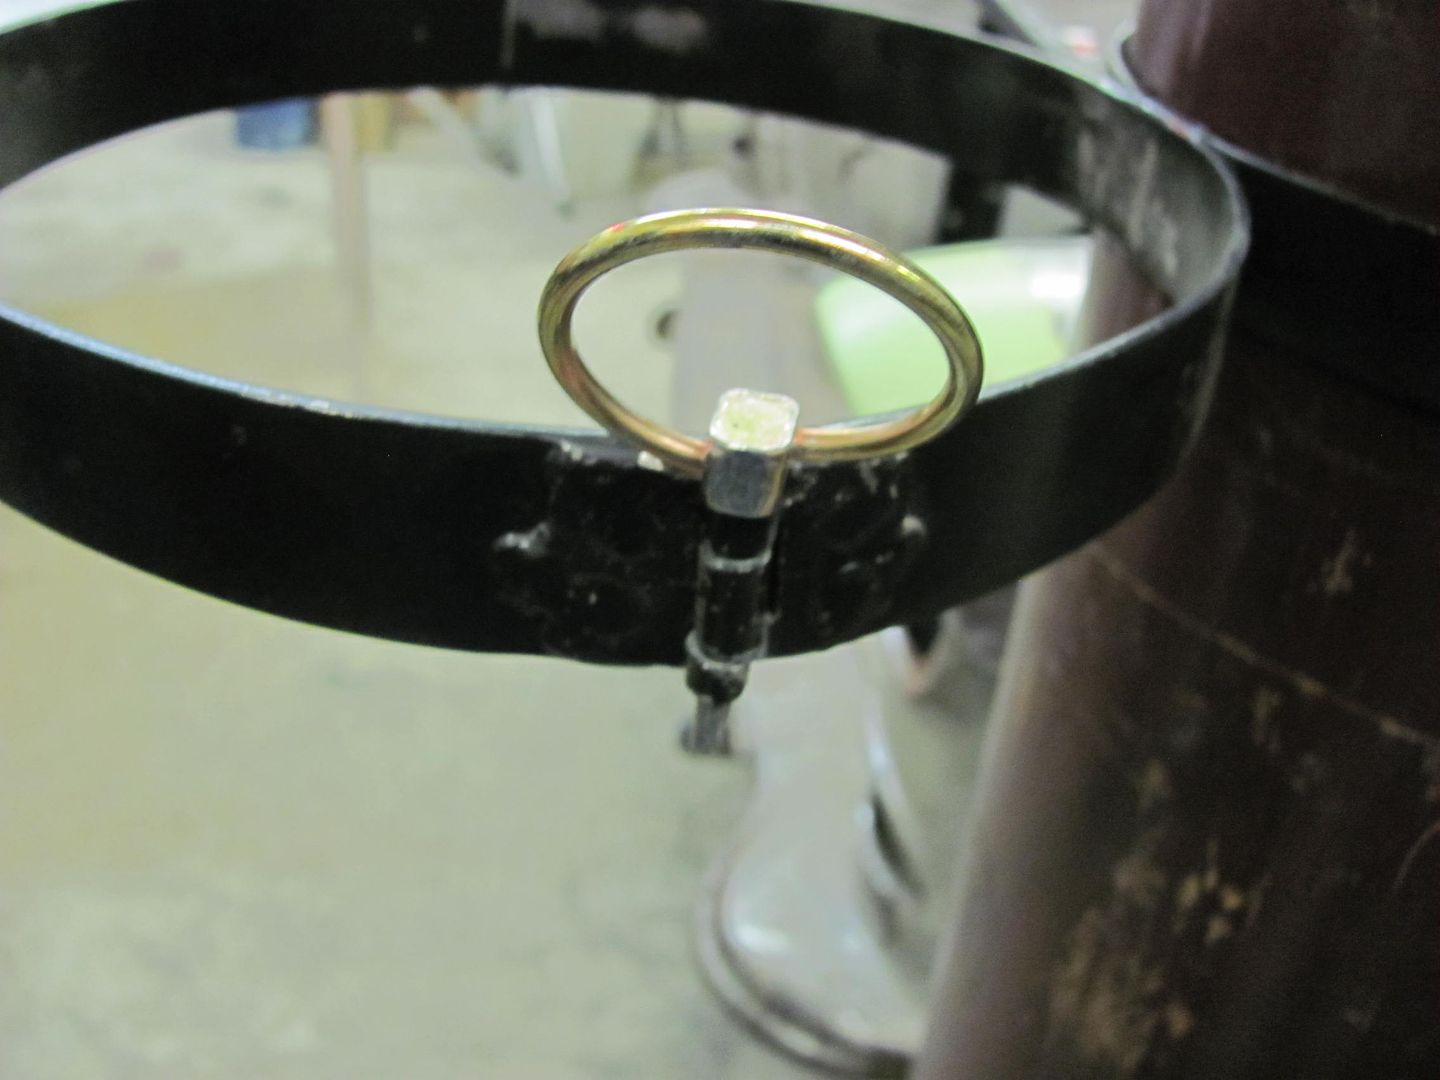 Then a bracket for the clip is added to hold the Mig torch.. 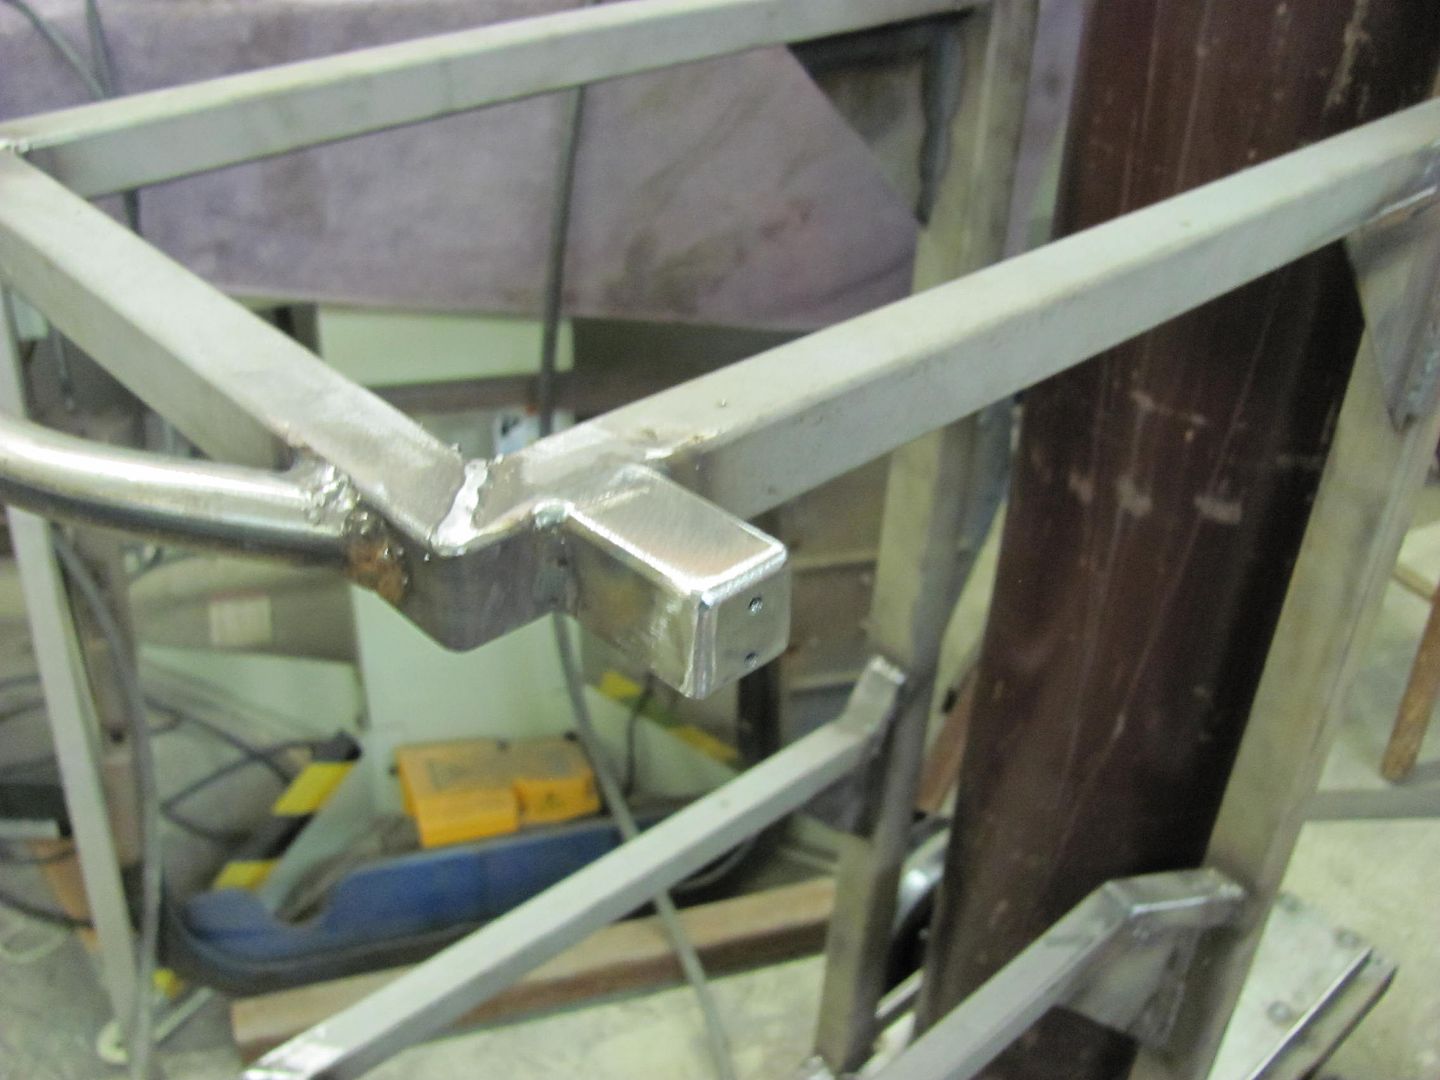 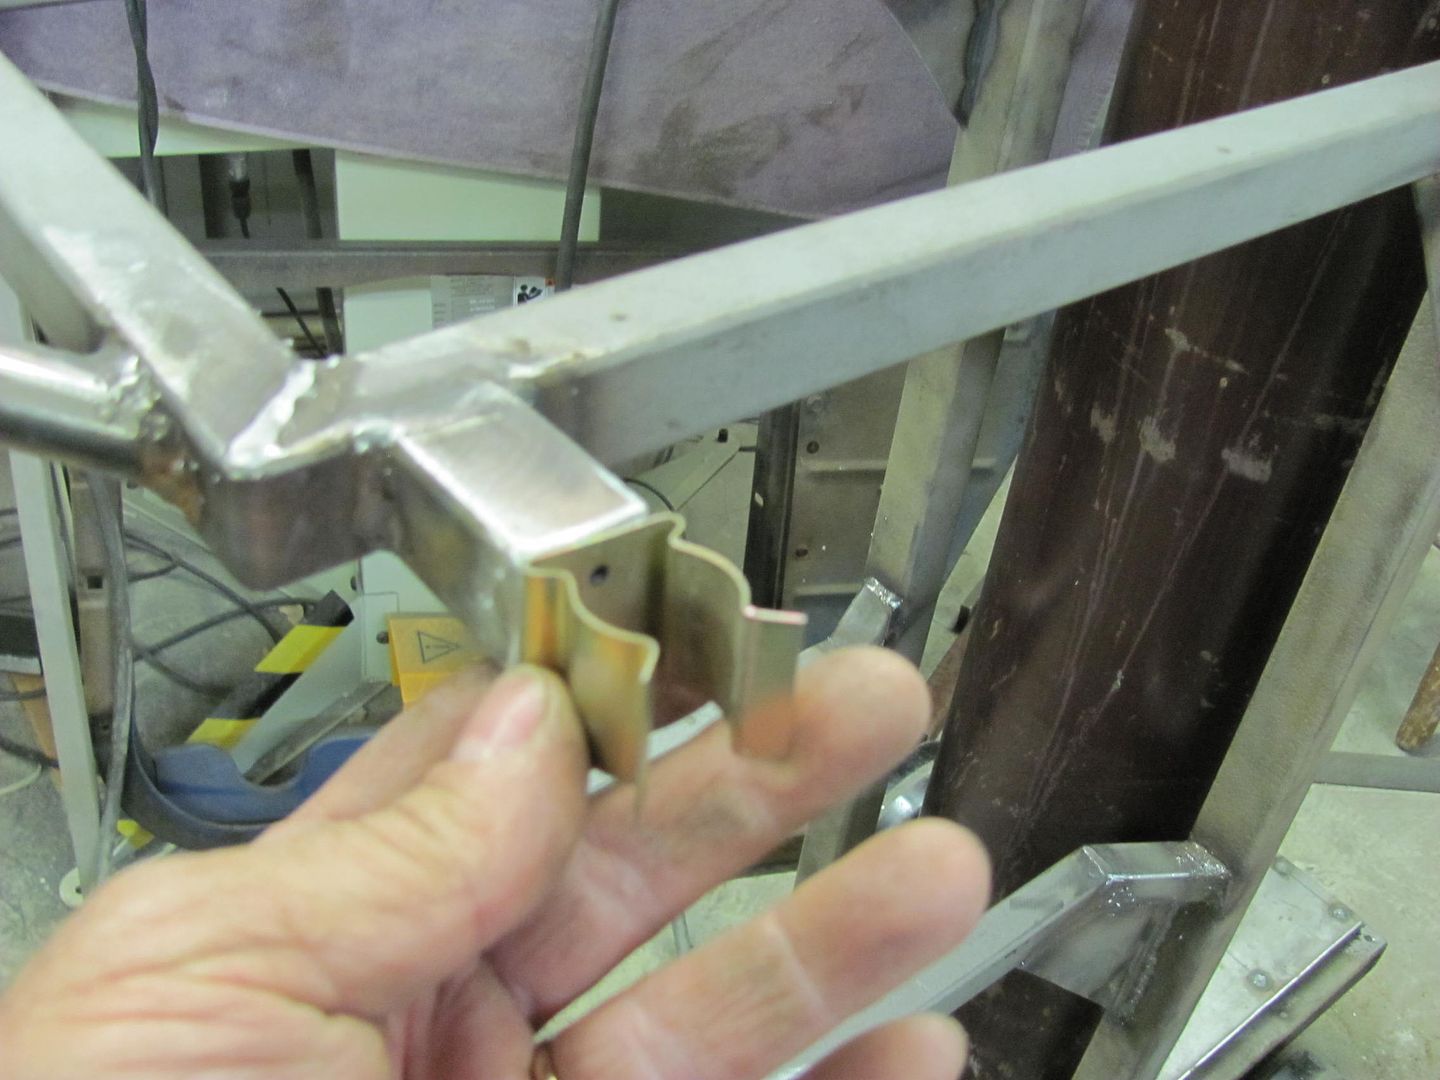 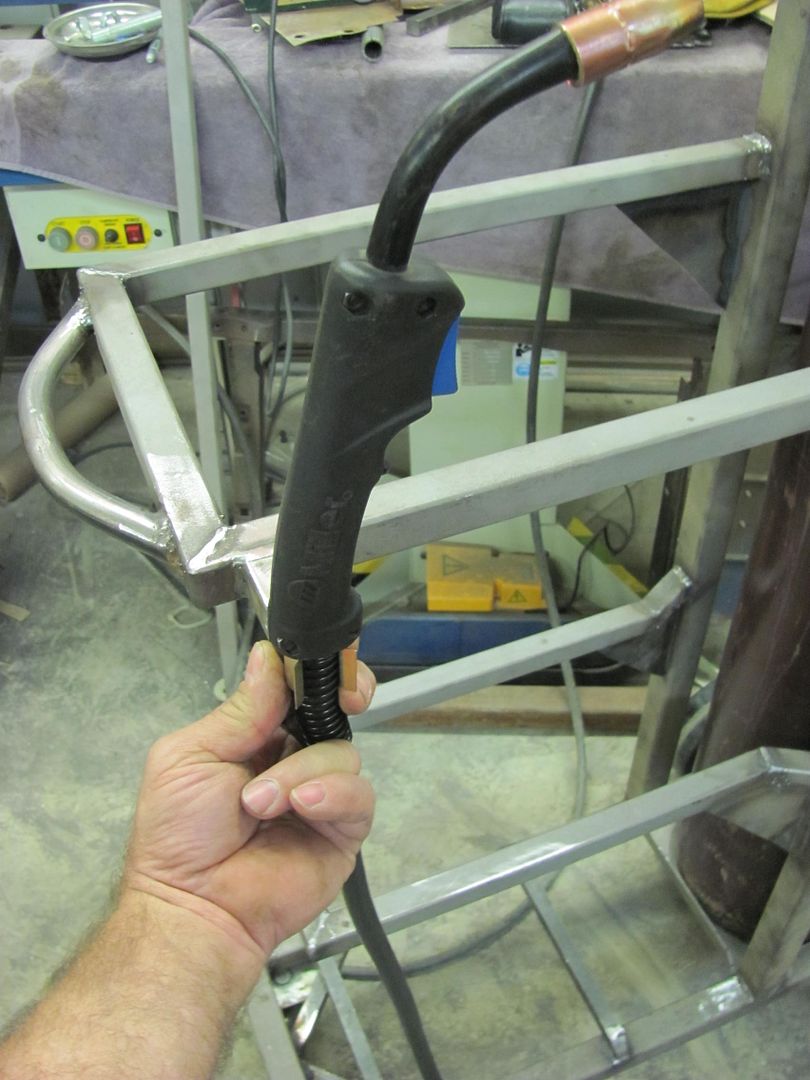 Holders for the various cables.... 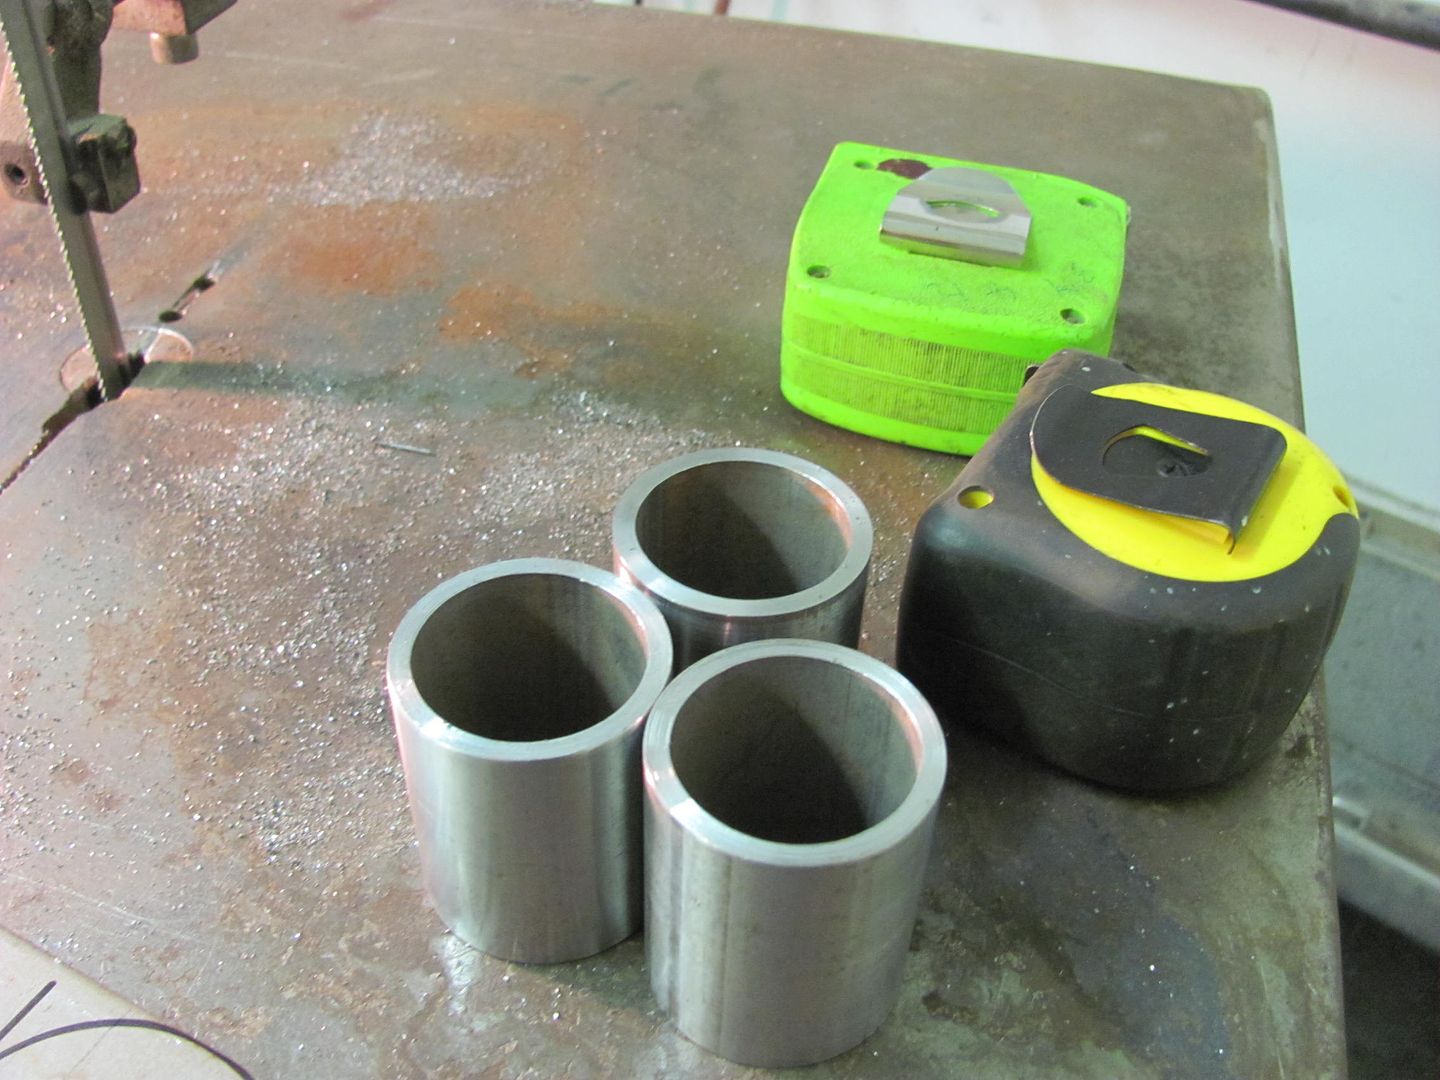 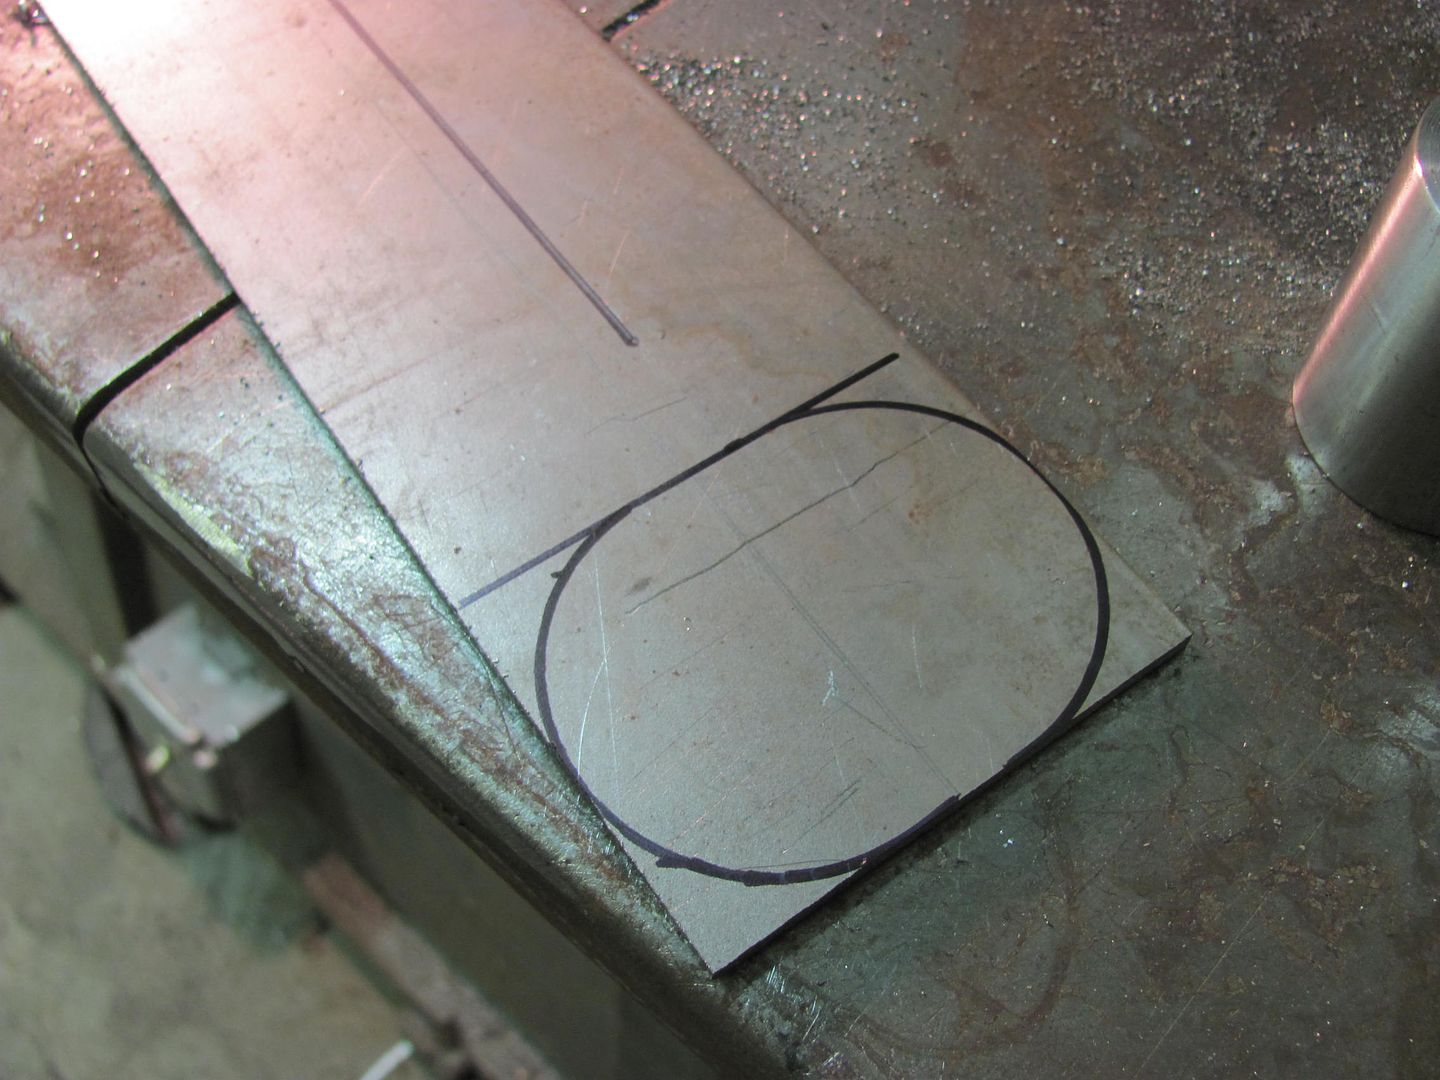 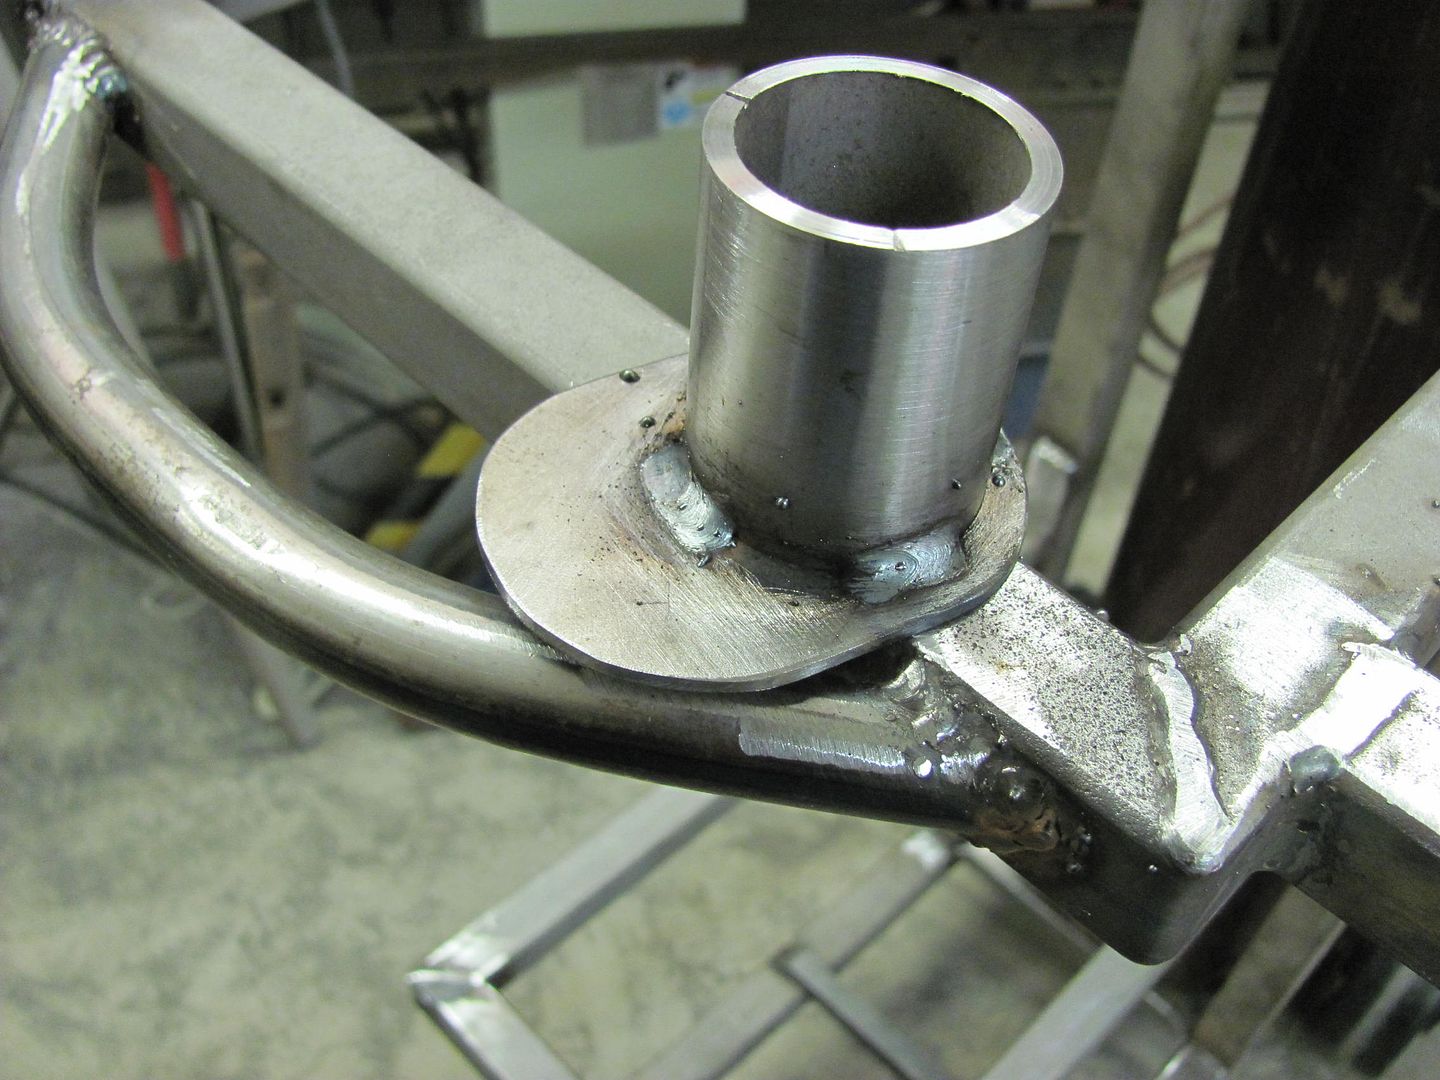 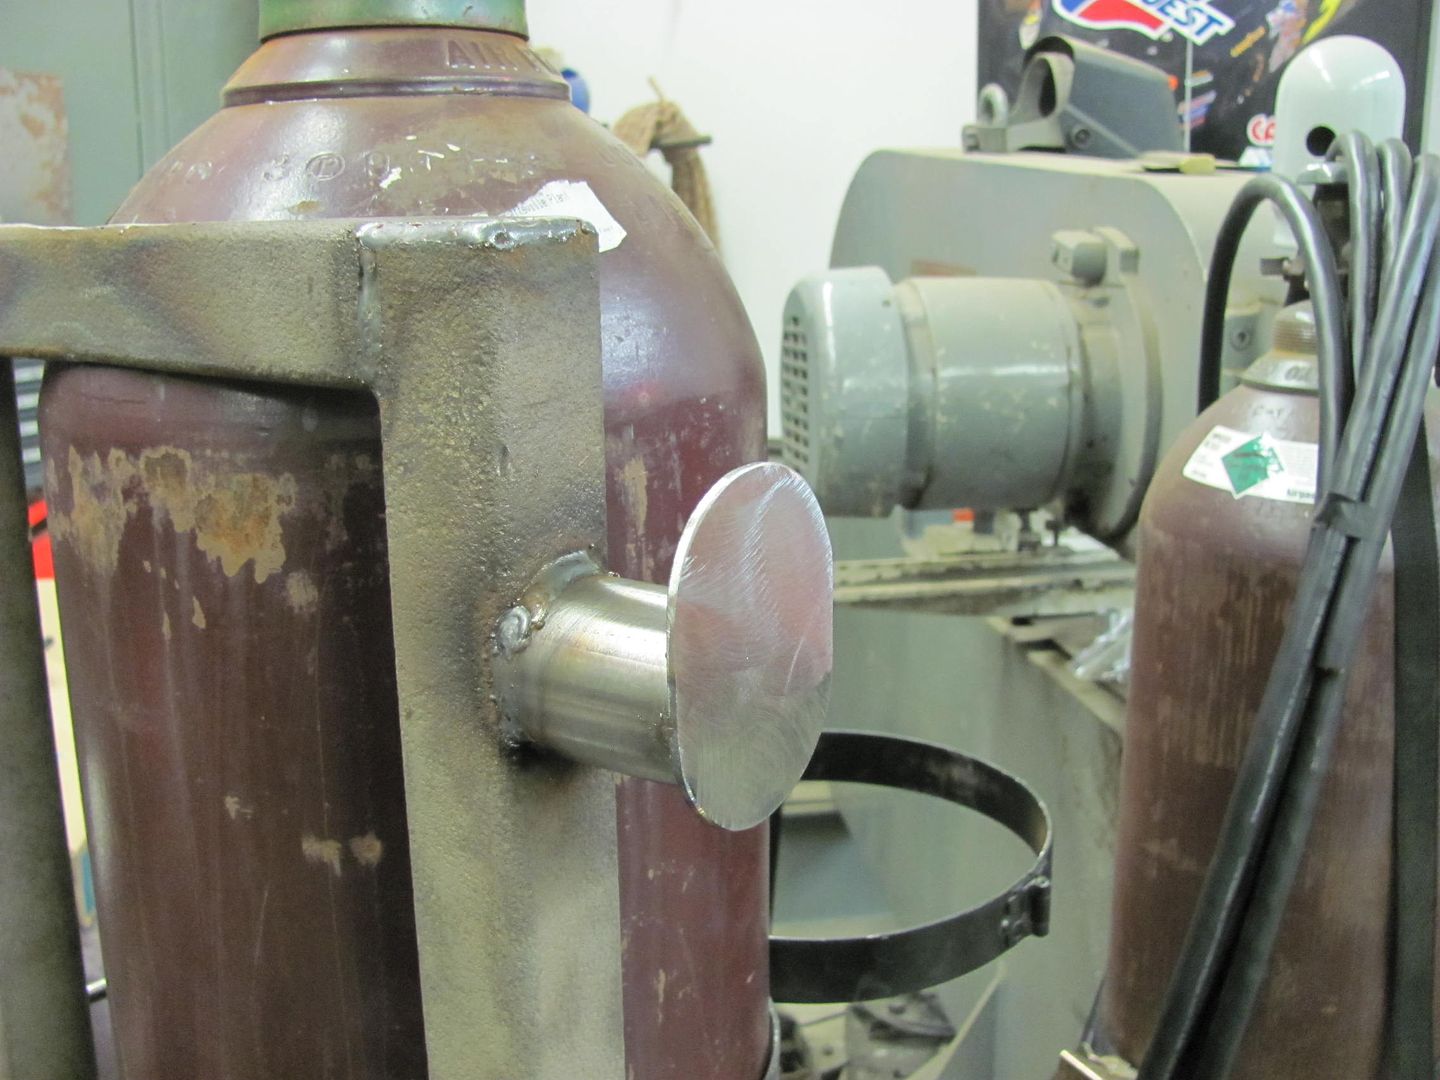 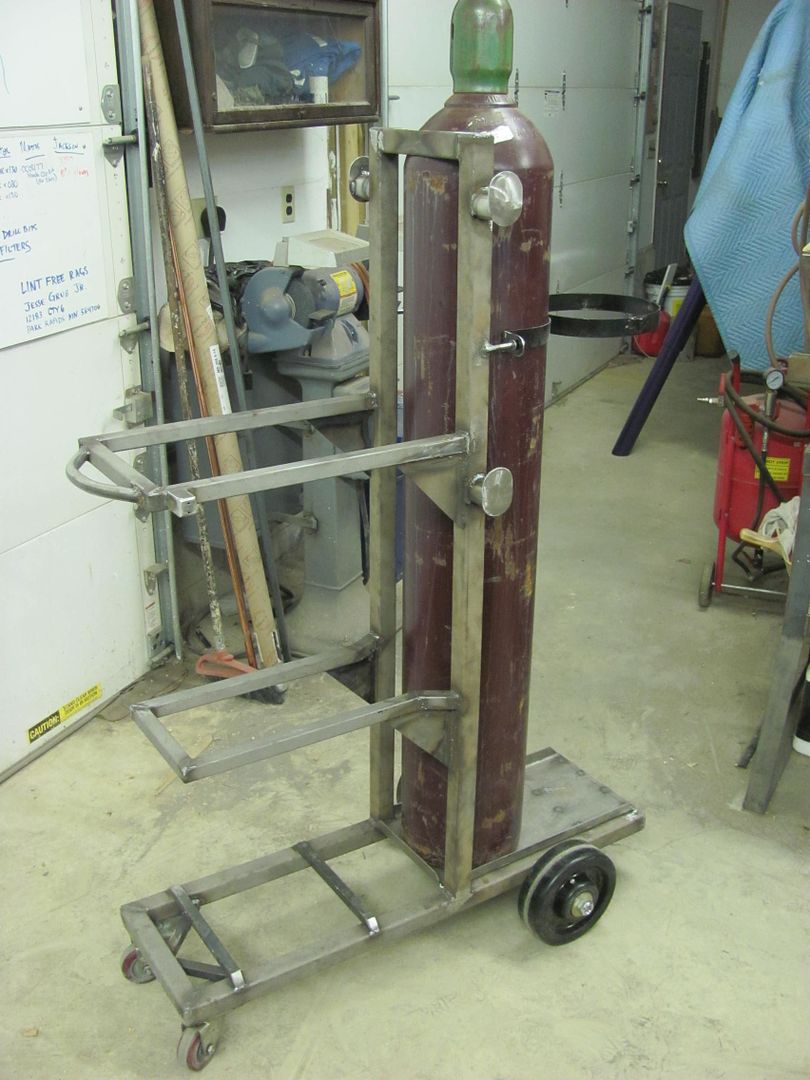 .....and a test fit before we throw some paint on it... 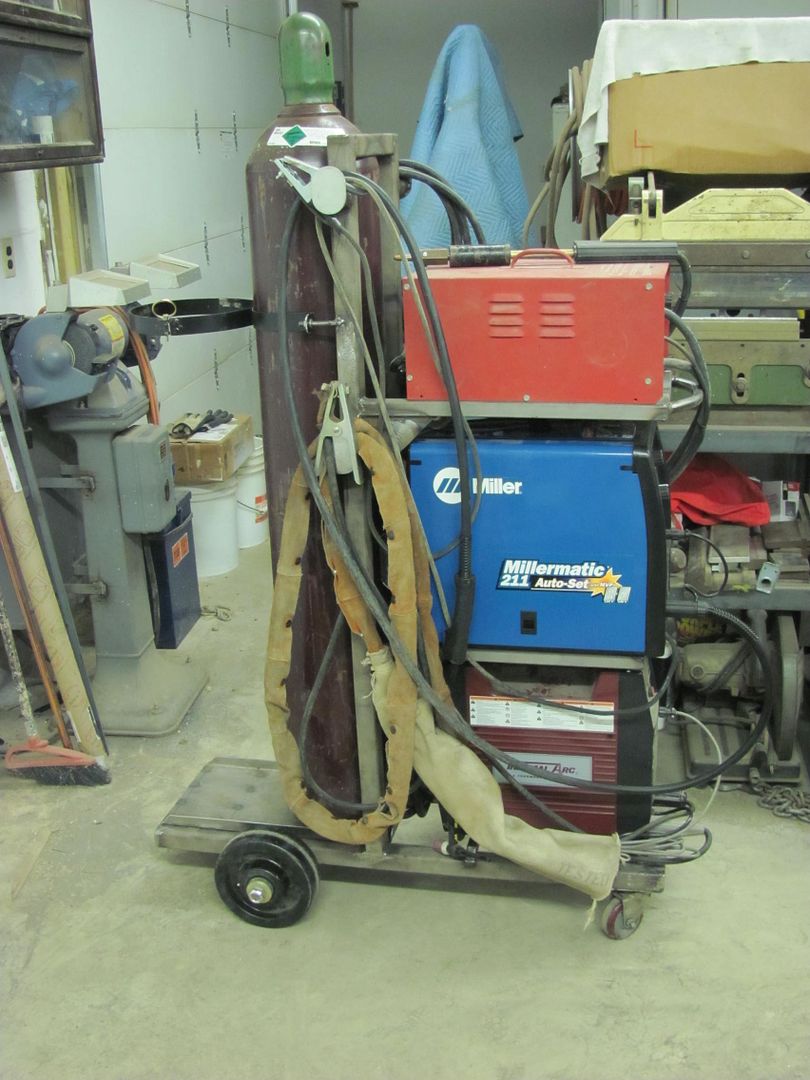 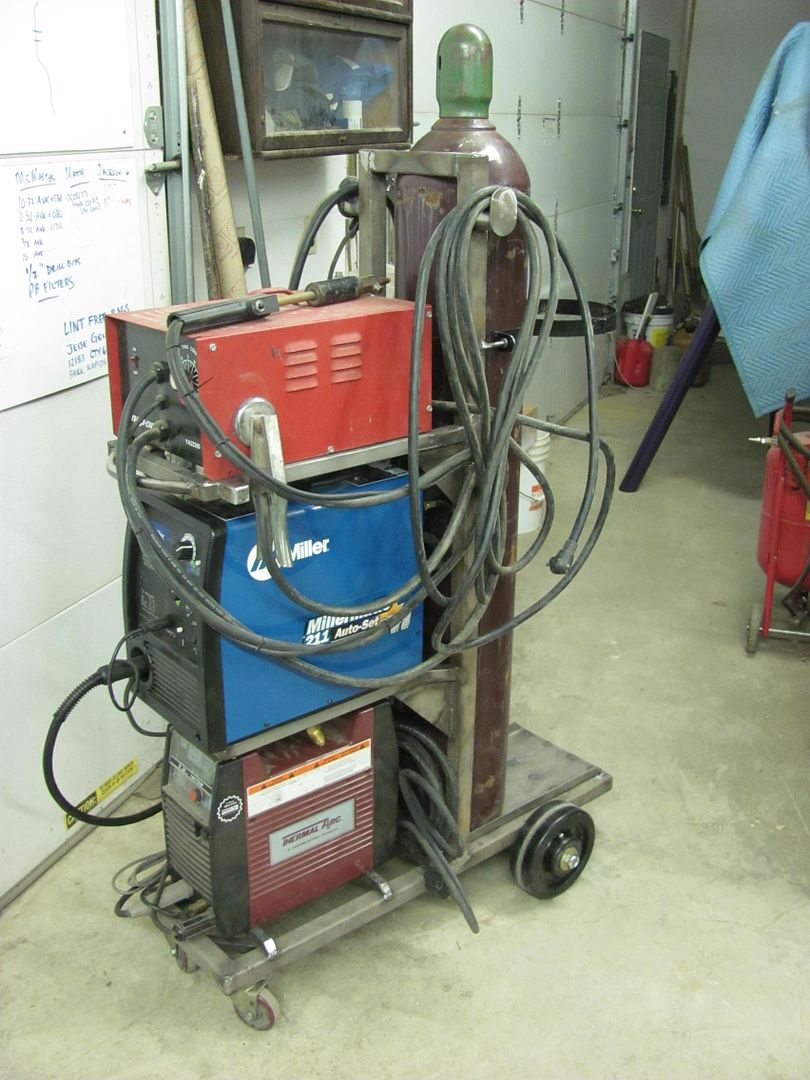 Looks like I have some room left, may have to add one more.... 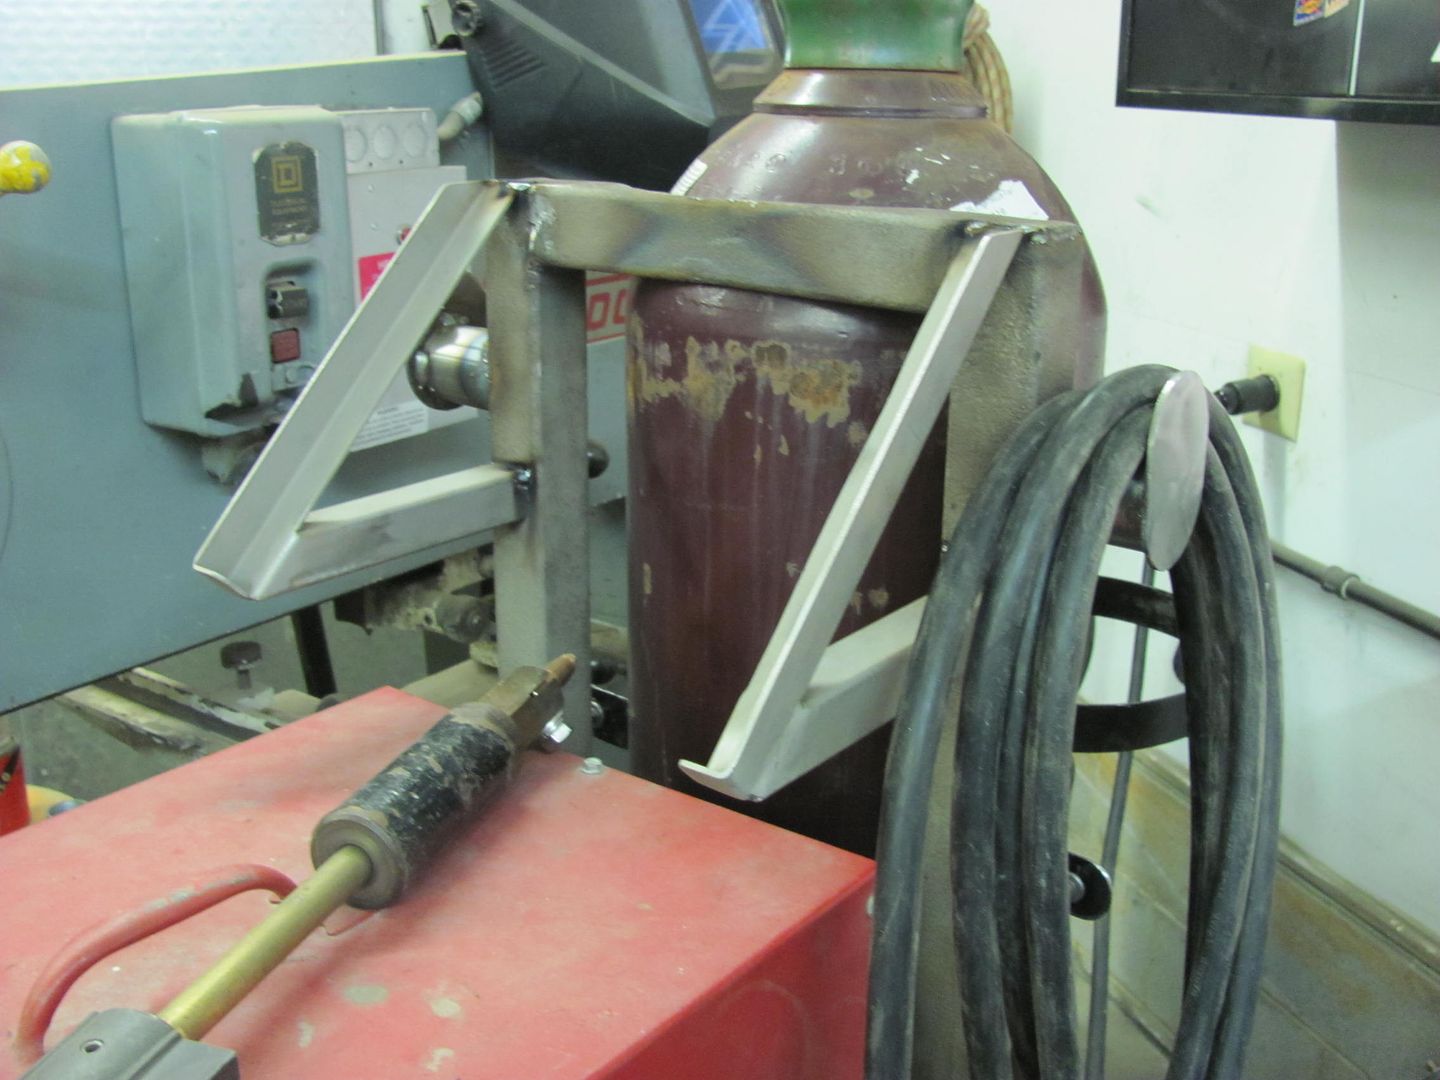 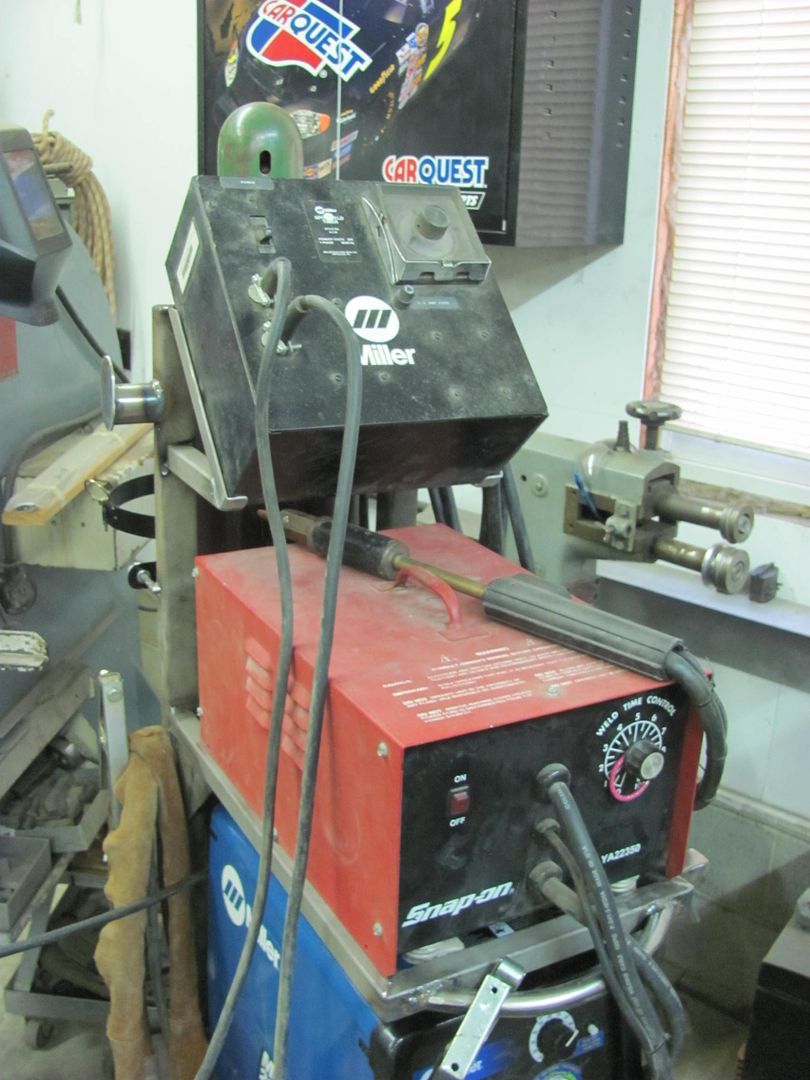 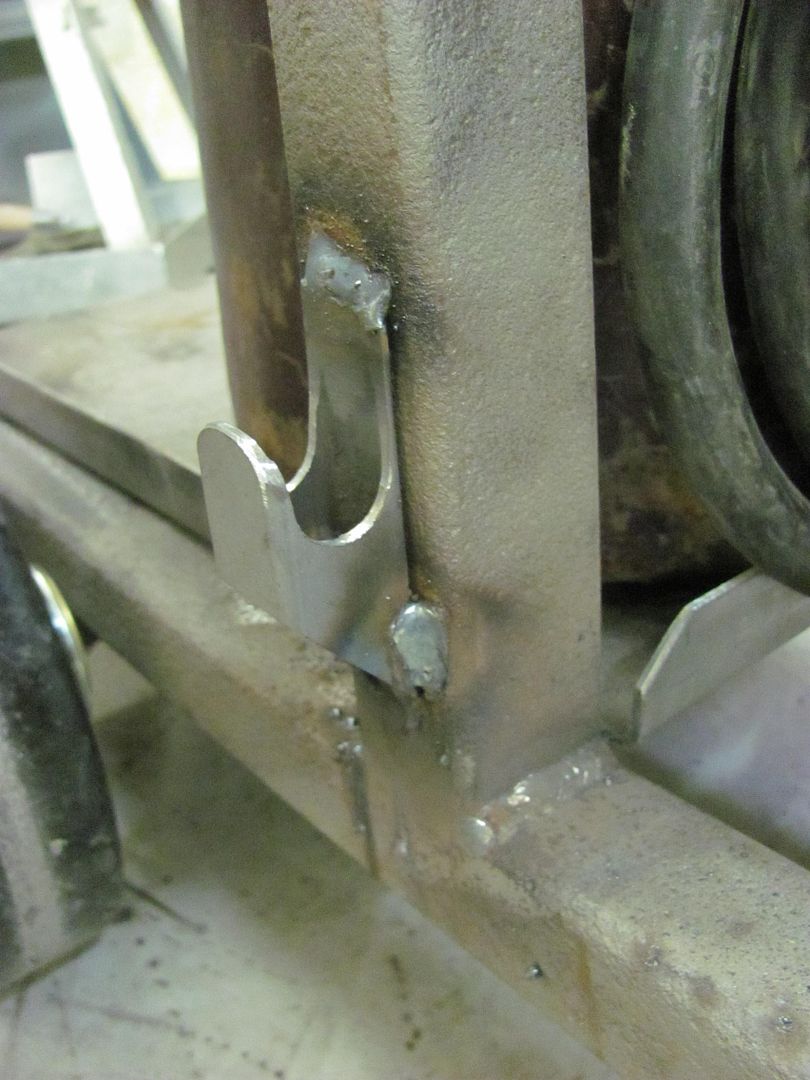 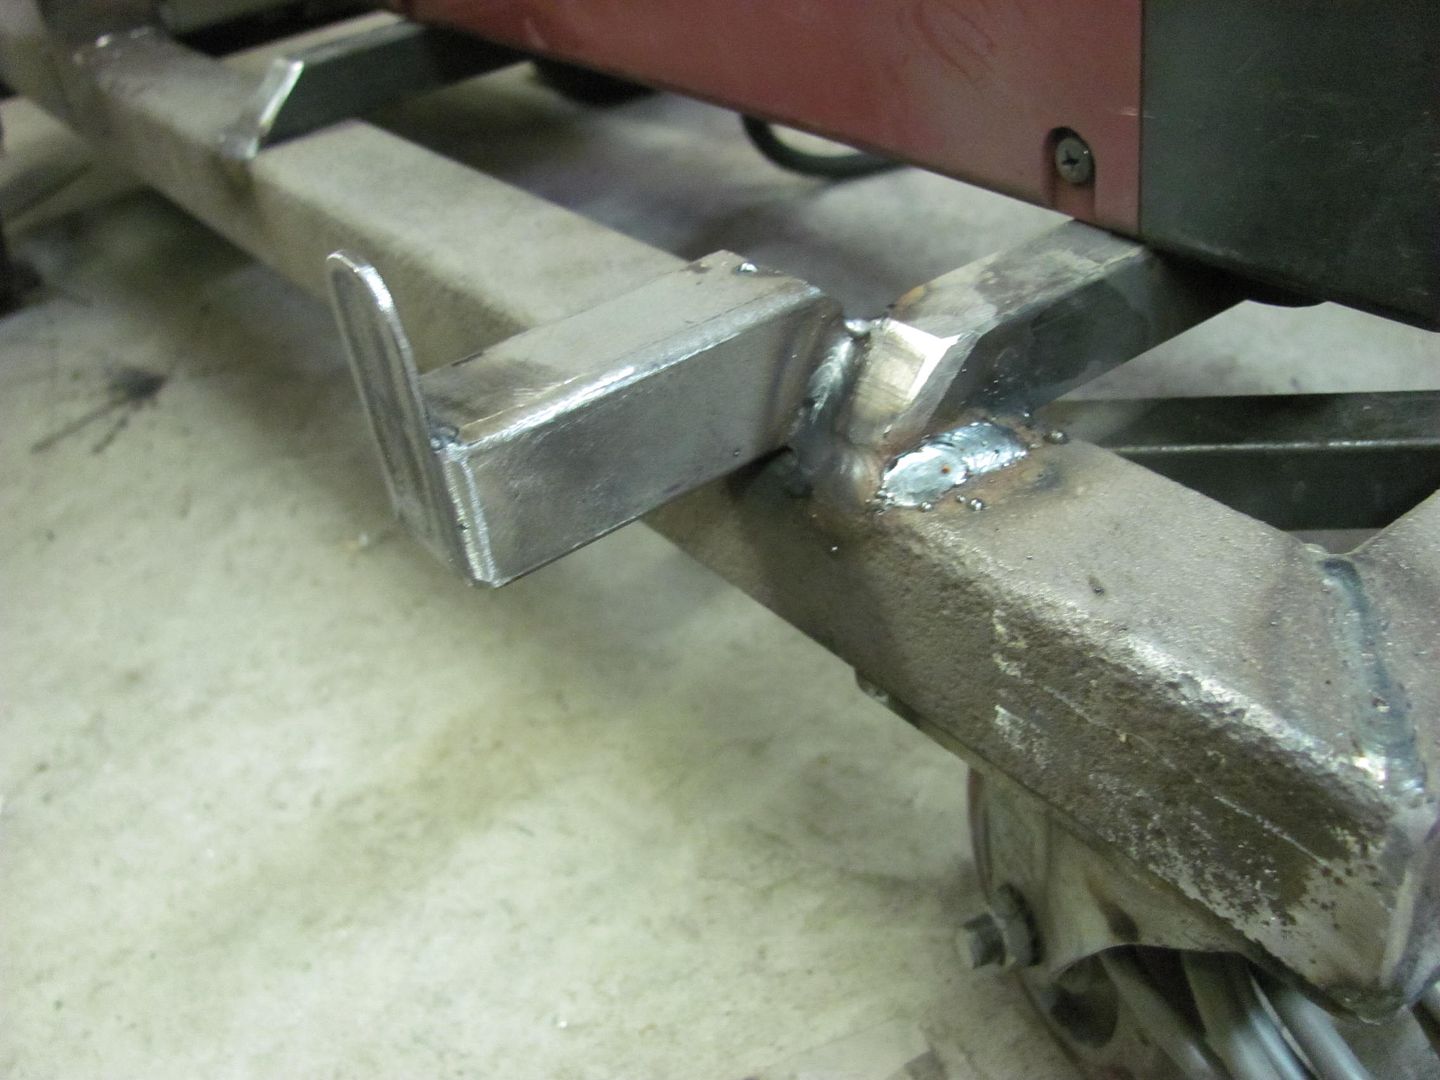 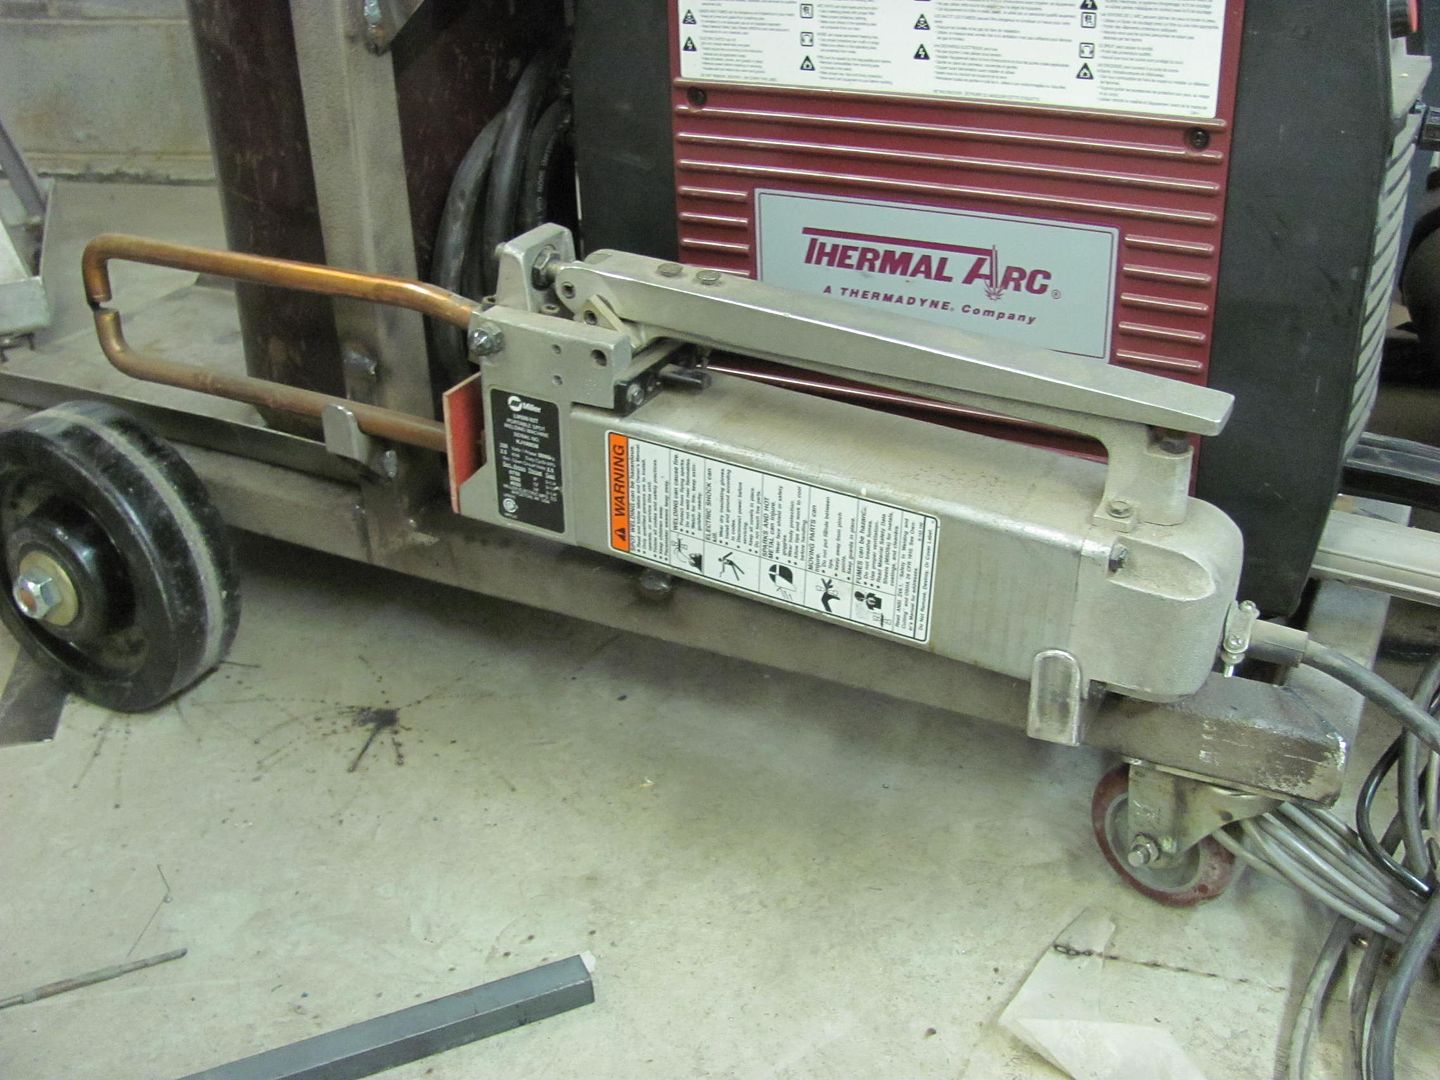 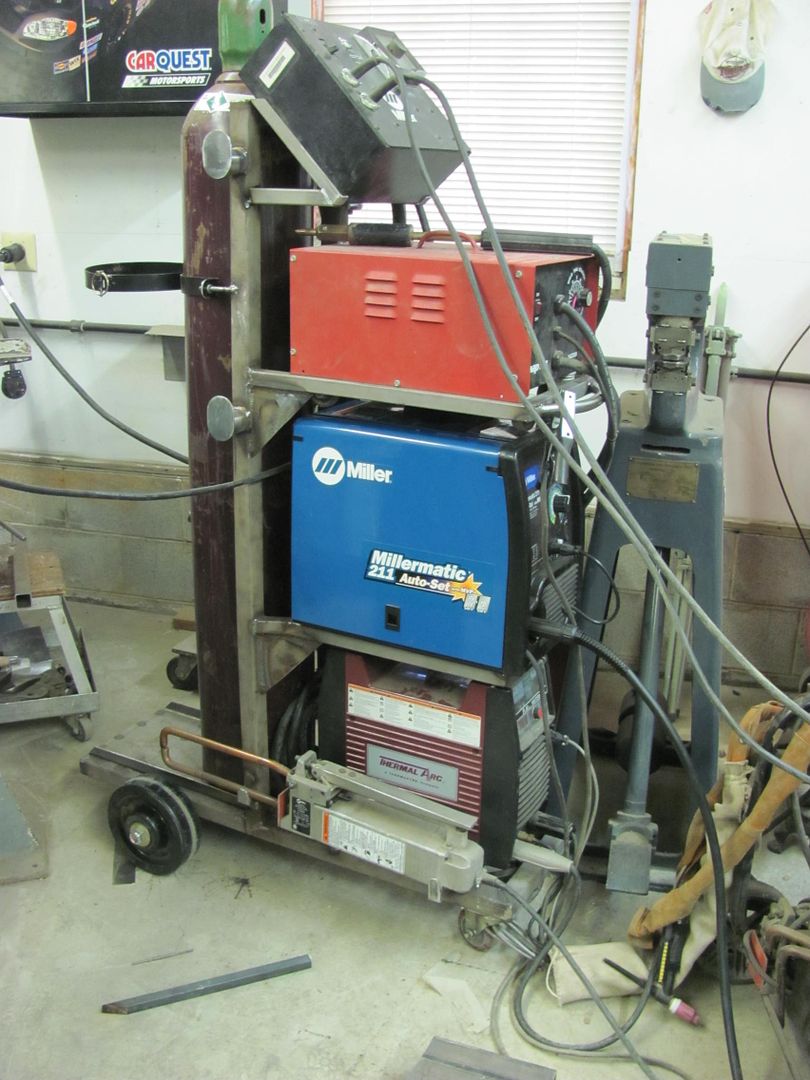 Now to disassemble and paint it... It was a toss up between some bright red (HD color) which was acrylic lacquer, or a bright yellow (H/K Lemon Yellow basecoat). As I didn't have any lacquer thinner in stock for the red, yellow it is...followed by clearcoat 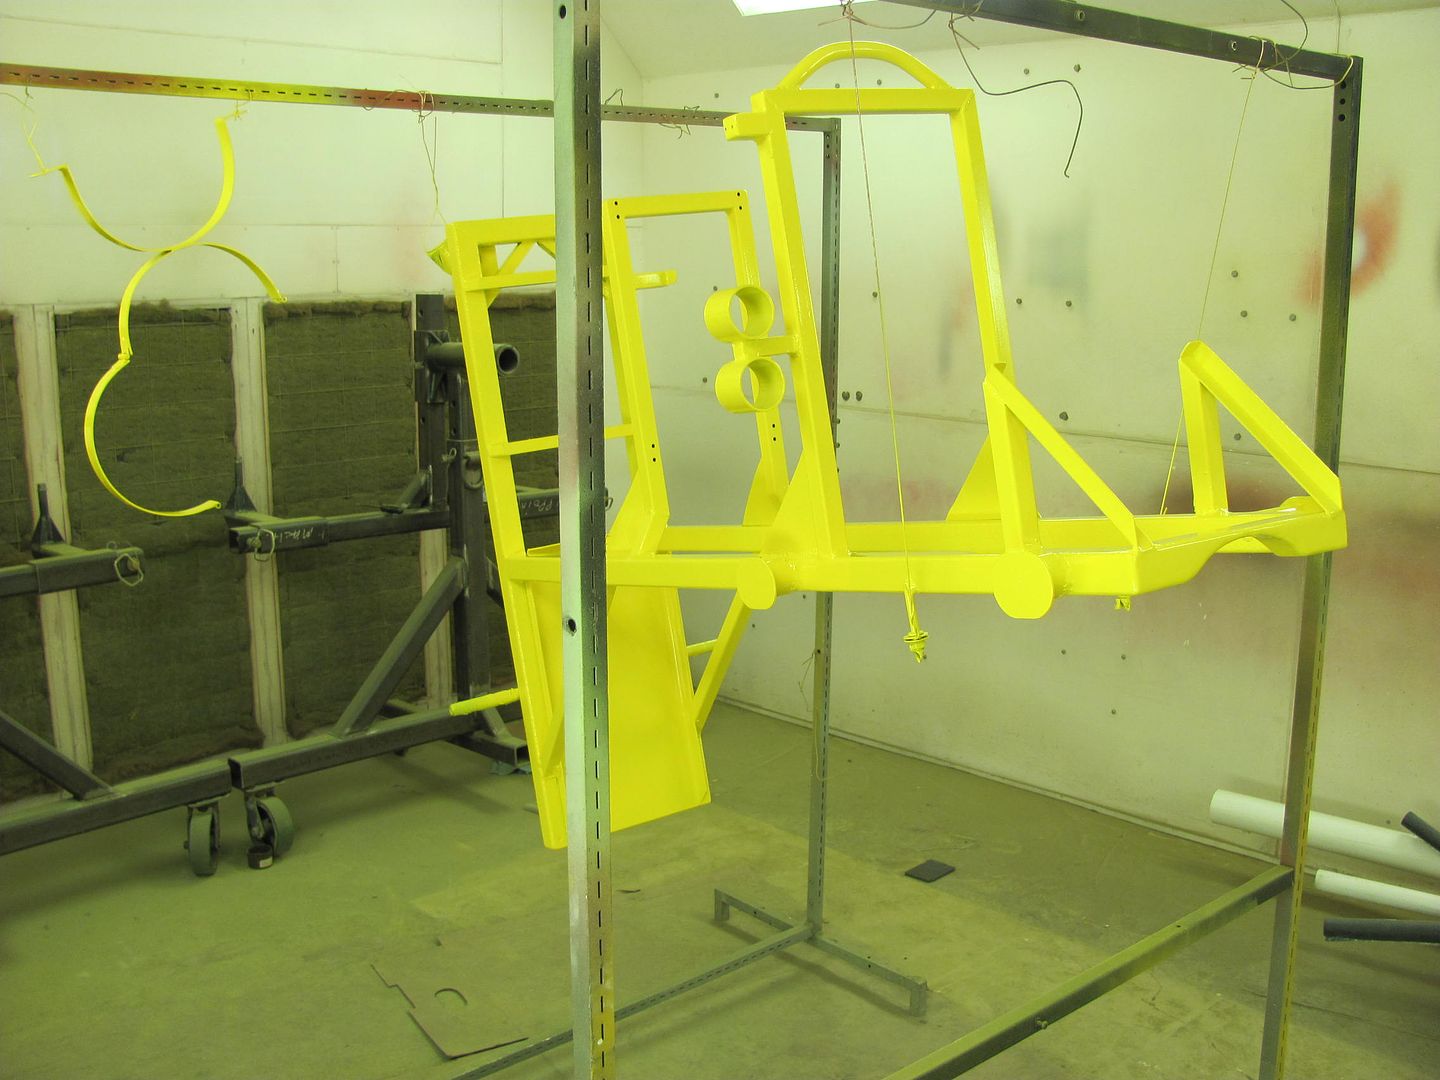 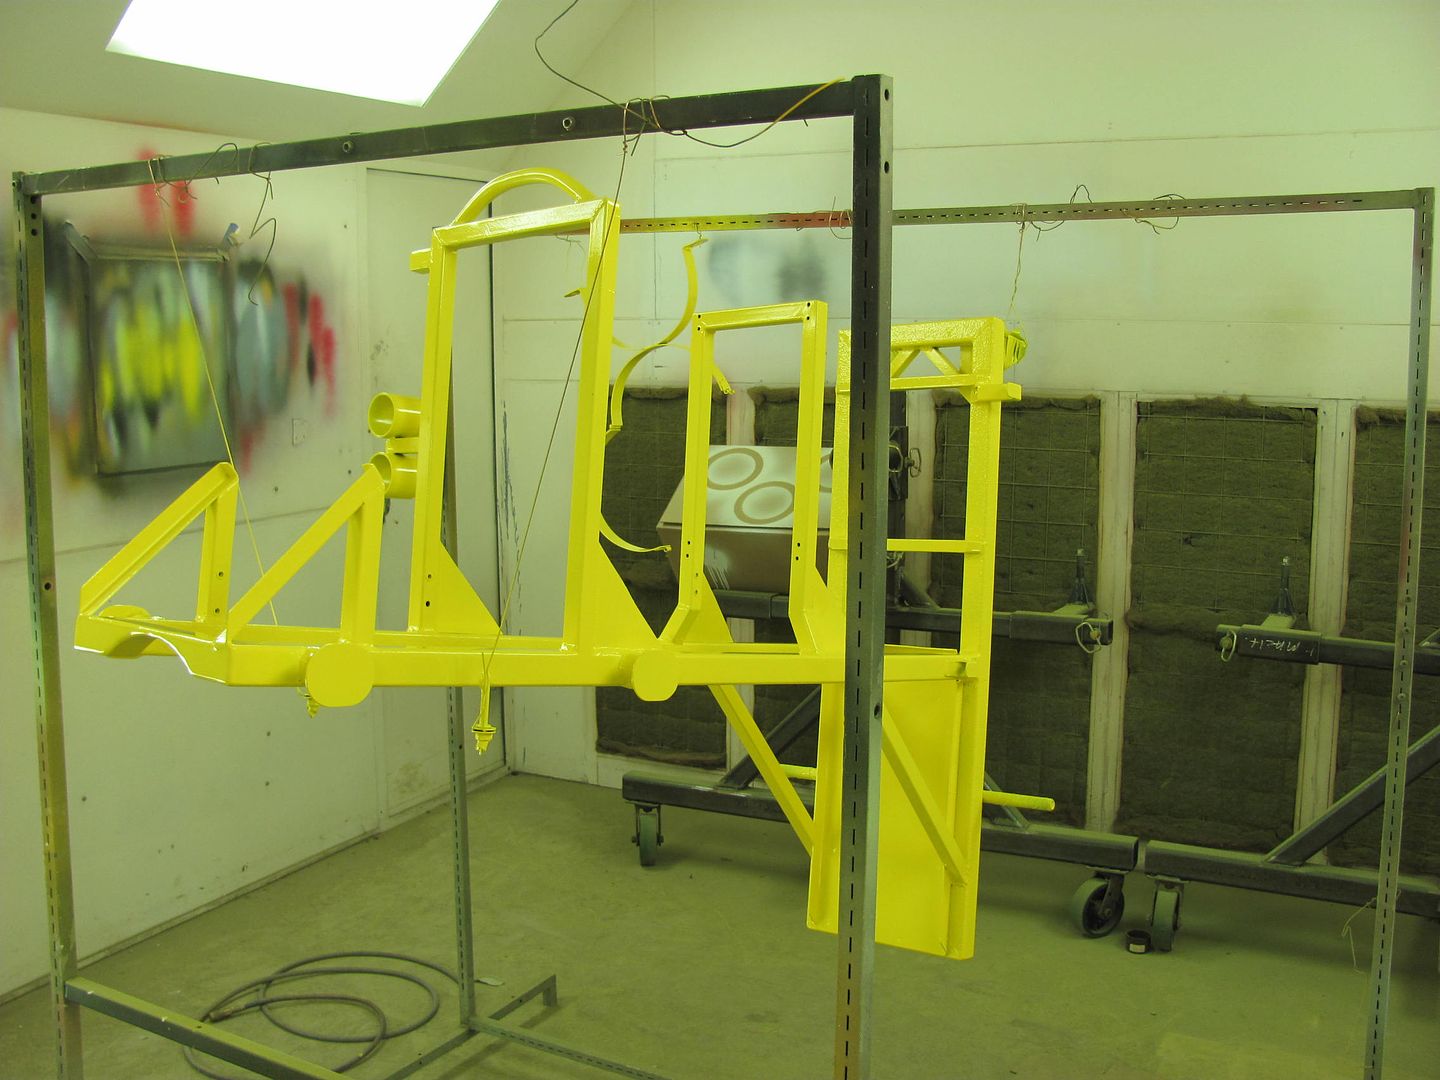 This should help to brighten up the shop!
__________________
Robert |
|
|

|
| Bookmarks |
| Thread Tools | |
| Display Modes | |
|
|