 |
Register or Log In To remove these advertisements. |
|
|
|
|||||||
|
|
Thread Tools | Display Modes |
|
|
#1 |
|
Registered User
Join Date: Jan 2015
Location: Santa Monica
Posts: 264
|
Gas tank relocate on Task Force truck
Wish I had found this site and thread before I did mine, but that was 10 years ago.
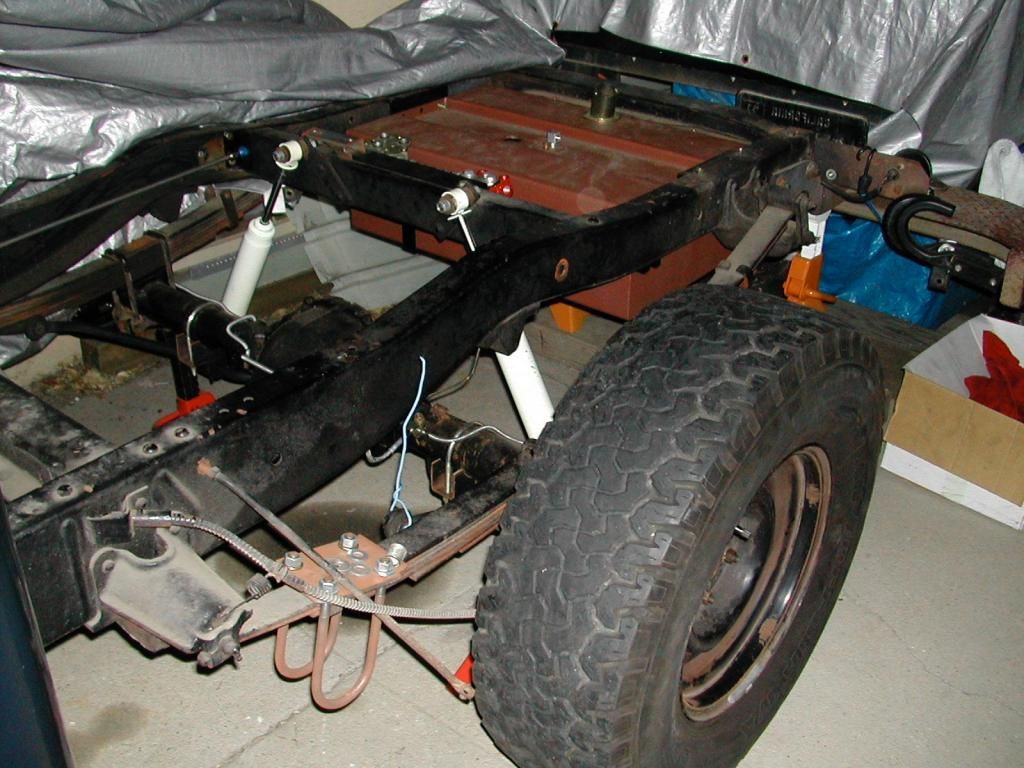
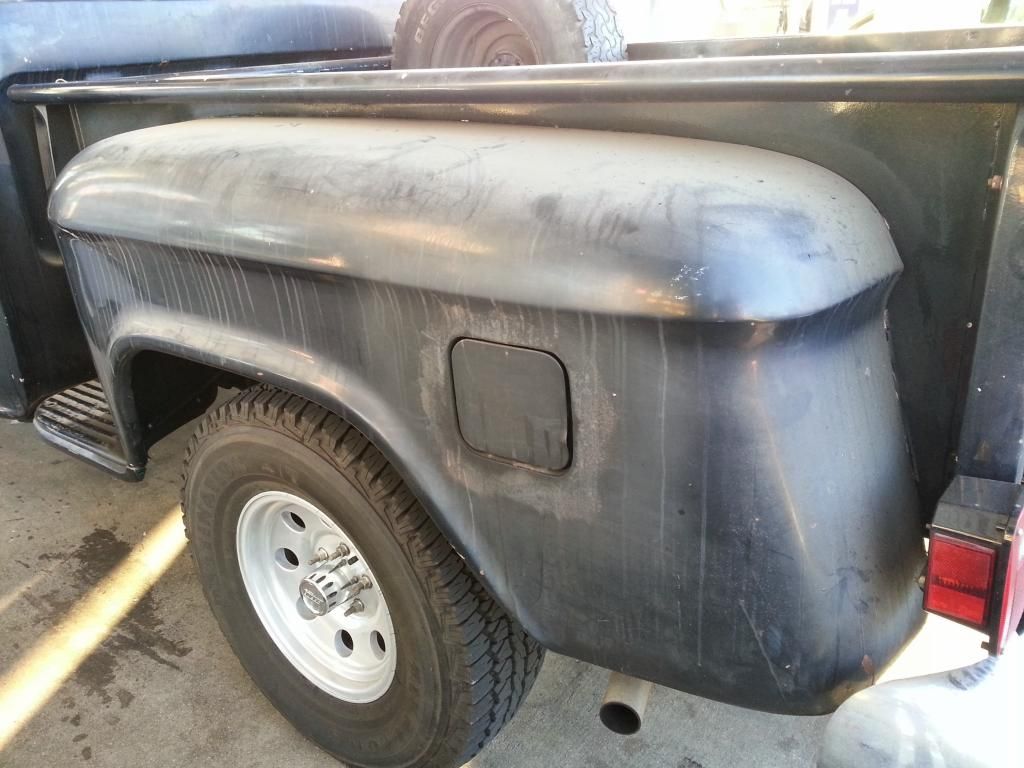
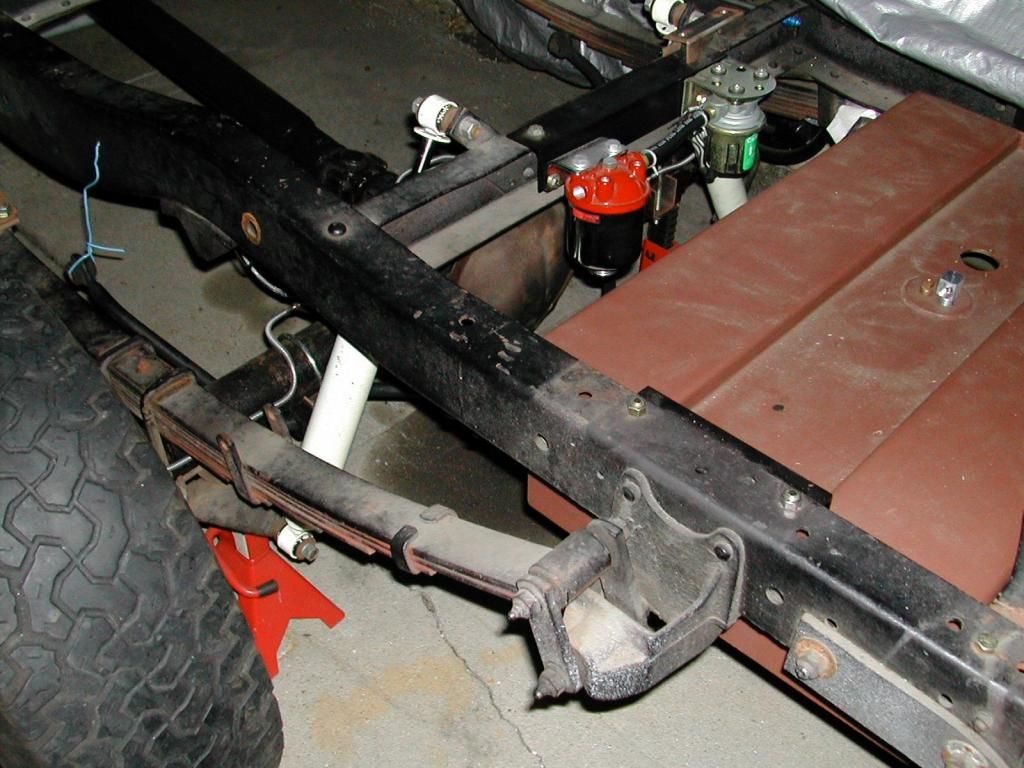
I installed a steel Tanks Inc. universal tank behind the axle at the same time as the engine. I think Tanks made this tank to order, it's unlike any tank they sell today. It's a rolled box with thick sides welded on. It's about 28" wide, 18" long and 10" tall and it's heavy gauge steel. To keep the fittings flush with the top of the tank, the tank has a recessed tray at the top where the file neck, fittings and sending unit are installed. The tray runs the full width of the tank leaving a 1" lip at the top on each side. There are three holes on the lip on each side of the tank. I confined with Tanks that I could hang the tank from these holes when I received it rather than using straps. I made basic L brackets that bolt through the tank's mounting flanges and hang the tank off of the top of the frame rail on each side. I'm gonna make new brackets to bolt the tank from the bottom of the frame, making it easier to drop the tank if needed.  I knew I wanted side fill, didn't care for any of the commercial aftermarket filler doors. I like the the fuel door in the rear fender, recessed behind the wheel on the driver's side. I snagged a fill door, next and hose from an astro van at the junkyard and mounted it behind the rear wheel. My tank was top fill so I modified the filling neck from slanted to 90° and raised the bed 1" to help clear a 2" fuel safe hose. None of my bed sills needed to be modified.  I installed an electric fuel pump and filter on the back side of the rear shock crossmember facing the tank. Worked pretty well but the pump was noisy. I installed a 3/8" SS line on the inside of the passenger side frame rail to where the cab floor turns up to the toe board. I made a bracket and mounted a -6 bulkhead on the fuel pump block off plate and ran a SS braided hose from the hardline to block off plate. I made a 3/8" hard line from the block off plate to the carb following the contour of the engine  The Holley EFI kit I bought came with a new, higher pressure fuel pump and dual filters. I installed them in place of the original filter and pump. I mounted the new pump and filters on a 1/4" plate hanging from the same crossmember facing the tank. The pump is level with the bottom of the tank. The filters are installed inline but at 90° using -6AN Aeroquip elbows and SS braided hose. -Picture Pending- The tank is finished with basic, brushed-on metal primer applied hastily when I installed the tank. ANd that's how it still looks today. When I refinish the truck, and this tanks is not rusted out, I'll refinish the tank nicely too. It can barely be seen from the road so the primer brown tank doesn't bother anyone.
__________________
Déjà vu. It's that feeling you get when you hit your thumb with the hammer a second time '59 Chevy 3100 Stepside |
|
|

|
| Bookmarks |
| Thread Tools | |
| Display Modes | |
|
|