
 |
Register or Log In To remove these advertisements. |
|
|
|
|||||||
|
|
Thread Tools | Display Modes |
|
|
#1 |
|
Registered User
Join Date: Apr 2015
Location: Kalispell, MT
Posts: 208
|
My 83' Crew Cab Dually project
I have a thread going over on the C10 forum, but things seem a little slow over there, so I'll drop this here...
I picked up this 83' back in February and have been slowly making progress on it. It was in rough shape, but it was a government vehicle, only had 70k original miles and a stack of every maintenance record ever done to it...and the government does maintenance regularly whether the vehicle is being used or not, so I knew it was mechanically solid. Secondly, 2wd trucks are quite hard to come by in Montana. 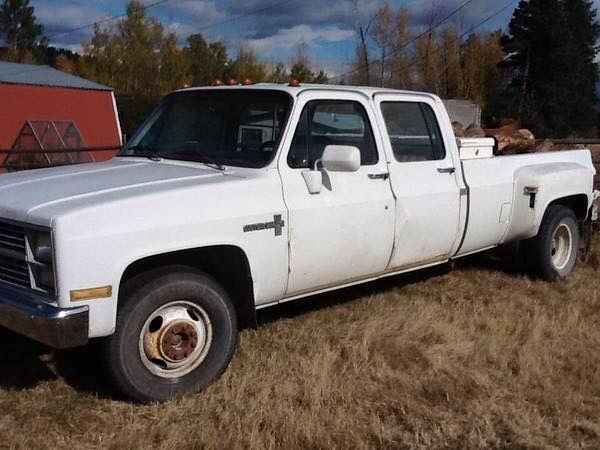 First things first...the rusty steelies had to go. I had a set of true Alcoas that I'd saved when I sold my 96' Dodge. I spent an entire weekend wet sanding and polishing them to bring them back to their former glory. Then I ordered up a set of spike lug covers from Iowa80.com. 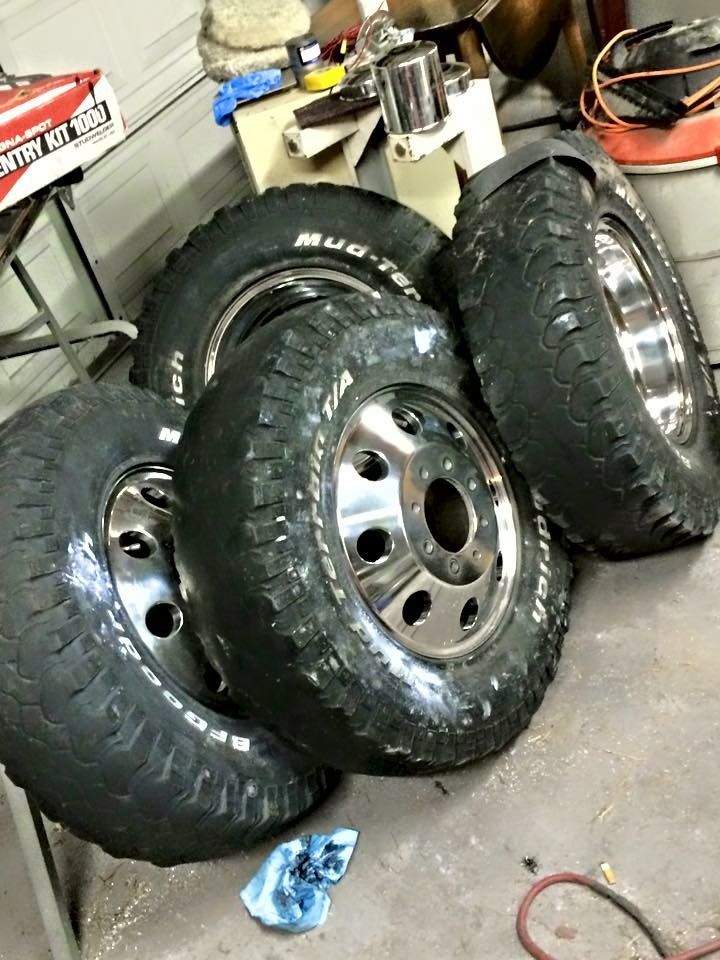 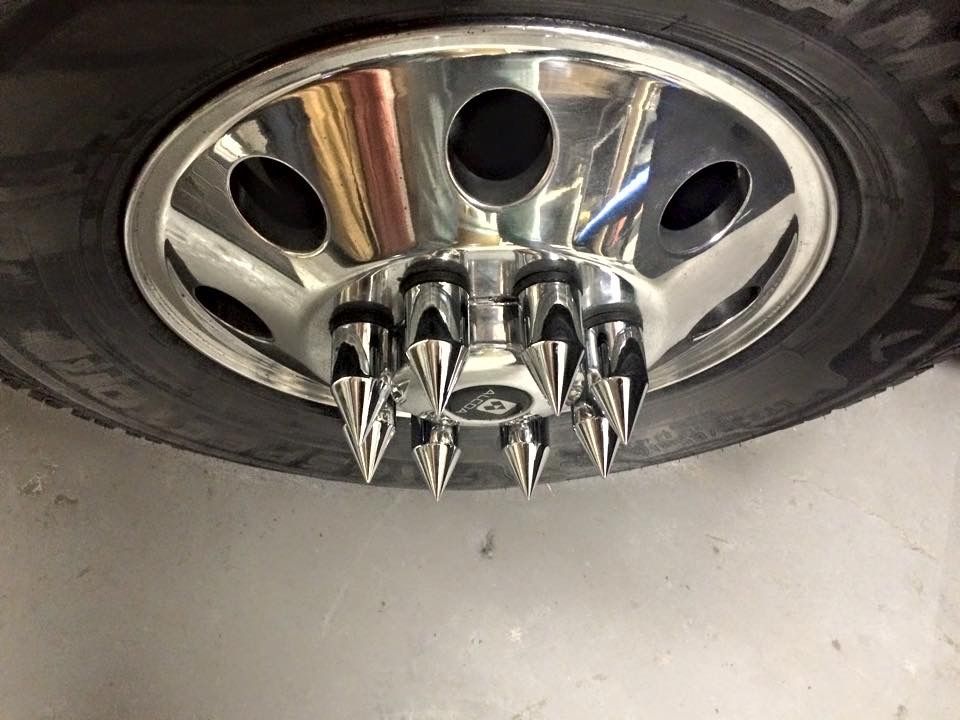 Then, boating season happened and not much progress.... 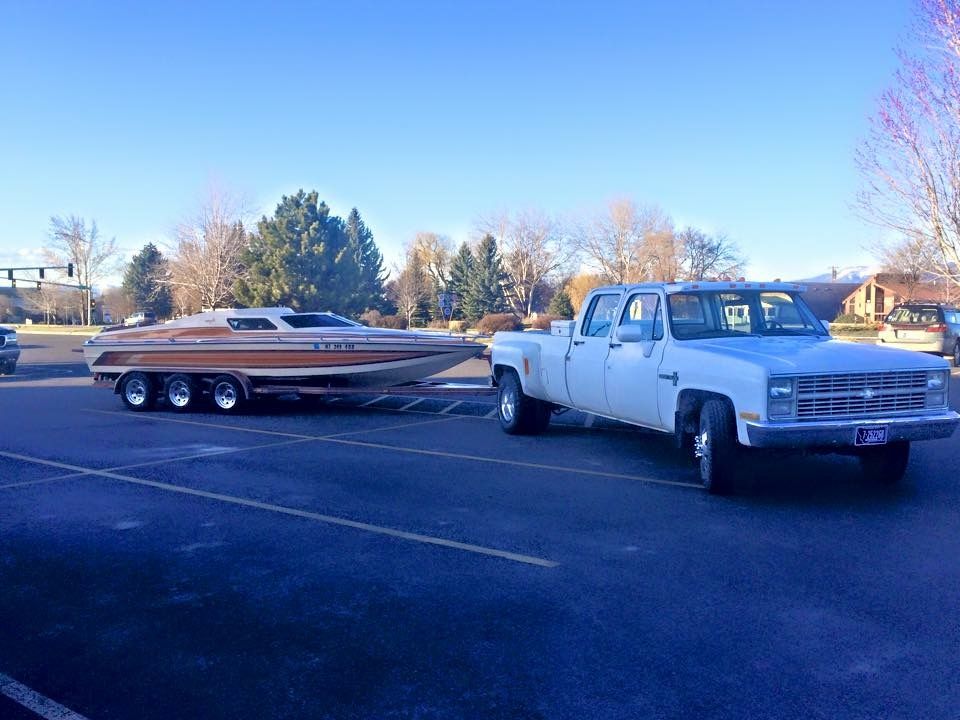 I added some LED lights... 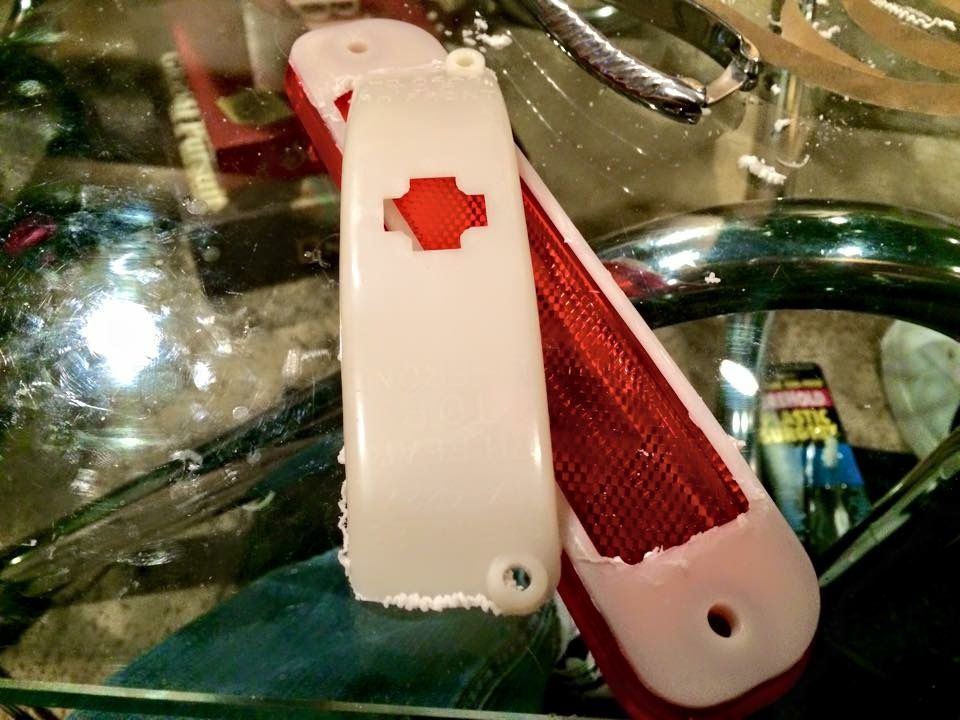 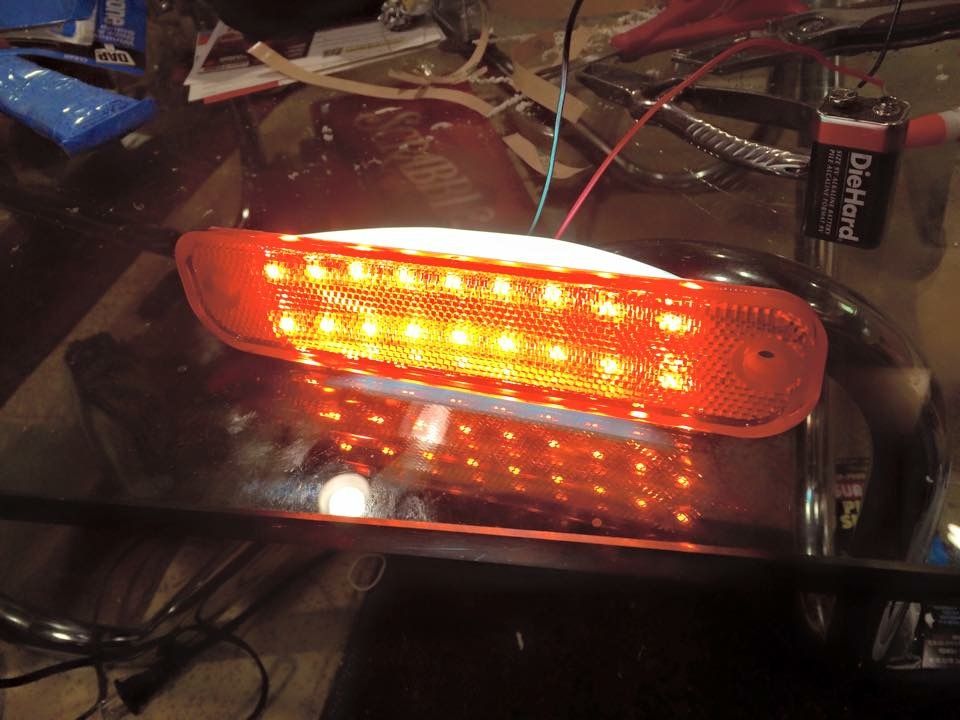 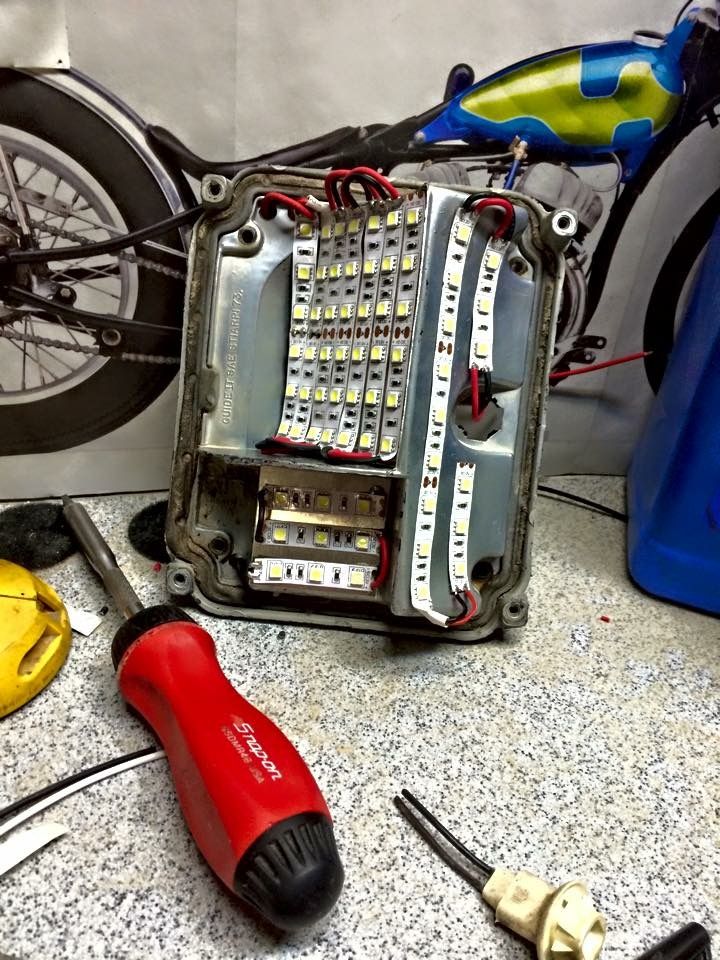 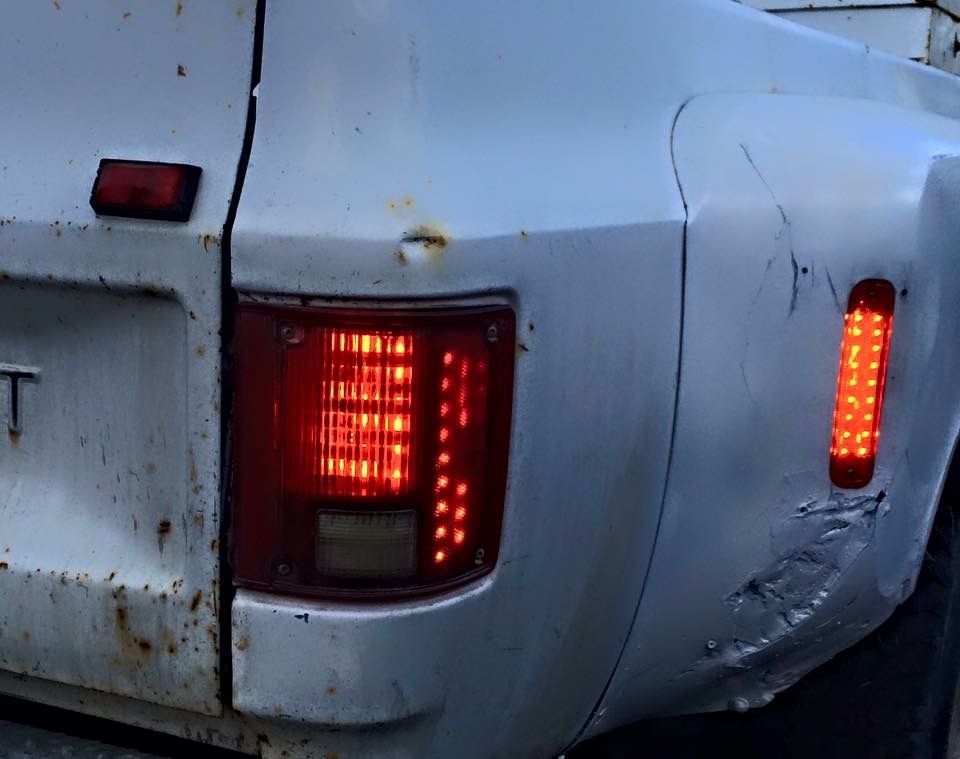 I finally collected all of the parts that I needed to static drop the truck and went to work. I used 3" drop spindles up front and a flip kit for the rear. Of course flipping the axle on these requires a notch, but I expected to eventually bag it anyhow, so I went to work building a step notch and bridge. Pulling the bed with limited help was interesting... 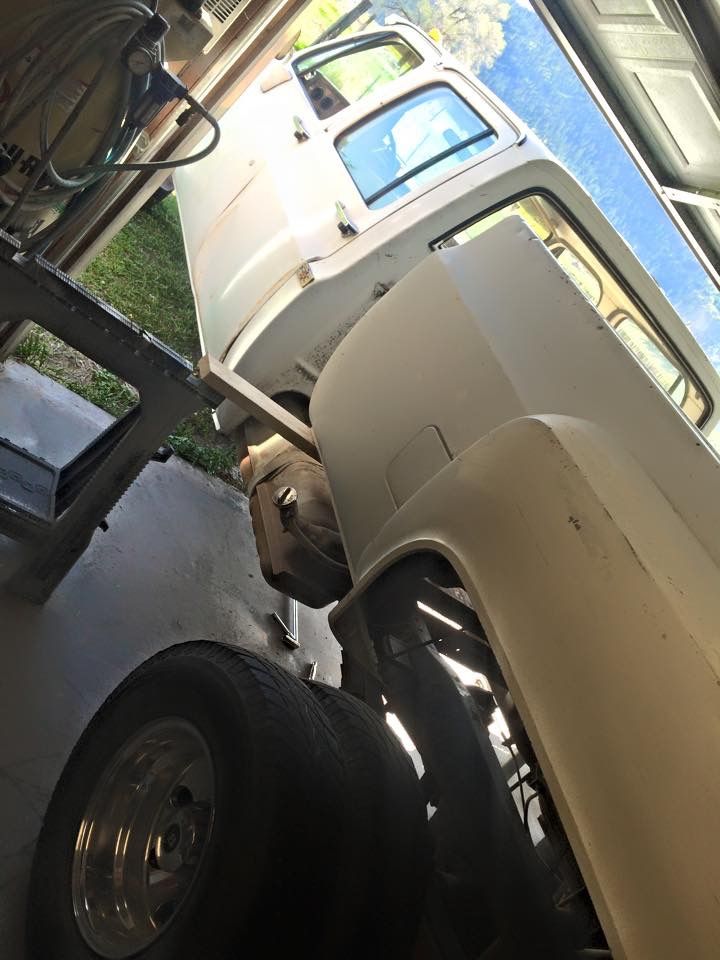 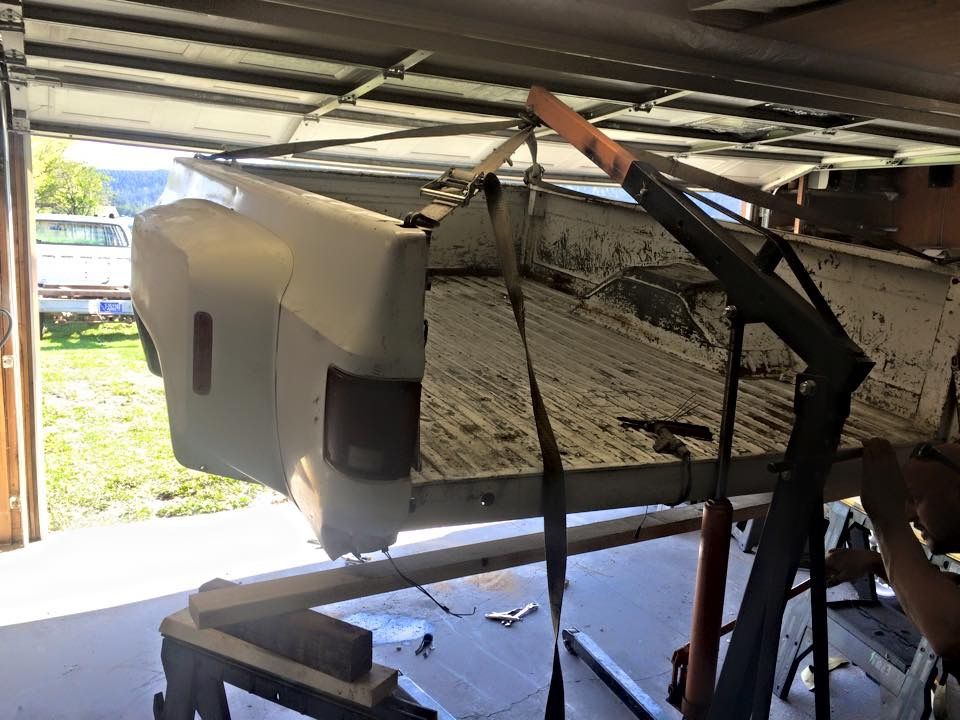 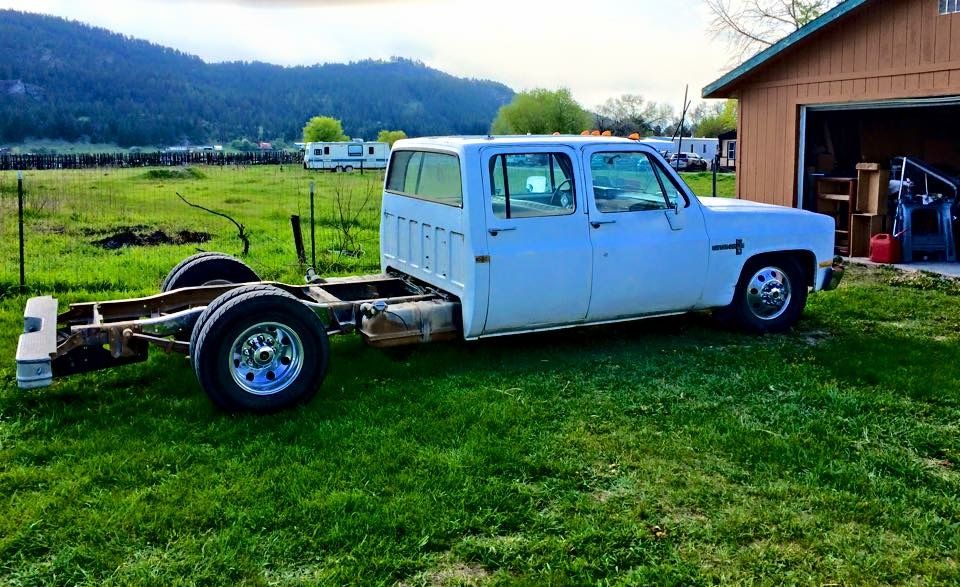 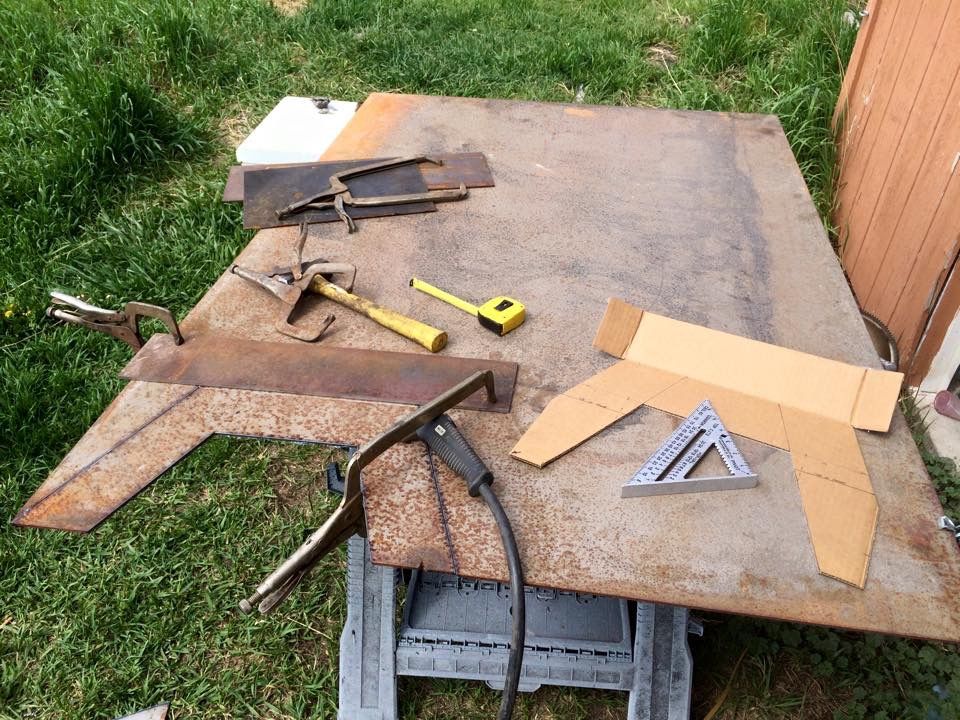 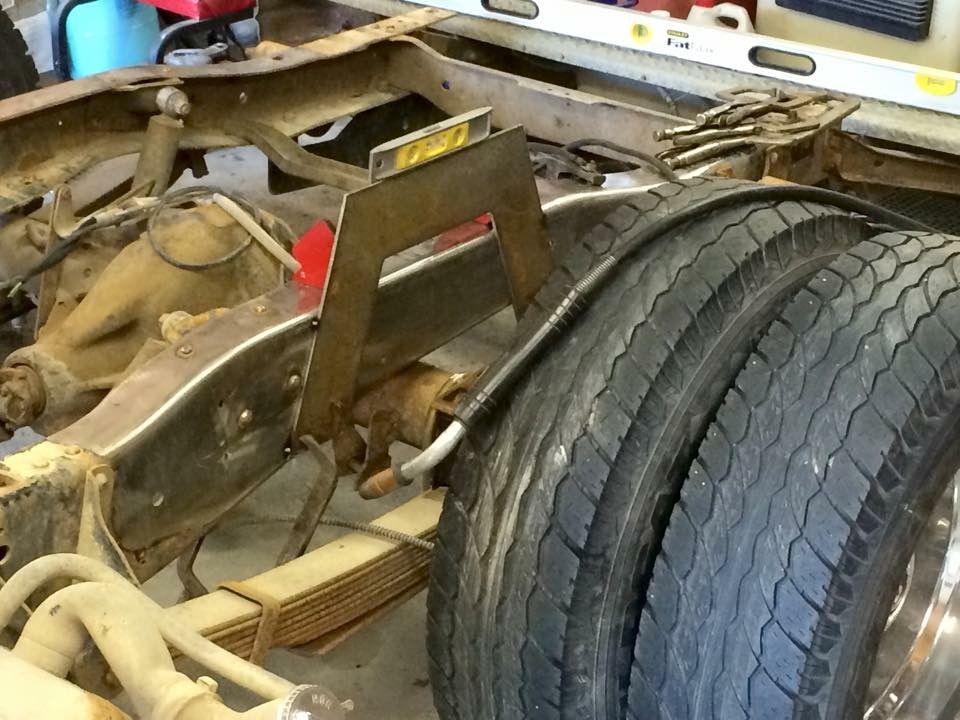 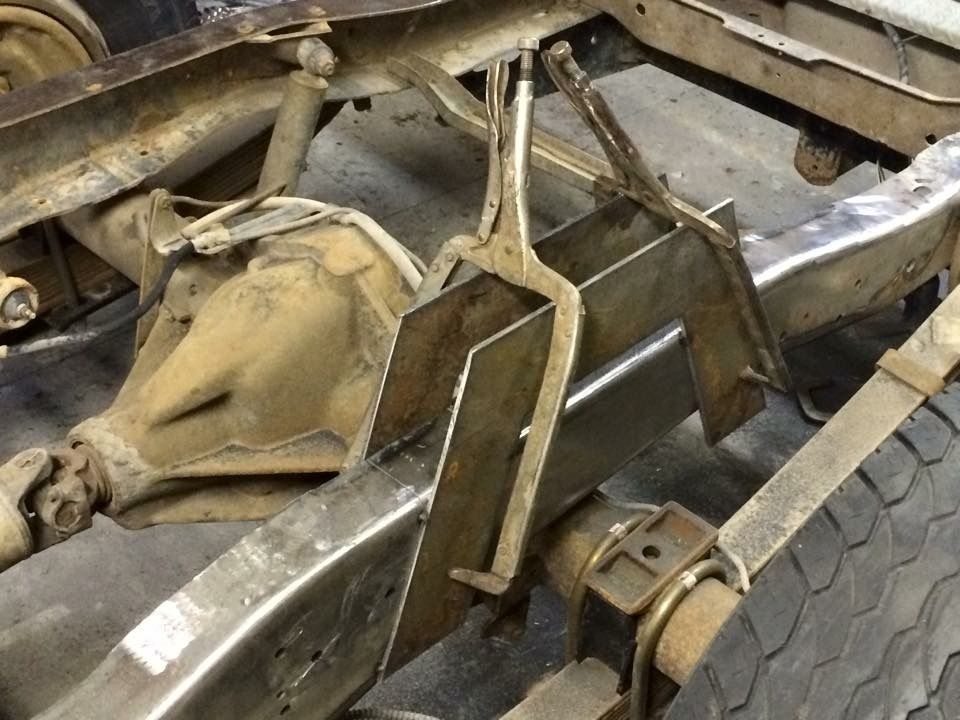 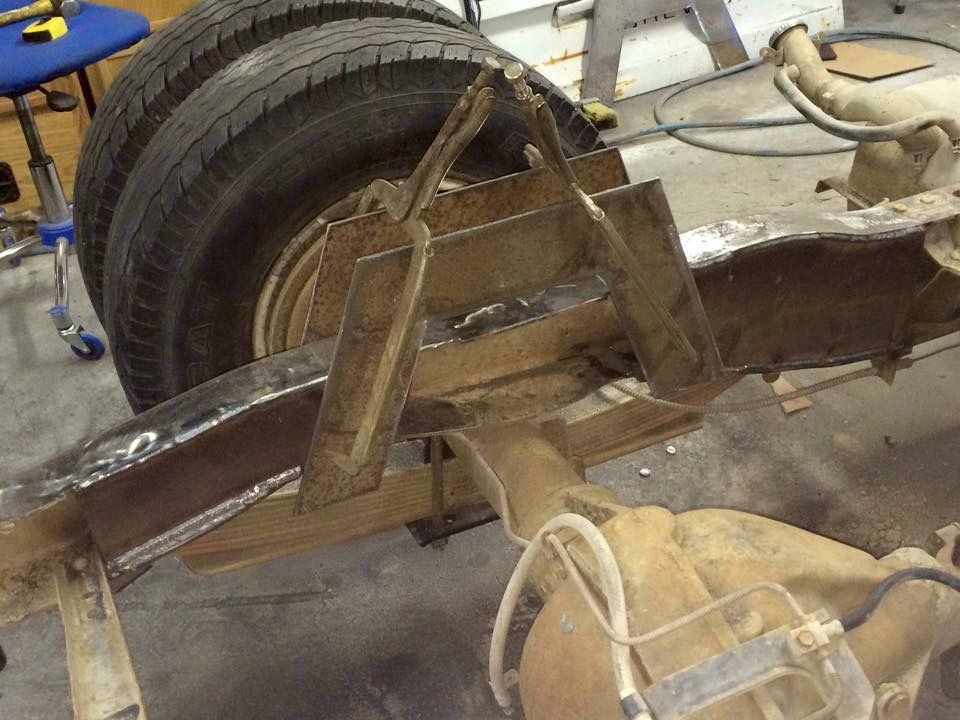 I still intend to tow my 25' boat, so I boxed and fishplated everything for strength. 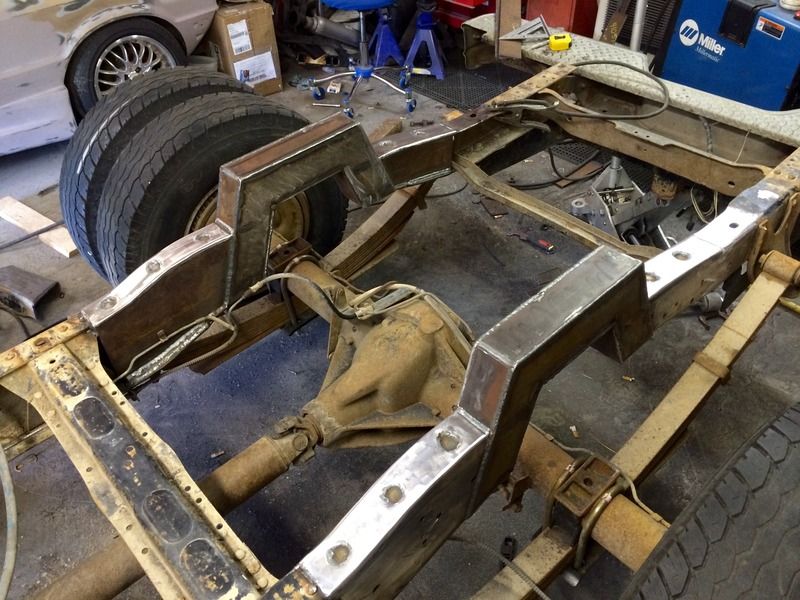 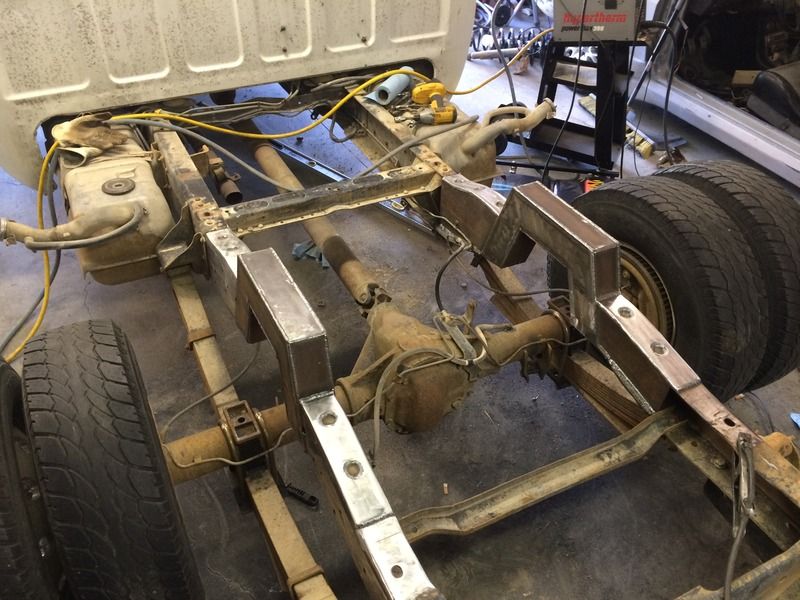 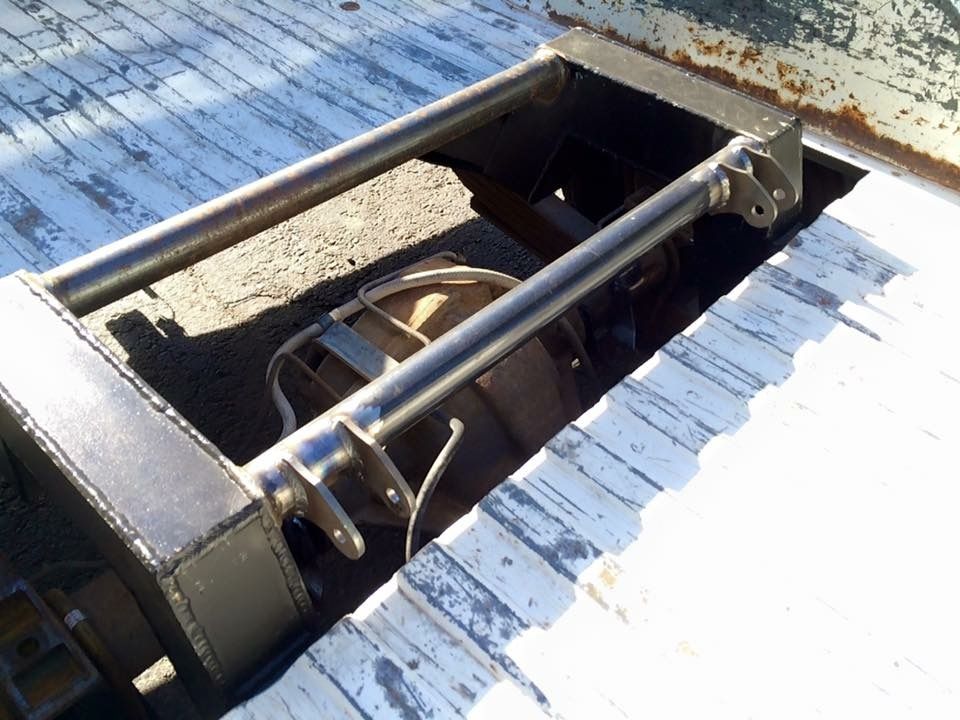 Much better... 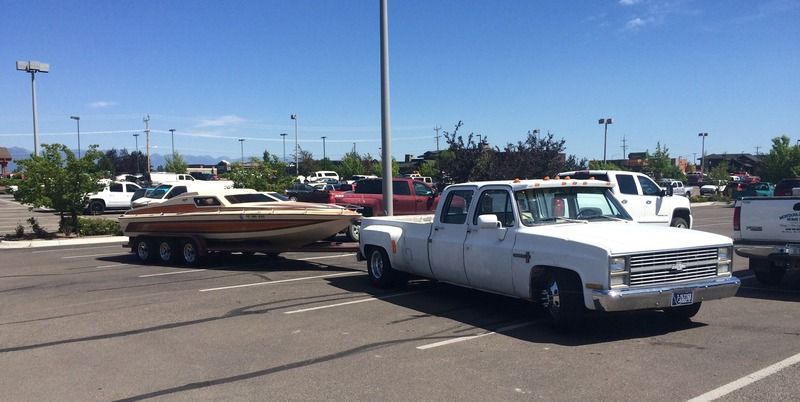 Added a little bling to the interior... 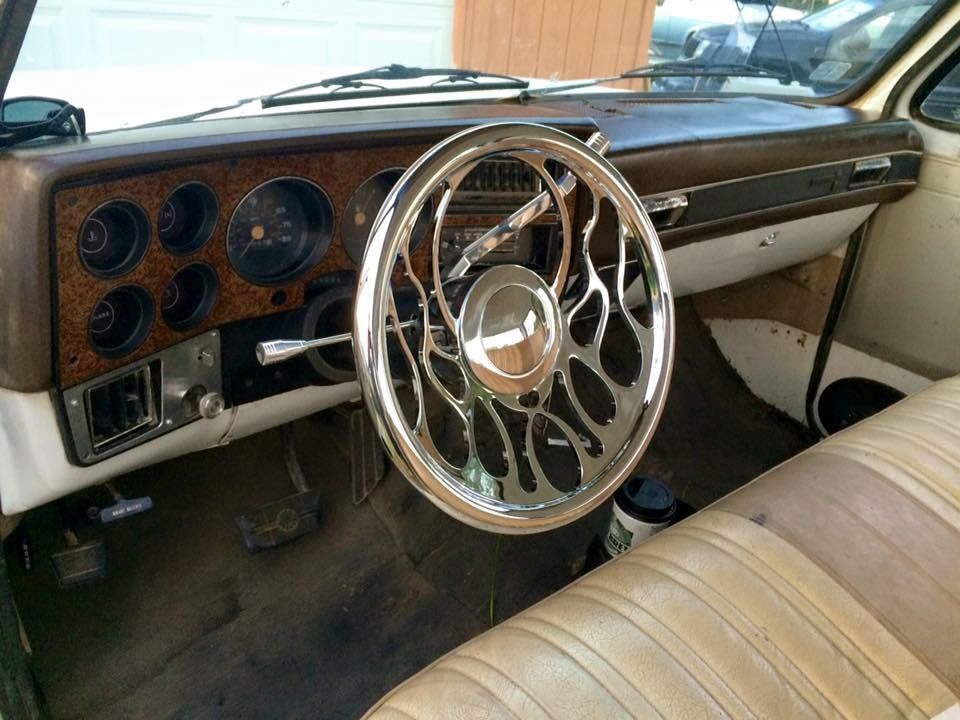 I searched and searched for some decent replacement fenders, but it seems that these are made of unobtanium, so I decided to just repair this really poor attempt at fixing this previously. 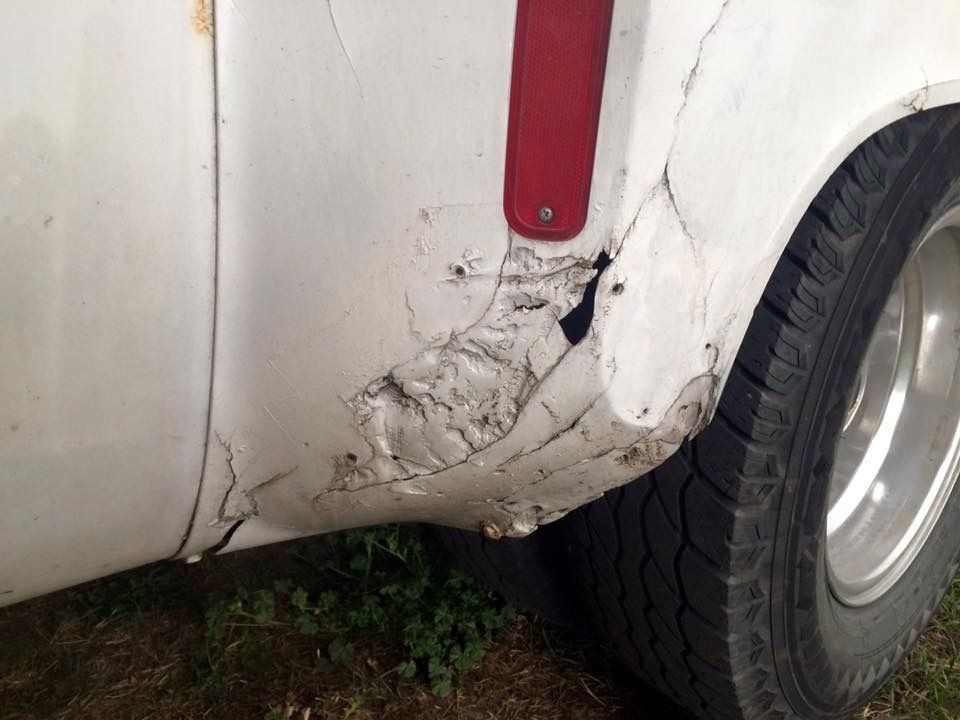 I started by building a cardboard buck. Then I liberally filled it with great stuff. The trick to using this stuff as a form is to mist water into it as you fill. Moisture is the catylist (thank you YouTube!) 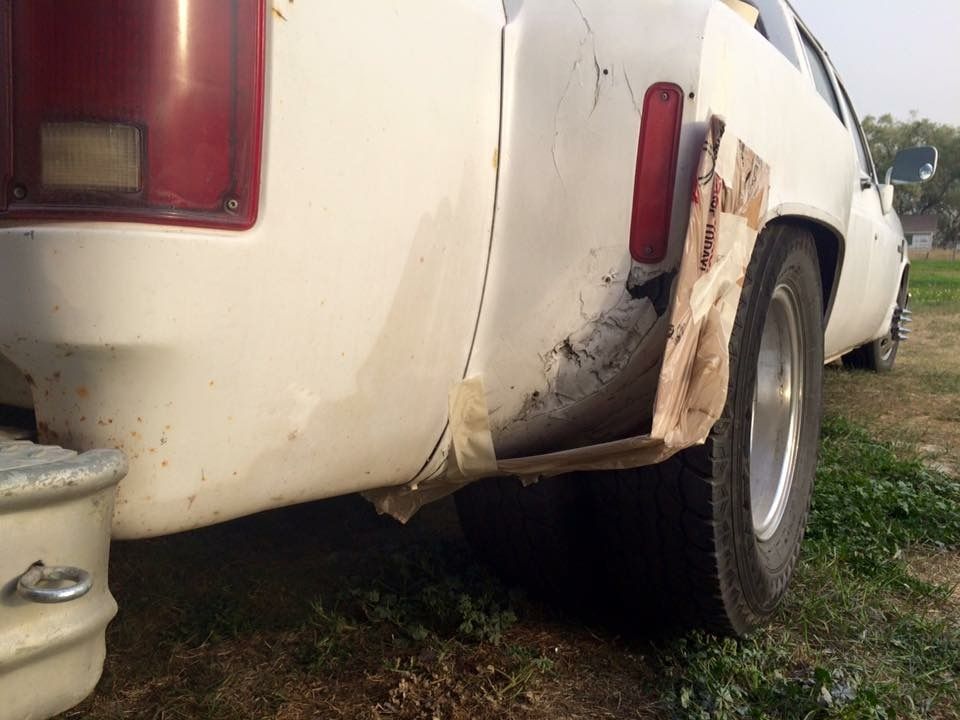 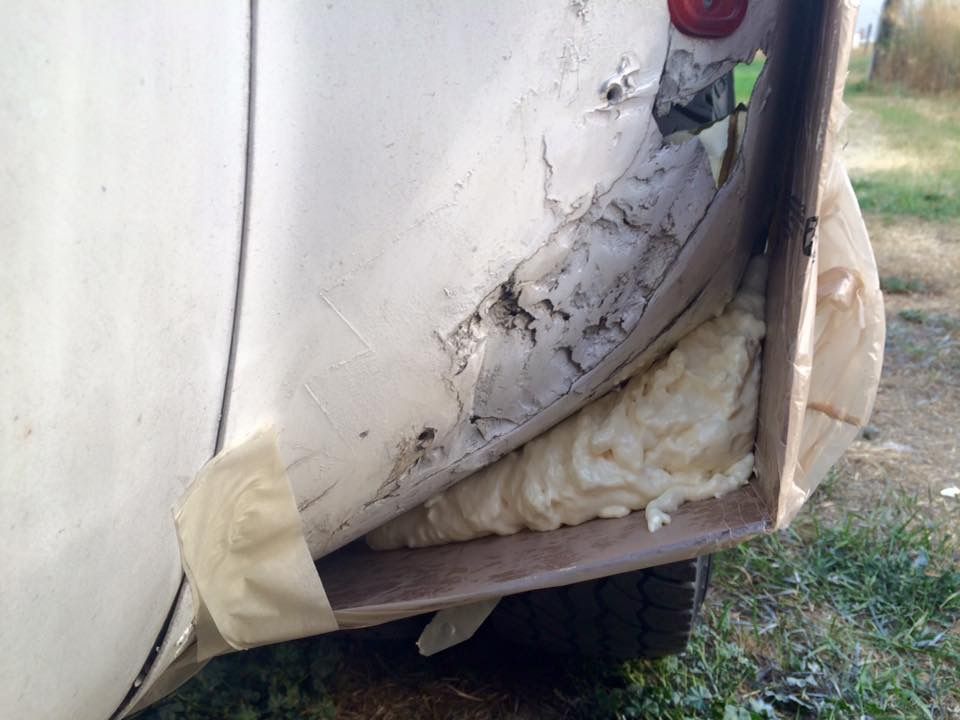 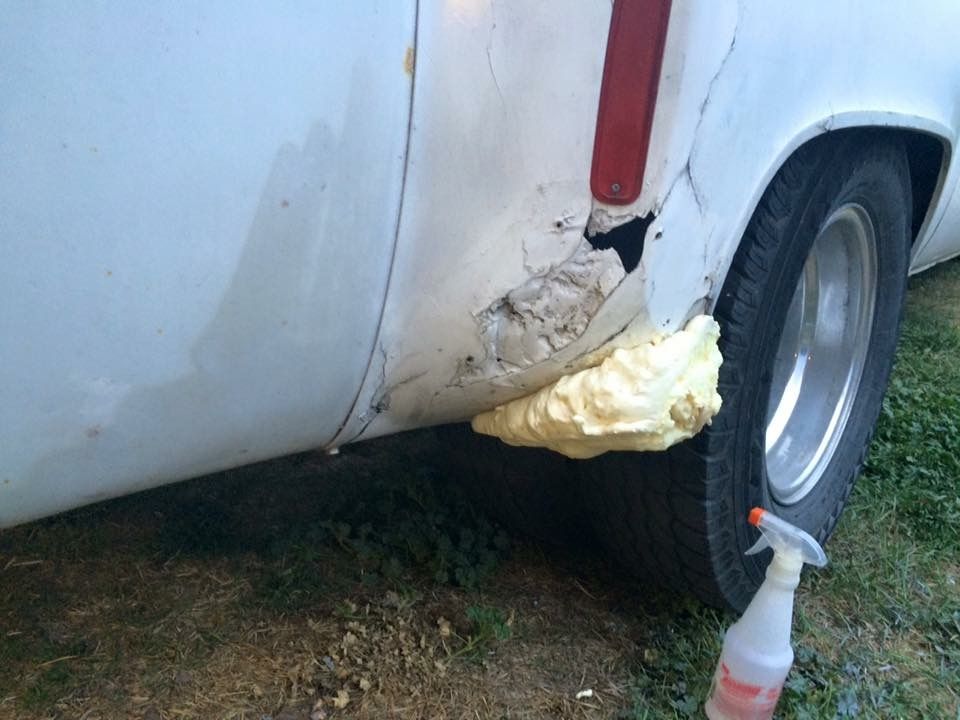 Then I carved it with a loose hack saw blade until I had the form I needed. 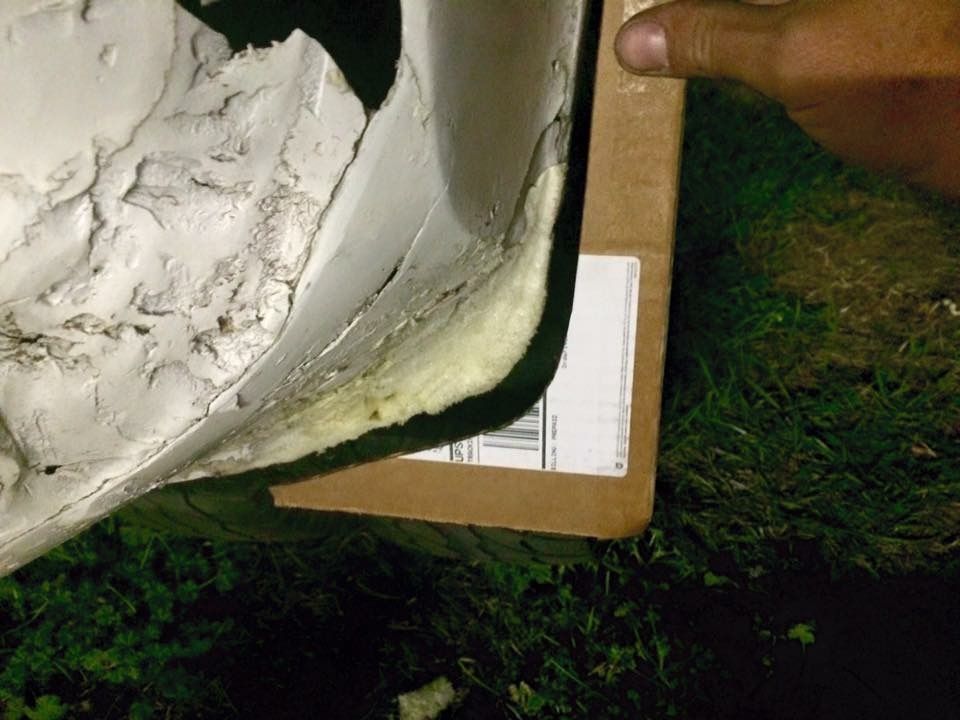 And covered it with fiberglass mat and resin... 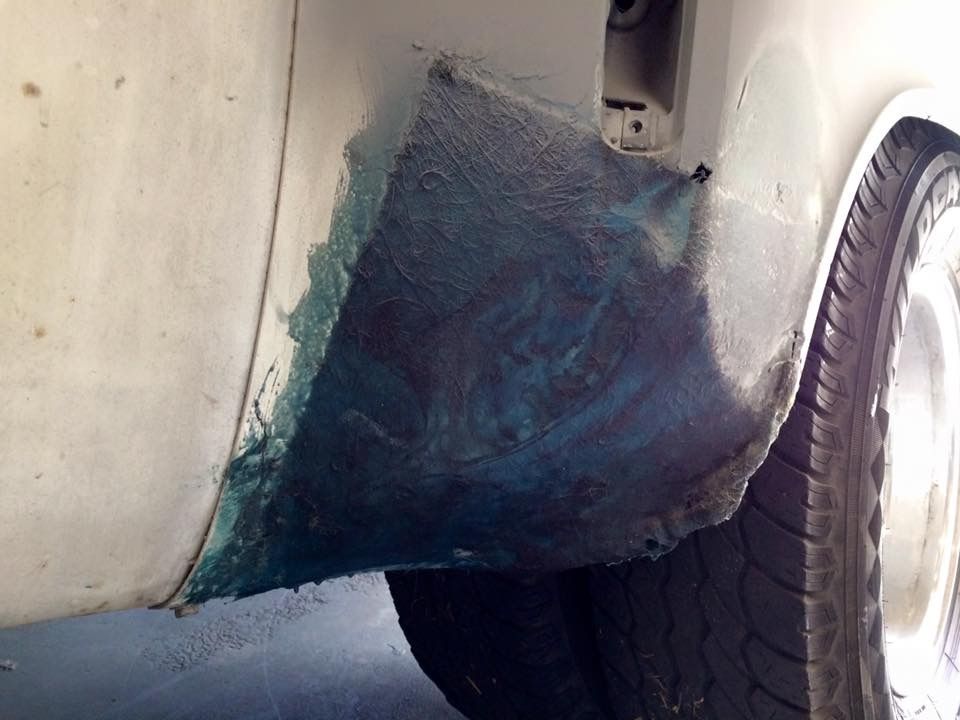 A little additional build up with kitty hair and filler and it came together. 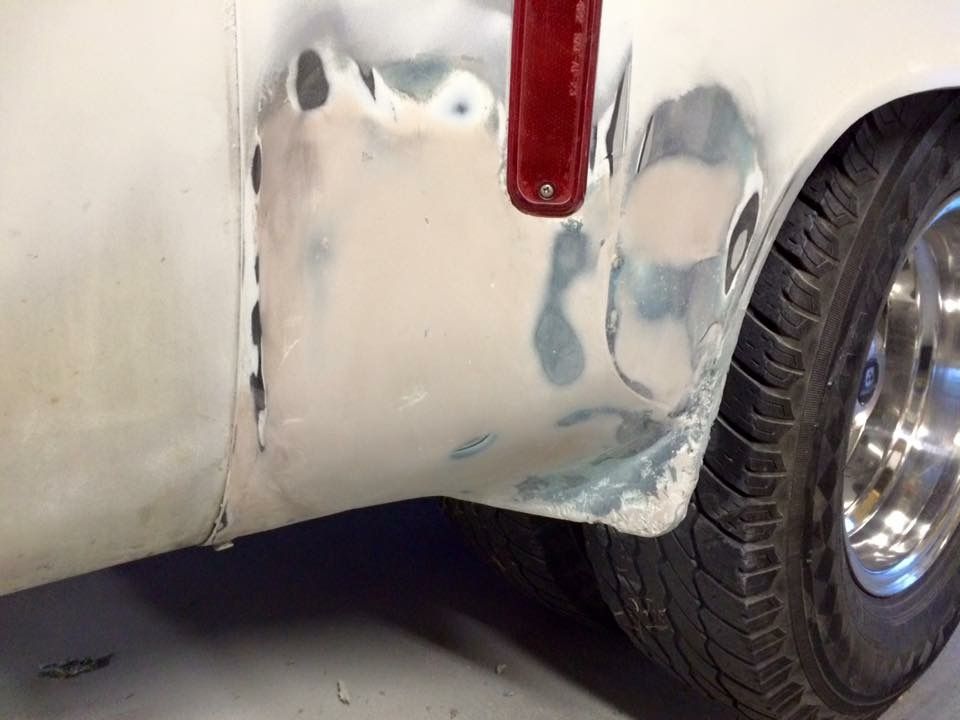 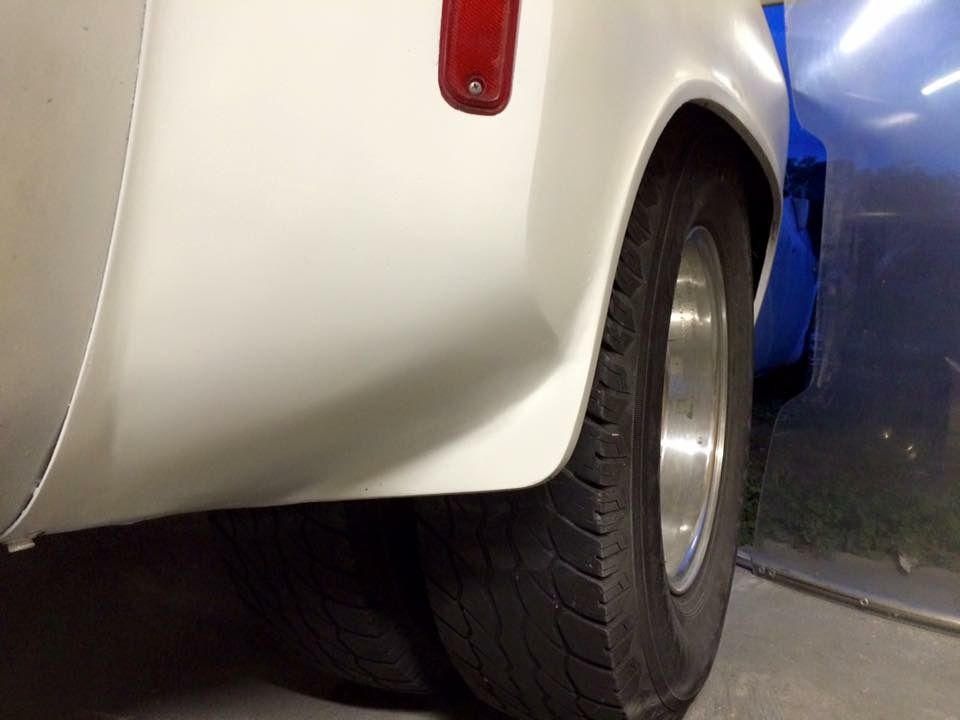 A couple weeks ago I got a little crazy and ordered a bunch of this ****... 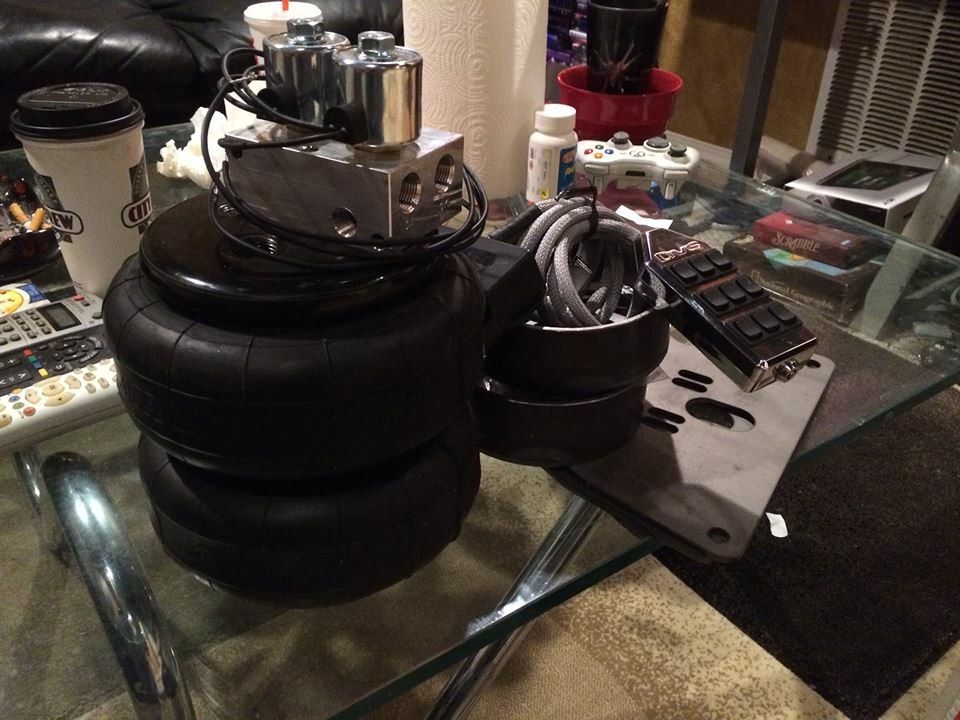 I'm just getting started today on my front end. I grabbed some 8 5/8" schedule 40 pipe and burned some 1/4" plate to the bottom. I'll be dropping the lower arms out shortly to cup them. 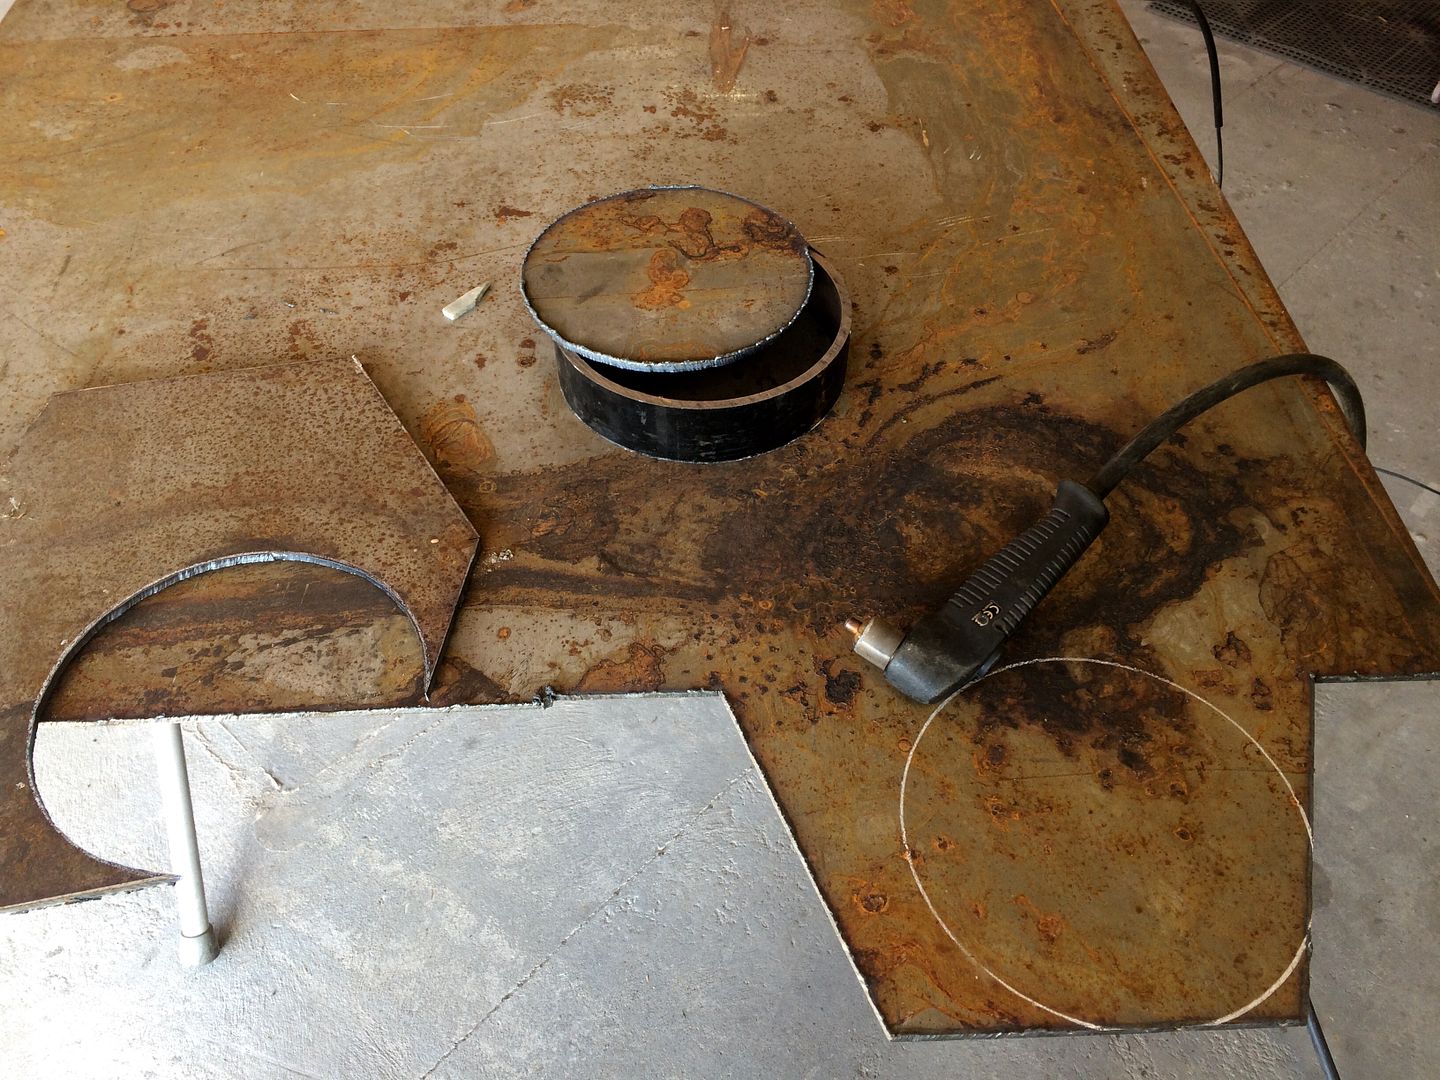 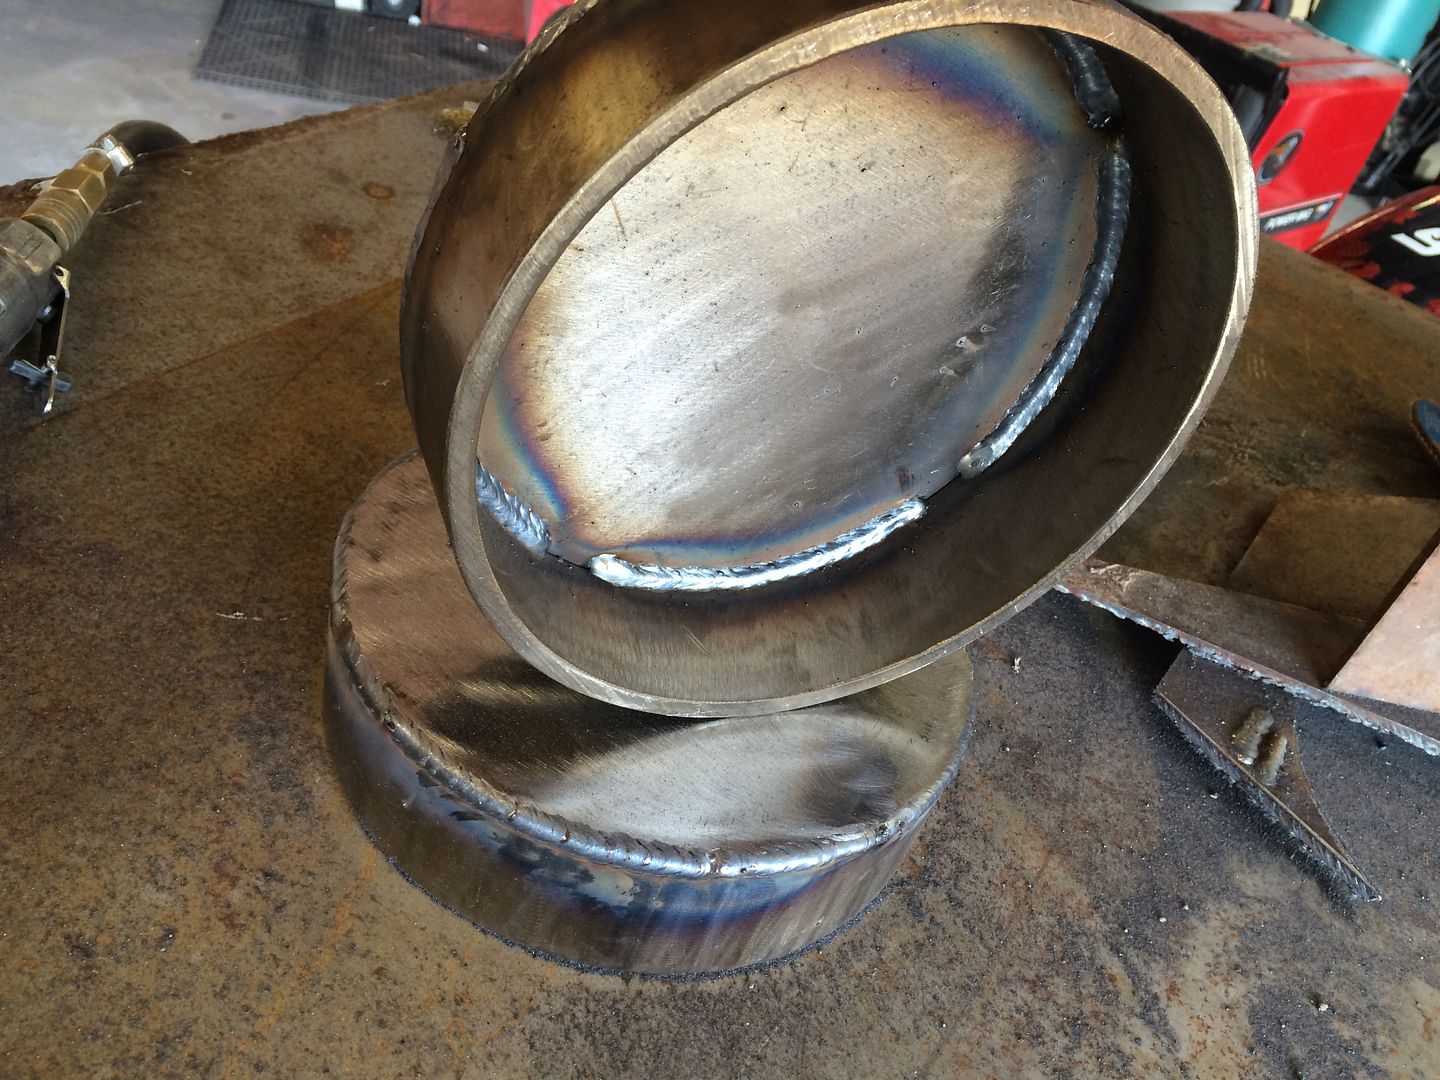
|
|
|

|
| Bookmarks |
| Thread Tools | |
| Display Modes | |
|
|