
 |
Register or Log In To remove these advertisements. |
|
|
|
|||||||
|
|
Thread Tools | Display Modes |
|
|
#16 |
|
Registered User
Join Date: Nov 2014
Location: Oakland, CA
Posts: 114
|
Re: Kell's Two Cents - 1946 build
Alright whats up fellas... I had promised an update after Labor Day but I ended up getting back into town Monday night instead of Sunday night like I had planned so I did't get the full day on it like I was looking forward to. I finally got over there tonight though and had a chance just to get reacquainted and reprioritize my To-Do List, and this Sunday I'll be getting a solid day on it as well.
I did get a couple hours on it tonight though and got a couple photos, so I want to update on the wiring a little bit As stated before, I went with the American Autowire Route 9 kit, which is just a really stripped down basic kit, but they hook it up and give you a really high quality, complete set up that makes it easy to wire. Their instructions were the best I had seen online, and the two times I called the tech line to clarify some decisions I was making they were totally cool and extremely helpful. I gathered up all the paper work I had filed away on any wiring components I had purchased and I set to work First off, I set aside a lot of sustained time to complete this part of the job and I am so grateful that I did as it made all the difference. I wouldn't say it was more work than I expected it to be, or even more difficult than I expected it to be, but trying my best to be meticulous with wire routing and bundling, and trying to get the whole thing to come together as cleanly as I could was so much more time consuming than you could imagine. Trying to do this under pressure would have just totally pissed me off and would have made for a frustrating experience, but with time set aside it was actually pretty fun getting as particular as I could muster and zoning in on it. That being said, I still ended up with a few minor things that I think I would have changed if I were starting all over again. I put everything under the dash, but for some reason I thought it would be cleanest bunching all of my components really close together... So then after mounting the fuse box, the battery distribution block, the fan relay, the horn relay, then running all the wiring, it was all so close that it really made that area look congested. I think spacing things out and planning for that aspect could have helped clean it up a lot One thing I was frustrated about with the kit itself was that I knowingly bought it in part because it had a 30 Amp fuse for the Heater/AC, and being that I wasn't running either of those, my electric fan called for a 30 Amp fuse, so I just thought that was perfect. After talking with the tech line though they basically said that they really don't recommend that I run it like that and that that much of a draw could damage other parts of the fuse panel connected to the same bus on the inside, etc, etc... So I figured I had a slam dunk but instead in my already congested area I was pushed into having to add a 30 Amp inline fuse between the battery distribution block and the fan relay. I spent a lot, a lot of time organizing the wiring and I think my diligence paid off as even if it's not perfect, I might fool a couple people with how tight and clean the rest of it looks. I bought a decent pair of Irwin wire stripper/crimpers and I used a lot of heat shrink connectors. At the end of it all I had very little trouble shooting to do and it all pretty much worked out 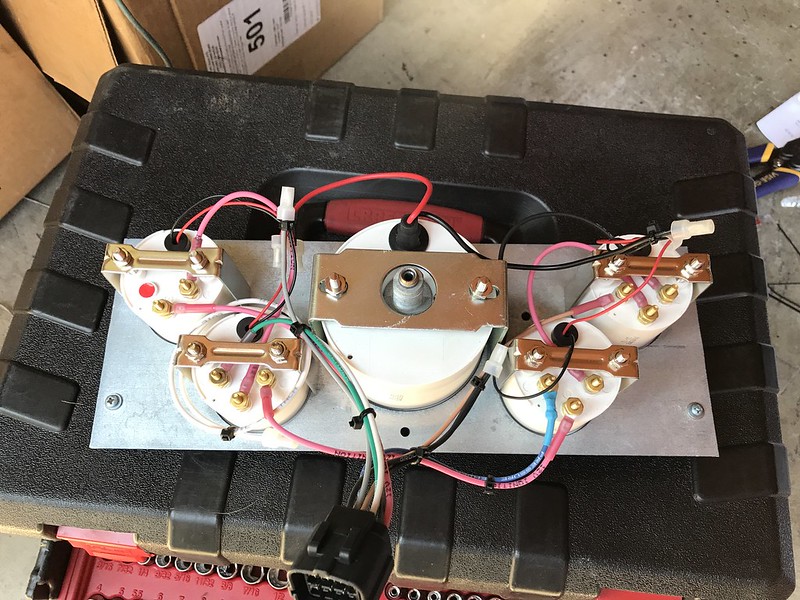 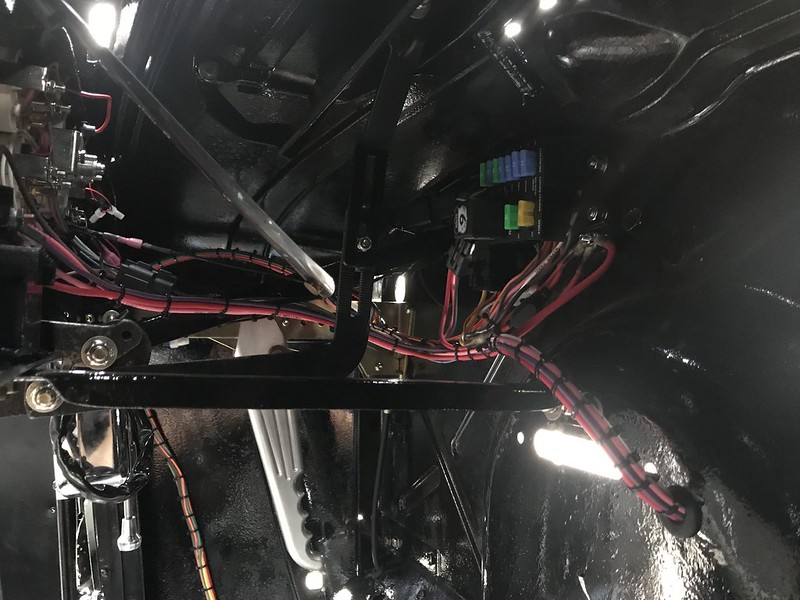  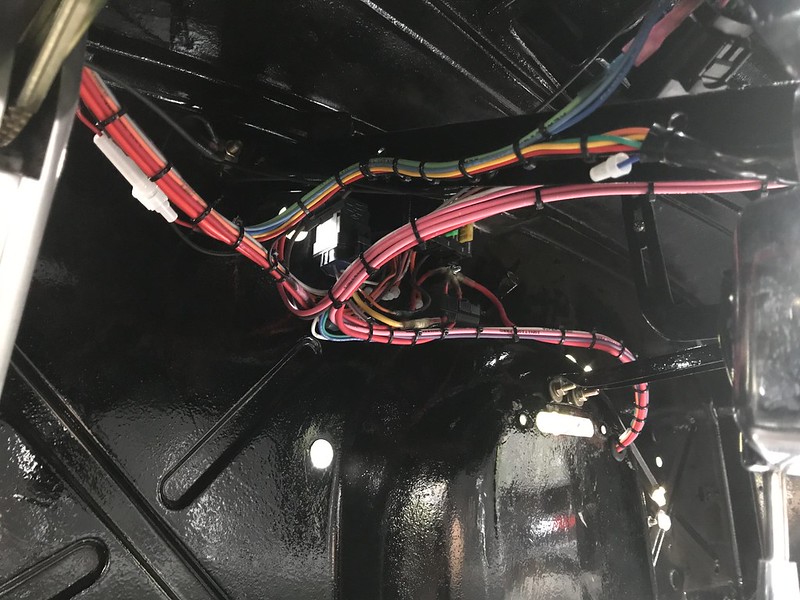  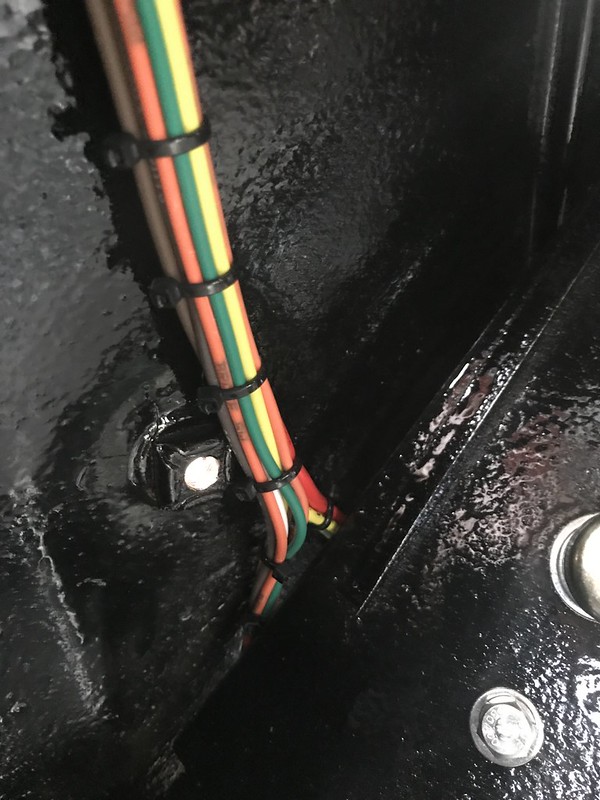 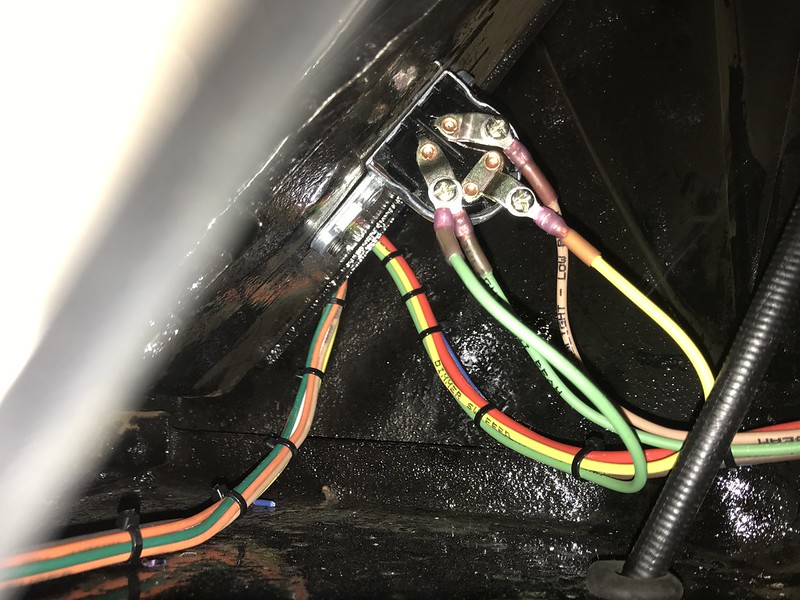 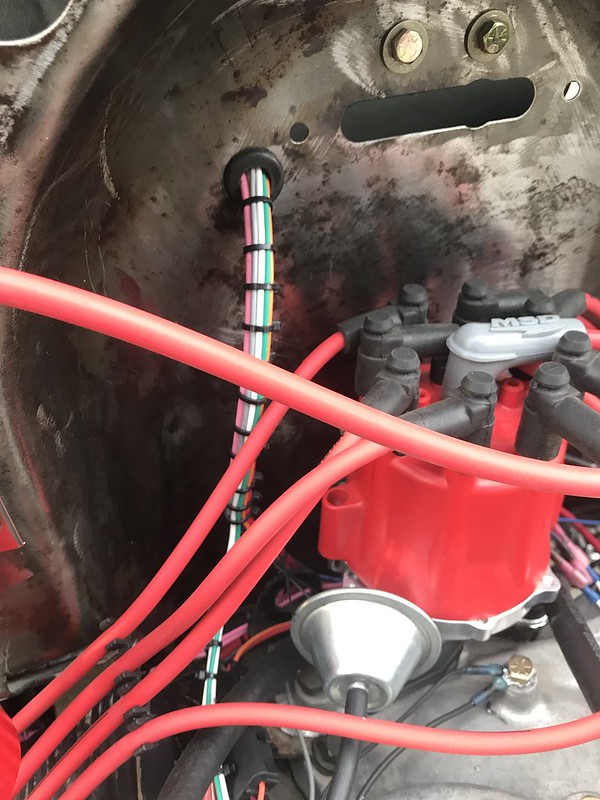
|
|
|

|
| Bookmarks |
| Thread Tools | |
| Display Modes | |
|
|