
 |
Register or Log In To remove these advertisements. |
|
|
|
|||||||
|
|
Thread Tools | Display Modes |
|
|
#1 |
|
Registered User
Join Date: Dec 2012
Location: Rochester, KENT
Posts: 10,606
|
79 Blazer 2WD Front end torque settings??
Hi all,
Managed to strip and replace most of the front end service items on my 79 Blazer over the weekend. Does anyone have a simple chart of reference page to get all the torque settings for the front end. Mine ended up looking like this and then back to normal with nothing torqued down. So we continued to dismantle, clean, strip and swear from time to time. (I do most of the swearing, @PaulY jut get on with it) The amount of dirt stuck to this truck, possibly the same as most or many other 40 year olds is staggering, possible a good rust preventative though. Both sides torn down. 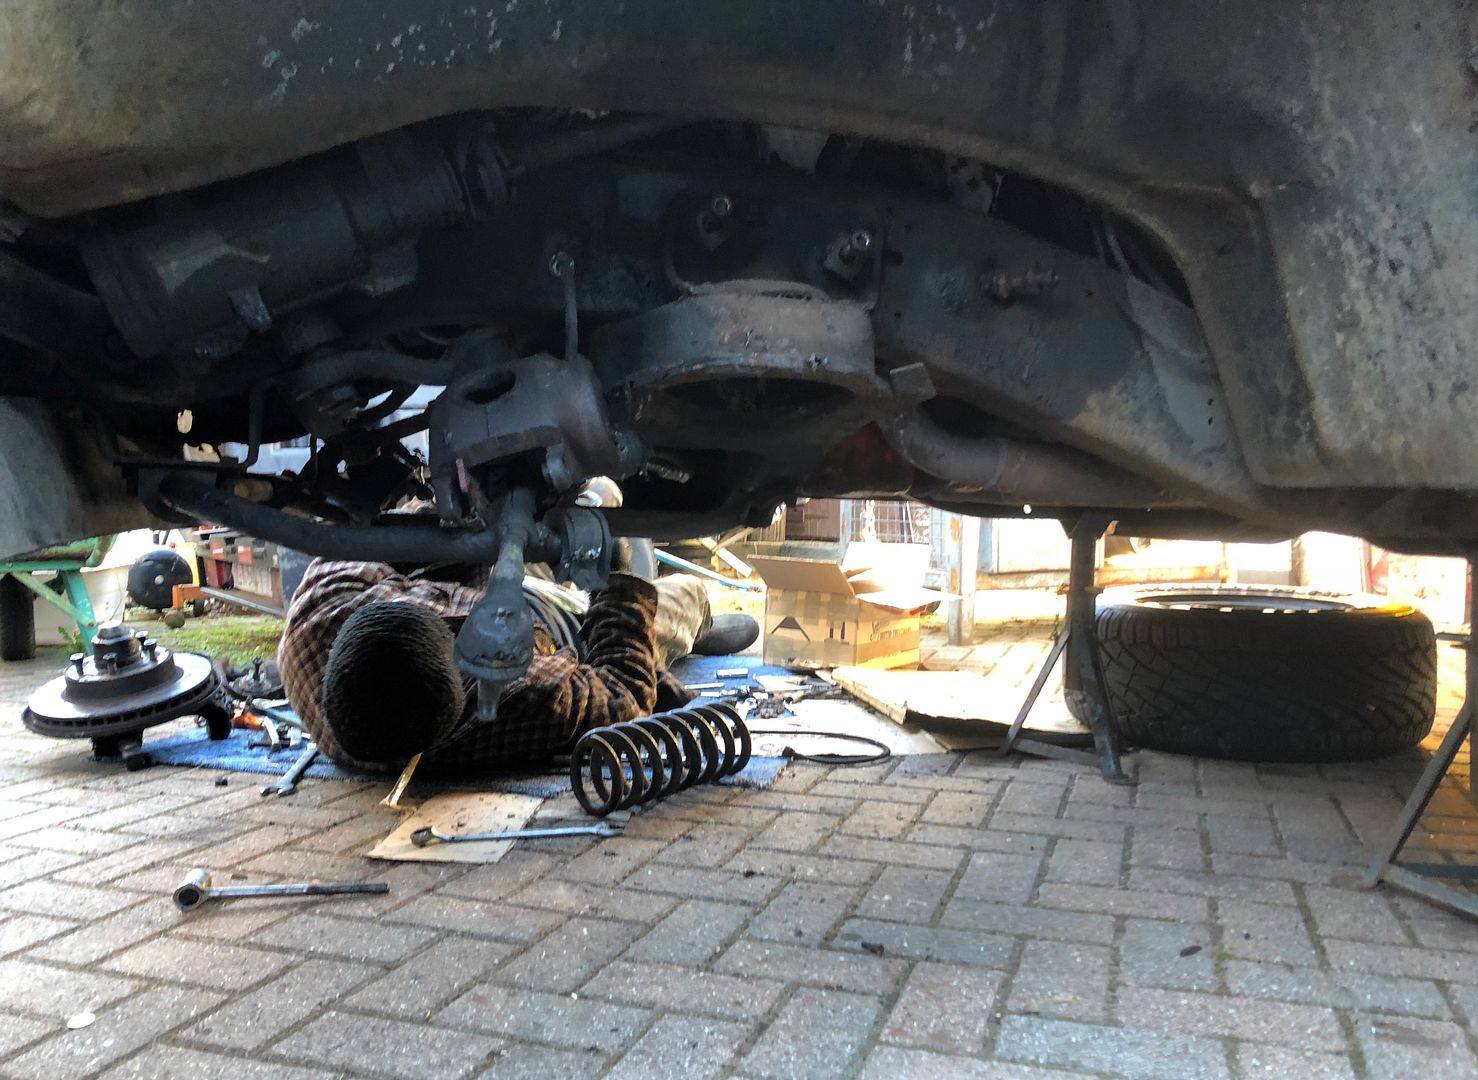 Next job of course was to clean, service and refit new parts to the Control arms. 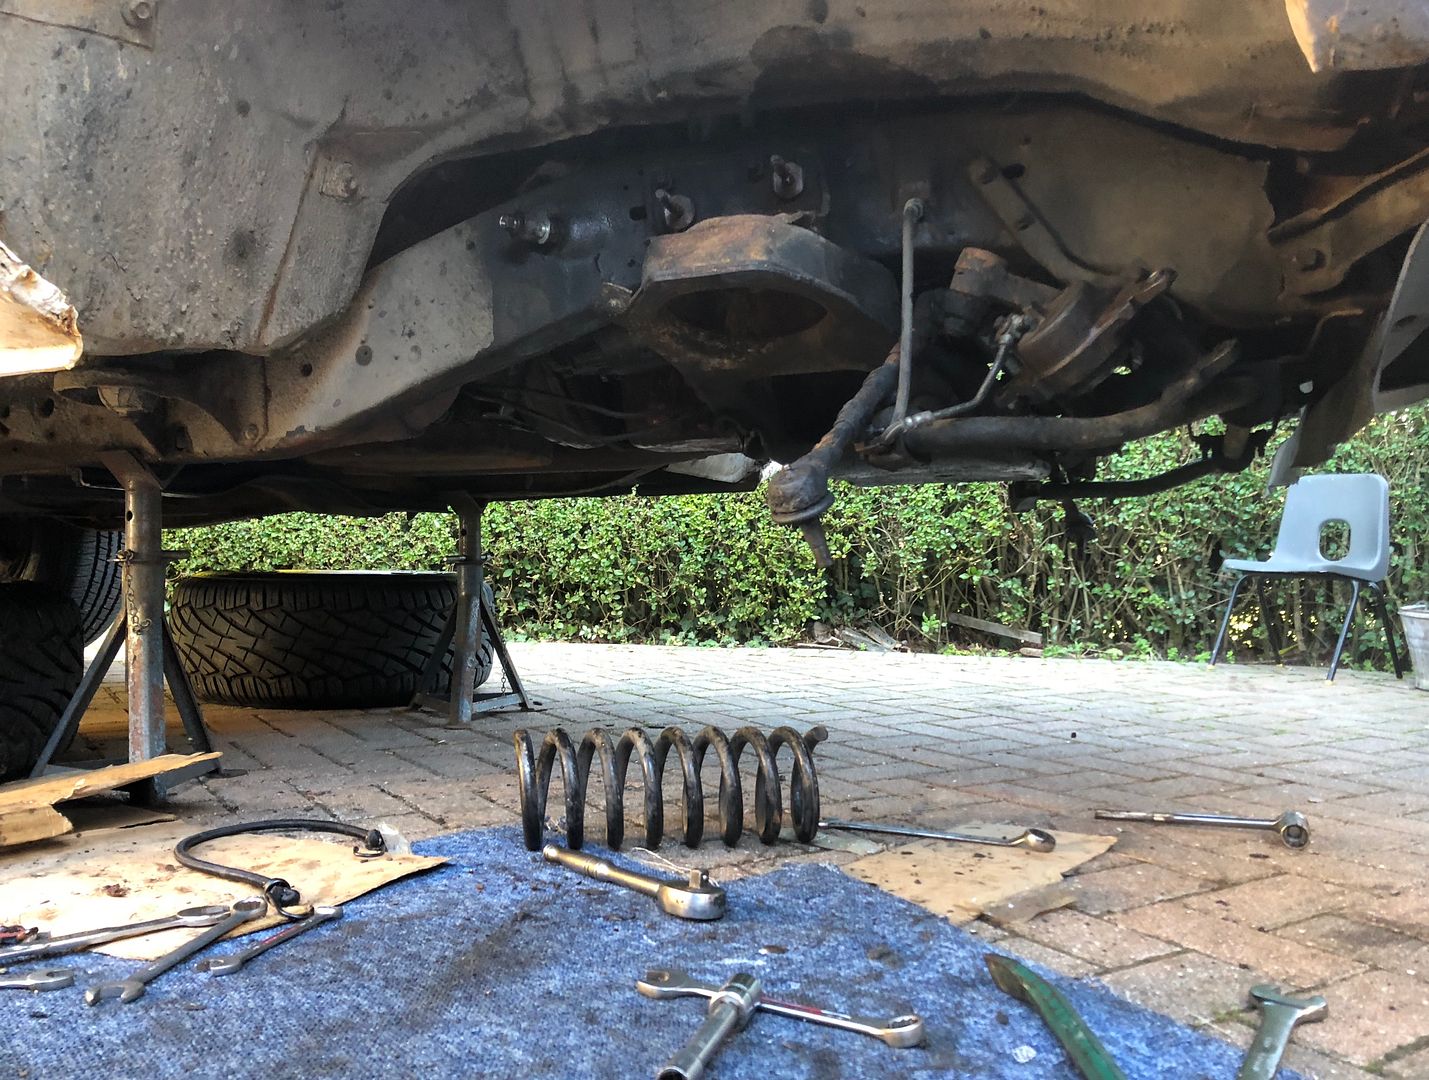 The springs removed form the truck were as impressive as any that had been torched before. Useful only as ballast when weighing something in. Take a good look. Before you burn them. Measuring 11 inches. 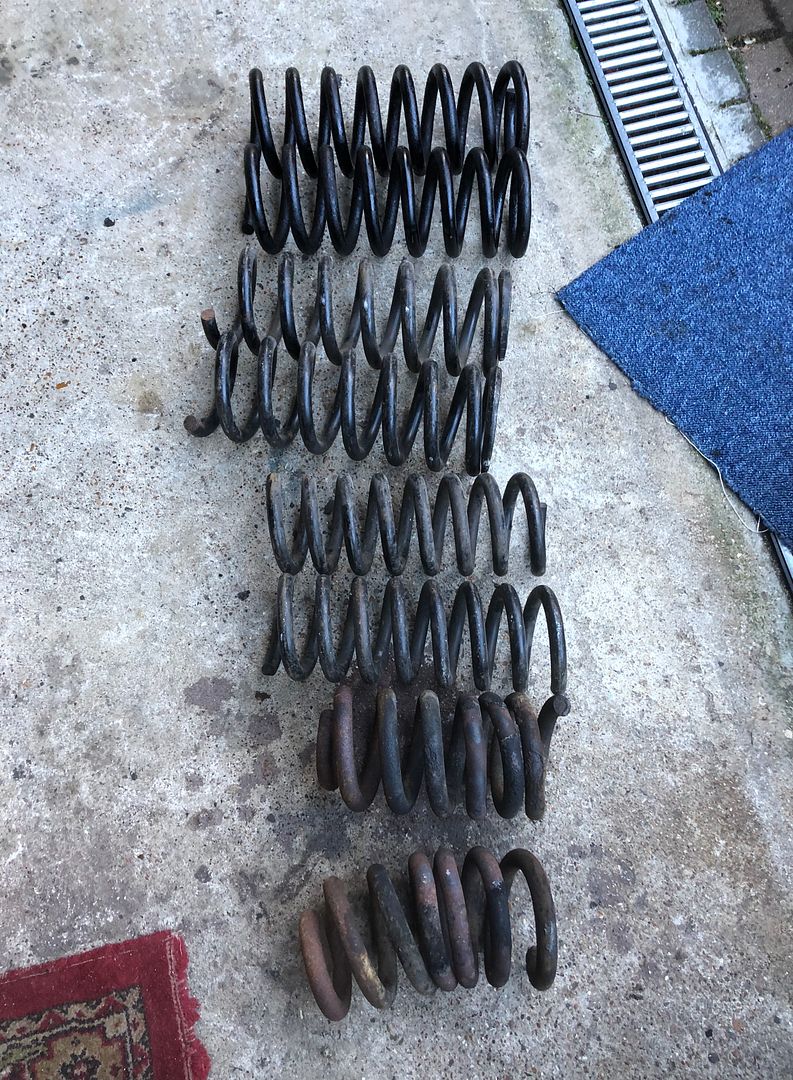 So a new pair were selected from the pile, and measured, offered up and then Dr Bosch Grinder came in. Surgery. 13 inches saved to be fitted. Happy. 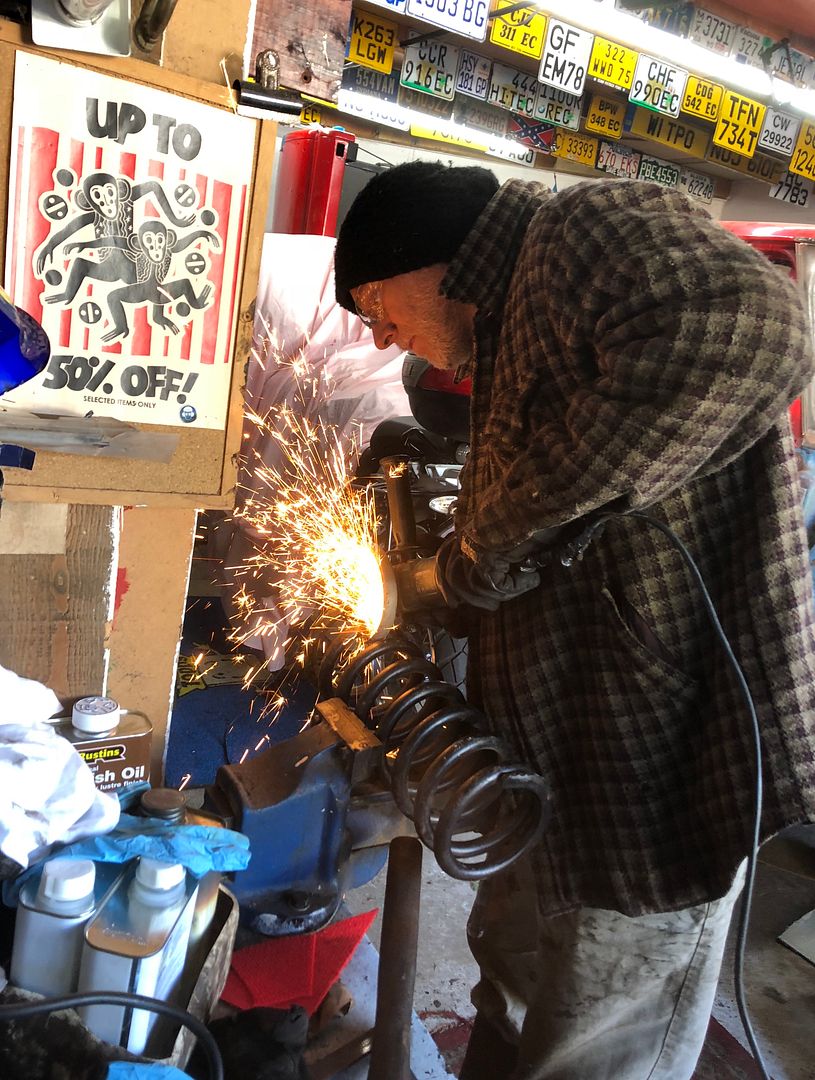 The next big job was a YouTube research job...... Easiest way to remove the 40 year old swing arm bushes. Dr Bosch Drill to theatre. Bench mounted, a few large drill bits sacrificed Two per swing arm = 8 total. 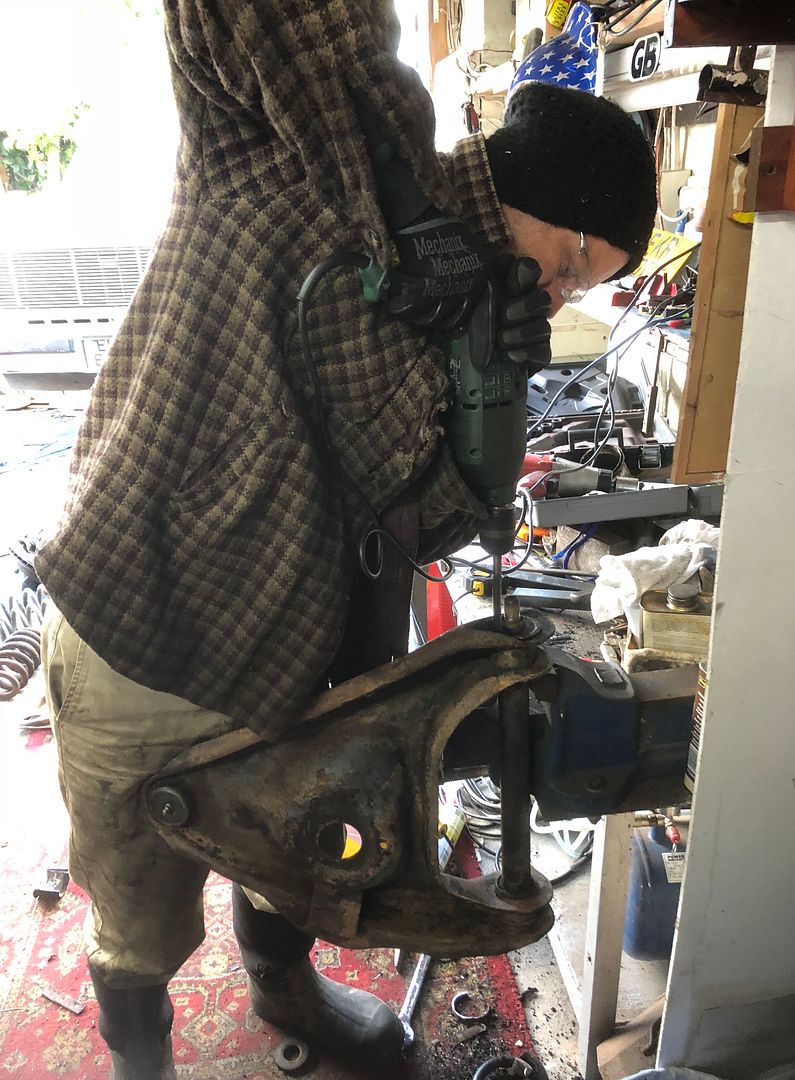 Followed by Mr Press. This tool, belonging to @PaulF was the most sensible thing to bring to the party. Not always easy to use, needed loads of small custom pressing pieces made through the day, each taking time, and finding the right materials being a pain too, it worked a treat. 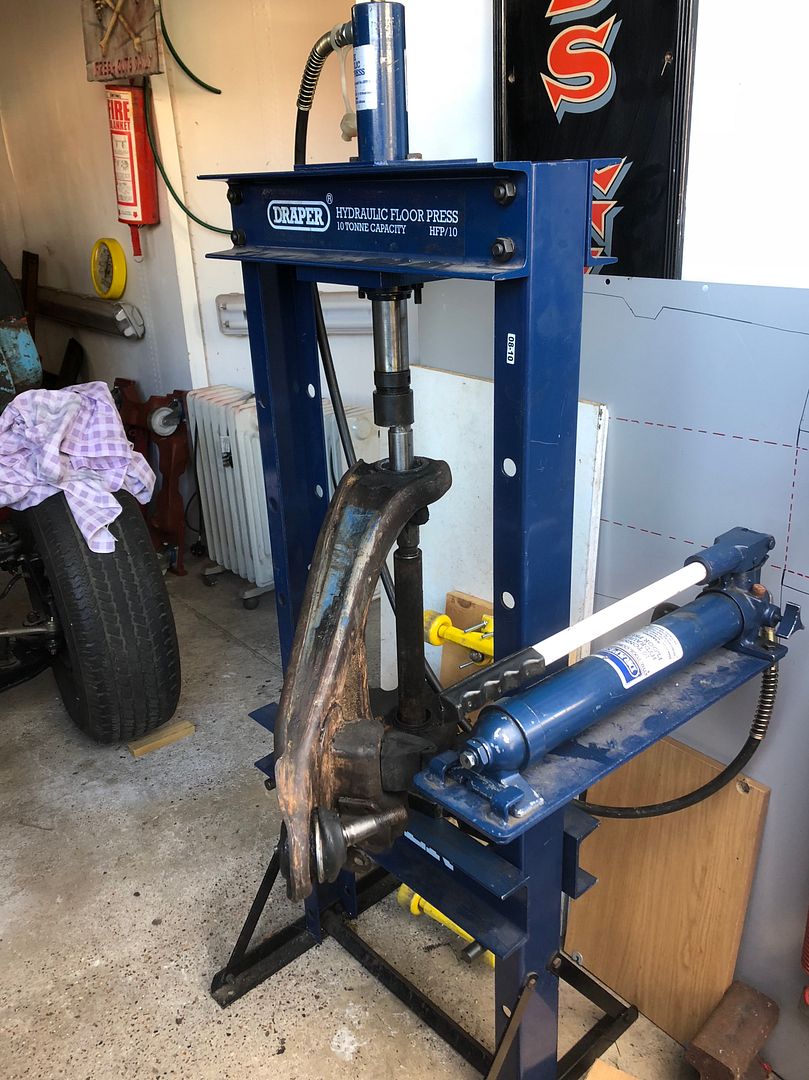 New brake shoes added while the front end was dismantled. 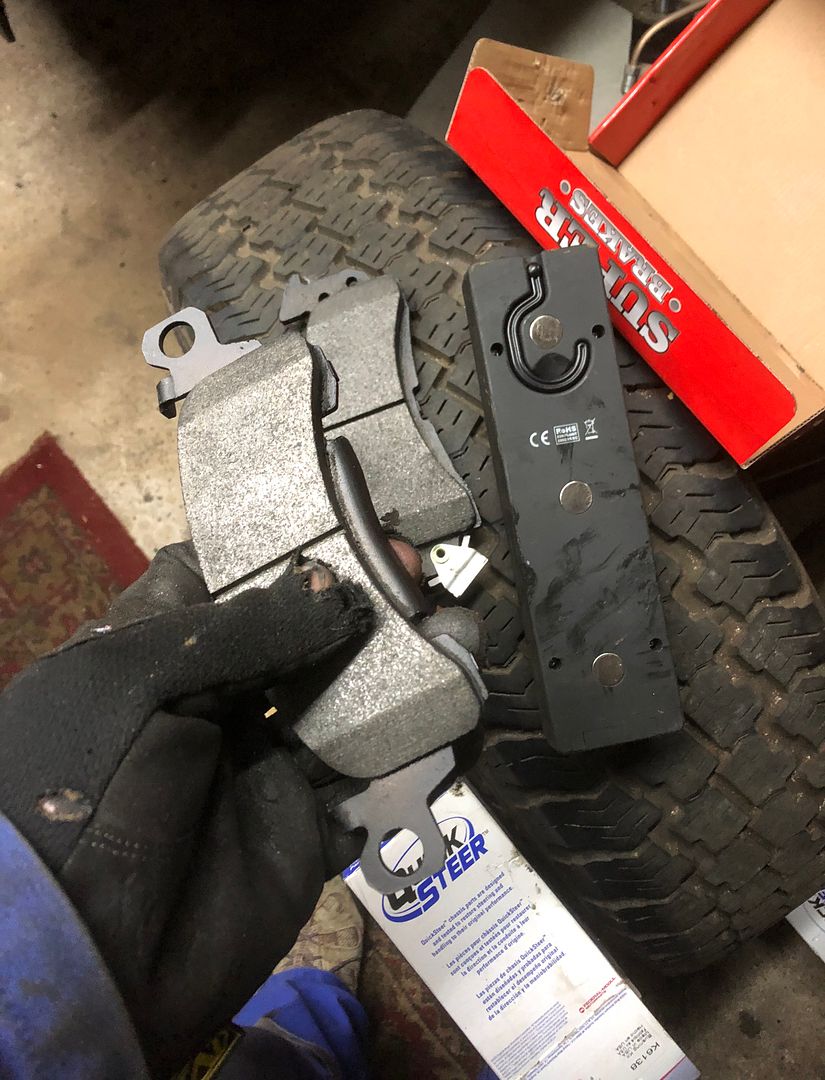 As we got busier and time drained away, I took less photos. Needles to say, once the old bushes were removed and the new onceís pressed into place, often necessitating restarts the Ball joints were removed, replaced and then I took each piece out to a tree, hung them and painted the fresh metal in underbody sealer, getting a lovely uniform and clean look. By 8.30 Paul had completed the reassembly, I still need to go back to torque up everything, change the position of the passenger side lover swing arm arm as it seems to have escaped the locating points. Brake on passenger side needs bleeding. Then I need to do the steering or tie rod ends, as we ran out of daylight and ambition, the cold is a killer. Finally I also need to remove and replace the existing front wheel bearings. Tired but happy, we closed shop at 8.30 Sleep was a problem for me, netting a total of three hours, and then awake for 4 hours, followed by another hour. Today it was rain, wind and 5íC all day, so I decided to go shopping for food, paint and Silver Hammmerite for the wheels once the sun returns. This afternoon I popped down to the garage to check the height and get a pic of the new height. A sure sign of us being tired toward the end. 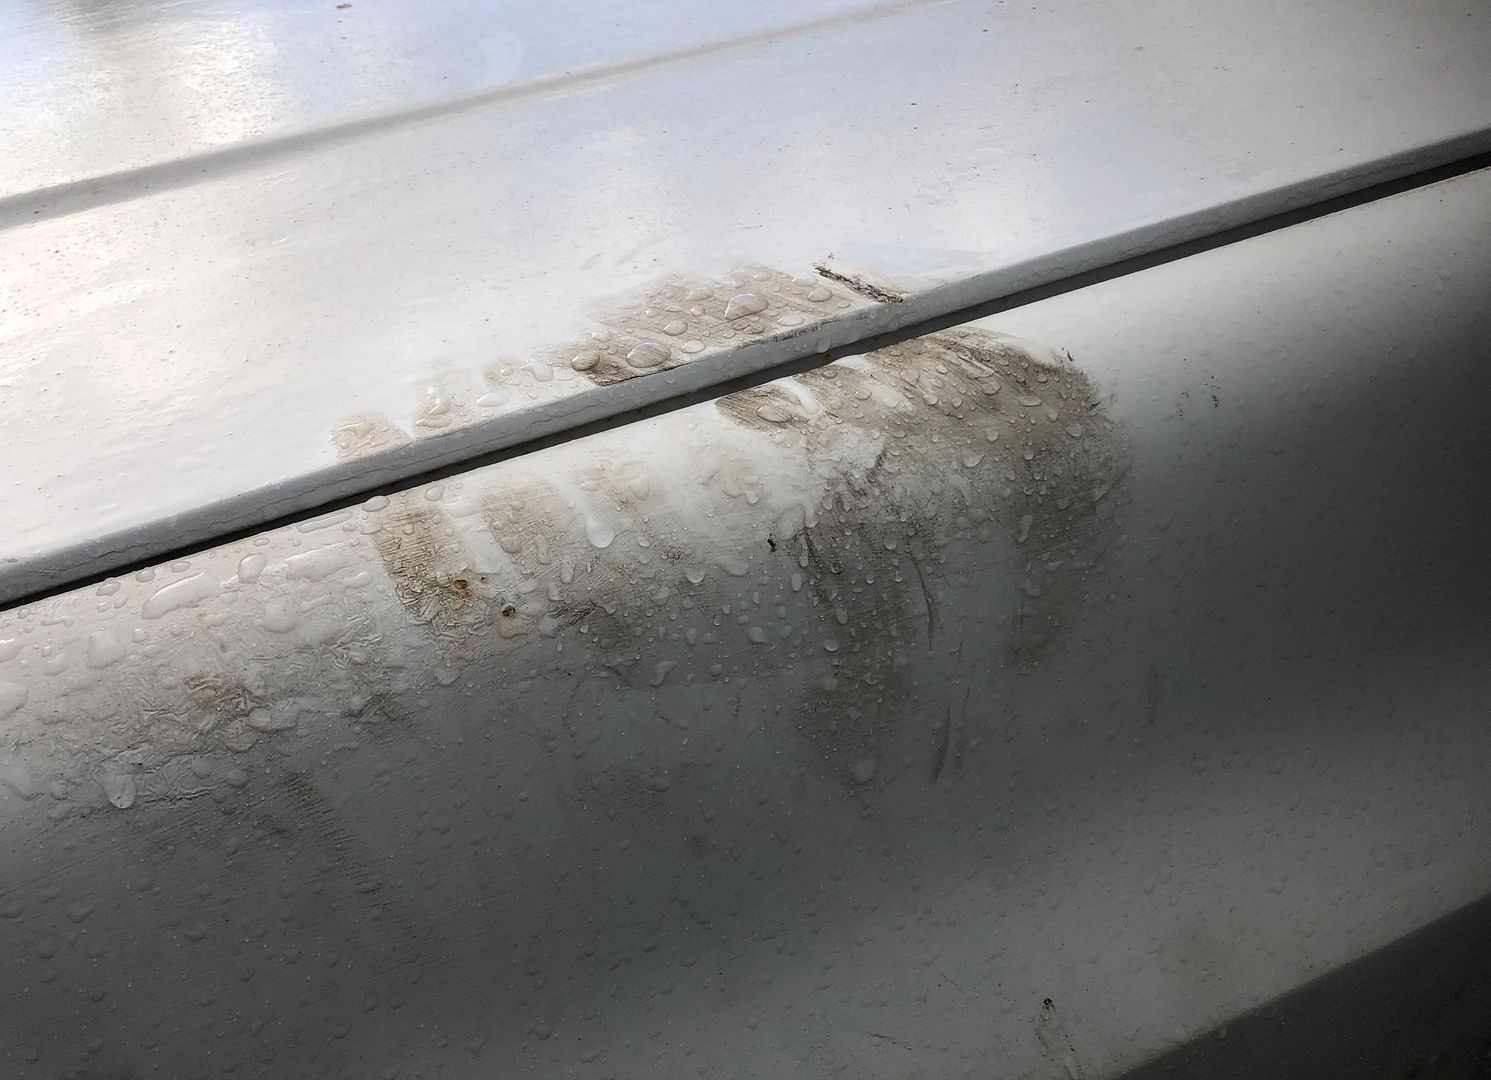 Front end came up 35 mm Looking a load better, rear seems to have gone down a bit, 5-10mm 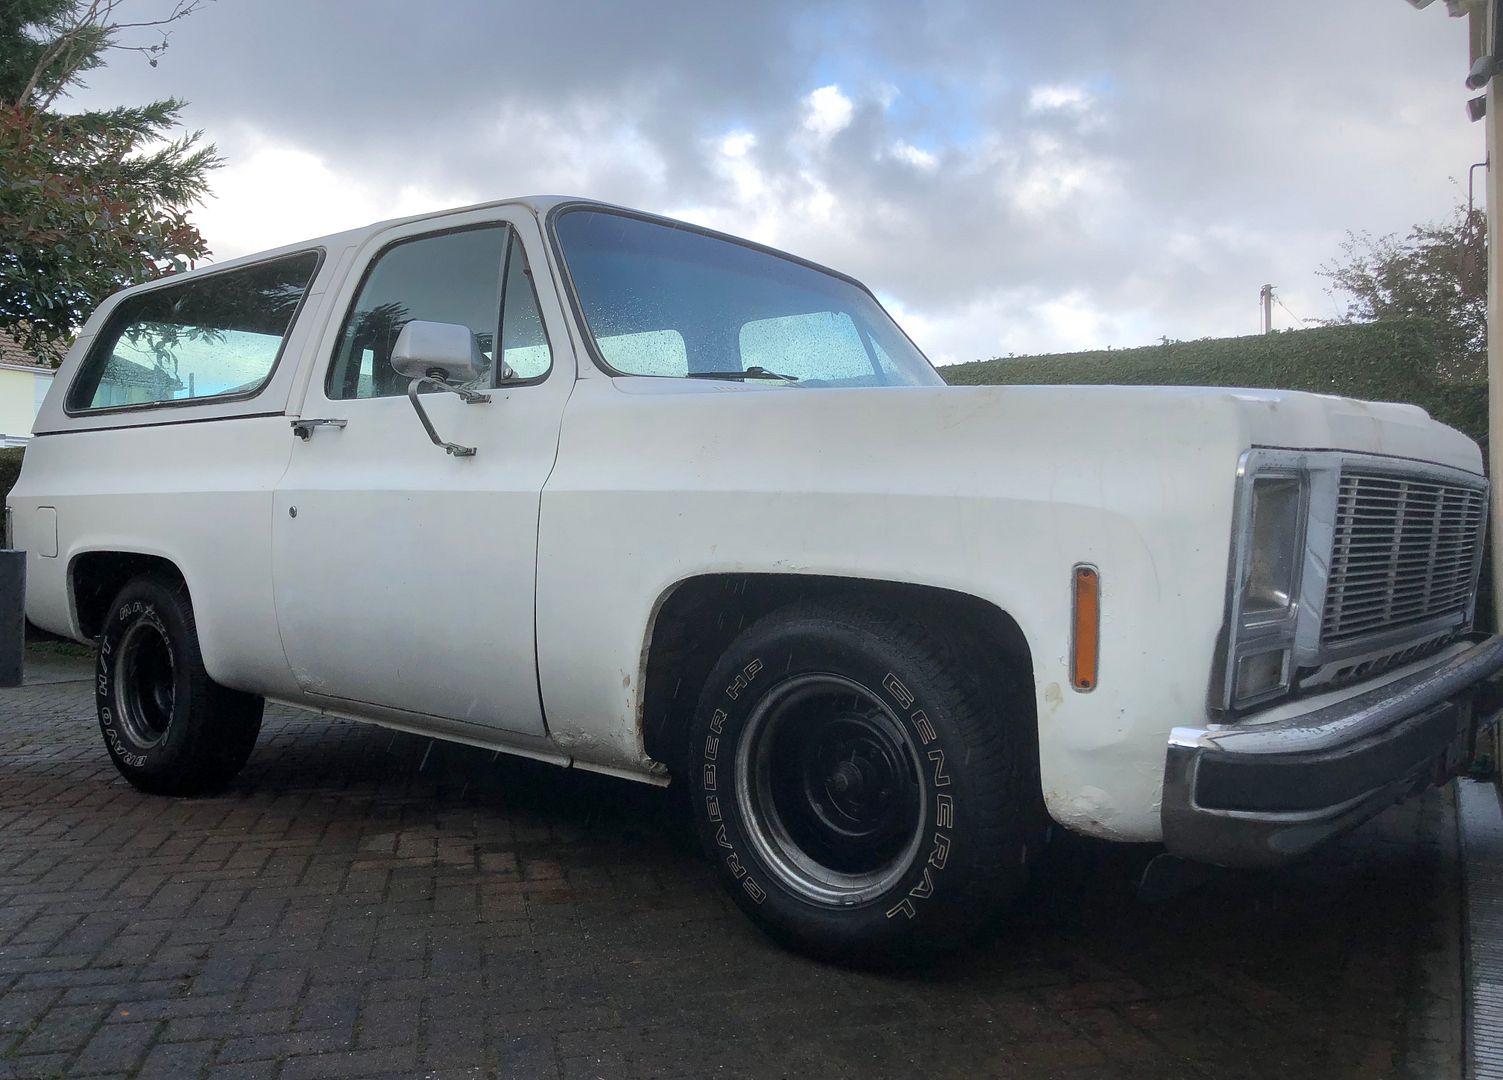 So there you go. One step closer to an MOT submission. Thanks for checking in and making your comments all.
__________________
MY BUILD LINK: http://67-72chevytrucks.com/vboard/s...585901]Redneck Express - 1966 C10 Short Fleetside MY USA ROADTRIPS http://forum.retro-rides.org/thread/...2018-humdinger IF YOU CAN'T FIX IT WITH A HAMMER, YOU'VE GOT AN ELECTRICAL PROBLEM MATE. |
|
|

|
| Bookmarks |
| Thread Tools | |
| Display Modes | |
|
|