
 |
Register or Log In To remove these advertisements. |
|
|
|
|||||||
|
|
Thread Tools | Display Modes |
|
|
#1 |
|
Registered User
Join Date: Sep 2010
Location: Albany, Oregon
Posts: 66
|
layed out 67 swb project M.A.C.
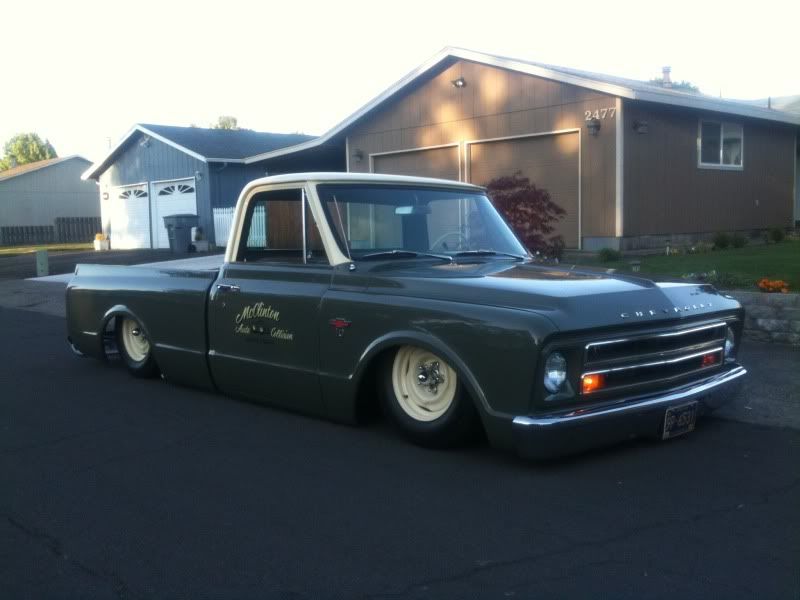 As a classic car enthusiast and a body man/painter with access to a family owned body shop Ive been very privledged to own some very cool cars for a 22 year old guy. After recently completing a pretty legit 72 chevelle, I didnt imagine I'd be getting in to another project as soon as i did. While assisting my good friend chris in helping retrieve a short bed for his 66 c10, I spotted an immaculate 67-72 short bed at the top of a large pile of cars stacked on each other. After inquiring about it I got the news we could have the pair of beds for an unbelievable deal. $240.00. With that being said we couldnt get the things loaded up fast enough. And at this point my latest project has begun. I brought it home and my wheels were turning... I couldve been a little more patient at this point but I was too excited so the following day I drove back to where I had boughten the bed and bought a pretty rough 67 long bed truck without a bed.. no engine, tranny, etc... It was a place to start I suppose and it had a clean title and a vin#. My initial plans were to build something that was straight and clean but more of a driver, something I could drive daily and get bark dust in. I brought the truck home to my garage and started going at it. Also to be noted is that my roomate is a full blown fabricator with a great deal of experience building sand cars and anything from tubing. With my autobody skills, his fabricating skills, and the flexibility of the family business as well as the access to parts and materials next thing you know A full blown custom, z'd, bagged, linked, billy bad ass project is under way.. I took pictures all along the way with my iphone this has been about a 9 month project and here it goes.. I hope you all like it. 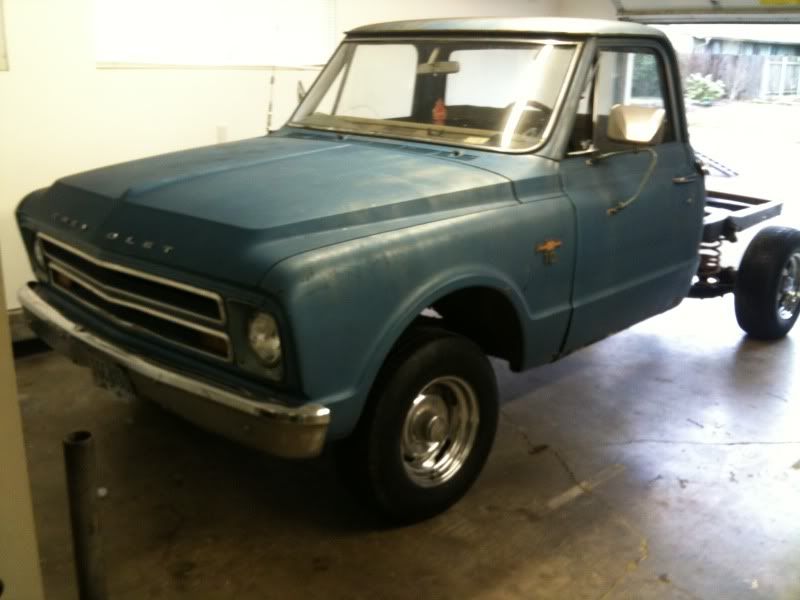 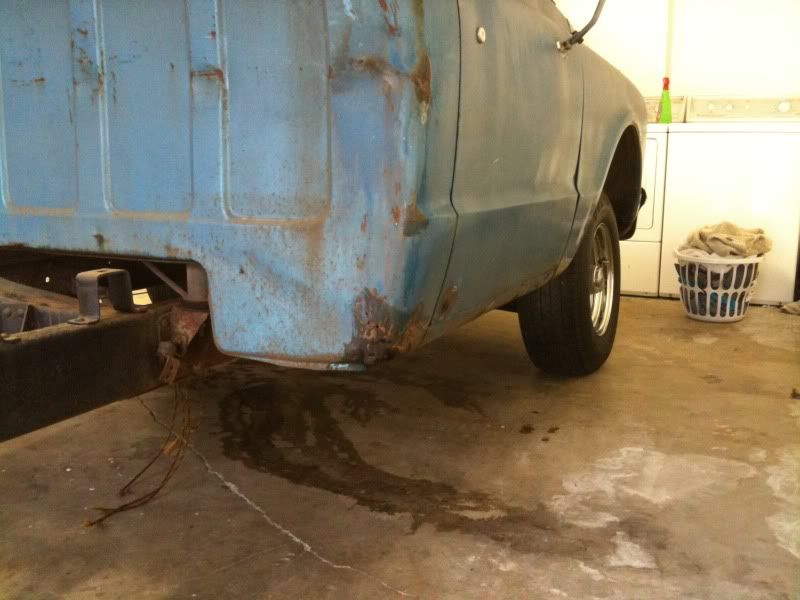 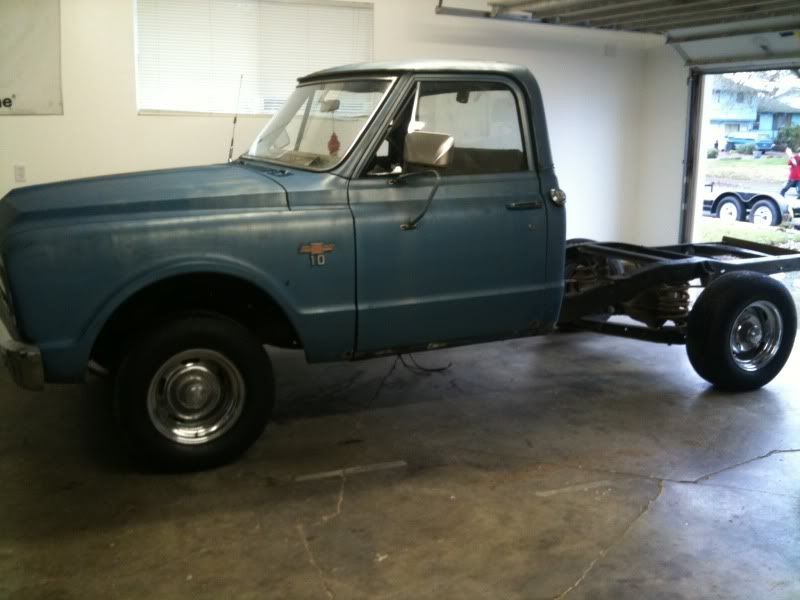 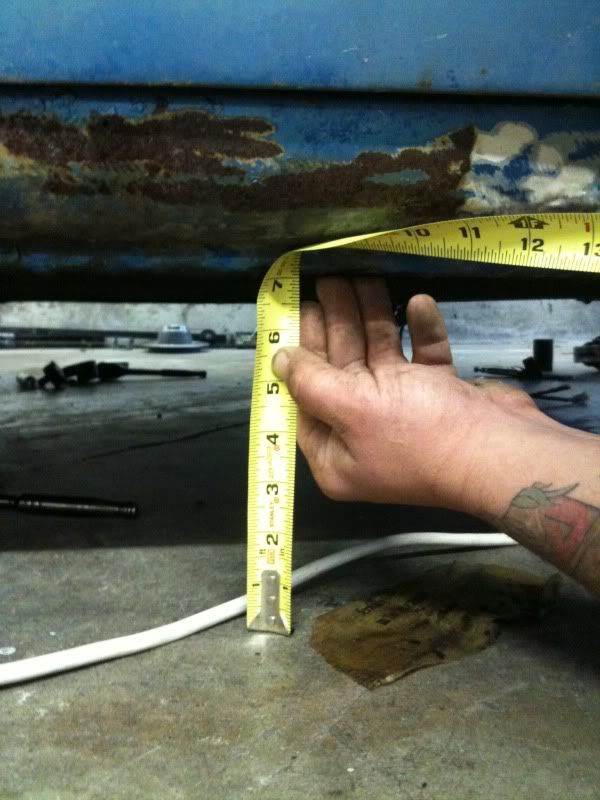 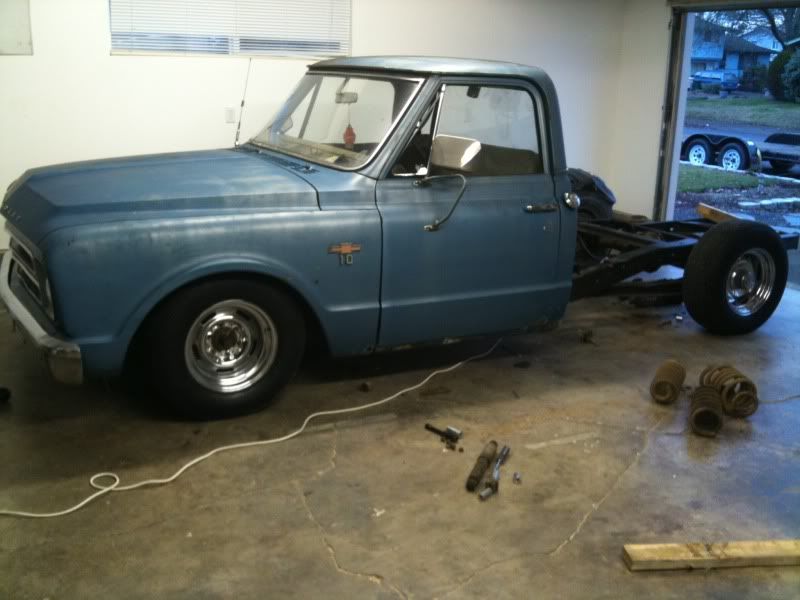 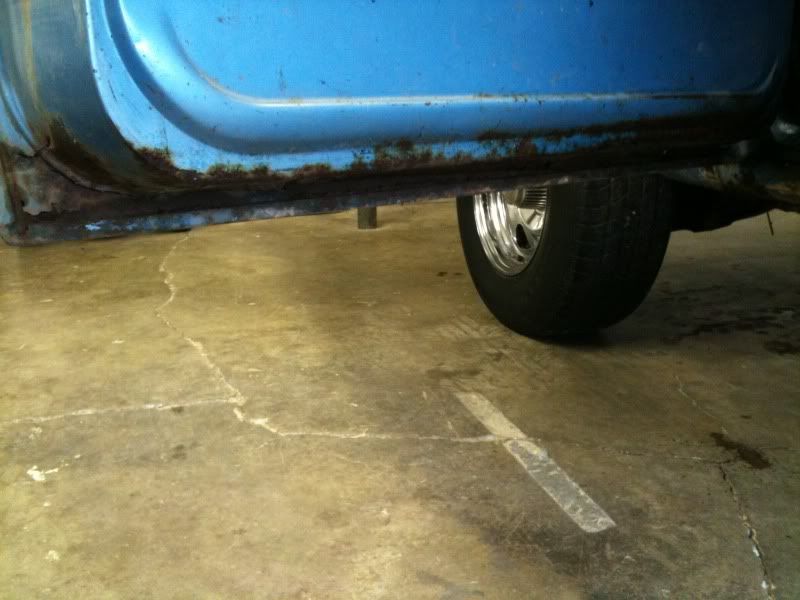  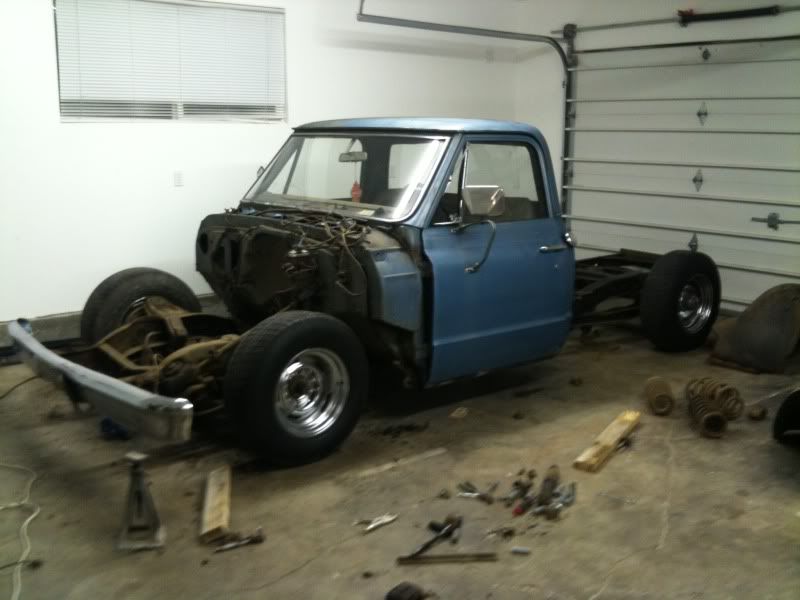 as you can see the truck i brought home isnt great. typical rotted cab corners rockers even drip rails. Later on during the build I end up finding a much better cab at a salvage yard and scrap this one. 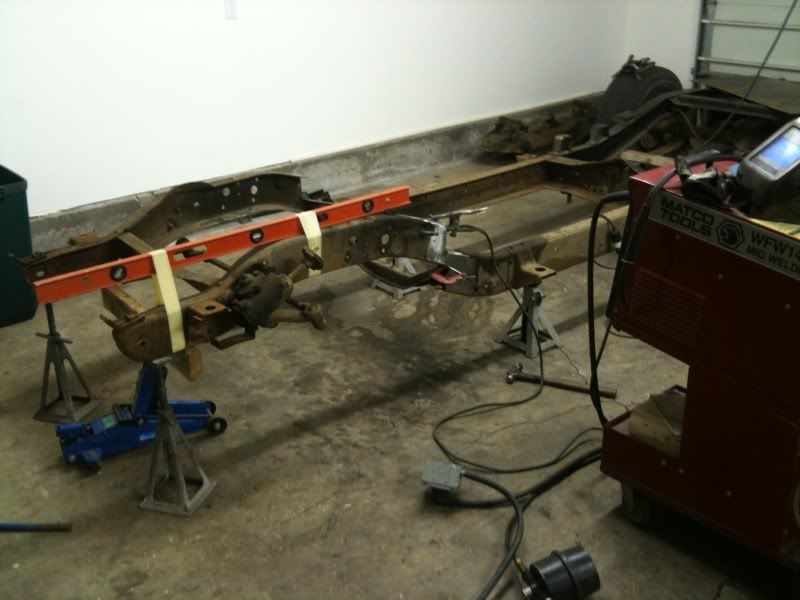 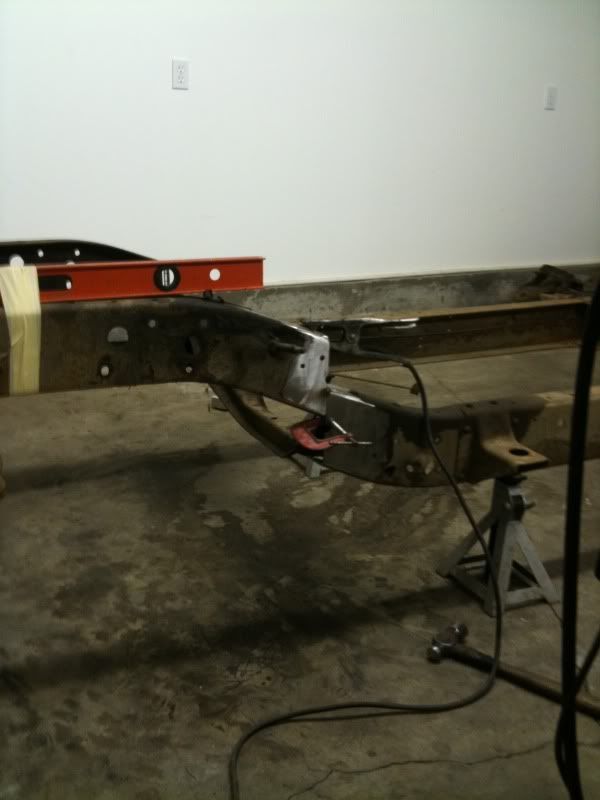 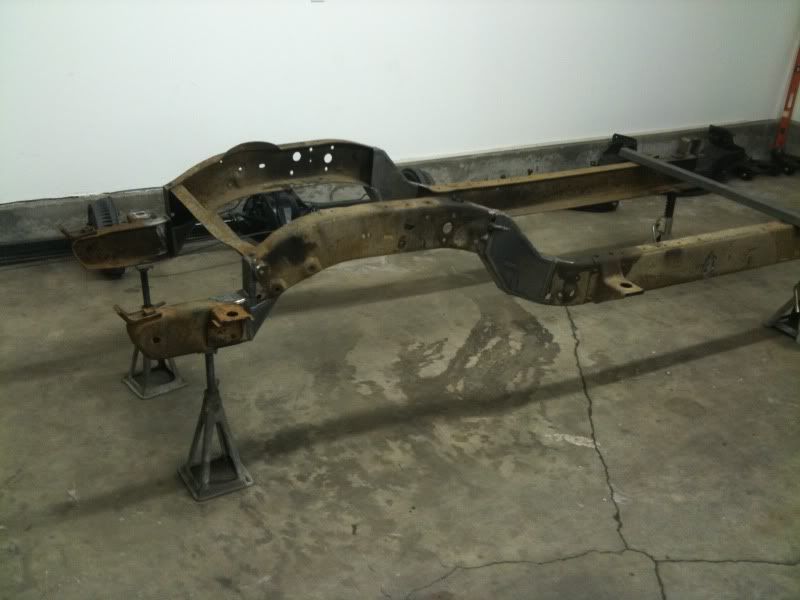 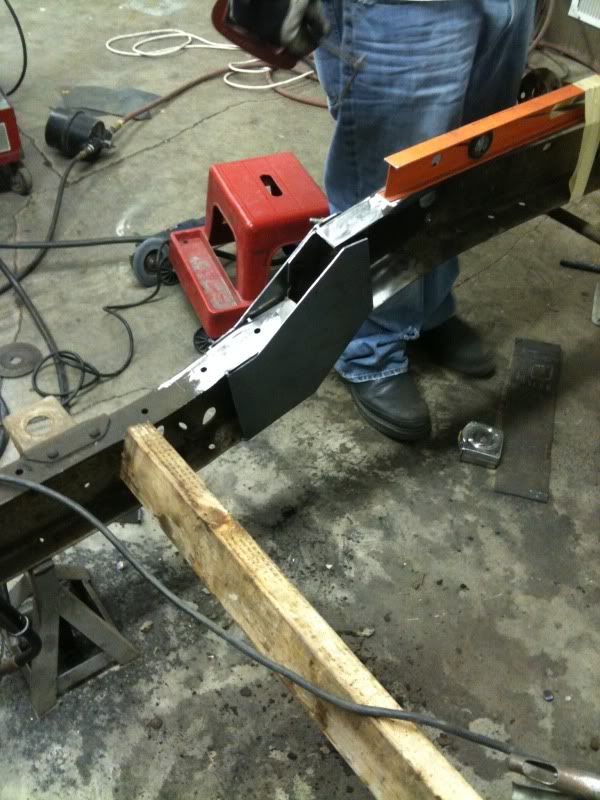 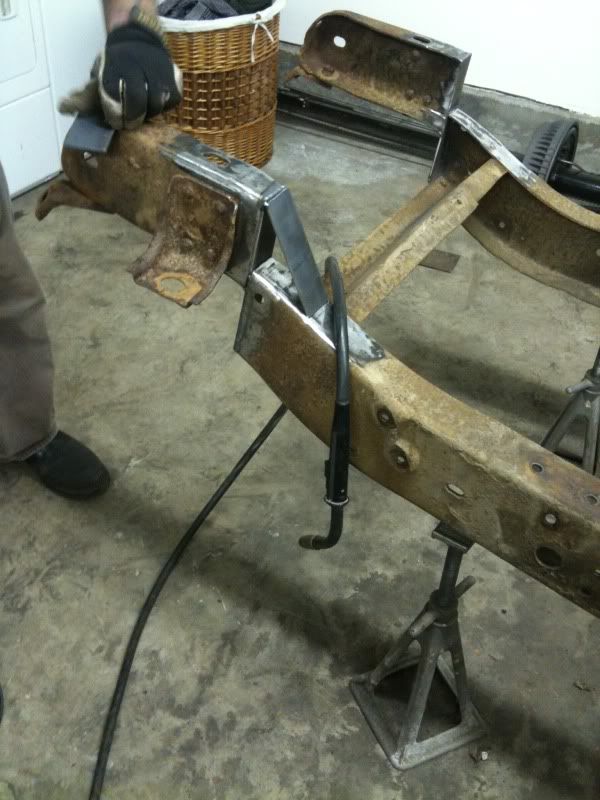 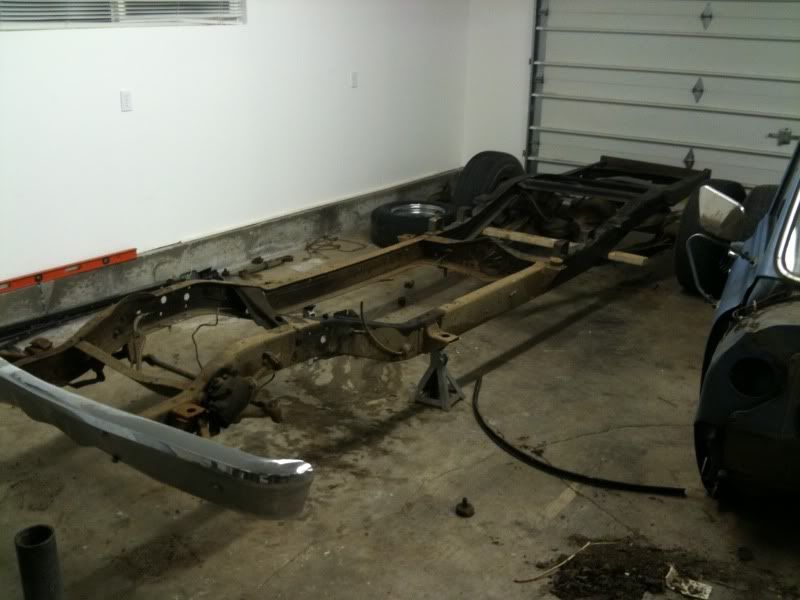 i was anxious to do some painting and assembly so I painted the front half of the frame after it was z'd so that we could do a final assembly on the front suspension. That way we could use the floor as a reference with the front layed out to do the back half. 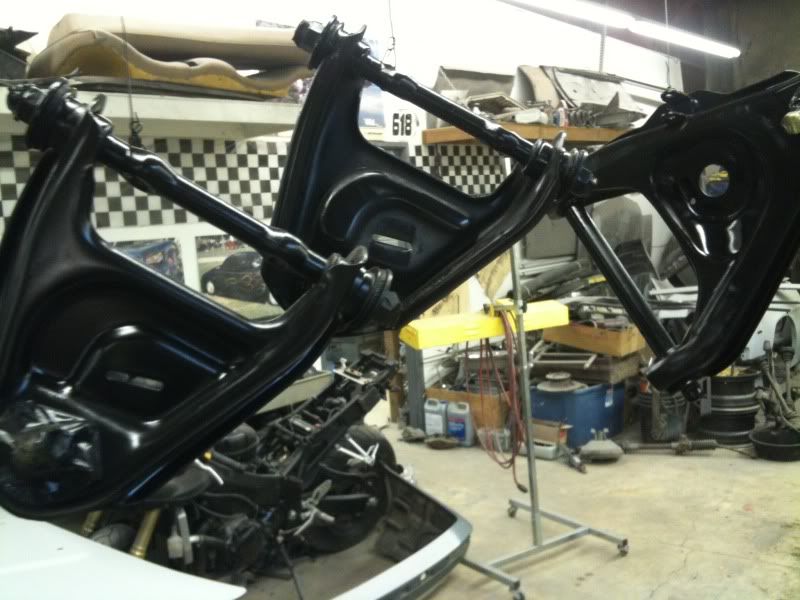 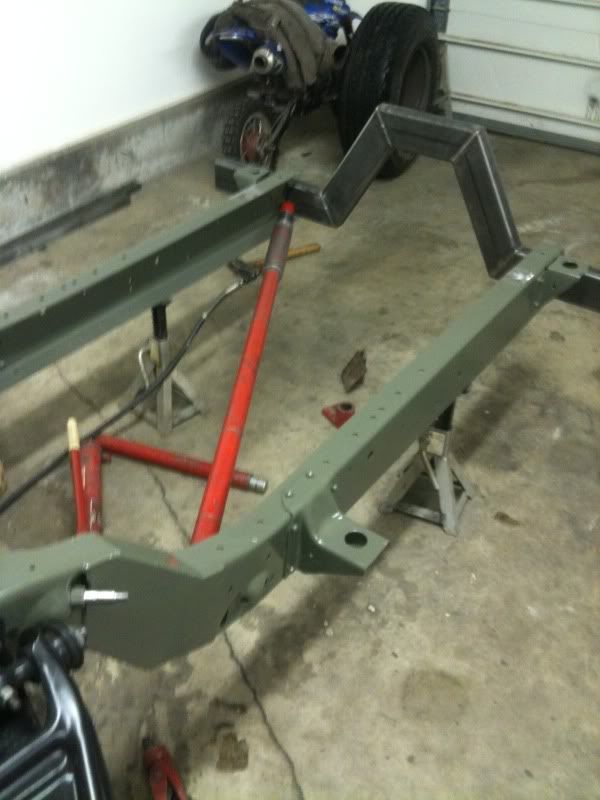 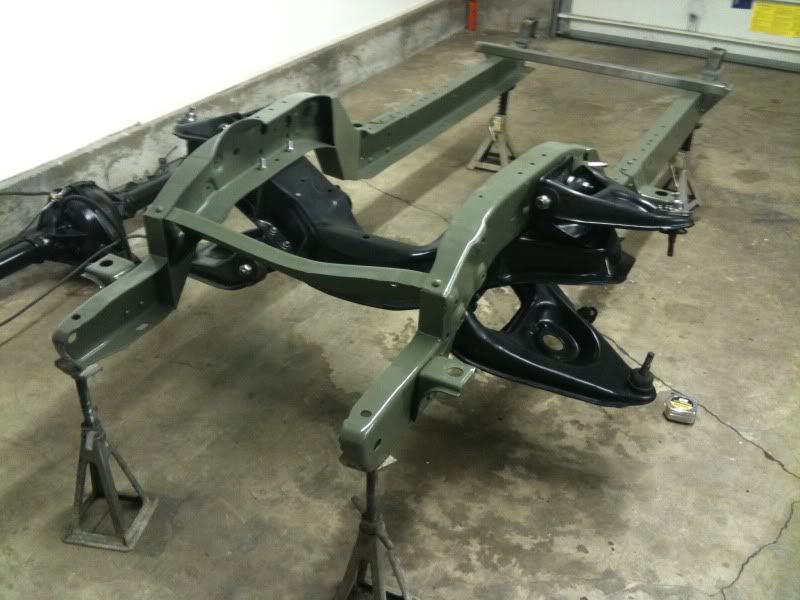 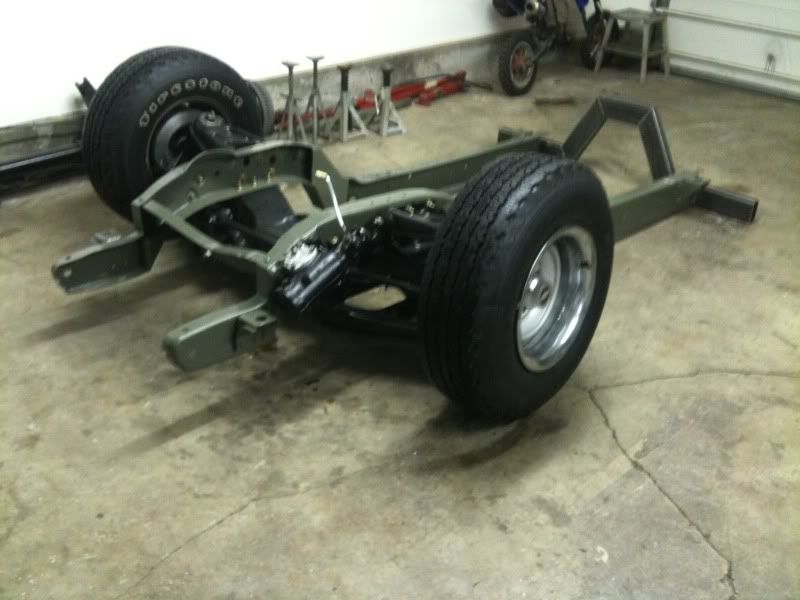 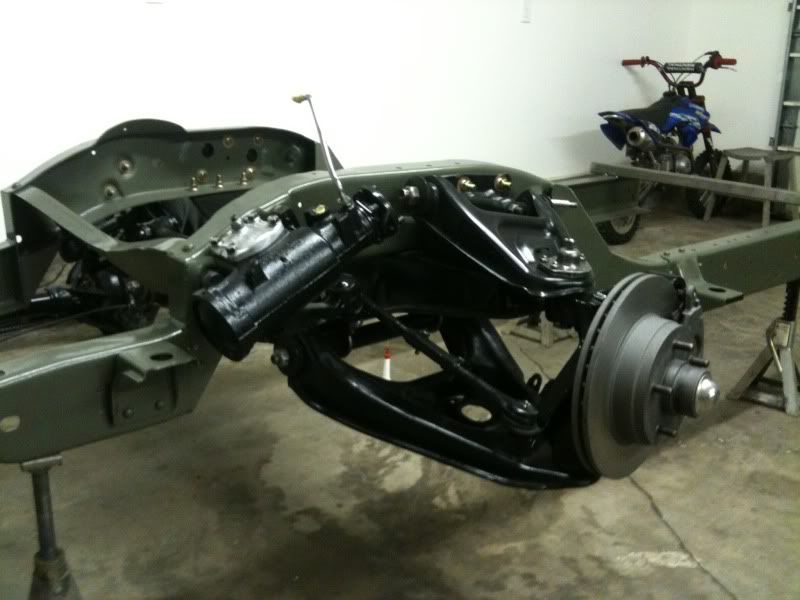 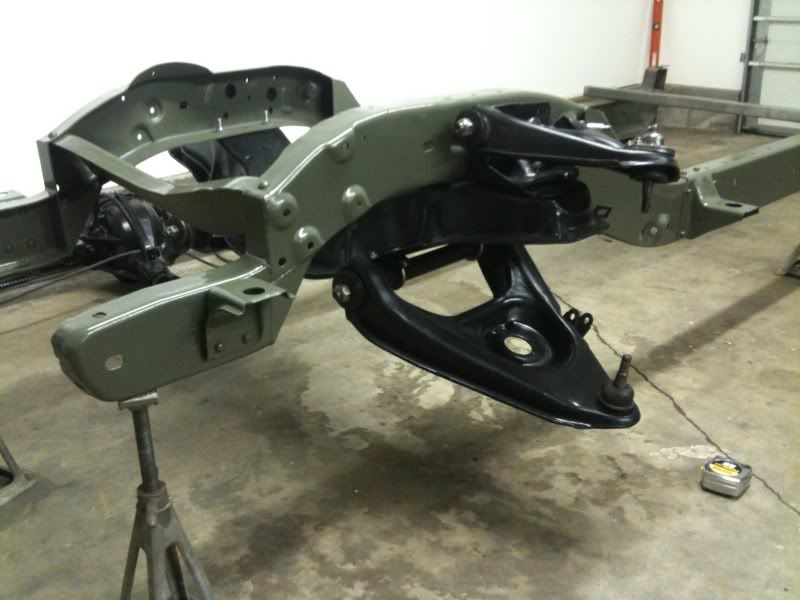 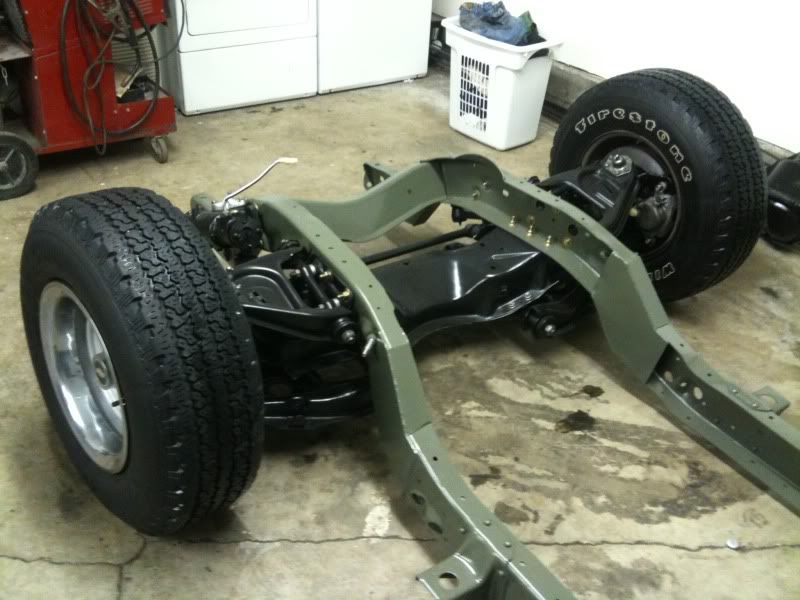 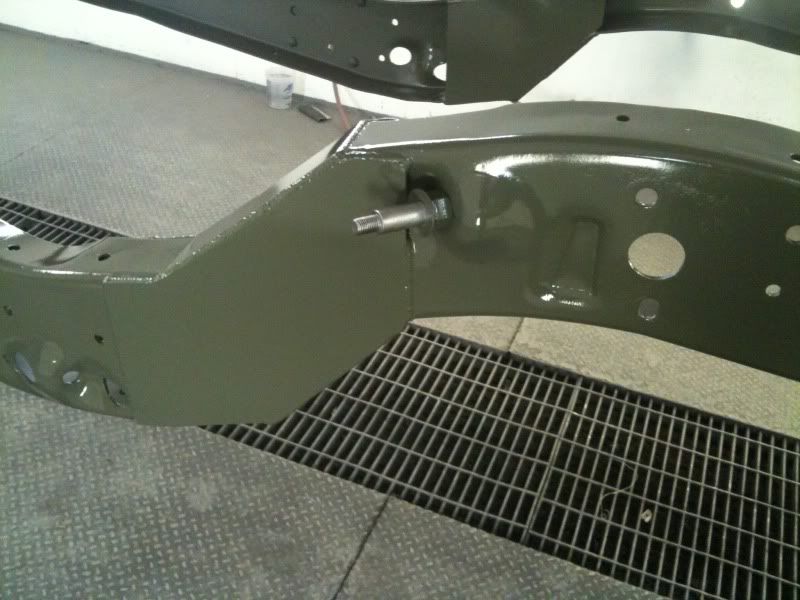 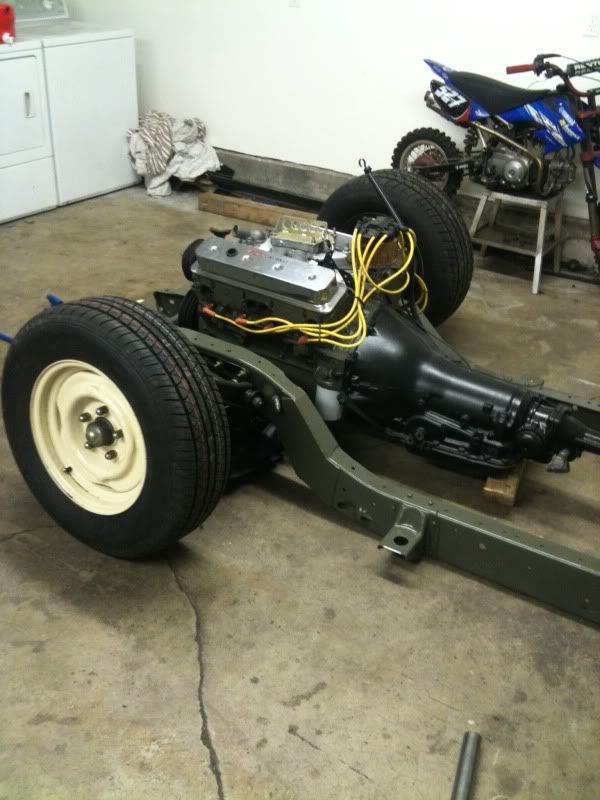 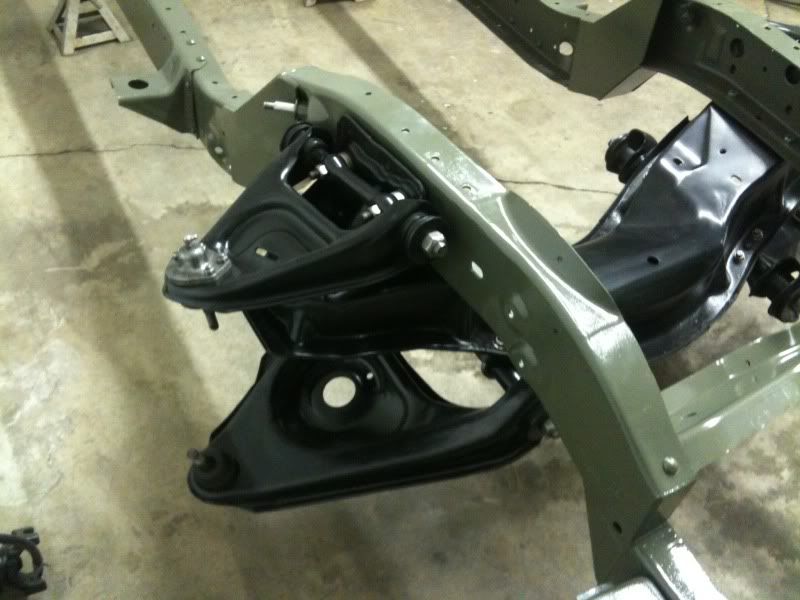 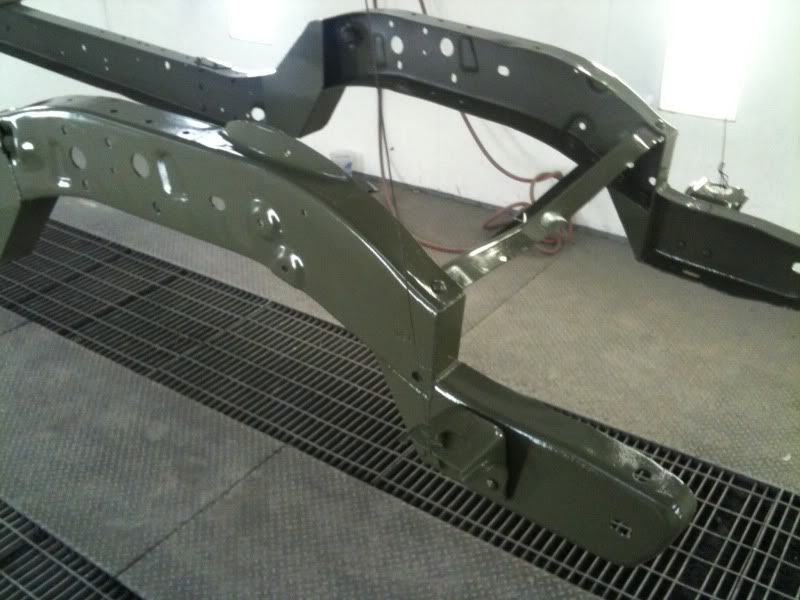 cab back on for mock up.. back half time.. 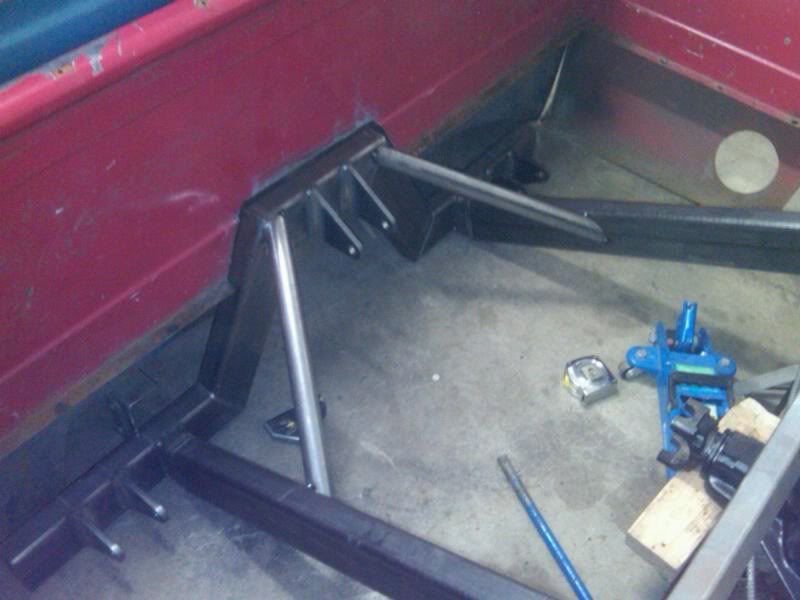 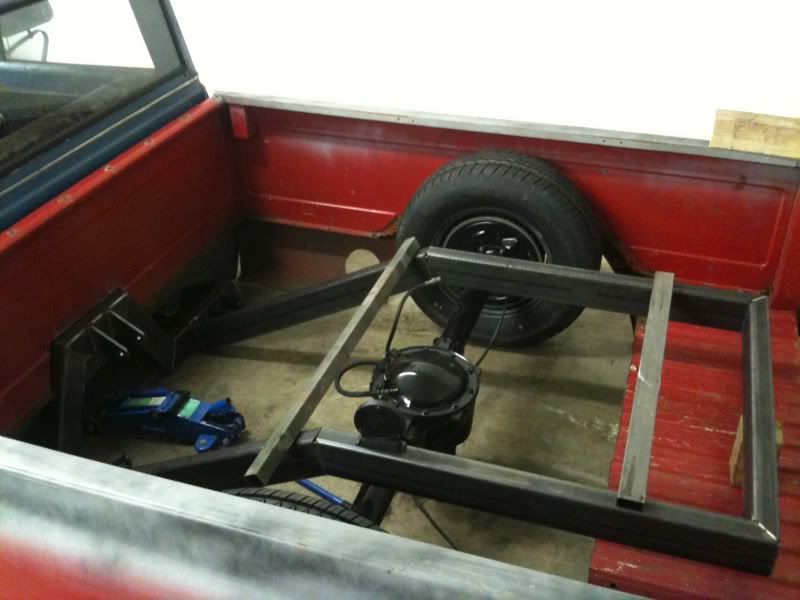 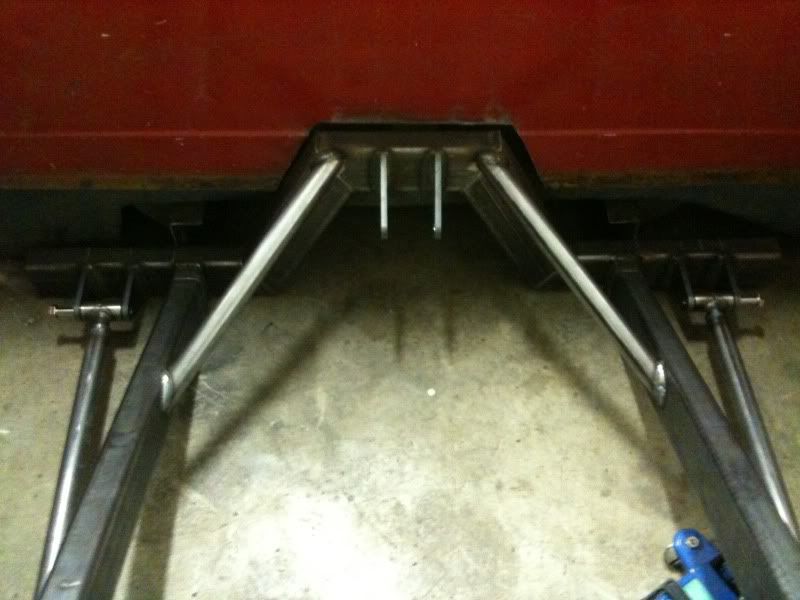 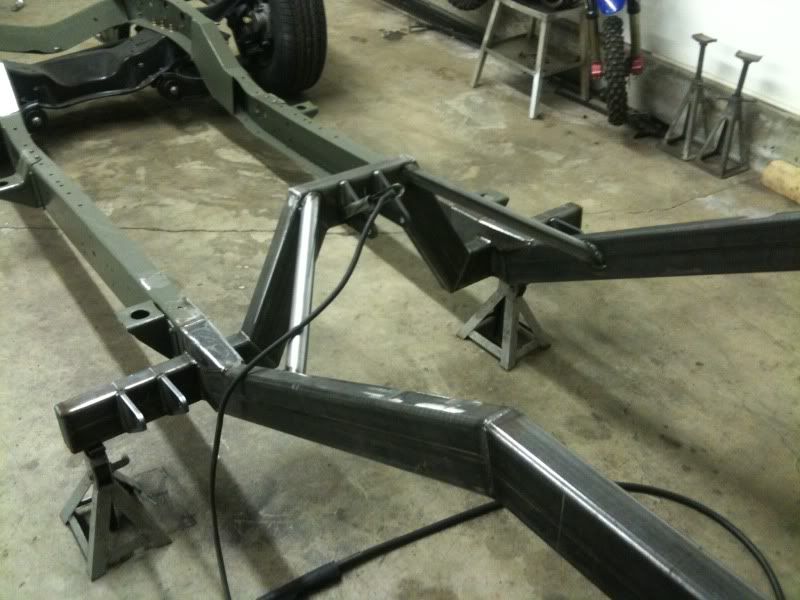 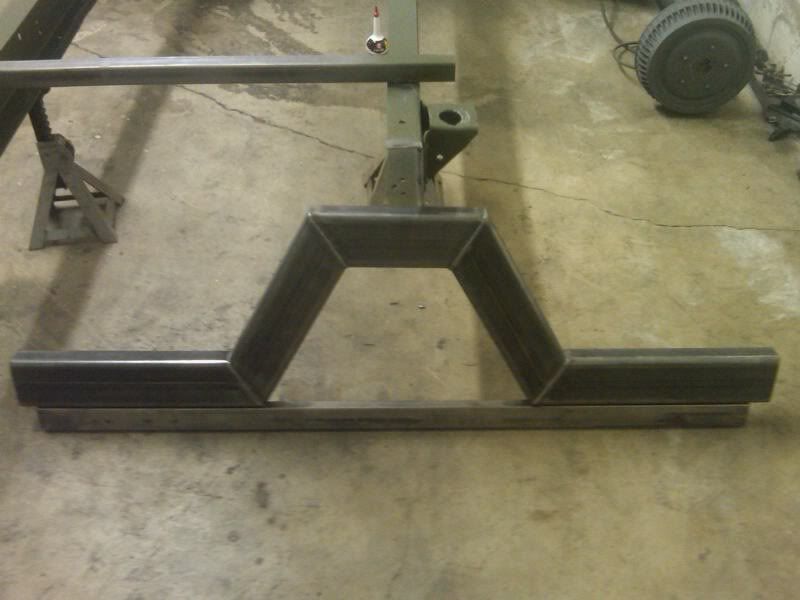 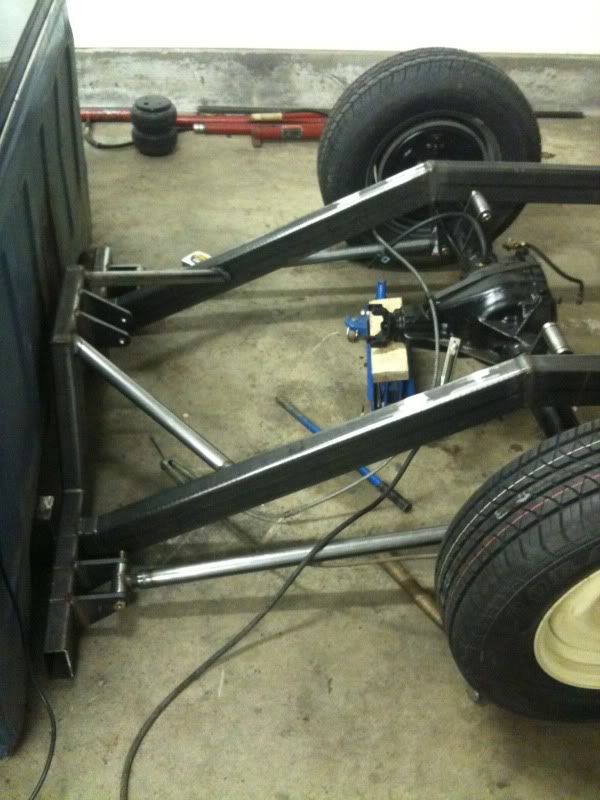 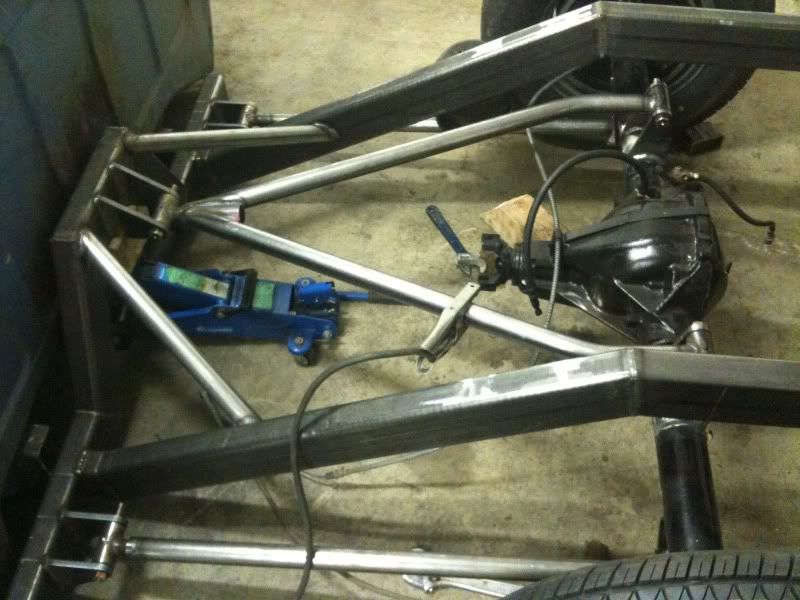 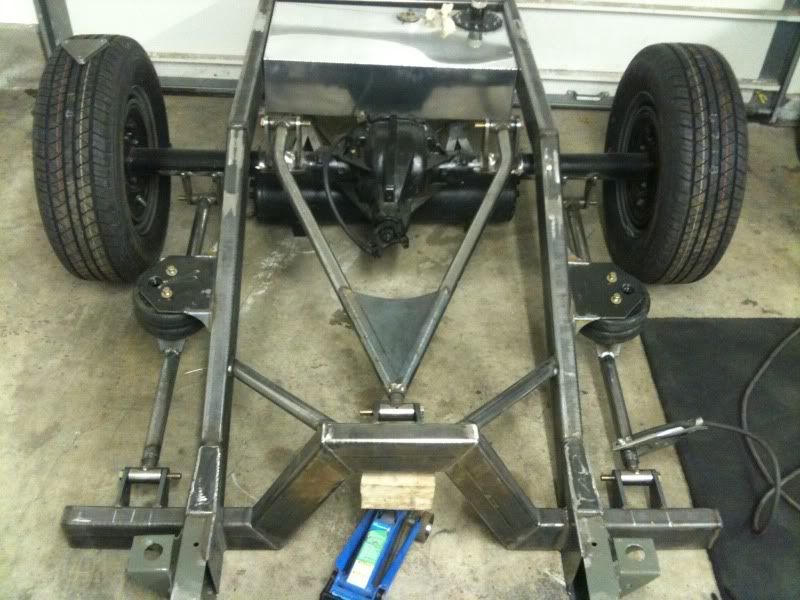 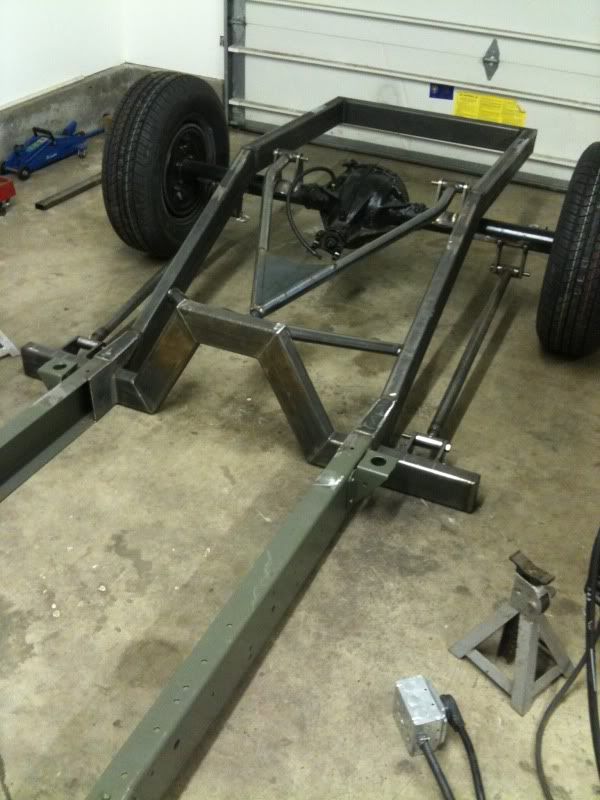 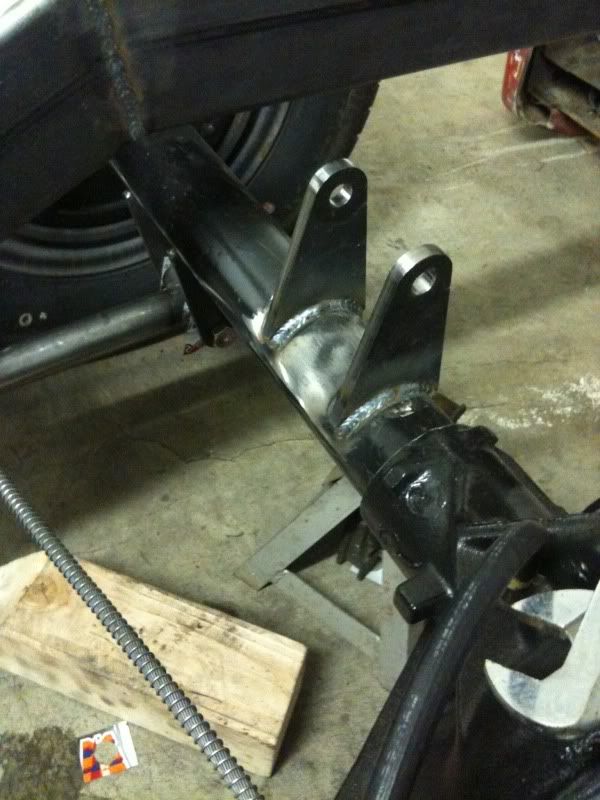 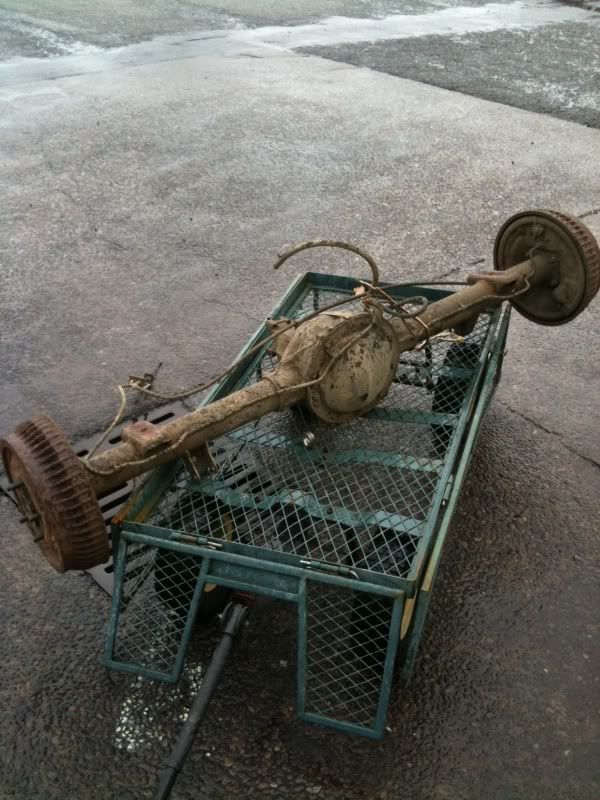 I should also probably add at this time that I had a totalled 87 chevy c10 at our body shop that i used as a donor vehicle, initially i was to used the engine tranny rear end, front disc brakes and power steering. 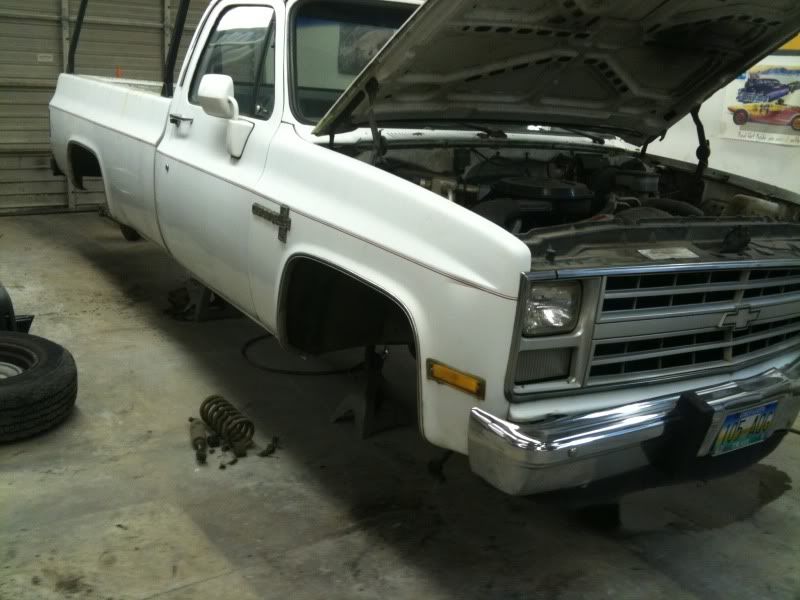 As you can probably tell from many of the pictures much of this project is taking place in my garage which is actually out of the ordinary for me. usually i take full advantage of a stall at our body shop but because of the magnitude of the build and my roomate putting so much work in to it we did a half and half set up. While the frame work was being done at home during the evenings and weekends, I was also squeezing the body and paint work in to my daily routine at our business. Here are some of the pictures of that: 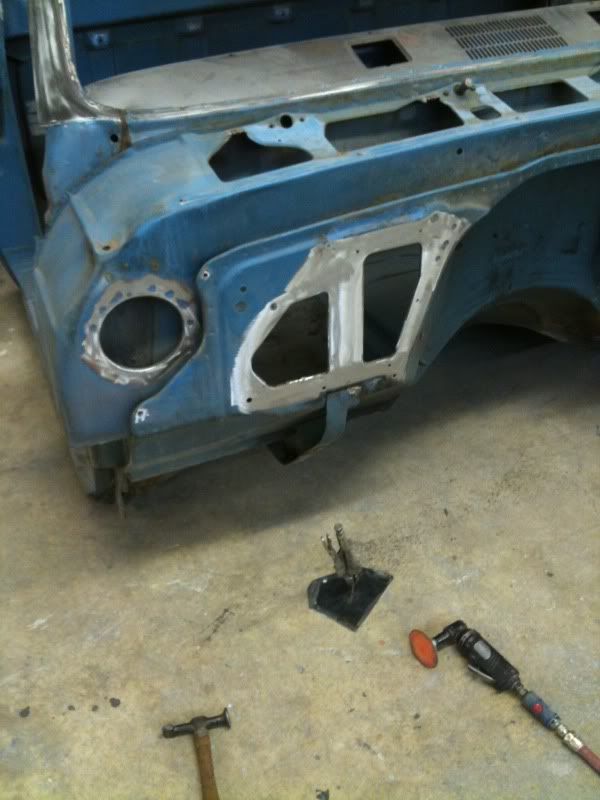 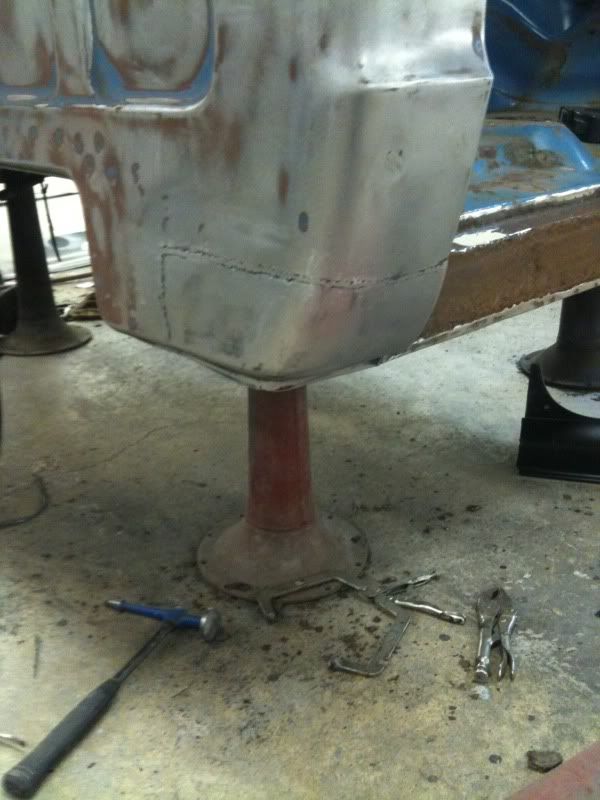 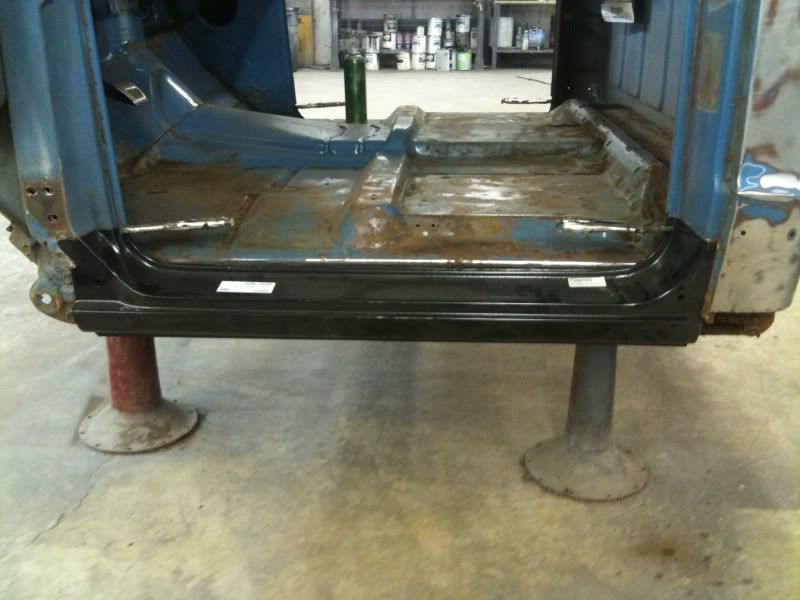 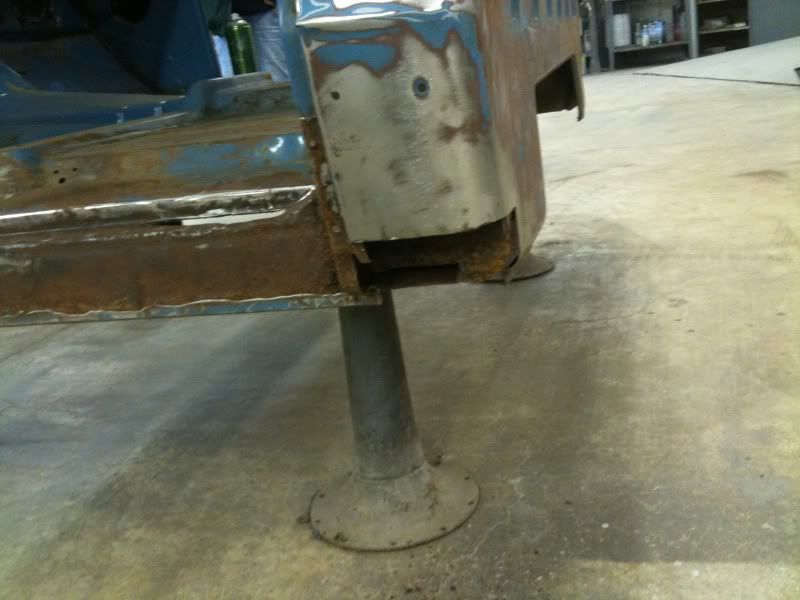 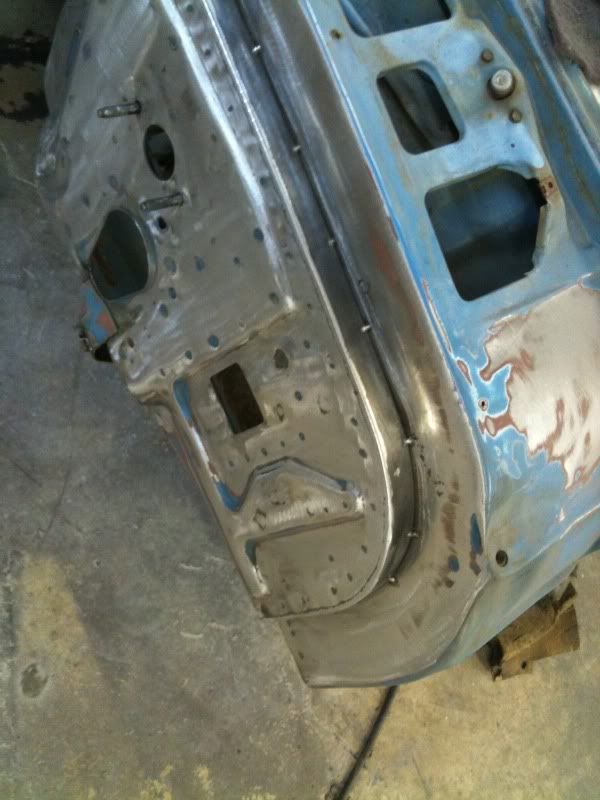 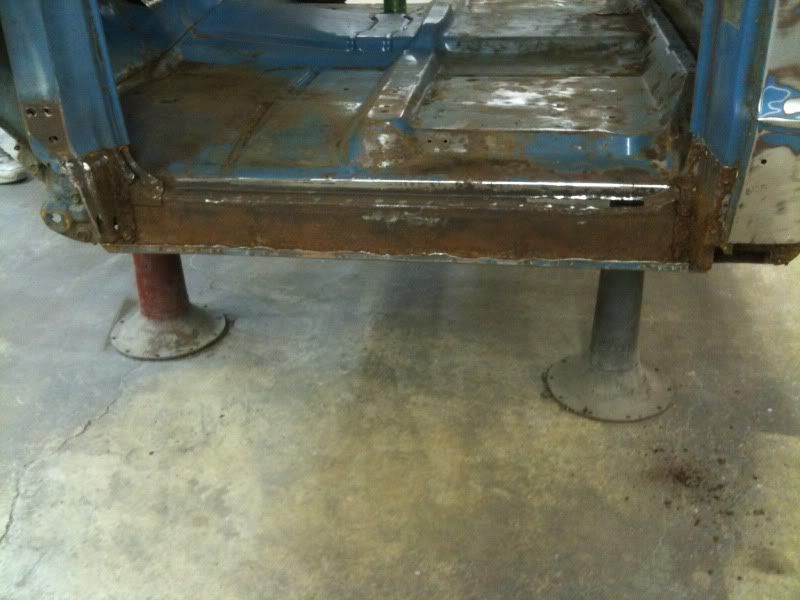 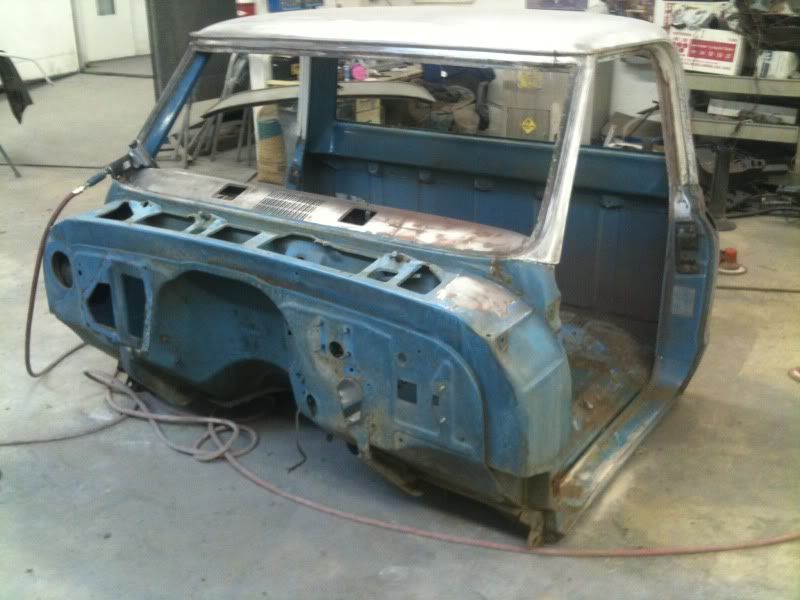 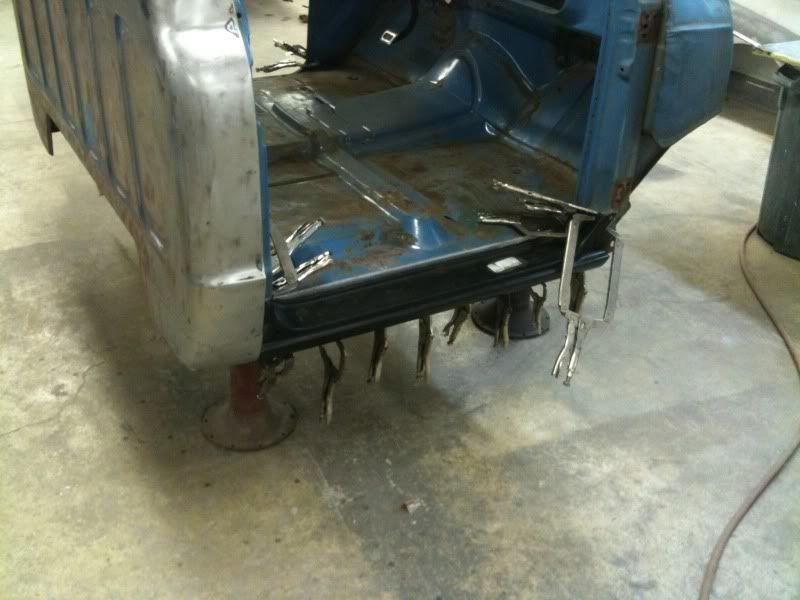 shaved firewall, new rockers, lower cab corners.. stripped the cab with a bondo hog, as well as all the other sheet metal parts.. 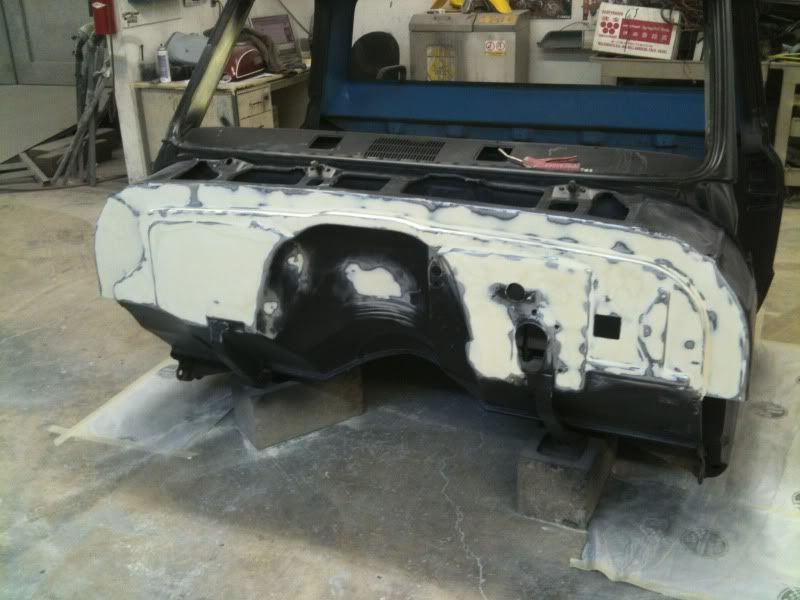 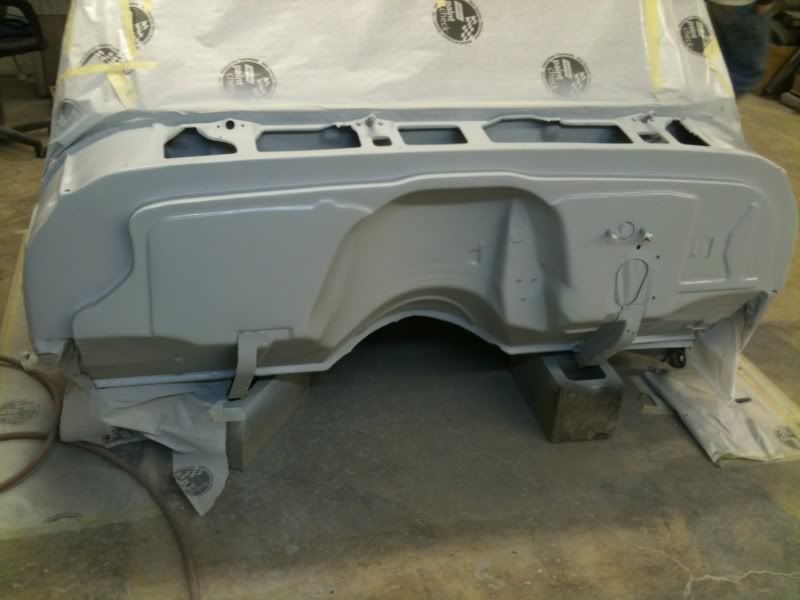 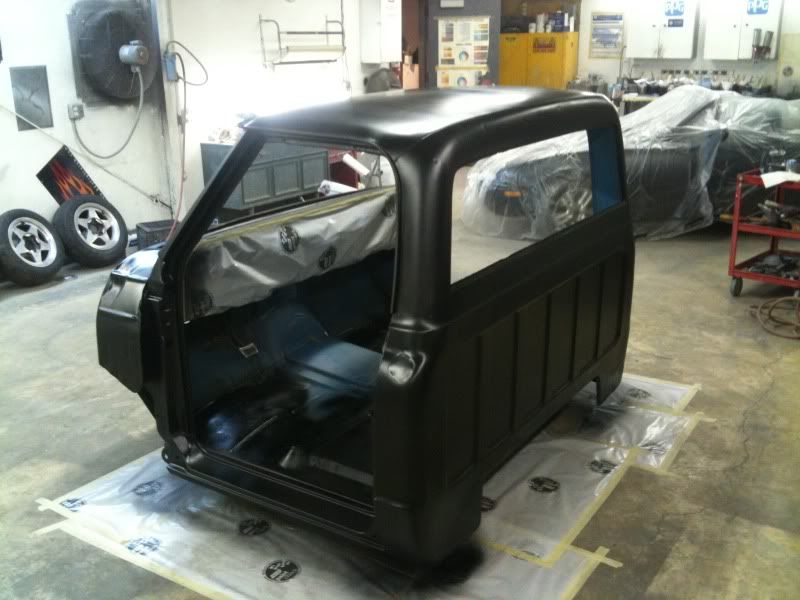 cab in epoxy primer before body work was done. 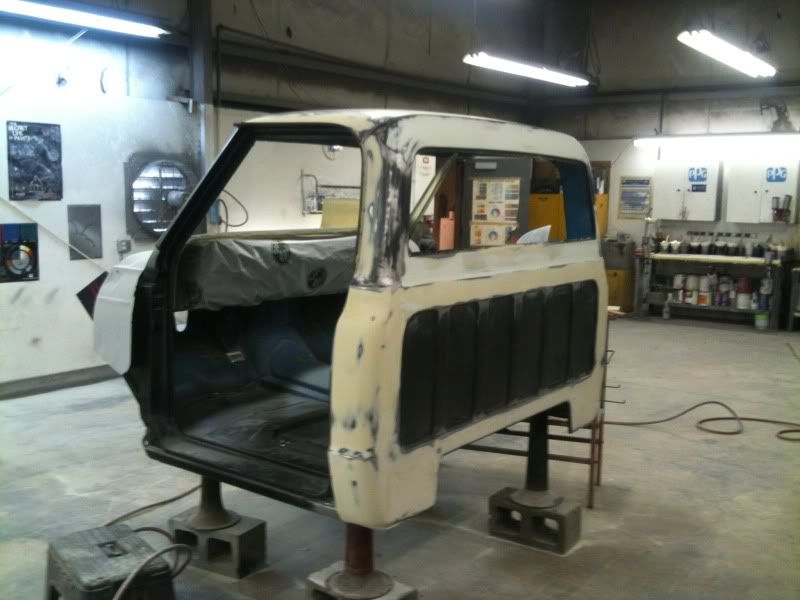 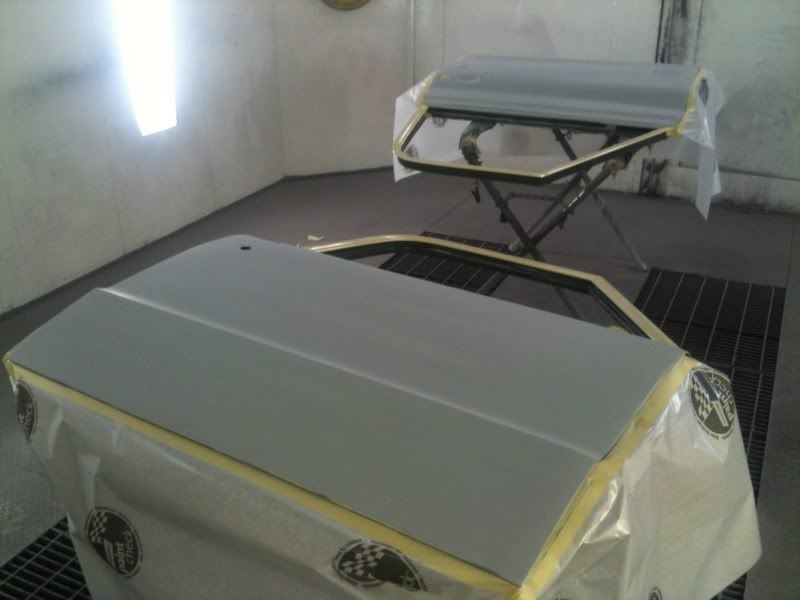 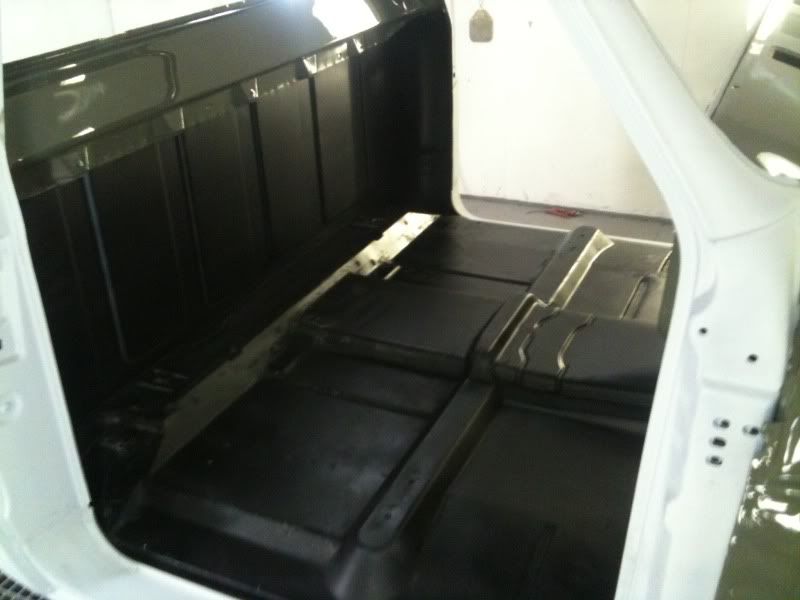 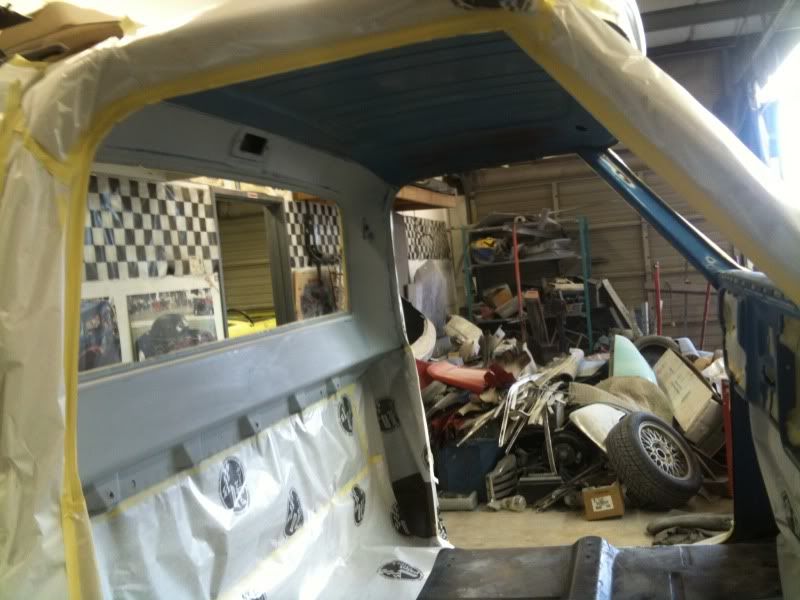 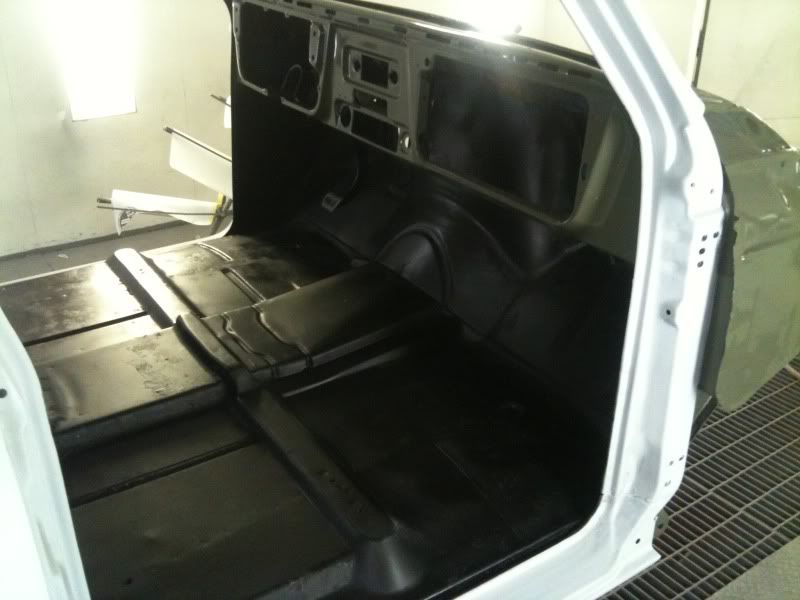 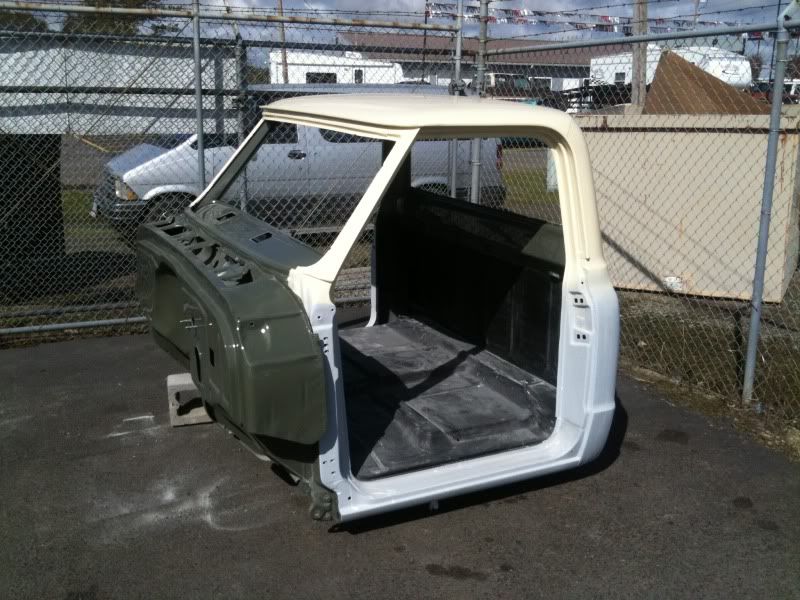 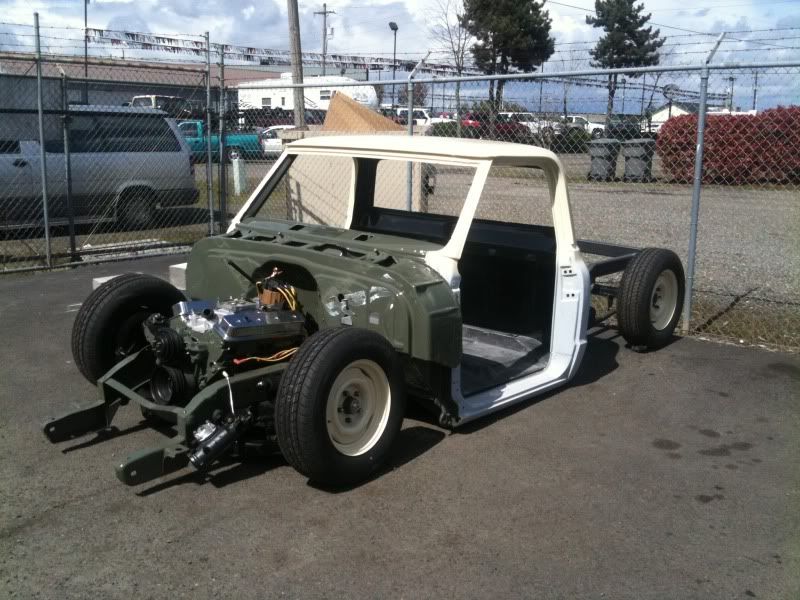 cab mocked up on the chassis. This was one of the most exciting parts of the build, I was so pumped when it started looking like a truck again 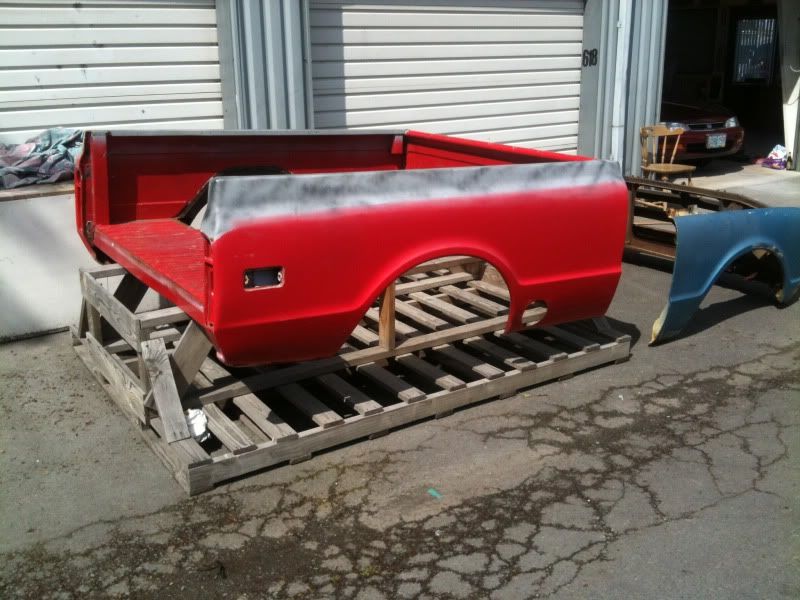 my jackpot short bed! 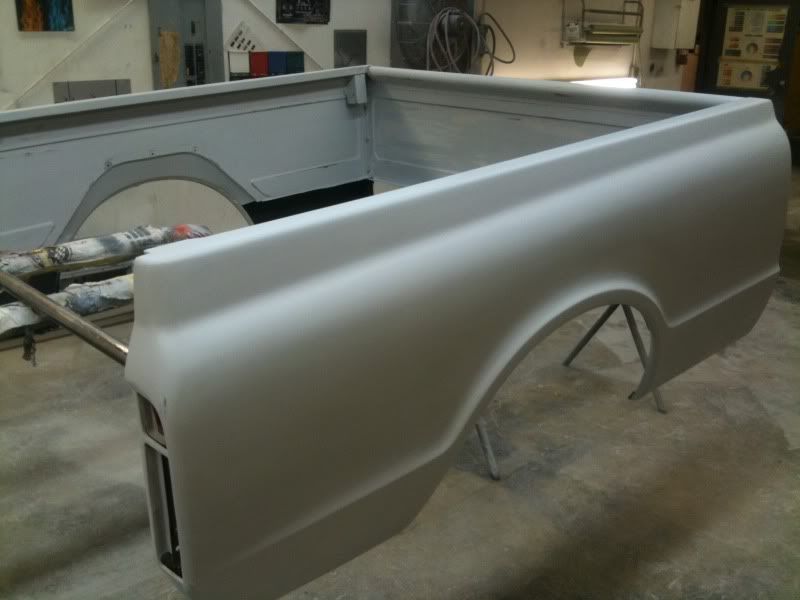 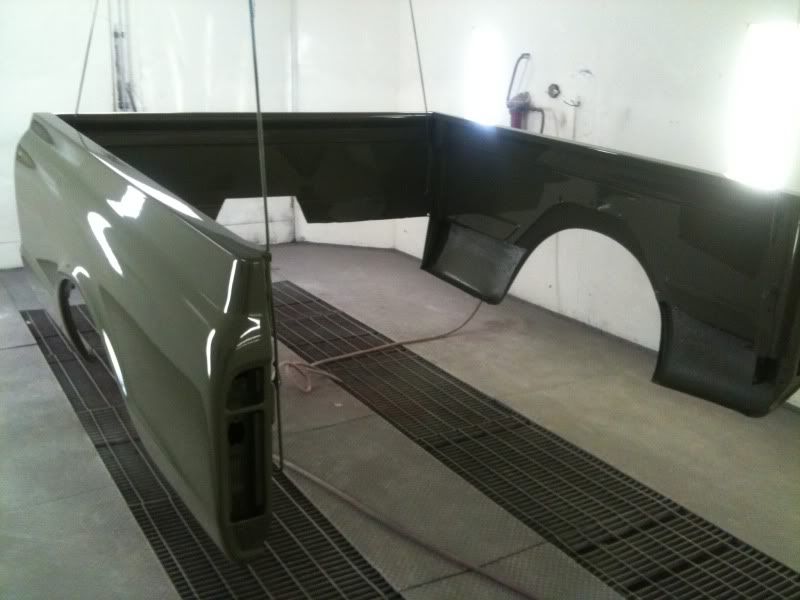 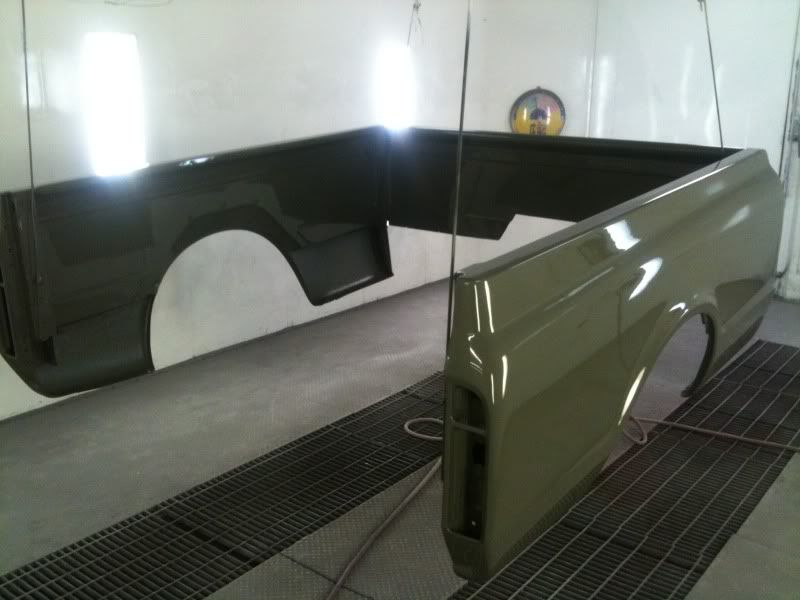 body worked, primed, blocked, re primed, blocked, wet sanded and painted with ppg single stage... 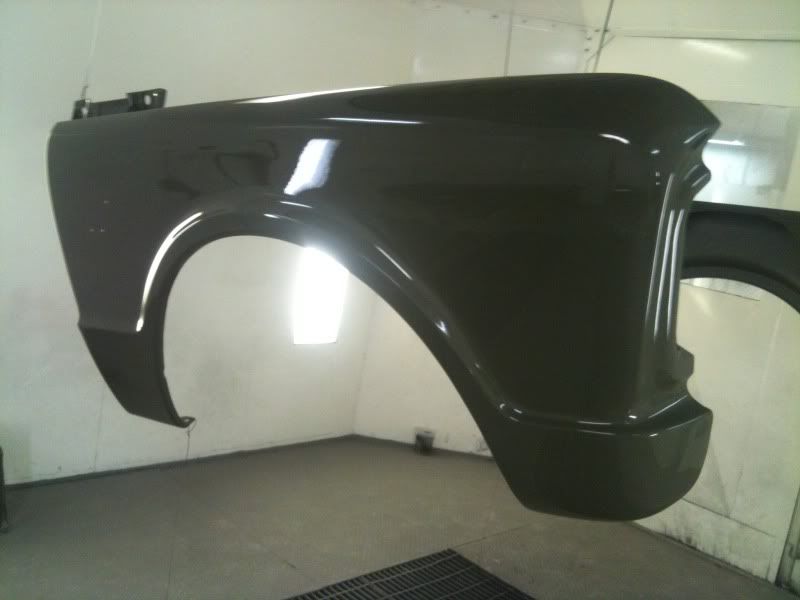 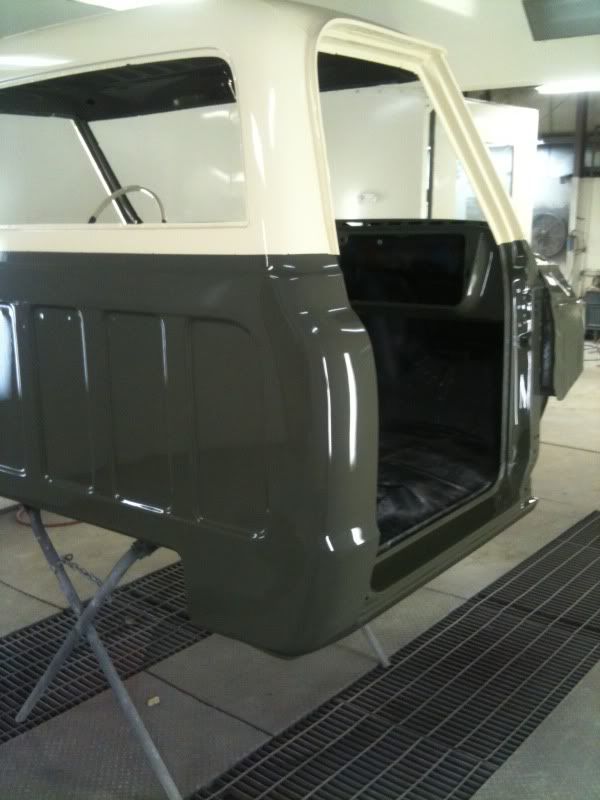 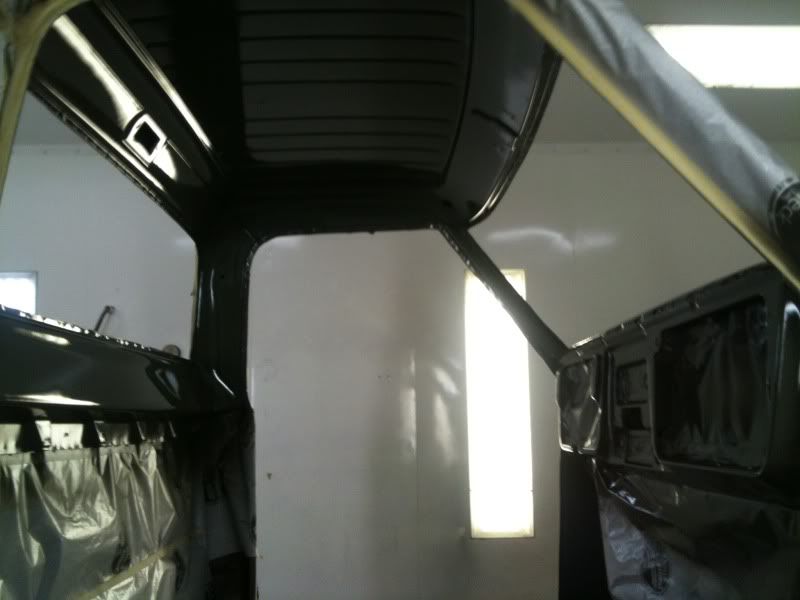 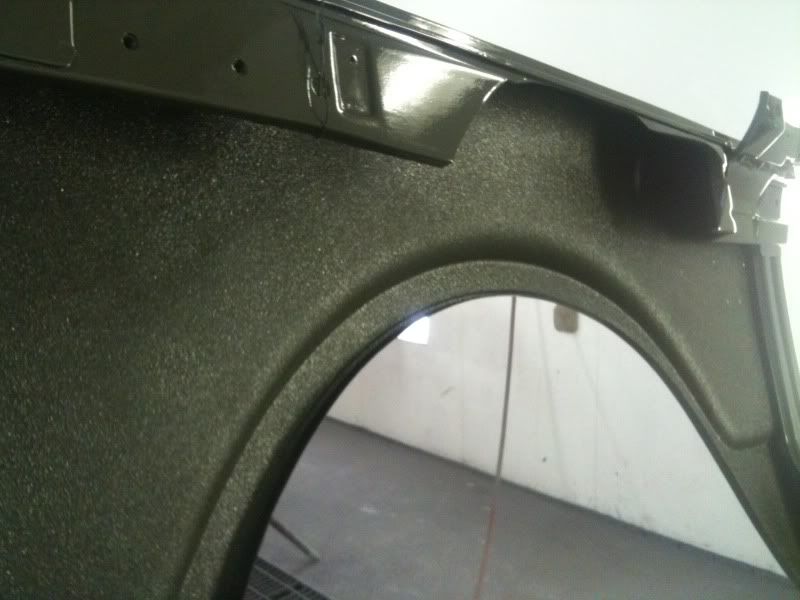 undercoated the insides of the fenders and lower inner bed sides, then painted over it while painting the parts to give the color matched look, its a pretty good option and becasue its catalyzed it cleans up and doesnt get chalky or dirty 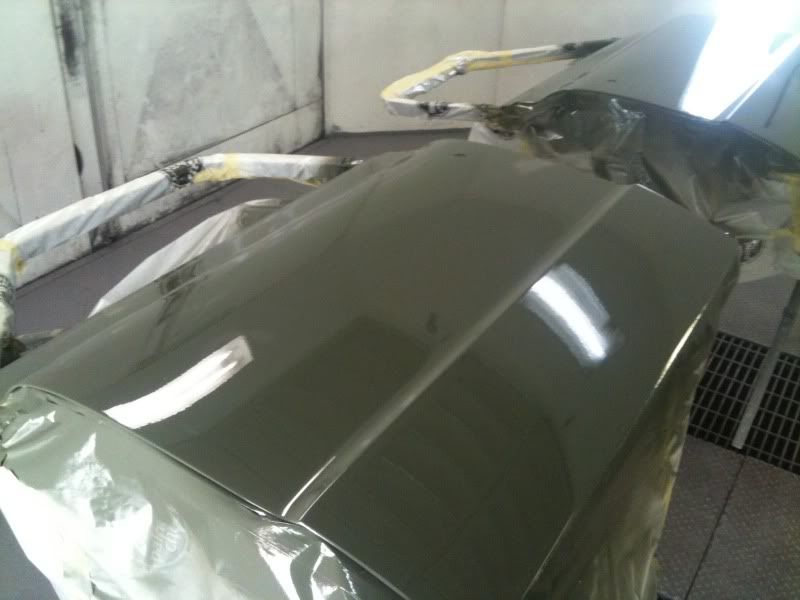 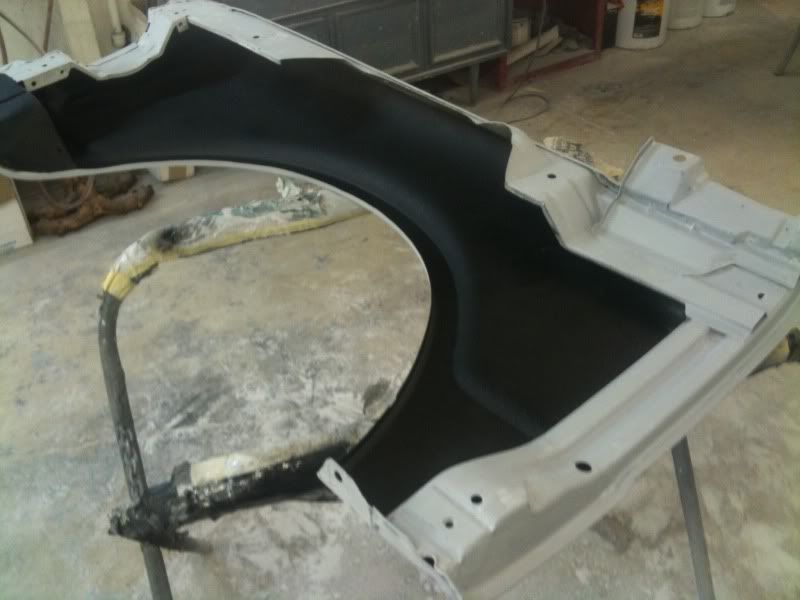 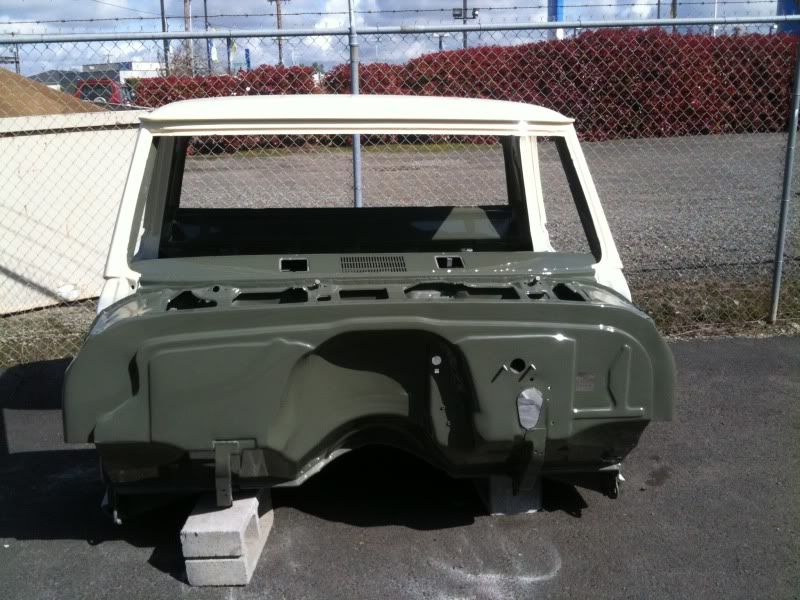 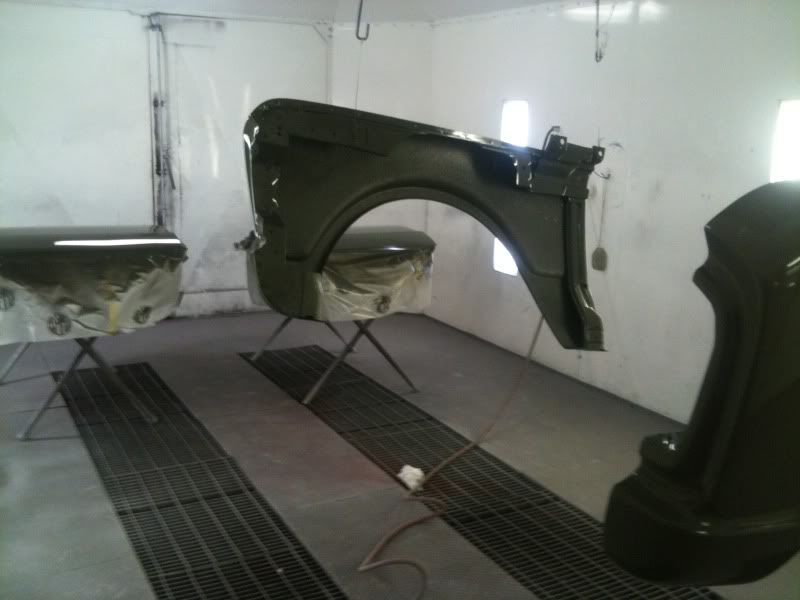 Now back to the fabricating! Although at this point in the build we have a sweet linked rear end with a triangulated upper link and a tube rear frame section there is still so much to figure out and do! we dont have shocks, fuel cell location, air tank, bed mounts.. so many things.. In these next photos you will see the craziness of how the truck progressed. Also note at this time we had maxed out the garage capabilities.. We needed to do a lot of tube bending both tig and mig welding and really needed a hoist. So we temporarily we moved the frame constructing to my roomates parents house where they have a killer shop with all these things.. 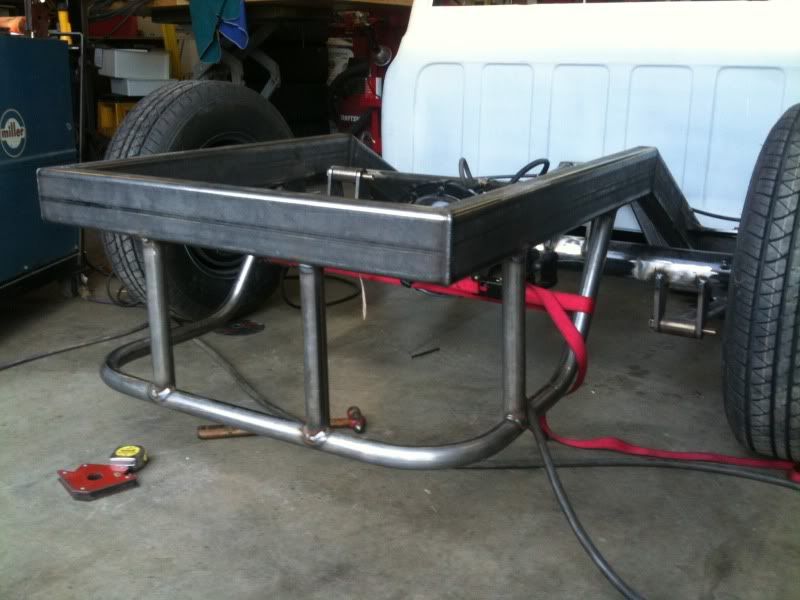 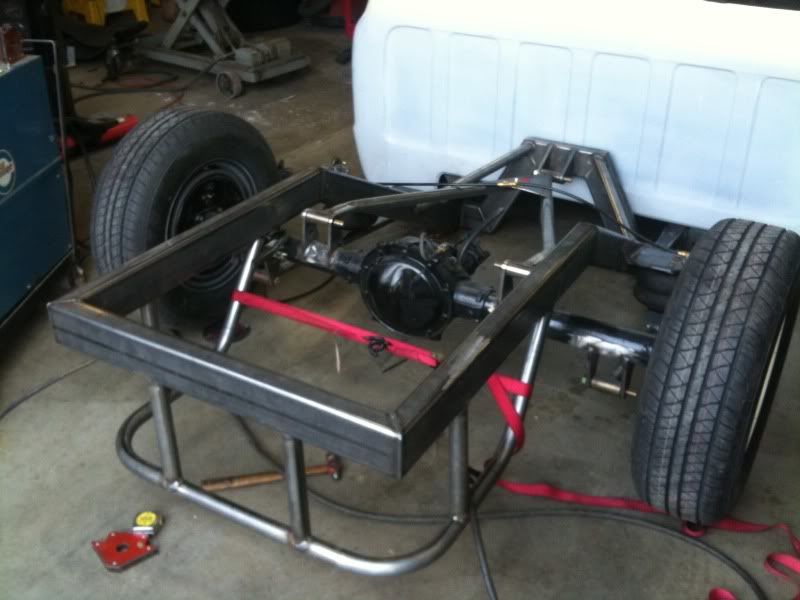 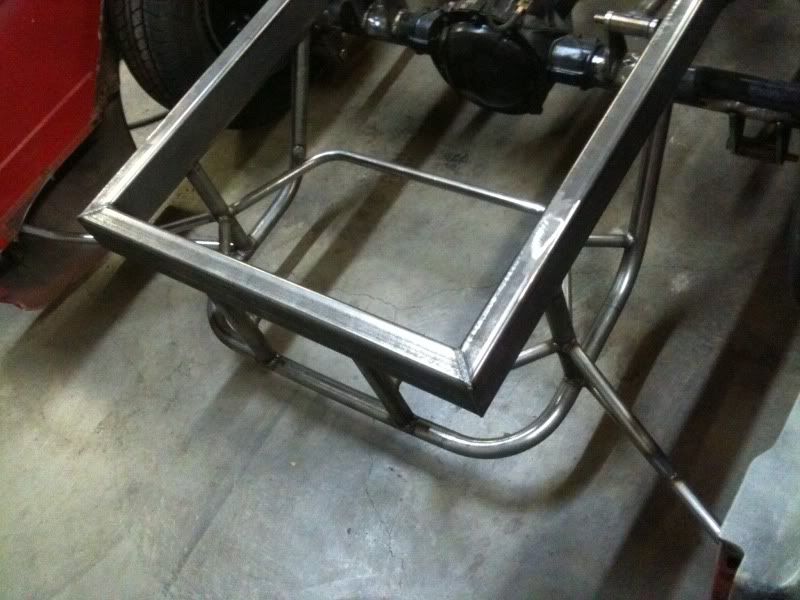 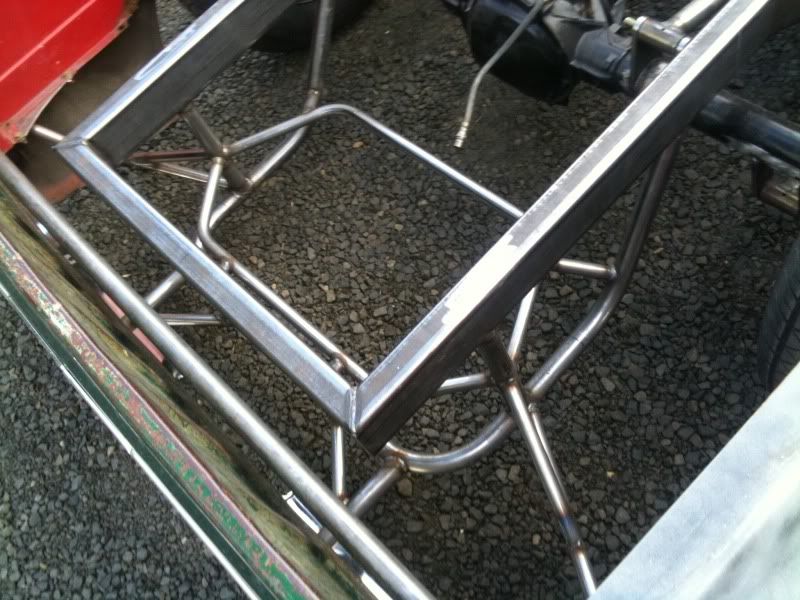 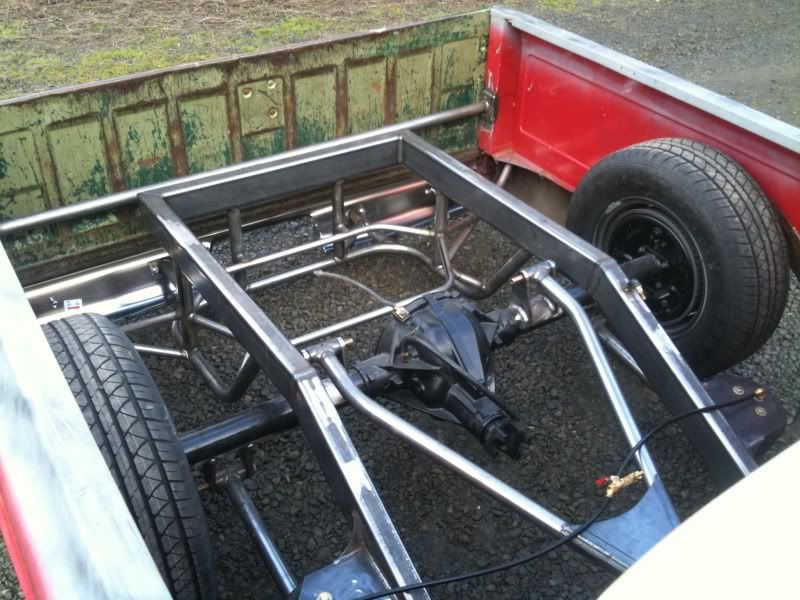 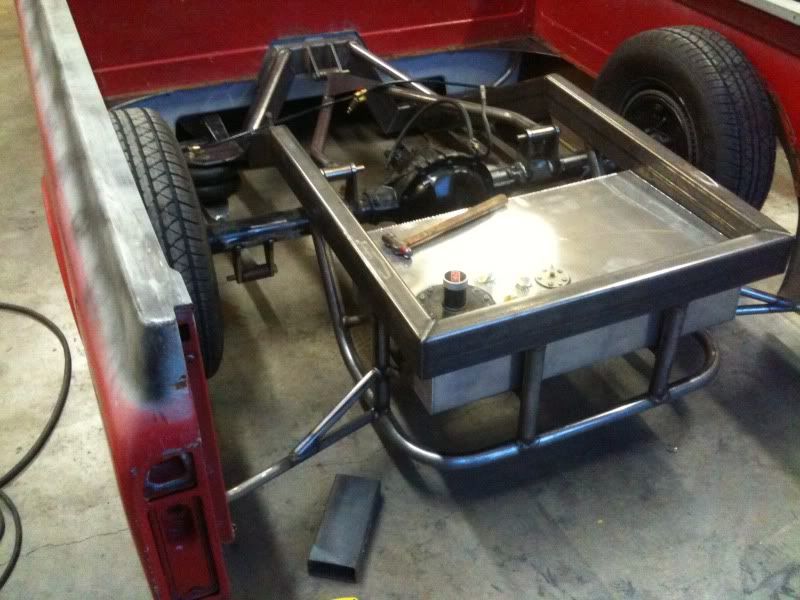 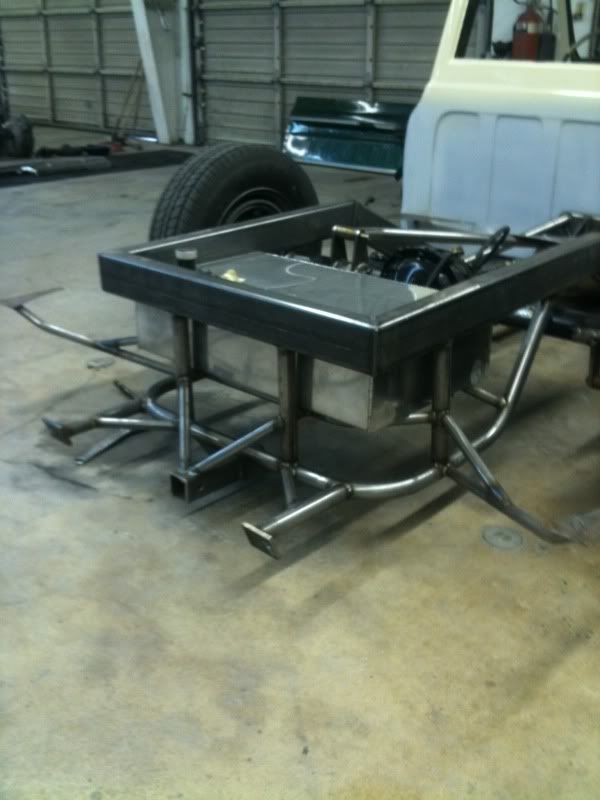 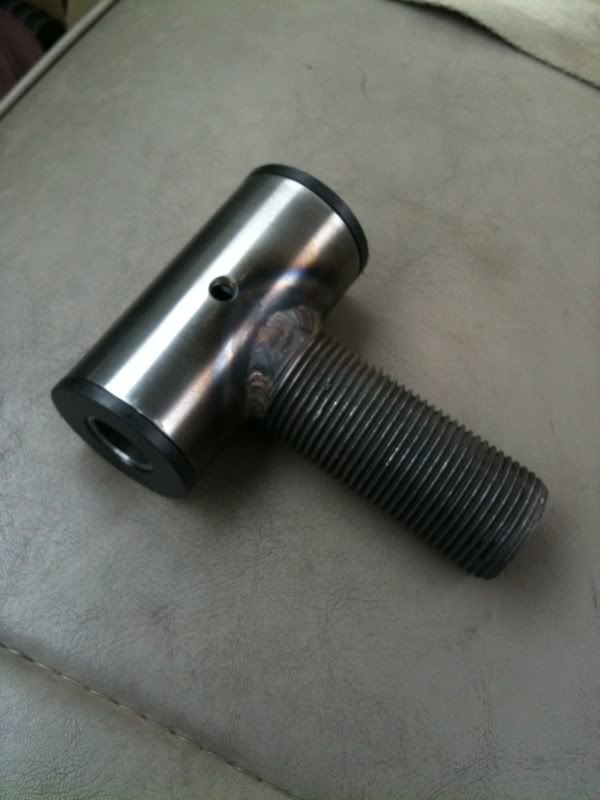 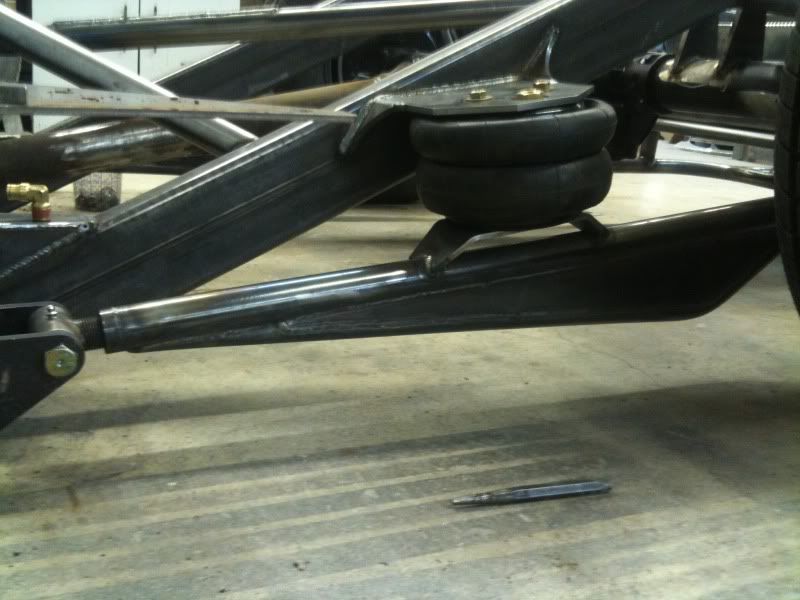 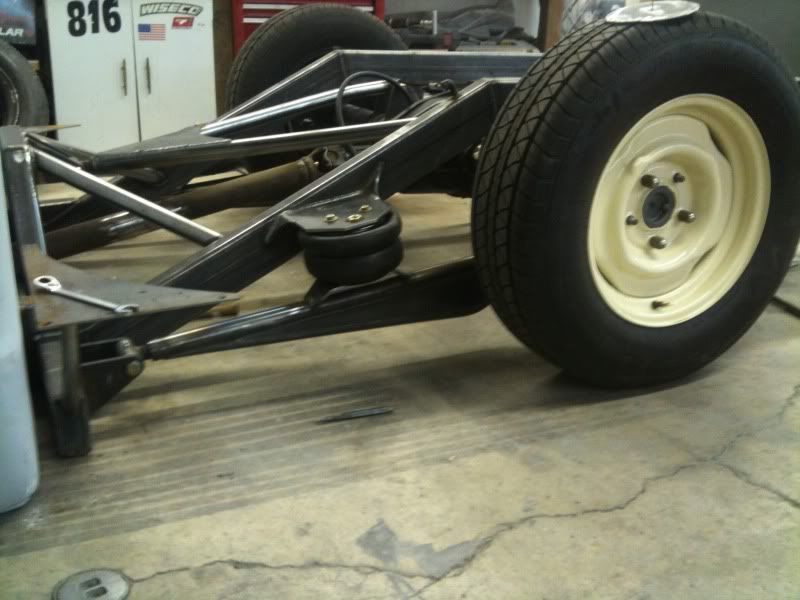 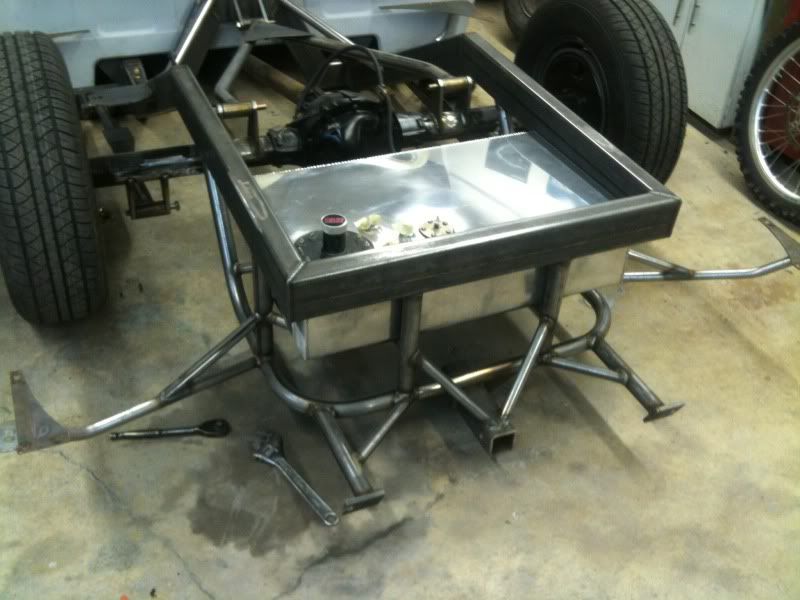 We were really making some headway now. the back of this thing was starting to look like a jungle gym lol. We had a lot of haters and critics along the way especially during these stages. Us young kids couldnt have their **** together to mae something like this all happen. well let me tell you it was all just insentive. Every tube has its purpose, fuel cell cradle, bed mounts, trailer hitch. Yes trailer hitch. Just in case a vintage bagged tent trailer happens to be built sometime soon. 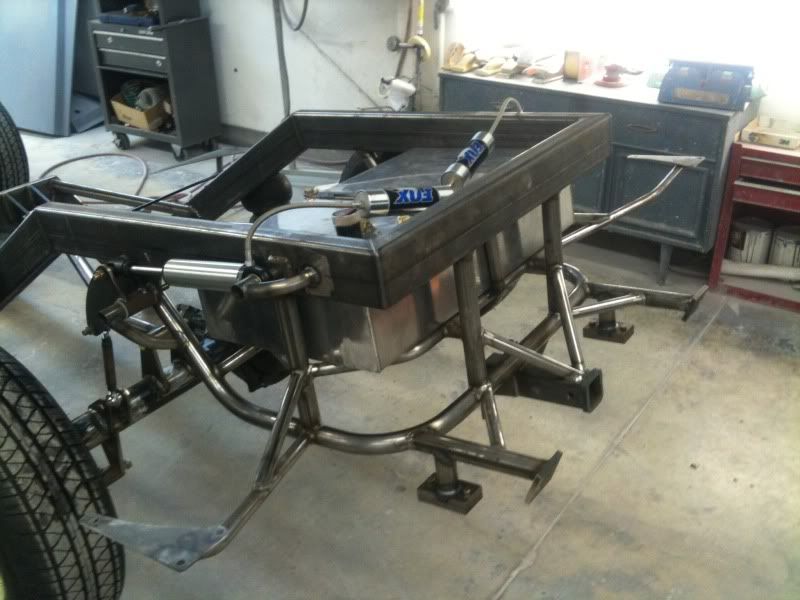 Now for the next challenge. Rear shocks. In doing research online about all kinds of sweet bagged trucks cars etc. I fell in love with the cantilever. Used in race cars, off road trucks and in high end bagged rigs, the cantilever is a way to beat the odds if you will.. So I really wanted to incorporate a cantilever in to my rear shock setup. I started with ordering some 5" travel remote reseirvor fox shocks (for looks ha ha) and created a real sized cardboard templet to guess and check the range of motion. Keep in mind I have about ten inches of overall travel. 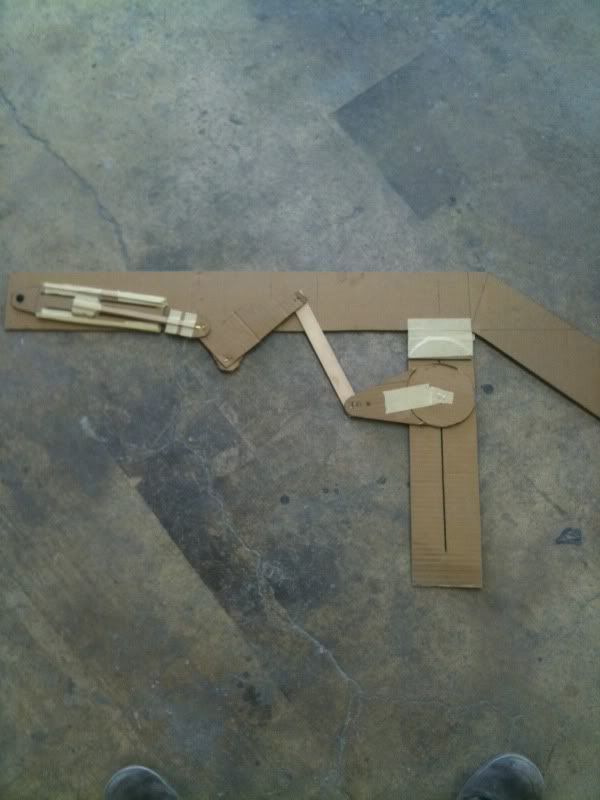 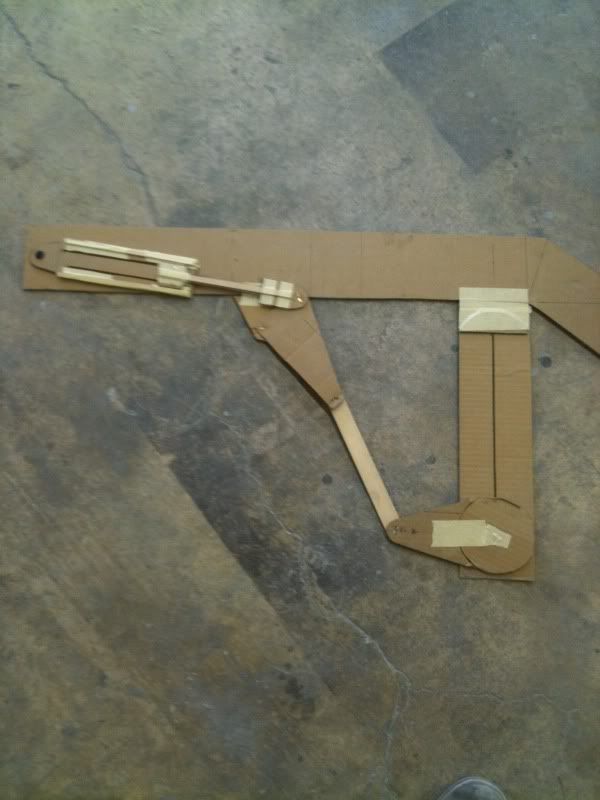 t ten inches of overall travel. t ten inches of overall travel.once i made this work it was time to build, ryan (my roomate) added a little extra flare at this point and together using hime joints, mis allignment spacers some delron bushings, and a lot of patience created the coolest part of the back half. 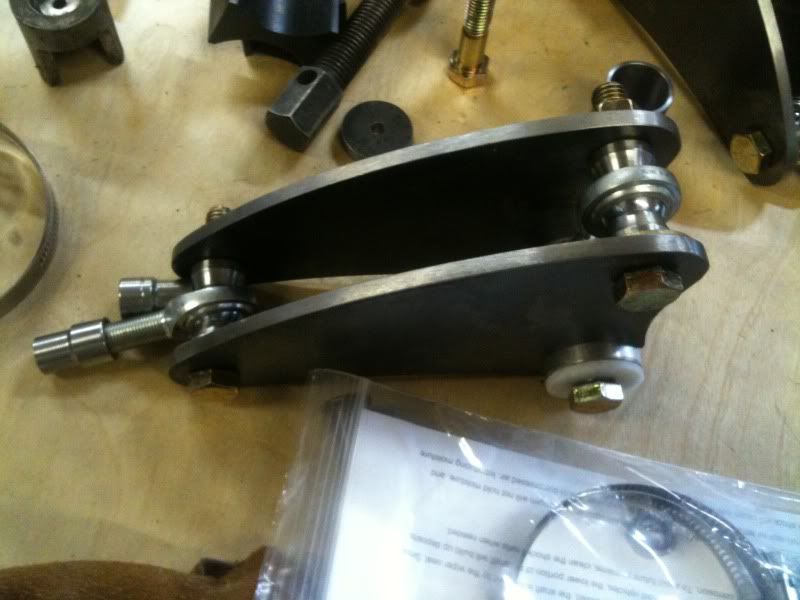 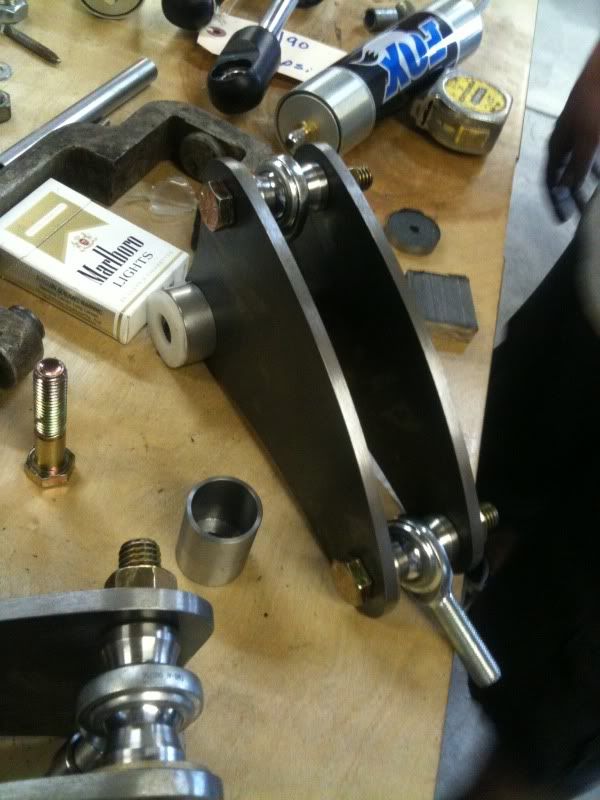 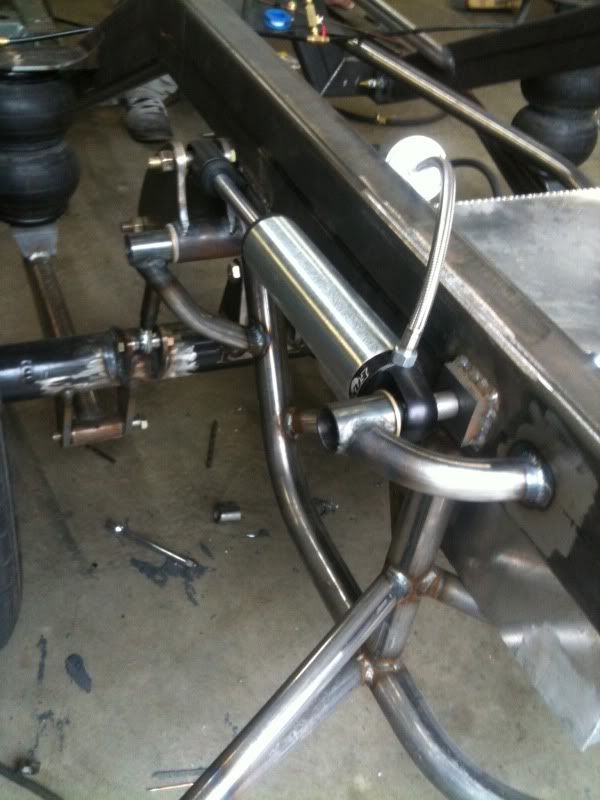 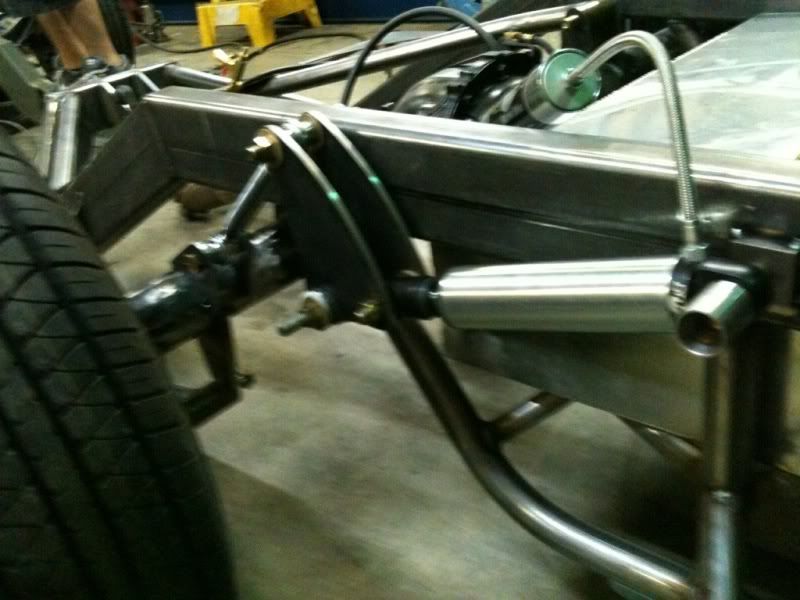 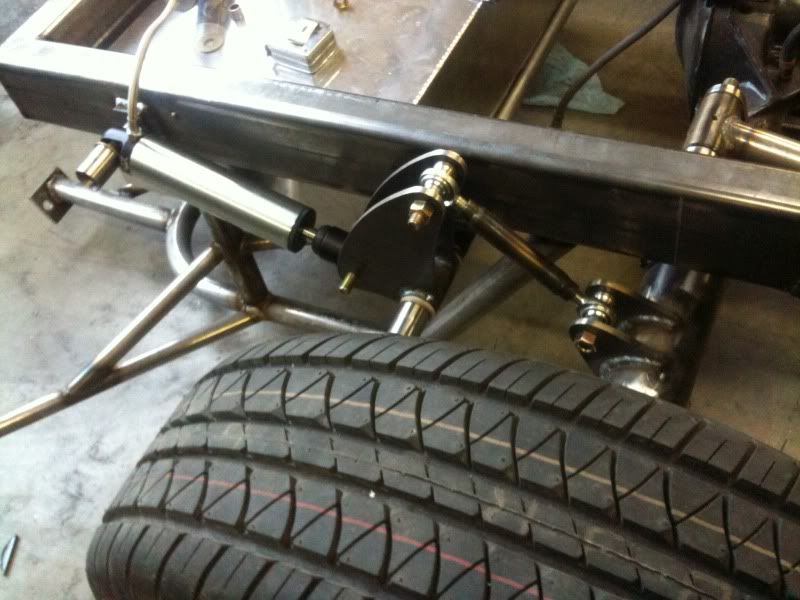 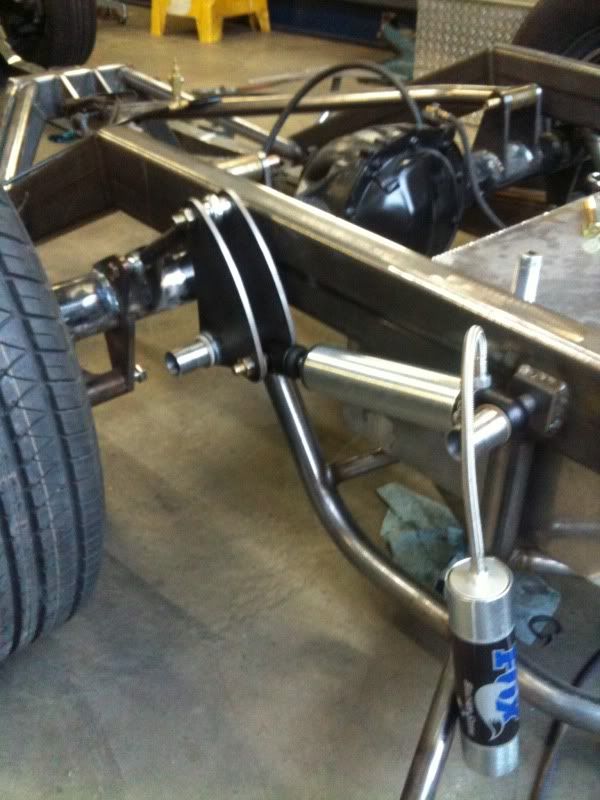 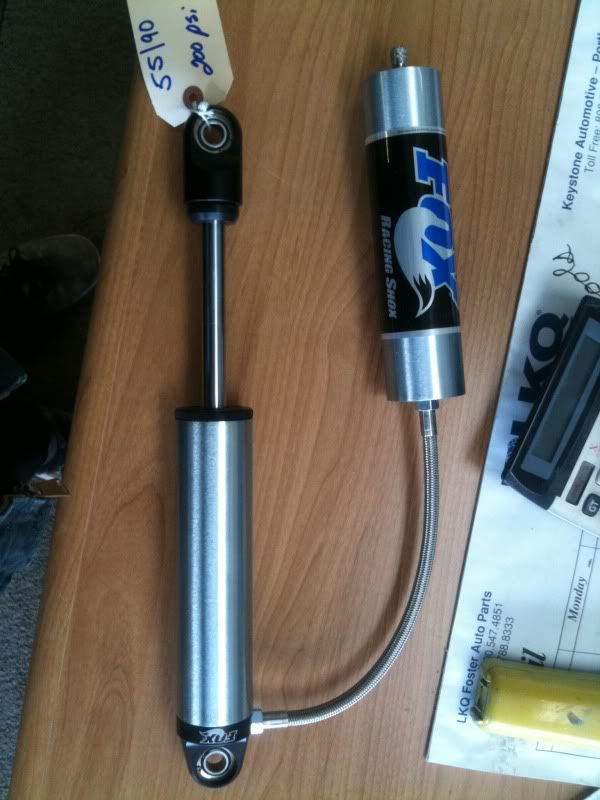 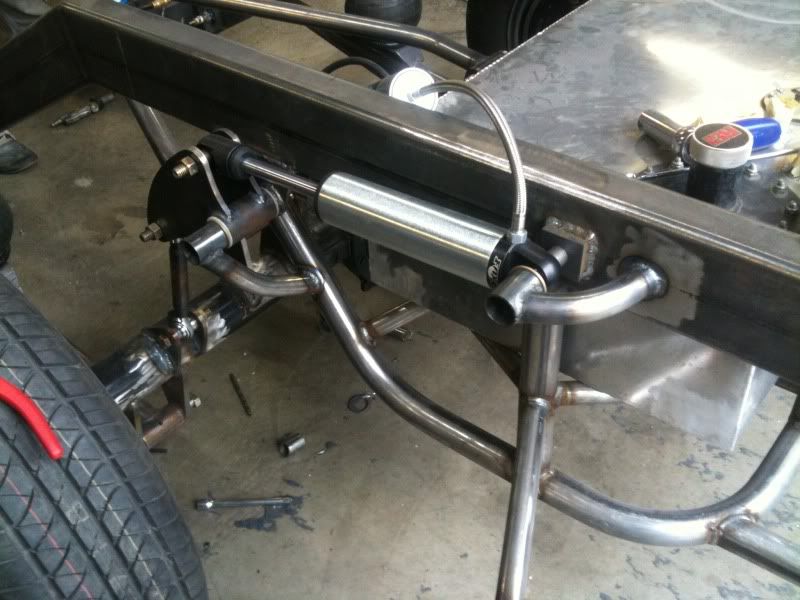 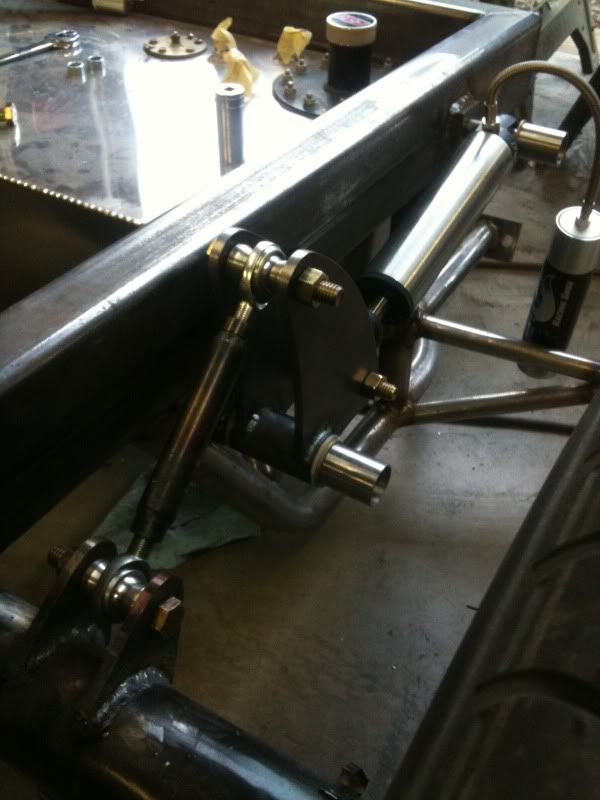 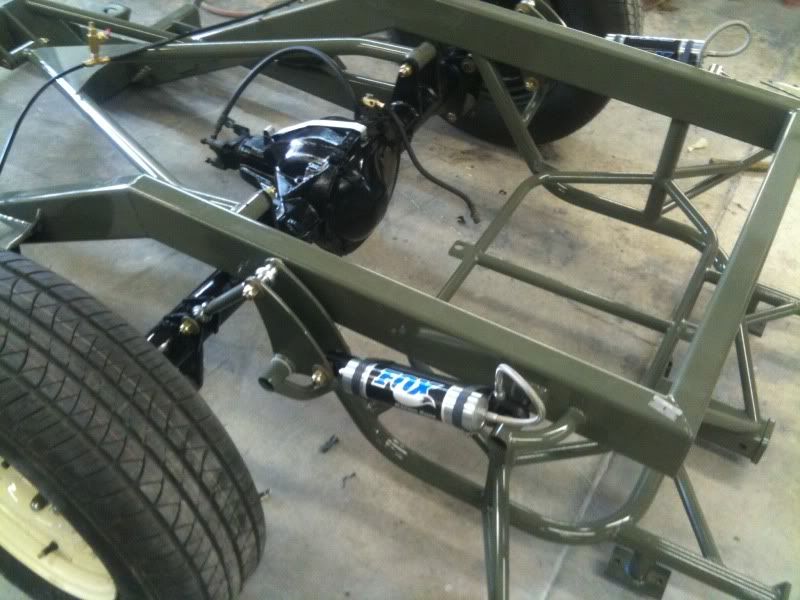 this setup gave us 10" of perfectly smooth operating motion with a 5" travel shock.. With the links all being parallel, using delron bushings, and hime joints. We achieved perfect chemistry in the movement. On to the power plant. Earlier I stated that I had a donor truck. It was complete with a 305 small block, 700r4 and an open 3.08 rear end. this was all going to be good and fine initially. I was going for "low and slow" with the 305 fully cherry'd out painted, new valve covers and a four barrell intake i figured i was done.. It was even installed in the rolling chassis, when i got a phone call from my uncle. He is also a car advocate and was about to build a 69 chevelle with a built small block, but pulled the plug on the program.. He called me and asked if i would be interested in his dis assembled, but all new motor in trade for a repaint on his 69 corvette. I instantly said yes and went and retrieved the parts. It is an early casting four bolt main 350, 20 over, balanced crank and rods, summit pistons, roller rockers, edlebrock 420 package, rpm airgap intake cam and aluminum heads. 9.8-1 compression, HEI distributor, aluminimum water pump... all the goodies, everything I needed to build a pretty badass motor. So my dad and I assembled the engine, broke it in on a run stand and put it right in the truck. 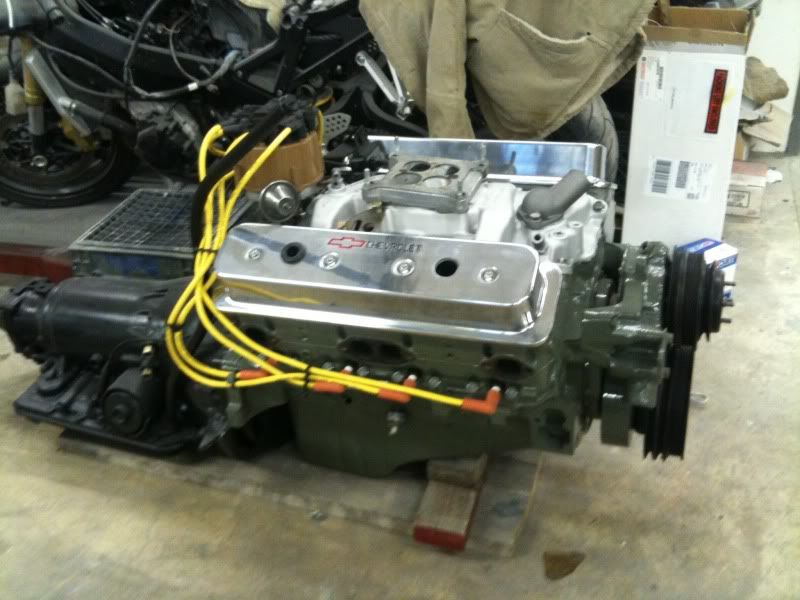 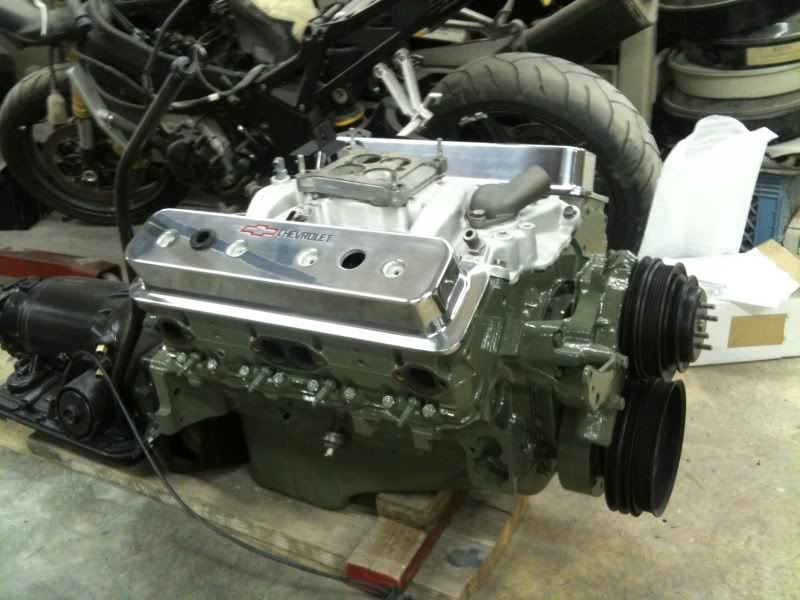 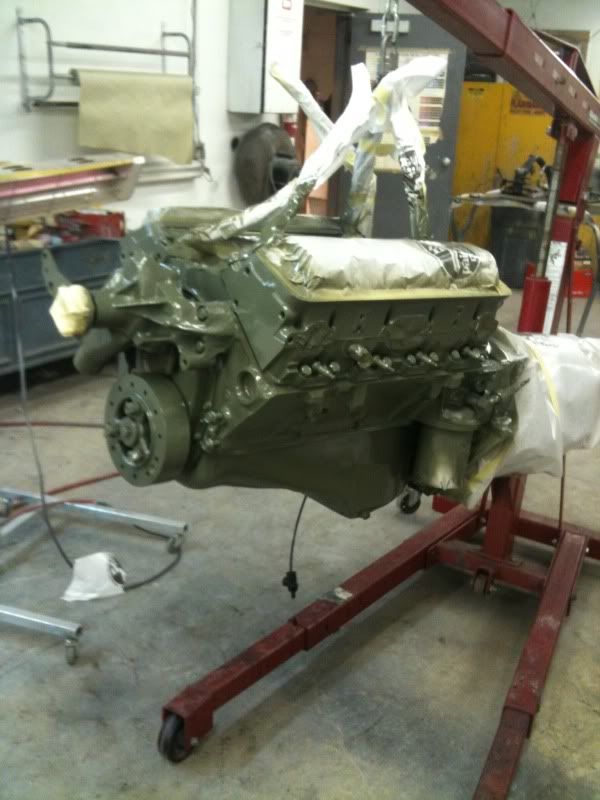 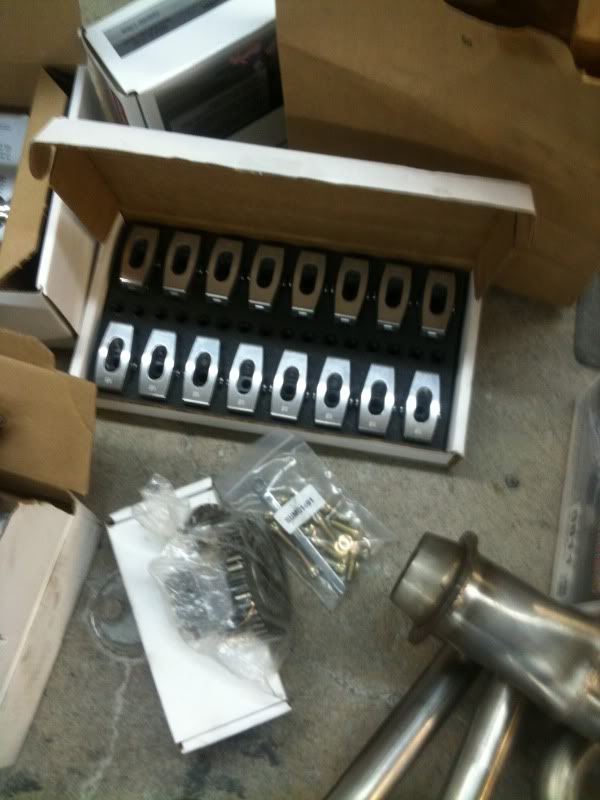 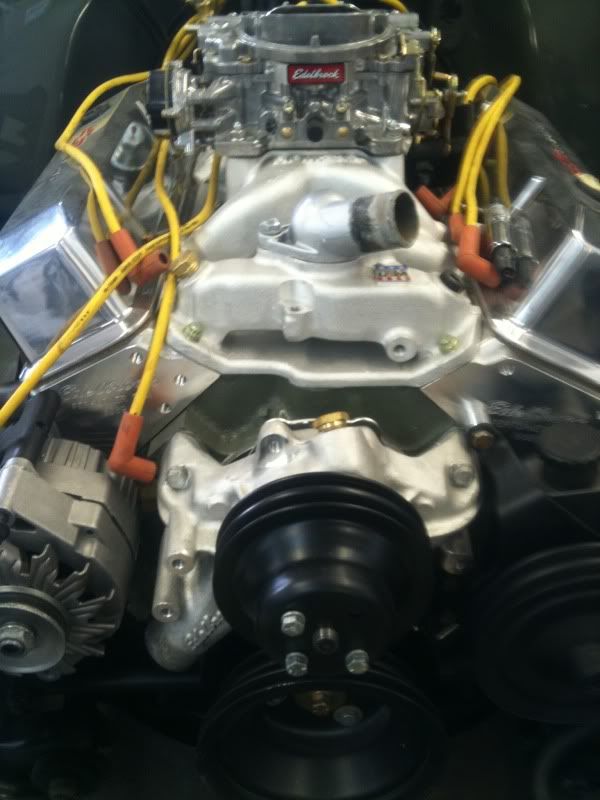 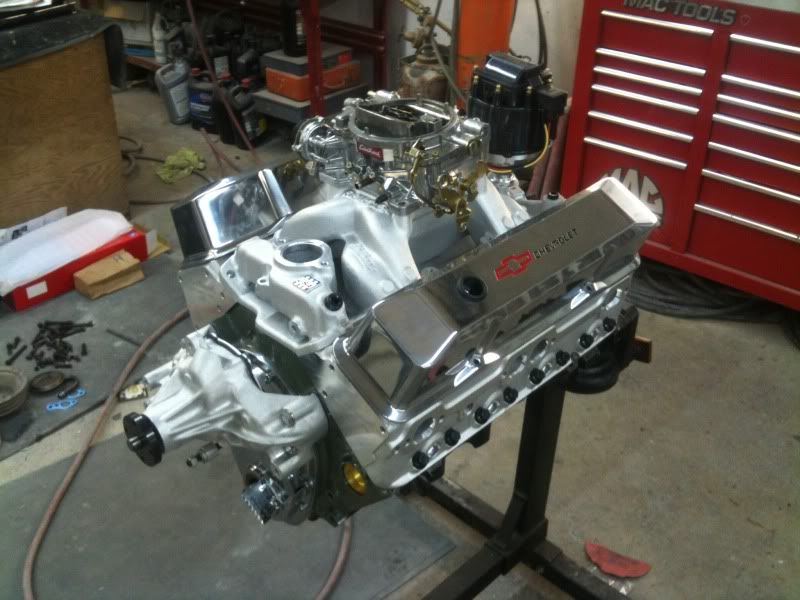 The engine has solid drop motor mounts that keep the engine from sticking out the hood with the large z in the frame. we built these with out the cab on the frame, and as it turns out we ended up with the engine a bit too far forward and created a huge project for the exhaust. the block hugger headers were about all that would fit due to the frame rails, and with the engine a little too far forward the dumped right in to the front cross member. creating a system was so so so gnarly! I ordered (6) 180 degreen stainless mandral bends in 2.5" stainless steel. Ryan modified the headers by shortening the collector and angling backward. then created two unique down pipes that clear the starter and oil filter, as well as the major hold up, the cross member. In addition to difficulty level, we have to keep everything so tucked because this thing is gonna lay out and nothing can hang lower than the frame. 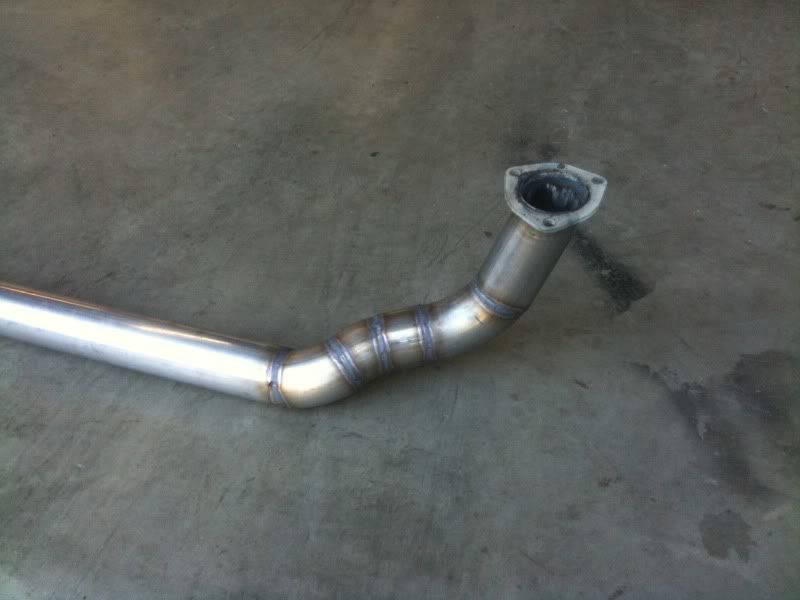 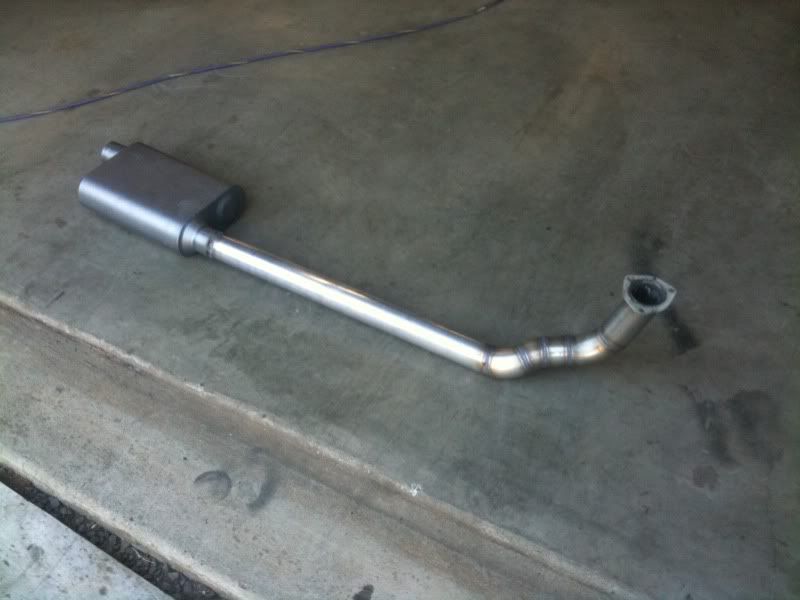 we cut the 180 degree bends up and created all the curves for the whole system, then used 40 series flowmasters and mounted them under the cab. 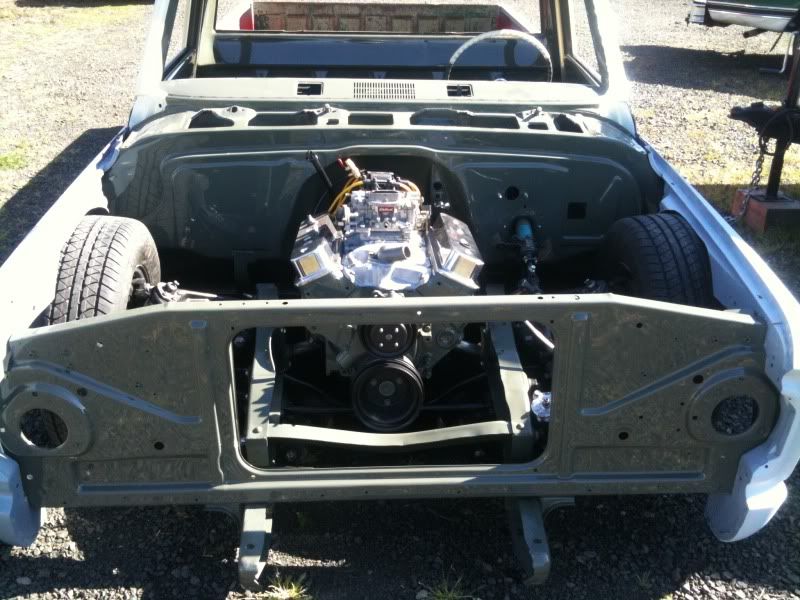 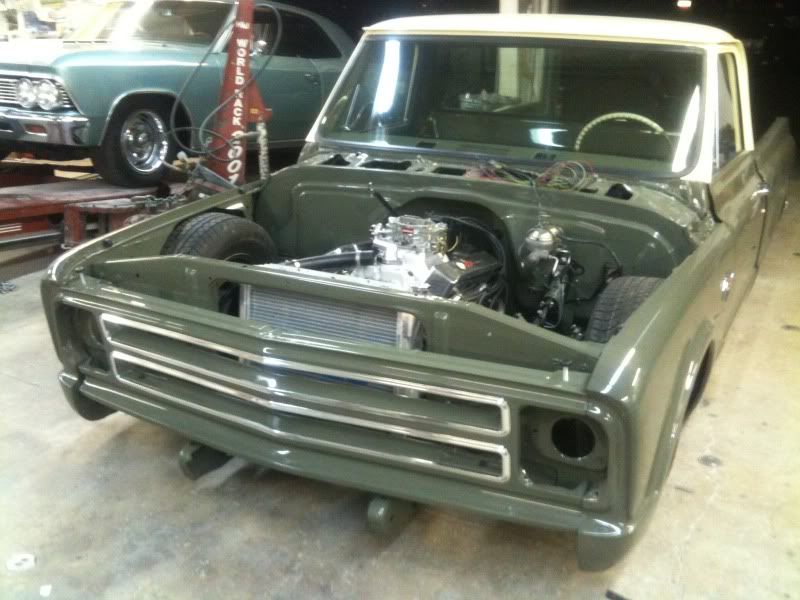 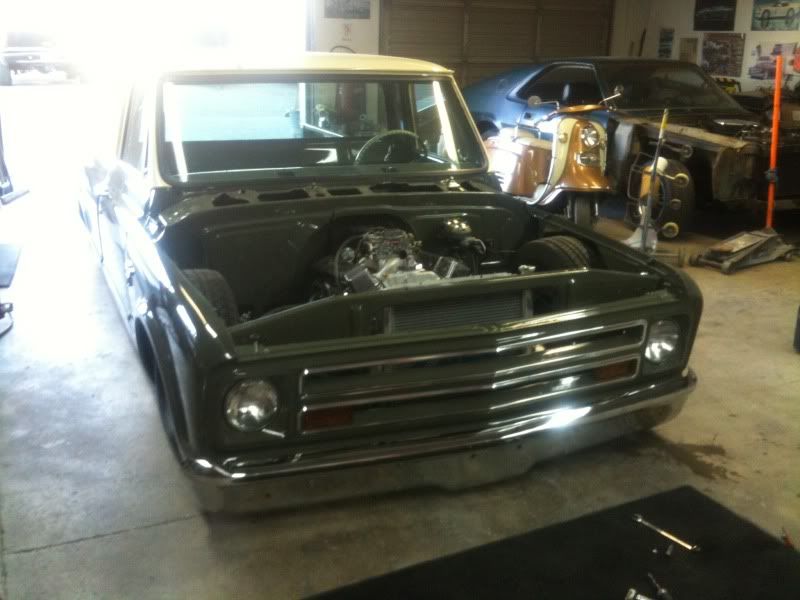 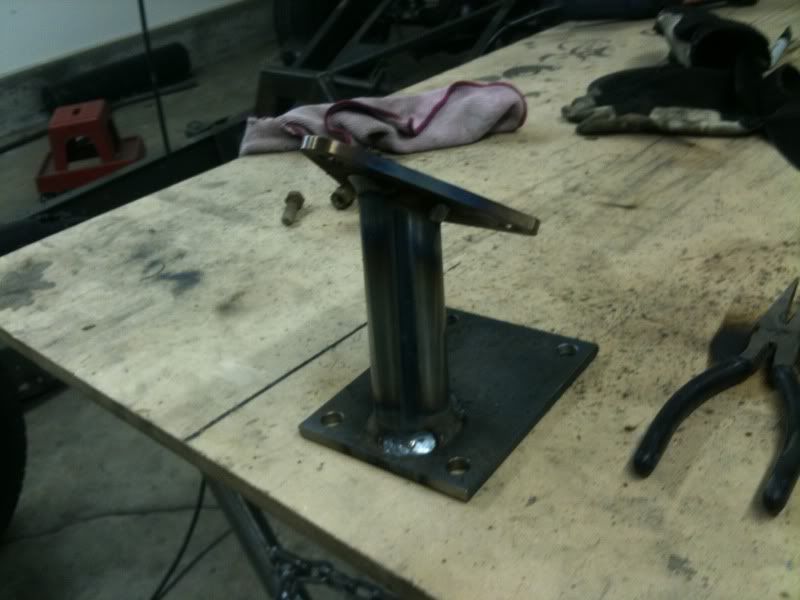 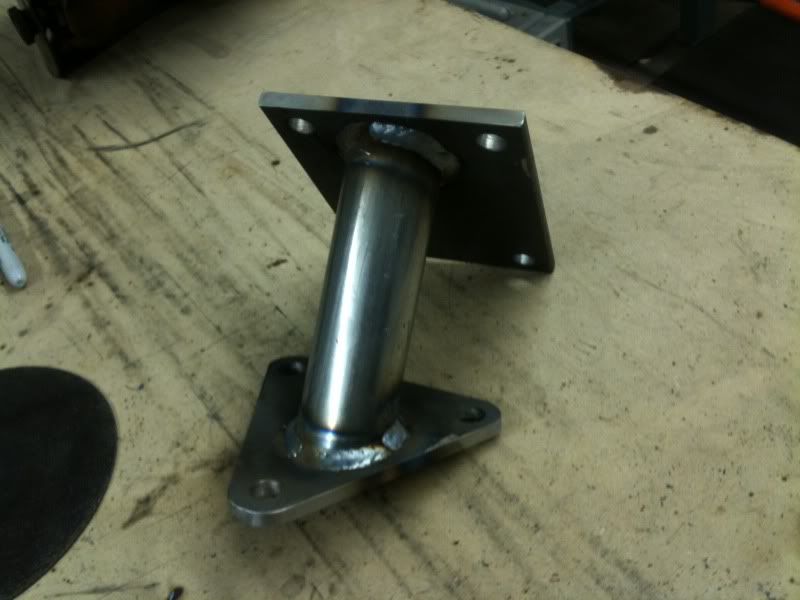 afco aluminimum radiator, electric fan. Corvette master cylinder, tranny cooler, color matched sore support. Air ride specifics: 3/8" DOT brake line, quick connect fittings, rear frame section holds air and is the air tank. volvo engine driven compressure on a pressure switch and airbagit.com's air engine valve manifold mounted in the glove box. AVS billet 7 switch controller. 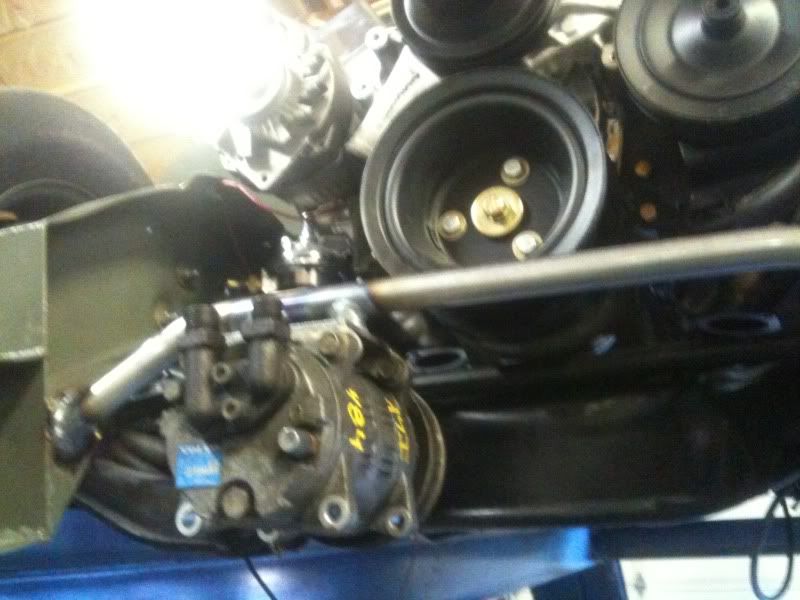 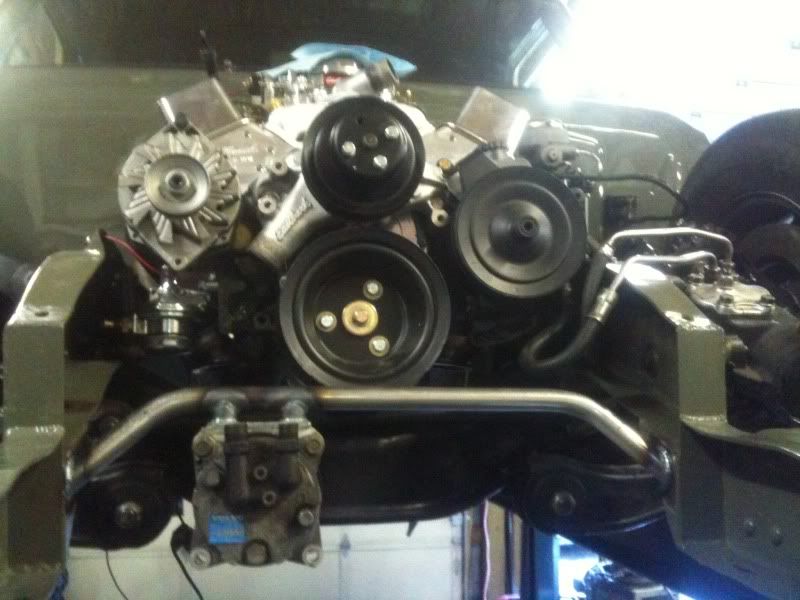 Obviously I shouldve been creating this thread the whole time I was doing the build, but I didnt, I was awfully busy! So please mind my thread being somewhat out of order. I have many more pictures from the project if anyone wants to see something specific they have not seen. Here a are a bunch more from misc. spots along the way 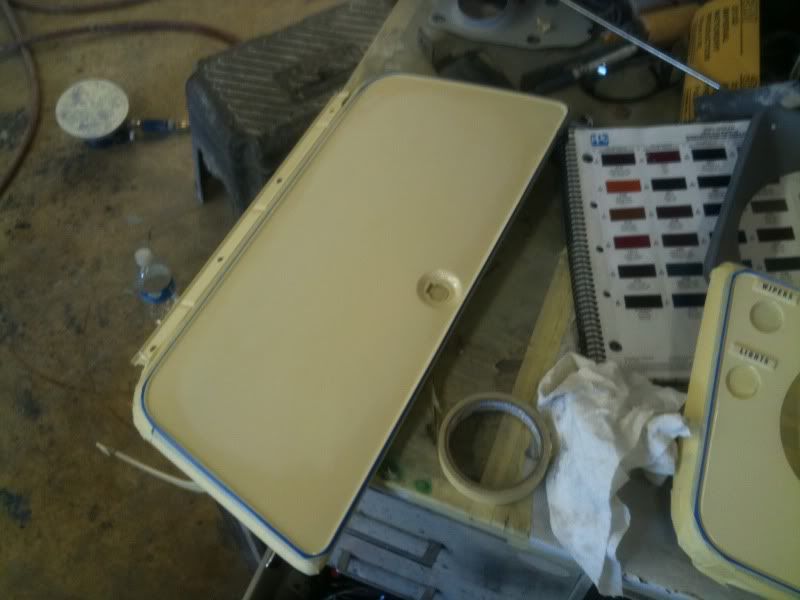 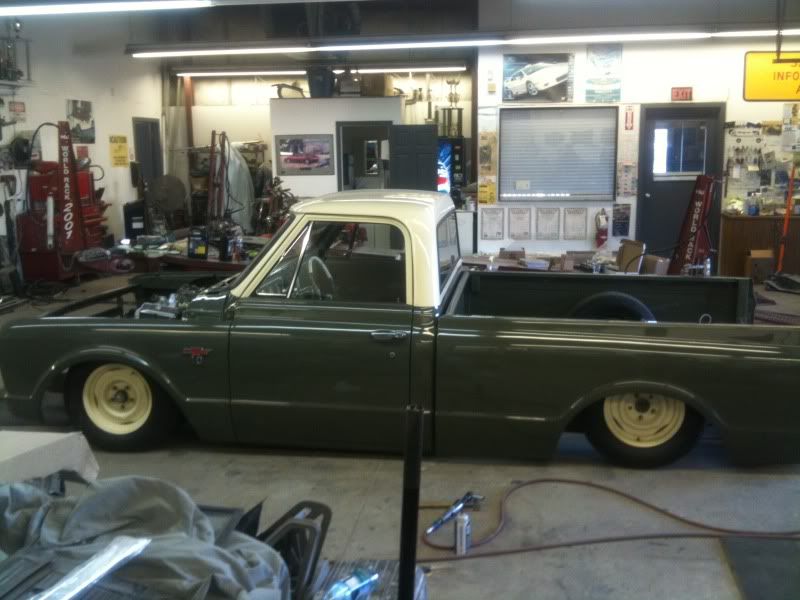 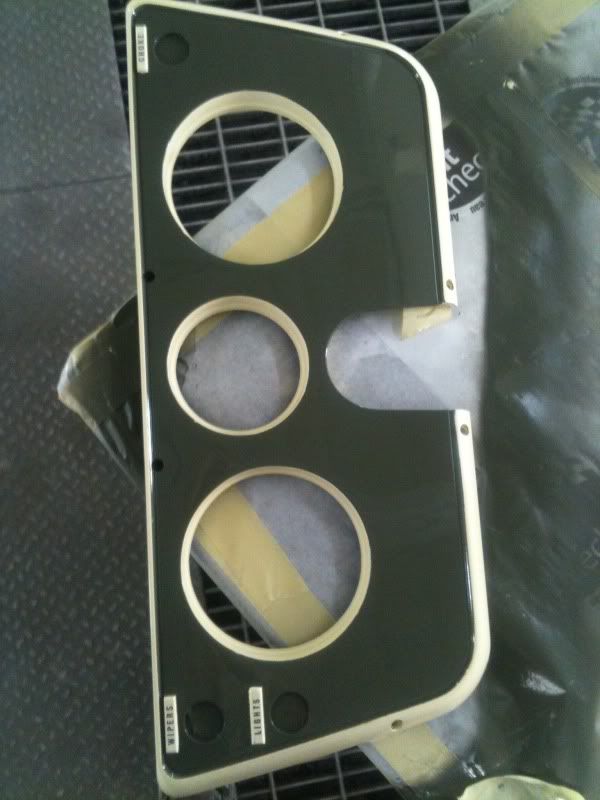 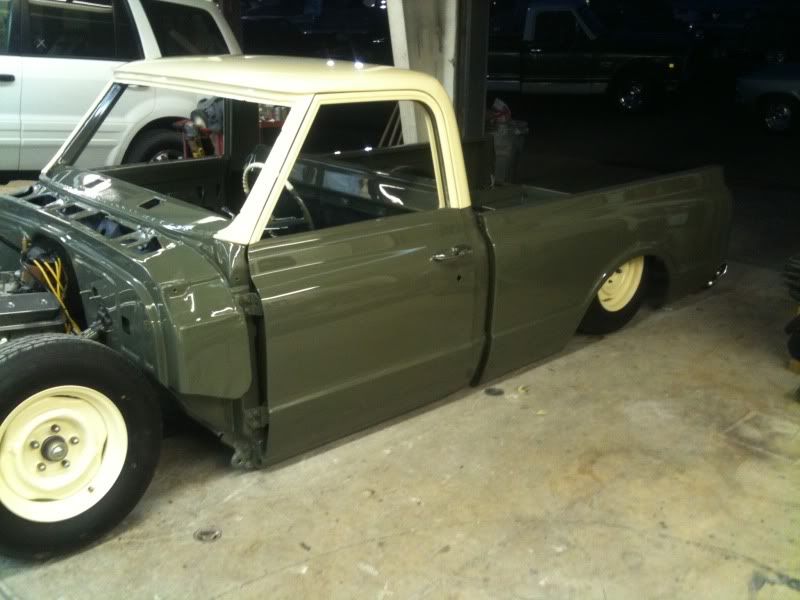 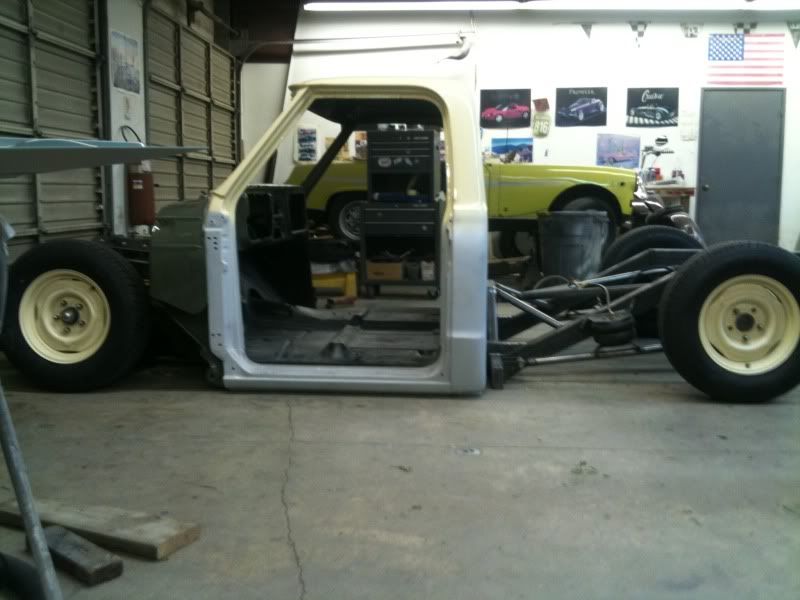 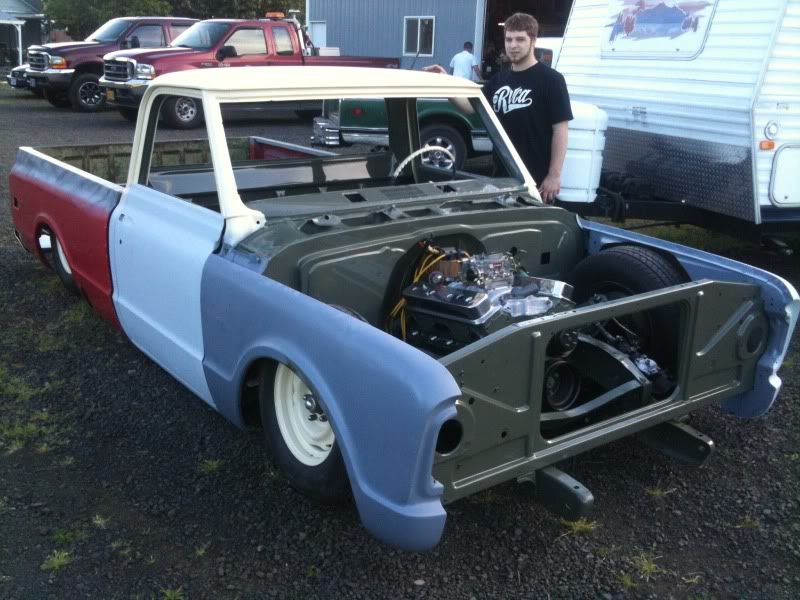 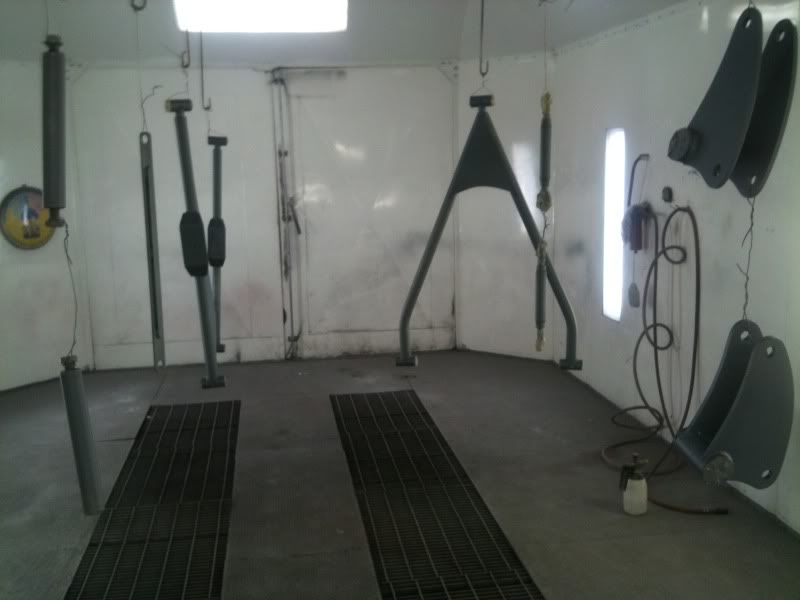 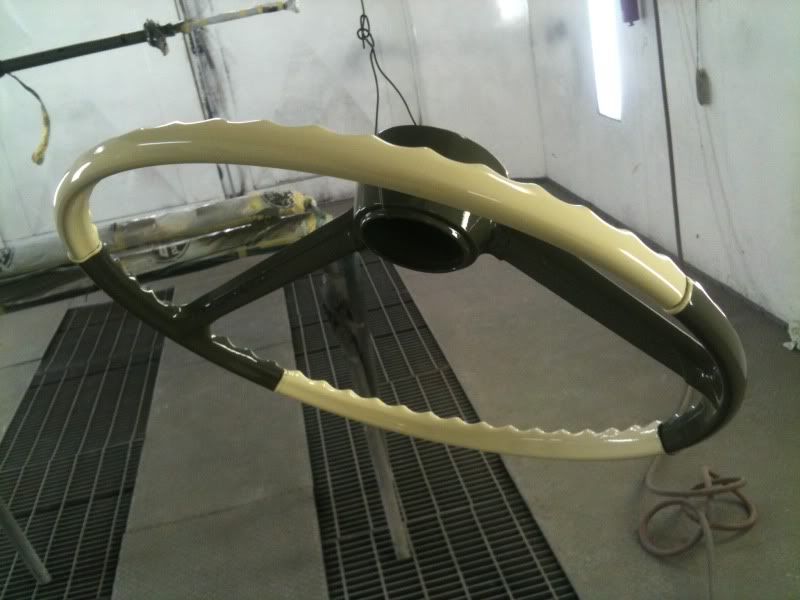 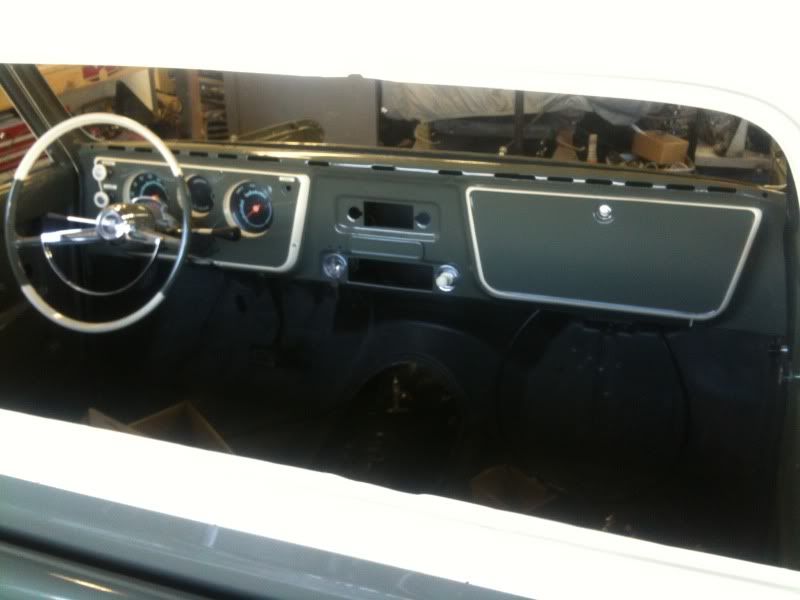 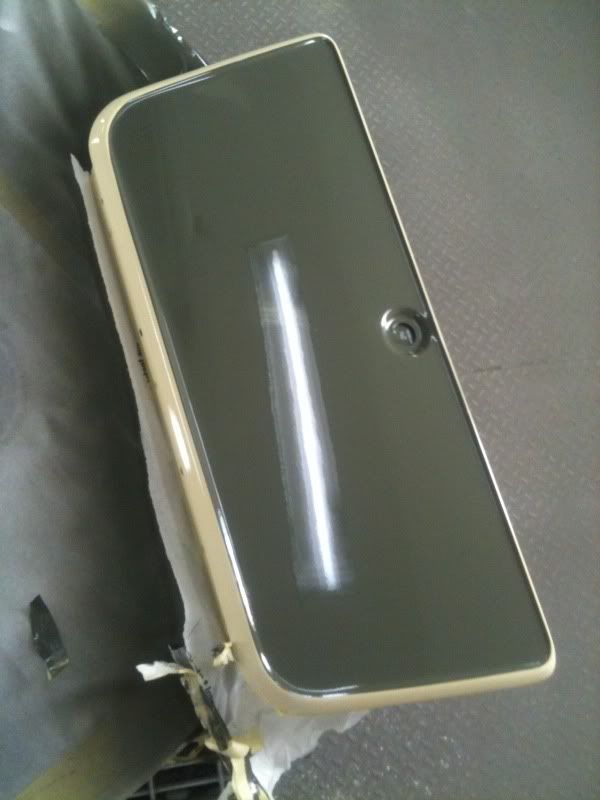 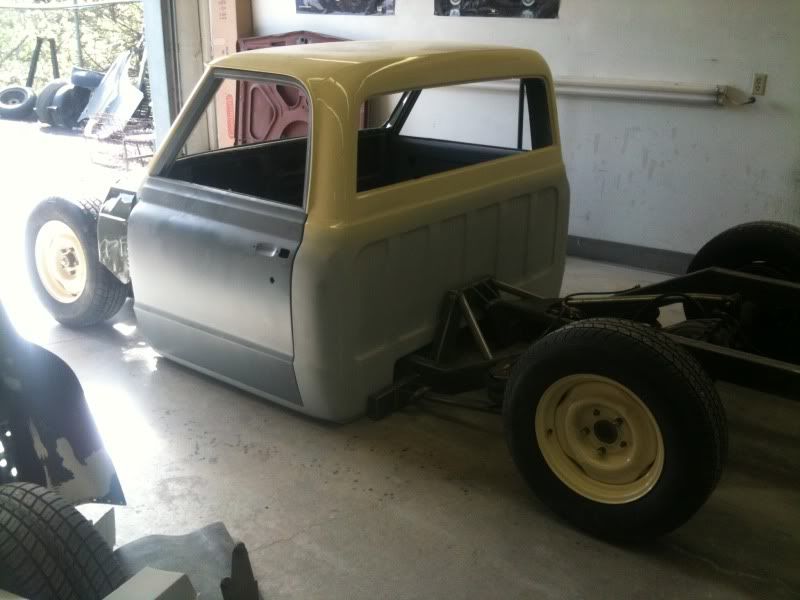 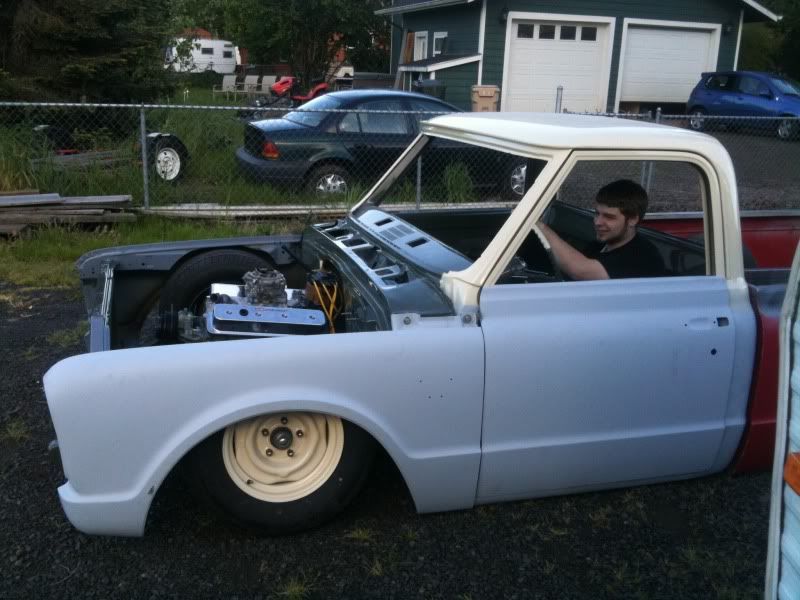 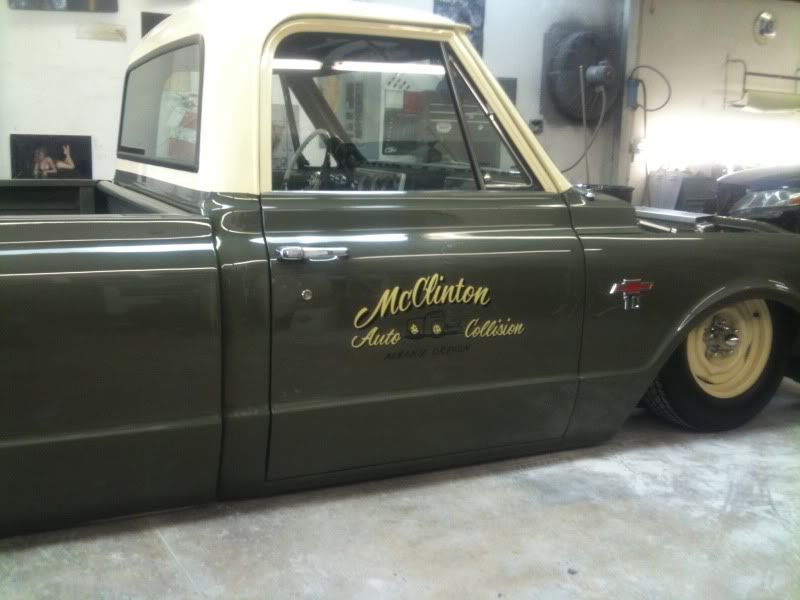 I had a local pinstriper paint on some old school looking logos for the family business. McClinton Auto Collision Albany, Oregon.. good advertisement and i really like the look of it, goes with the stock steelie wheels and spider caps... the steering wheel is off of a 65 nova. 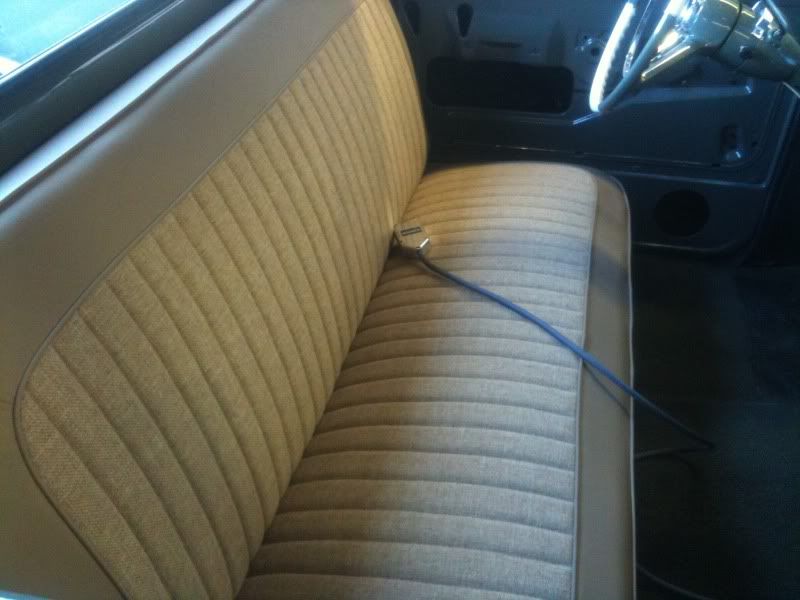 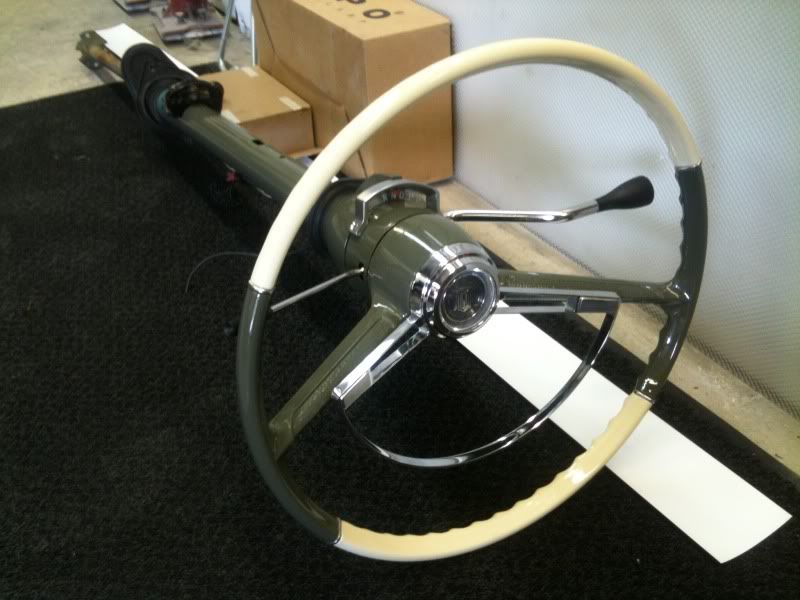 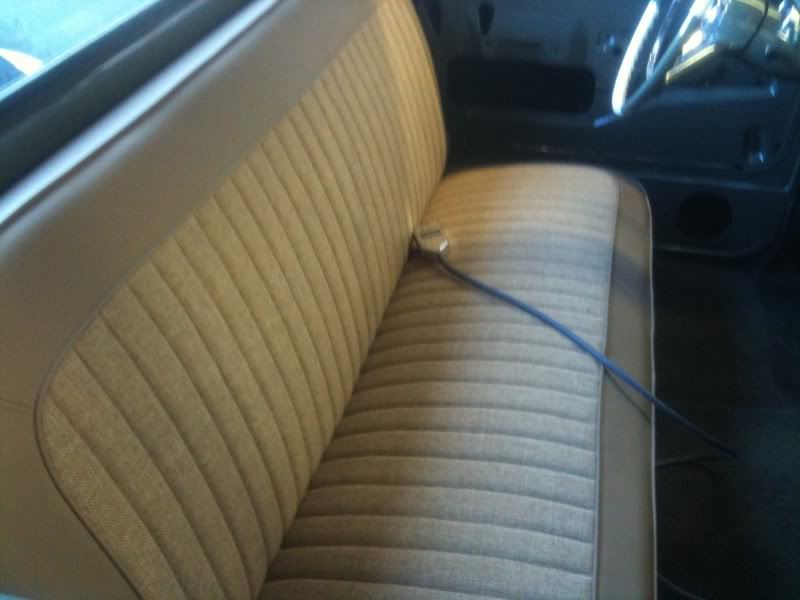 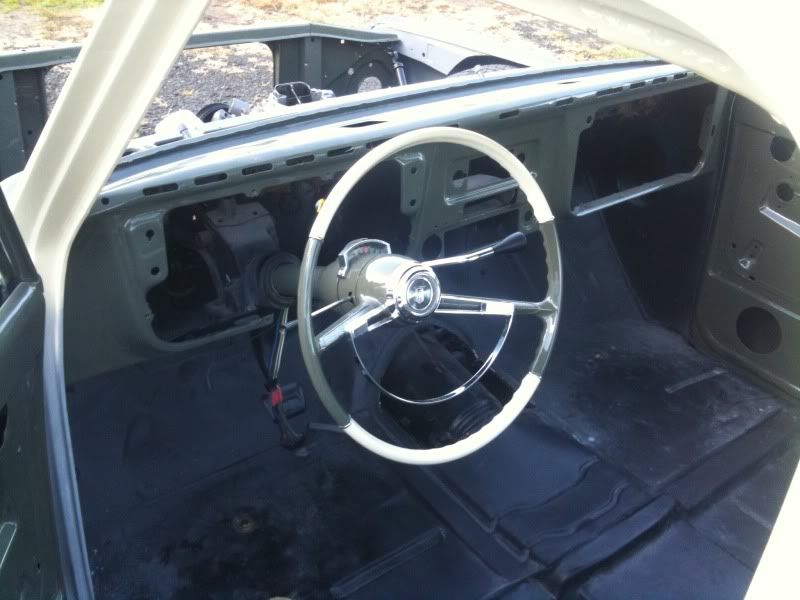 the interior is still unfinished. I have carpet in it and the seat, but no stereo door panels or heater controls.. 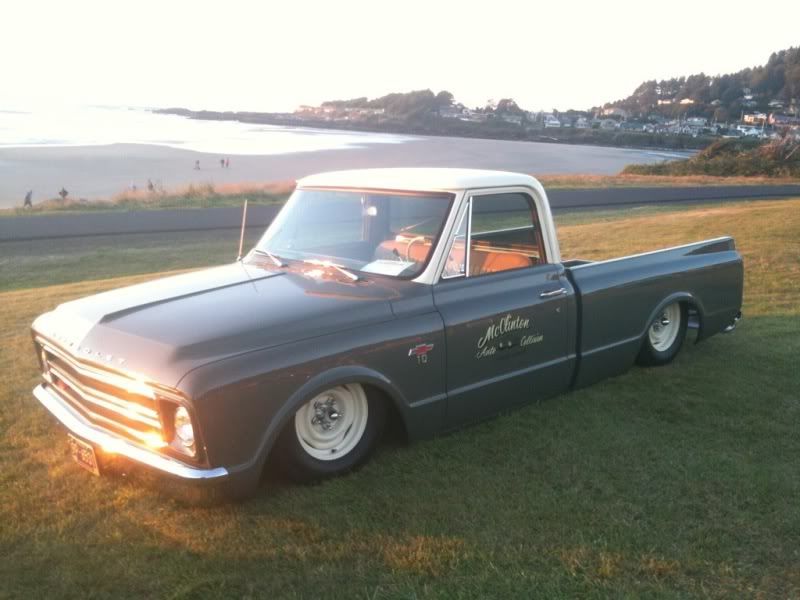 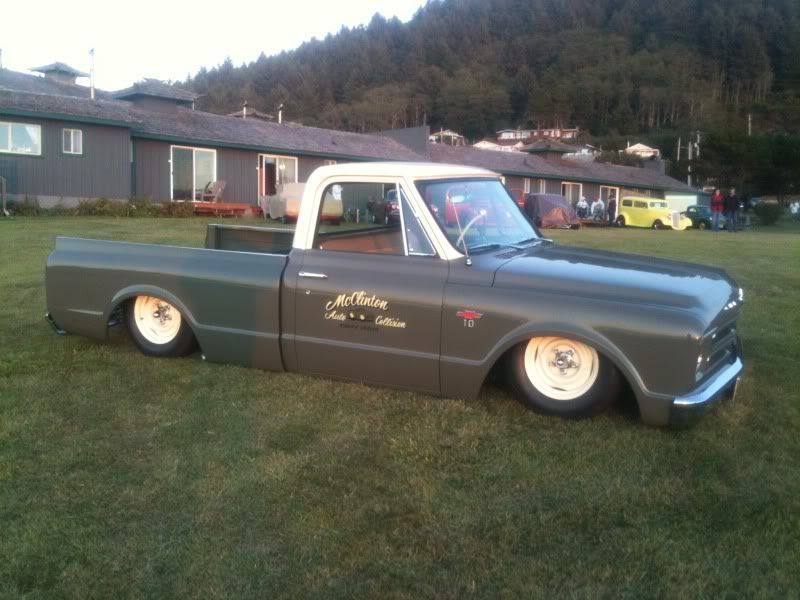 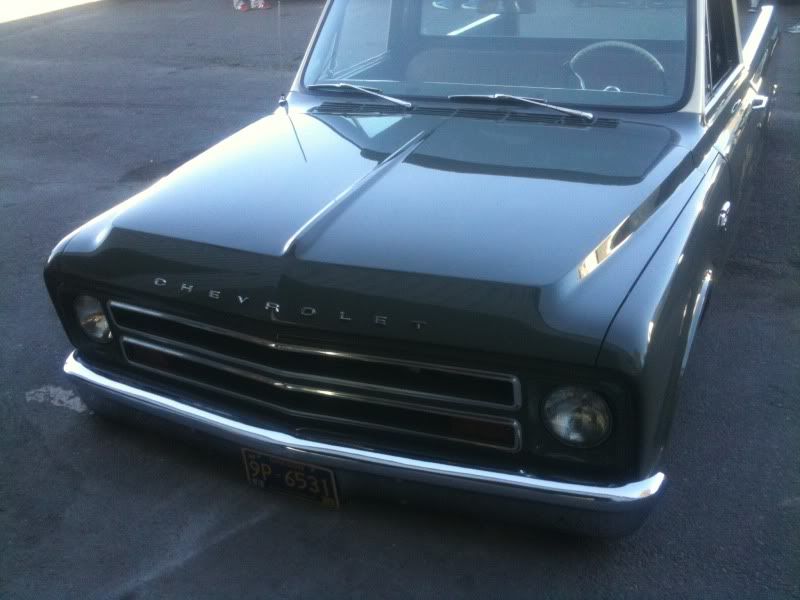 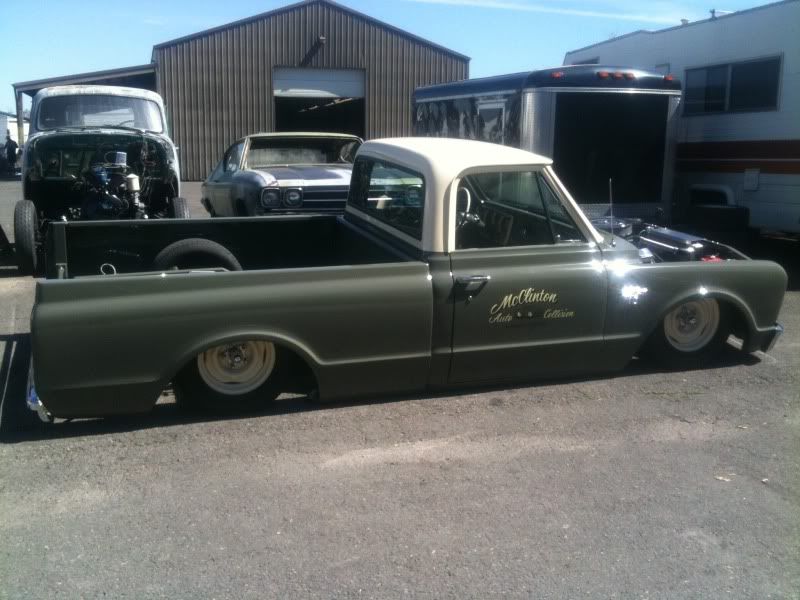 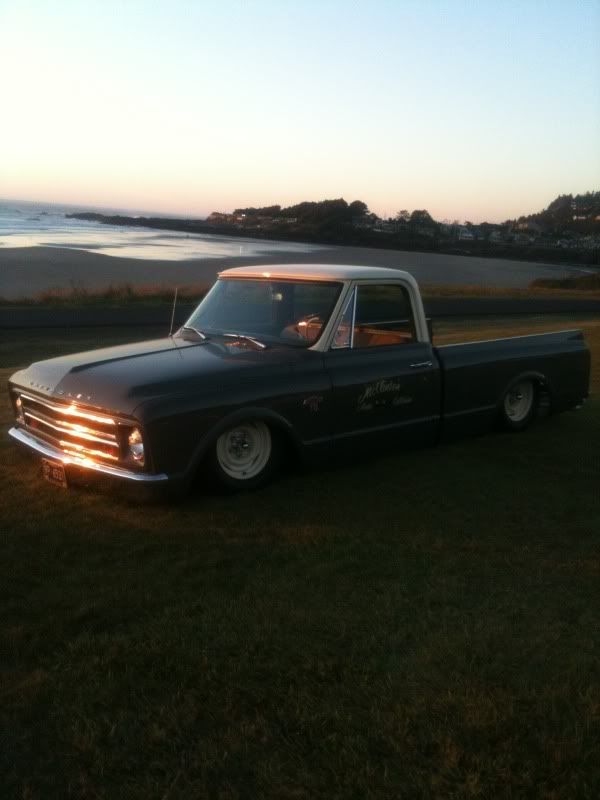 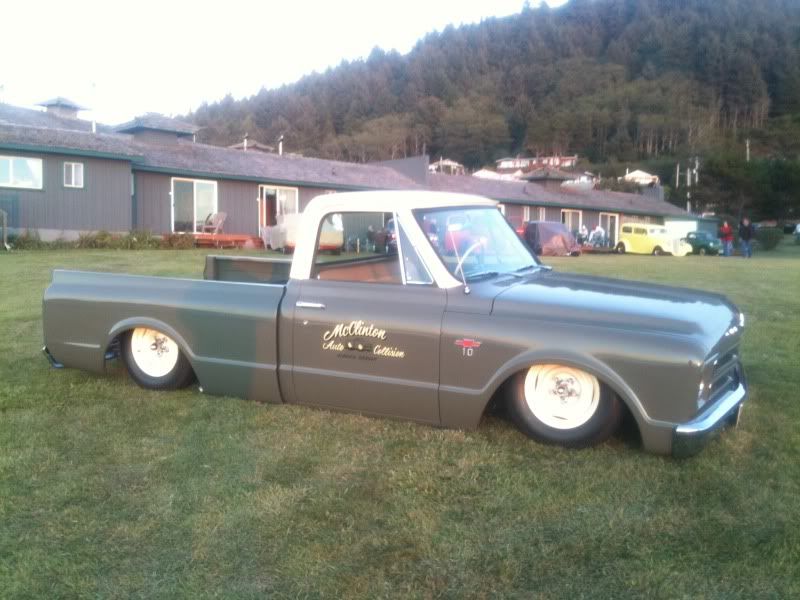 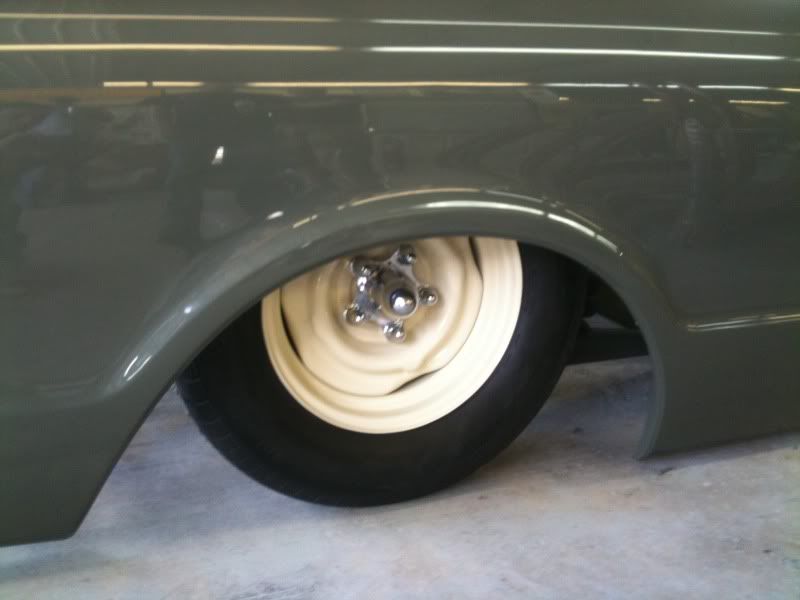 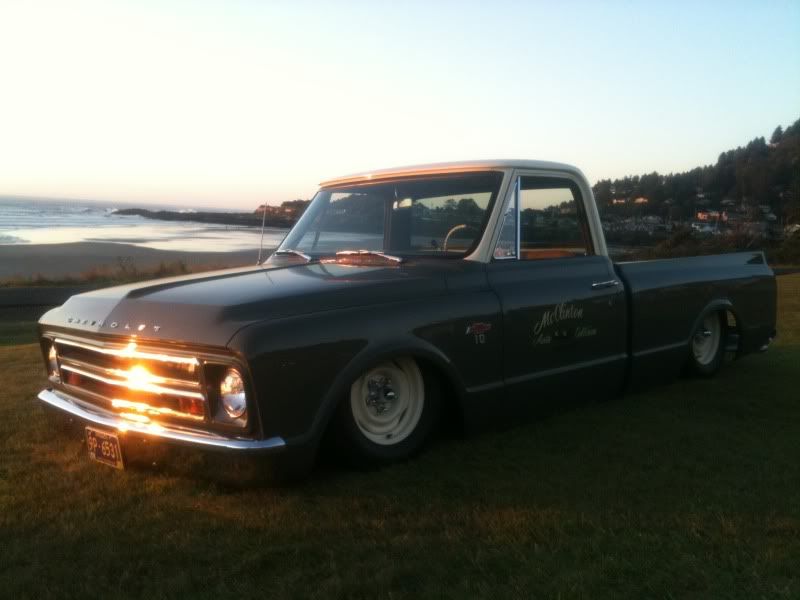 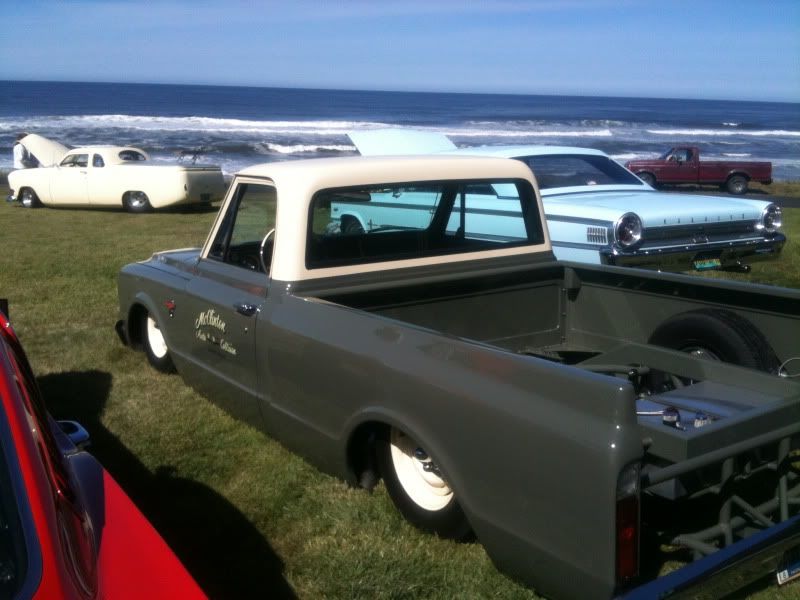 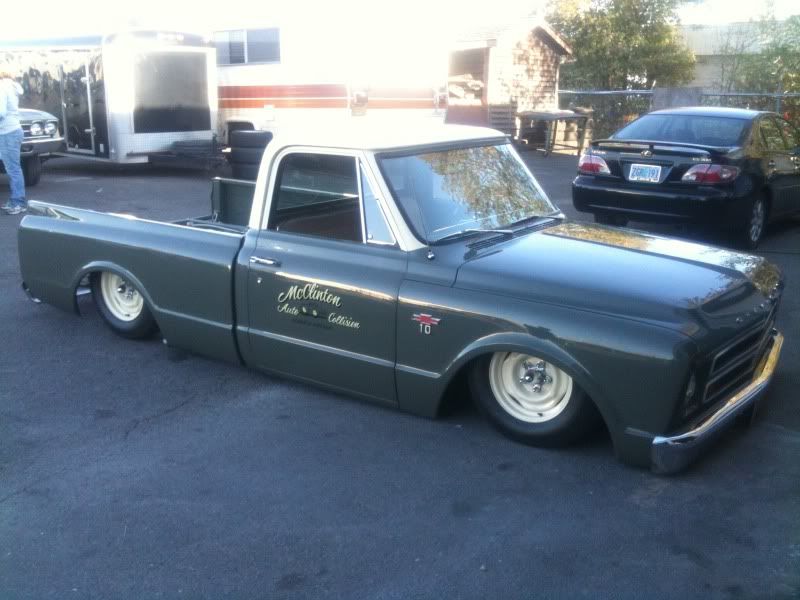 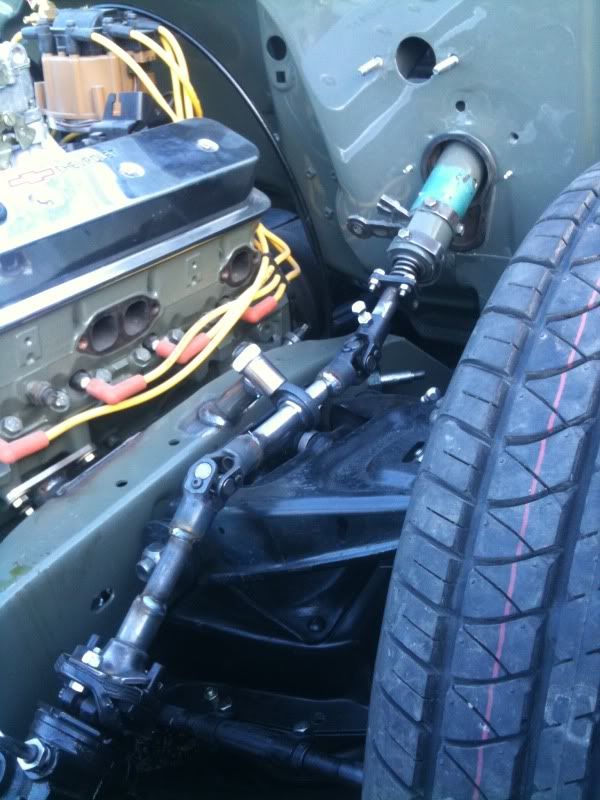 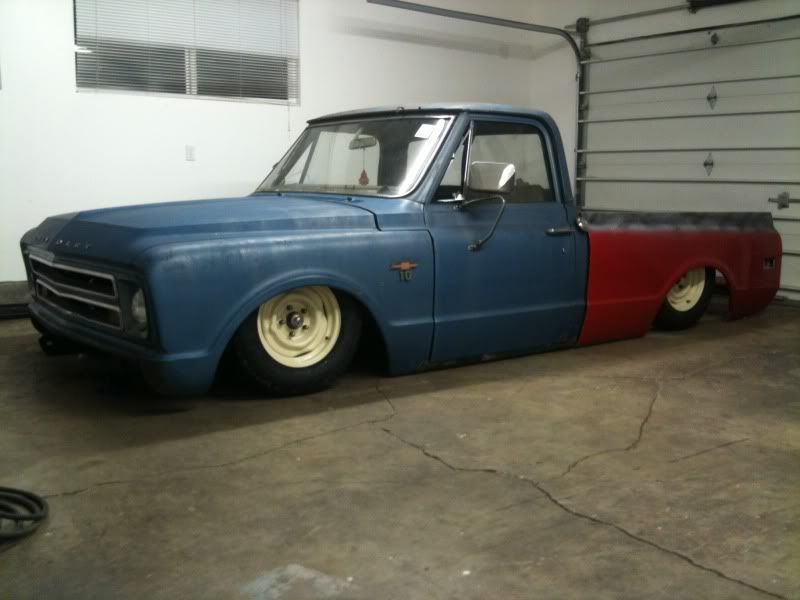 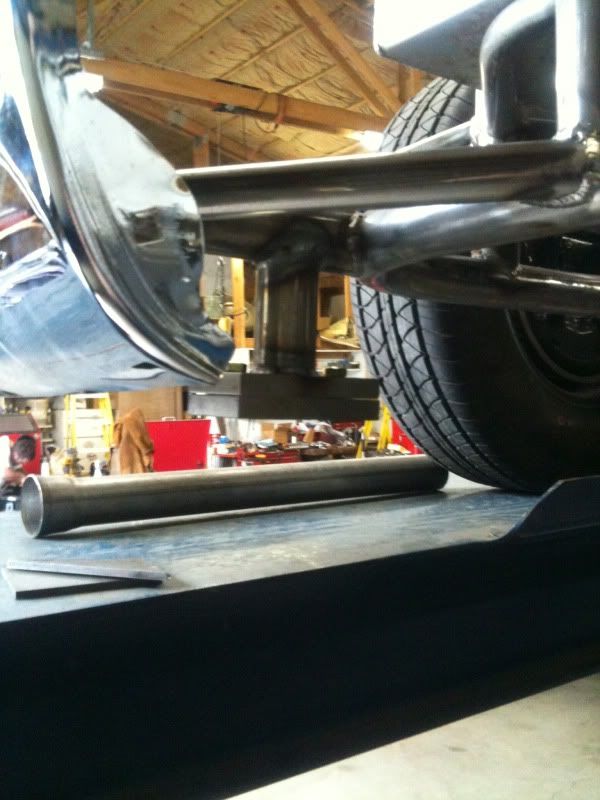 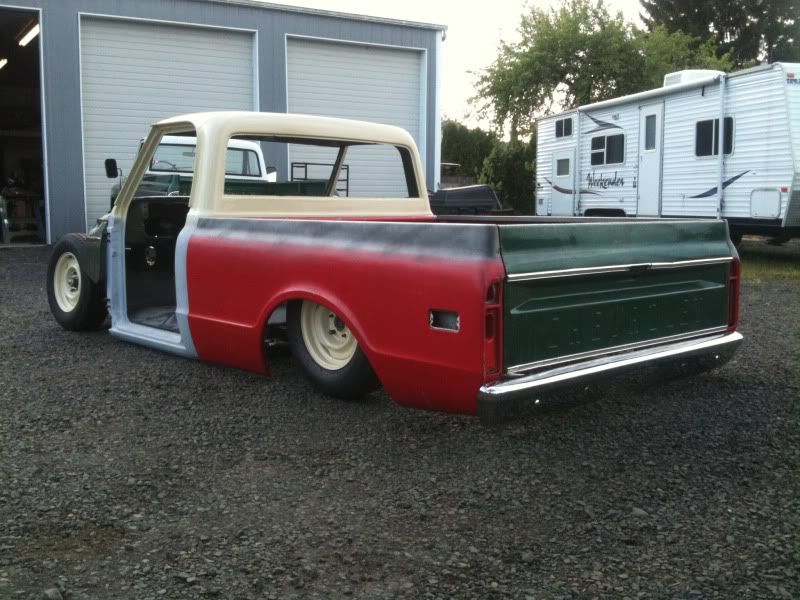 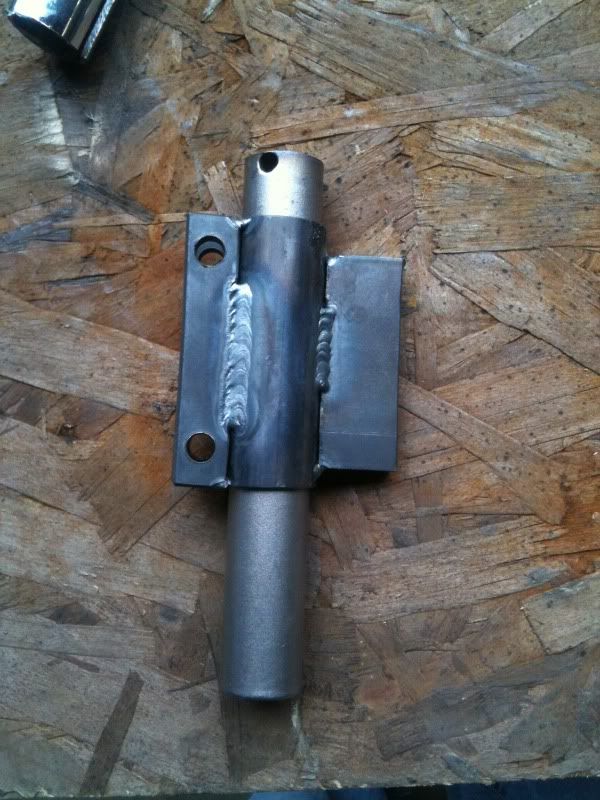 titanium drag stick 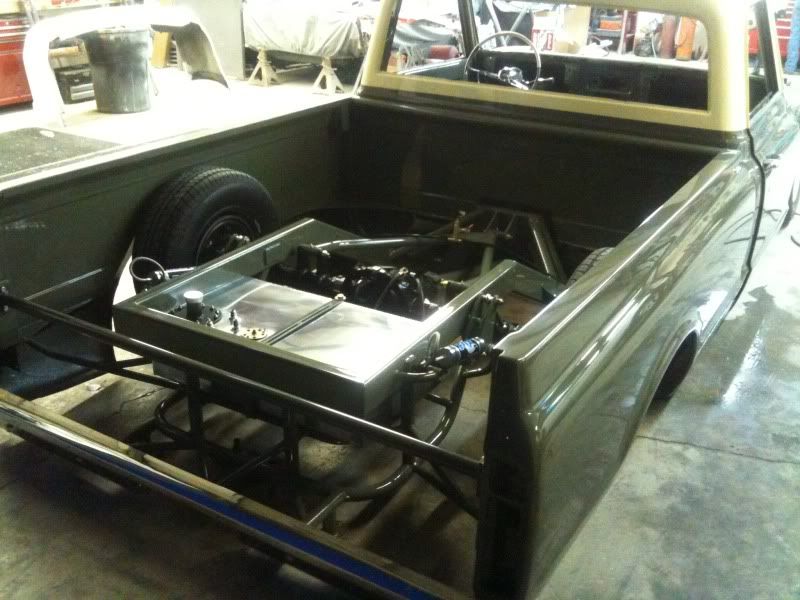 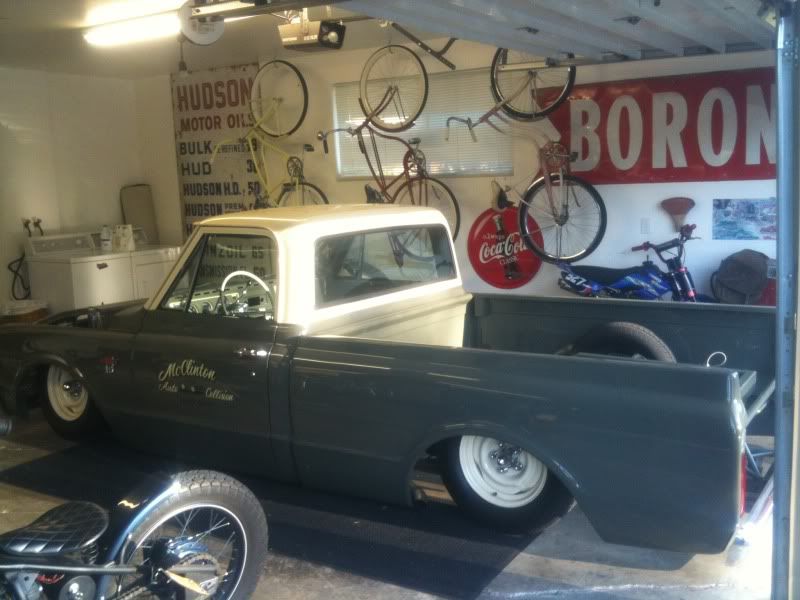 my garage now 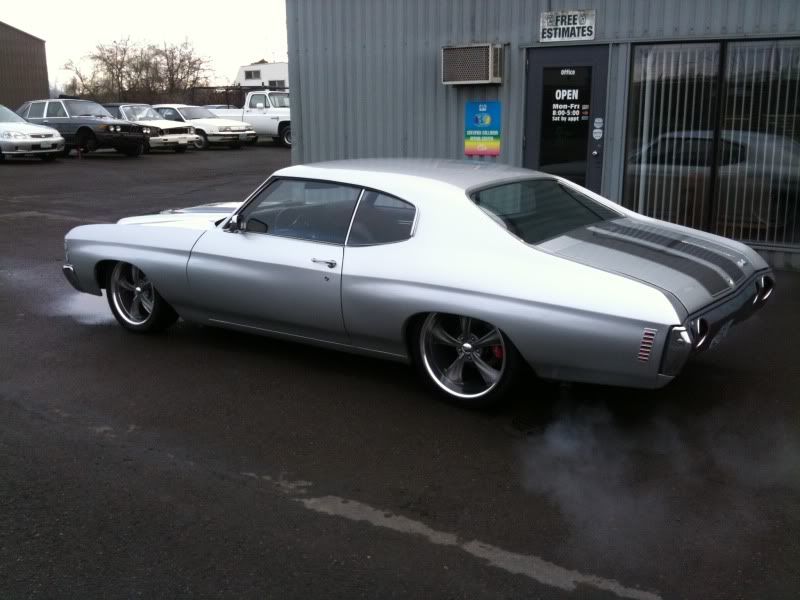 my chevelle, also bagged, doesnt lay out. wilwood brakes, 18's and 20's Here is a picture of my roomate Ryan and I partyin it up one night lol 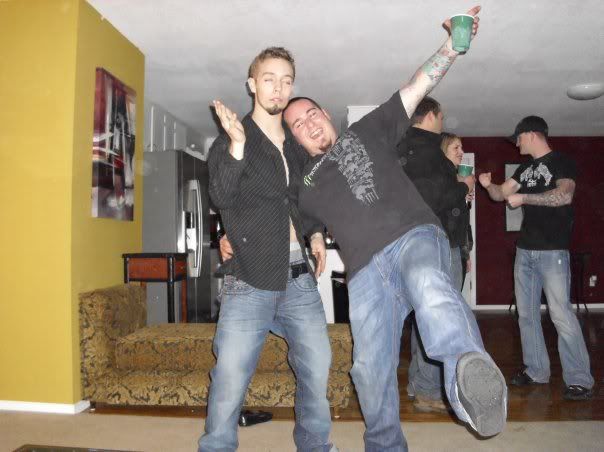 horrible I know. Im on the left, ryans on the right. anyway back to the truck. right now I am working on the door panels, and tailgate. I will post more pics when they are complete.. also in the near future Im going to ditch the 700r4 and put a turbo 400 with a shift kit in it. And ultimately do a different rear end because the 3.08 is entirely too tall. 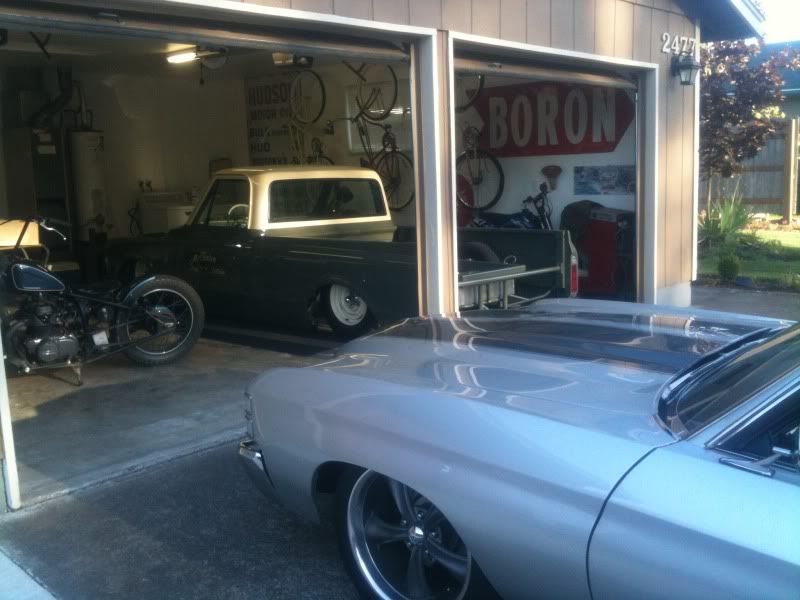 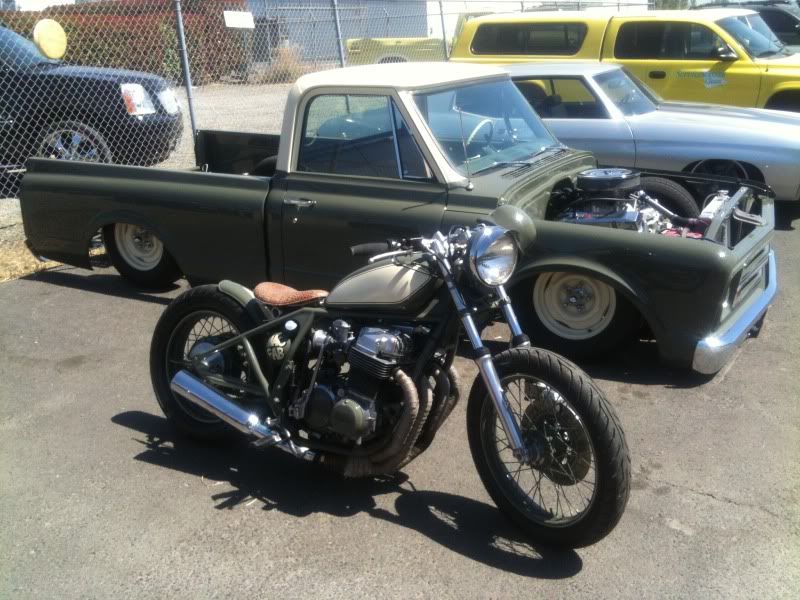 My matching 1970 honda bobber I built from a 750(4) The color inspiration! I built the bike a couple years ago and loved the color so much I wanted to paint something larger that color. I was painting some cell towers for a company that were disguised as lamp posts and thats the color they were having me paint them.. I kept it around and put it to use. Last edited by McClinton527; 10-04-2010 at 04:08 PM. |
|
|

|
| Bookmarks |
|
|