
 |
Register or Log In To remove these advertisements. |
|
|
|
|||||||
|
|
Thread Tools | Display Modes |
|
|
#11 |
|
Registered User
Join Date: May 2011
Location: Anderson SC
Posts: 3,897
|
Re: Project Goldilocks, '66 C10 SWB BBW Build
I got the rear bracing mocked up today with string to check for clearance issues. I put the trailing arm crossmember in upside down so the trailing arm brackets would be flipped, which was much easier than drilling out all of those rivets to flip the bracket!
Crossmember flipped and arms/axle in place at lowest drop height. 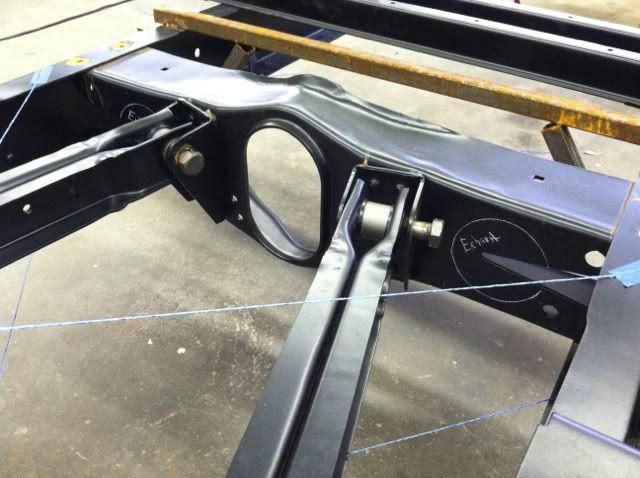 String pulled to check bed floor clearance at full drop. 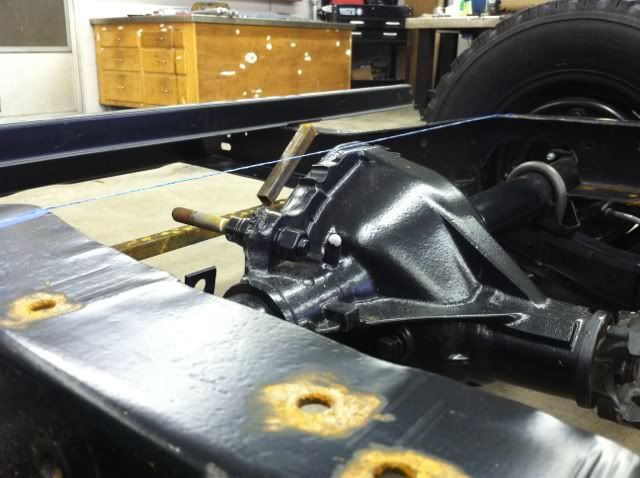 X member bracing pattern laid out with string. The bottom tubing will have to be curved downward in the center to clear the driveshaft, which I can do with my tubing roller. The upper tubes will only need a slight bend to clear the trailing arms at full drop. 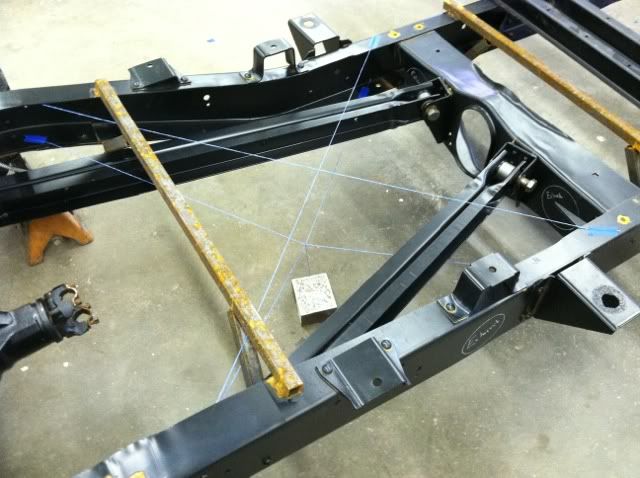 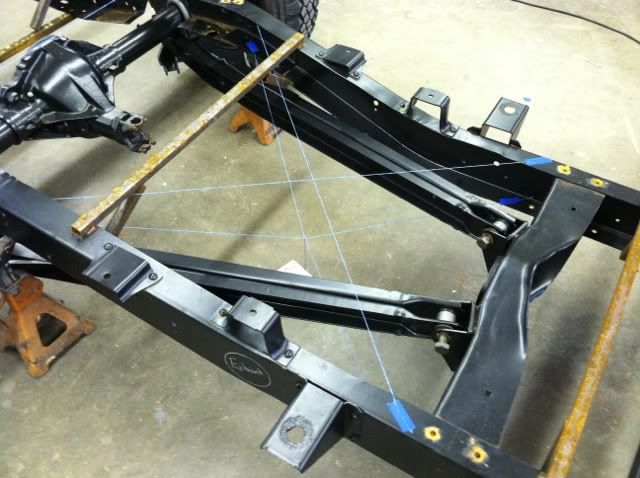 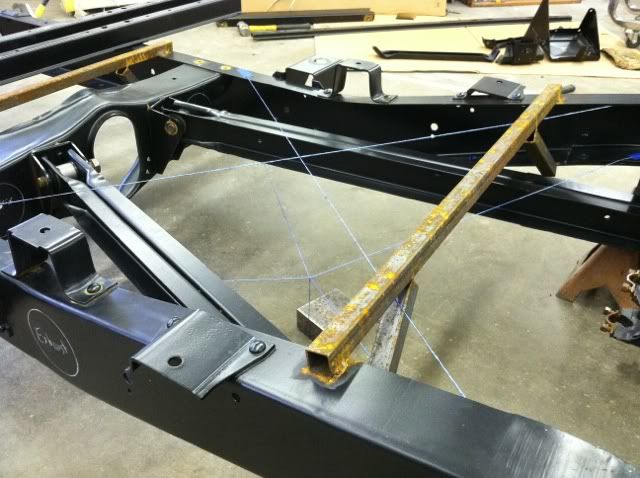 The bottom tubes will be curved to roughly match the shape of the frame rails. I'll double check the amount of drop I'll need when I bring the driveshaft back to the shop and have the engine/T56 installed. 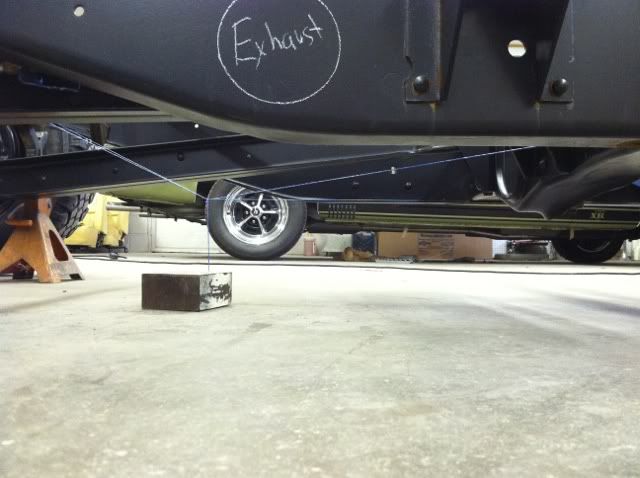 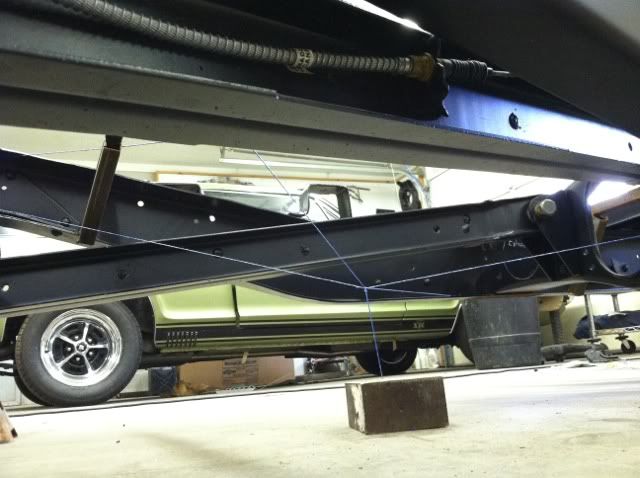 Also decided to make the exhaust run through the crossmember and out the side through the frame rail. This will give more ground clearance and make routing the exhaust tubing easier than trying to go over the rear axle. 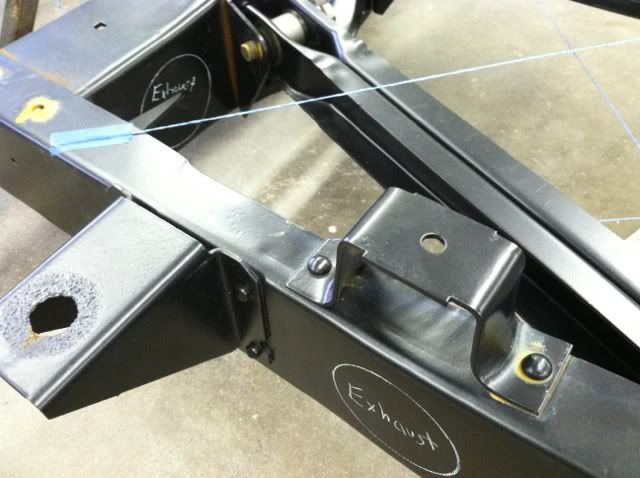
__________________
Project Goldilocks '66 C10 Short Fleet BBW Build '65 C10 Highly Detailed Stock Restoration Thread '78 Camaro Targa Roof Build '55 International Metal/Body/Paint Work '66 F100 Full Rotisserie Restoration '40 Packard 120 Convertible Coupe Restoration How To Restore and Detail an Original Gauge Cluster How To Detail Sand Body Panels, Edges, Corners, Etc |
|
|

|
| Bookmarks |
|
|