
 |
Register or Log In To remove these advertisements. |
|
|
|
|||||||
|
|
Thread Tools | Display Modes |
|
|
#11 |
|
meowMEOWmeowMEOW
Join Date: Sep 2009
Location: MKE WI
Posts: 7,128
|
Re: Br3w City's Project omgwtfbbq
Another nice ass day outside, so hit the garage hard. HARD. Seats came back out so I can coat the rails, and access the nasty carpet.
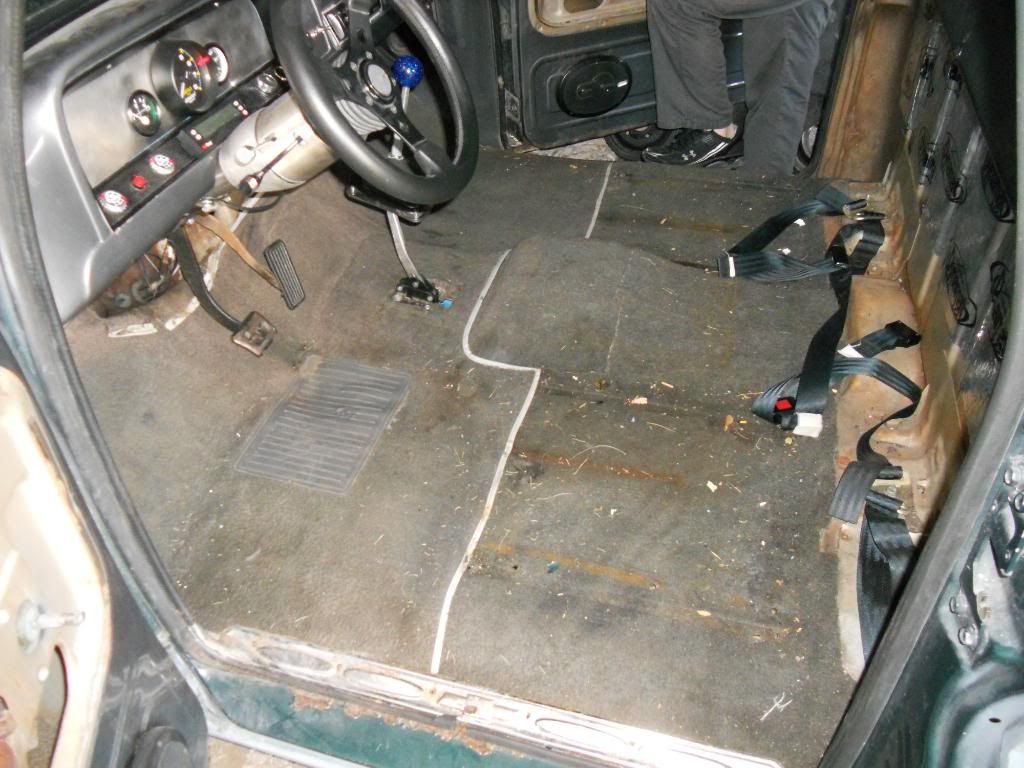 Pulled out the crap trim piece (I have replacements) and exposing the rust on the rocker and portion of the floor.  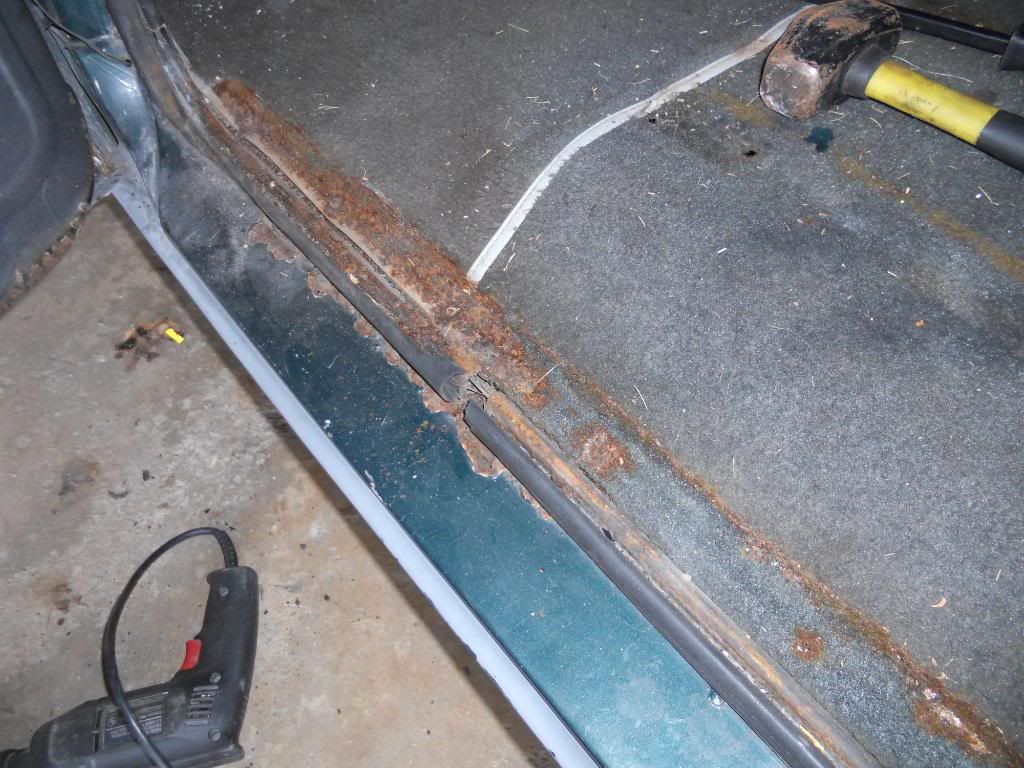 Carpet up, the passenger side looks like the better of the two, but the drivers foot area (thankfully all before the cab support, which although crusty is very solid. 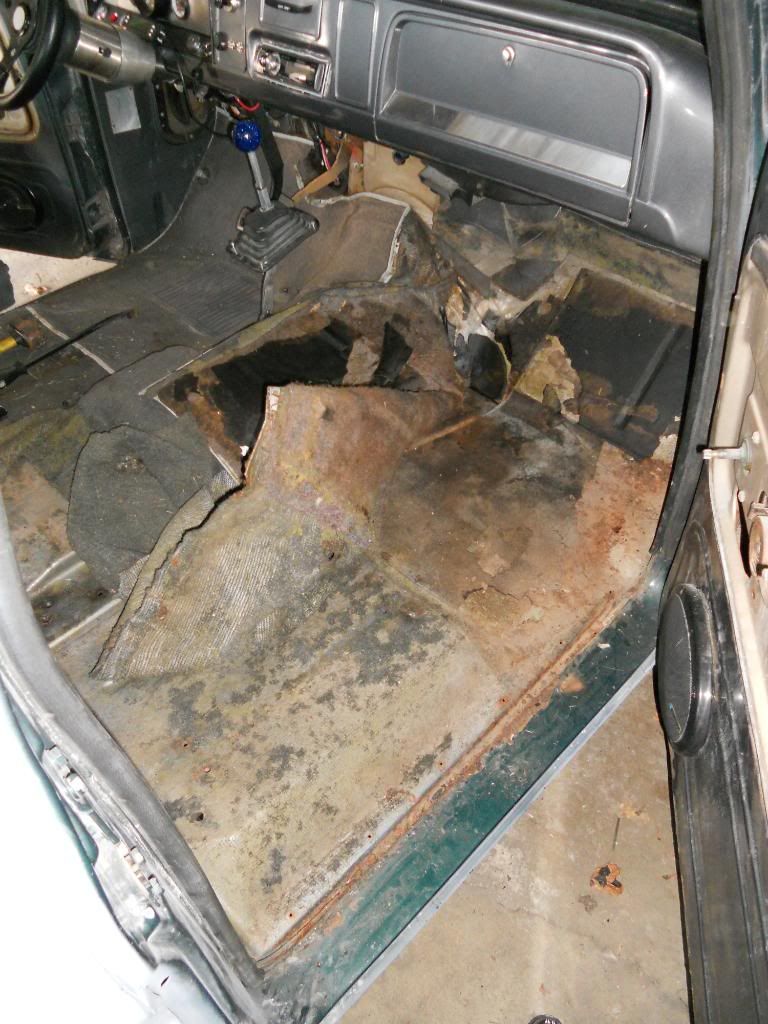   With all the carpet out, the overall floor is dang solid, with all the mounts in decent shape, despite being a bit crusted.  Time for the door to come off  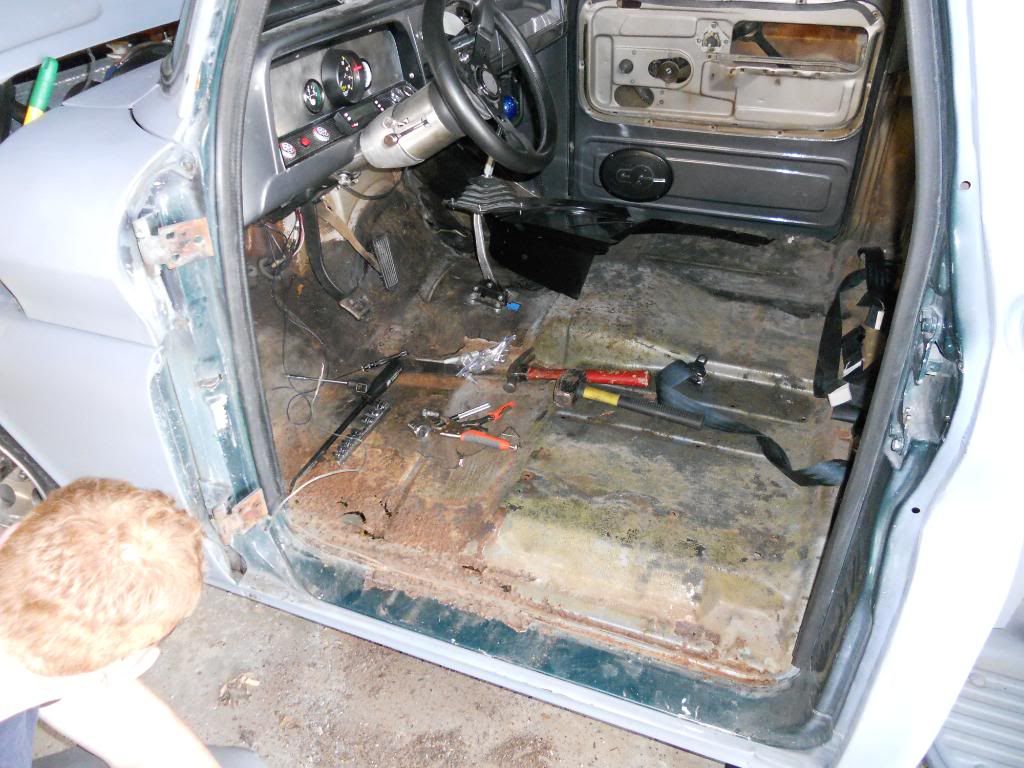 Using the trusty prybar, we found the boundaries of the rust, as well as some filler, from some point before.   Since the cab mounts were solid and staying in place, and the inner rockers were to remain in place, there was no real structural risk to the cab. We did some measurements and verified along the way, but there was no change. We started by trimming out the rusted section of flooring, keeping overall patch size to a minimum. 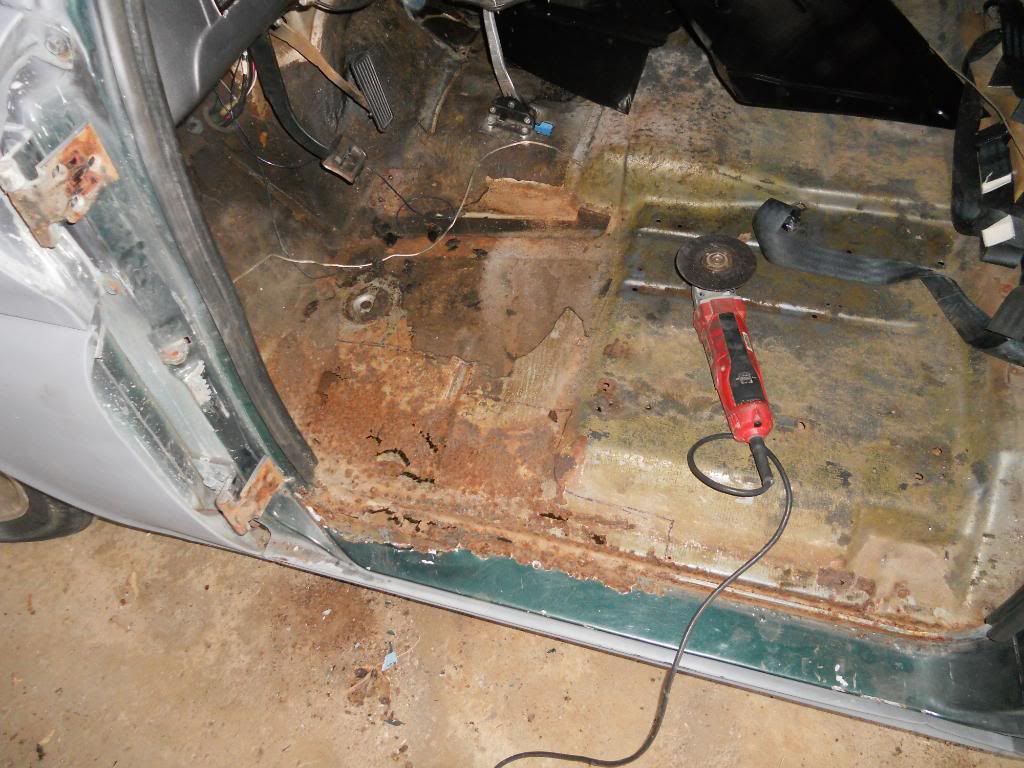   Moved on to the rocker, starting at the seam in the rear and doing 1/2 of the rocker at a time. This allowed me to seperate the skin from the inner portion and retain the factory seam the best I could. It also allowed me to gauge the condition of the inner rocker and keep and eye on its integrity. 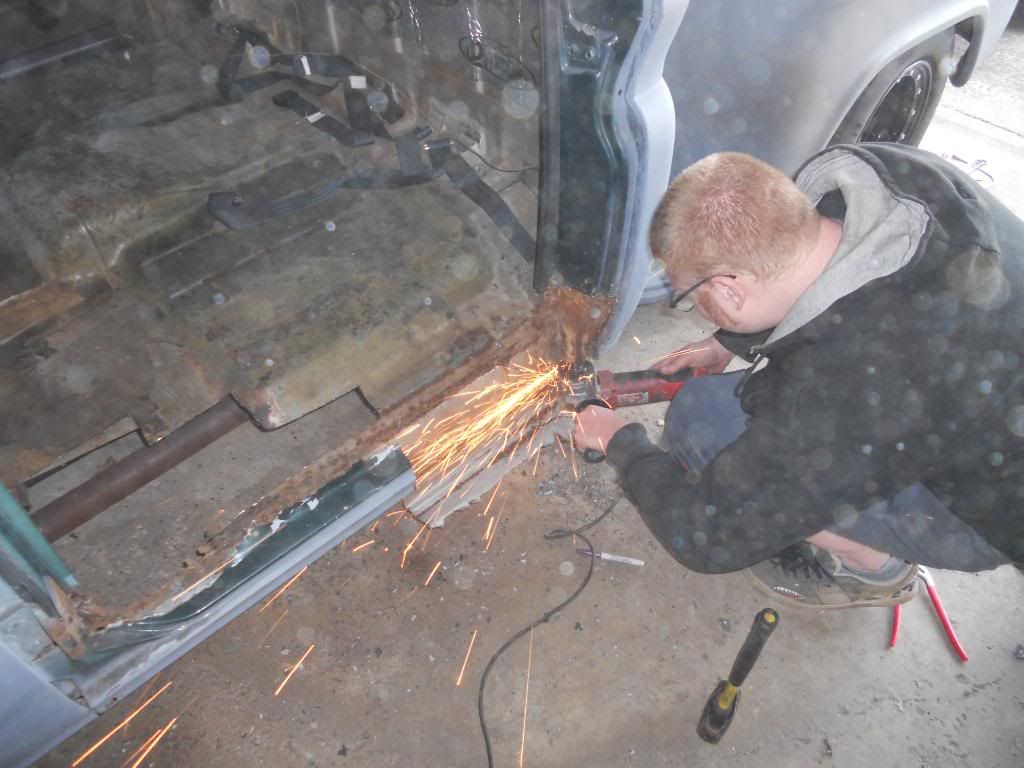 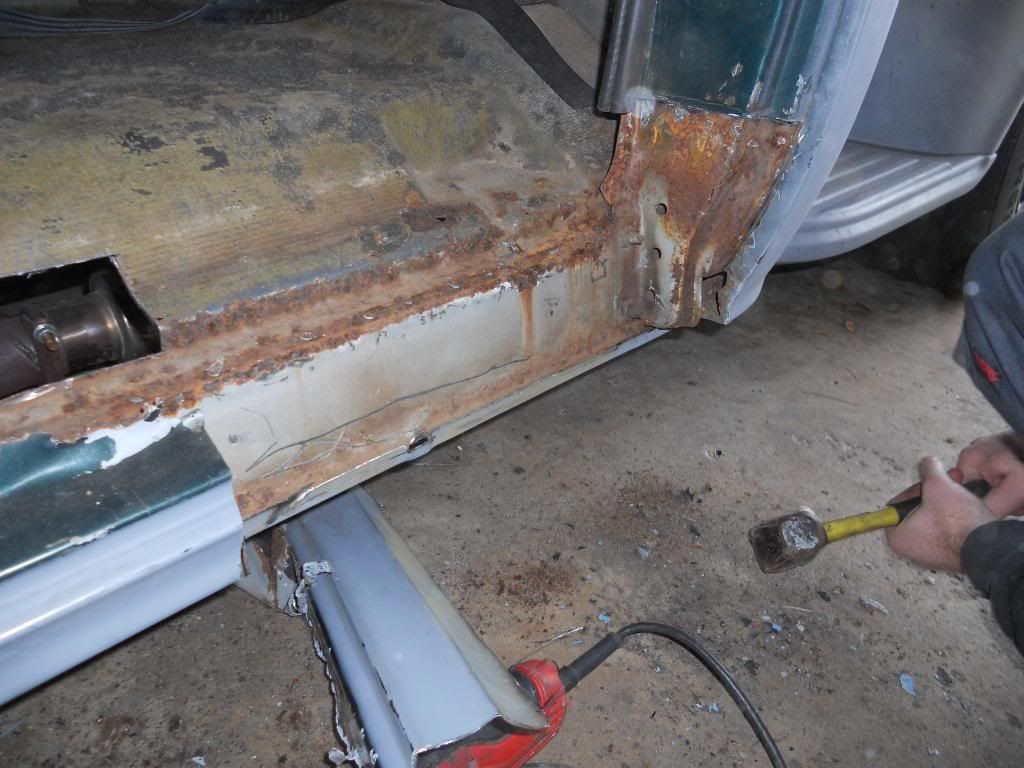 With it all the way up, we could test fit the rocker and determine the final shape of the drivers floor patch. Should get to that this week, and get it all welded up so I can move onto the other side. 
__________________
'66 Short Step / SD Tuned / Big Cam LQ4 / Backhalfed /Built 4l80e / #REBUILDEVERYTHING  |
|
|

|
| Bookmarks |
|
|