
|
Register or Log In To remove these advertisements. |
|
|
|
|||||||
|
|
Thread Tools | Display Modes |
 03-21-2014, 03:53 AM
|
#1 |
|
Registered User
 Join Date: Aug 2005
Location: Hillsboro Oregon
Posts: 6,449
|
64-66 Heater Upgrade - Thrift Air -to- Deluxe
Actually, it should be better than deluxe when done since I went with a stronger blower motor than orig.
 So my trusty ol' heater stopped blowin hot air in EARLY JANUARY  Me being me couldn't just replace the blower motor ....no I had to tear the whole thing down. One thing led to another, and through research on this site (some good and some bad advice, but we'll get to that), I ended up converting my Thrift-Air box to a Deluxe heater. What's the difference? Four (or five?) basic things:
Heater core diff: Air Flap: Thrift (no flap) Deluxe: 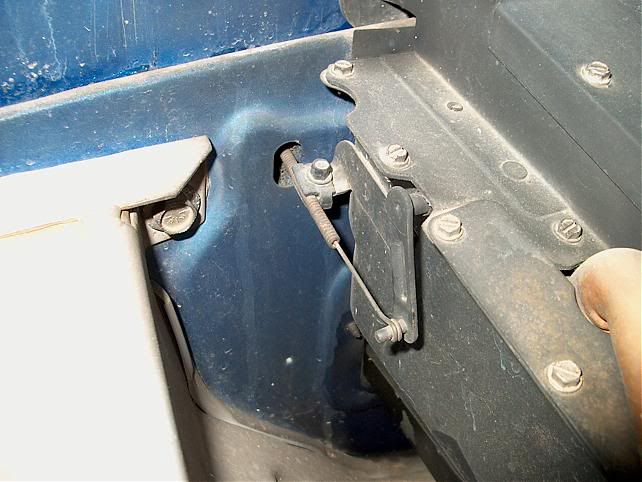 Thrift Dash:  Deluxe Dash: Since I had a Deluxe dash panel and plenum laying around, all I needed to do was to figure out how to add the air-flap, bigger core, and bigger motor to complete my conversion. Simple right..? (notice it's now late March  ) )Start the tear-down:  This rusty plate is the block-off plate used on Thrift-Air heaters to force the air through the heater core. The Deluxe version is movable via cable:   Another view of the block-off plate:  Here you can see the upper cast AL piece has been made for either small or large cores. In this case the small hole is opened for the non-deluxe core:      Re-form block-off plate on brake:  Welded to SST rod:   Test-fit of Deluxe core after opening the upper:     Deluxe plenum and controls - pics for reference:              Control levers blasted, sanded, and ready for electro-plating:     Raw plating before polishing:   After a very quick polishing:   Another thread suggest you can use a late-70's to 80's A/C blower motor/fan. Well that didn't work for me. Fan was too tall (and plastic). Here's what ended up working for me (and powerful) Motor and fan P/N's:  Now the motor shaft was too long, but I used a combination of the fan's set-screw (enough to hold alone) and a nut/washer as a spacer to snug it down with the nut:  The assembly fit the housing like a dream:  Blasted parts ready for paint:     SPI Epoxy brewing:   Hung up to dry:  Reassembly:     I picked up all new stainless hardware at Ace. I'd come this far...           New gasket RTV'd on:  Back in the truck! I had been working far too many hours at work since Jan and was tired of the cold commute, so I installed it without the Deluxe control panel and plenum just yet. But WOW, this thing puts out the heat!!! (and it's the best looking thing under the hood ) I'll update as the rest of it comes together. |

|

|
| Bookmarks |
|
|


 Threaded Mode