
 |
Register or Log In To remove these advertisements. |
|
|
|
|||||||
|
|
Thread Tools | Display Modes |
|
|
#10 |
|
Registered User
Join Date: Dec 2012
Location: Rochester, KENT
Posts: 10,581
|
Re: GRIZZ’s ‘79 - 2WD BLAZER Challenge over in London, England. “~It’s not a Project
Yesterday i started out with some yard work, and by 11.00 started on the RR.
Plan was to start creating a strong, supportive frame to support the Land Rover screen @glenanderson donated to the build and also make a place to attach the dash and steering column etc. Space to lay the foundation. 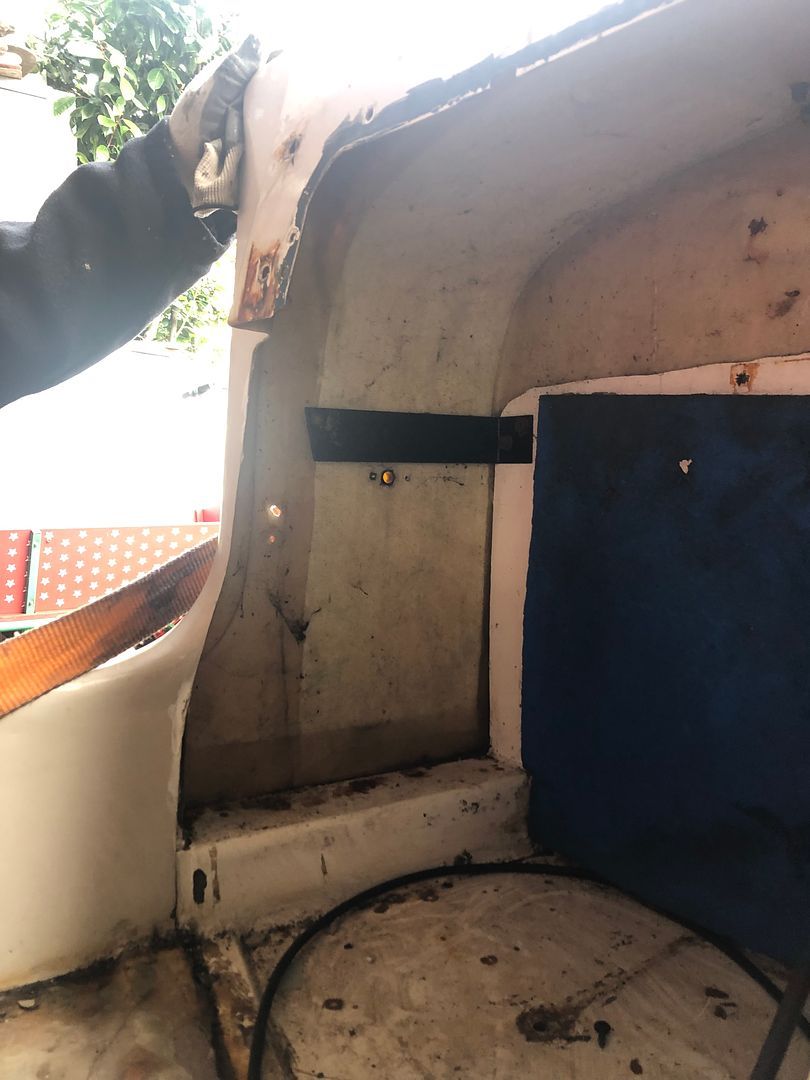 First lengths of angle iron cut, drilled and bolted down to create a starting point, also drilled for eventual kick panel fixing. Awkward reach, stretch, tighten. 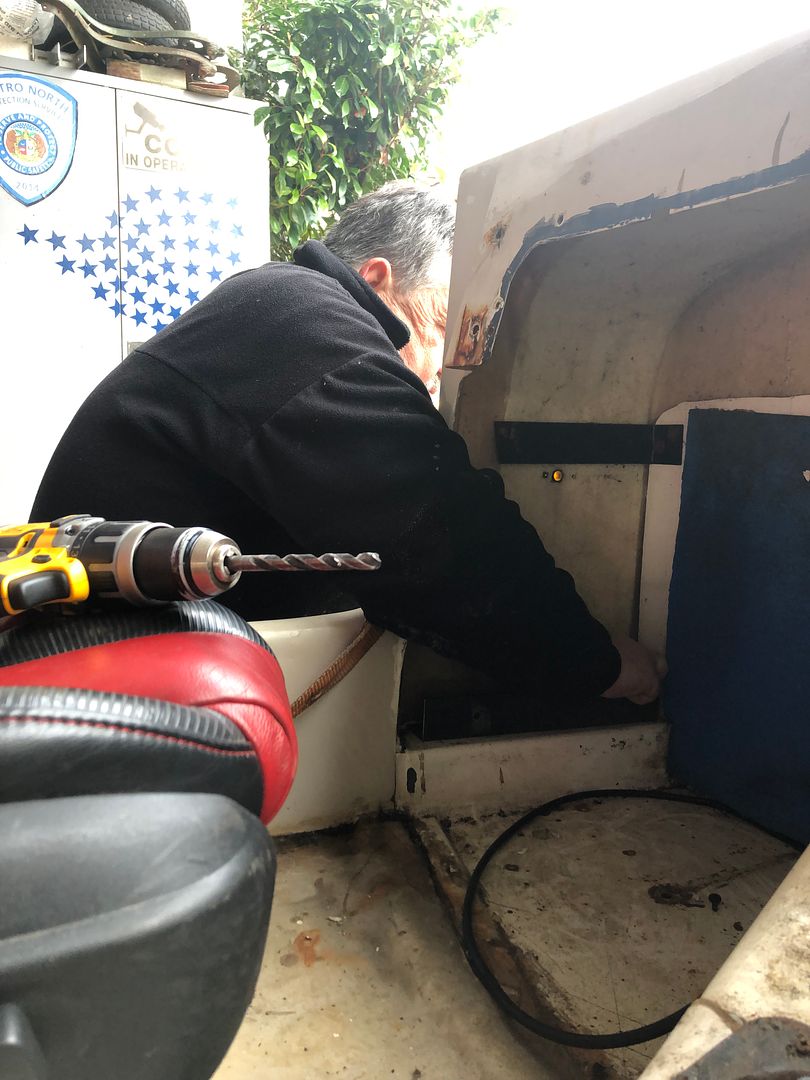 Walked up to grab a coffee at the house and also go check up on Mickey next door, as I came back from looking through Micks front room window (he was asleep in his chair) @nickwheeler pulled in over the street. He had come over to add to my limited hands, skills and planning. Perfect, It is amazing how long some awkward jobs take, Nothing is exact in this body tub, so every bit of steel has to be custom cut, shaped and made to fit, assembling, disassembling repeatedly takes time to get a decent fit before tacking and welding. Upright tacked and welded to the bottom, and then top angle iron inside scuttle return clamped, welded in place, and then cross braced from sides upward. Also pre drilled the holes for the door hinges. Currently Land Rover items fitted, but liable to change if I cannot get them to open and shut easily. 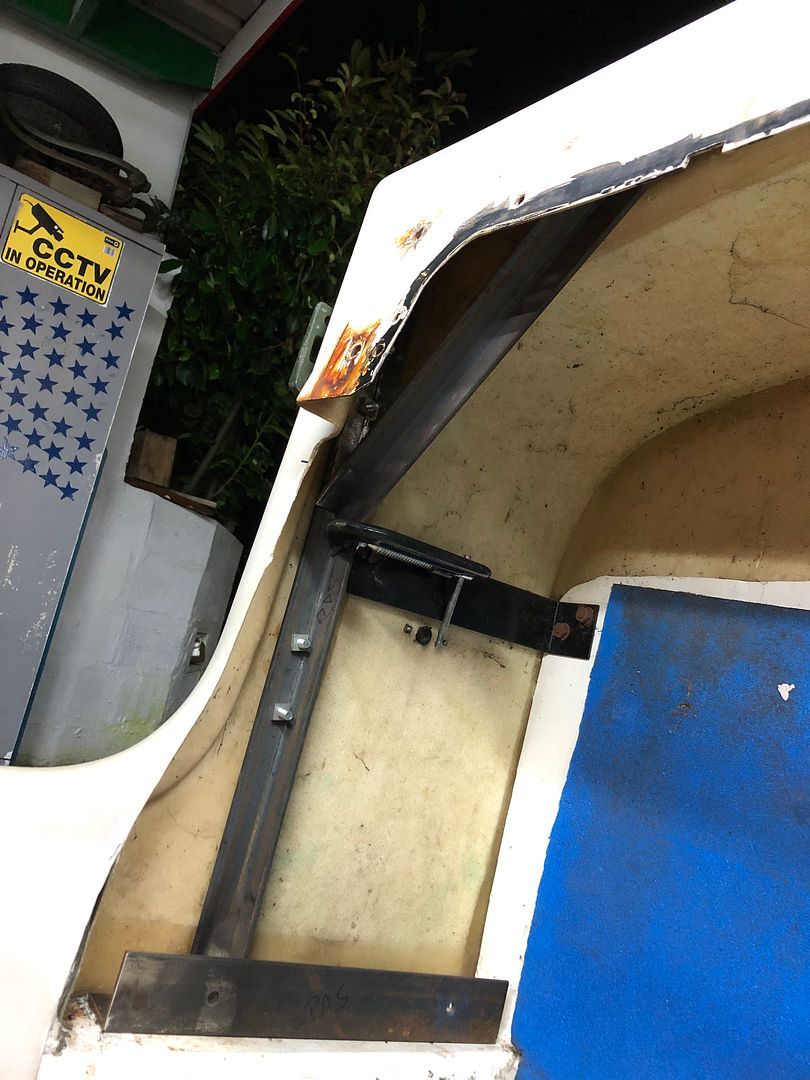 Another slow but nice job was cleaning all the old silicon, epoxy, resin and paint from the top of the screen mounting surface. But needed to be done to generate a decent fit. Interestingly there is a 10mm deep dip between the sides and centre which will need some rectification later. Also need to figure simple small, bottom mounted windscreen wipers and motors to be externally fitted on the screen. 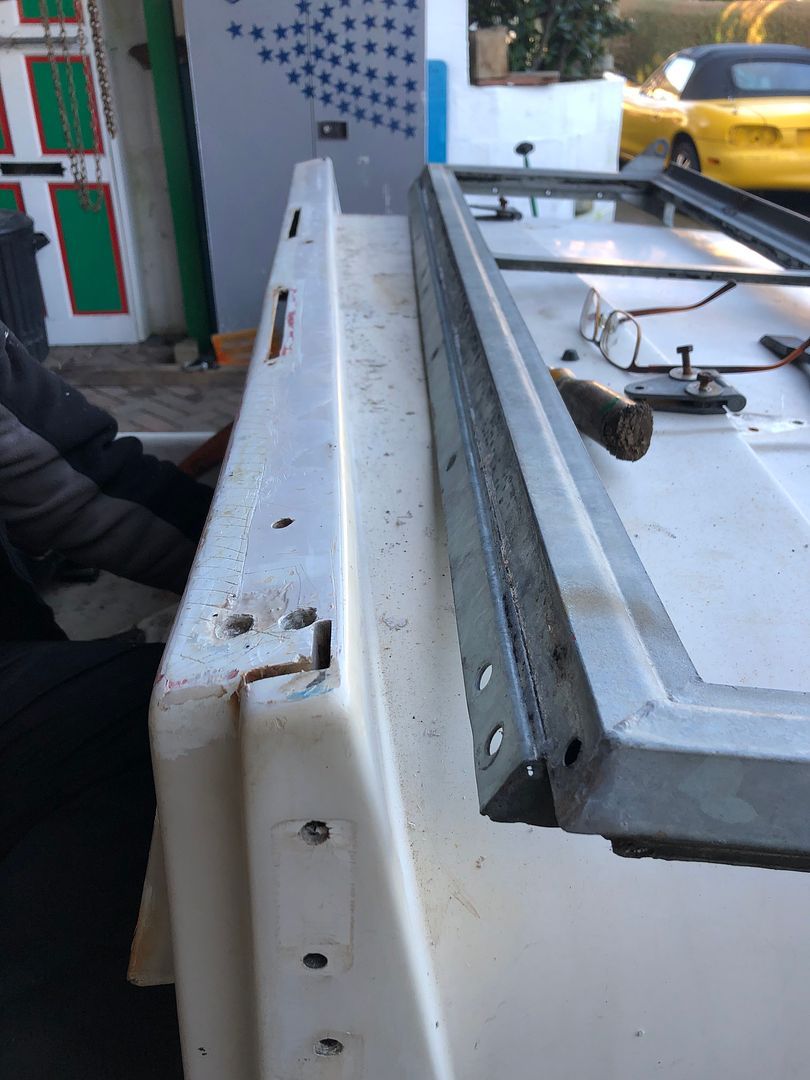 Door frame and hinges looking good. Holes above the top hinge, ready to fit the mirrors. 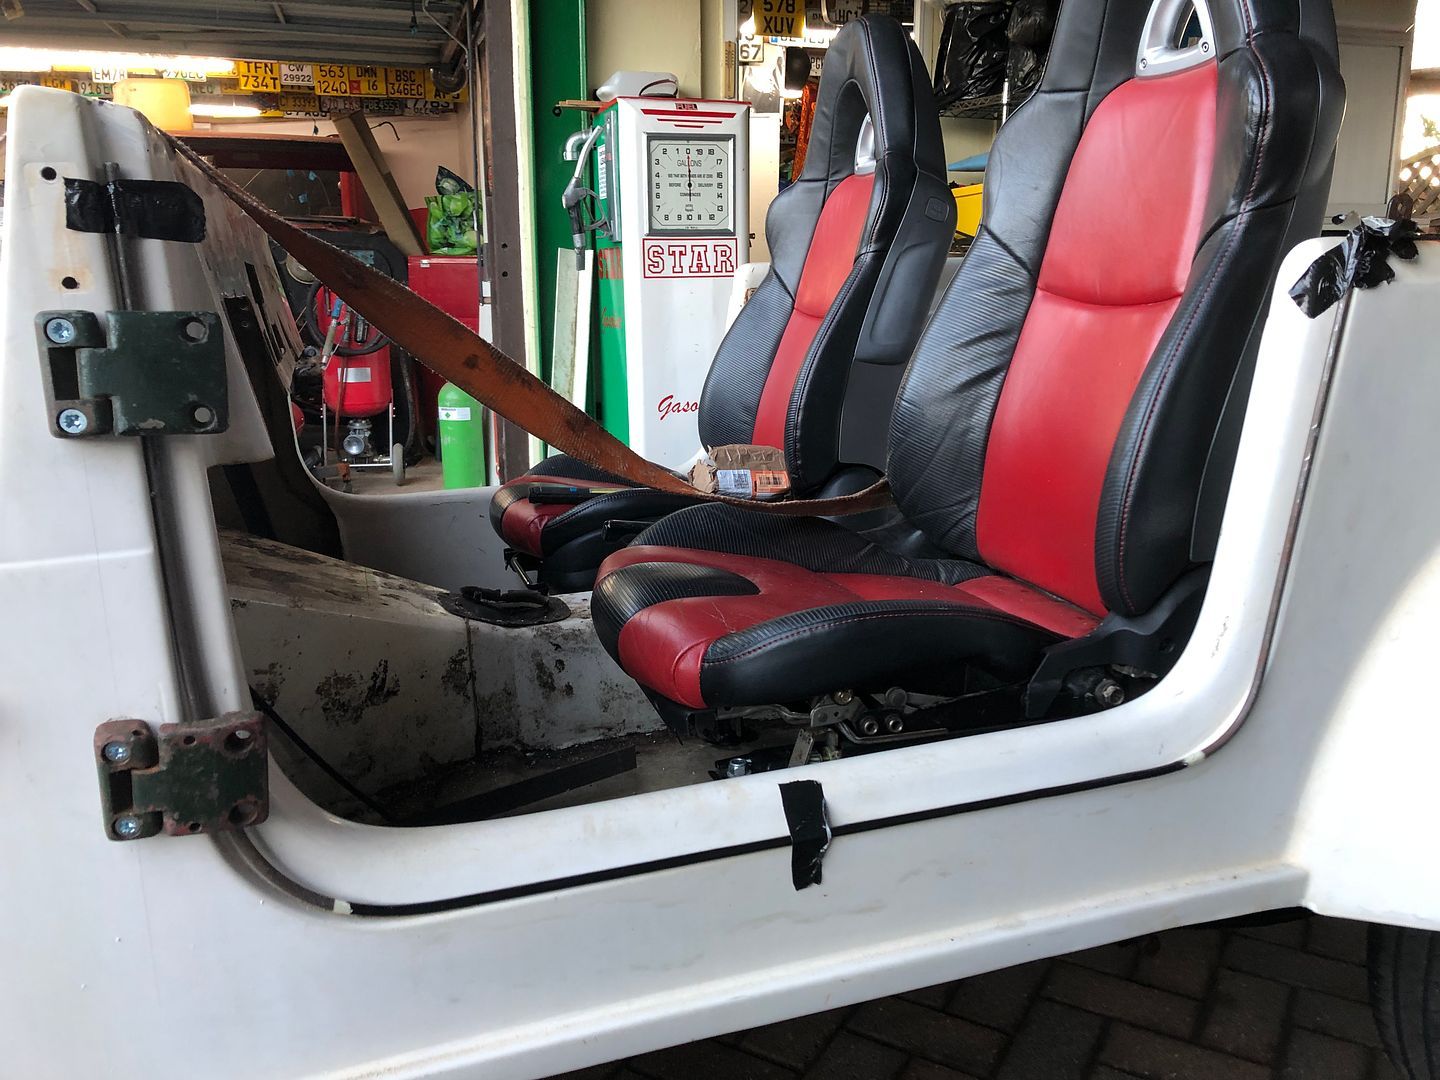 Mock up of door, panels and netting, along with Nick holding the screen frame in the position it will probably be fitted in. 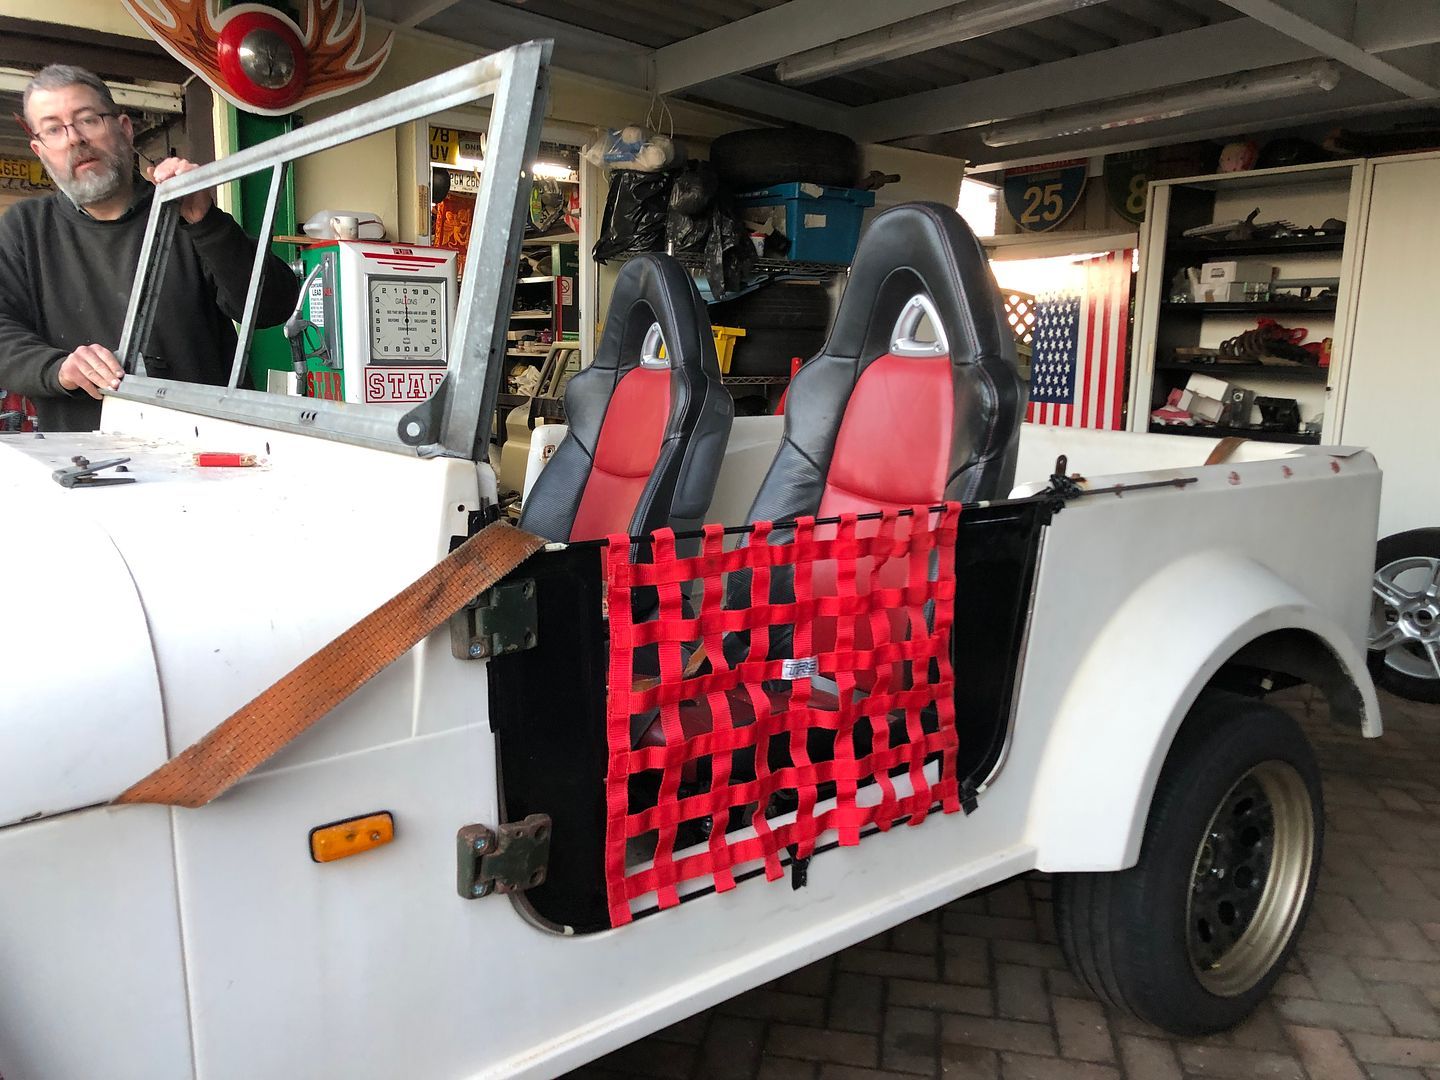 Happy with that so far. 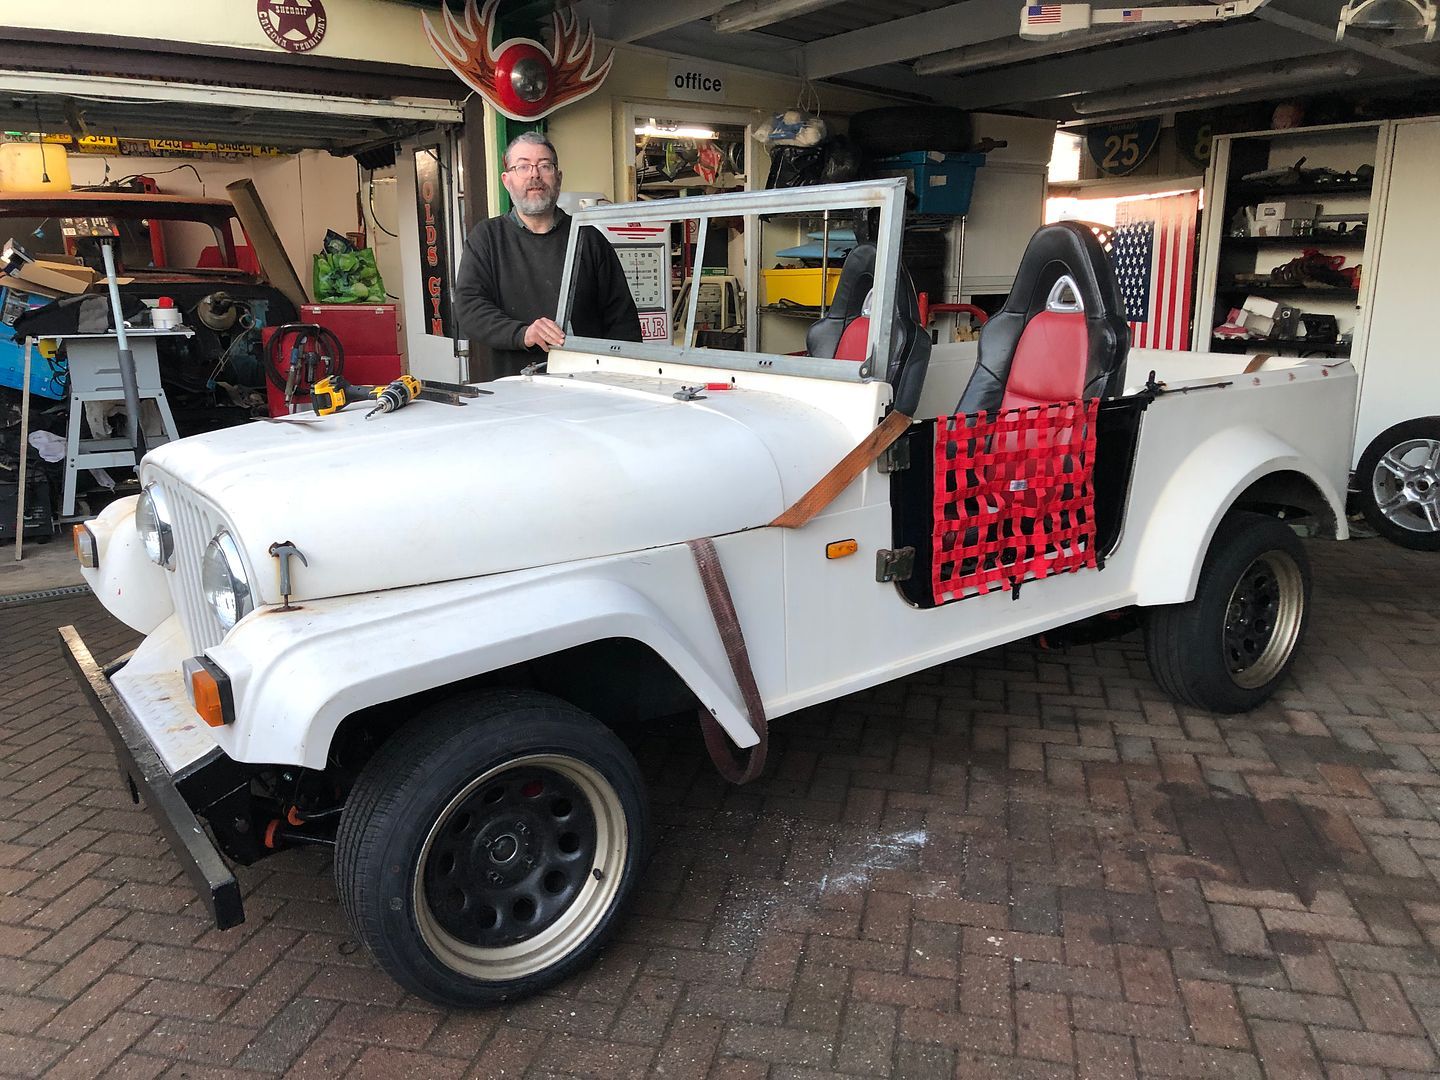 Followed by more welding and swearing as there is not space for a welding helmet under the dash, so open eye tacking before removing and doing a full stick weld. 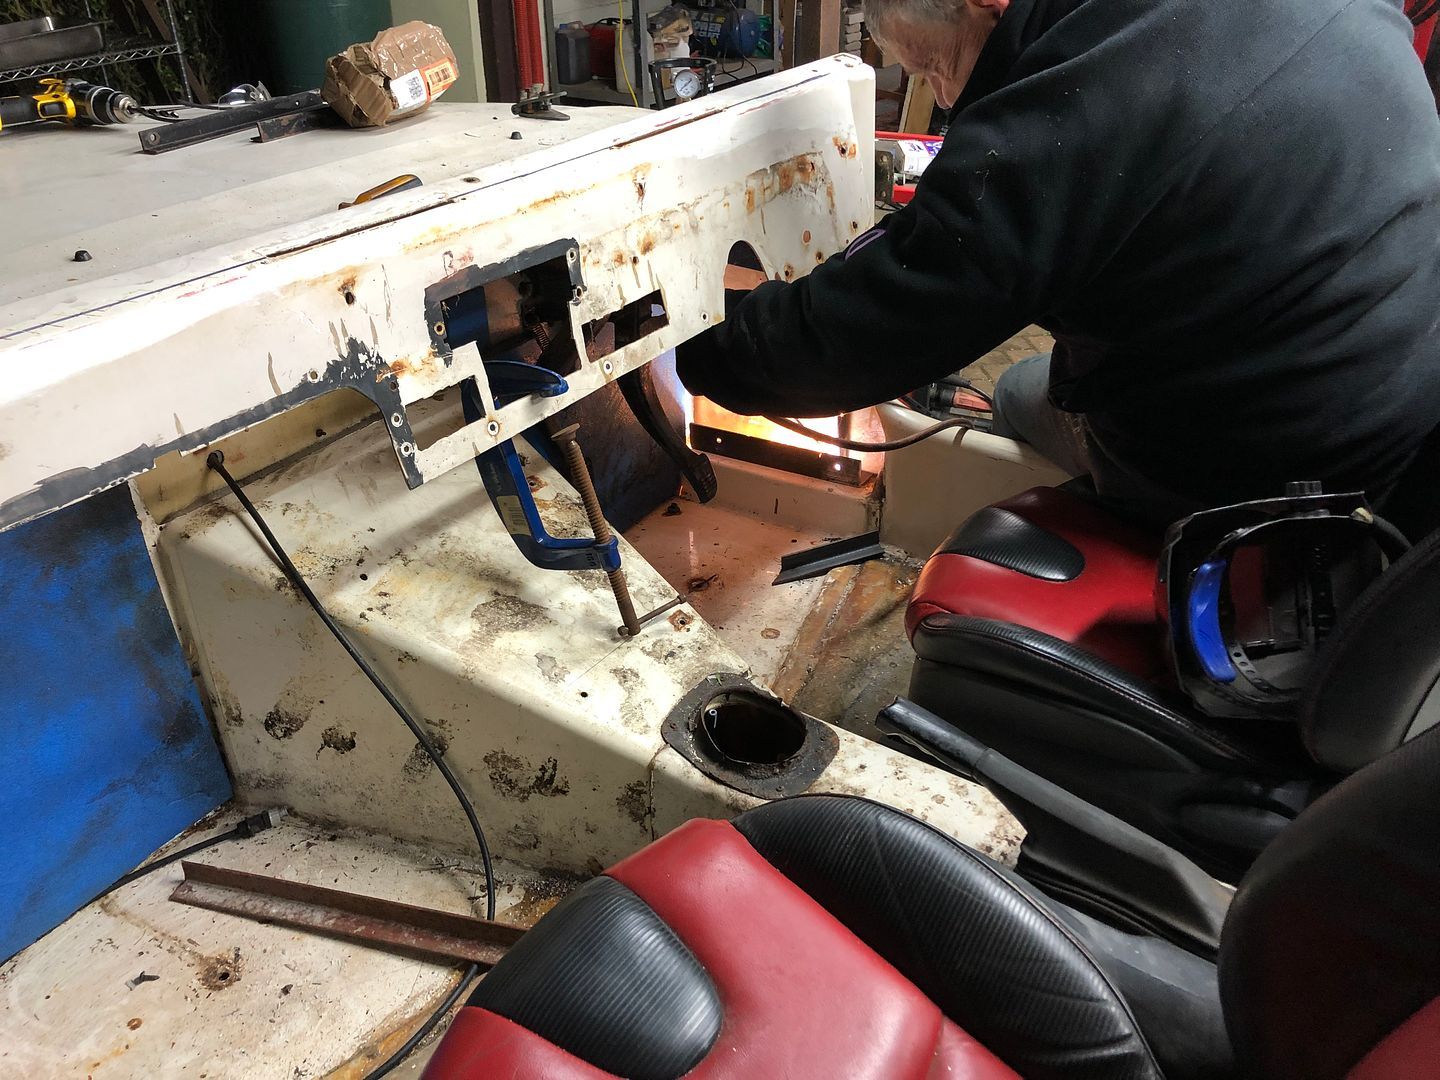 Next job was to add in the scuttle brace for the screen and its 375mm diagonal braces. Some G-clamps,muupside down tacking and a lot of swearing when I welded all the upside down contact points, amazing how welding splatter burns through 3 layers of synthetic fibers and continues to burn, a bit like getting a wasp up your trouser leg. 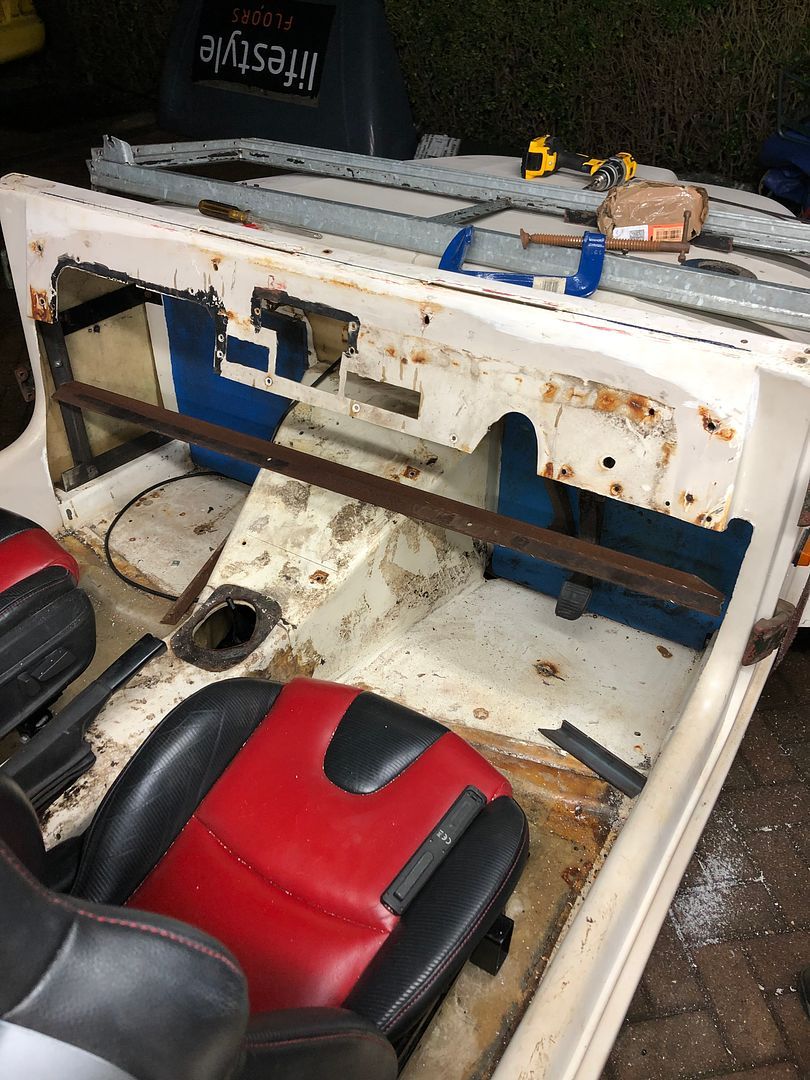 Amazing how many hands you need for some of the jobs, at times three G-clamps and four hands just got the jobs done. MX5 dash and steering support being trimmed back while I was welding. 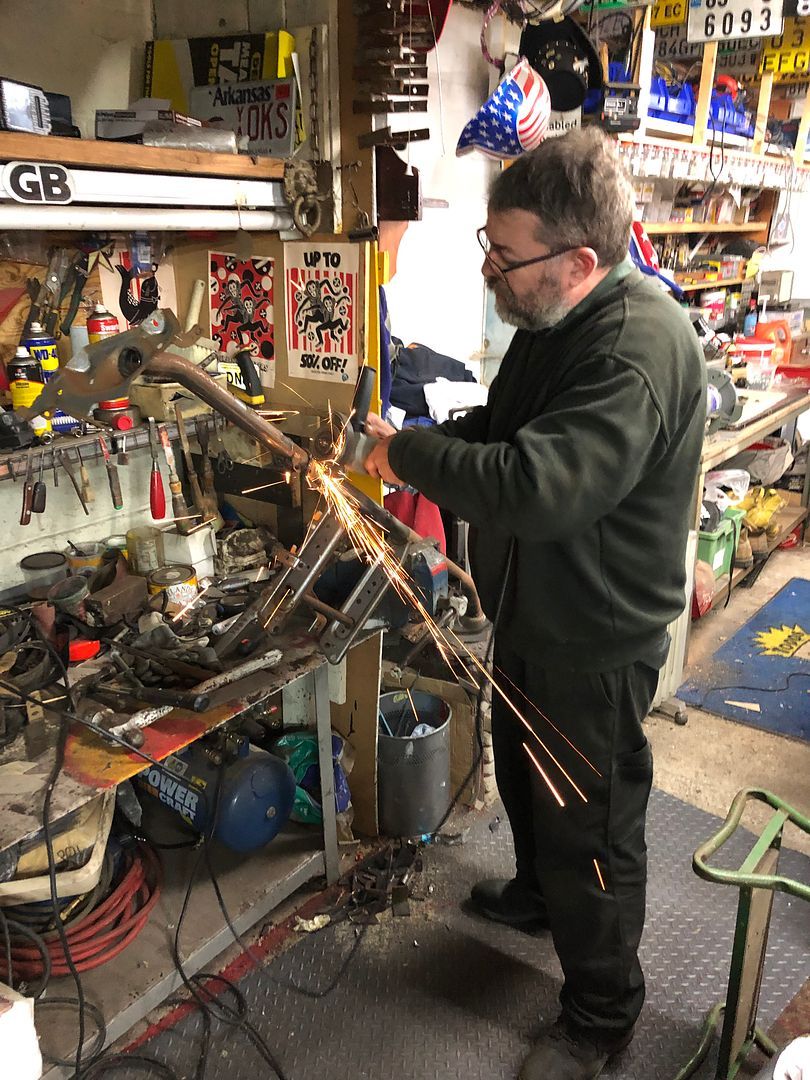 I really enjoy the company, but what it also great between Nick and I is actually getting on with other jobs if one of us is busy doing a one man job. Looking back, we had little to show for the time spent, but in fact it was a huge step forward. Tons of planning, proposing and visualisation went into yesterday as well. Next jobs include cutting the old dash out, well, quite a bit as a new one will be created. I also need to make a template for the screen support for the studs to be welded into the screen, holes marked and drilled for mounting and a good long look at the original fuel tank which may be completely FUBAR or reusable in order to create space for the exhaust to be mounted as a rear exit. Dinner at Sally’s tonight, her treat for my birthday. Later gang.
__________________
MY BUILD LINK: http://67-72chevytrucks.com/vboard/s...585901]Redneck Express - 1966 C10 Short Fleetside MY USA ROADTRIPS http://forum.retro-rides.org/thread/...2018-humdinger IF YOU CAN'T FIX IT WITH A HAMMER, YOU'VE GOT AN ELECTRICAL PROBLEM MATE. |
|
|

|
| Bookmarks |
|
|