
 |
|
|
|
|
#1 |
|
Registered User
Join Date: Mar 2008
Location: Waukee, Iowa
Posts: 1,608
|
Re: LFD's 4dr Burb Build
What's the blue stuff on the door?
Do you dolly after each tack, or after a series? Is the procedure with the TIG similar to that of the MIG? I also have a TIG that I've only played with a little bit, practice pieces and a few tube adapters. I want to get good with it, but can't seem to find the time to practice.
__________________
build threads: 86 Suburban 88 Jeep 6.0 swap 49 Chevy truck 54 Chevy wagon 86 Suburban lowered 4/6 54 Chevy wagon 49 Chevy/s10 mix 88 Jeep Wrangler rockcrawler |
|
|

|
|
|
#2 | ||
|
Senior Member
Join Date: Jul 2005
Location: Winters Ca. 95694
Posts: 4,843
|
Re: LFD's 4dr Burb Build
Quote:
 But really thanks it has been along road but one anyone can take. Just give it a shot and it will start getting easier. But really thanks it has been along road but one anyone can take. Just give it a shot and it will start getting easier.Quote:
Tig is far superior to Mig for doing body work because the welds are softer and they can be worked with a hammer and dolly much better then Mig can. Also a proper Tig weld is much flatter then Mig and this means less grinding to get it flat and that means less heat and less work hardening. As far as do I hammer and dolly each tack or after a few it just depends on what it is that I am doing. Kevin LFD Inc. Well it is really starting to take shape now. I started and finished the upper rail tonight and started tacking the door together. I still have allot of work to do before it is finished but I can sure see the light now. 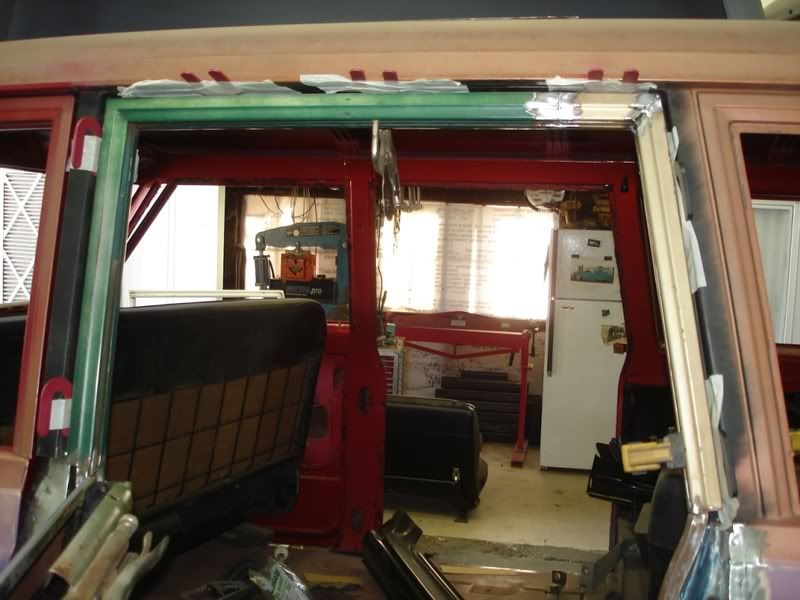 I used shims for spacers to keep the gap even. 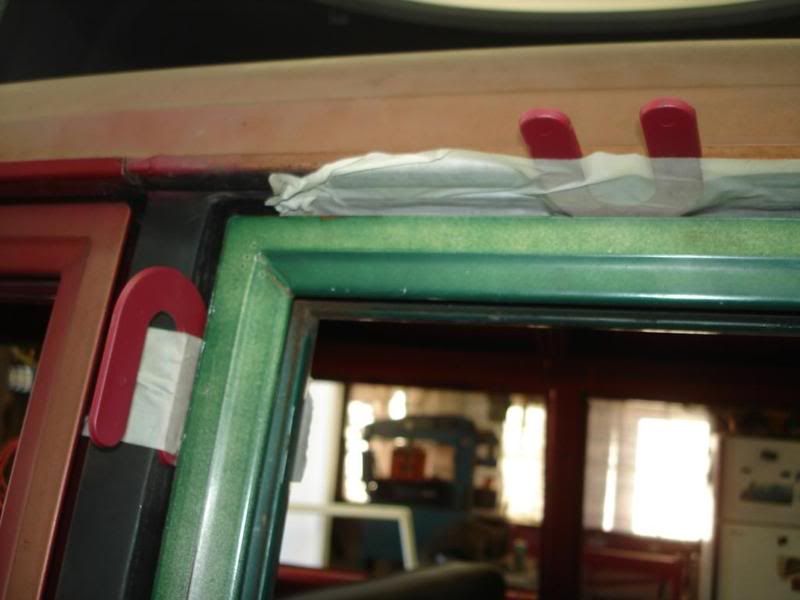 More Tig welds. 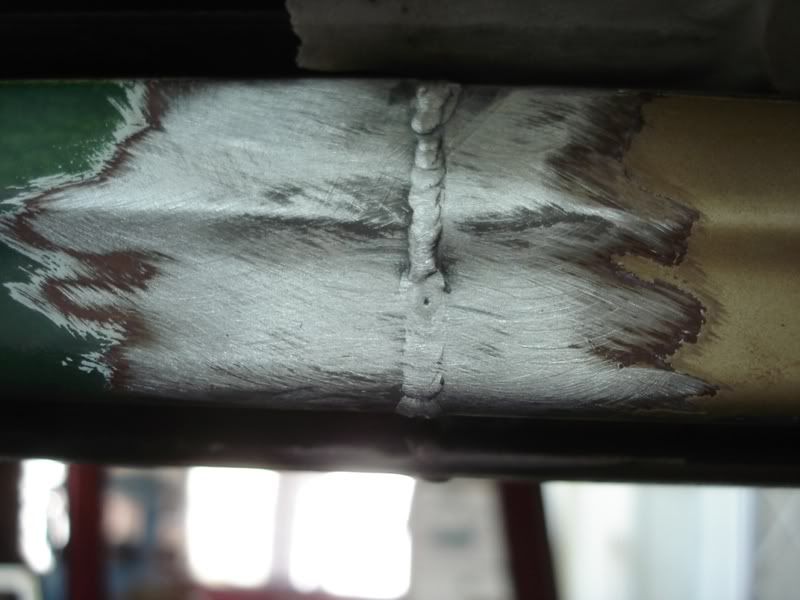
Last edited by Rokcrln; 09-26-2008 at 11:11 PM. |
||
|
|

|
|
|
#3 |
|
Senior Member
Join Date: Jul 2005
Location: Winters Ca. 95694
Posts: 4,843
|
Re: LFD's 4dr Burb Build
So for the upper rail I took two Burb door rails and welded them together. The front section is the rear of a passenger front door and it lined up great. Then the rear of this rail is the rear of a driver side rail and I had to slice the lower section that tucks into the door to get some angle on it so it would slide into the new door. Then the upper corner I just cut halfway through it on the top and bottom so it would bend to the correct angle for the opening.
Then I double checked the fit with it in the door for the first time. 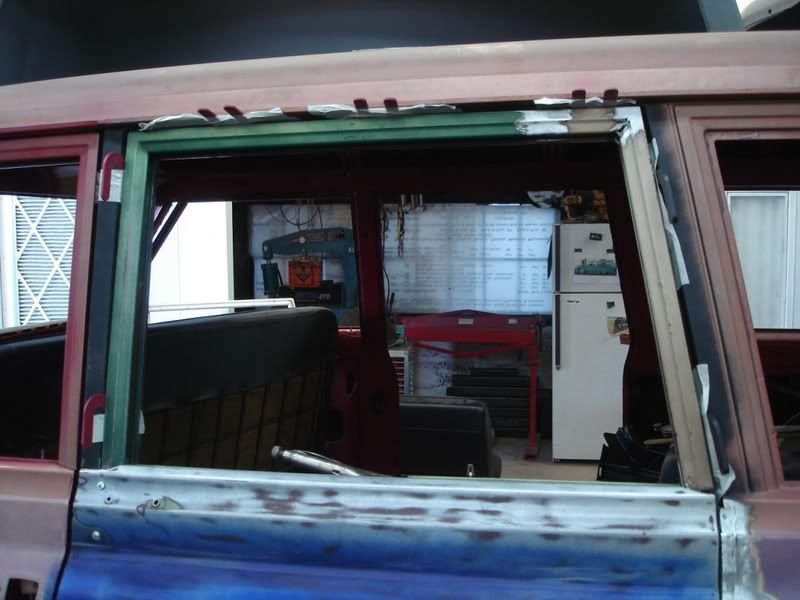 Made sure everything cleared when open and shut. 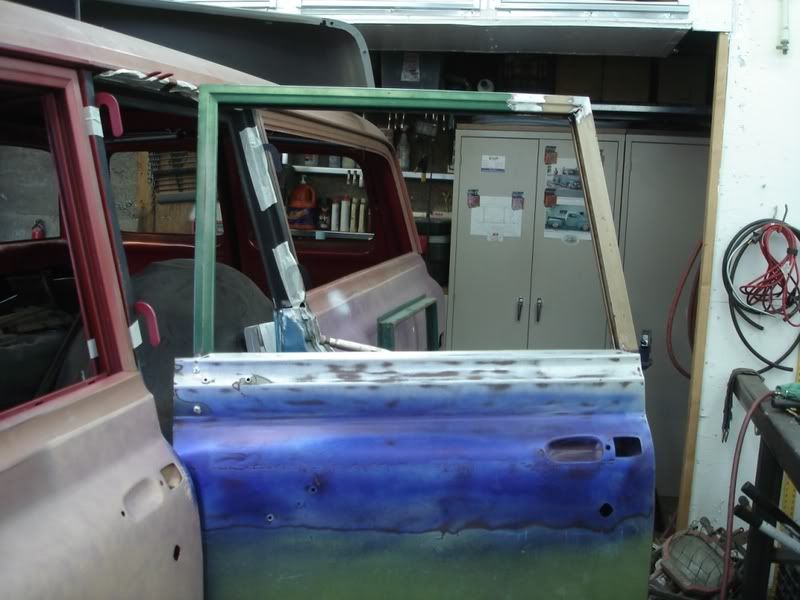 I had to extend part of the lower rear rail so it tucks inside the door. It was about a 1/2" to short once I leaned it forward it had to grow just a bit. 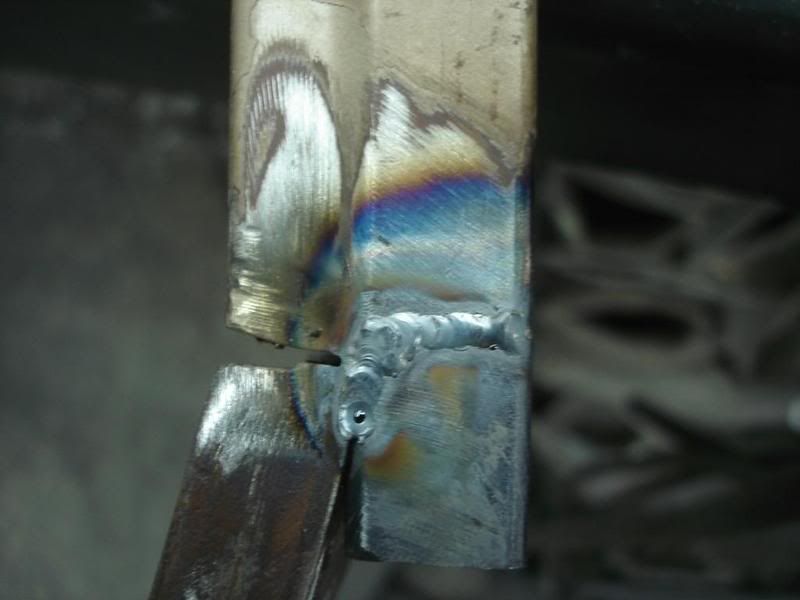 Once I was sure it all worked I pulled it apart and prepped any area that I could not get to later or that was sandwiched against another layer. I used a anti rust primmer that is also a weld through product. 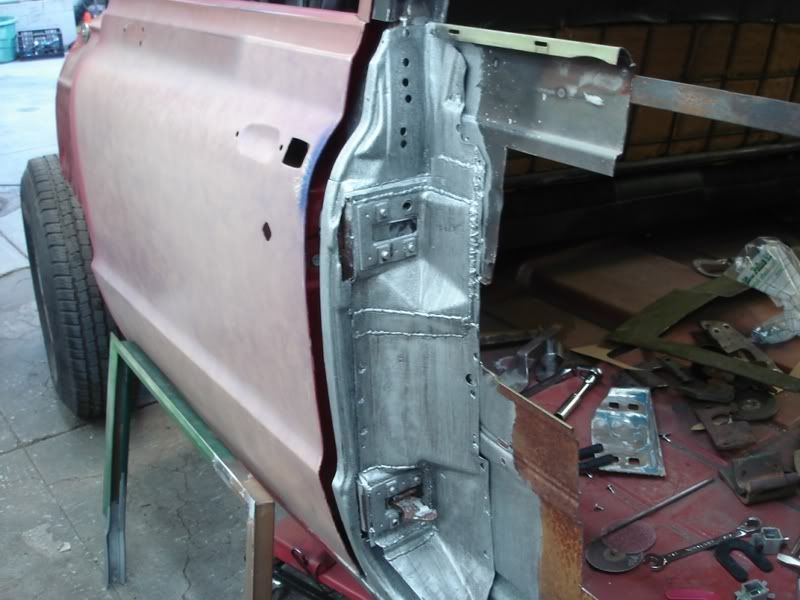 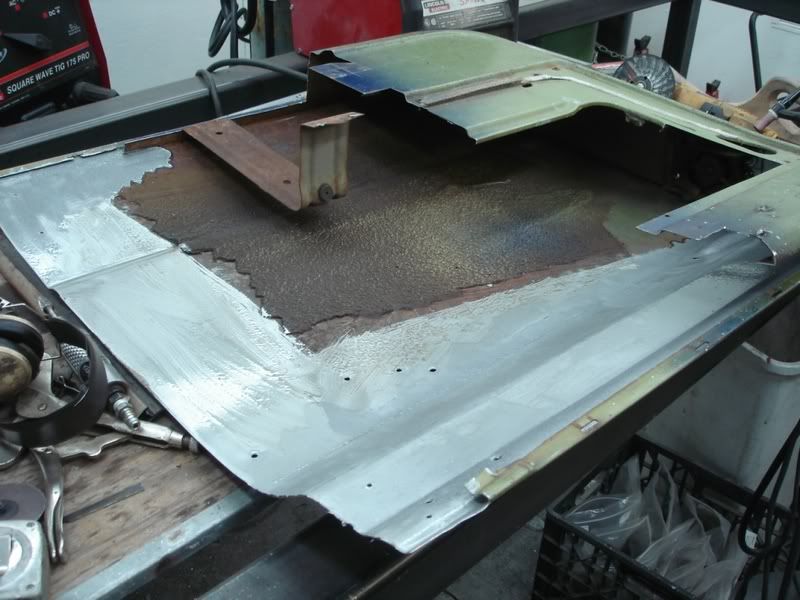 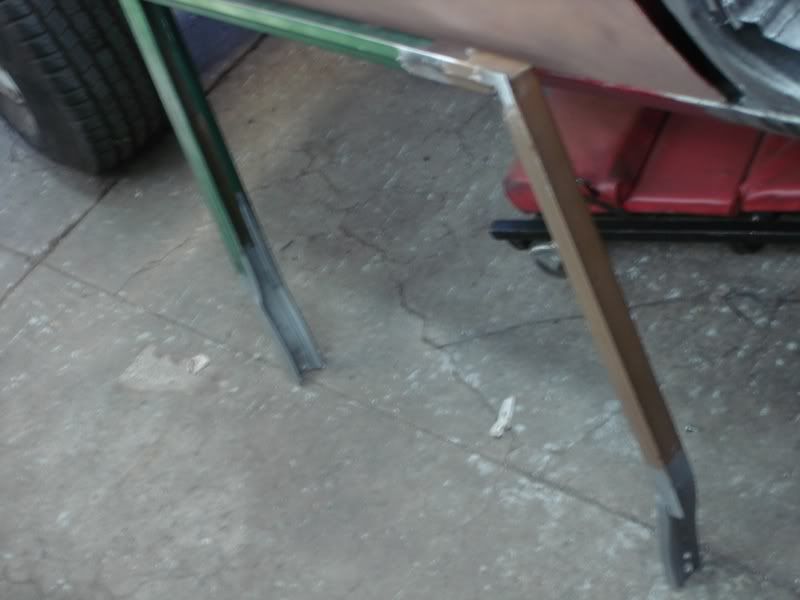 All back together with the upper rail tacked in place until the rest of the door is finished up just in case it needs some adjusting. 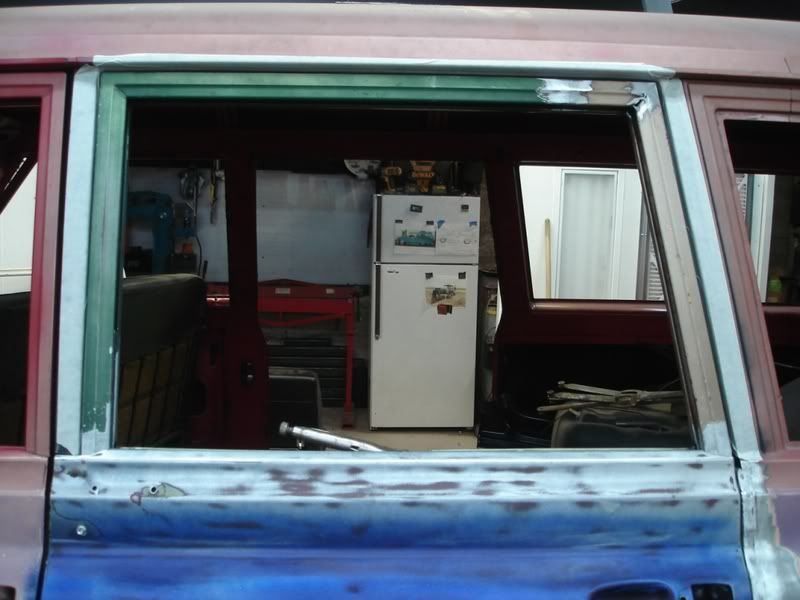 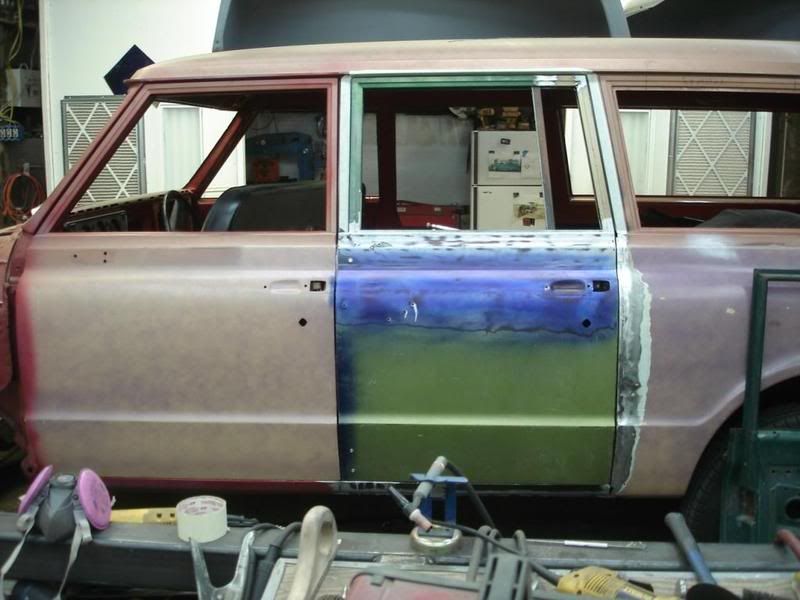 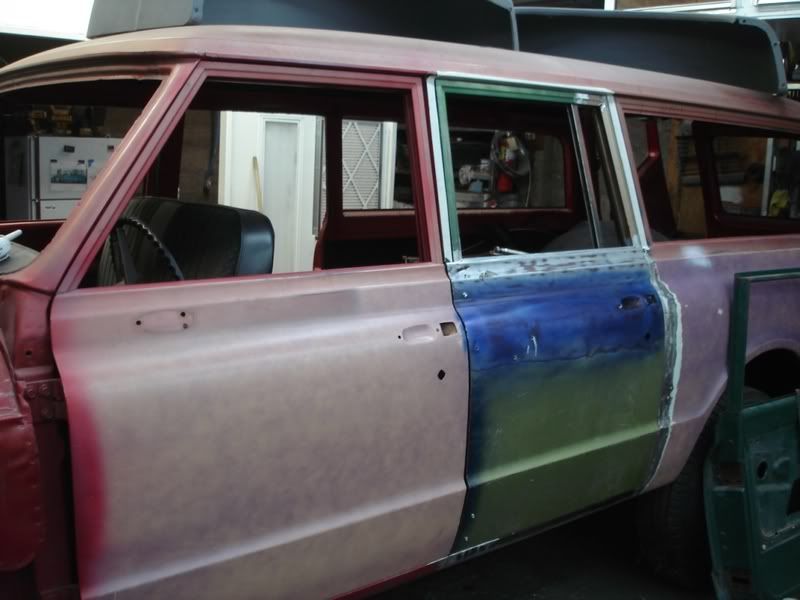 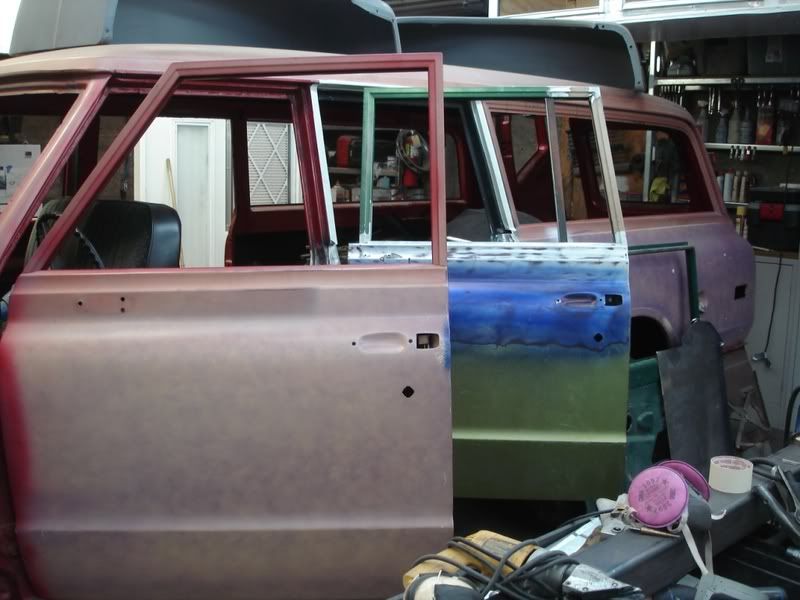 Now I need to finish up the hinge side of the door just so it looks finished and like the passenger side. Then I will cut out the inner door panel area and weld in the stock Burb inner panel so I have the window regulator and vent post mounting area. Then I will make the new lock rods and pivot mounts. Once the window rolls up smooth I will be converting it to power windows but figured this is the bast way to get their. Kevin LFD Inc. |
|
|

|
 |
| Bookmarks |
| Thread Tools | |
| Display Modes | |
|
|