
|
 09-28-2008, 07:27 PM
|
#11 |
|
Senior Member
Join Date: Jul 2005
Location: Winters Ca. 95694
Posts: 4,843
|
Re: LFD's 4dr Burb Build
Another 6hrs down and way to many more to go! I sectioned the outer door edge were the window felts go so it would match the pass side and not drag on the glass. I just cut sections out of a donor front door and Tig'd then in place. Then I made the cradle for the fixed vent window and installed the inner door handle latch mounting area. Then 3hrs of fun started when I had to rebuild the door lock system in reverse but it is done and works great.
Their Will not be any progress until next weekend because I am taking off in an hour to head down for my class this week with Lazzy to learn the English wheel, power bead roller and other panel fabrication tools. I will be taking pics  Kevin LFD Inc. 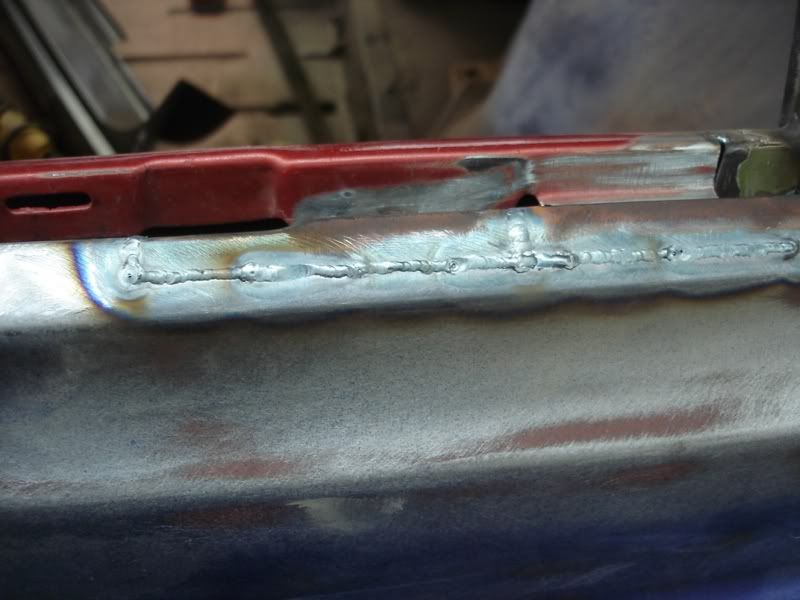 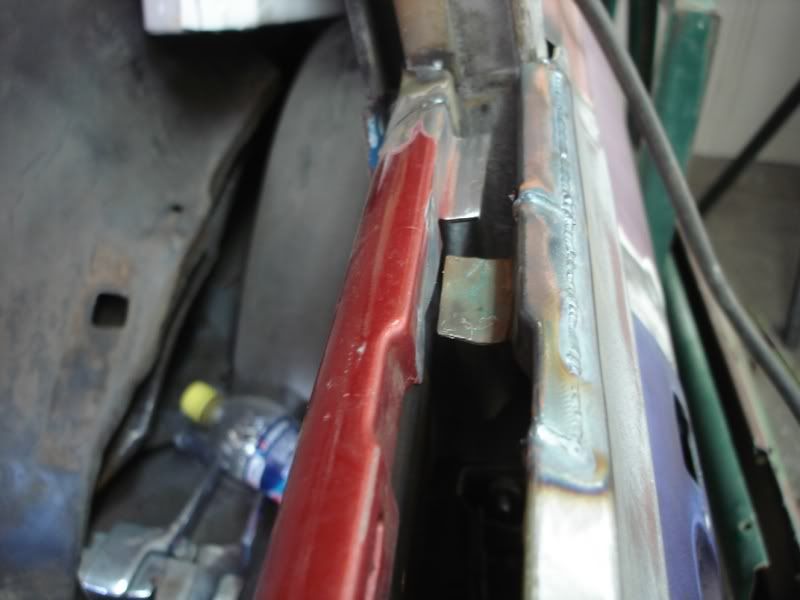 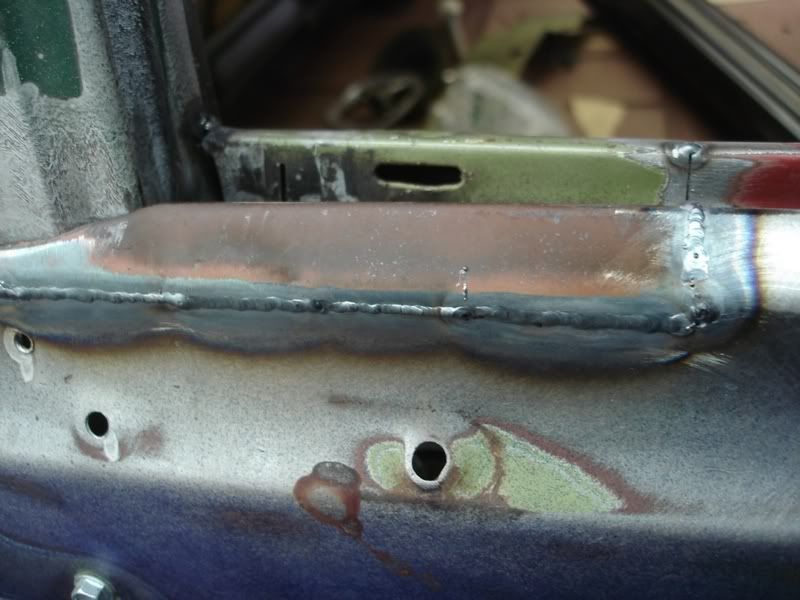 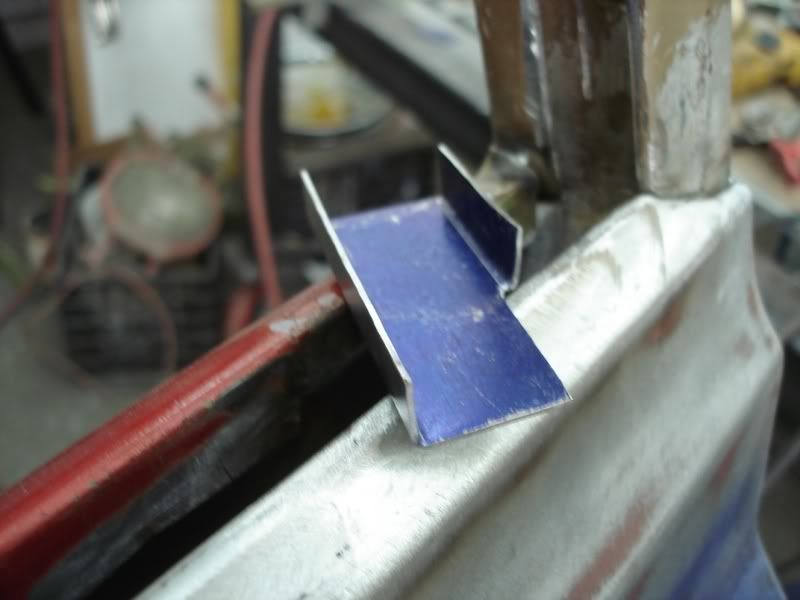 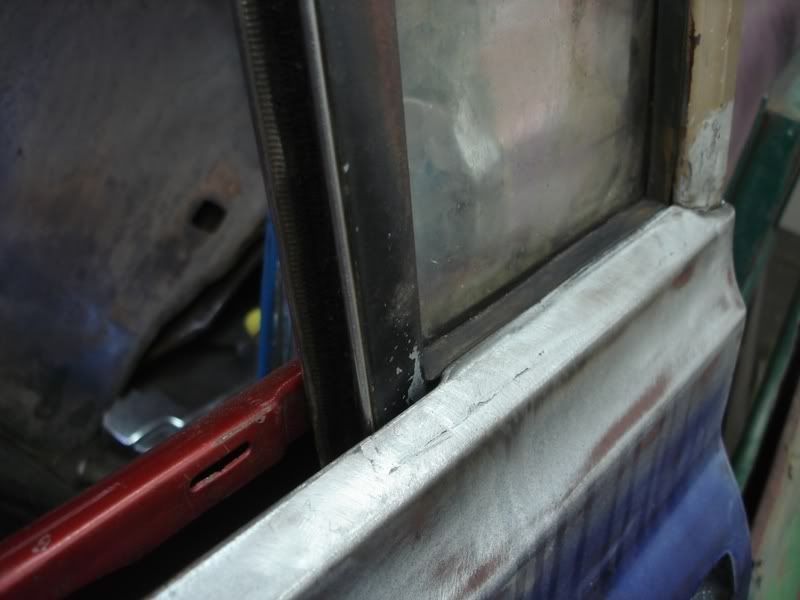  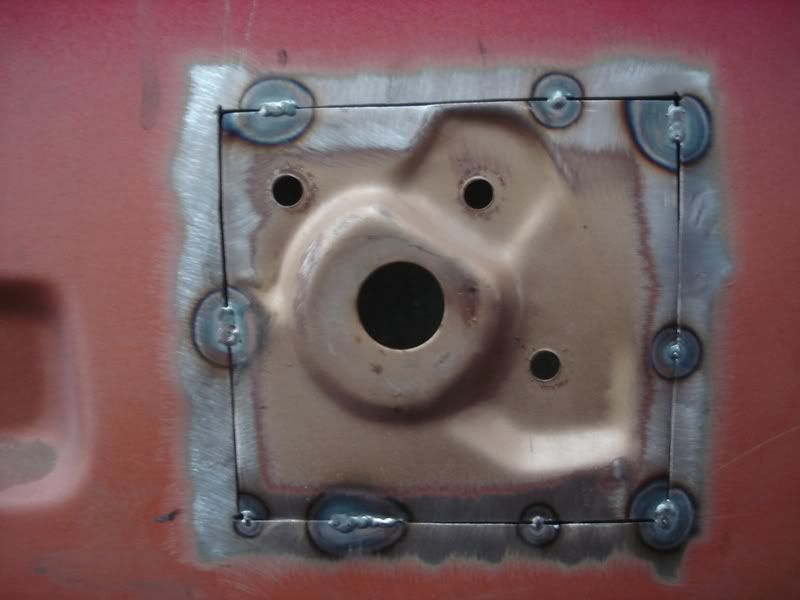 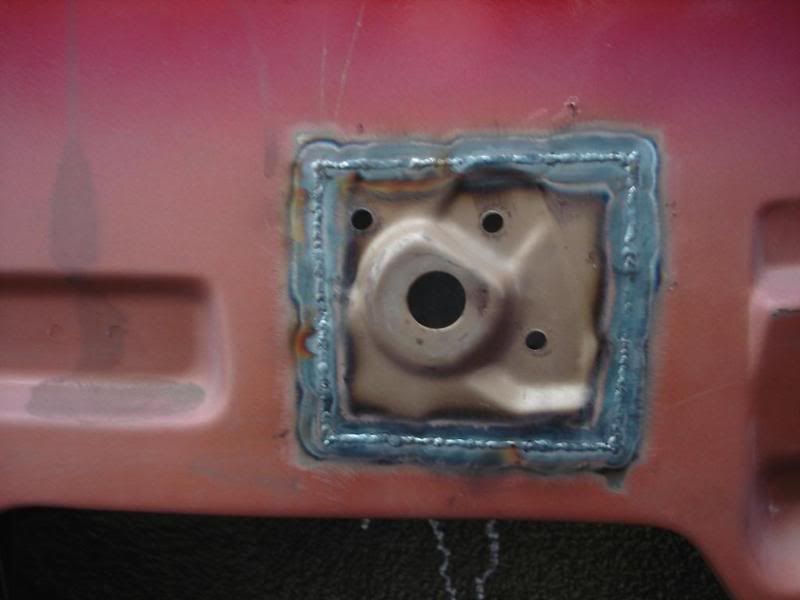 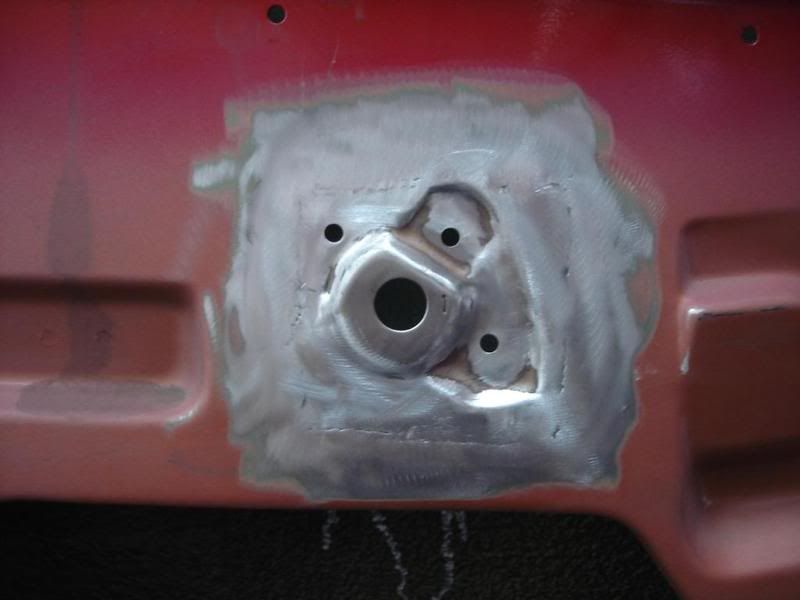
|

|

|
| Bookmarks |
| Thread Tools | |
| Display Modes | |
|
|


 Threaded Mode