
 |
Register or Log In To remove these advertisements. |
|
|
|
|||||||
 |
|
|
Thread Tools | Display Modes |
|
|
#1 |
|
Registered User
Join Date: May 2009
Location: LEE'S SUMMIT, MO
Posts: 99
|
Getcha caught up,hatch repair and all
So I have already used this forum to get soo much information that I thought I should try to give a little info myself. So here goes...
I purchased my 1969 BLazer off of Ebay a little while back.. it came out of Dallas, and when I bid I thought that there was very little chance of winning it.... so I didn't really stop to think about having to get it from Dallas to KC or the fact that it didn't come with a hard top and it was gonna get cold here in just a couple of months ! Here is it arriving on the transport.. 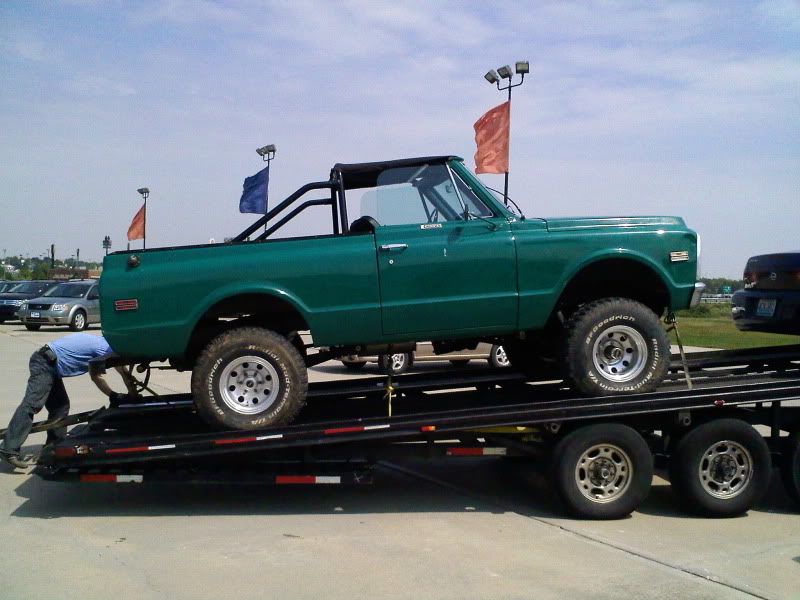 When I started the truck for the first time "Runnin with the Devil" started blaring on the radio.. this could be a good sign.. or a bad one..  As with the pics of the truck that were posted on EBAY, the camera is very kind to the truck. 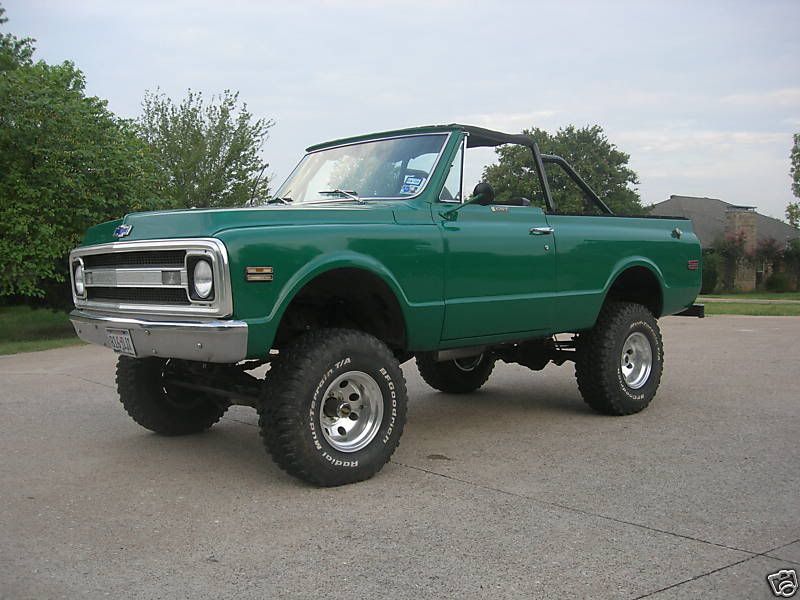 It looks pretty stud here I think. I really loved cruisin around in it as Summer faded into fall..meanwhile I was trying to find a good top to get for it. After feeling like several people were trying to screw me, I found a top in Kentucky for next to nothing and he agreed to meet me in St louis with it ! It even came with a hatch ! As 40 years old tops go, it was in ok shape, but needed some work. He also failed to mention that the hatch was cracked up.. Here is what it looked like as I started to clean it up and make it presentable... 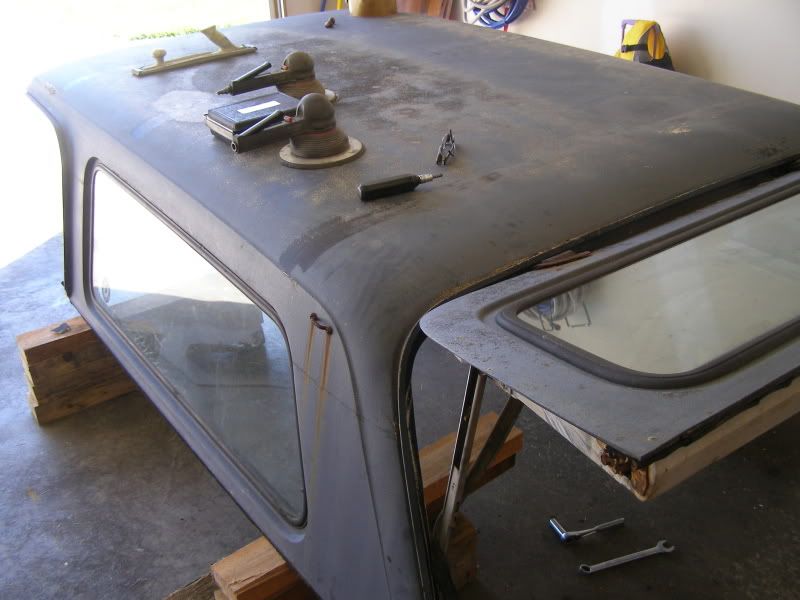 Now please undertand that I am not about to show you how I fixed this thing up because I think I am mr mechanic guy. Winter was right on top of us here, or at least a very brisk Fall. It was getting pretty chilly on my drive to work so I set about repairing this thing to use it ASAP !! I sanded off the cooked original paint and applied RUSTBULLET to seal the top. I know, I know.. I don't know why I decided to use that, other than it has awesome adhesion properties. It looked so good I thought about leaving it silver !!  I plan on painting it to match the body color in the future so knowing that and also being in a major hurry I painted it flat black. Here it is sittin on the truck... 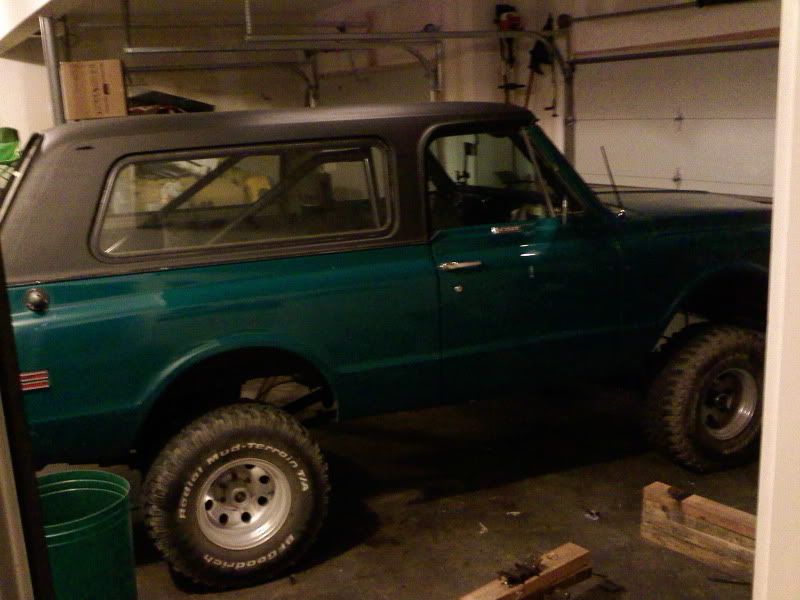 I was pretty suprised how good it turned out, under the circumstances of slam dunking it. see next post as this adventure continues with the hatch repair !! |
|
|

|
|
|
#2 |
|
Registered User
Join Date: May 2009
Location: LEE'S SUMMIT, MO
Posts: 99
|
continued - episode 2 hatch repair
Next up, getting the hatch on... as exhaust fumes were about to KILL ME on the way to work..
 The hatch was cracked like most of them, right down through the hinge mounts. MAN THAT GLASS IS HEAVY !! I have seen some really great repairs on here, working with fiberglass and really doing it up right. Well, I had no time for that.. and to be honest- when Spring gets here, the top is coming off baby !! So first we made new mounting plates for the hatch. 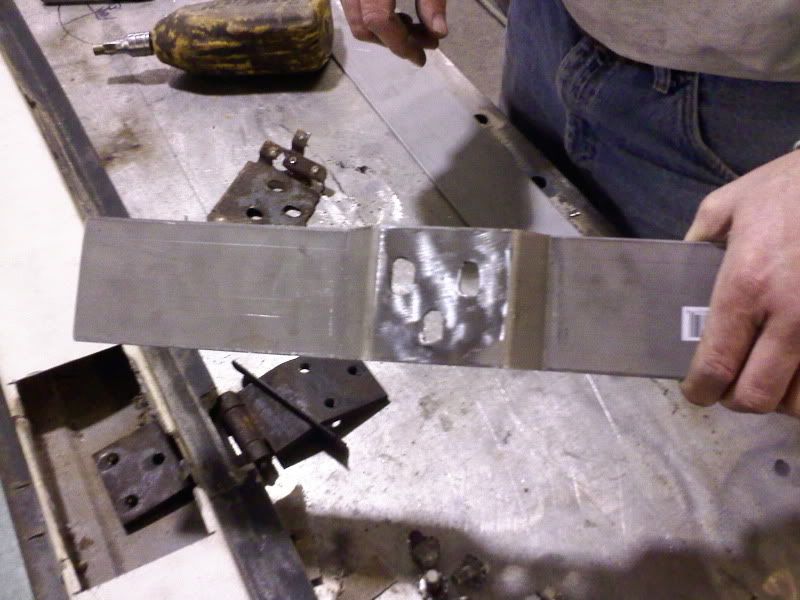 Then we fit them to the hatch. Our hope was to spread out the stress over more area.. 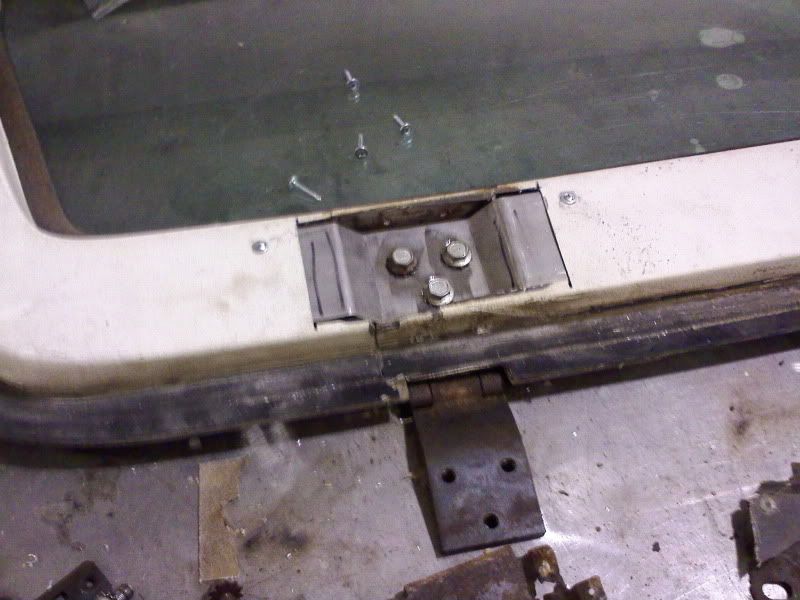 Here they are both bolted in.. 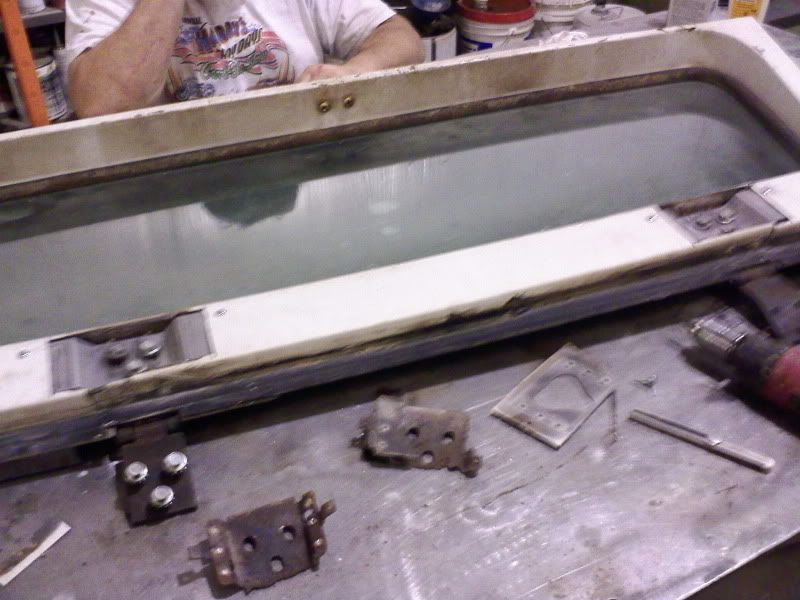 We wanted to eliminate the twisting effect between the hinges so we connected them with some aluminum diamond plate. 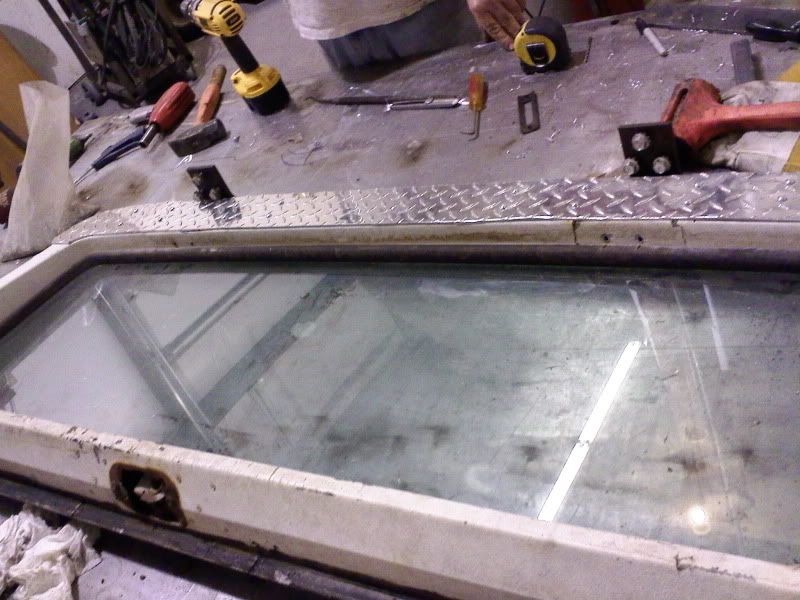 and here it is on the truck.. 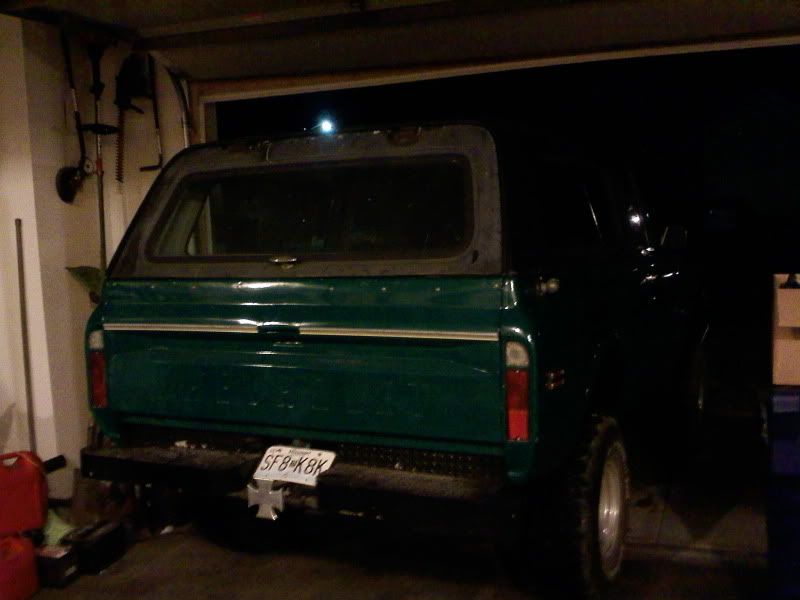 There are lots of ways to skin a cat and this was just my way of getting a top on to keep in some frickin heat !! I think that this hinge reinforcement would work great on any hatch, plus when I check the rearview mirror I see some nice diamond plate lookin back at me !! I hope this post will help some of you with your hatch problems or at least give you a place to start ! 
|
|
|

|
|
|
#4 |
|
Registered User
Join Date: May 2007
Location: Marion, Mi.
Posts: 2,429
|
Re: Getcha caught up,hatch repair and all
Great work, keep the pic's coming!
|
|
|

|
|
|
#5 |
|
Registered User
Join Date: Jan 2007
Location: Mississippi
Posts: 2,122
|
Re: Getcha caught up,hatch repair and all
I here you on the hardtop. I never could get my hatch to seal good. I finally said screw it, & would run a strip of duct tape between the hatch & tailgate (on the inside of course) to keep the fumes out. Whatever it worked!!!
Nice Blazer.
__________________
'72 C to K20 "Cannibalizer" http://67-72chevytrucks.com/vboard/s...32#post8653432 '85 K30 "Big Nassy" [B]'85 C10 [B] "Corpse" '01 2500 Suburban ...party wagon & tow truck '06 Silverado SS...DD '06 C1500 WT...DD '07 Classic C1500 WT...DD Built & sold cause can't keep 'em all: '72 Blazer "The Bucket" http://67-72chevytrucks.com/vboard/s...d.php?t=433190 '55 Chevy straight axle gasser https://www.trifive.com/forums/showthread.php?t=173938 '69 Pro Street Chevelle http://www.chevelles.com/forums/showthread.php?t=332541 '86 M1031 CUCV http://67-72chevytrucks.com/vboard/s...d.php?t=553619 |
|
|

|
|
|
#6 |
|
Registered User
Join Date: Sep 2007
Location: Rolla Mo.
Posts: 667
|
Re: Getcha caught up,hatch repair and all
Had to subscribe as I have a lot of hatch repair to do this winter, Looks good!
__________________
"85" Monte Carlo SS "71" K5 (SOLD) "64" Chevelle 1930 Chevy two door rat |
|
|

|
|
|
#7 |
|
Registered User
Join Date: May 2009
Location: LEE'S SUMMIT, MO
Posts: 99
|
Re: Getcha caught up,hatch repair and all
connecting the hinges to each other with the diamond plate made a huge difference since it can't twist between the two, causing it to crack. It may be a good thing to add to your hatch repair even if it is not cracked quite like mine was!
|
|
|

|
 |
| Bookmarks |
| Thread Tools | |
| Display Modes | |
|
|