
|
Register or Log In To remove these advertisements. |
|
|
|
|||||||
 |
|
|
Thread Tools | Display Modes |
|
|
 06-15-2011, 02:15 PM
|
#1 | |
|
Junk Yartist
Join Date: Jul 2009
Location: Greeley, CO
Posts: 2,203
|
Re: NP 205 Rebuild and Info
Quote:
__________________
-Jeremy YOU ONLY FAIL IF YOU STOP TRYING 70 Crew Cab Build Link 70 GMC Suburban 4X4 build thread 95 Yukon Daily Driver Rebuilding an NP205 |
|

|

|
|
06-15-2011, 02:45 PM
|
#2 |
|
Junk Yartist
Join Date: Jul 2009
Location: Greeley, CO
Posts: 2,203
|
Re: NP 205 Rebuild and Info
I am out of cam lube, so an old trick I am using this time is Petroleum Jelly to hold the rollers in place. Then with a new gasket I installed the rear bearing housing. Since none of the bolt holes are blind on the 205 I used thread sealant on ALL the bolts. Torque for the housing bolts are 30lbft
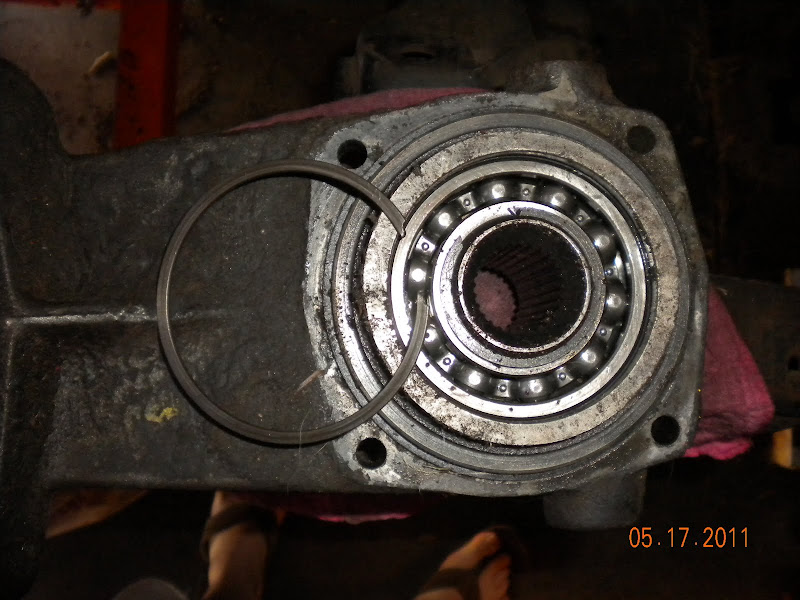
 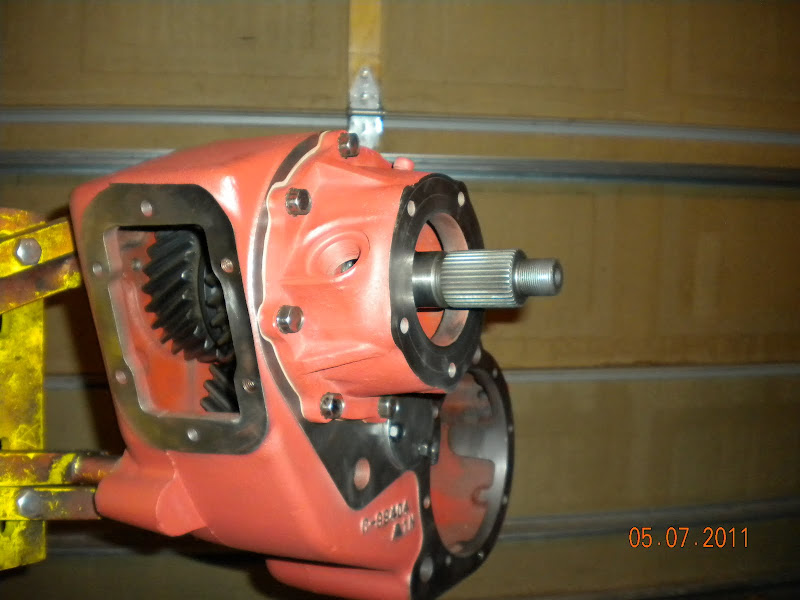 Next install the spacer, speedometer drive gear and rear bearing with a perimeter snap ring. You should be able to look down the speedometer adapeter hole and see the gear. Here you will also notice that the gear spins freely on the shaft. Once the yoke is installed and torqued, the gear, and spacer will be captured between the bearing and the shoulder on the shaft. This will also locate the output shaft to the rear which is why there is no thrust bearing between the input shaft and the output shaft  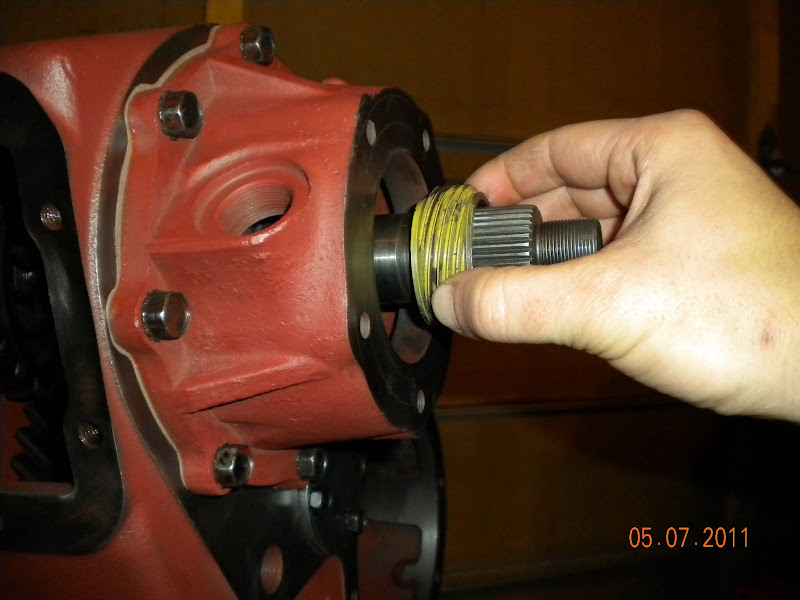  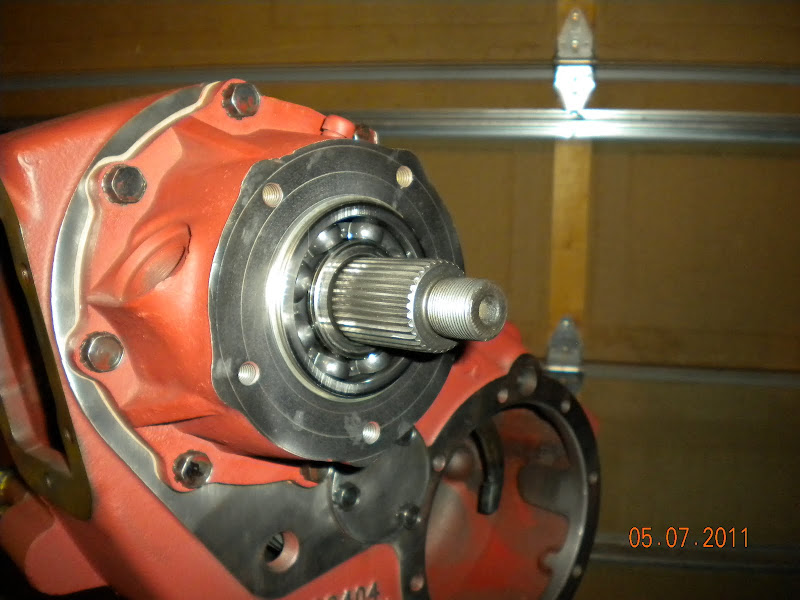  Next I installed the rear output seal in the seal housing. My rebuild kit came with several seals so I sized mine to the output yoke. It didn't take much force to set the seal at all. I am holding the housing in the orientation it goes on the case. You will notice the oil passage by my pinky finger. This has to line up with the hole on the case and cannot be covered by the gasket. The bolt holes are spaced differently so it's hard to get it wrong. Torque on these bolts is 30 lbft. Again use sealant on the threads. I did not find any specs on depth of the seal so I installed it flush. 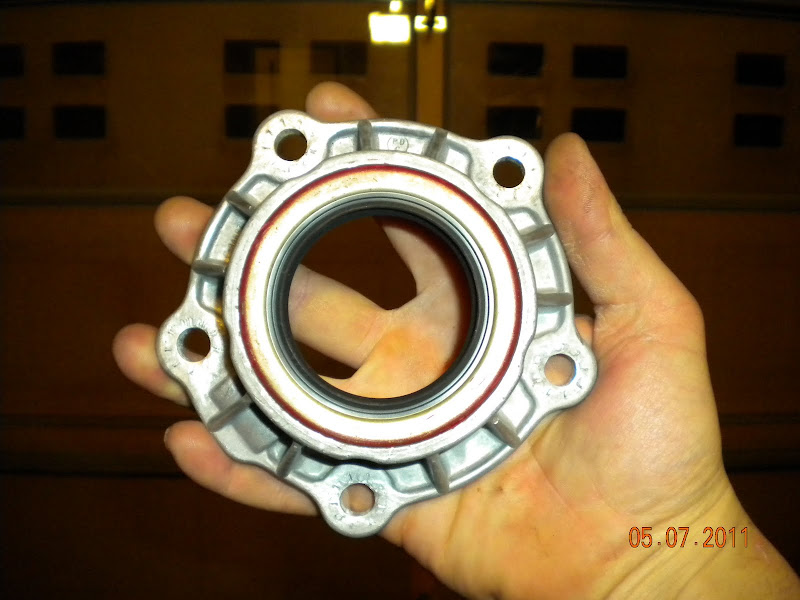  I'm showing this picture without the seal housing for reference. At this point you should be able to pull the shaft back against the bearing 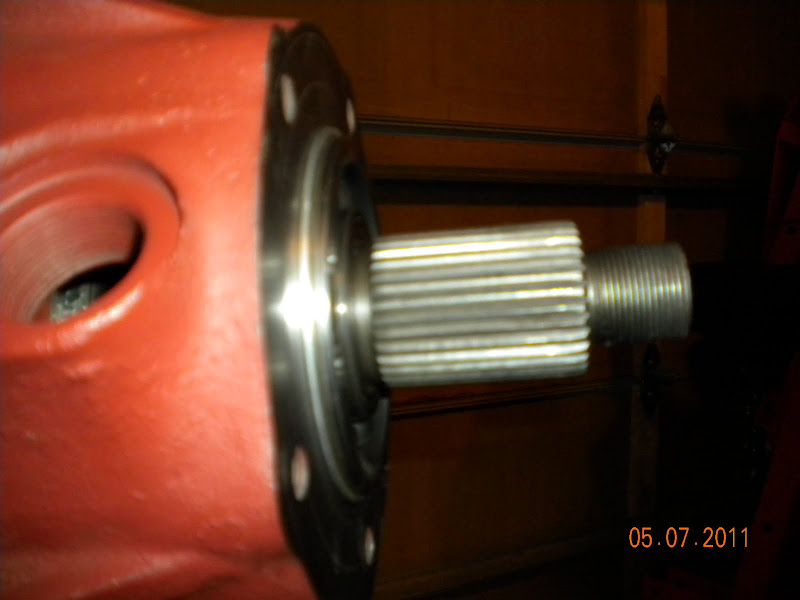
__________________
-Jeremy YOU ONLY FAIL IF YOU STOP TRYING 70 Crew Cab Build Link 70 GMC Suburban 4X4 build thread 95 Yukon Daily Driver Rebuilding an NP205 |
|
|
|
|
06-15-2011, 03:29 PM
|
#3 |
|
Junk Yartist
Join Date: Jul 2009
Location: Greeley, CO
Posts: 2,203
|
Re: NP 205 Rebuild and Info
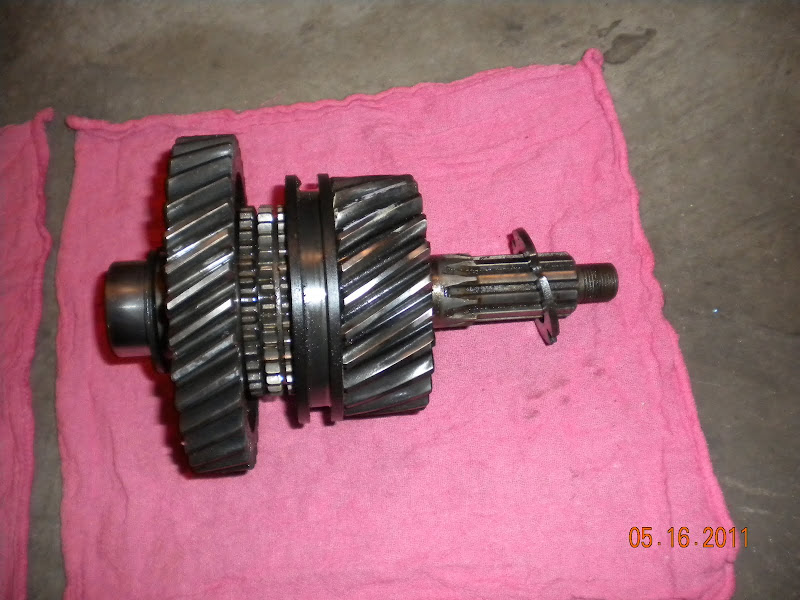
Rebuilding the front output is next
 To make things easy, I removed High gear and the shift collar, cleaned them, and installed them in the case. 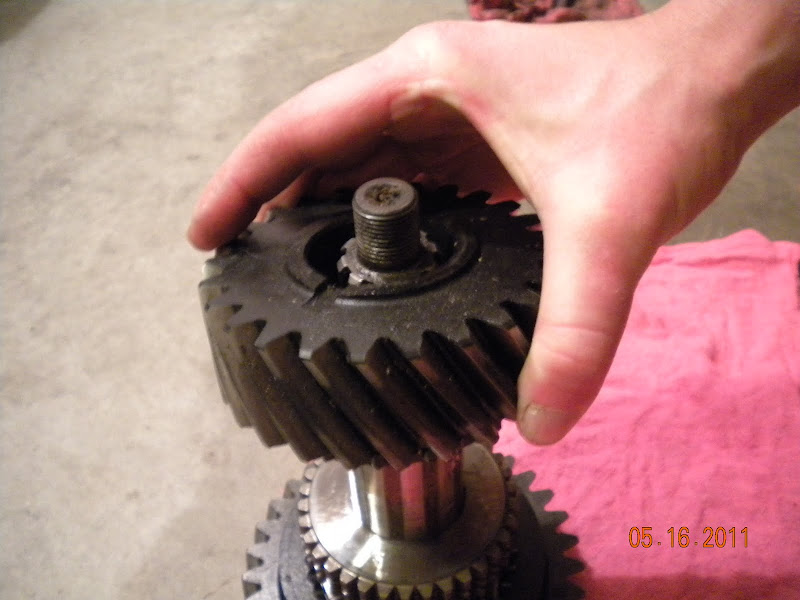    Next the front output comes apart very much like the rear output. Snap ring comes off, index washer comes off, pin comes out, and Low gear drops off the shaft. There were not thrust washers on the front output.  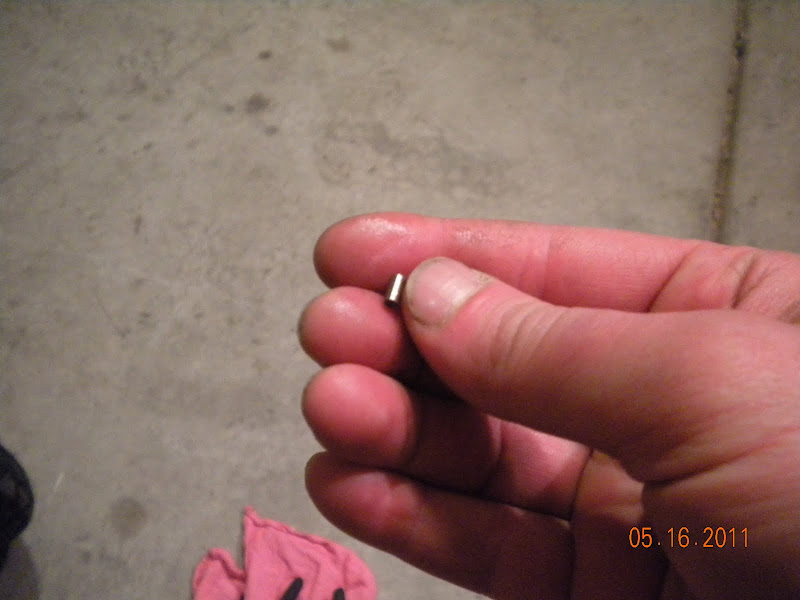 Once everything was clean I started putting it back together. I used Petroleum Jelly on the rollers to stick them to the shaft  For no reason, this time I set Low gear on the shaft, then installed the divider ring, then the second row of rollers.    Next the pin, then the indexing washer, then the snap ring    Next I installed the front output shaft in the case, feeding it through the shift collar and the High gear   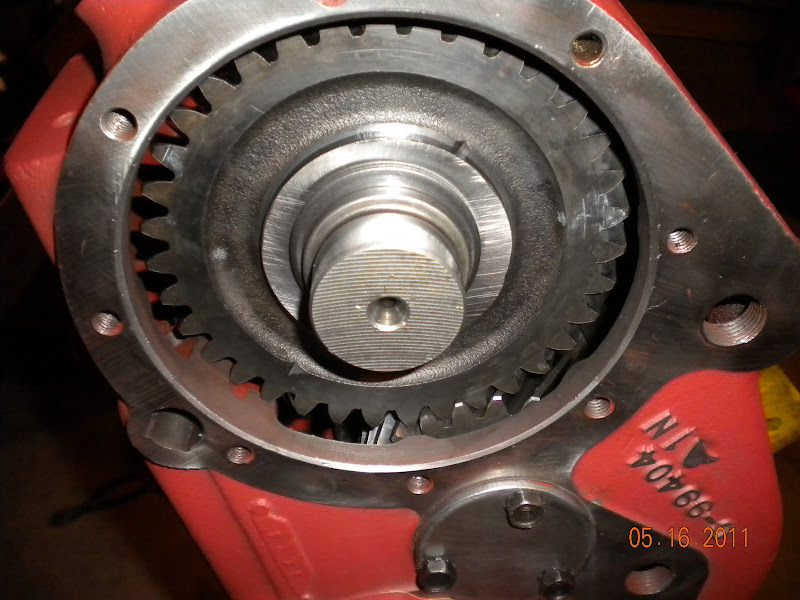 Next I installed the thrust/slinger washer and the bearing with a perimeter snap ring. Sorry I forgot to take a picture of the bearing 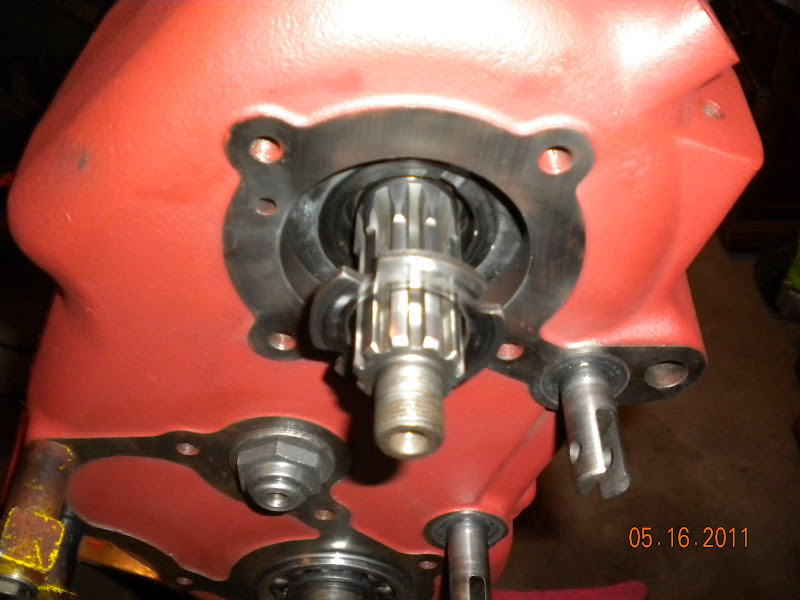 For the front seal retainer my thumb is pointing to the oil passage that needs to line up with the notch in the gasket and the hole in the t-case. Here is the part I am not sure I did 100% right. The front seal has dual lips and the metal side is supposed to go on the inside. Well, both sides are metal, and there is a spring on both sides, so this is the way I installed it. Anyone wanna ensure this is correct?  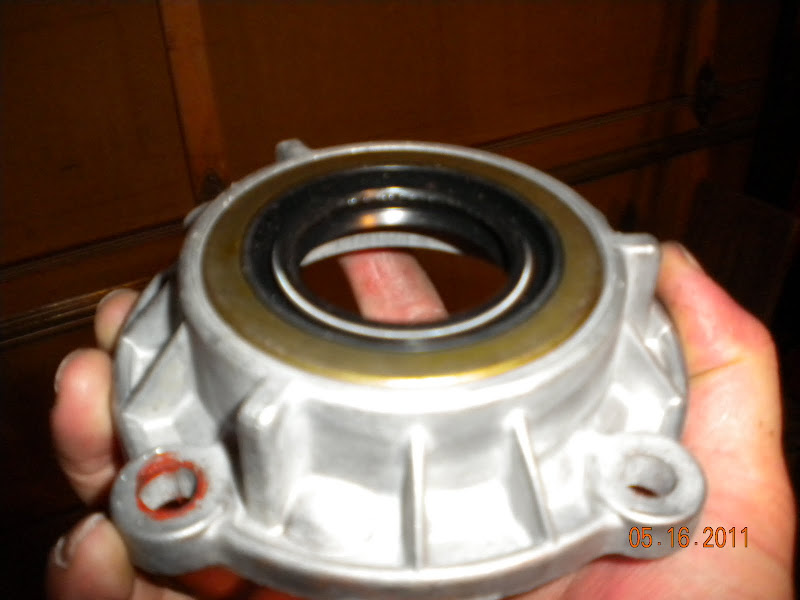 I installed the seal housing with a new gasket, installed the bolts with sealant on the threads, and torqued the to 35lbft... I don't know why these are higher.  Next I used Petroleum Jelly to install the rear rollers 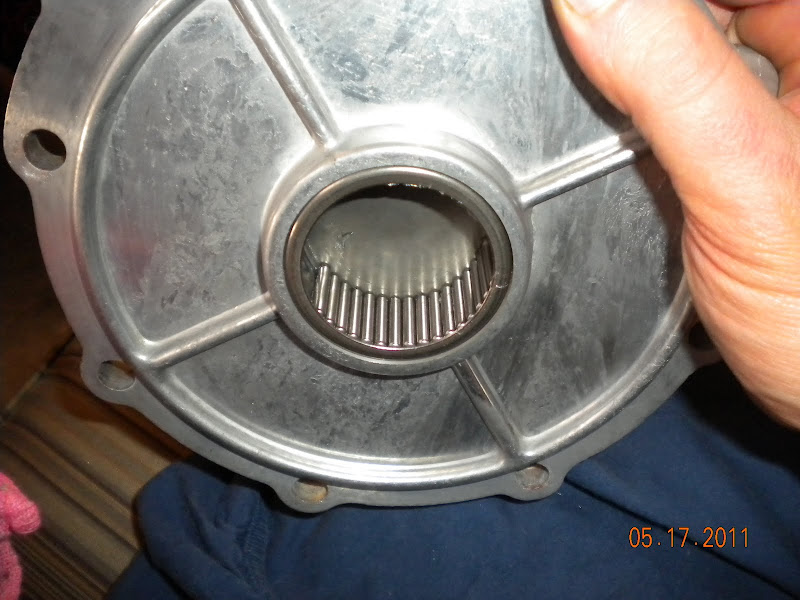 Then I installed the rear cover with a new gasket and sealant on the bolt threads. Torque is 30lbft 
__________________
-Jeremy YOU ONLY FAIL IF YOU STOP TRYING 70 Crew Cab Build Link 70 GMC Suburban 4X4 build thread 95 Yukon Daily Driver Rebuilding an NP205 |
|
|
|
|
06-15-2011, 03:54 PM
|
#4 |
|
Junk Yartist
Join Date: Jul 2009
Location: Greeley, CO
Posts: 2,203
|
Re: NP 205 Rebuild and Info
Next I installed the detent balls with the shift rails in Neutral, then the springs and then the caps. I don't have a torque spec for these
  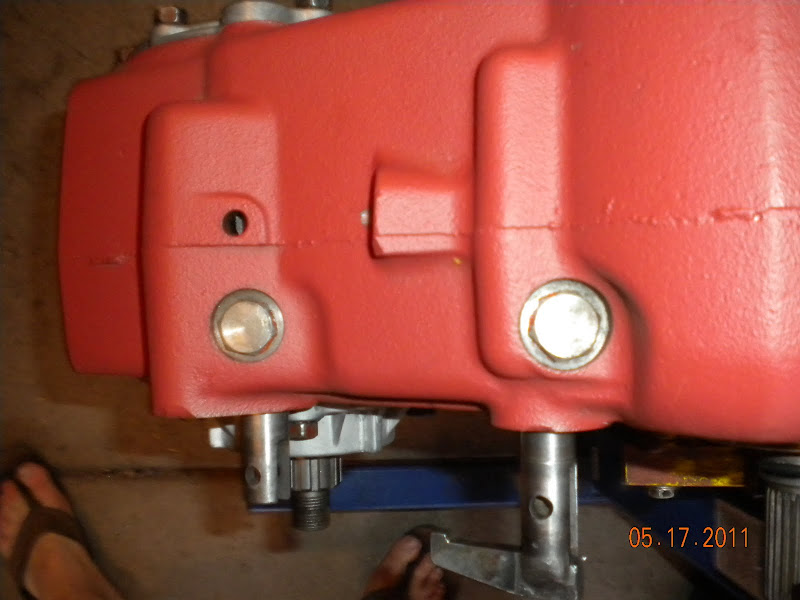 Then I installed the expansion plugs with a little sealant on them. 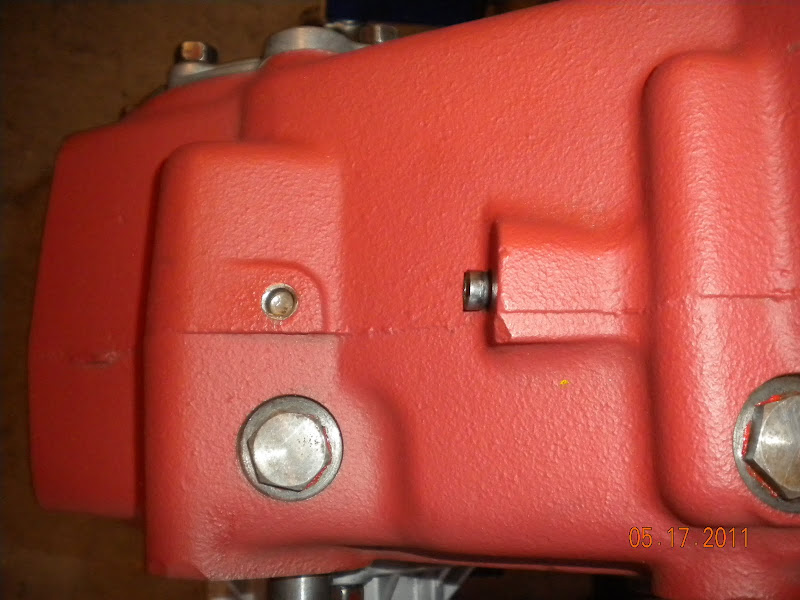 Next I installed the shift bar. Notice that on this type of linkage, the slotted hole goes to the 2-4 rail, and the holes are to the rear  Next I installed the linkage 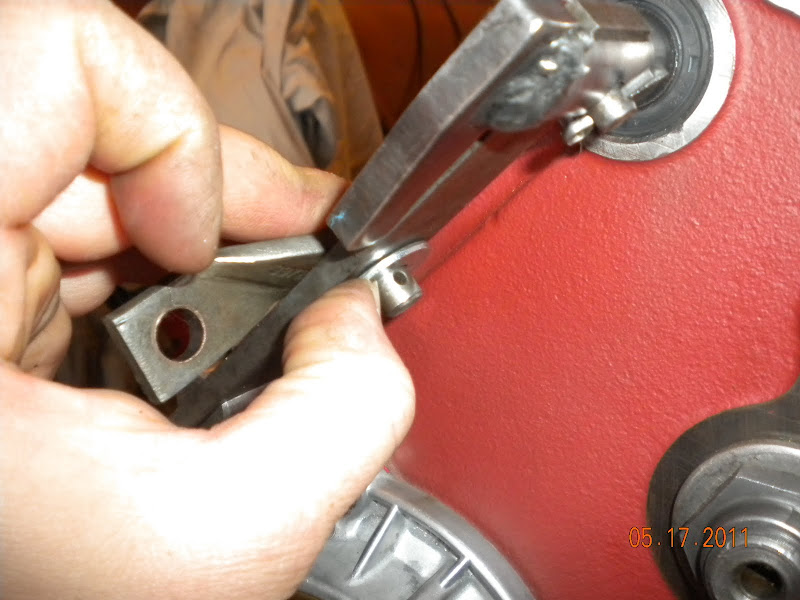 Then the PTO cover with gasket and bolts. I don't have a torque spec, but the threads do need sealant 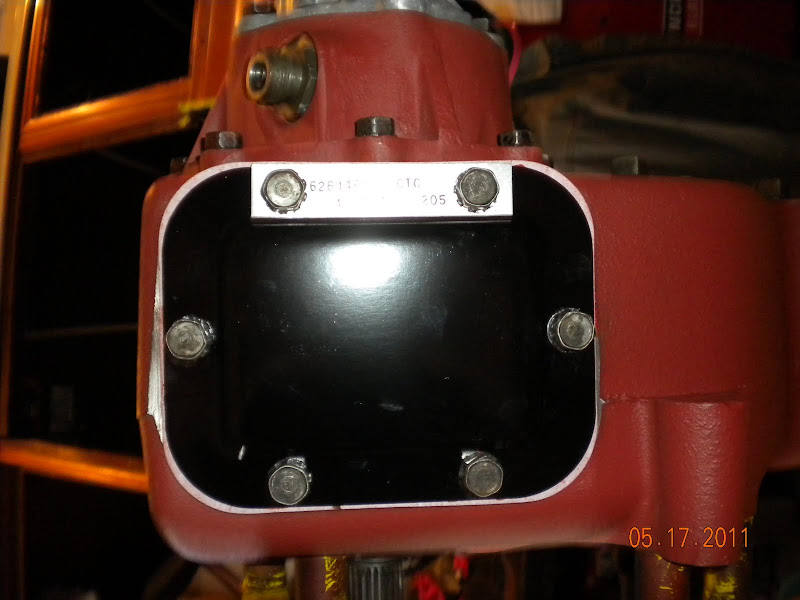 Then the speedo drive shaft and adapter. I don't have a torque for this 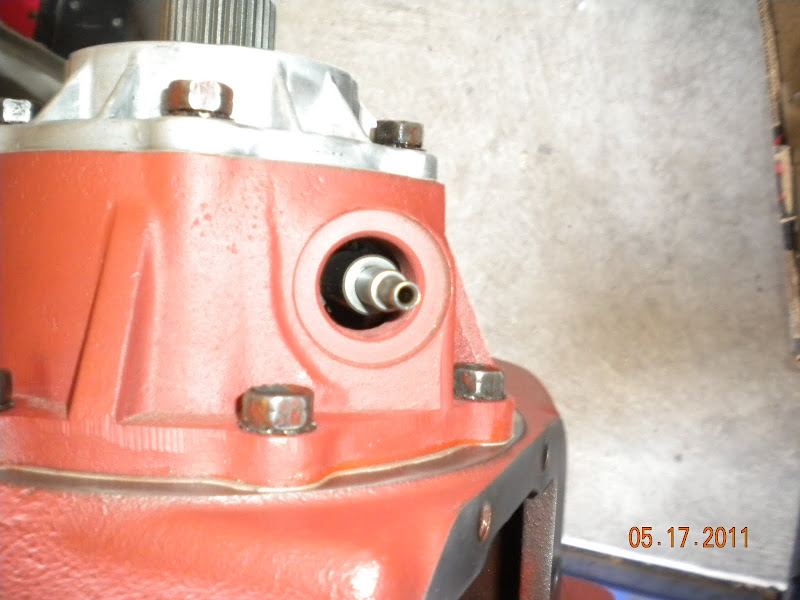 
__________________
-Jeremy YOU ONLY FAIL IF YOU STOP TRYING 70 Crew Cab Build Link 70 GMC Suburban 4X4 build thread 95 Yukon Daily Driver Rebuilding an NP205 |
|
|
|
|
06-15-2011, 04:08 PM
|
#5 |
|
Junk Yartist
Join Date: Jul 2009
Location: Greeley, CO
Posts: 2,203
|
Re: NP 205 Rebuild and Info
I am stopped here for a bit, this is a picture of my rear output yoke. I am going to try to clean off the teeth marks and speedi-sleeve it. This would be why I had a bad leak at the rear output.
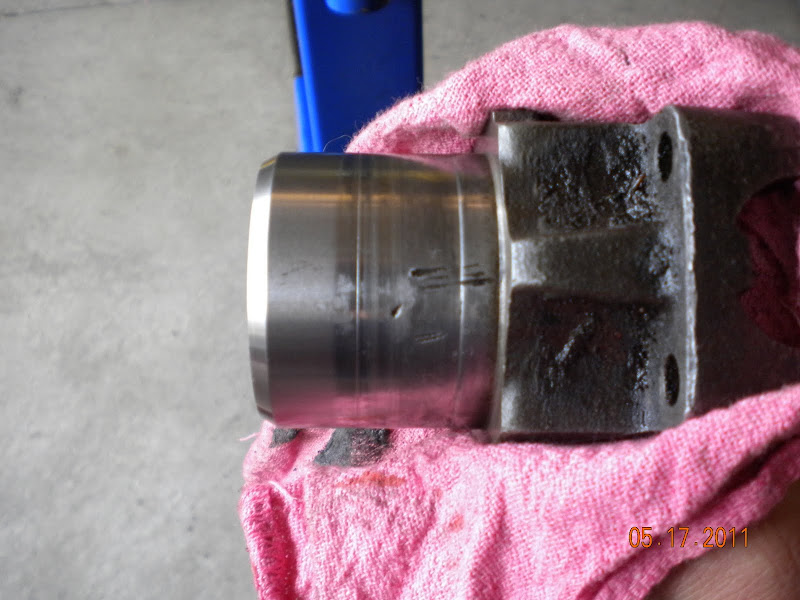 If all your yokes are good to go, The torque spec that I found is 150lbft for rear. The front of this case is 10 spine. I don't have a torque spec. 30 and 32 spline front output torque is 150lbft. I will be using new nuts on both and speedi-sleeves on both. Once I have the sleeves I will cover the repair here.
__________________
-Jeremy YOU ONLY FAIL IF YOU STOP TRYING 70 Crew Cab Build Link 70 GMC Suburban 4X4 build thread 95 Yukon Daily Driver Rebuilding an NP205 Last edited by jbclassix; 06-26-2013 at 12:43 AM. |
|
|
|
|
06-15-2011, 04:12 PM
|
#6 |
|
Junk Yartist
Join Date: Jul 2009
Location: Greeley, CO
Posts: 2,203
|
Re: NP 205 Rebuild and Info
There are 2 types of adapters for the TH350/NP205. This is the one I will be rebuilding. I may use a 700R-4, but I will not be re-using the TH350. Remove the inside snap ring and then the collar and bearing will come out as an assembly.
  My bearing doesn't look to good and I don't have a new one, so this is where I am going to stop for now.
__________________
-Jeremy YOU ONLY FAIL IF YOU STOP TRYING 70 Crew Cab Build Link 70 GMC Suburban 4X4 build thread 95 Yukon Daily Driver Rebuilding an NP205 |
|
|
|
|
06-15-2011, 07:01 PM
|
#7 |
|
Second Chance Program
Join Date: Jun 2006
Location: Portland, OR
Posts: 2,642
|
Re: NP 205 Rebuild and Info
Again, Great work and documentation! I really appreciate you taking the time to show us all of this! Thank you! As a silly question, Do you plan on painting the parts of the case that are now bare metal and left exposed?
|
|
|
|
|
06-28-2011, 03:02 PM
|
#8 |
|
Registered User
Join Date: Mar 2007
Location: Oakland, Ca
Posts: 1,381
|
Re: NP 205 Rebuild and Info
Next I installed the linkage
1st Off - I wish I had this post to help me when I did my rebuild last month! 2nd - Do you have any other pics of the linkage/shift rail tie bar? I seem to have some extra washers and a curved "wave washer" and I can't recall how it does back on. I am guessing it goes in the the end of that angled twisted piece and connects the the shifter itself... |
|
|
|
|
06-28-2011, 03:13 PM
|
#9 |
|
Junk Yartist
Join Date: Jul 2009
Location: Greeley, CO
Posts: 2,203
|
Re: NP 205 Rebuild and Info
I think the wave washer goes between the shift bar and flat washer... I just looked at mine, and I am missing it. I will see if I can find it, get it installed, and take a picture. Thanks for pointing that out!
__________________
-Jeremy YOU ONLY FAIL IF YOU STOP TRYING 70 Crew Cab Build Link 70 GMC Suburban 4X4 build thread 95 Yukon Daily Driver Rebuilding an NP205 |
|
|
|
|
06-29-2011, 05:53 PM
|
#10 |
|
Registered User
Join Date: Jun 2009
Location: Fort Erie , Ontario
Posts: 525
|
Re: NP 205 Rebuild and Info
Nice thread. You just made it possible for everyone to tackle a complete rebuild. Information is greatly appreciated. Keep up the good posts.
|
|
|
|
|
| Bookmarks |
| Thread Tools | |
| Display Modes | |
|
|


 Hybrid Mode
