
|
Register or Log In To remove these advertisements. |
|
|
|
|||||||
 |
|
|
Thread Tools | Display Modes |
 01-18-2013, 05:11 PM
|
#51 |
|
67cheby
 Join Date: Sep 2008
Location: siloam springs ar 72761
Posts: 17,890
|
Re: 71 C10 ground up restoration "my first build EVER"
nice
|

|

|
|
01-18-2013, 07:53 PM
|
#52 |
|
Registered User
Join Date: Aug 2010
Location: Hoofddorp, the Netherlands
Posts: 582
|
Re: 71 C10 ground up restoration "my first build EVER"
Thant painless wiring harness looks good, let us know how you got on with installing it. I'm going with EZ which I haven't gotten yet (shipping to the Netherlands takes a while) and I hope it looks like your painless set

__________________
Feedback is always welcome! projects: 1969 Chevy C10 1950 GMC 100 1958 Chevy C60 Viking ratrod |
|
|
|
|
01-19-2013, 11:04 PM
|
#53 | |
|
Registered User
Join Date: Nov 2012
Location: Hughson CA
Posts: 46
|
Re: 71 C10 ground up restoration "my first build EVER"
Quote:
And need to have time to mock up all the sweet PB stuff, going snowboarding tomorrow so ima have to make time during the week Posted via Mobile Device
__________________

|
|
|
|
|
|
01-28-2013, 06:43 PM
|
#54 |
|
Registered User
Join Date: Nov 2012
Location: Hughson CA
Posts: 46
|
Re: 71 C10 ground up restoration "my first build EVER"
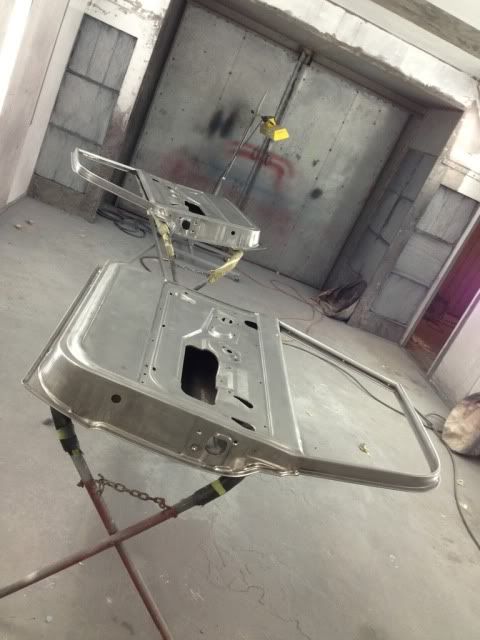
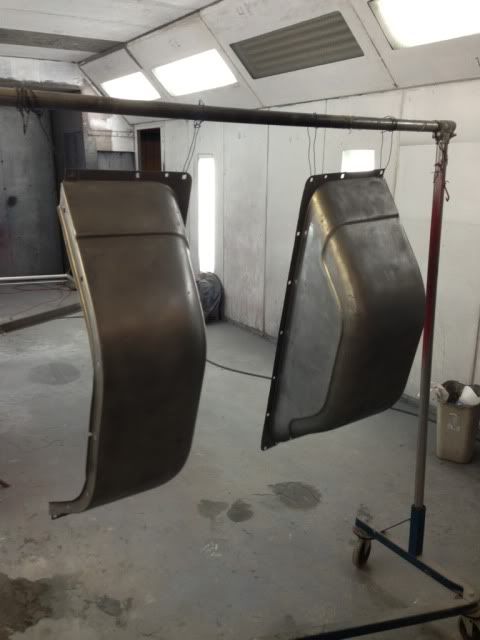
Today I went to my boys shop and he was bout to primer/seal my doors and rear bed humps. All the little crevices nice n CLEAN!!!
    Posted via Mobile Device Posted via Mobile Device
__________________
|
|
|
|
|
02-05-2013, 12:54 PM
|
#55 |
|
Registered User
Join Date: Nov 2012
Location: Hughson CA
Posts: 46
|
Re: 71 C10 ground up restoration "my first build EVER"
So my buddy sent me pics yesterday of the paint on the cab and the X-Liner under the cab, he sprayed it with a candy orange but that orange isn't my cup of tea so that's coming off lol, but the X-Liner looks great!!
Not sure on the color yet? I want a two tone with original moldings for sure.... 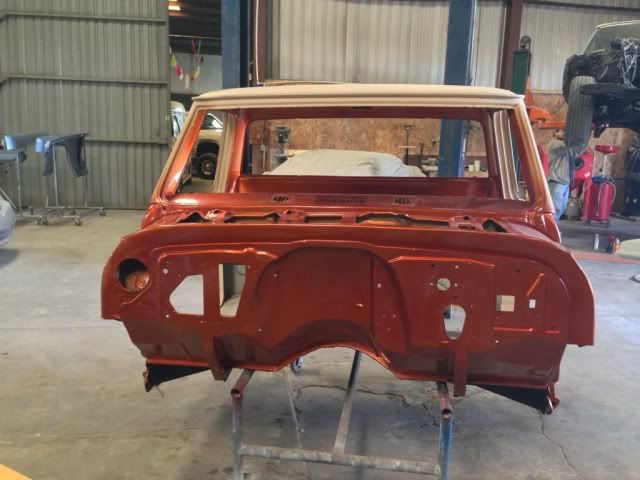 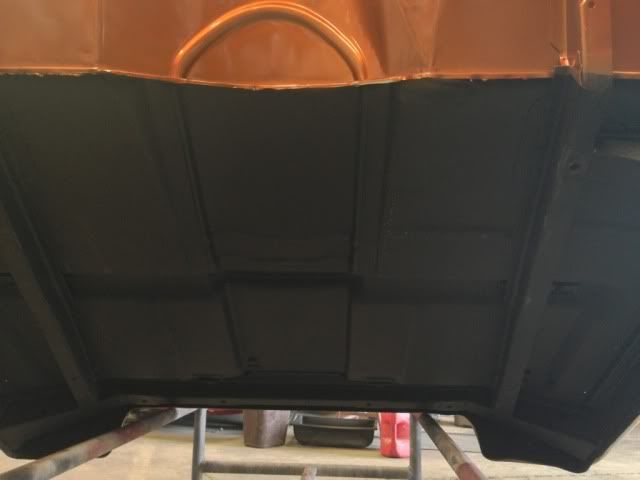 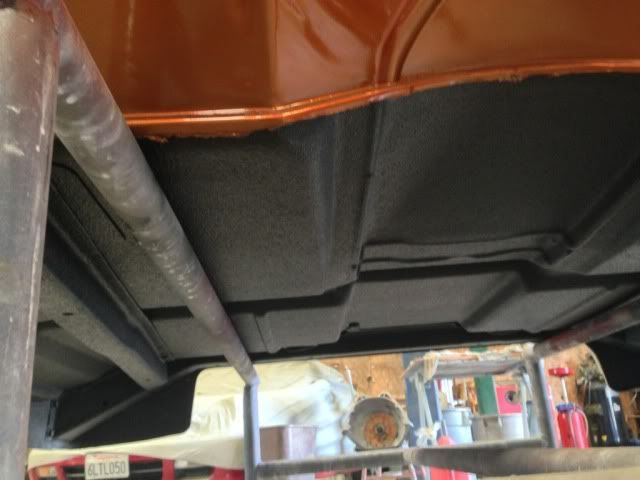 Also got the bed humps and doors all sealed up, just waiting on my 1 piece window set up from brothers 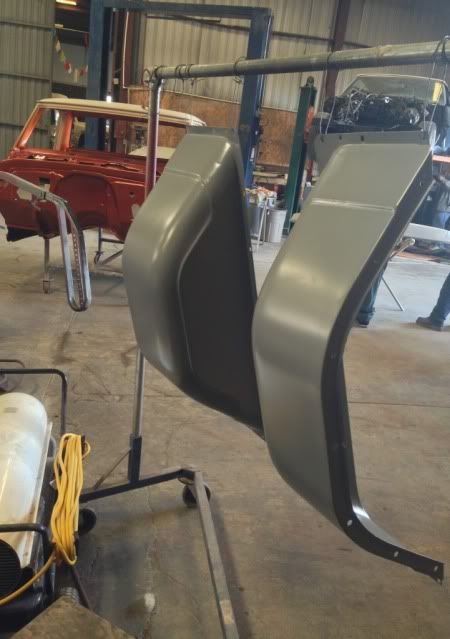 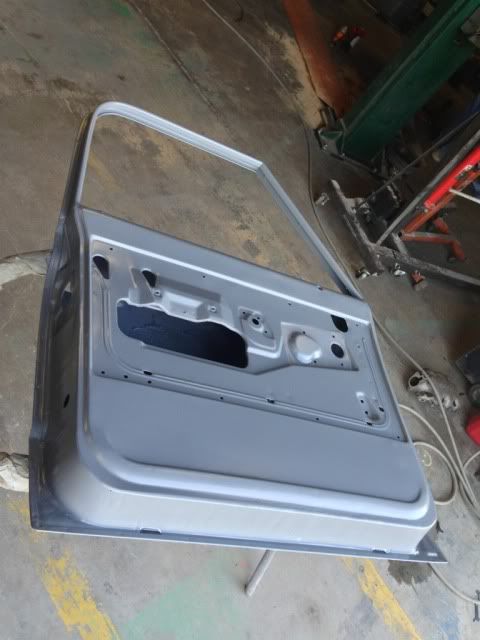 Posted via Mobile Device Posted via Mobile Device Posted via Mobile Device
__________________
|
|
|
|
|
02-05-2013, 12:56 PM
|
#56 |
|
67cheby
Join Date: Sep 2008
Location: siloam springs ar 72761
Posts: 17,890
|
Re: 71 C10 ground up restoration "my first build EVER"
everything looks great, nice job stripping the doors did he chemical dip them or just strip by hand ??
|
|
|
|
|
02-05-2013, 04:28 PM
|
#57 | |
|
Registered User
Join Date: Nov 2012
Location: Hughson CA
Posts: 46
|
Quote:
Posted via Mobile Device
__________________
|
|
|
|
|
|
02-13-2013, 05:04 PM
|
#58 |
|
Registered User
Join Date: Nov 2012
Location: Hughson CA
Posts: 46
|
Re: 71 C10 ground up restoration "my first build EVER"
Just got off working a 12hr shift and seen this on my driveway =)
I wonder what it is lol 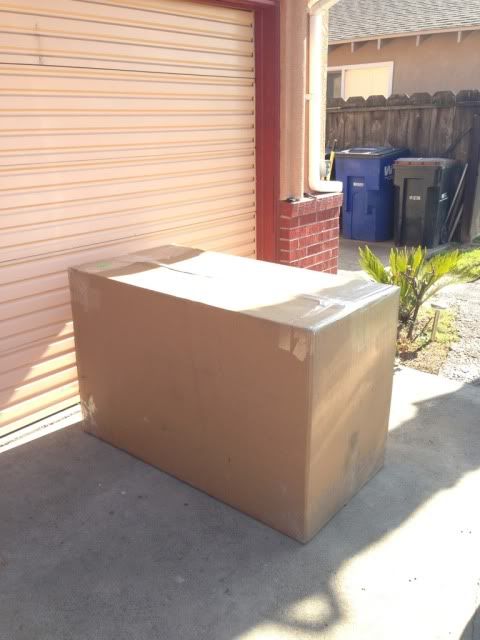 I opened the box but when I opened it I was a little bit upset  I was expecting a hello kitty blanket haha Jk Jk I was expecting a hello kitty blanket haha Jk Jk 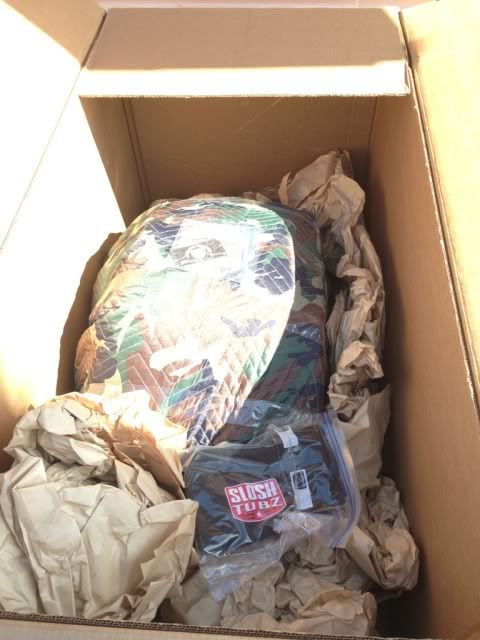 Thanks Mike Losh Got me my Slosh Tubz 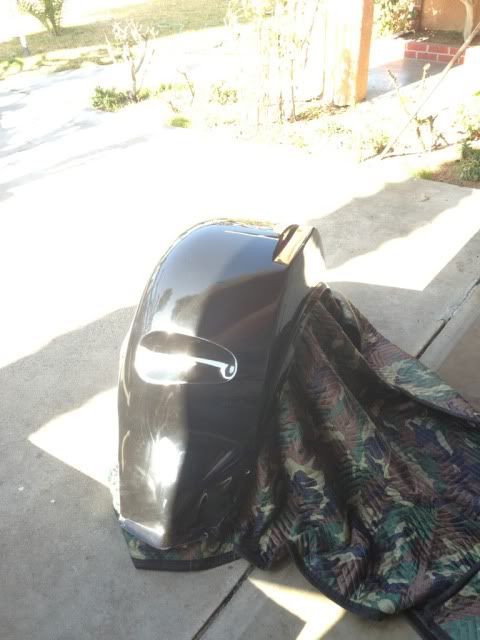 Posted via Mobile Device Posted via Mobile Device
__________________
|
|
|
|
|
03-04-2013, 04:53 PM
|
#59 |
|
Registered User
Join Date: Nov 2012
Location: Hughson CA
Posts: 46
|
Re: 71 C10 ground up restoration "my first build EVER"
So haven't really done any progress to my chasis/frame haven't had time to go all out on it yet but I had purchased a serpentine belt system from a local swap meet and I put that on.
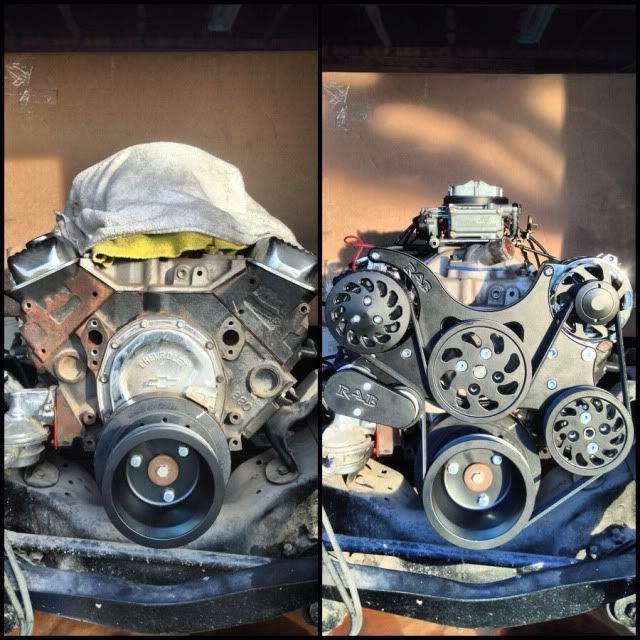 I also just bolted up all the front drop member cause I was bored haha but man ohh man can't wait to actually have it on, just don't know exactly how ima do it lol. 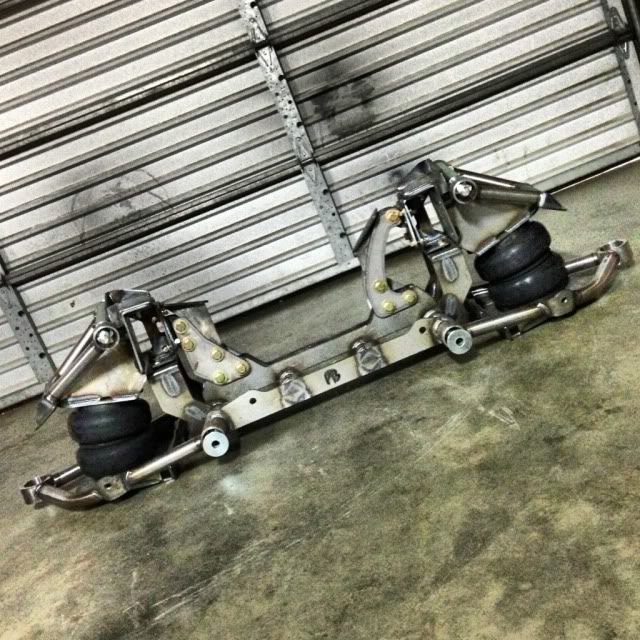 Also went to my friends shop he had welded the two gaps that the cab had up top where the door seals when looks way nicer 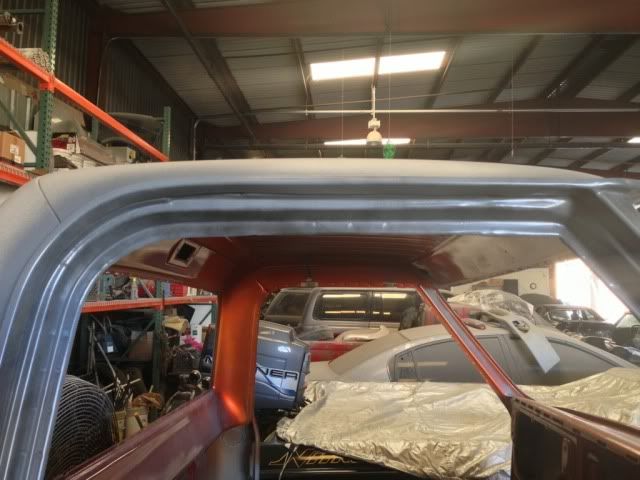 Posted via Mobile Device Posted via Mobile Device
__________________
|
|
|
|
|
04-26-2013, 05:32 PM
|
#60 |
|
Registered User
Join Date: Nov 2012
Location: Hughson CA
Posts: 46
|
Re: 71 C10 ground up restoration "my first build EVER"
So I'm trying to put the Porterbuilt Stage 2 Rear, the frame was a leaf spring frame and I removed the leaf springs and lowered the frame on the rear differential, once I put the trailing arms, the U-Bolt holes and C-Notch doesn't add up. Idk if I need to move the diff back more, does any1 have specs of how it all goes I don't want the rear end to be top far back or too forward??
Thanks. 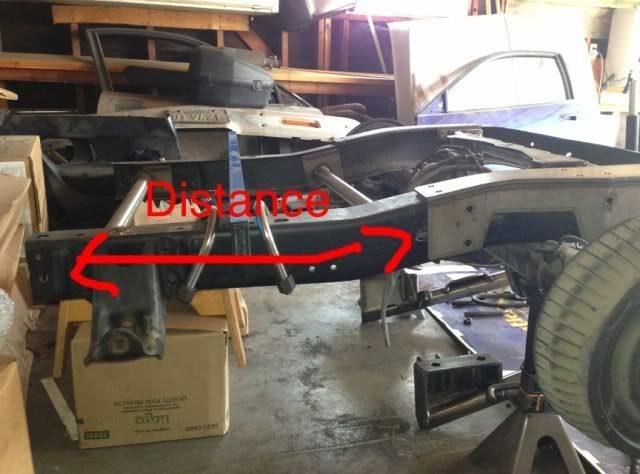 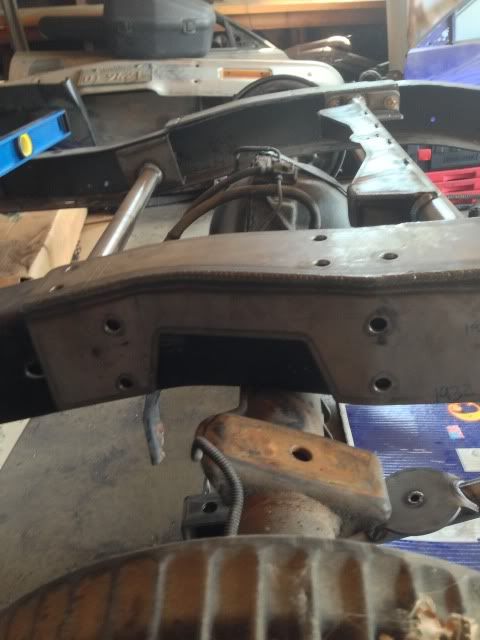 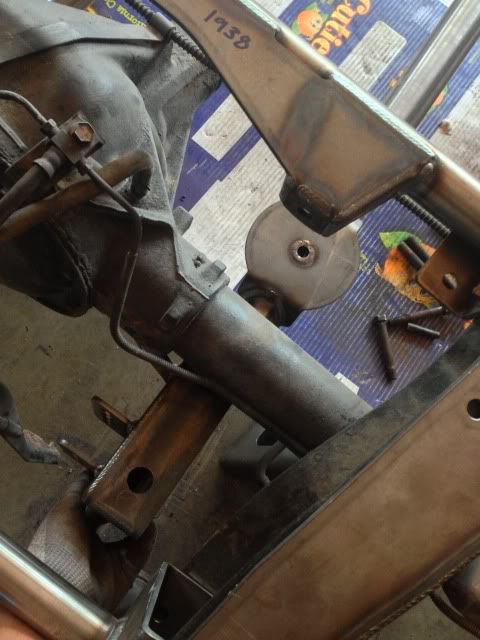 Posted via Mobile Device Posted via Mobile Device
__________________
|
|
|
|
|
04-26-2013, 06:01 PM
|
#61 |
|
Registered User
Join Date: Aug 2012
Location: Topeka Kansas
Posts: 2,655
|
Re: 71 C10 ground up restoration "my first build EVER"
Bolt the axle to the trailing arms then let the frame sit on the axle and see if it lines up then.
Edit: Can you take a picture of where the trailing arms bolt to the crossmember? I need to see something. Last edited by Xeen; 04-26-2013 at 06:09 PM. |
|
|
|
|
04-26-2013, 06:24 PM
|
#62 |
|
Registered User
Join Date: Nov 2012
Location: Hughson CA
Posts: 46
|
Re: 71 C10 ground up restoration "my first build EVER"
One thing, my diff doesn't have the U-Bolt bracket because it was leaf spring ima have to go borrow one.
I'm not home at the moment but here's the only pic I have, I bolted the trailing arms to the second from the bottom hole. 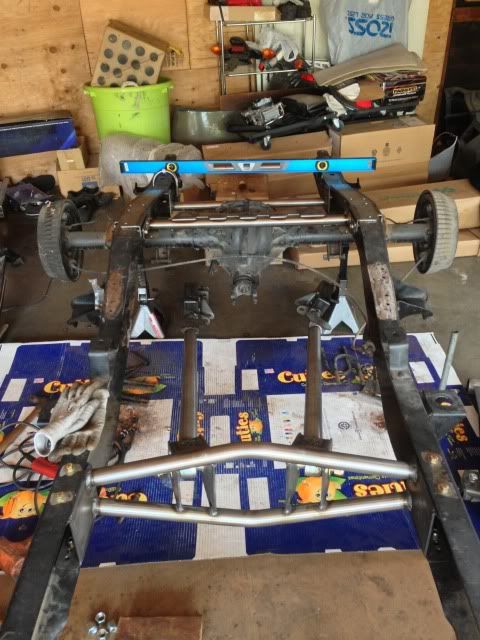 Posted via Mobile Device Posted via Mobile Device
__________________
|
|
|
|
|
04-26-2013, 09:46 PM
|
#63 |
|
Registered User
Join Date: Feb 2011
Location: Riverbank, Ca
Posts: 1,006
|
Re: 71 C10 ground up restoration "my first build EVER"
Nice build! Whos doing your work for you? Youre not too far away from me.
__________________
Rob 1971 c10 - ground up in progress Tripp's Speed Shop Build - http://67-72chevytrucks.com/vboard/s...d.php?t=589750 |
|
|
|
|
04-27-2013, 01:16 AM
|
#64 |
|
Registered User
Join Date: Aug 2012
Location: Topeka Kansas
Posts: 2,655
|
Re: 71 C10 ground up restoration "my first build EVER"
Since it is a custom crossmember it is likely that it's mounting location is going to be slightly different than the stock one it just needs moved.
I would recommend moving the trailing arms to the top mounting position before you move the crossmember. Yeah it might be a good idea to buy some U-Bolts  You need to bolt everything together so you can see it, one thing I can tell you is it never lines up in your head like it does for real. If you don't have a custom Trac-bar you need to buy one from porterbuilt since your axle doesn't have the stock mounting location. Last edited by Xeen; 04-27-2013 at 01:28 AM. |
|
|
|
|
04-27-2013, 05:55 AM
|
#65 | ||
|
Registered User
Join Date: Nov 2012
Location: Hughson CA
Posts: 46
|
Re: 71 C10 ground up restoration "my first build EVER"
Quote:
Quote:
Posted via Mobile Device Posted via Mobile Device
__________________
|
||
|
|
|
|
04-27-2013, 12:44 PM
|
#66 |
|
Registered User
Join Date: Aug 2012
Location: Topeka Kansas
Posts: 2,655
|
Re: 71 C10 ground up restoration "my first build EVER"
My advice is not wrong you need to be able to bolt everything together before you can say things don't fit, untill you can bolt the trailing arms to the axle and instal the trac-bar you won't know anything.
Also the trailing arm attachment point is a guideline not a rule, the angle your trailing arms end up when the truck is laid out is impacted by the starting position of the trailing arms. You will probably have to move your crossmember to get the trailing arms to be in the right position when the truck is laid out. |
|
|
|
|
04-27-2013, 04:15 PM
|
#67 | |
|
Registered User
Join Date: Nov 2012
Location: Hughson CA
Posts: 46
|
Re: 71 C10 ground up restoration "my first build EVER"
Quote:
)Ill keep you guys posted on my build Posted via Mobile Device
__________________
|
|
|
|
|
|
| Bookmarks |
| Thread Tools | |
| Display Modes | |
|
|


 Linear Mode

