 |
Register or Log In To remove these advertisements. |
|
|
|
|||||||
 |
|
|
Thread Tools | Display Modes |
|
|
#1 |
|
Registered User
Join Date: Mar 2012
Location: Goldsboro, NC
Posts: 11
|
1971 molding locations
I have a 1971 shortbed and I want to add upper and lower body moldings. Does anyone have the measurements to get the molding holes drilled? I have searched the site and tried to find some info but haven't had any luck. Thanks, Keith
|
|
|

|
|
|
#2 |
|
Registered User
 Join Date: Apr 2012
Location: Stillwater, Oklahoma
Posts: 874
|
Re: 1971 molding locations
I went through this exact issue. I couldn't find any straightforward info either. I said when I got it done I would post what I did, but I have of course procrastinated.
I'll get out to the garage today and get you some measurements and throw a few tips that I figured out doing this also. |
|
|

|
|
|
#3 |
|
Registered User
Join Date: Jun 2010
Location: Upland Ca
Posts: 4,147
|
Re: 1971 molding locations
The factory assembly manual has all the dimensions you are looking for.
__________________
1972 C10 SWB, Air, PS, PB, 350/350THM. Second owner. 1965 Corvette roadster, 44K miles, 327/365 SHP, 4 speed, side exhaust, knockoffs, teak, second owner (bought in 1970), Have ALL numbers matching components. My frame off restoration thread: http://67-72chevytrucks.com/vboard/s...d.php?t=556703 |
|
|

|
|
|
#4 |
|
Moderator
 Join Date: Jun 2008
Location: Modesto, CA
Posts: 5,775
|
Re: 1971 molding locations
These might help a bit. No measurements, but they show the locations.
__________________
2018 Chevy Crew Cab 2006 Impala SS 1965 Plymouth Sport Fury 1970 Chevy Longhorn
70 Longhorn CST Build Adding an AM/FM Decal Last edited by 70LonghornCST; 01-14-2014 at 07:32 PM. |
|
|

|
|
|
#5 |
|
Registered User
 Join Date: Apr 2013
Location: Gainesville, TEXAS
Posts: 658
|
Re: 1971 molding locations
ditto
__________________
1972 Chevrolet Cheyenne LB 1/2 ton finished restoration/rebuild 1995 350 throttle body FI, 4L6E (running on modified GM wiring harness) 3.08 posi rearend, factory A/C on 134A, p/s, p/b, late 70's power windows and locks and cruise, speakers in the dash + 6x9's behind the seat, factory tilt, 40 gallon fuel tank in the bed with integrated tool box, air assist bags on the rearend, sway bar up front and much more. 1972 chevrolet SNB finished 2002, 350 TB FI, TH400, factory A/C, p/b, p/s, (FOR SALE) 1969 Chevrolet 1 ton in work, home made PTO dump bed extended frame, 350 CI , 1972 Chevrolet 3/4 ton suburban future project 1972 Chevrolet 3/4 ton p/u maybe a project one day 1966 Toyota Landcruiser my playtoy |
|
|

|
|
|
#6 |
|
Registered User
 Join Date: Oct 2009
Location: Phoenix, AZ
Posts: 475
|
Re: 1971 molding locations
Try this thread: http://67-72chevytrucks.com/vboard/s...d.php?t=221881
__________________
1971 C10 Longbed, 350/TH350 |
|
|

|
|
|
#7 |
|
Registered User
Join Date: Mar 2012
Location: Goldsboro, NC
Posts: 11
|
Re: 1971 molding locations
Thanks for the help guys!!!!!
|
|
|

|
|
|
#8 |
|
Registered User
 Join Date: Apr 2012
Location: Stillwater, Oklahoma
Posts: 874
|
Re: 1971 molding locations
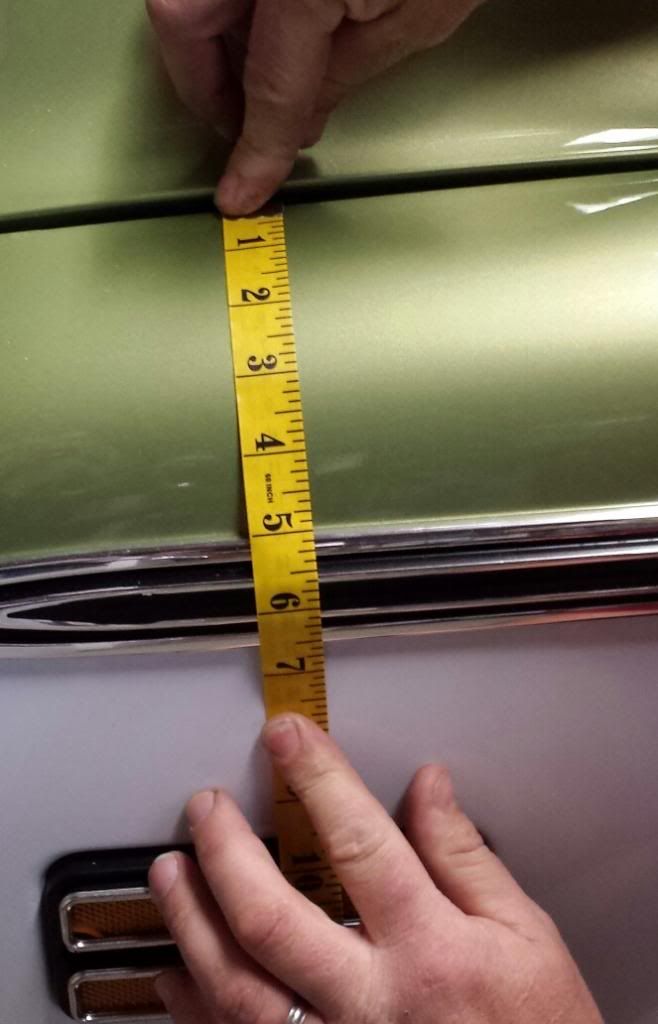
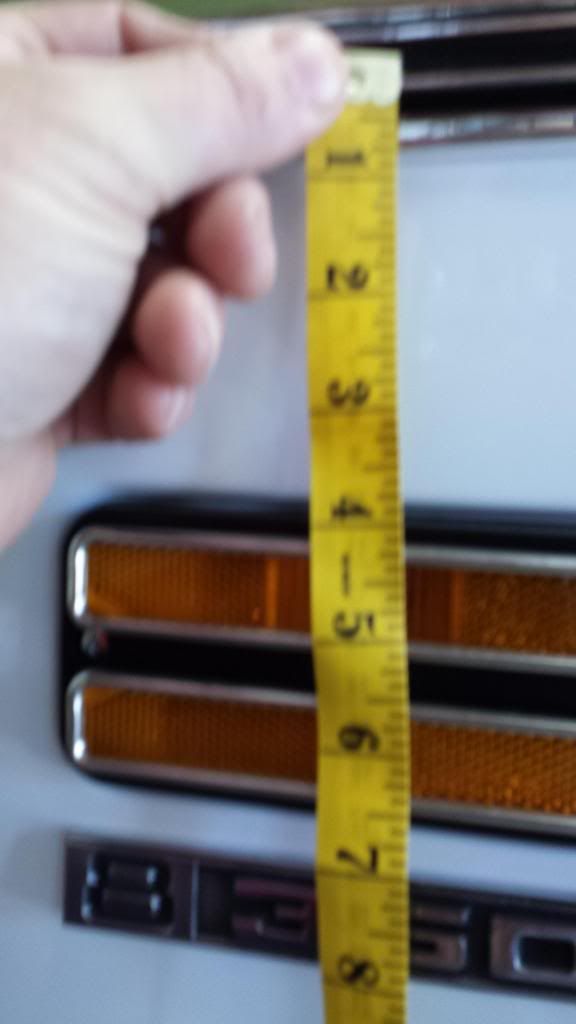
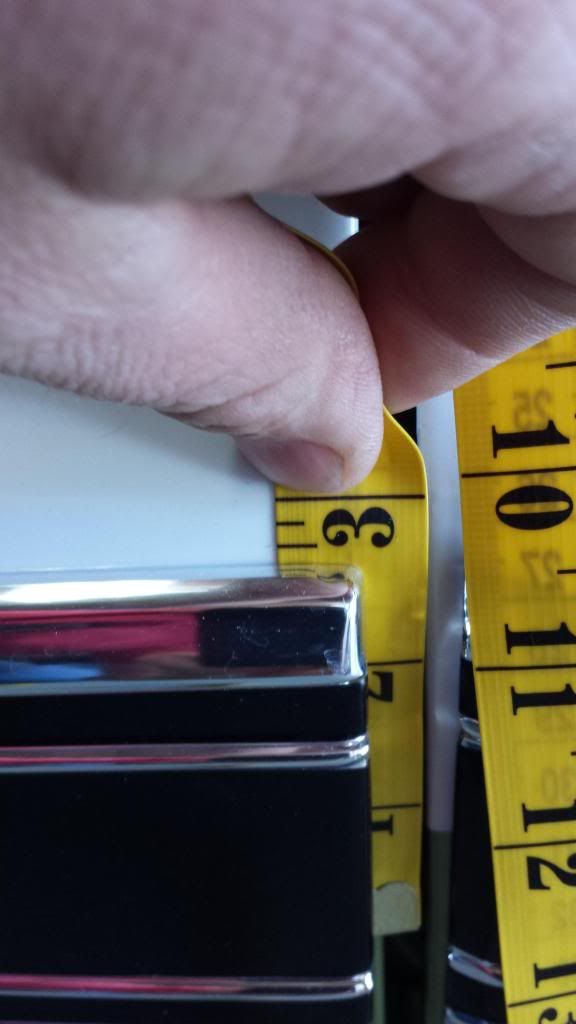
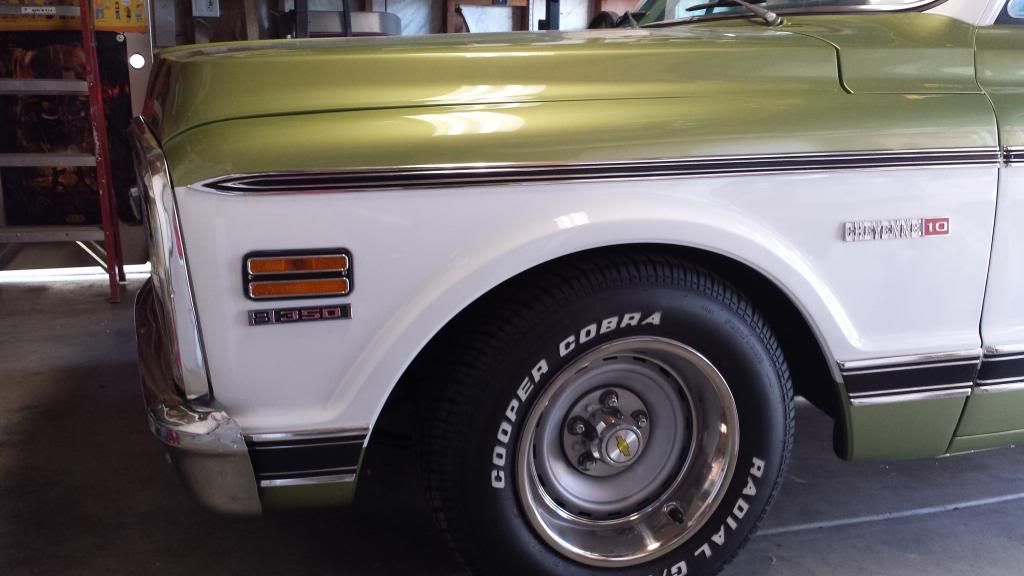
Here are the measurements I promised. I used a cloth tape so it would follow the body line of the fender to give you a true measurement. Here are the things i learned that might be helpful to you.
#1) Be SURE your body panels are aligned correctly. Don't forget the weight of all the glass etc. can cause your door to dip slightly. #2) I used a string to make lines and penciled them in at the edges of the body panels. #3) Then I put the molding up with tape (use quality automotive tape) and I took my time until I really liked how everything looked before drilling any holes. #4) Remember if you have to, you can adjust everything by making a bigger hole up to the size of the nut/washer. #5) There are spots on the door by the handle and the rear portion of the front fender where you should try to be accurate with your hole, so there is enough room to put the backing nut on. (Almost screwed myself on that one). #6) If you are taking the fenders on and off during this process put the Cheyenne (or whatever you are using) emblem on BEFORE you put the fender back on.....trust me.  That's about all I can tell you. Good luck buddy, post some pics too.  I ran the tape from the horizontal center of the side marker up to the top edge of the fender so we are starting from same point. From the edge of the fender to the center of the upper molding is 5 7/8".  From the center of the upper molding to the center of the side marker is 5 3/8"  You can't make out the reveal on the lower trim unless you look at the picture showing the side of the truck. The edge of the lower trim to the rolled edge of the fender is 5/16"+.   The center of the trim at the tailgate on my truck ended up matching the lower edge of the upper tailgate molding. |
|
|

|
 |
| Bookmarks |
| Thread Tools | |
| Display Modes | |
|
|