
 |
|
|
#676 |
|
Registered User
Join Date: Apr 2011
Location: .
Posts: 3,104
|
Re: 55 Wagon Progress
Sheet metal modification.
Note pad... Check pencil........Check |
|
|

|
|
|
#677 |
|
Registered User
Join Date: Jan 2013
Location: Leonardtown, MD
Posts: 1,648
|
Re: 55 Wagon Progress
Kyle continued on reshaping the opening for the glove box, and I got started in trimming the filler panel for the inner glove box door....
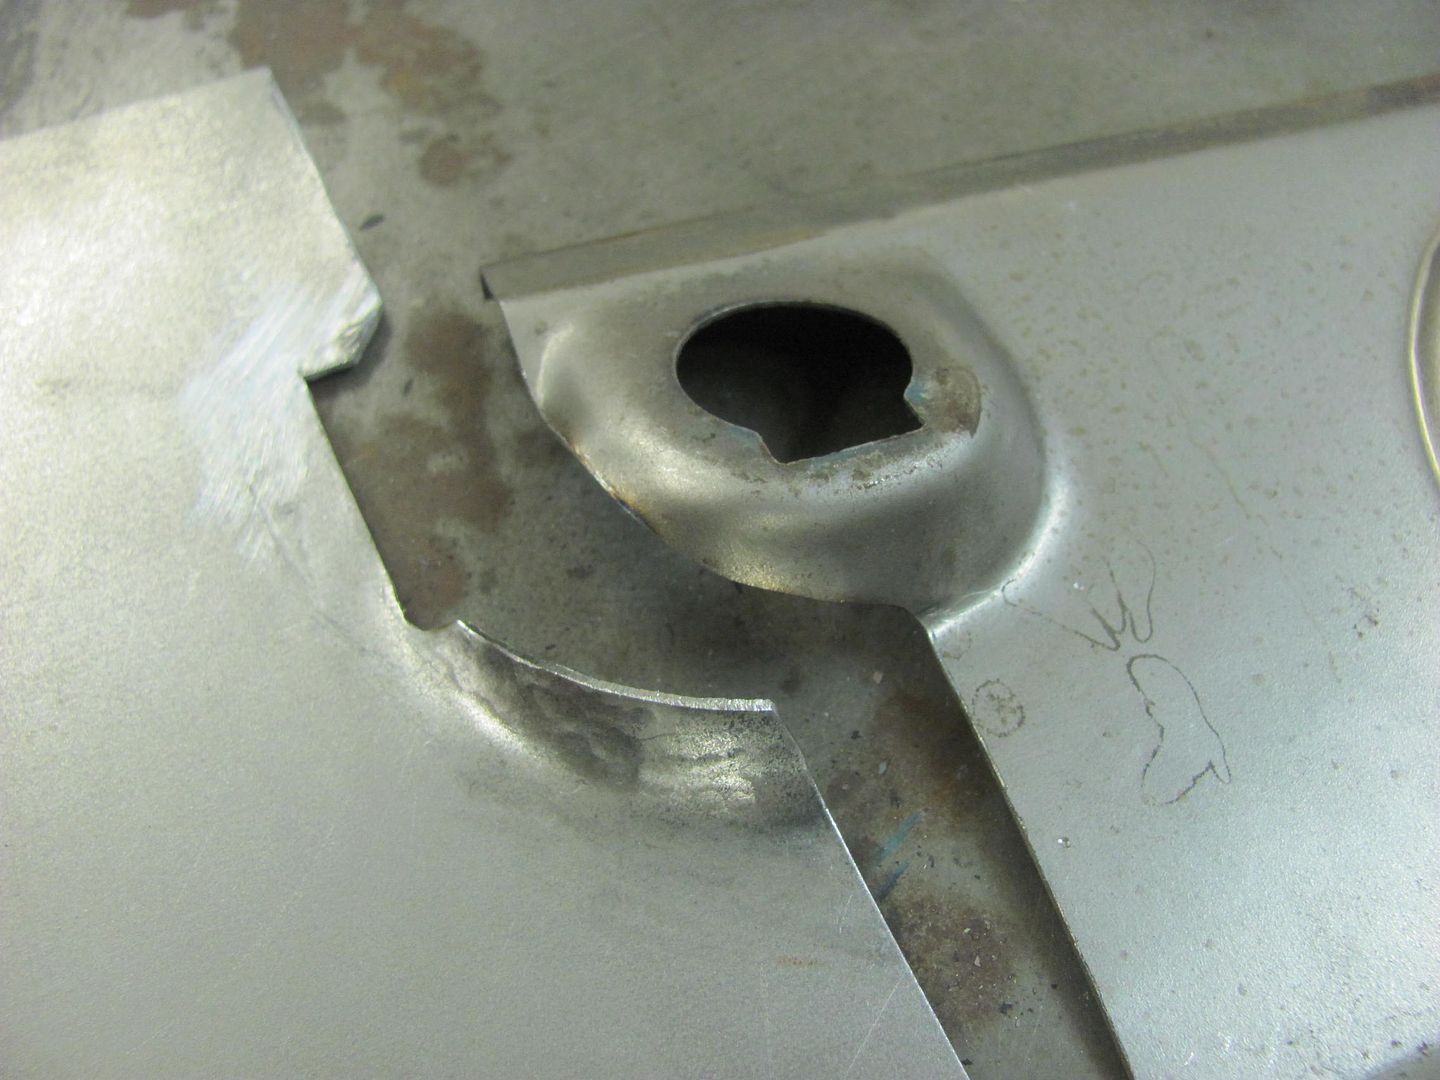 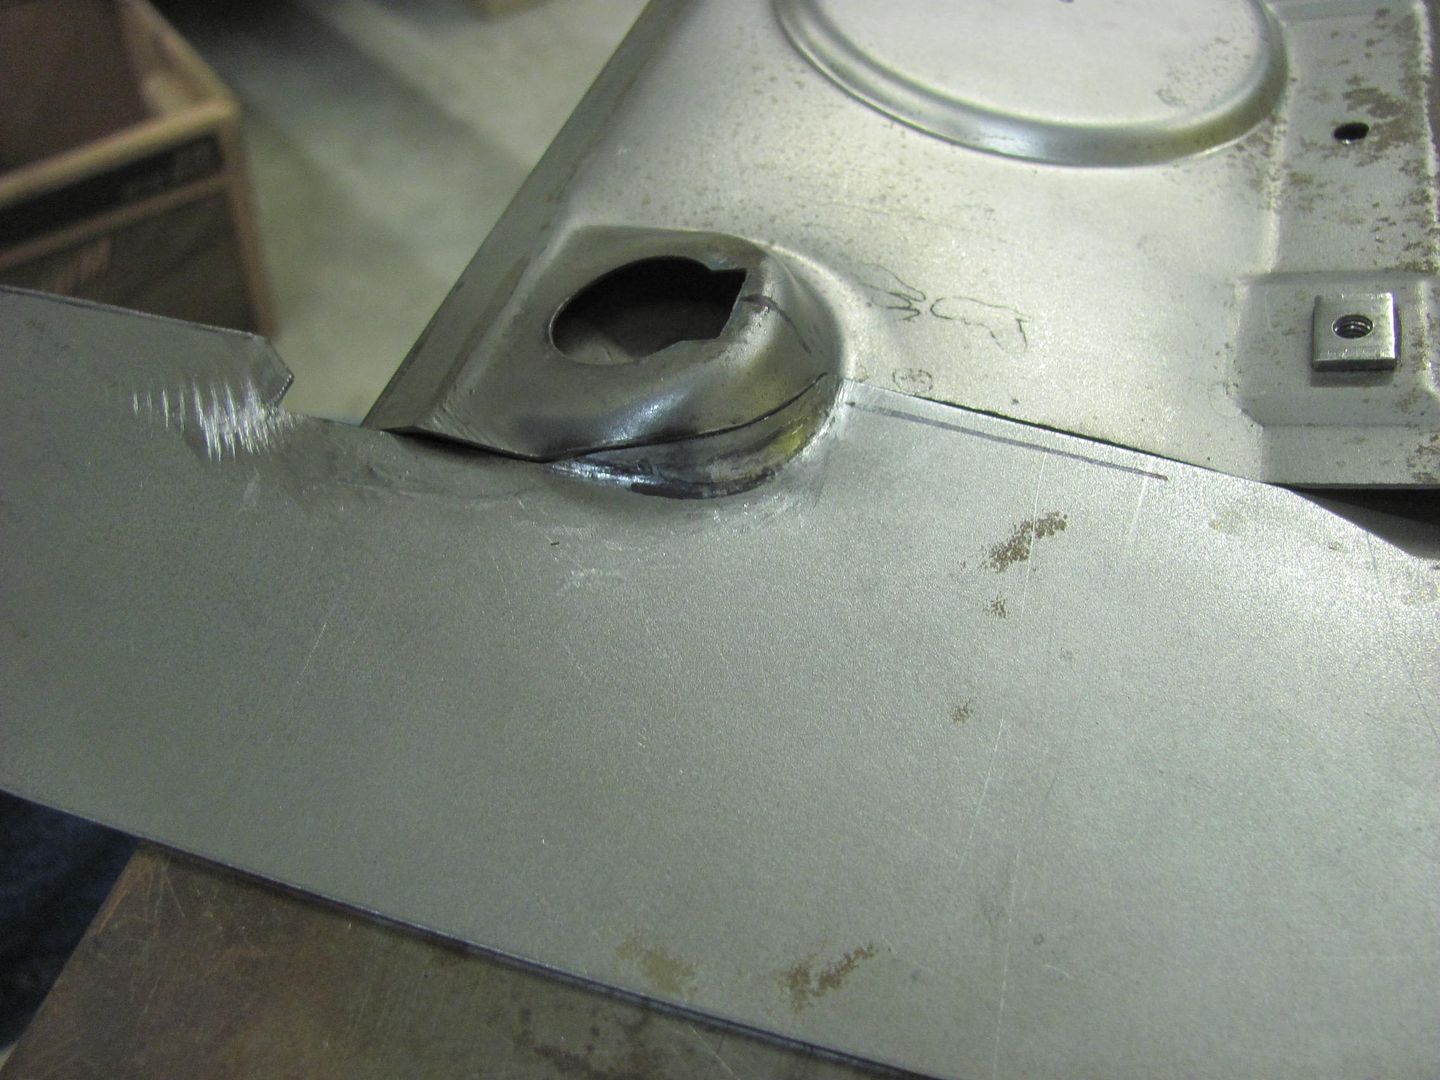 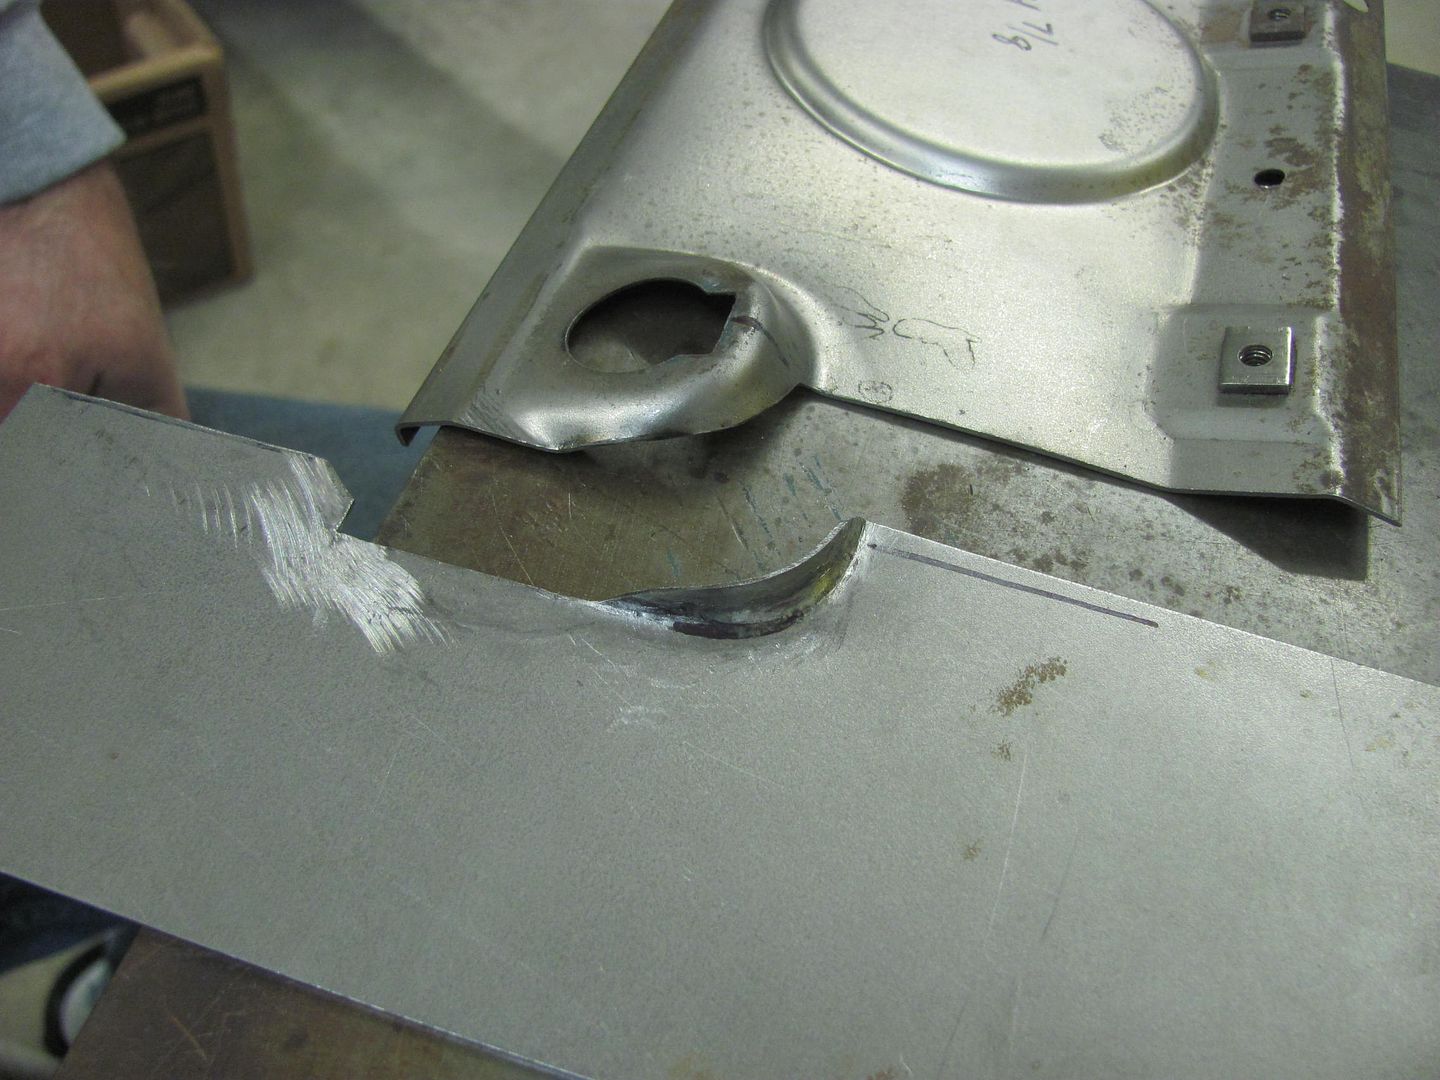 To try and keep our shape around the lock cylinder symmetrical, we cut out a profile template... 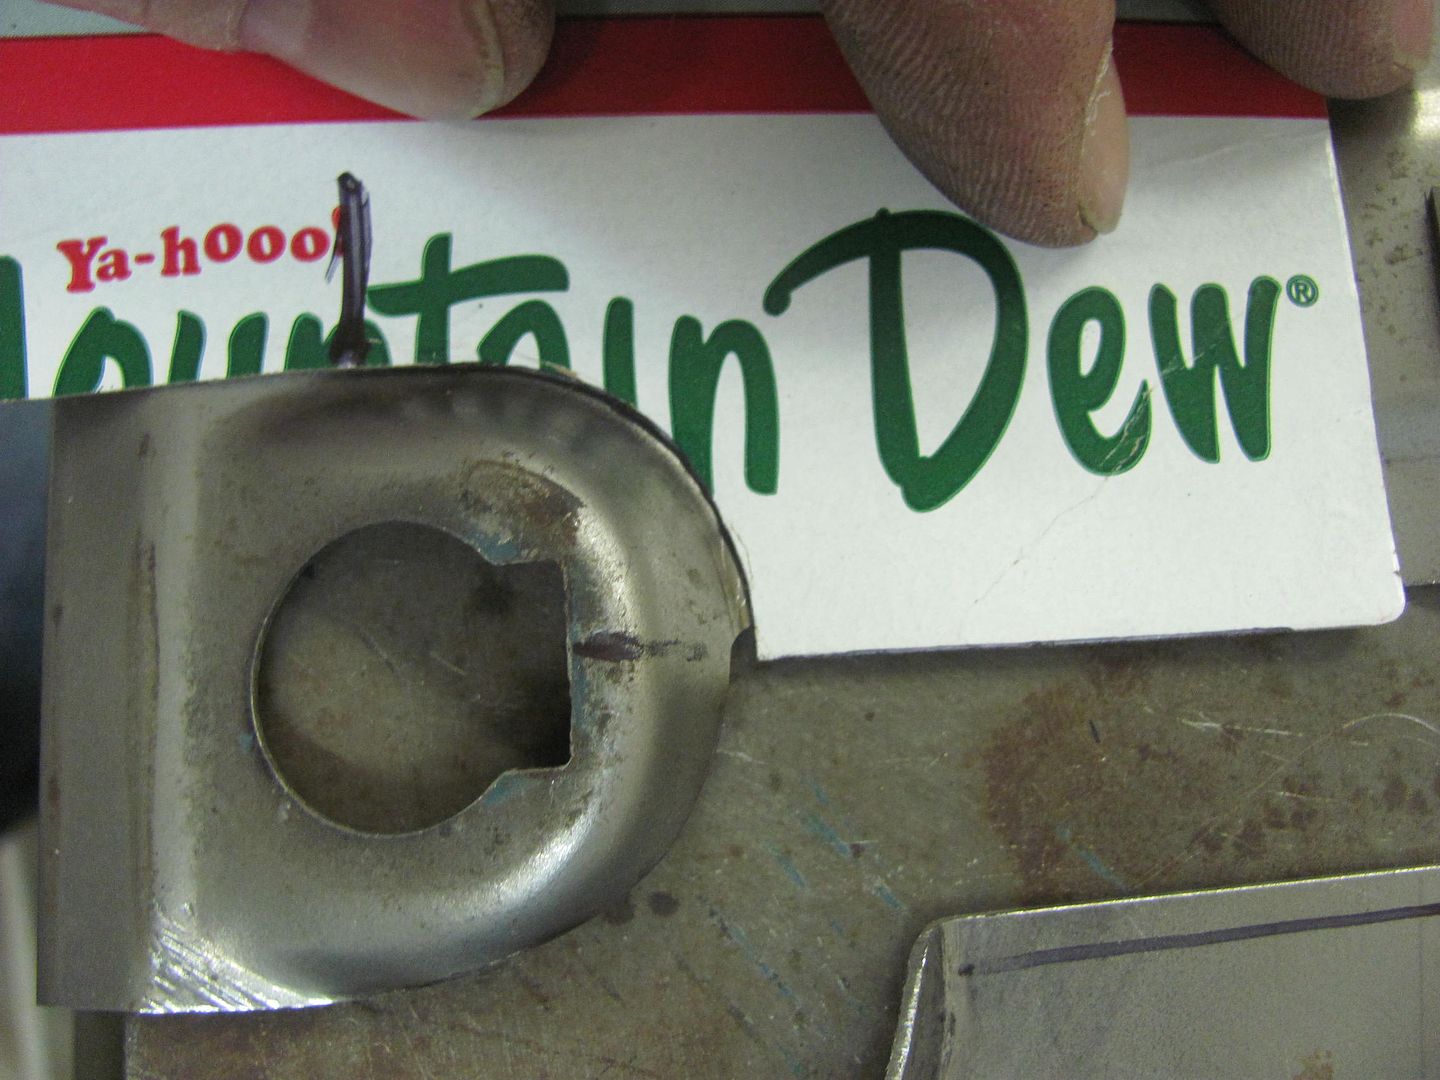 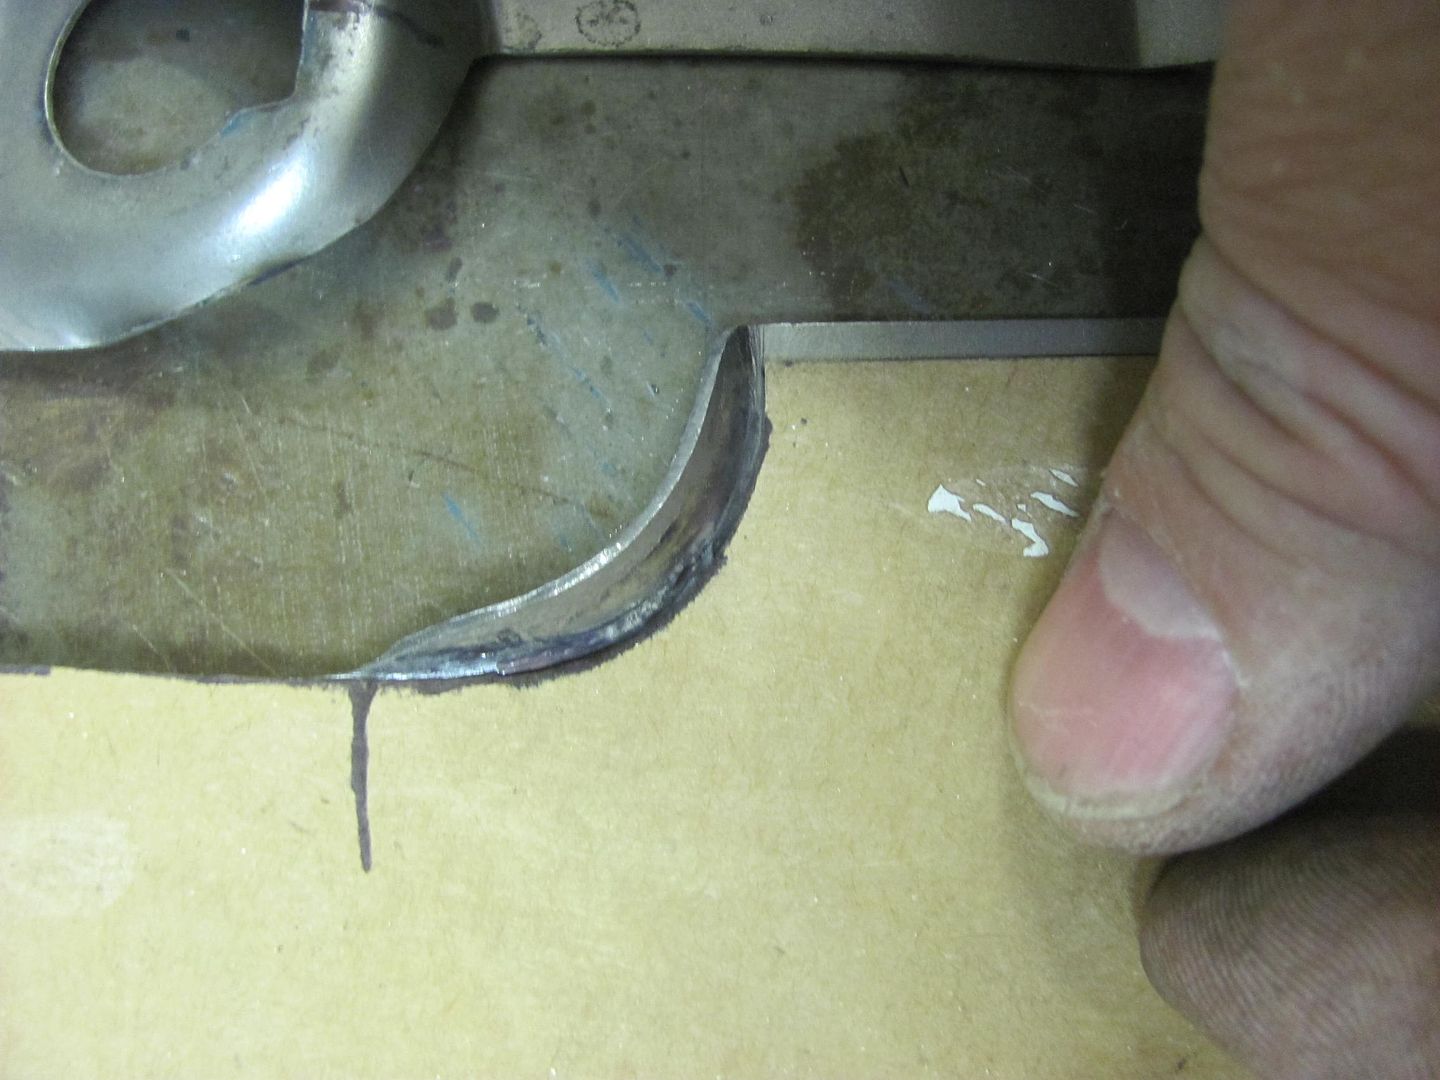 Adding the bends.... 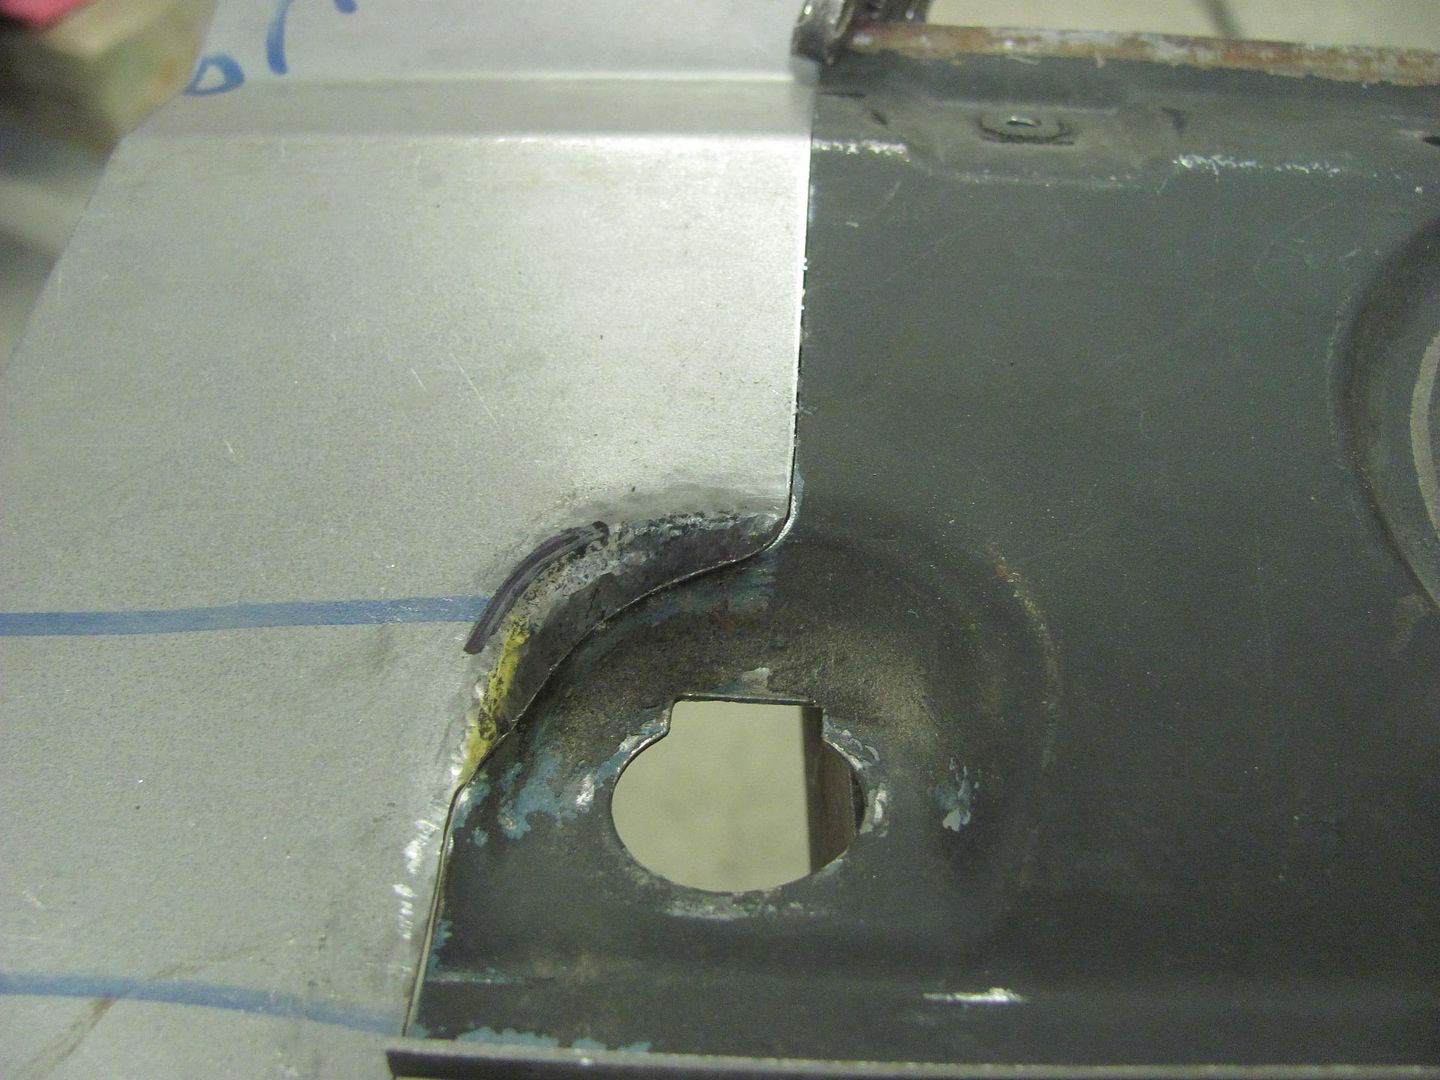 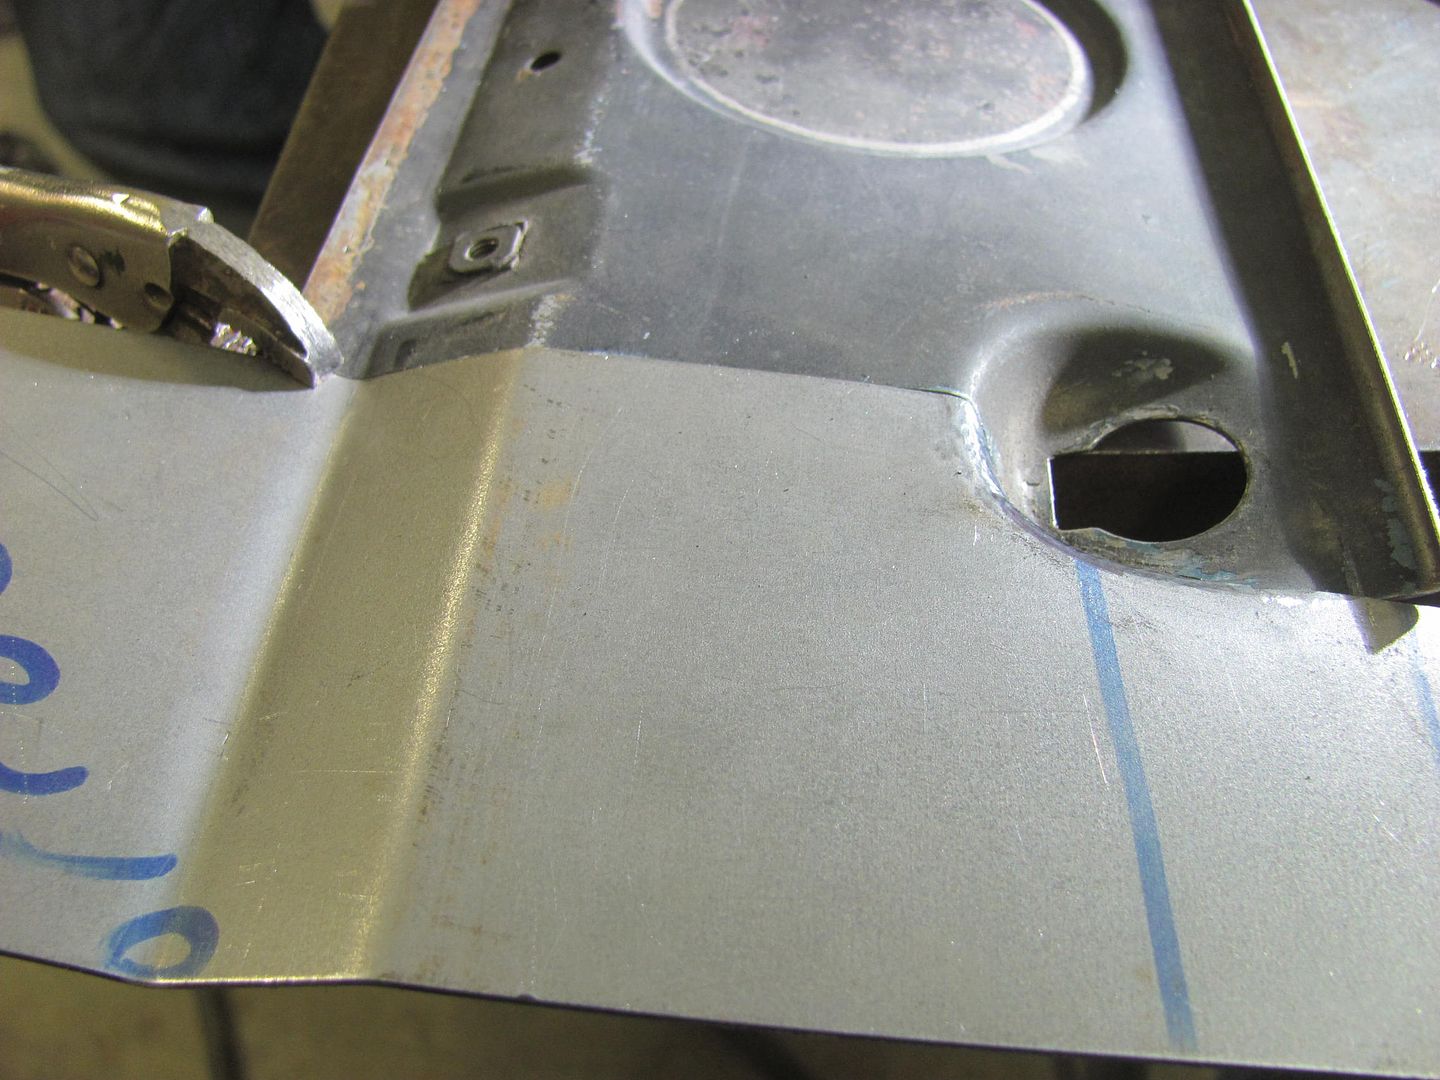 Looking for a proper sized circle pattern, Mickey Thompson comes through... 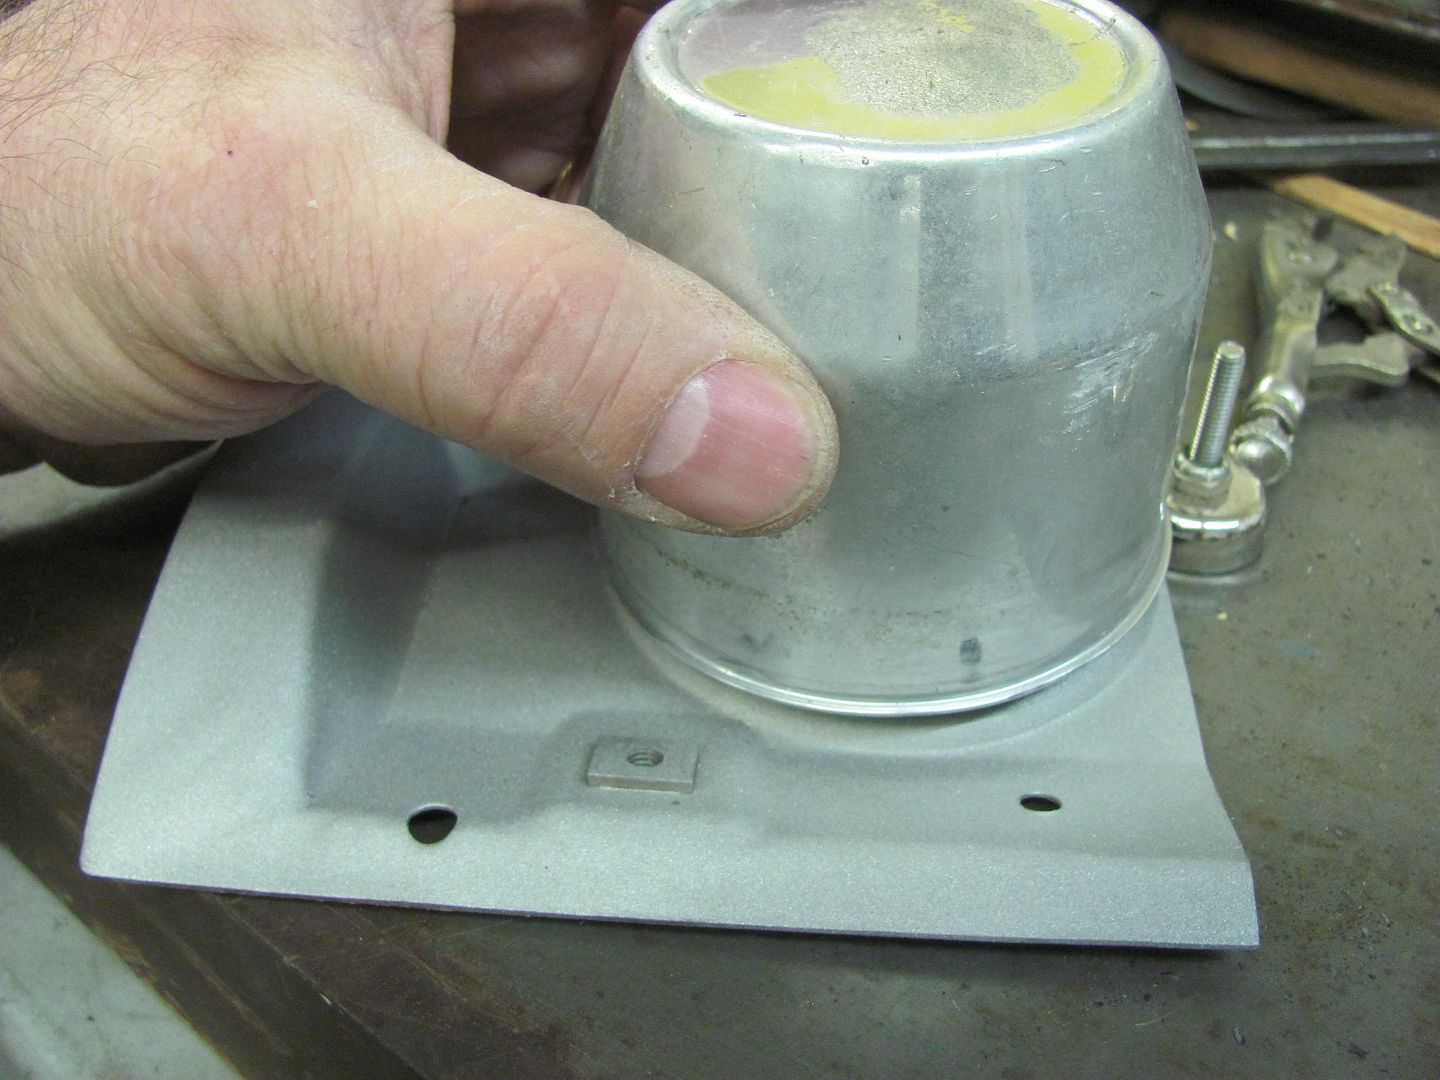 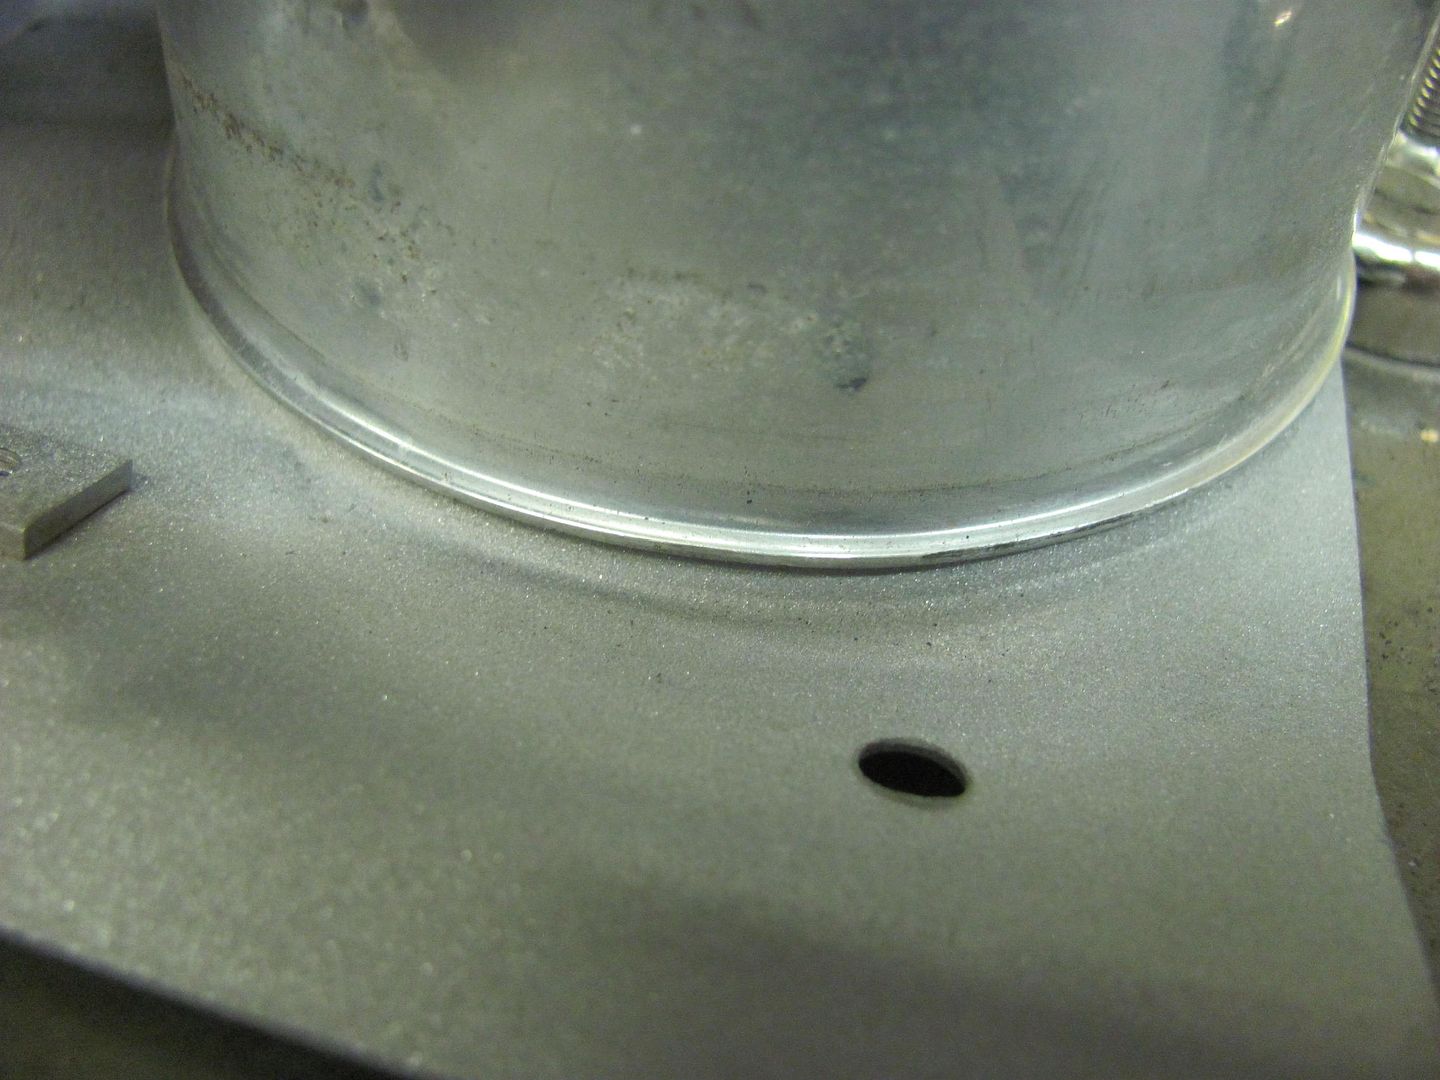 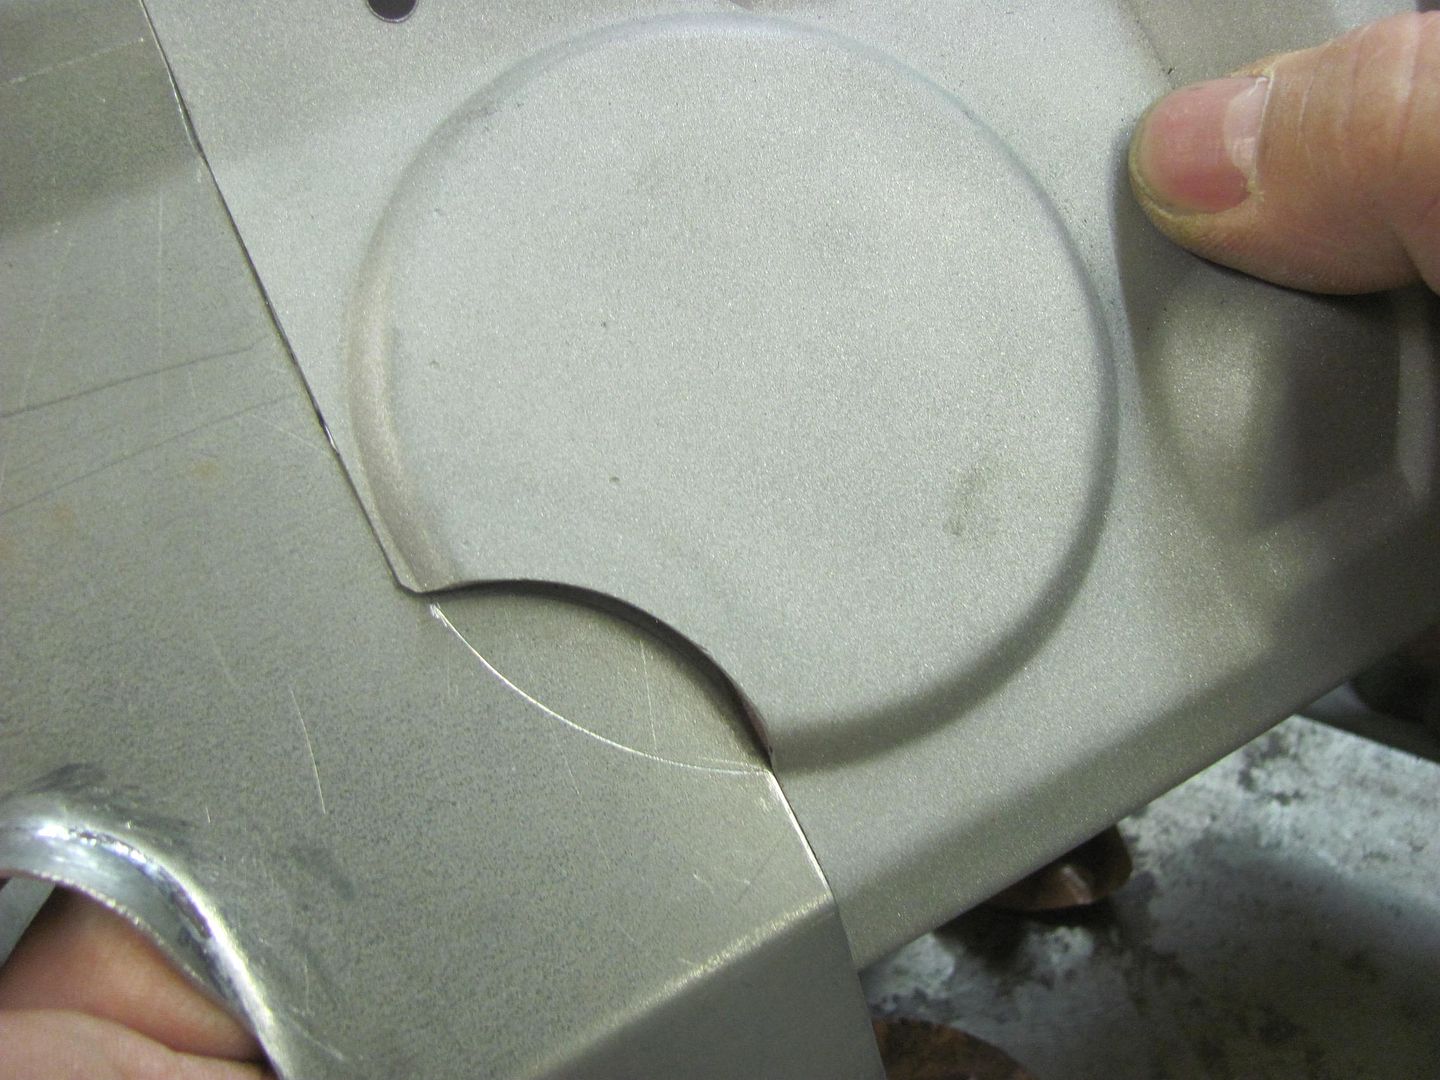 Some bead roller action... 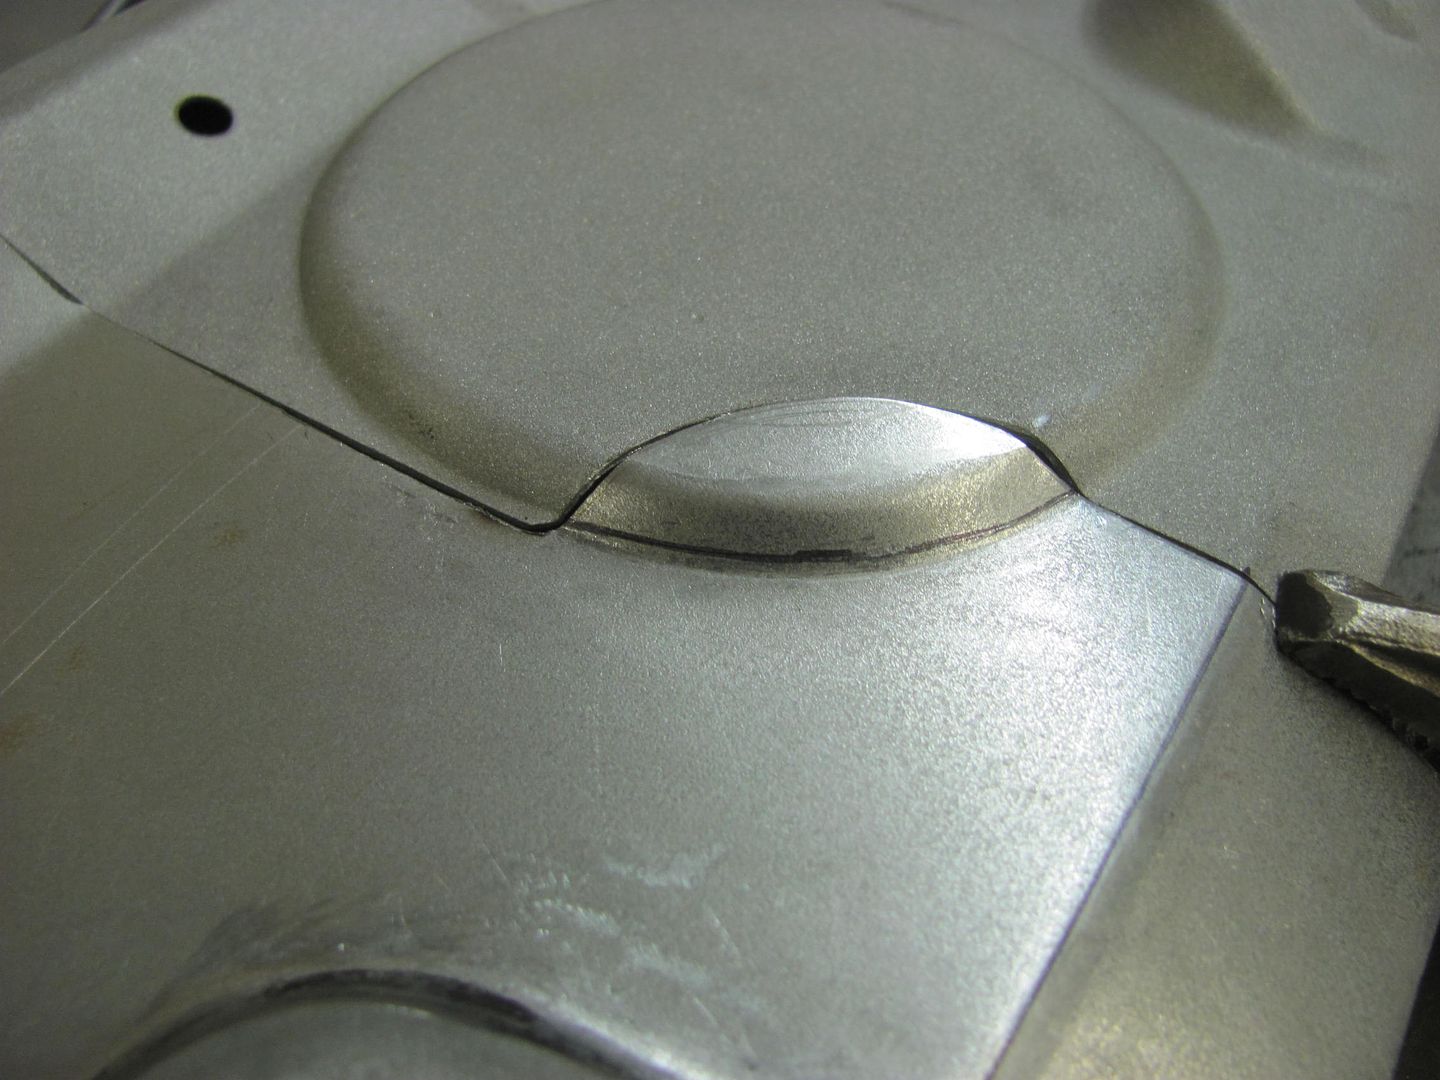 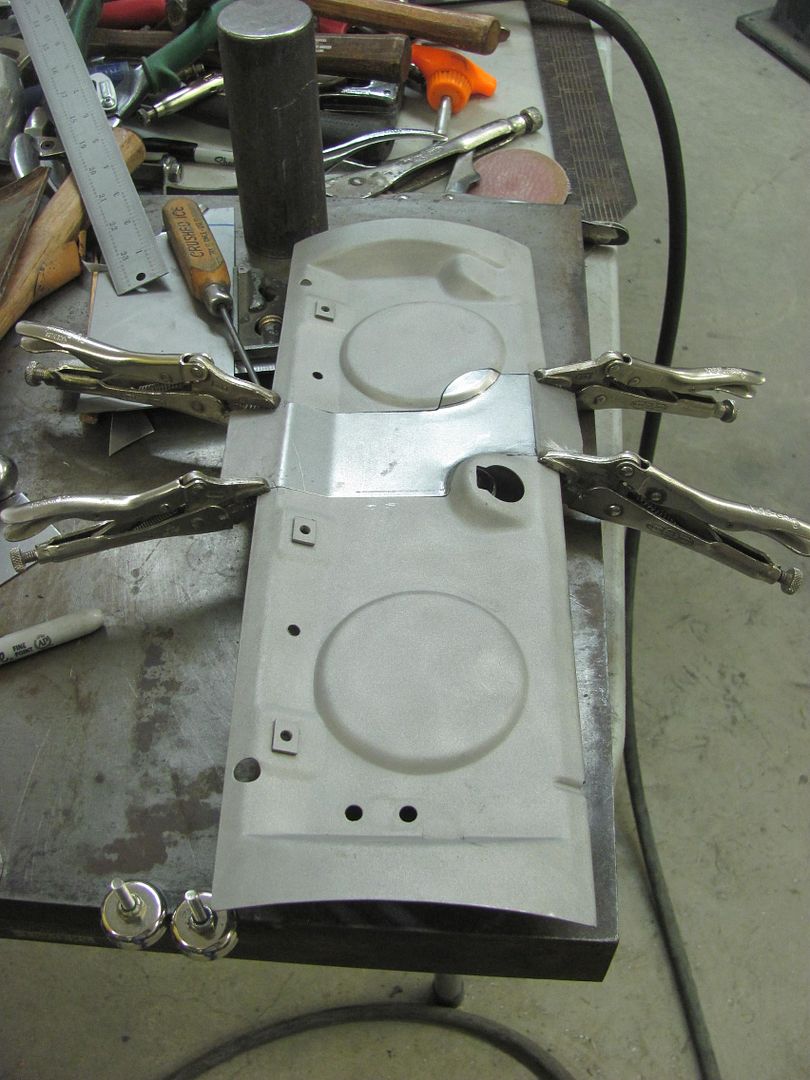 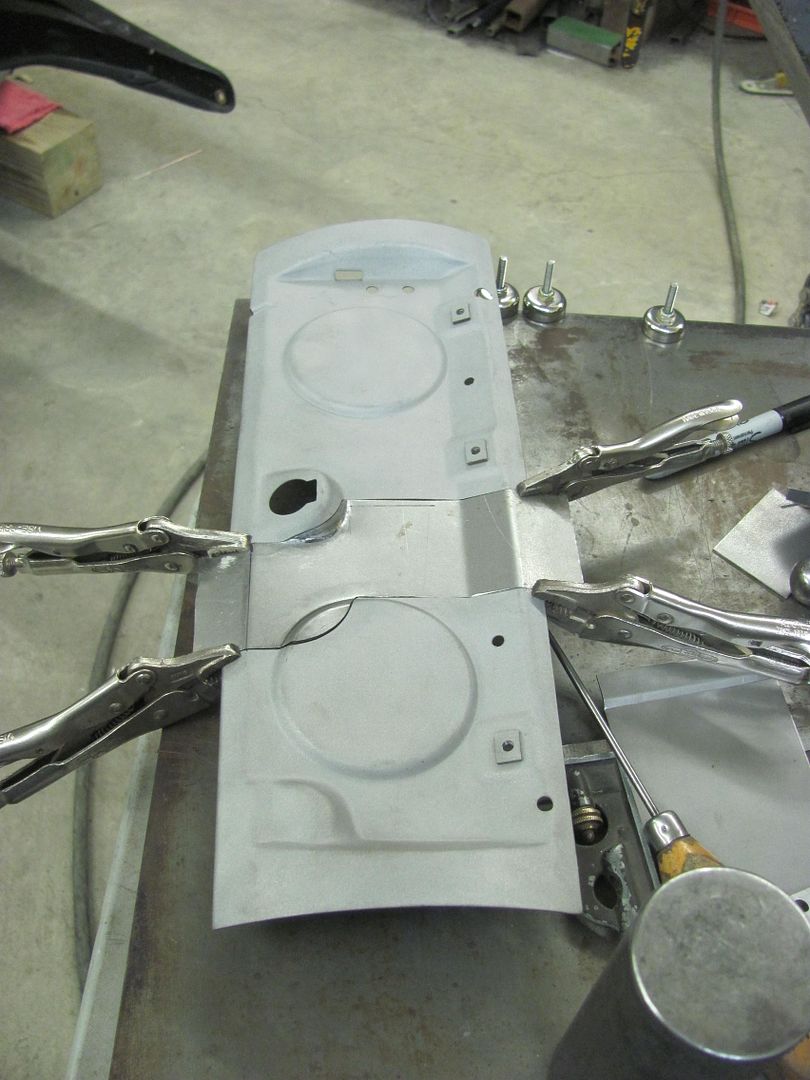 Some TIG welding, we'll finish this up next time.. 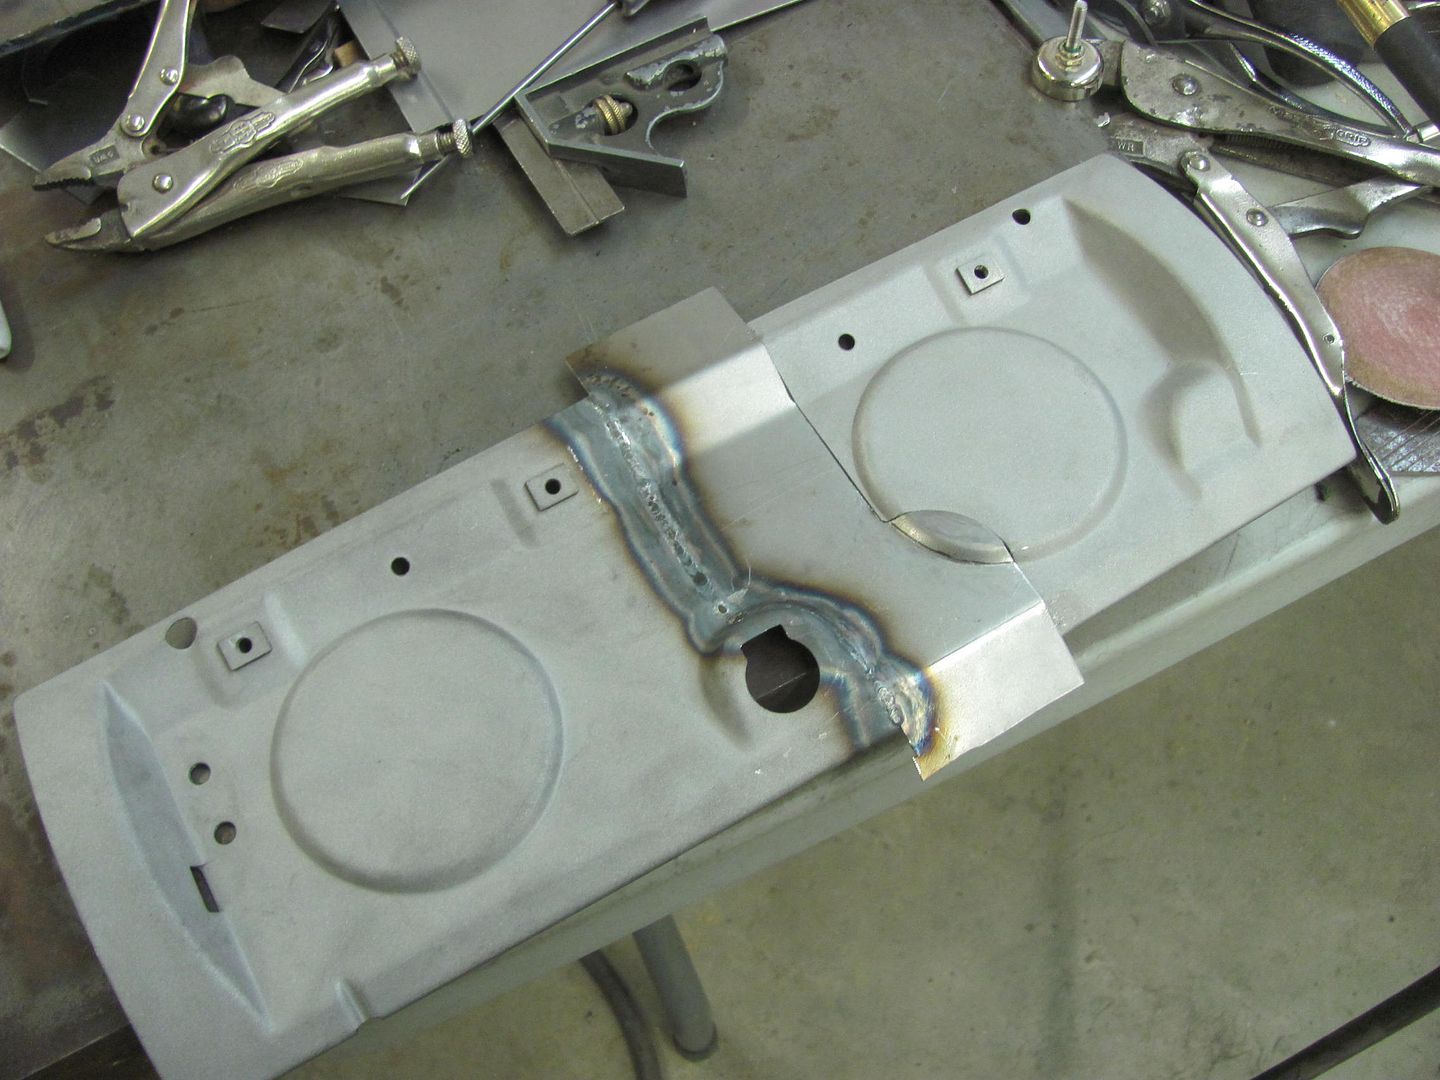
__________________
Robert Last edited by MP&C; 03-15-2016 at 10:03 PM. |
|
|

|
|
|
#678 |
|
Senior Member
 Join Date: Jul 2012
Location: Oblong, Illinois
Posts: 7,028
|
Re: 55 Wagon Progress
Impressive attention to detail.
|
|
|

|
|
|
#679 |
|
Registered User
Join Date: Jan 2013
Location: Leonardtown, MD
Posts: 1,648
|
Re: 55 Wagon Progress
Thanks Doug!
Spent some time in the shop tonight finishing the other weld but I was on a roll and forgot the in process pics.. Have to get a new photographer, this one just isn't working out.. 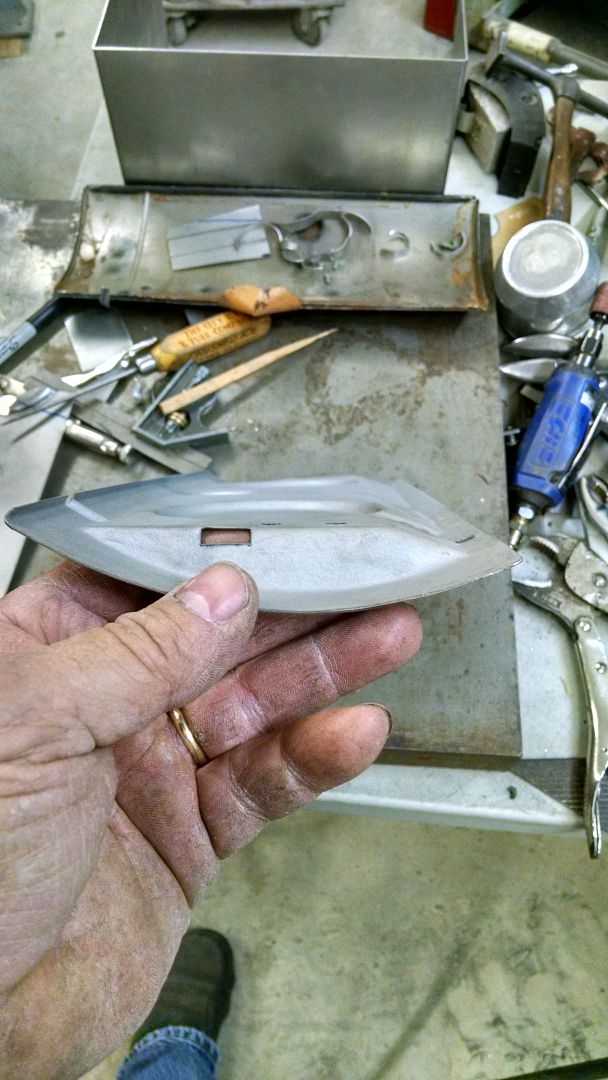 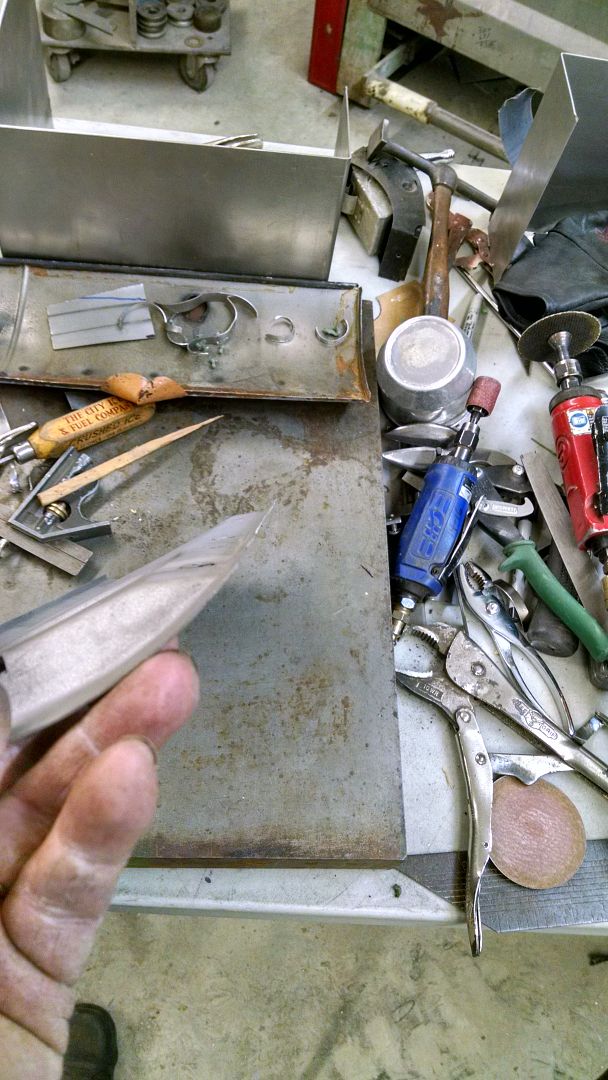 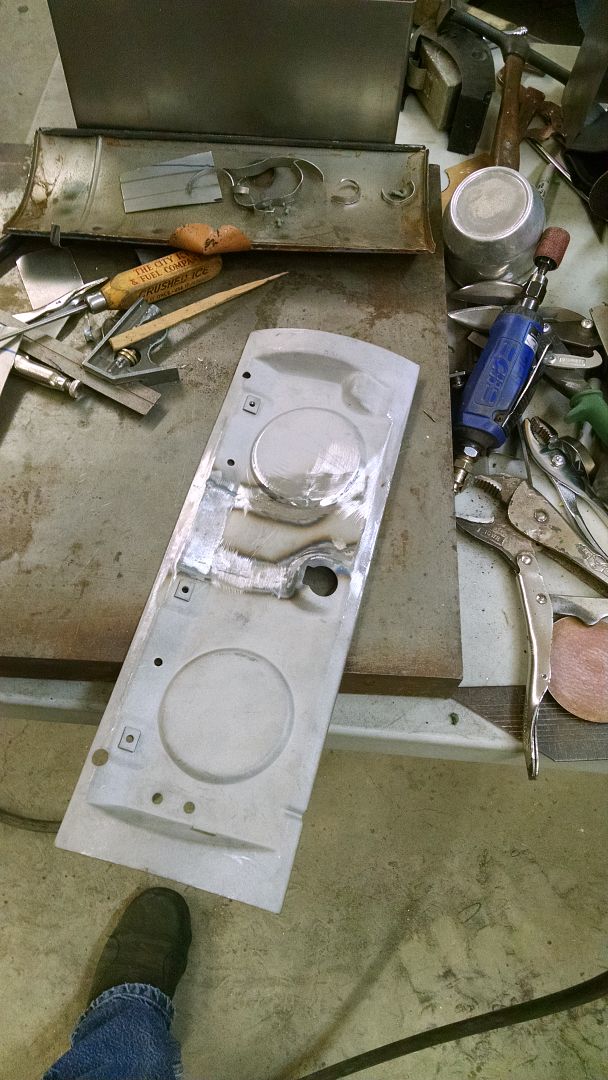 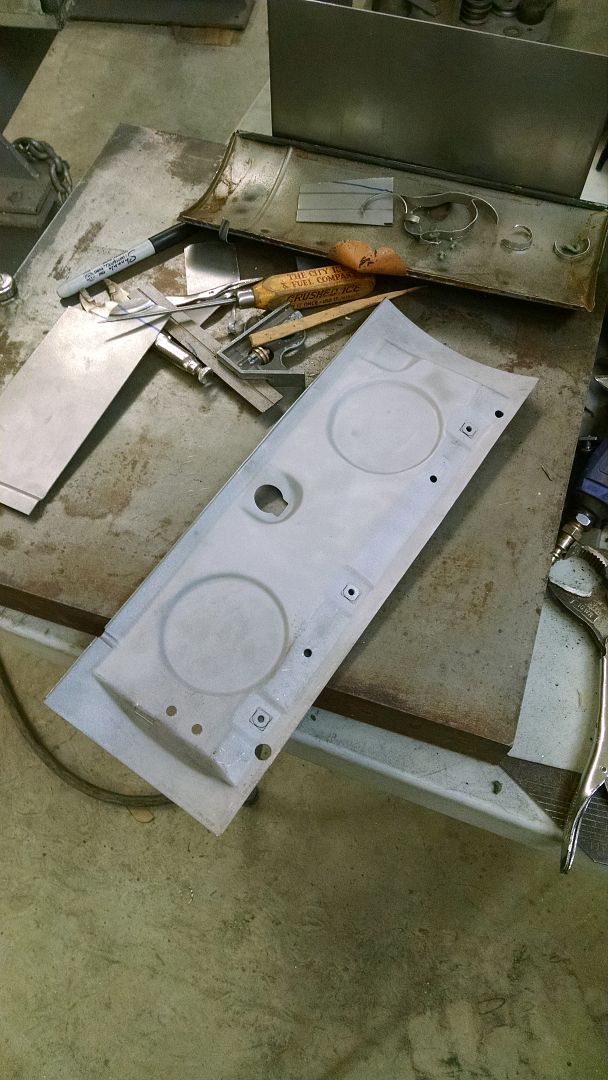 Or the motion picture... https://youtu.be/SD4j6tJwh7w The new Tommasini Wheeling machine is on it's way north from Rock Hill SC, we'll be picking it up this weekend. Once it's set up we can whip out the new glove box door skin.. 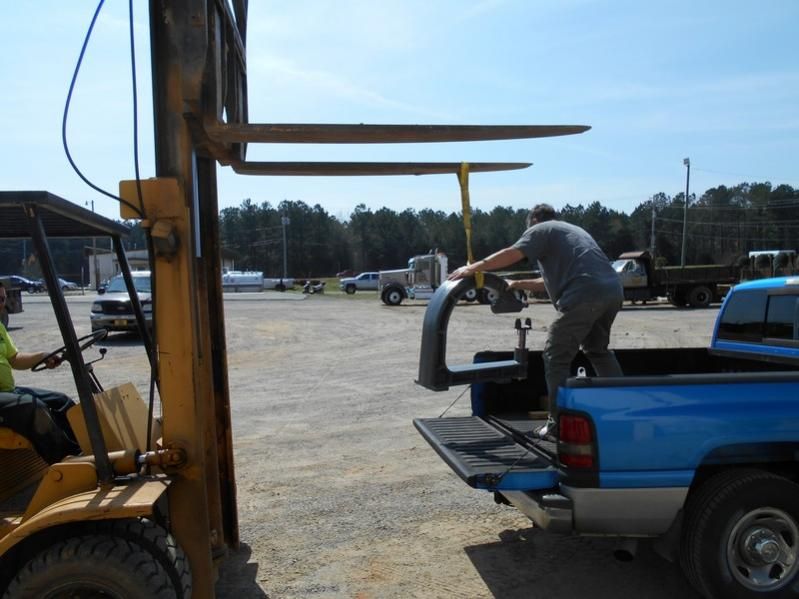
__________________
Robert |
|
|

|
|
|
#680 |
|
Registered User
Join Date: Jan 2013
Location: Leonardtown, MD
Posts: 1,648
|
Re: 55 Wagon Progress
The front brake line distribution block showed up, so let's get the front lines finished up.. My tubing bender was not getting the nice small radius I was looking for, so time for a new tool. Here's a pulley out of the furniture and hardware parts bins at the local Ace store..
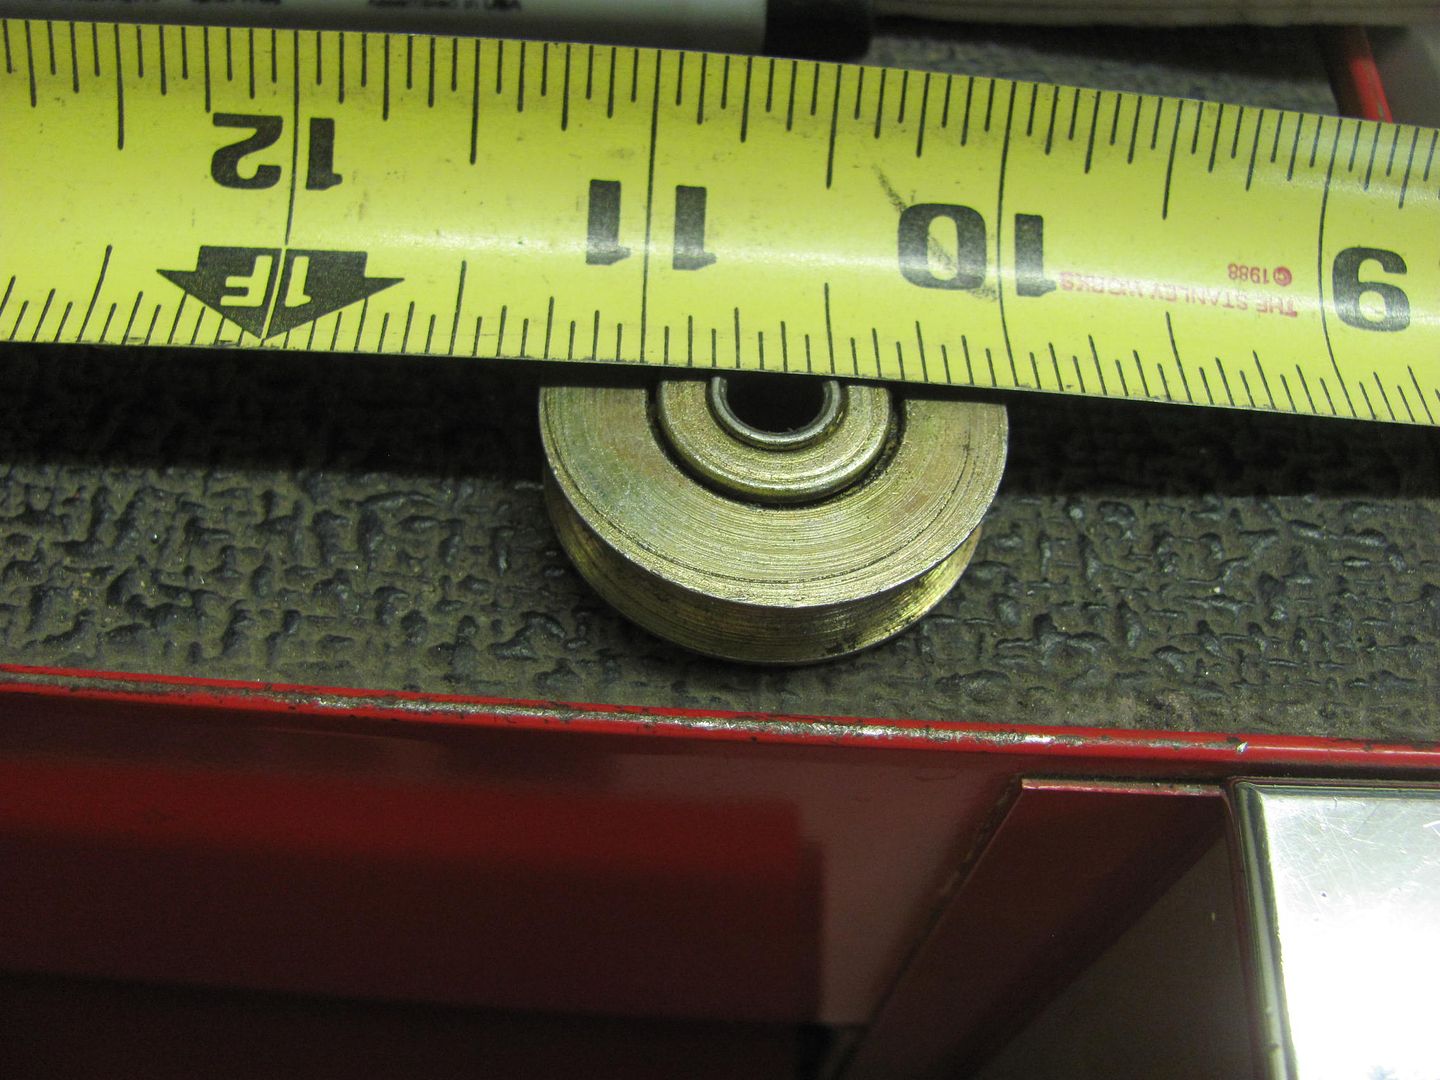 Here's the comparison to the tubing bender.. 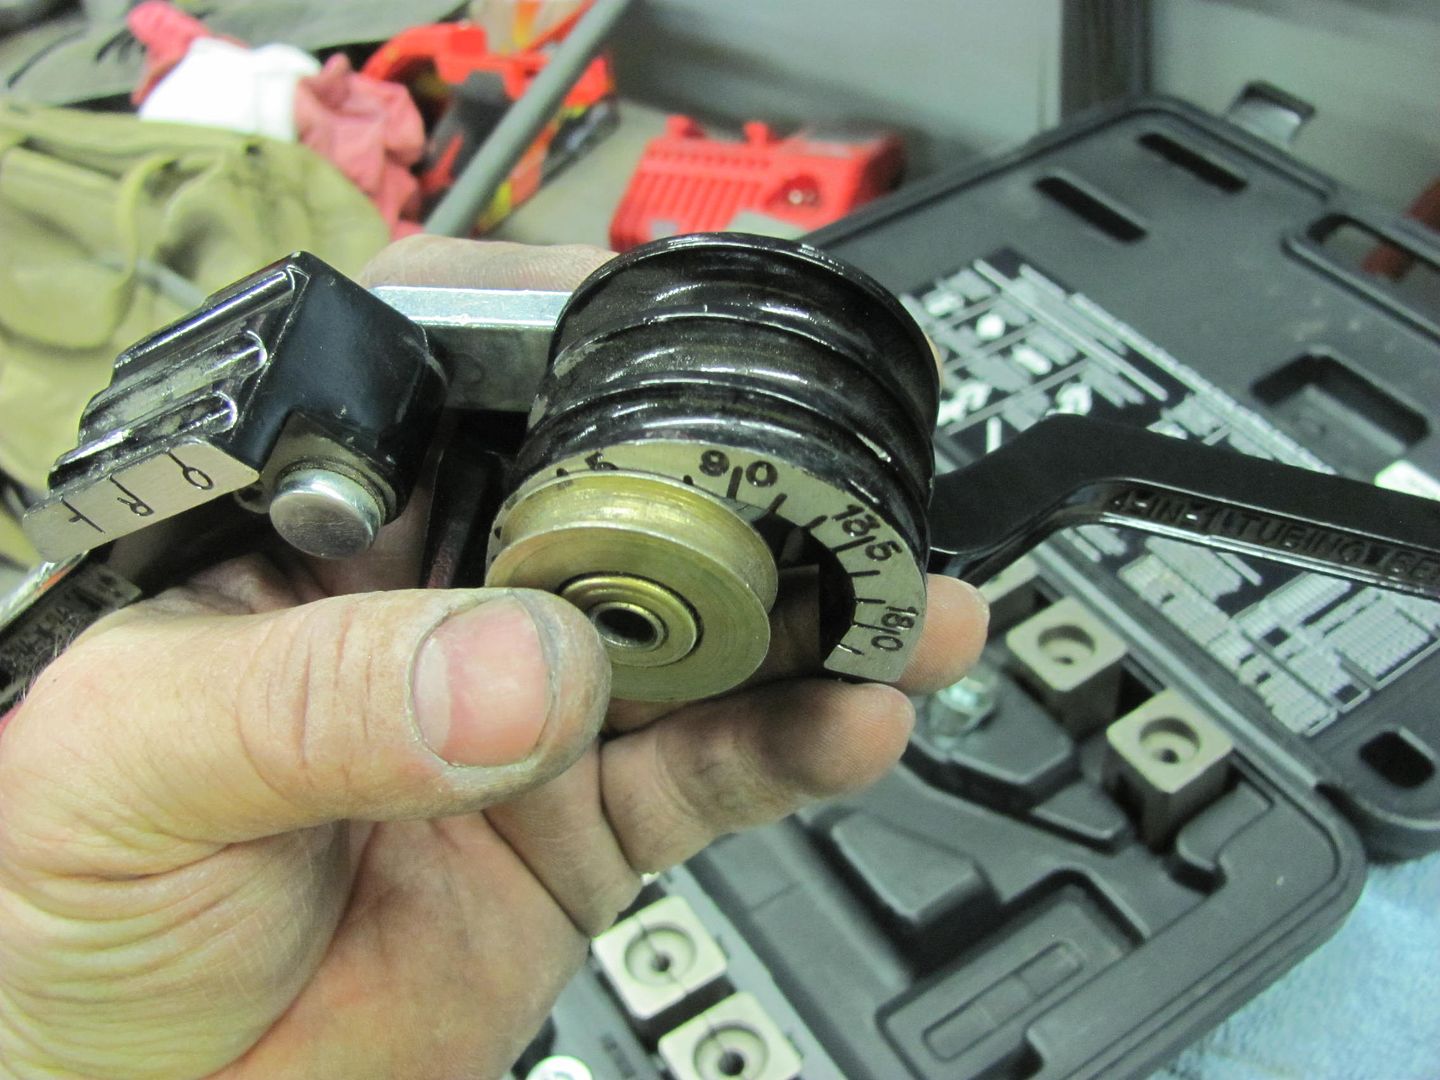 Bending the tubing... 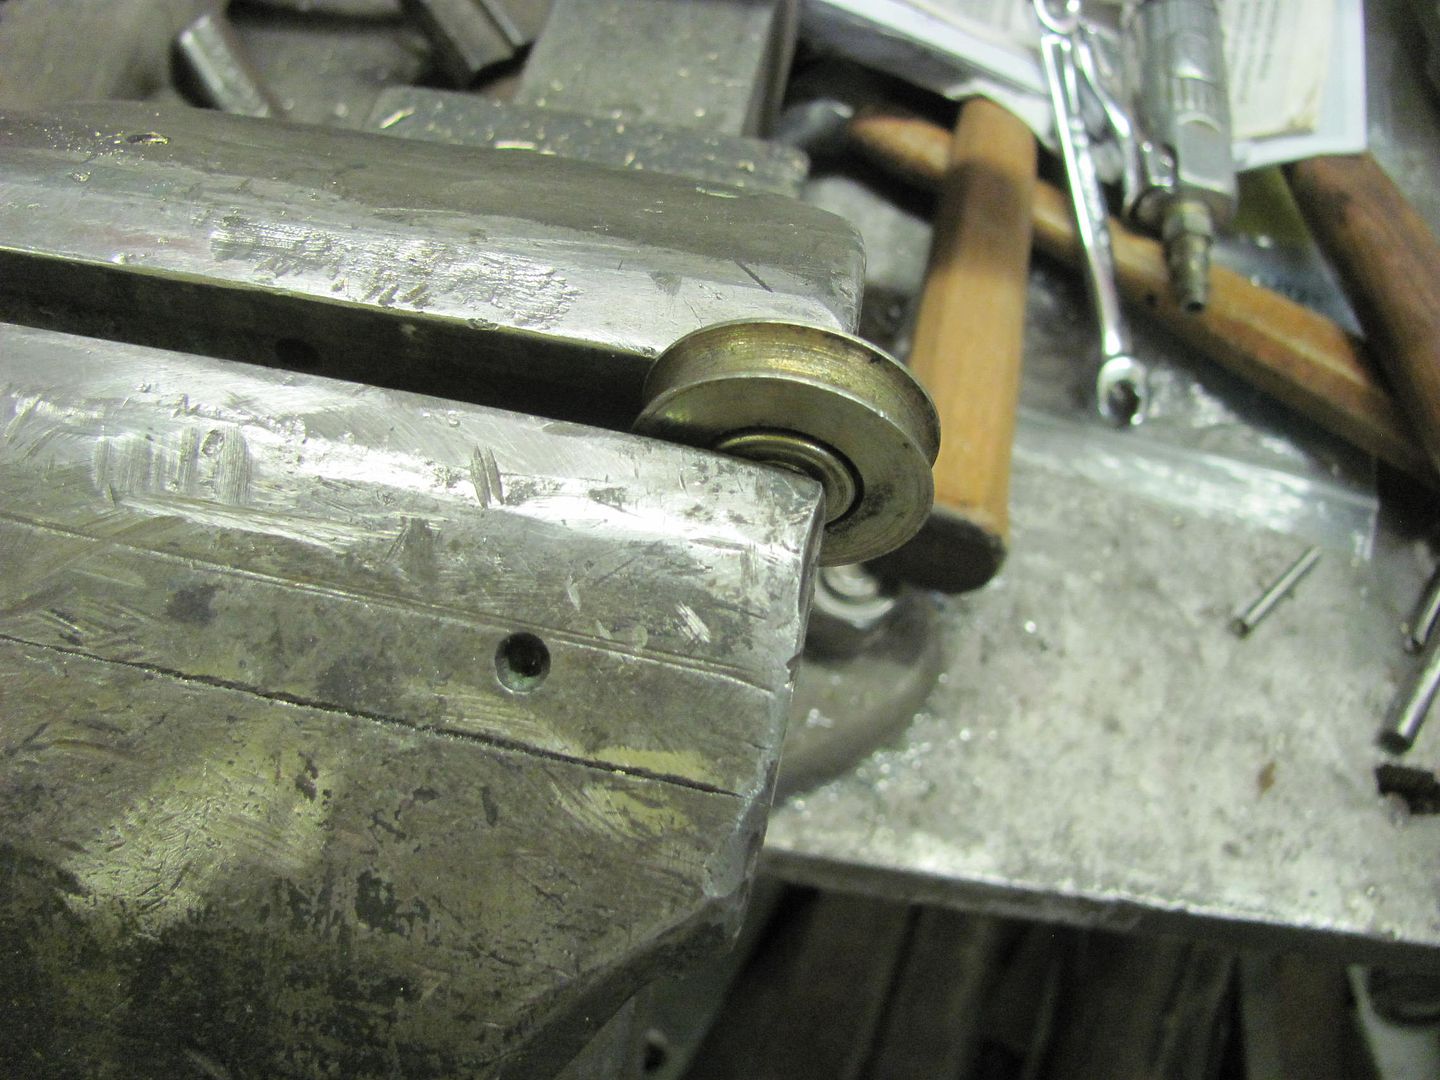 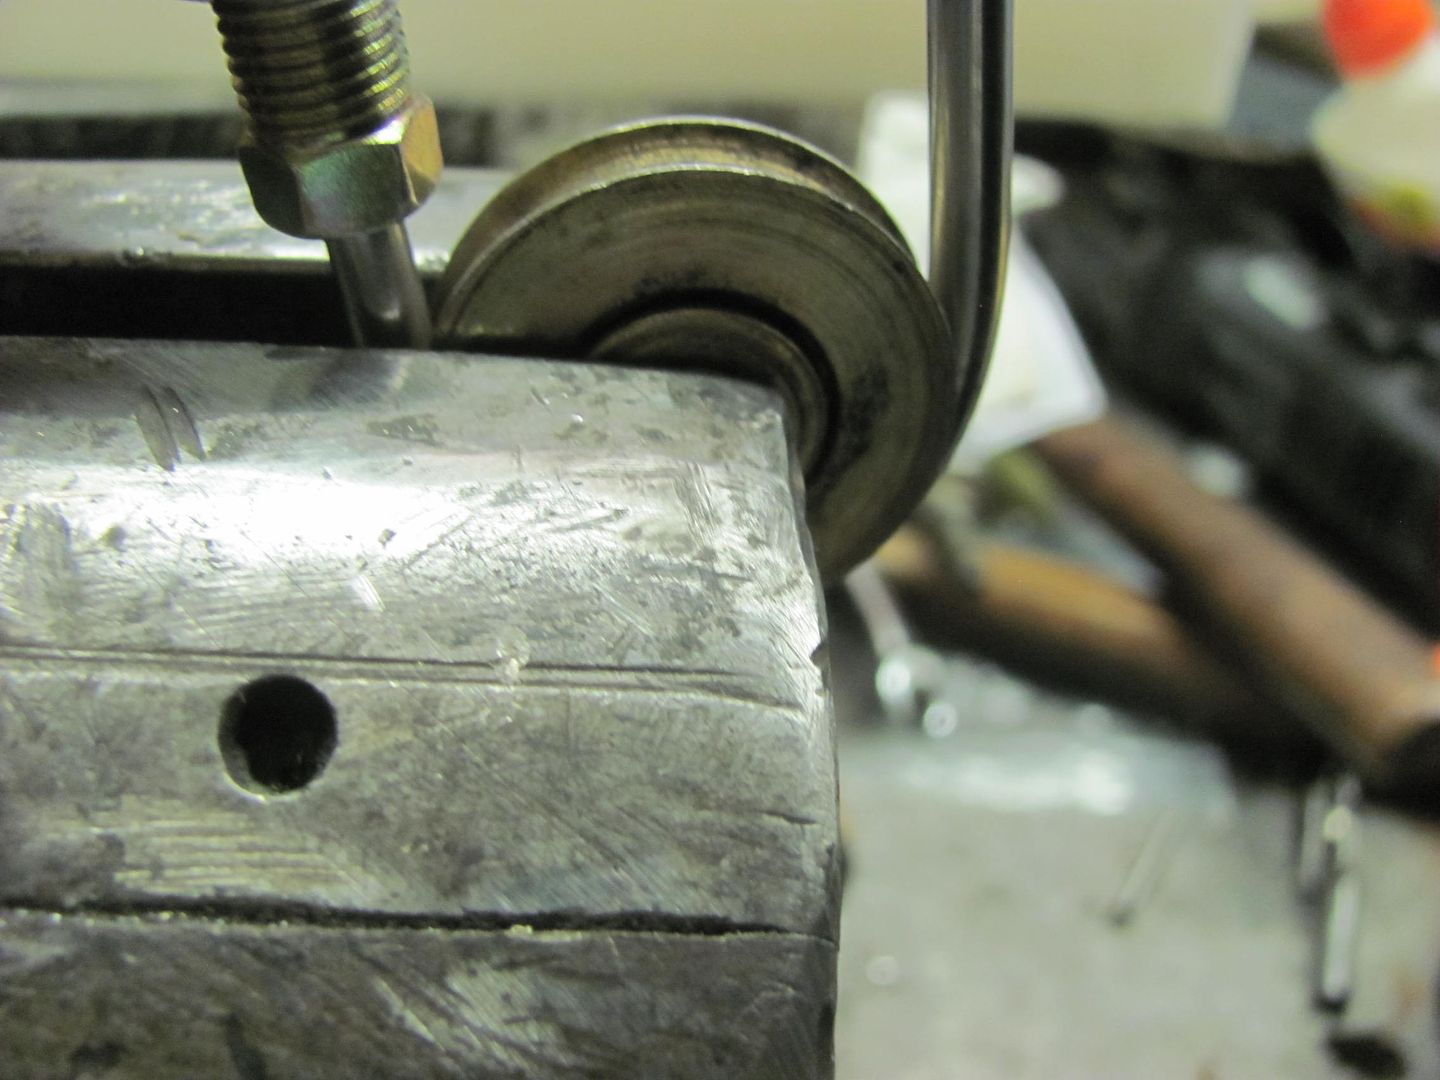 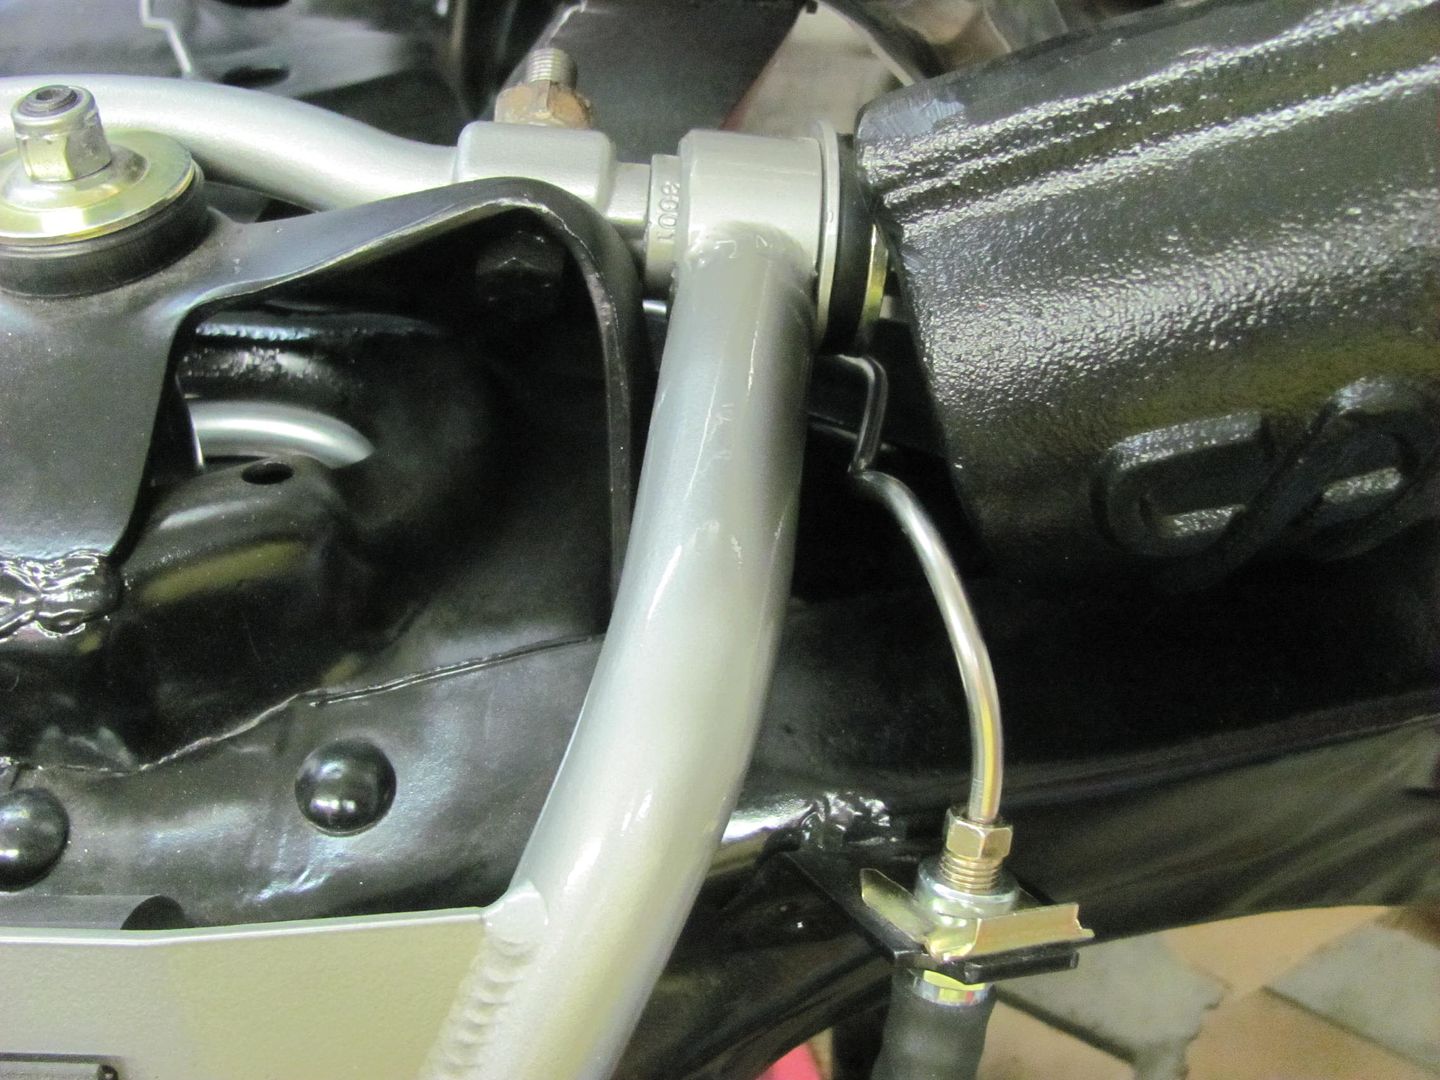 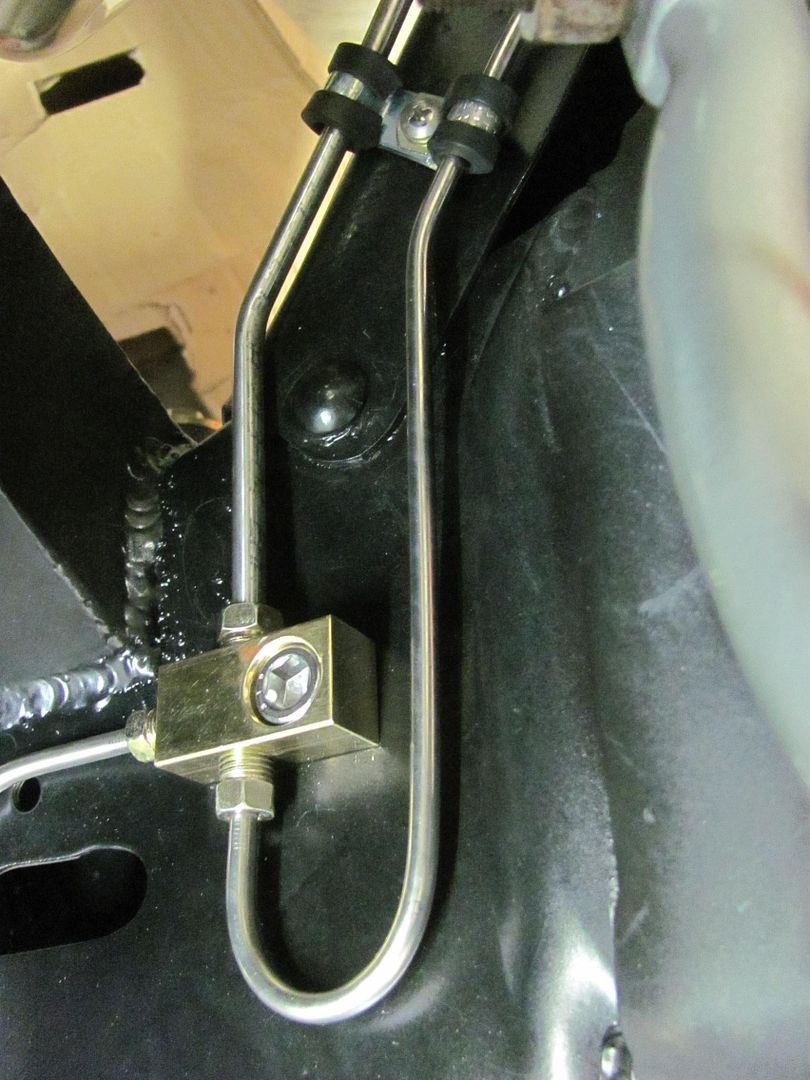 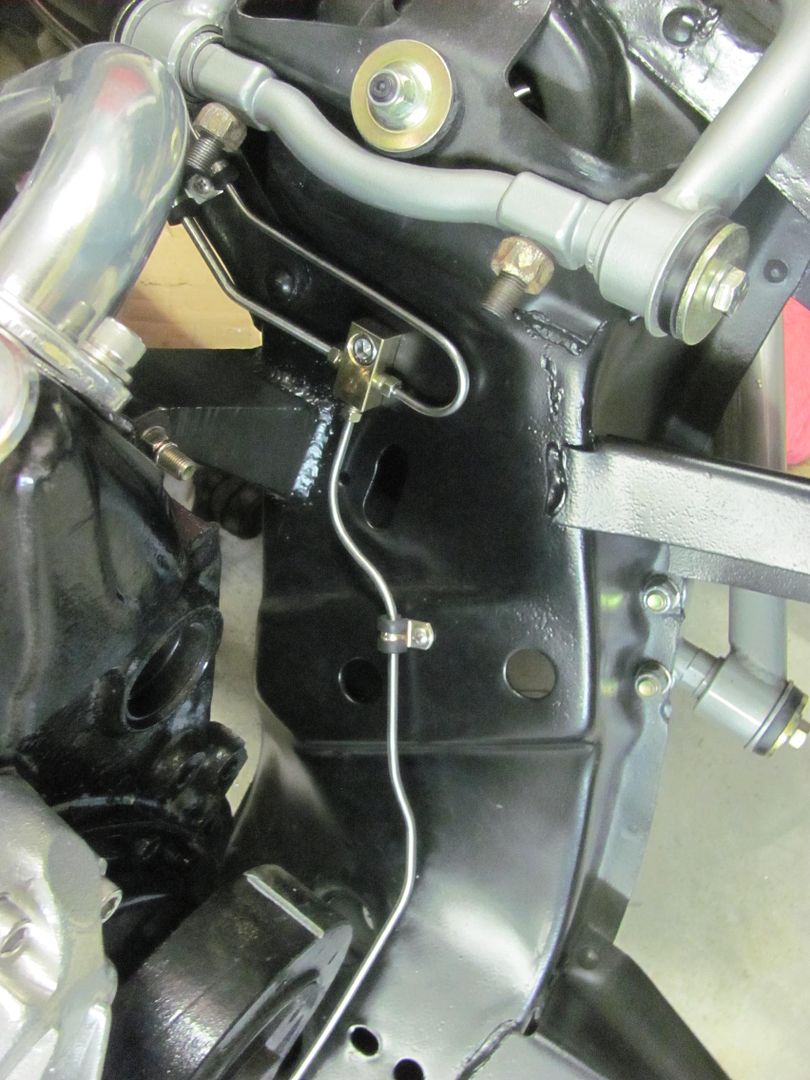
__________________
Robert |
|
|

|
|
|
#681 |
|
Senior Member
 Join Date: Mar 2011
Location: West Plains, Missouri
Posts: 7,559
|
Re: 55 Wagon Progress
Nice job...Jim
__________________
my build thread: http://67-72chevytrucks.com/vboard/s...d.php?t=459839 Jimbo's long bed step build:http://67-72chevytrucks.com/vboard/s...t=464626<br /> |
|
|

|
|
|
#682 |
|
Registered User
Join Date: Apr 2011
Location: .
Posts: 3,104
|
Re: 55 Wagon Progress
Nice tight bends on the brake lines.
I've said it before and I'll say it again, your work makes me strive to better each time. Your glove box door looks like it was born that way. Great job and thanks for sharing. |
|
|

|
|
|
#683 |
|
Senior Member
 Join Date: Jul 2012
Location: Oblong, Illinois
Posts: 7,028
|
Re: 55 Wagon Progress
Peter's machine is really nice. He had one in Oblong last fall that went back to Wisconsin.
Good idea for the tighter radius on the brake lines. |
|
|

|
|
|
#684 |
|
Registered User
Join Date: Apr 2008
Location: Md
Posts: 2,482
|
Re: 55 Wagon Progress
I tried to do that with a pulley wheel, it worked OK ( but)...You have the knack for making it Great. Super clean work as always. Thanks for sharing your skills.
__________________
http://67-72chevytrucks.com/vboard/s...d.php?t=635605 |
|
|

|
|
|
#685 |
|
Registered User
Join Date: Jan 2013
Location: Leonardtown, MD
Posts: 1,648
|
Re: 55 Wagon Progress
Thanks for the comments everyone.. Well it wasn't supposed to rain in the mid-Atlantic states today until later tonight, but wouldn't you know, loading something in the back of the truck just seemed to coax the precipitation from the sky.
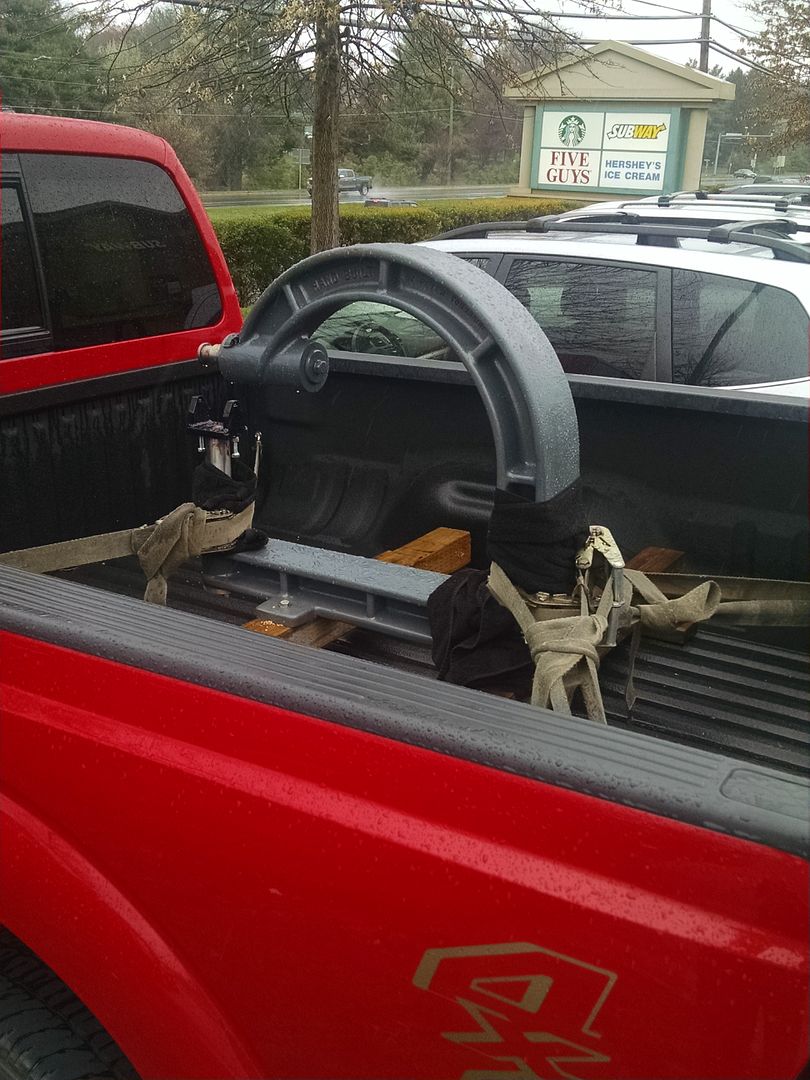 And here we are, unloaded back in the shop, still needing to make the stand. I'll pick up some materials likely on Monday.. 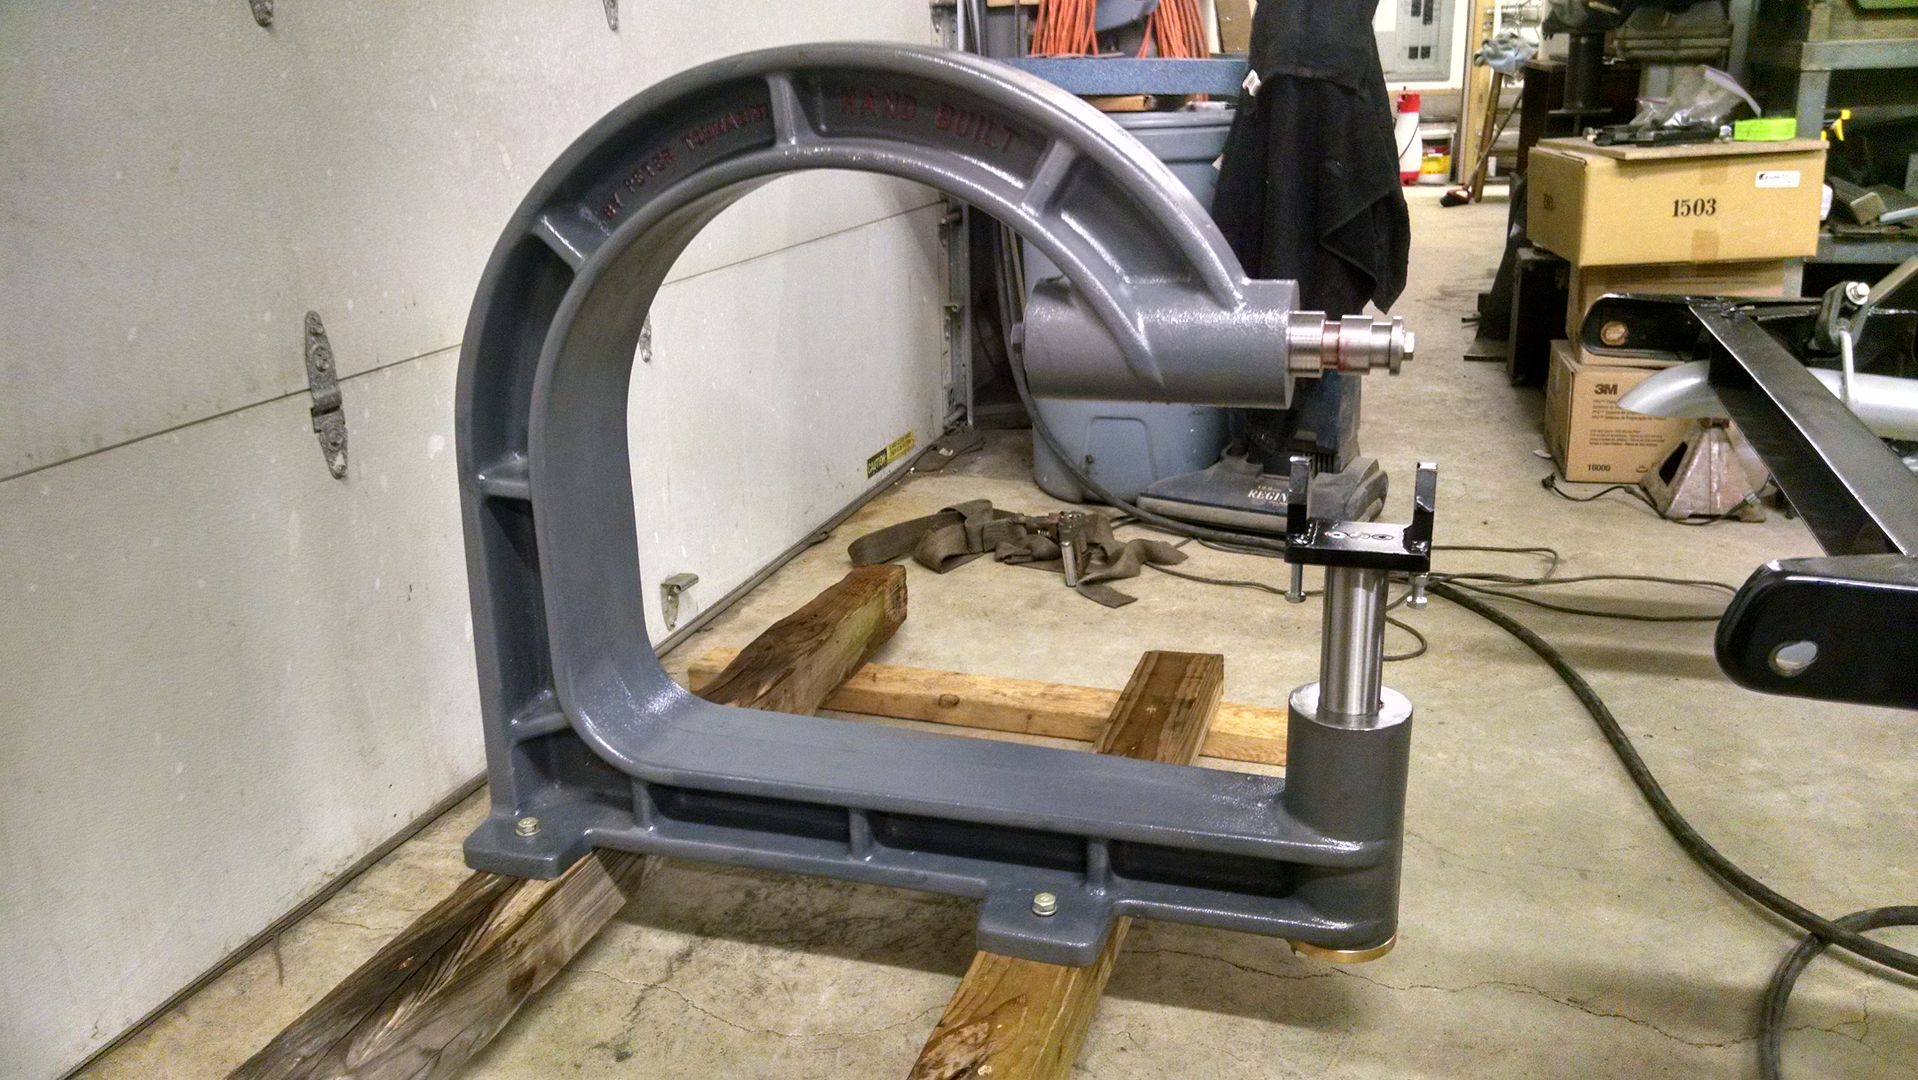
__________________
Robert |
|
|

|
|
|
#686 |
|
Registered User
Join Date: Jan 2013
Location: Leonardtown, MD
Posts: 1,648
|
Re: 55 Wagon Progress
Tonight Kyle did some more media blasting as I was installing the idler arm bushings. Finally the drag link is off the floor, Thurs night we should get the front tires back on so we again have a roller..
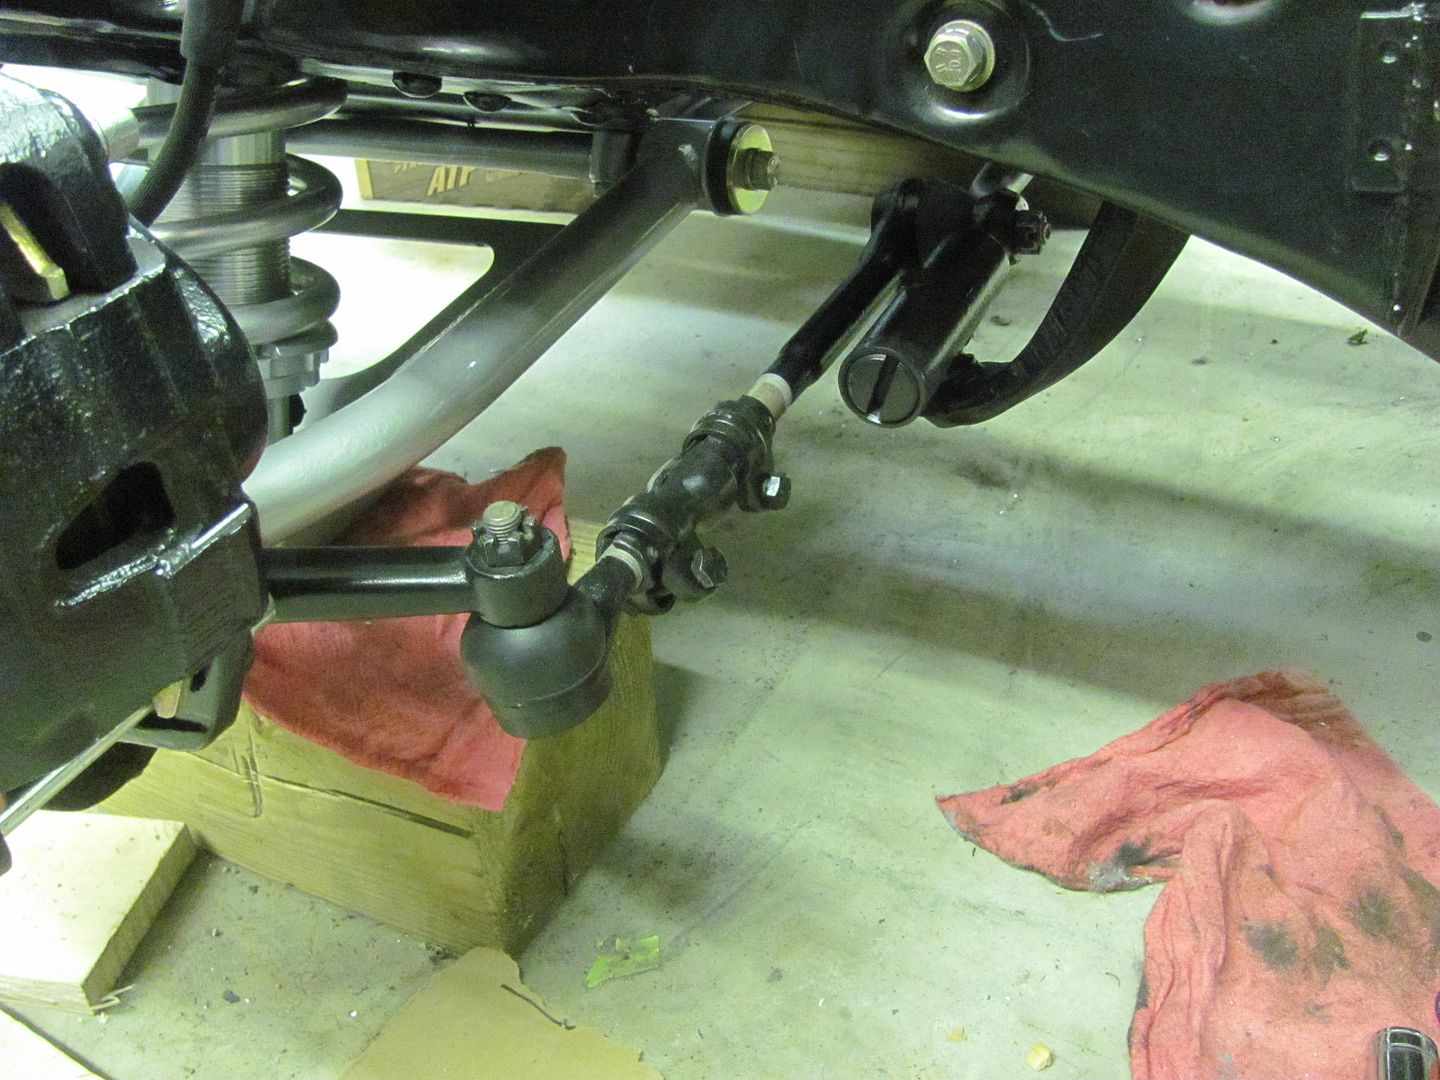 Then we worked on some stainless just to show Kyle another aspect of restoration. There were some minor scratches that the buffing wheels wouldn't begin to take out, so we opted for some 600 then 1200 w/d cross hatching, then moved to the 1500 then 3000 Trizact on the DA using the foam interface pad. With scratches gone, back to the buffing wheels... https://youtu.be/4VLocC_ZfJ0 https://youtu.be/vqcVXg-UXEQ 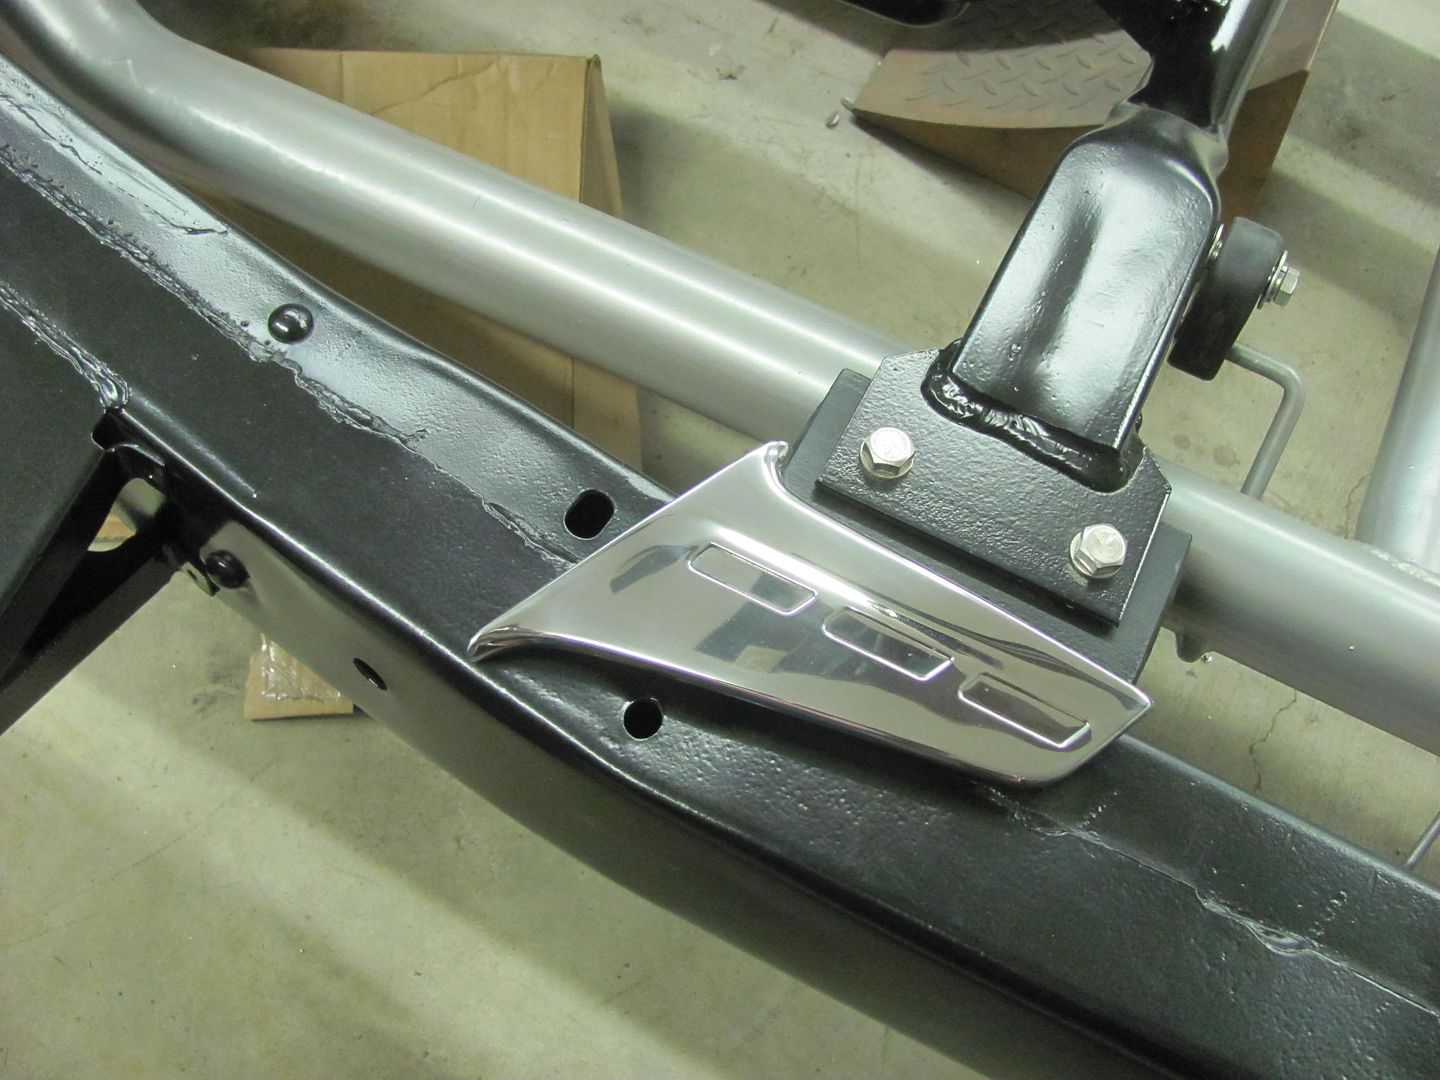
__________________
Robert |
|
|

|
|
|
#687 |
|
Registered User
Join Date: Jul 2012
Location: Rosenberg, Texas
Posts: 3,506
|
Re: 55 Wagon Progress
Nice work, that stainless looks great!
__________________
-Duane C/10 Club Texas member 1971 Chevy C10 "Brutus" SWB Fleetside 2016 6.0L (L96) 6L90E (driver/project) 1965 Pontiac GTO "Royal Goat" 400/TH400 w/AC (my baby) |
|
|

|
|
|
#688 |
|
Registered User
Join Date: May 2011
Location: Anderson SC
Posts: 3,901
|
Re: 55 Wagon Progress
I've really enjoyed following this thread Robert, it's one of my favorites of all the many forums I'm on. Always love to see quality work and new ideas, and you never disappoint.
__________________
Project Goldilocks '66 C10 Short Fleet BBW Build '65 C10 Highly Detailed Stock Restoration Thread '78 Camaro Targa Roof Build '55 International Metal/Body/Paint Work '66 F100 Full Rotisserie Restoration '40 Packard 120 Convertible Coupe Restoration How To Restore and Detail an Original Gauge Cluster How To Detail Sand Body Panels, Edges, Corners, Etc |
|
|

|
|
|
#689 |
|
Registered User
Join Date: Jan 2013
Location: Leonardtown, MD
Posts: 1,648
|
Re: 55 Wagon Progress
Thanks John. I only we could get some parts in to make consistent progress
 First off, yes, it's still bolted to the pallet. 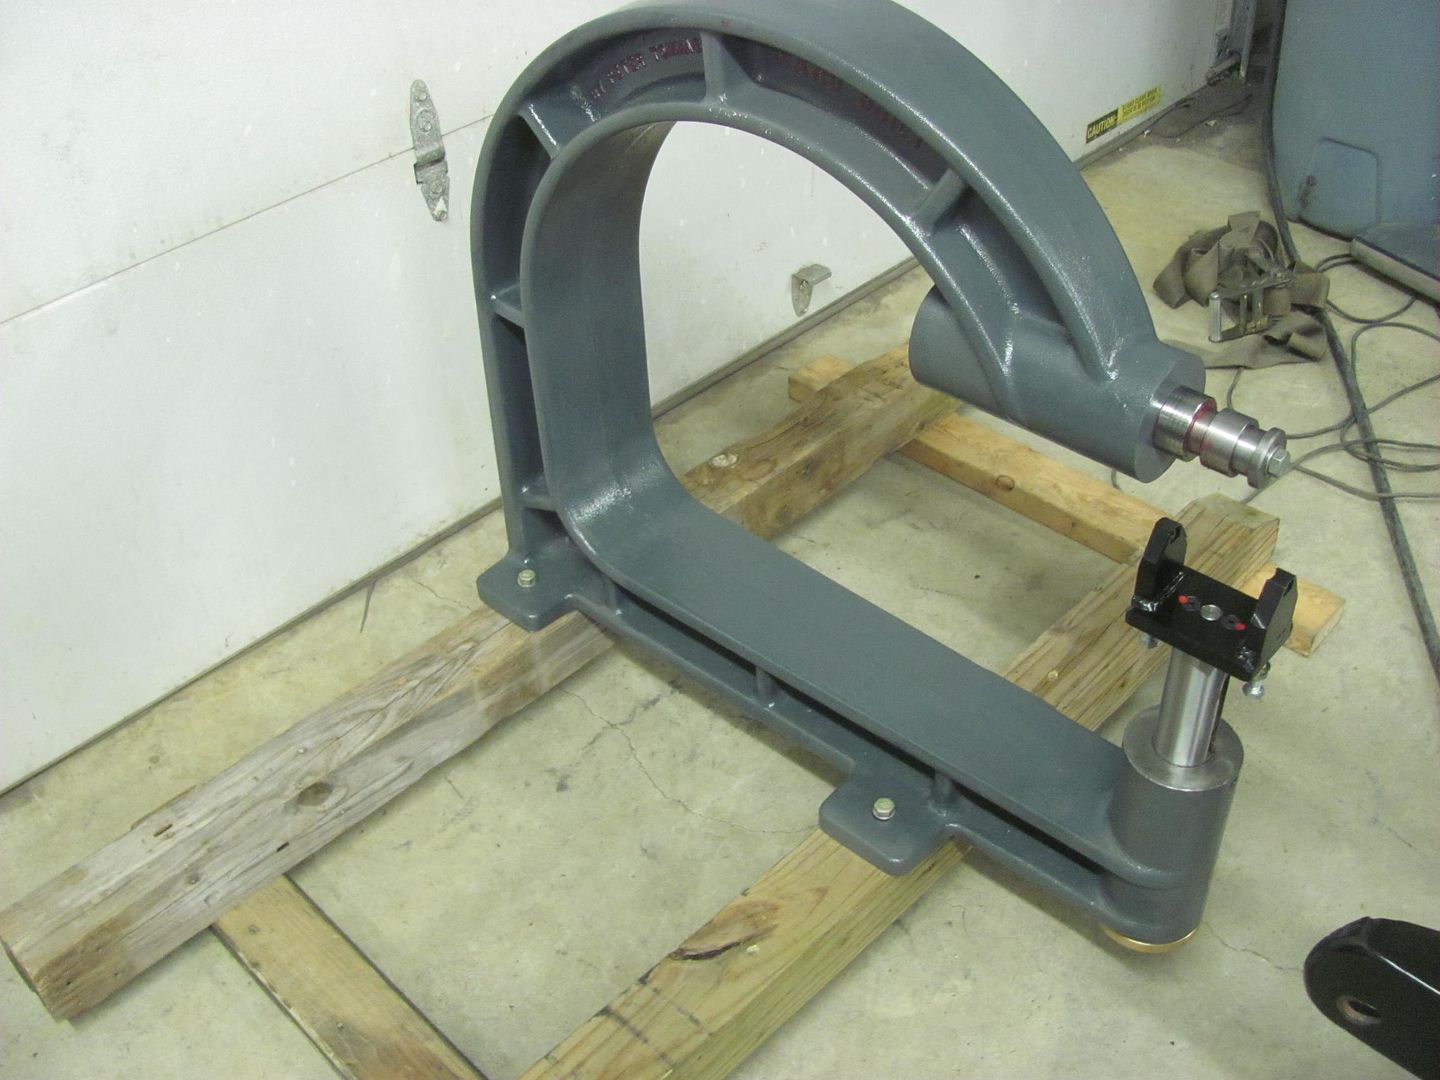 And the more I though of it I just couldn't bring myself to use fabricated legs. So today was spent driving a 5 hour round trip to pick up some suitable legs.. 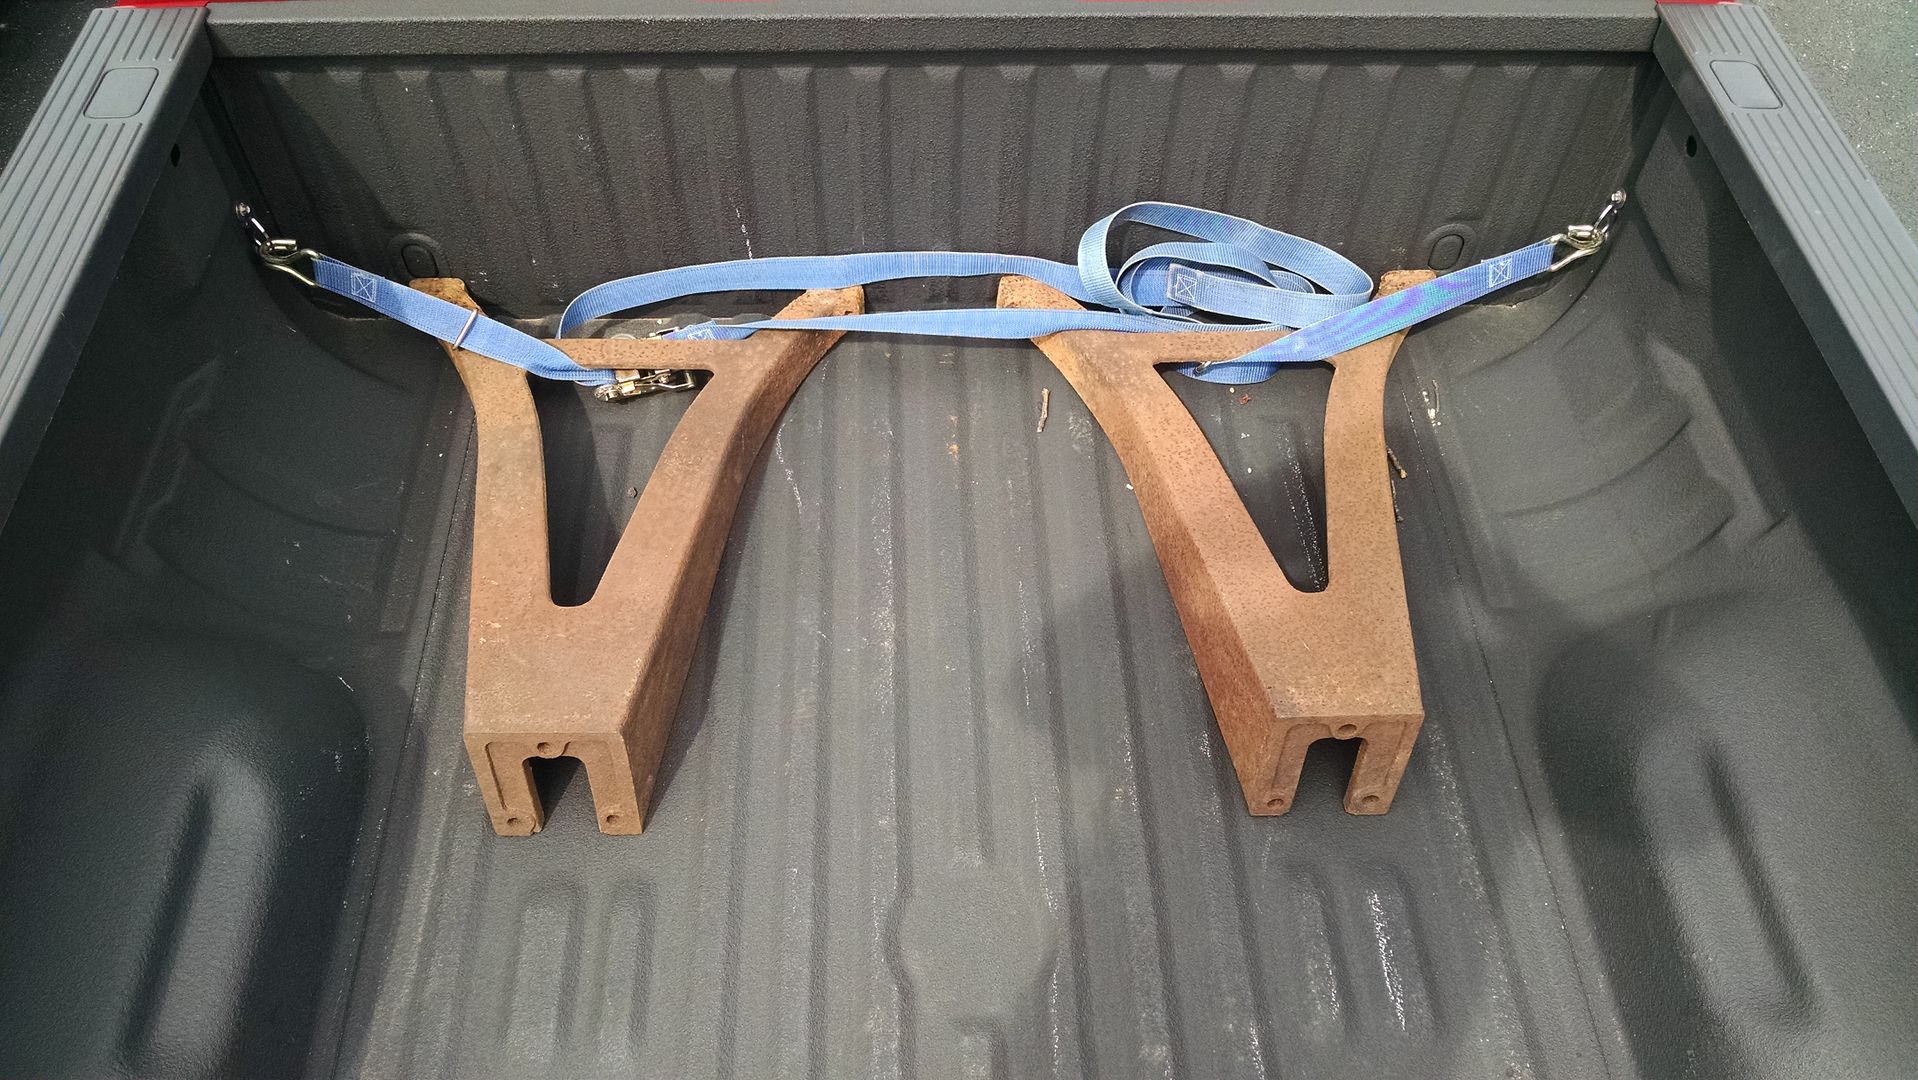 Here's the lower plate, and by my estimation I need about 4 inches of rise, so it will get some riser plates between the bottom plate and top plate.. 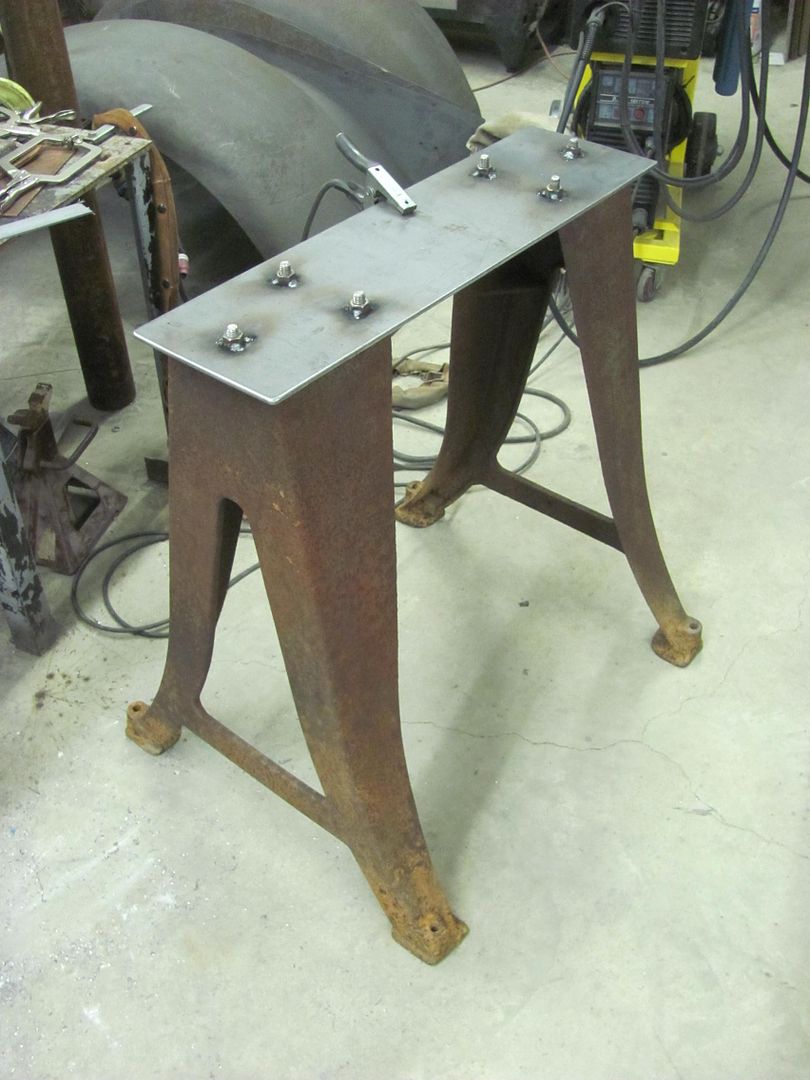 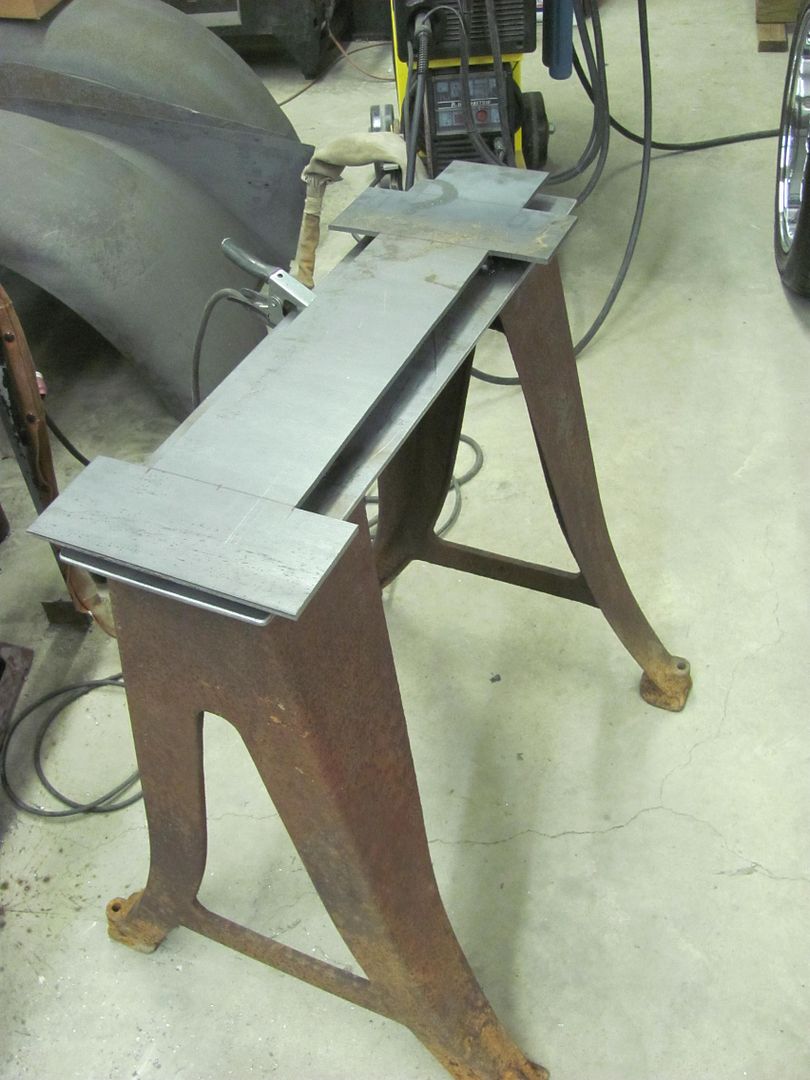 More to come..... need to find a nice bright color that will have Peter in sunglasses for his next visit..
__________________
Robert |
|
|

|
|
|
#690 |
|
Registered User
Join Date: Jan 2013
Location: Leonardtown, MD
Posts: 1,648
|
Re: 55 Wagon Progress
Finishing up on the English wheel, the legs are bolted on with 1/2" bolts with nuts welded inside the riser.
 The wheel is held on with 3/4 bolts, with nuts welded inside the top plate of the riser. 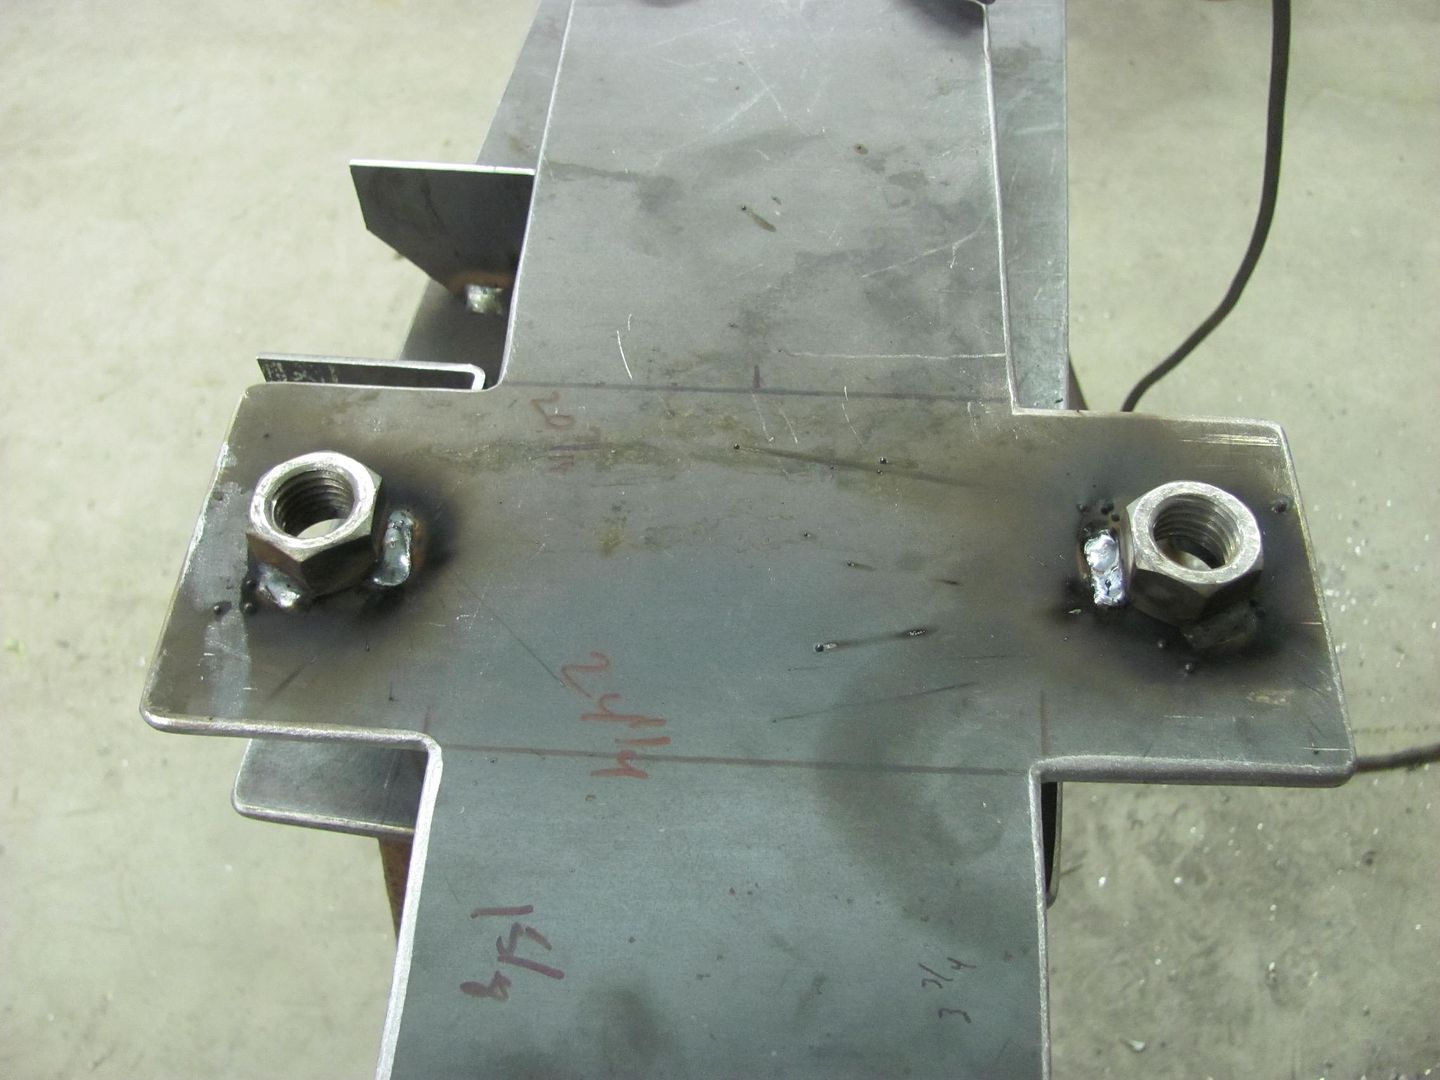 The John Deere lift device.... 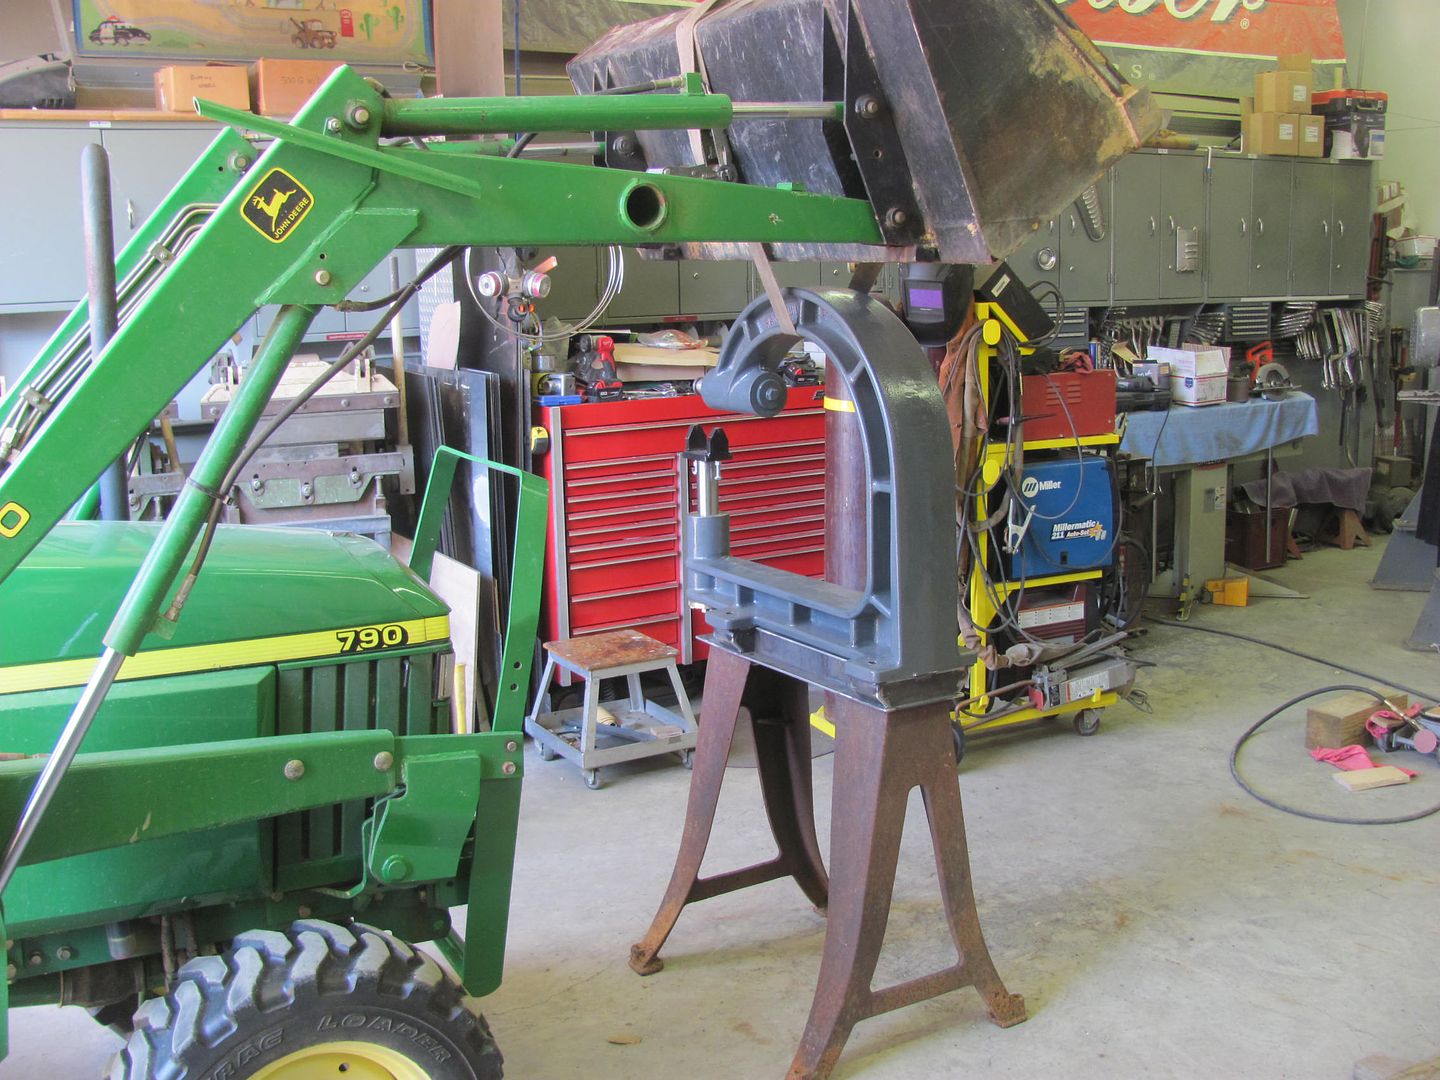 The wheel is set up at 48-1/2" 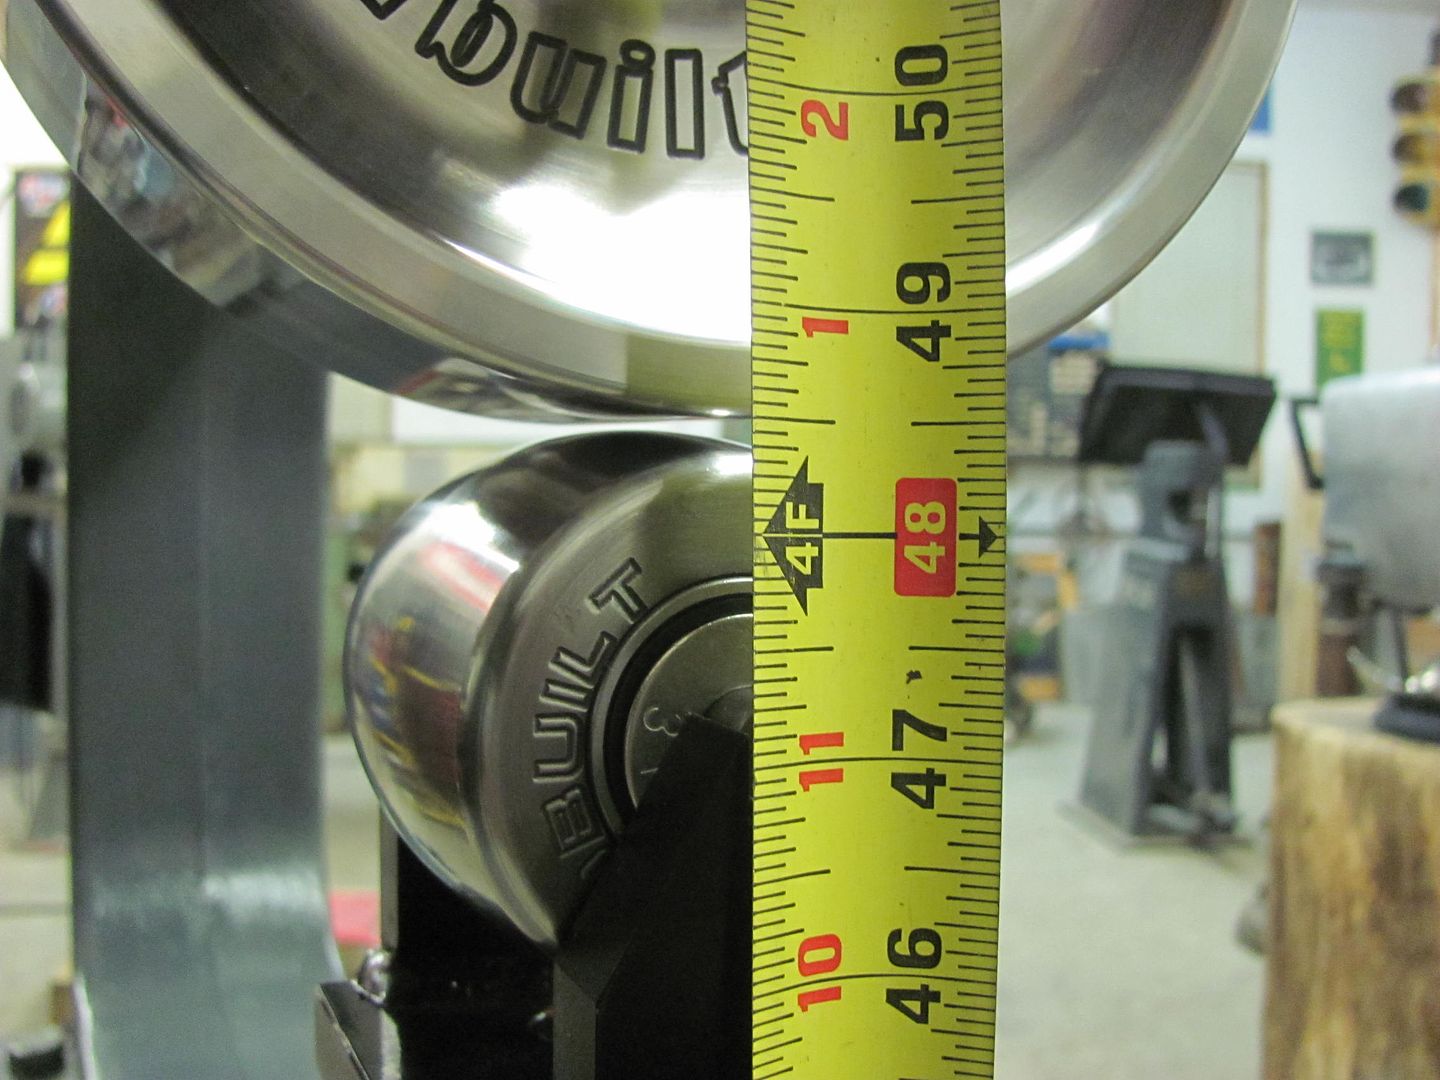 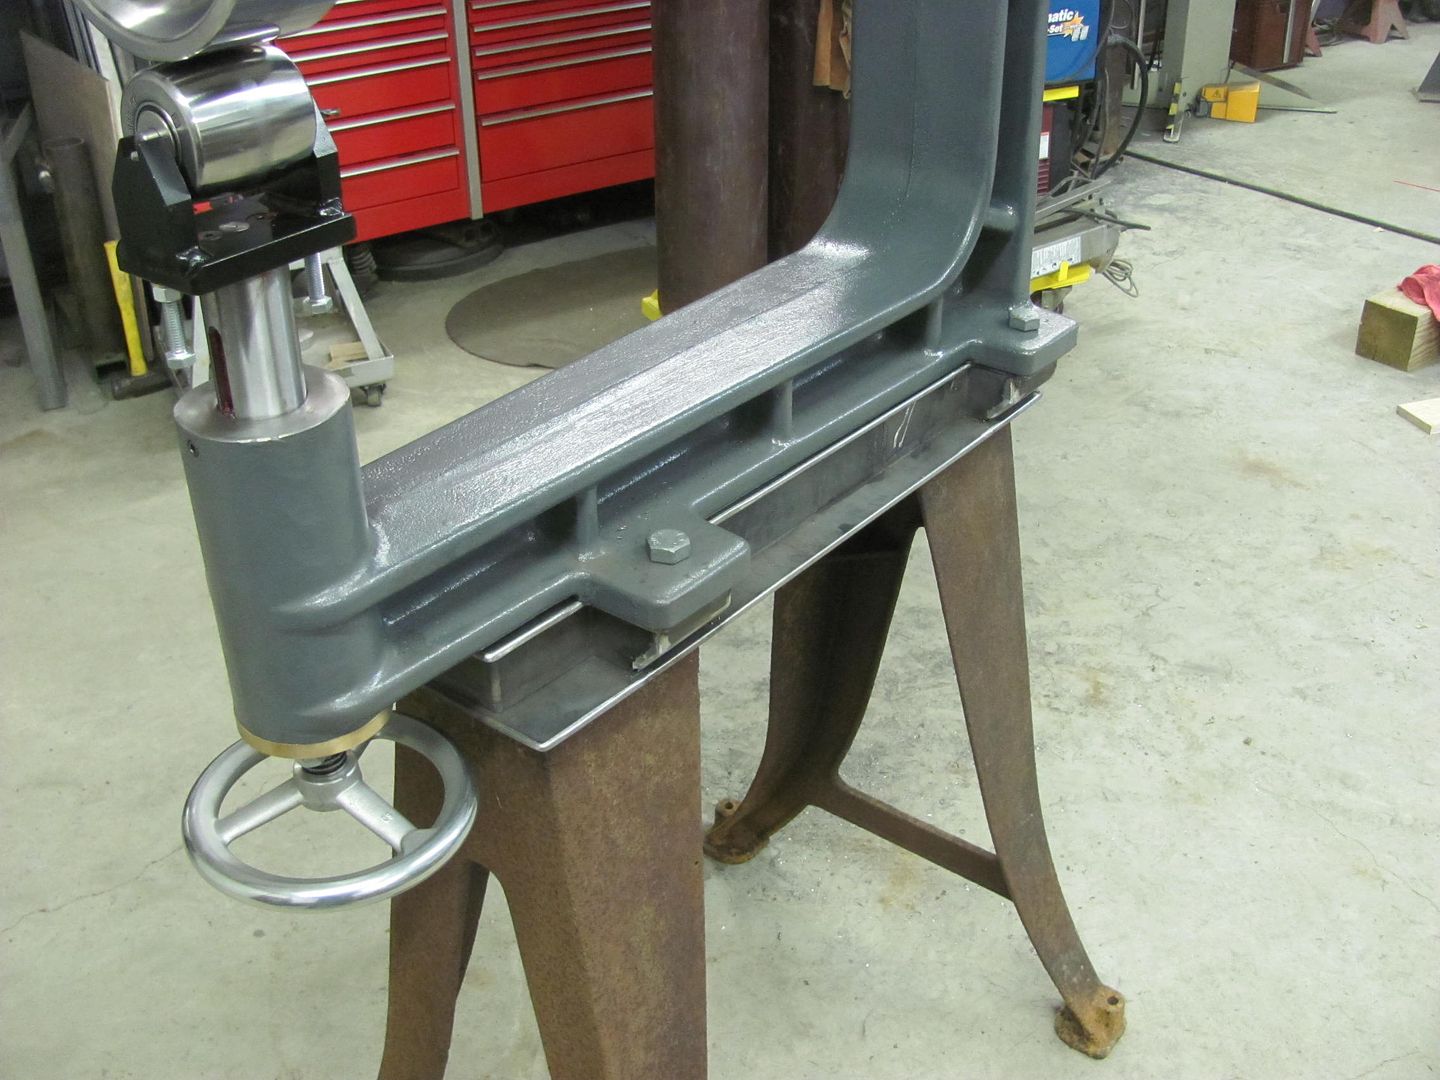 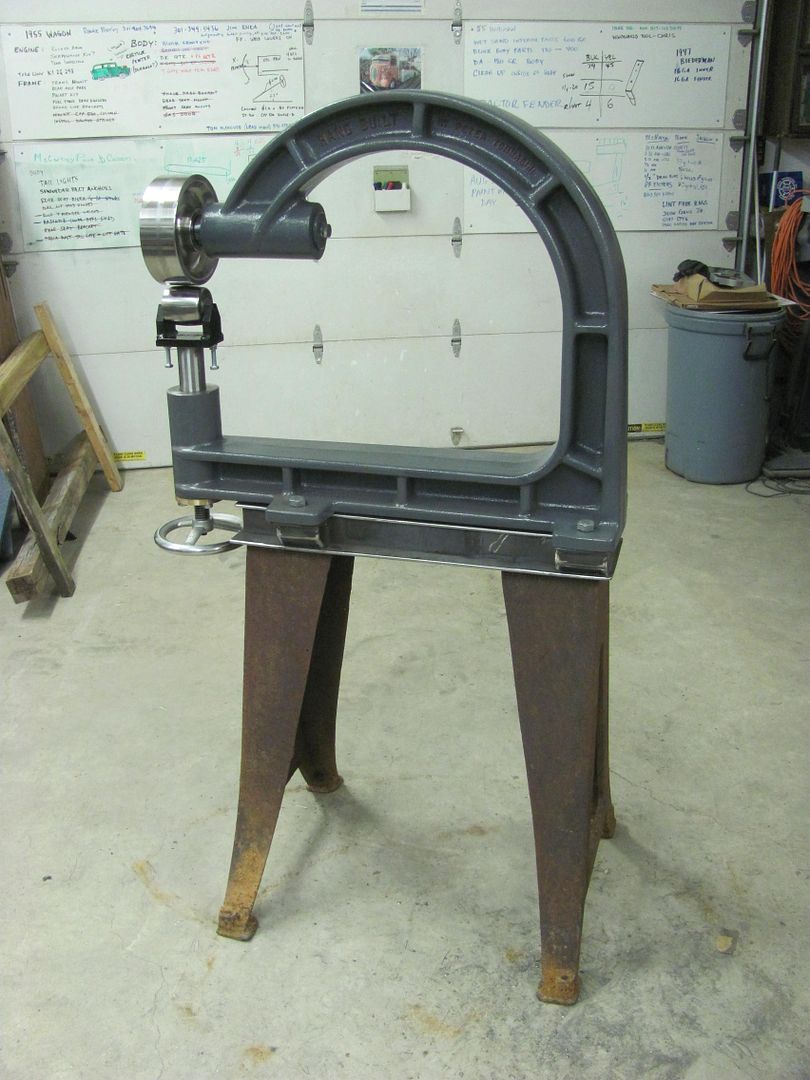 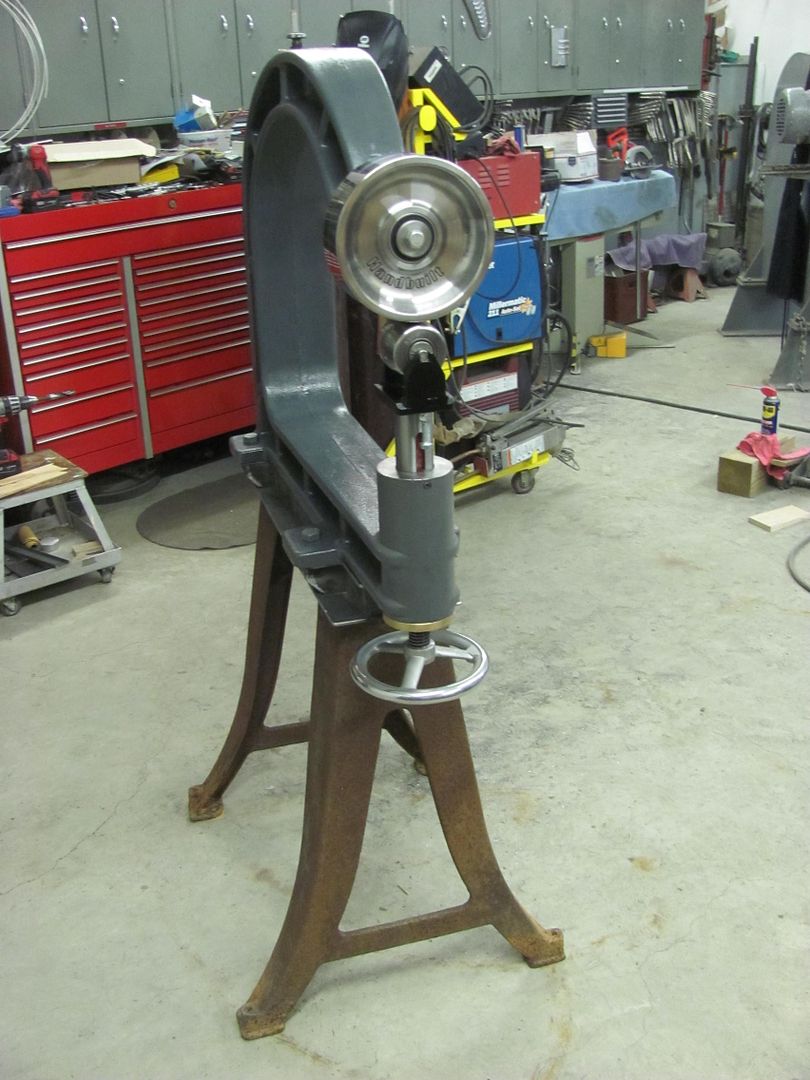 We wheeled a couple scrap panels, crushed some tucks, tipped a panel. Very pleased with the new wheeling machine.
__________________
Robert |
|
|

|
|
|
#691 |
|
Registered User
 Join Date: May 2007
Location: Deale Md
Posts: 4,663
|
Re: 55 Wagon Progress
I like your wall cabinets, what's the dimension on them ? the garage door works good as a bulletin board except when it's up LOL
__________________
James 63 GMC V6 4speed carryall 65 chevy swb bbw V8 auto 68 K20 327/4 speed, buddy buckets 2002 GMC CC Dually Duramax 64 GMC lwb 3/4 V6 4speed SOLD 66 GMC swb bbw buddy buckets SOLD IG duallyjams The only thing that stays the same is constant change! |
|
|

|
|
|
#692 |
|
Registered User
Join Date: Jan 2013
Location: Leonardtown, MD
Posts: 1,648
|
Re: 55 Wagon Progress
Sorry, forgot to get the cabinet dims in the shop tonight, will have to get them tomorrow. They were steel wall cabinets ordered from McMaster Carr. Not cheap, but I thought they would be less weight hanging on the side of the paint booth. On the "dry erase board", the marker holder has a hinge at the top to keep its contents inside.
Well I'm back from UK, Kyle is still plugging away on stainless polishing and repairs.. Here's just a few of the implements used. And I must stress, this is not an 18 ga panel, with stainless trim we use light taps for everything. Here's a piece of Delrin that was cut out and filed to match the bottom side of the door trim to act as a soft "anvil". 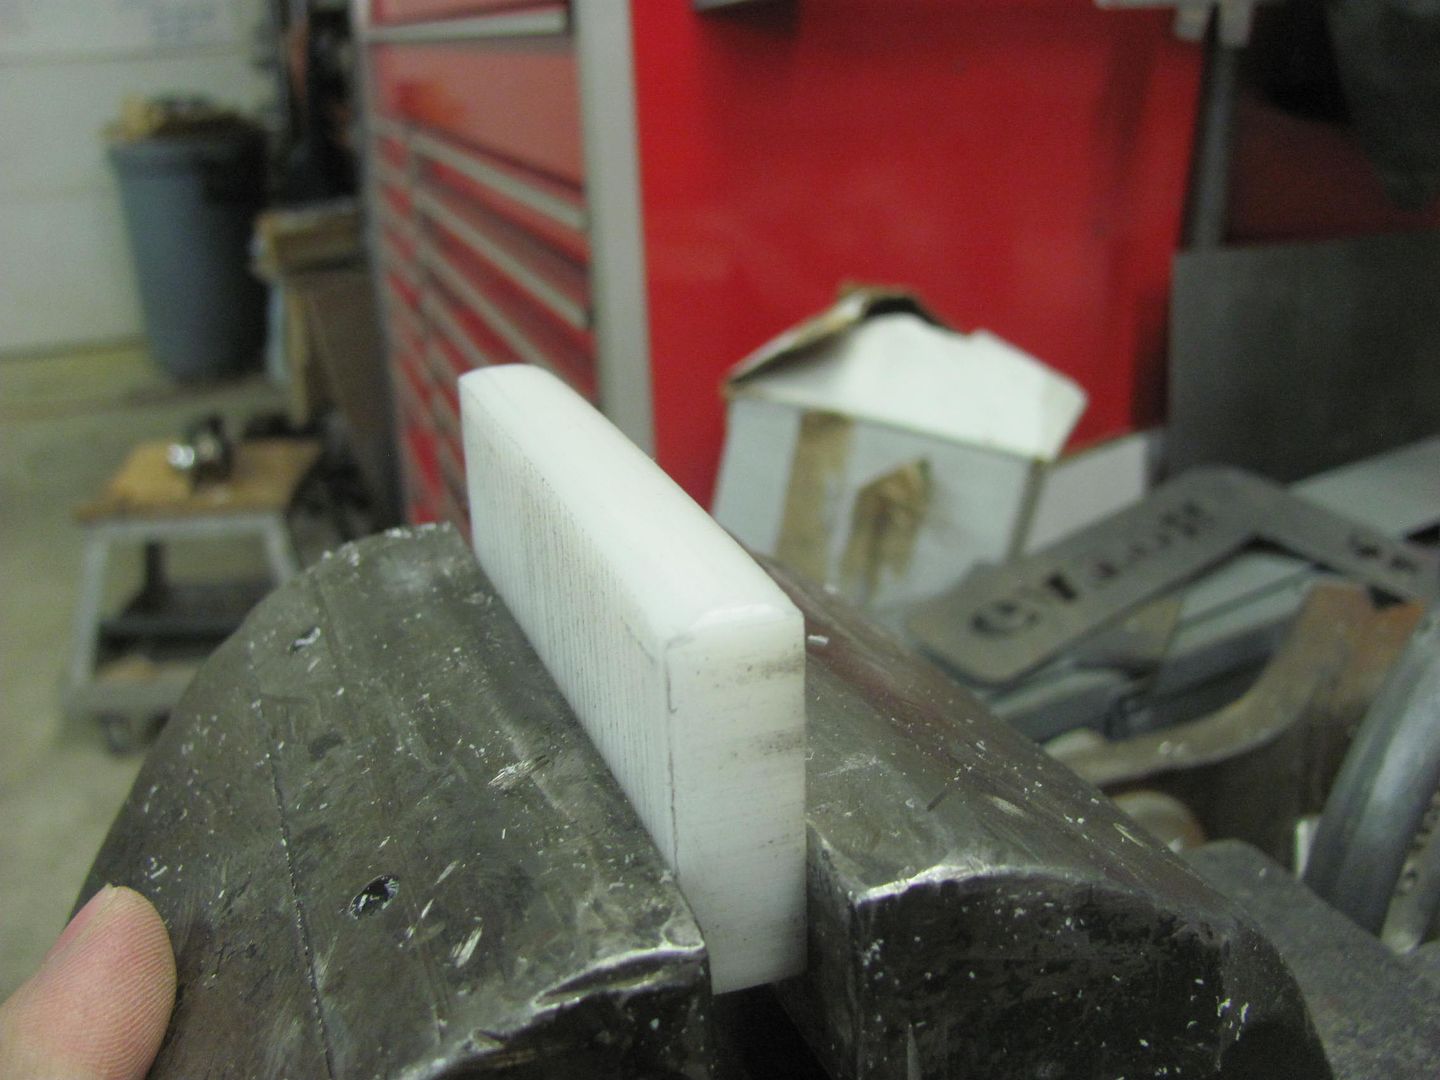 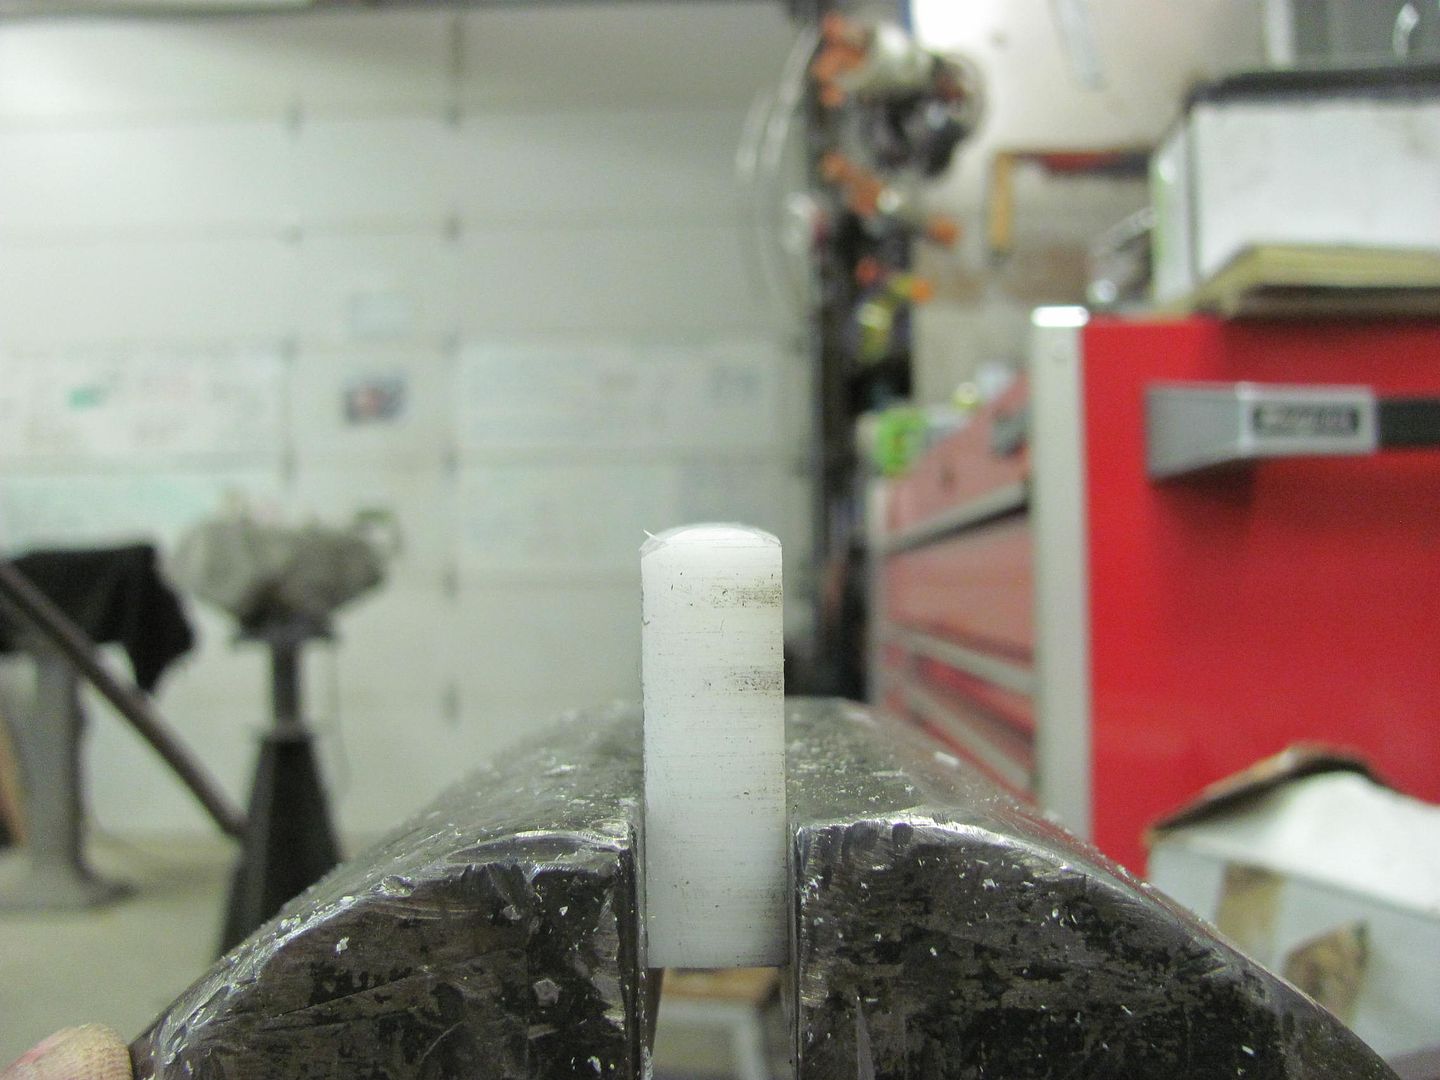 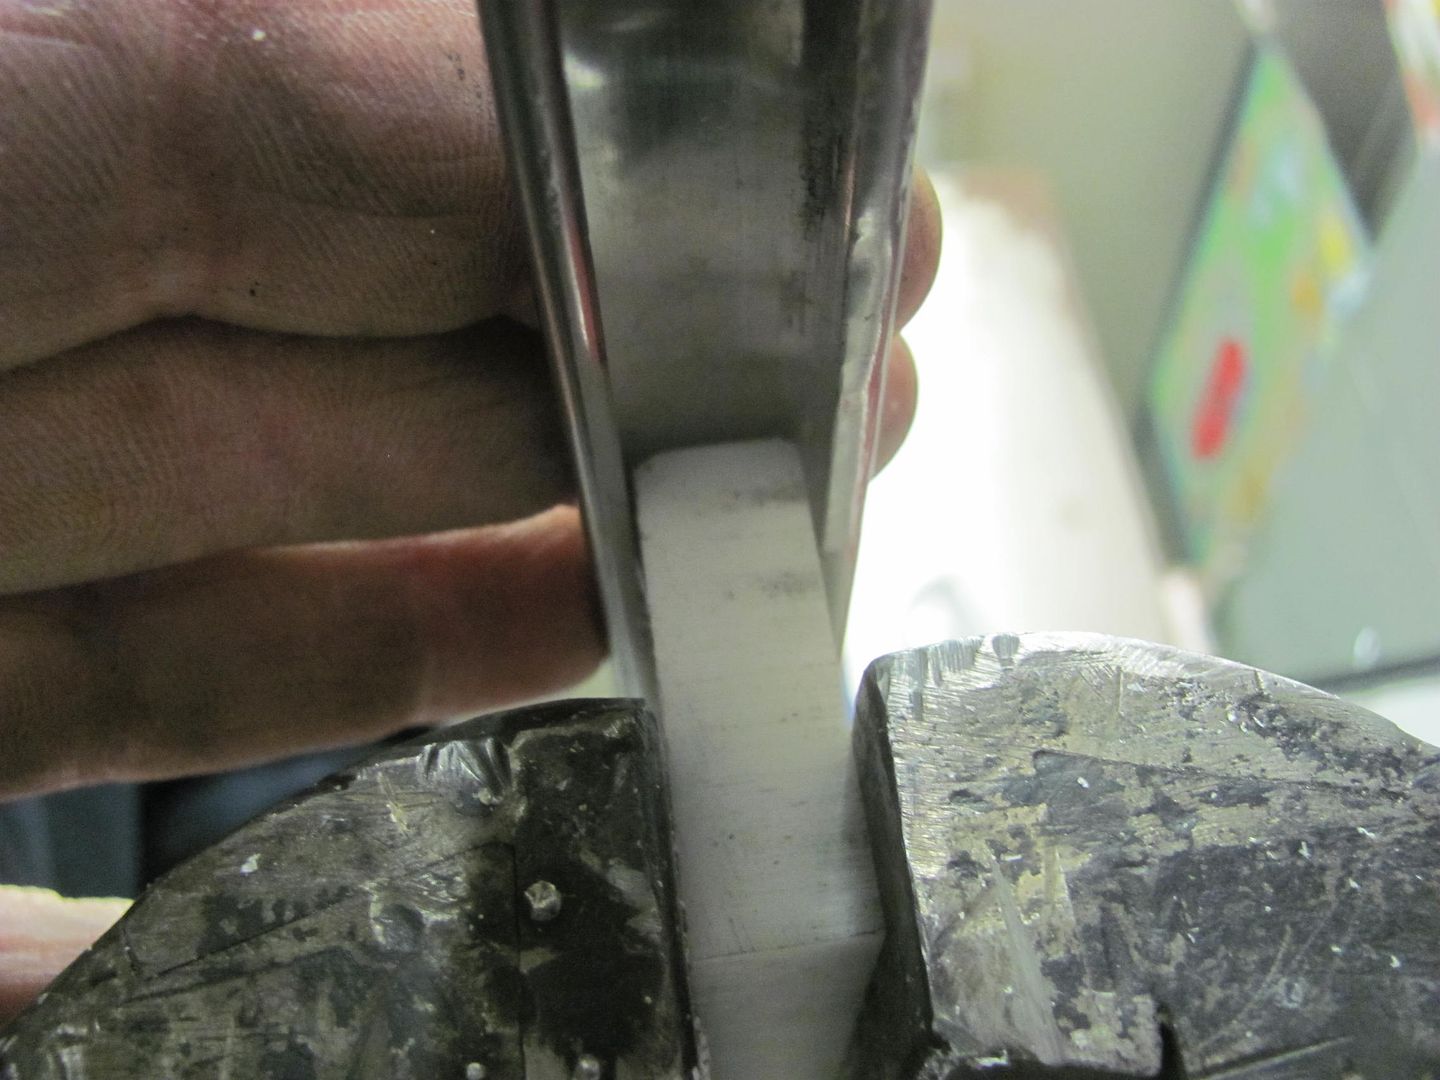 Then a spoon is used to bump.... LIGHTLY 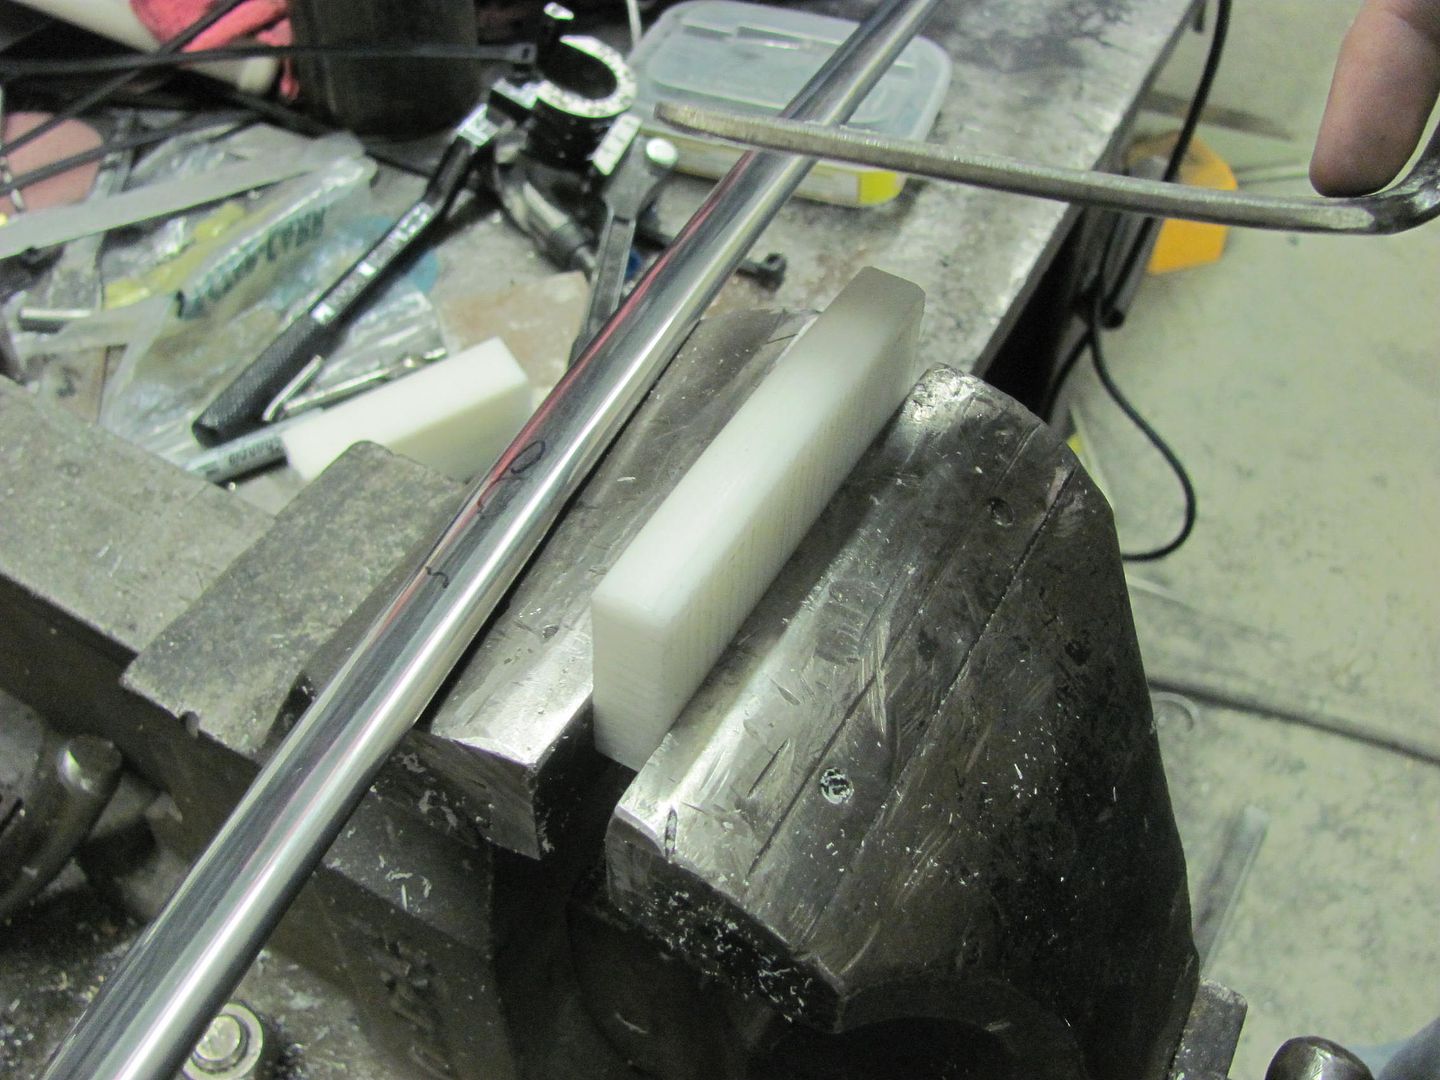 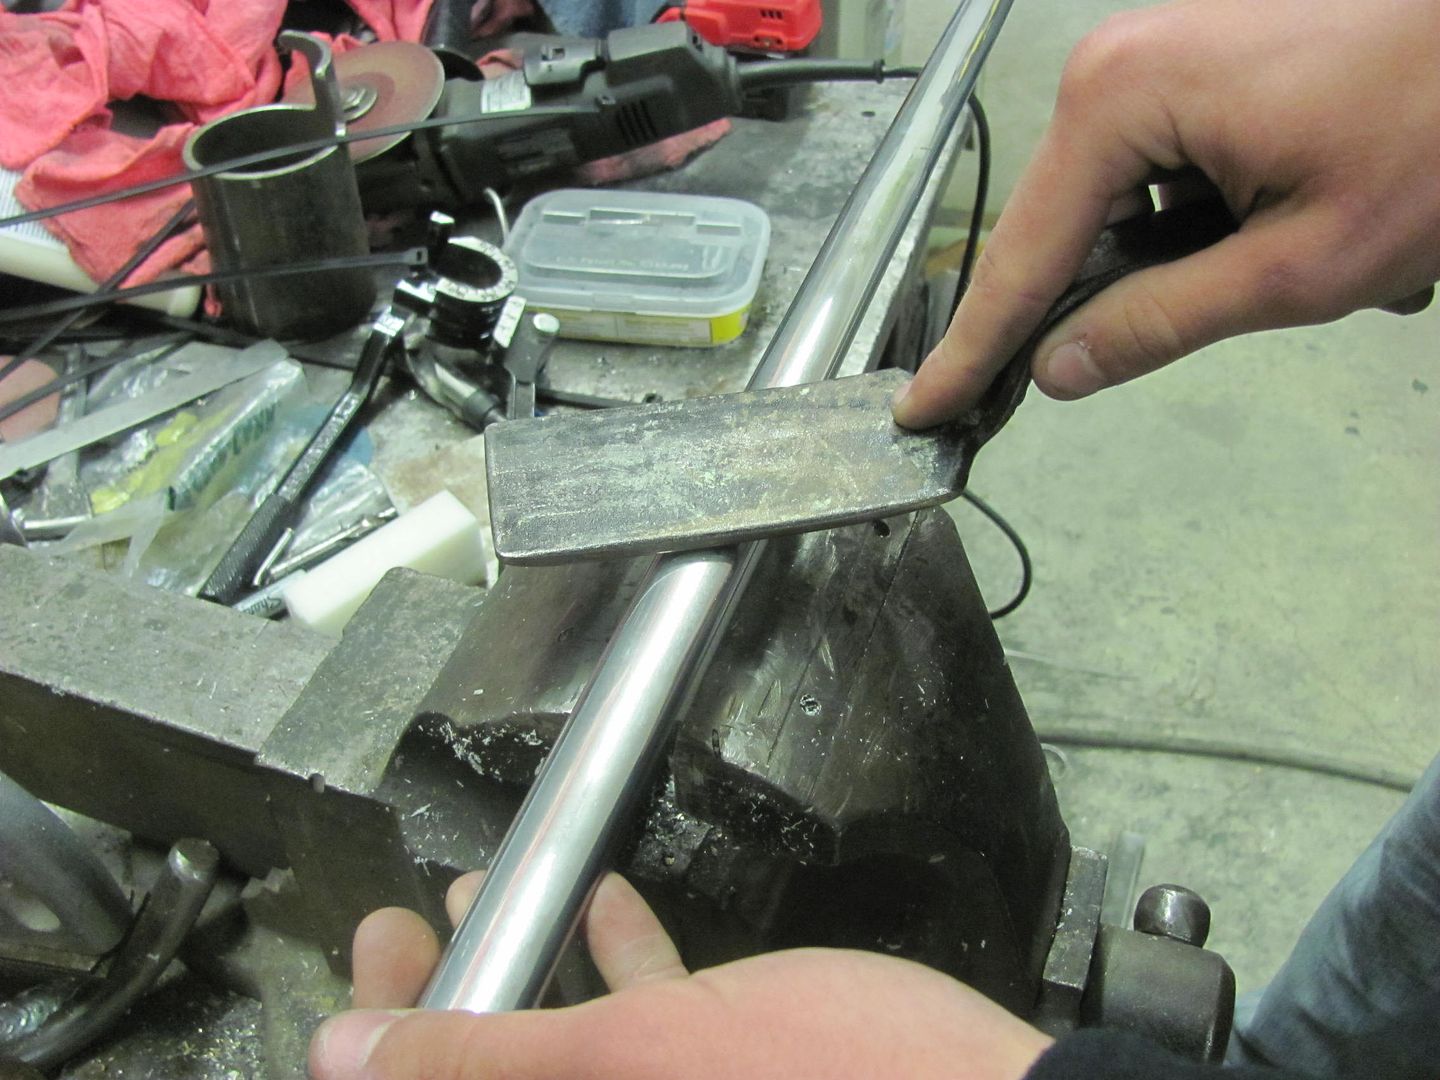 Many ways of bringing up low spots, here are just a couple of the tools used... This is a roller tool used for installing the "beading" to hold in screen material. The roller has been flattened from the original version, which had a hollow in the middle. A 3" roloc sander held just right will get the wheel spinning while sanding it flat.. 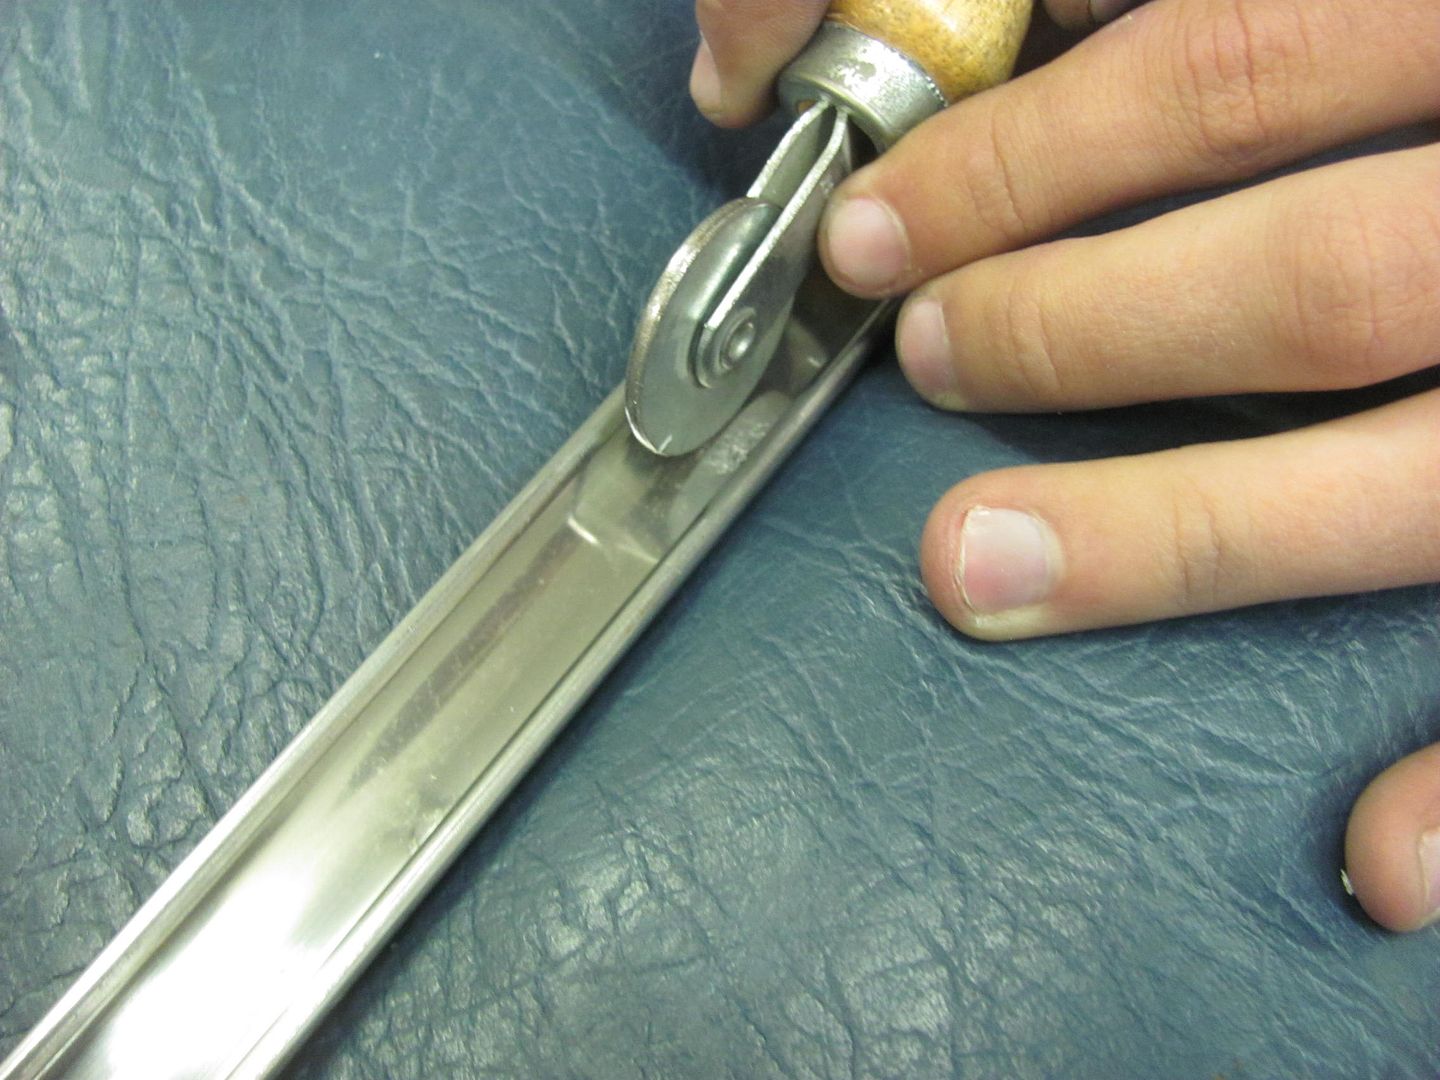 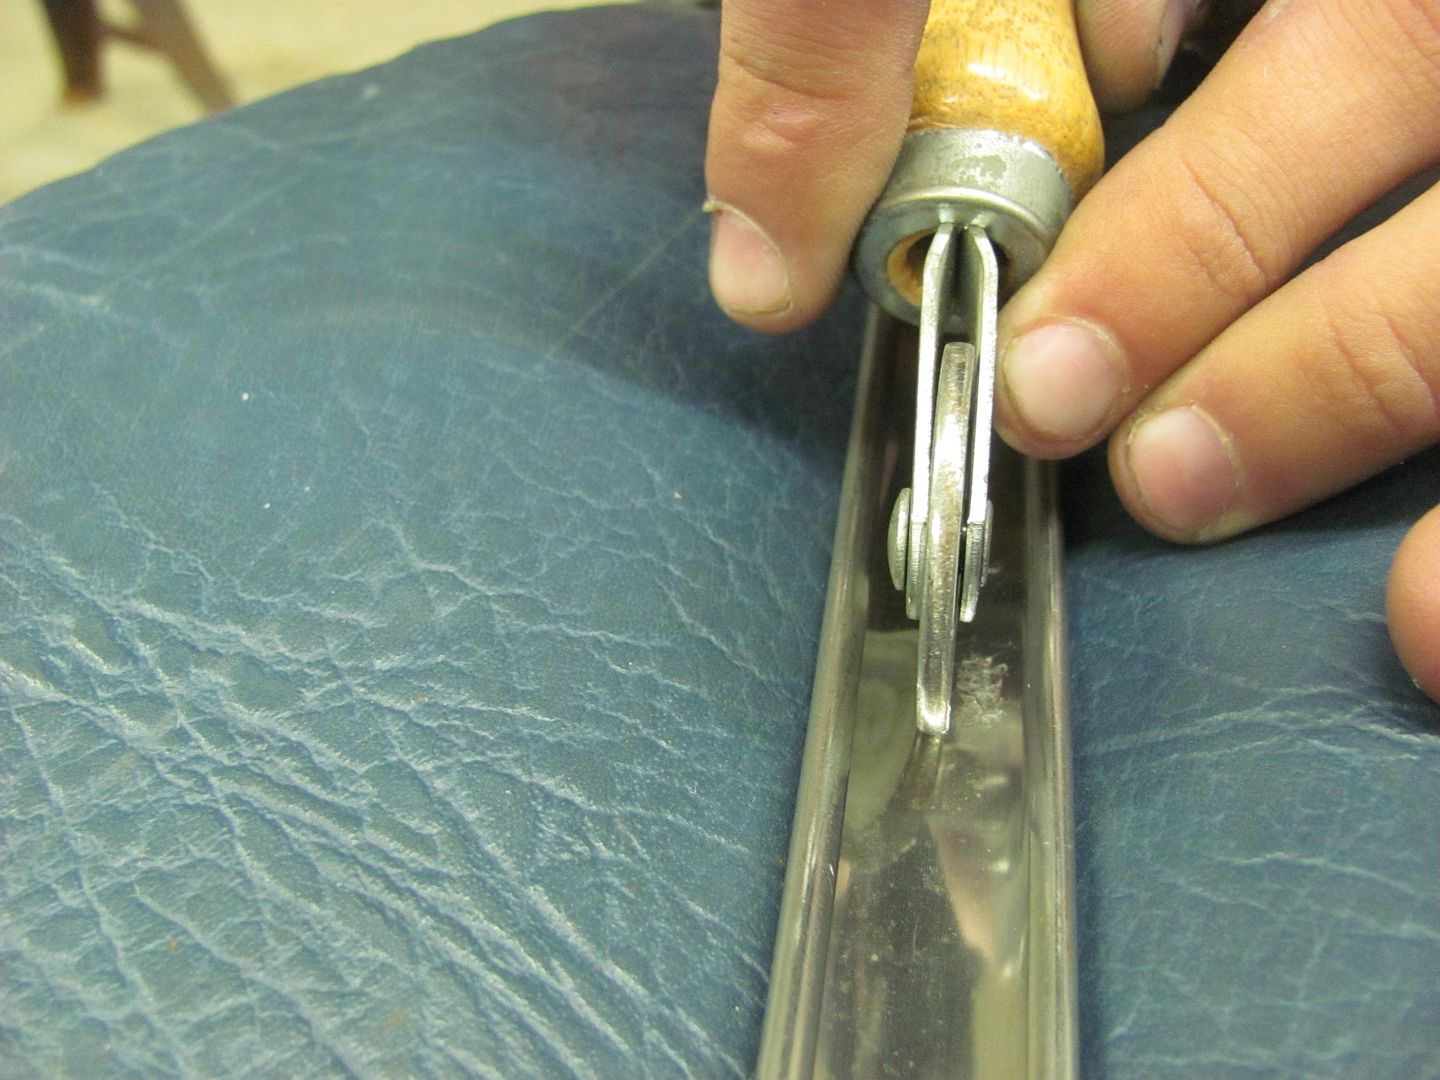 In many cases you'll bump the highs down, roll the lows out, and check your progress using the fluorescent light tube reflections, and repeat. It is not likely this is a one and done process. Another tool that can sneak in behind flanges. 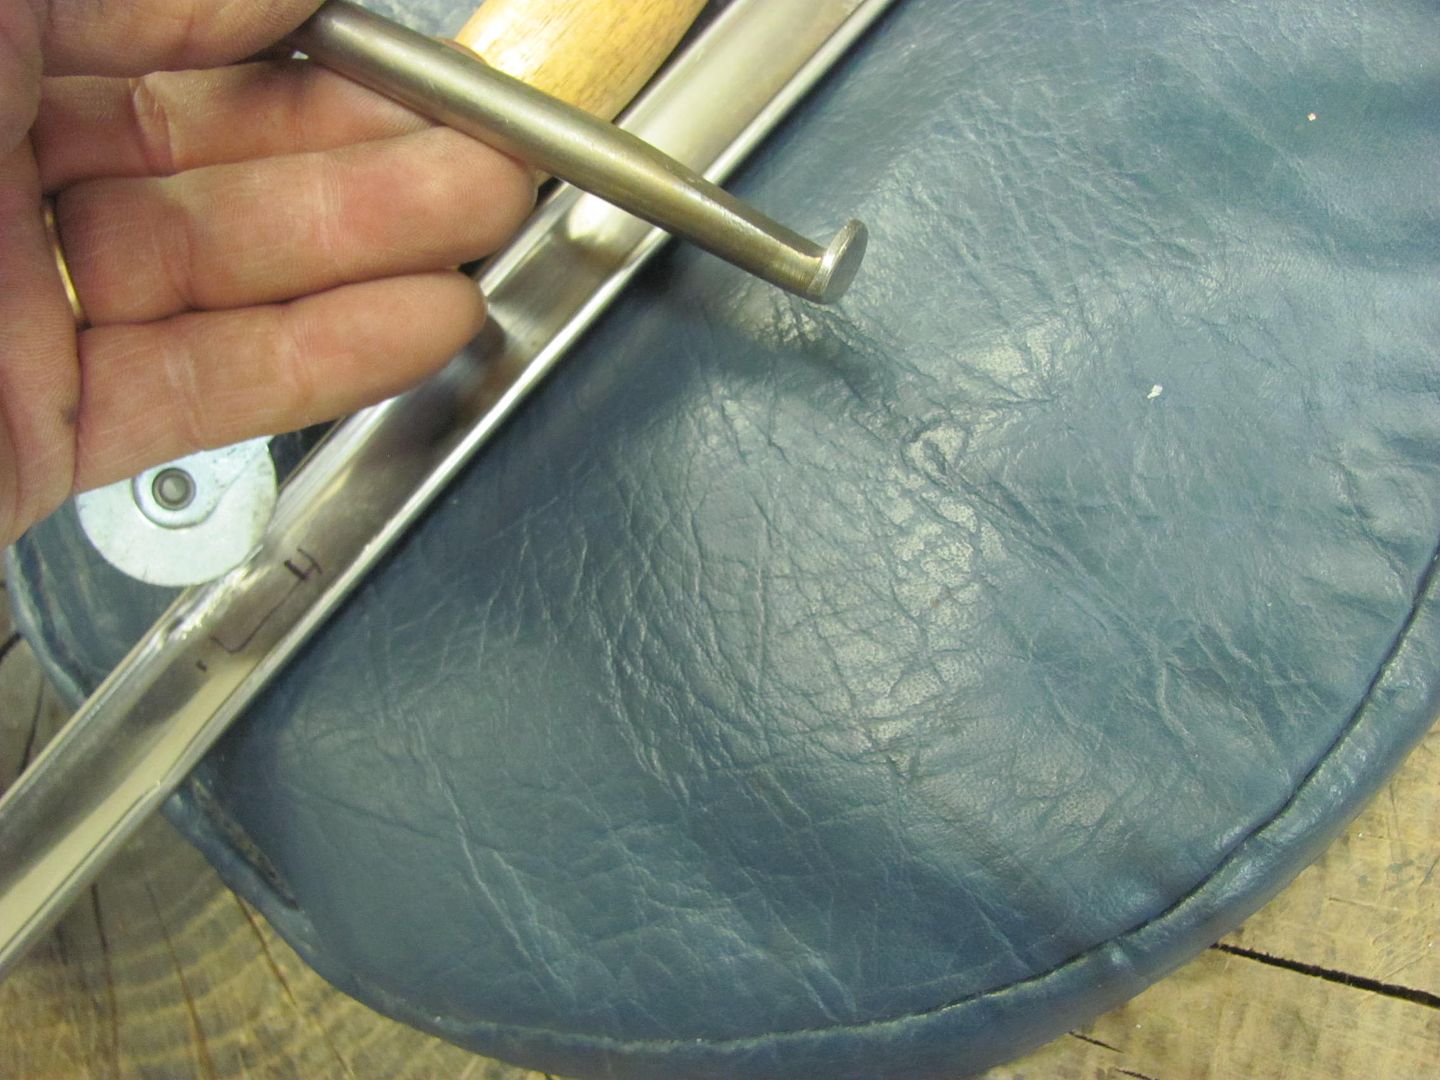 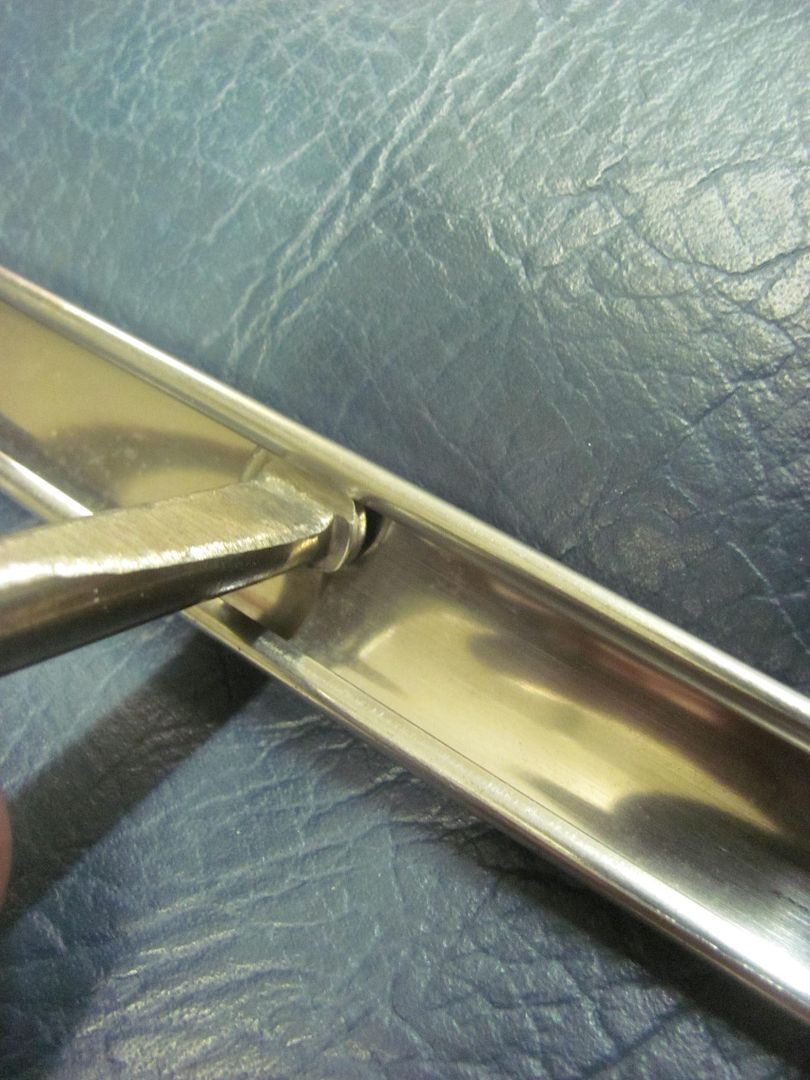 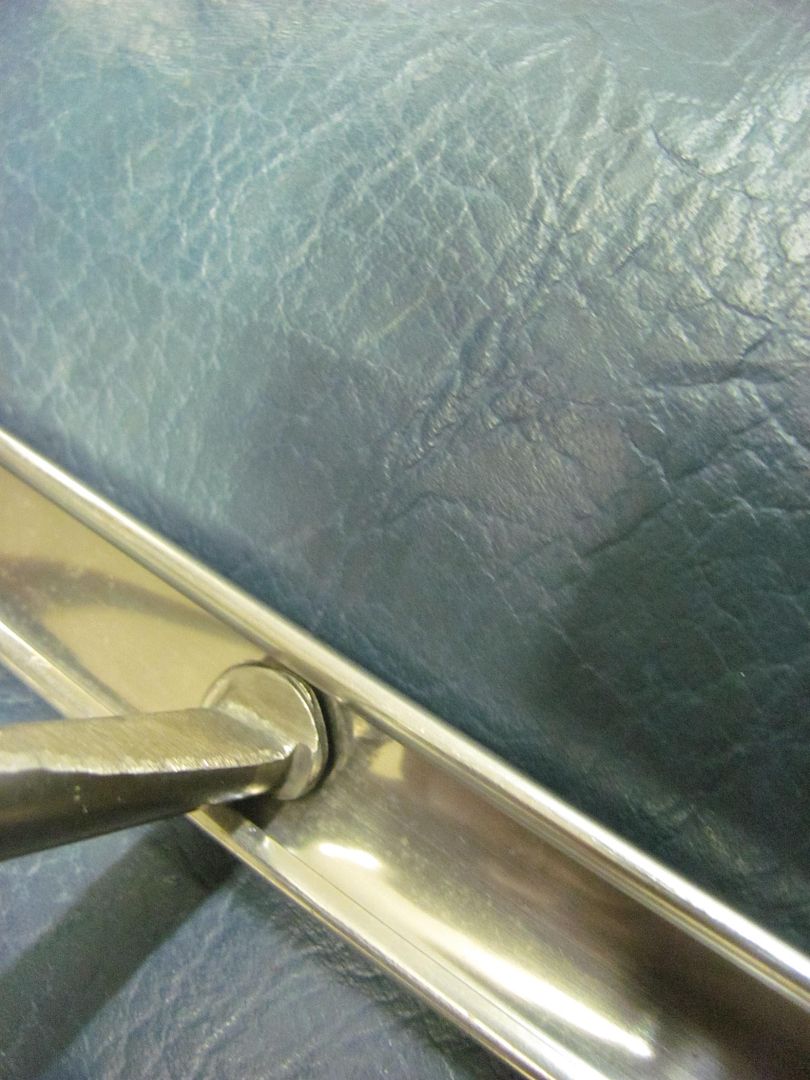 Also used some dry sanding with the durablock, here using 500 then 1200 paper. 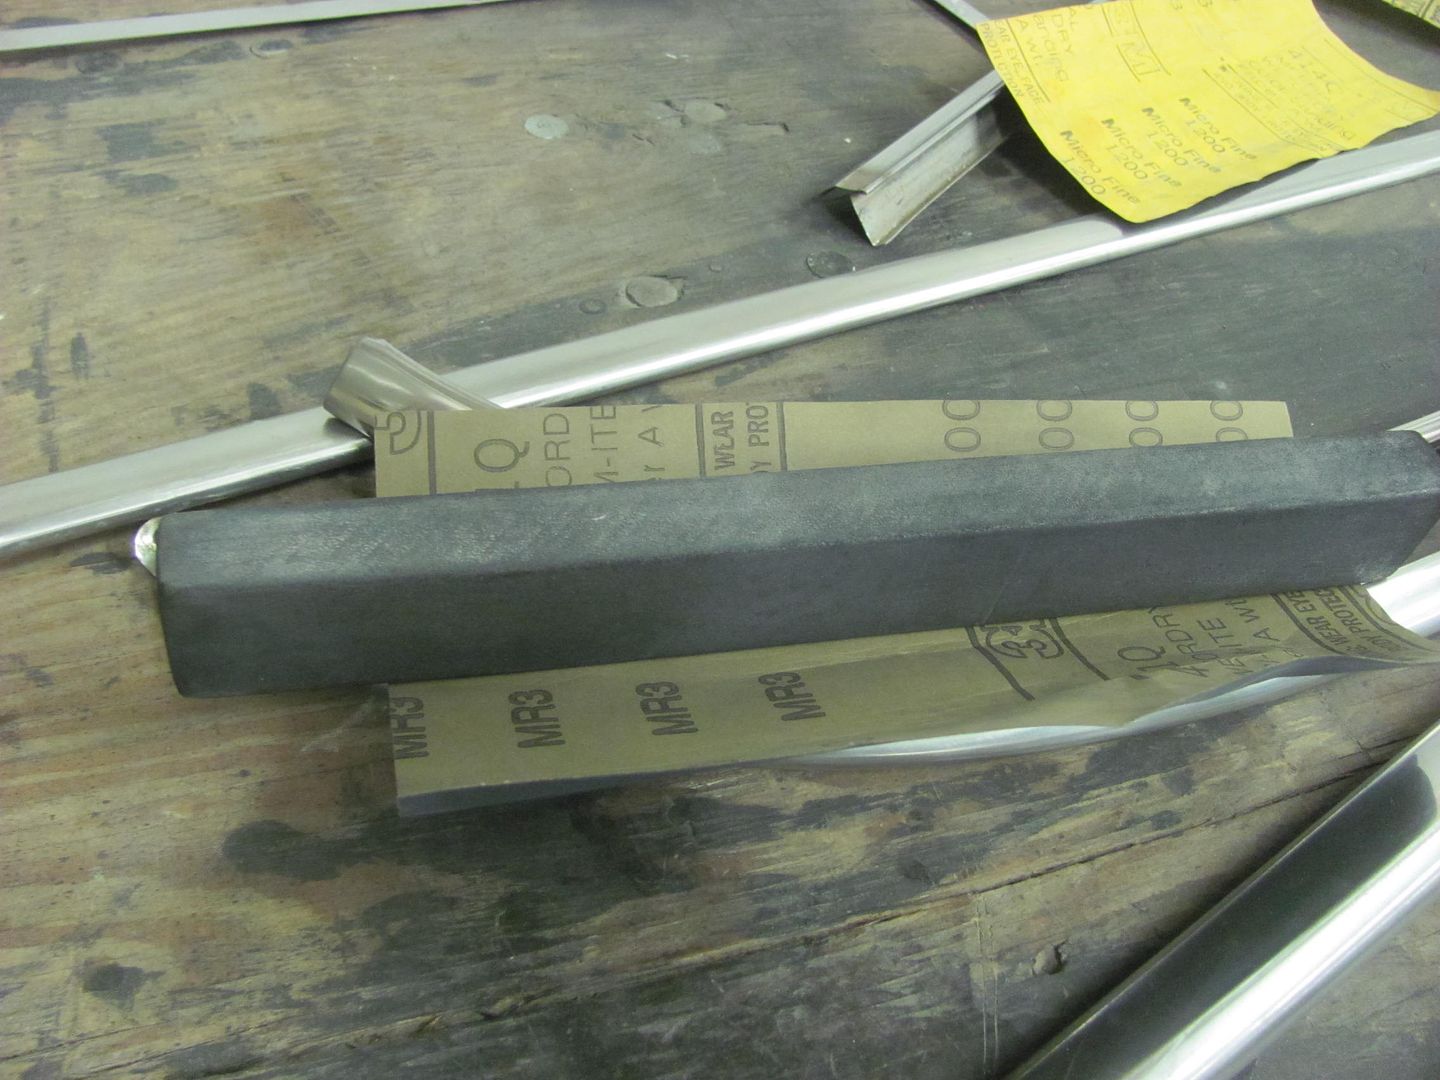 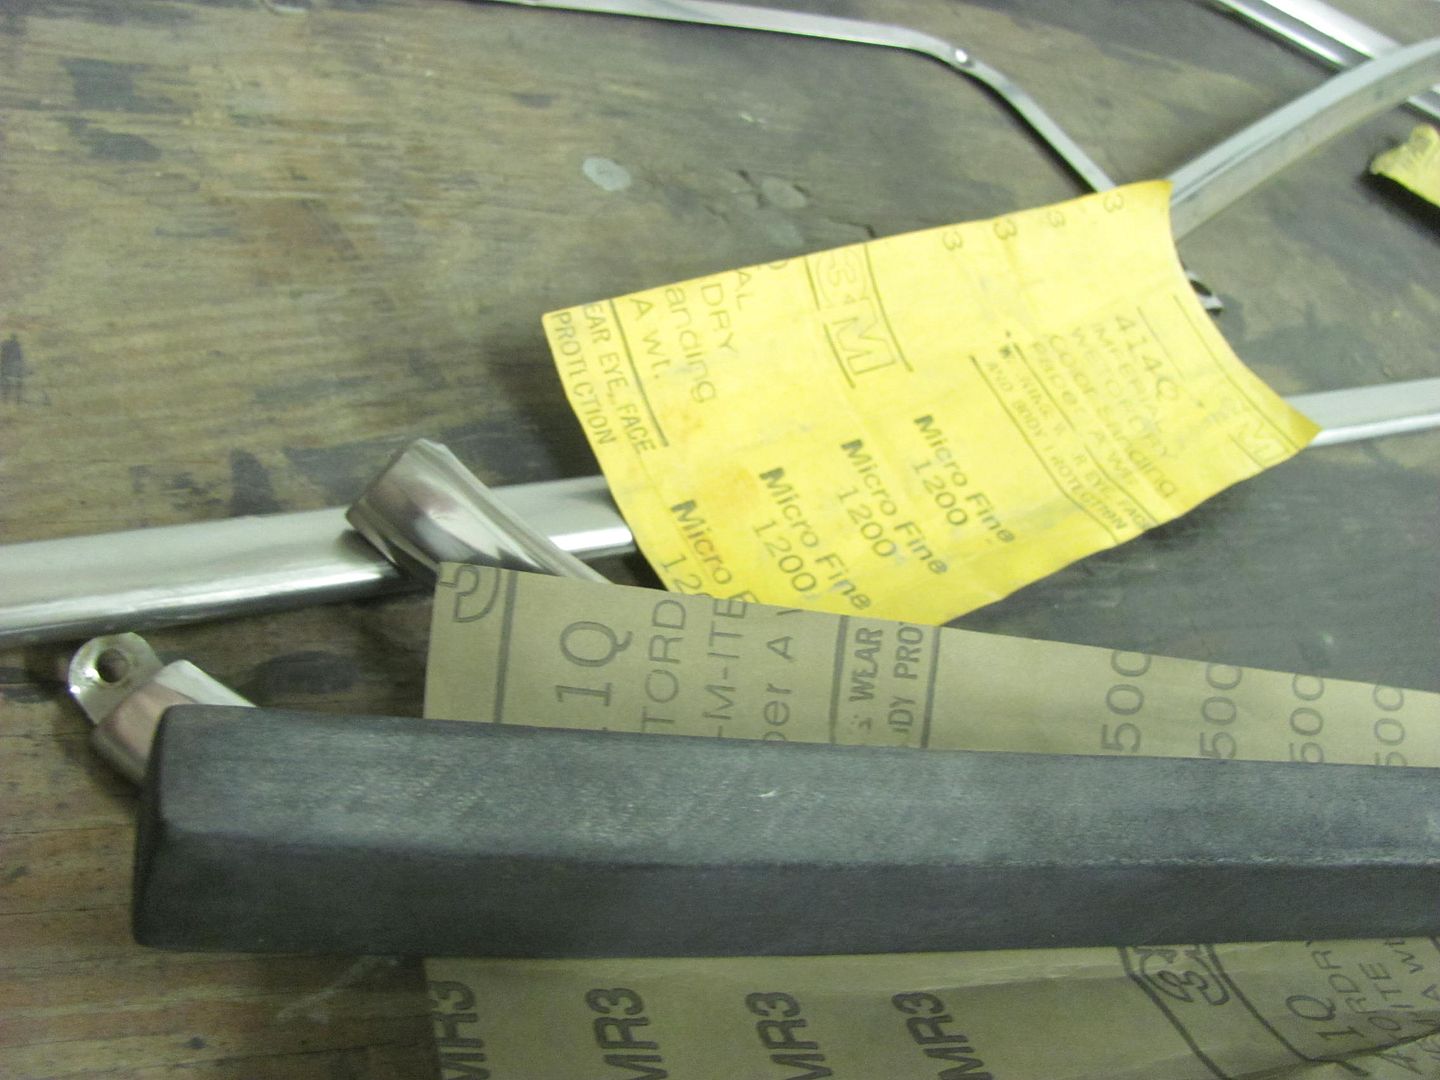 Then followed with the Trizact 1500, then 3000. Then it should be ready for the buffer.. 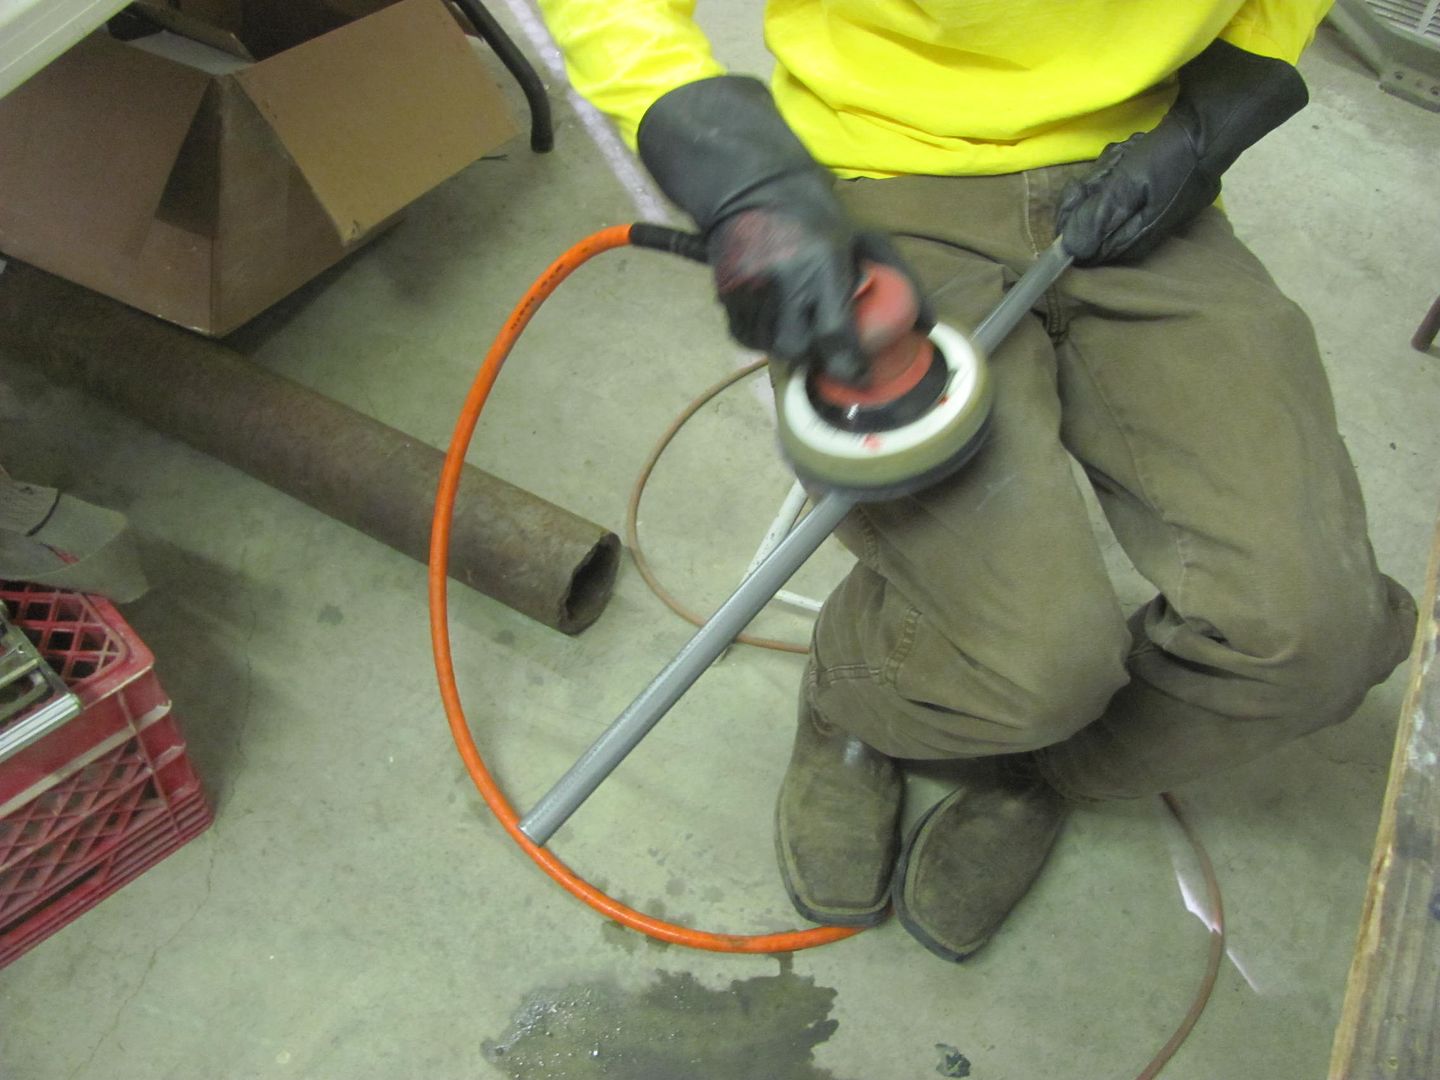
__________________
Robert |
|
|

|
|
|
#693 |
|
Registered User
 Join Date: May 2007
Location: Deale Md
Posts: 4,663
|
Re: 55 Wagon Progress
Now this is the class I want to attend or see the video series.
__________________
James 63 GMC V6 4speed carryall 65 chevy swb bbw V8 auto 68 K20 327/4 speed, buddy buckets 2002 GMC CC Dually Duramax 64 GMC lwb 3/4 V6 4speed SOLD 66 GMC swb bbw buddy buckets SOLD IG duallyjams The only thing that stays the same is constant change! |
|
|

|
|
|
#694 | |
|
*************
 Join Date: Apr 2005
Location: Pensacola, FL
Posts: 17,858
|
Re: 55 Wagon Progress
Quote:
__________________
Rob - https://www.instagram.com/hart_rod_c10 As Iron Sharpens Iron, So One Man Sharpens Another. Proverbs 27:17 FOR SALE: DBW pedal bracket - http://67-72chevytrucks.com/vboard/s...d.php?t=651123 FOR SALE: Hood Brackets http://67-72chevytrucks.com/vboard/s...d.php?t=679945 1987 Silverado SWB - 34.5K original miles http://67-72chevytrucks.com/vboard/s...d.php?t=801834 1969 SuperBurb - http://67-72chevytrucks.com/vboard/s...d.php?t=200387 1968 Farm truck - http://67-72chevytrucks.com/vboard/s...d.php?t=358692 1968 SWB - http://67-72chevytrucks.com/vboard/s...d.php?t=551258 1948 Chevy - http://67-72chevytrucks.com/vboard/s...=122164&page=3 |
|
|
|

|
|
|
#695 |
|
6>8 Plugless........
 Join Date: Sep 2007
Location: Prairie City, Ia
Posts: 17,142
|
Re: 55 Wagon Progress
Nice 35, but really, what an awesome job on those flares! Modifying that hub assy was such a great idea. Continue the great work. Your thread needs an index so people can find your tips easier.
__________________
Ryan 1972 Chevy Longhorn K30 Cheyenne Super, 359 Inline 6 cylinder, Auto Trans, Tilt, Diesel Tach/Vach, Buckets, Rare Rear 4-link and air ride option Build Thread 1972 GMC Sierra Grande Longhorn 4x4 1972 Chevy Cheyenne Super K20 Long Step side tilt, tach, tow hooks, AC, 350 4 speed 1972 C10 Suburban Custom Deluxe 1969 Chevy milk truck 1971 Camaro RS 5.3 BTR STG3 Cam Super T10 1940 Ford 354 Hemi 46RH Ford 9" on air ride huge project Tired of spark plugs? Check this out. |
|
|

|
|
|
#696 |
|
Registered User
Join Date: Apr 2003
Location: Indep, MO
Posts: 5,893
|
Re: 55 Wagon Progress
Great stuff! Love the new wheel.
__________________
Boppa's Old Yeller Truck Build, Old Yeller's New Heart! Project Buzz Bomb Flyin' Low! |
|
|

|
|
|
#697 |
|
Registered User
Join Date: Jan 2013
Location: Leonardtown, MD
Posts: 1,648
|
Re: 55 Wagon Progress
Thanks for the comments!
Sorry for the hiatus, the day job had me travelling, two weeks in UK and two weeks in HI. Got back this past Sunday. Tuesday afternoon we loaded up the wagon and dropped it off for media blasting.. should pick it up this weekend. 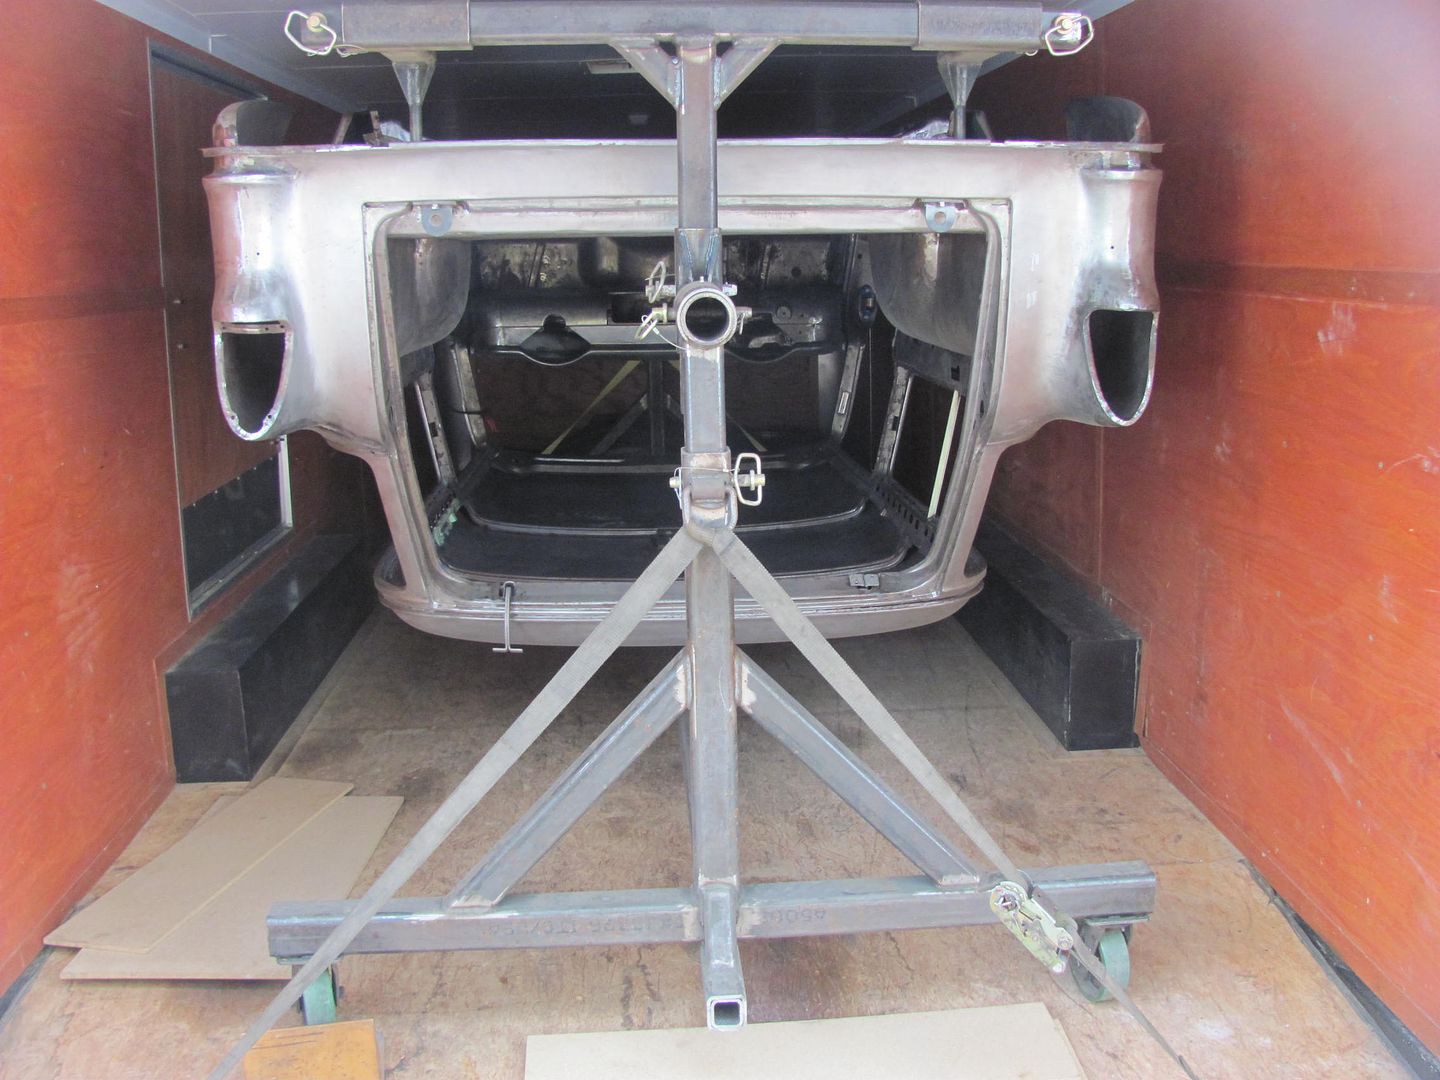 Tonight I worked on getting the Go Kart Slick hub fabricated for the wheeling machine..  I had stopped at a local machine shop and picked up a 3-1/2" diameter slug left over from their water jet. After some cleanup work on the South Bend, and a clearance hole for the 35mm upper shaft on the wheeling machine... 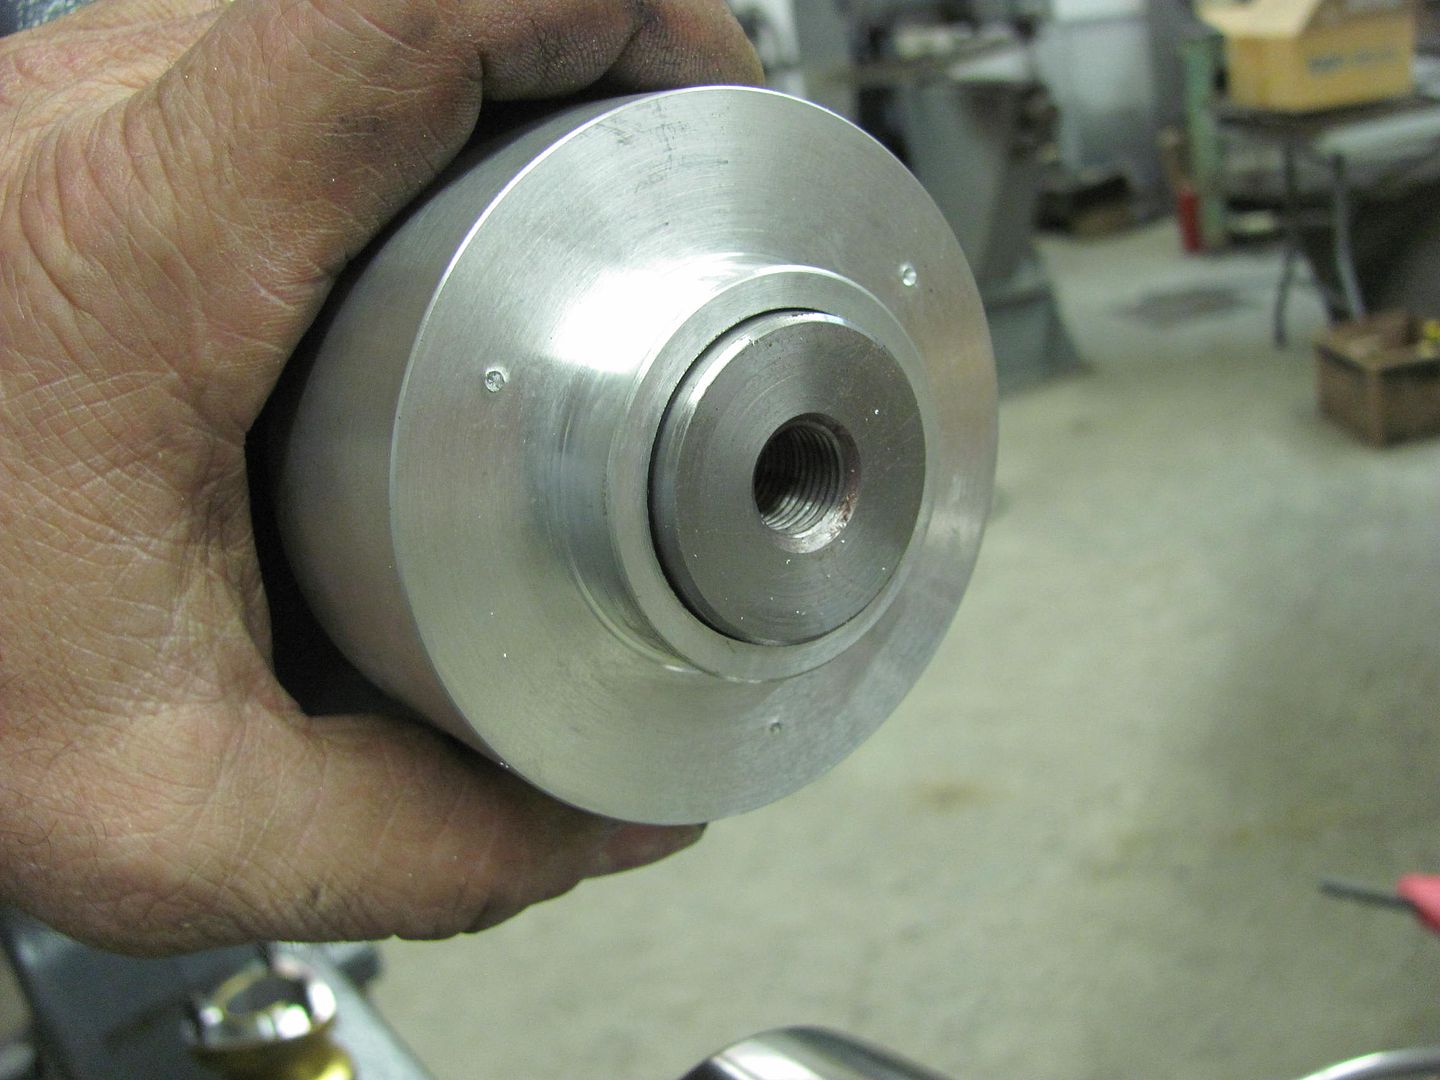 I had found this roller bearing (35mm ID) on ebay, as well as this thrust bearing... 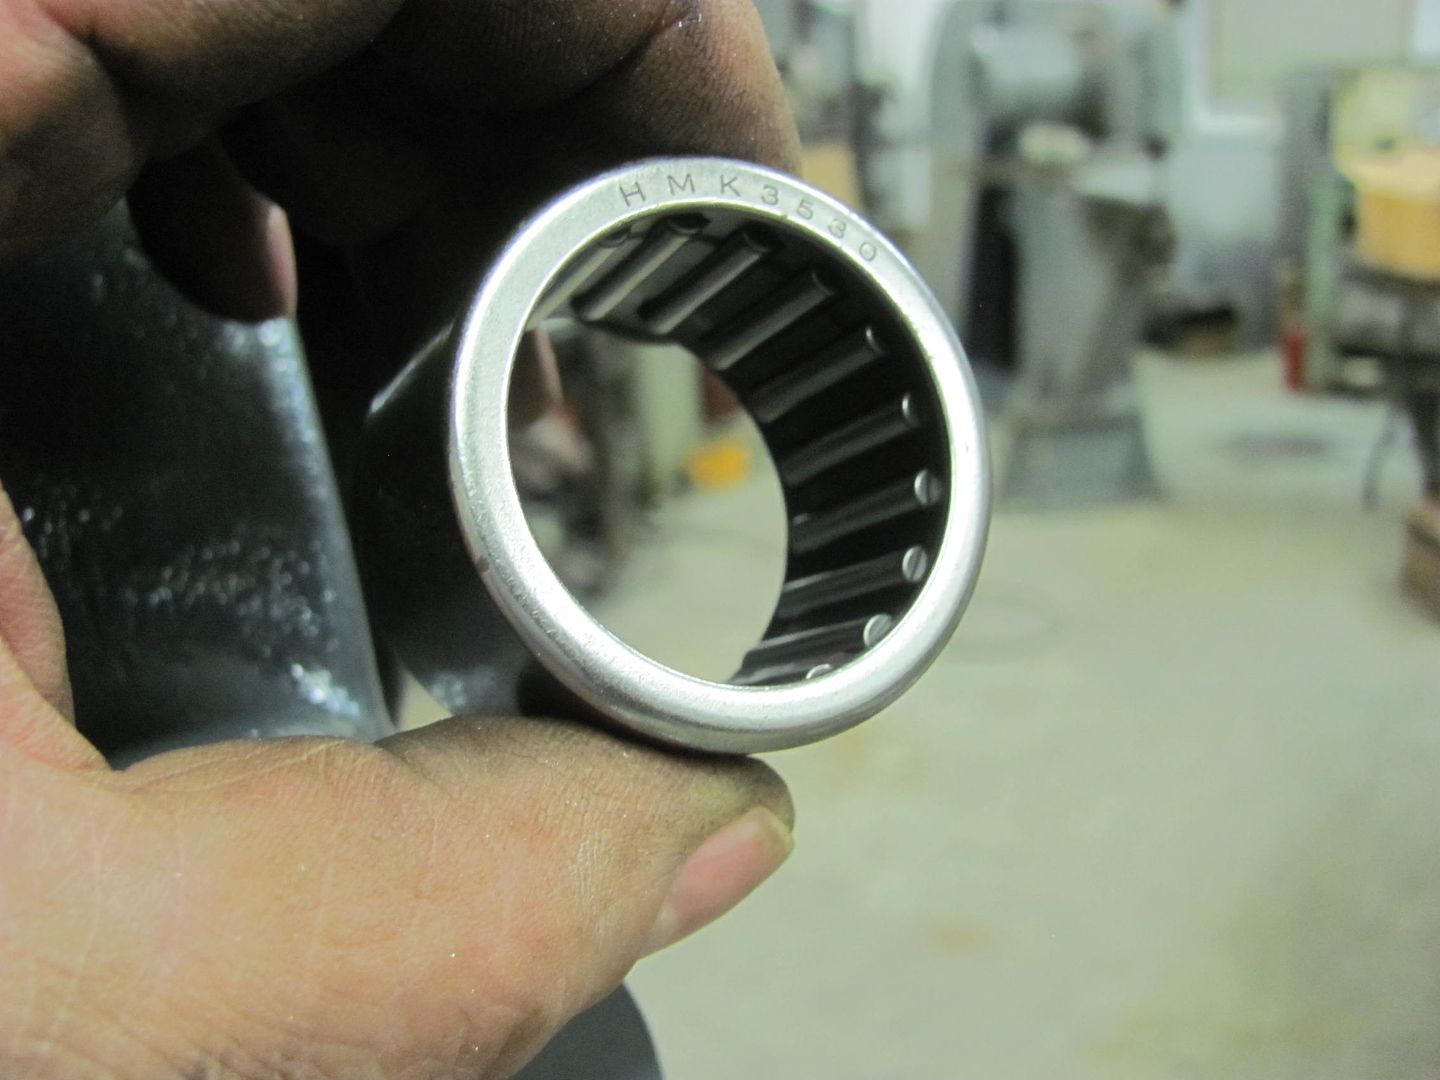 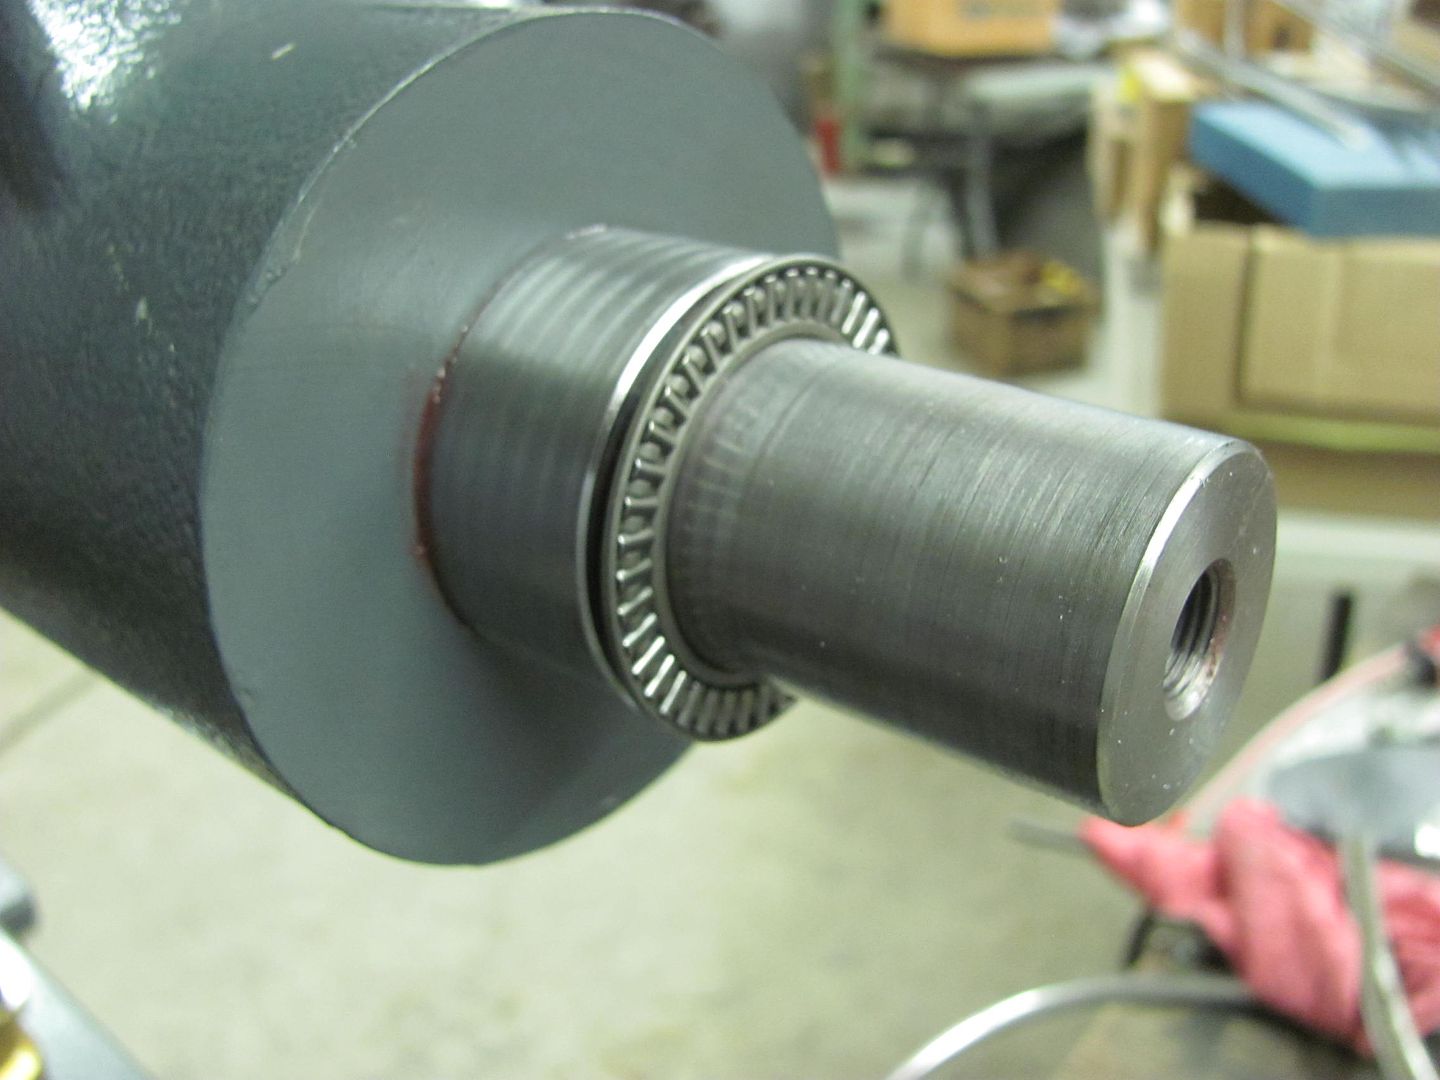 Getting close... 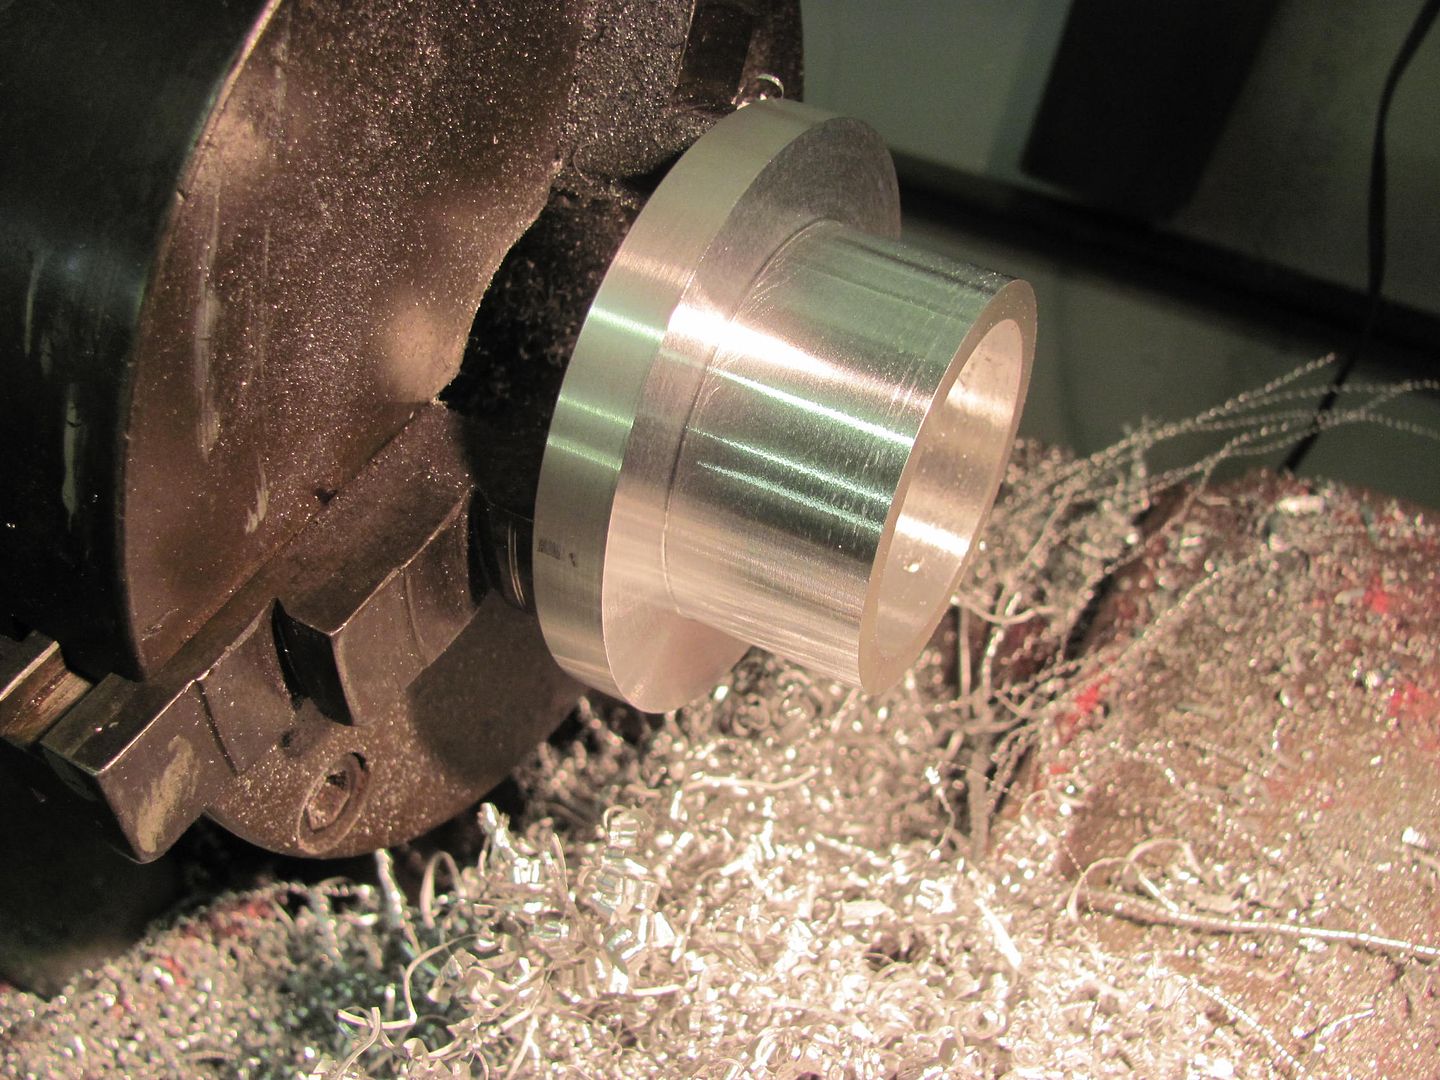 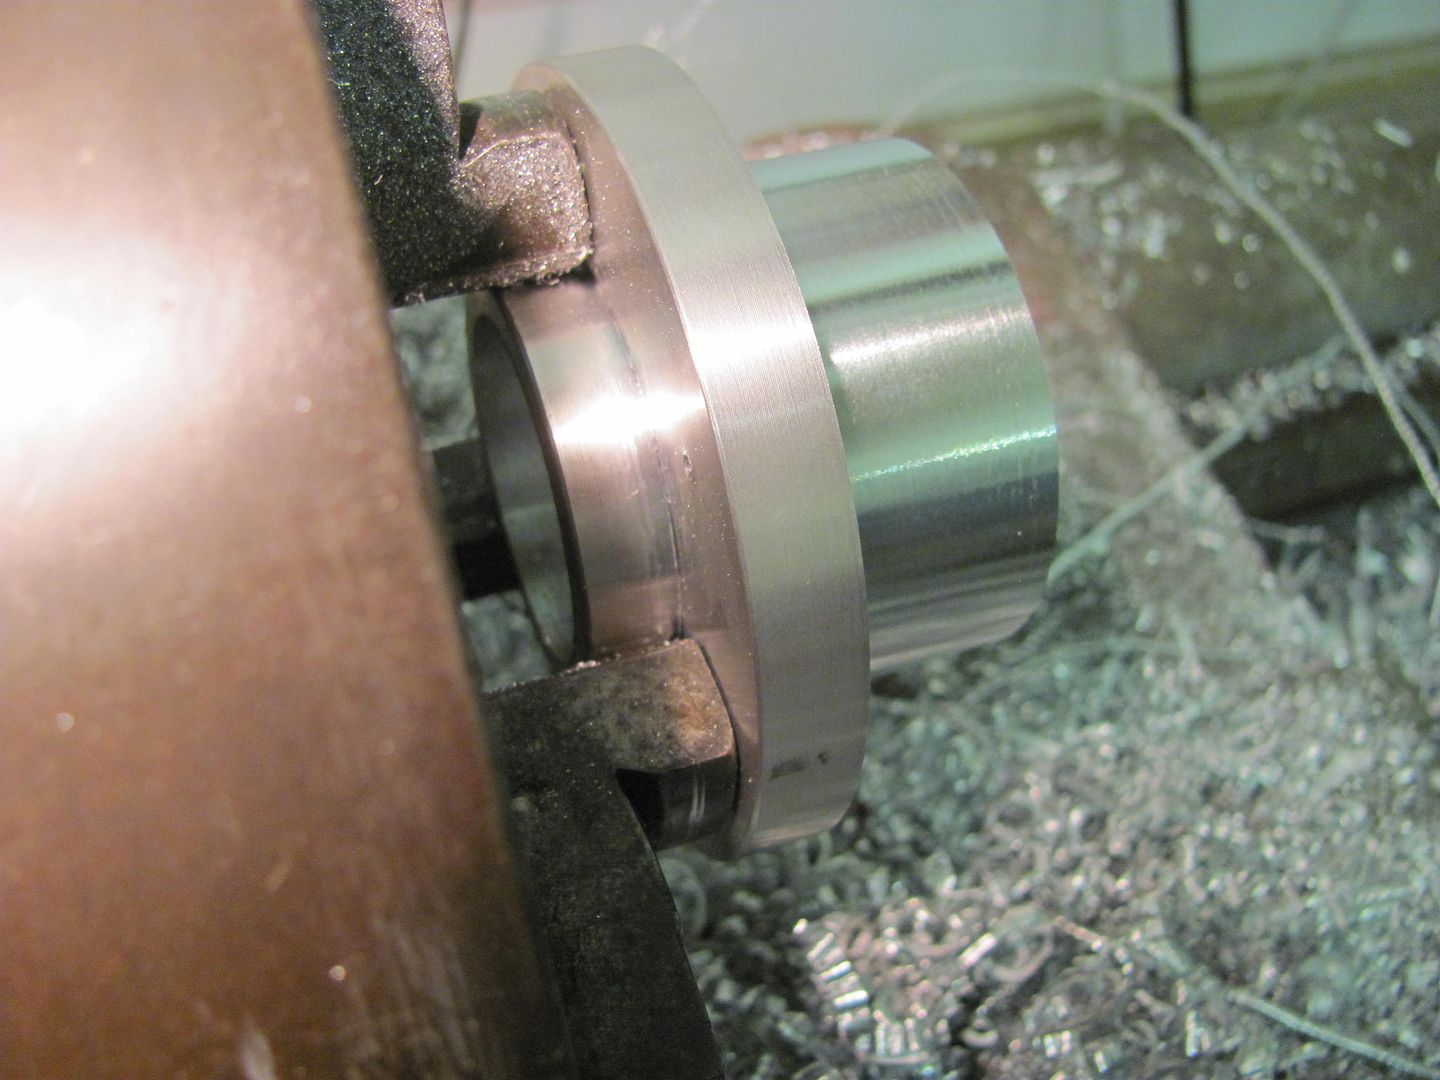 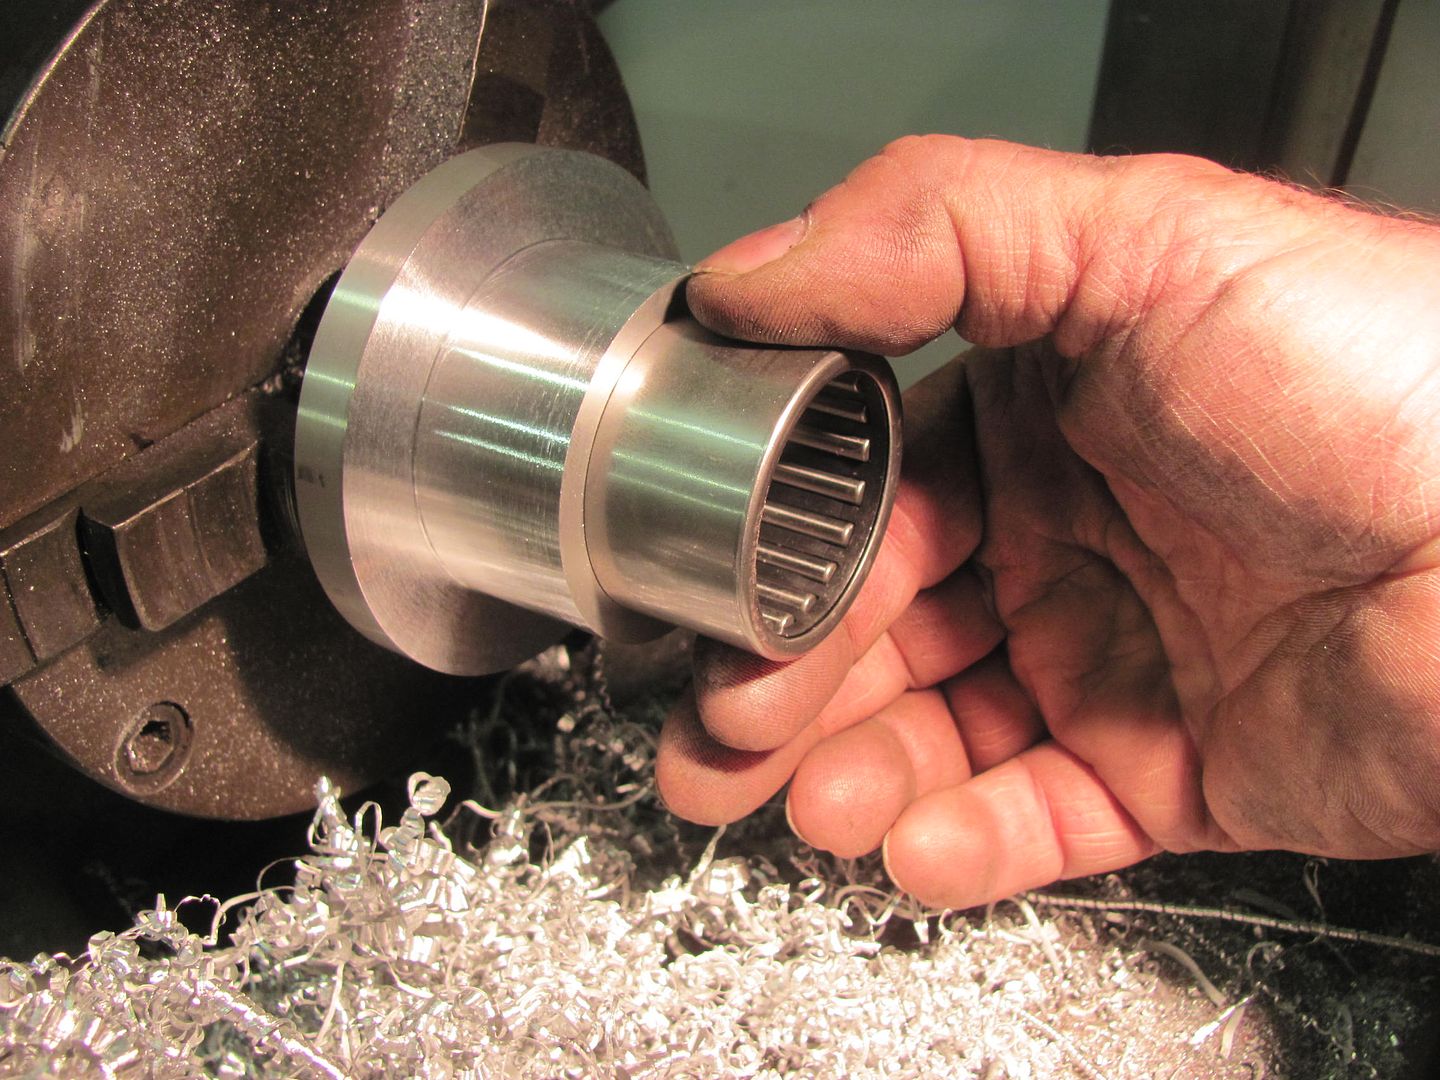 Bearing installed.... 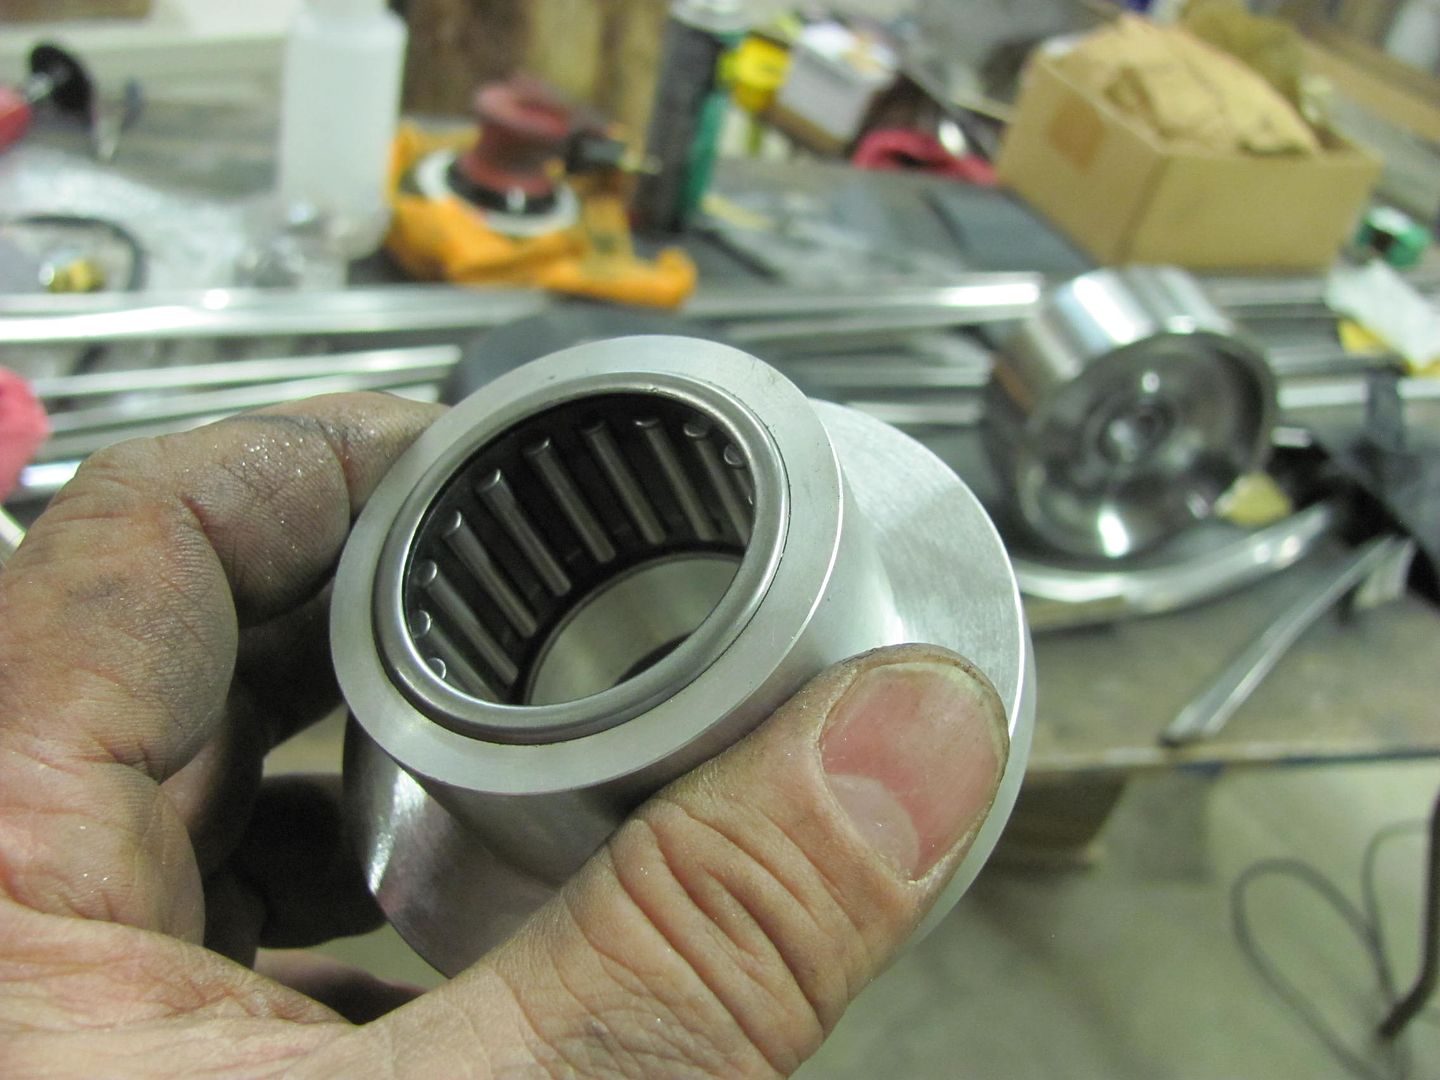 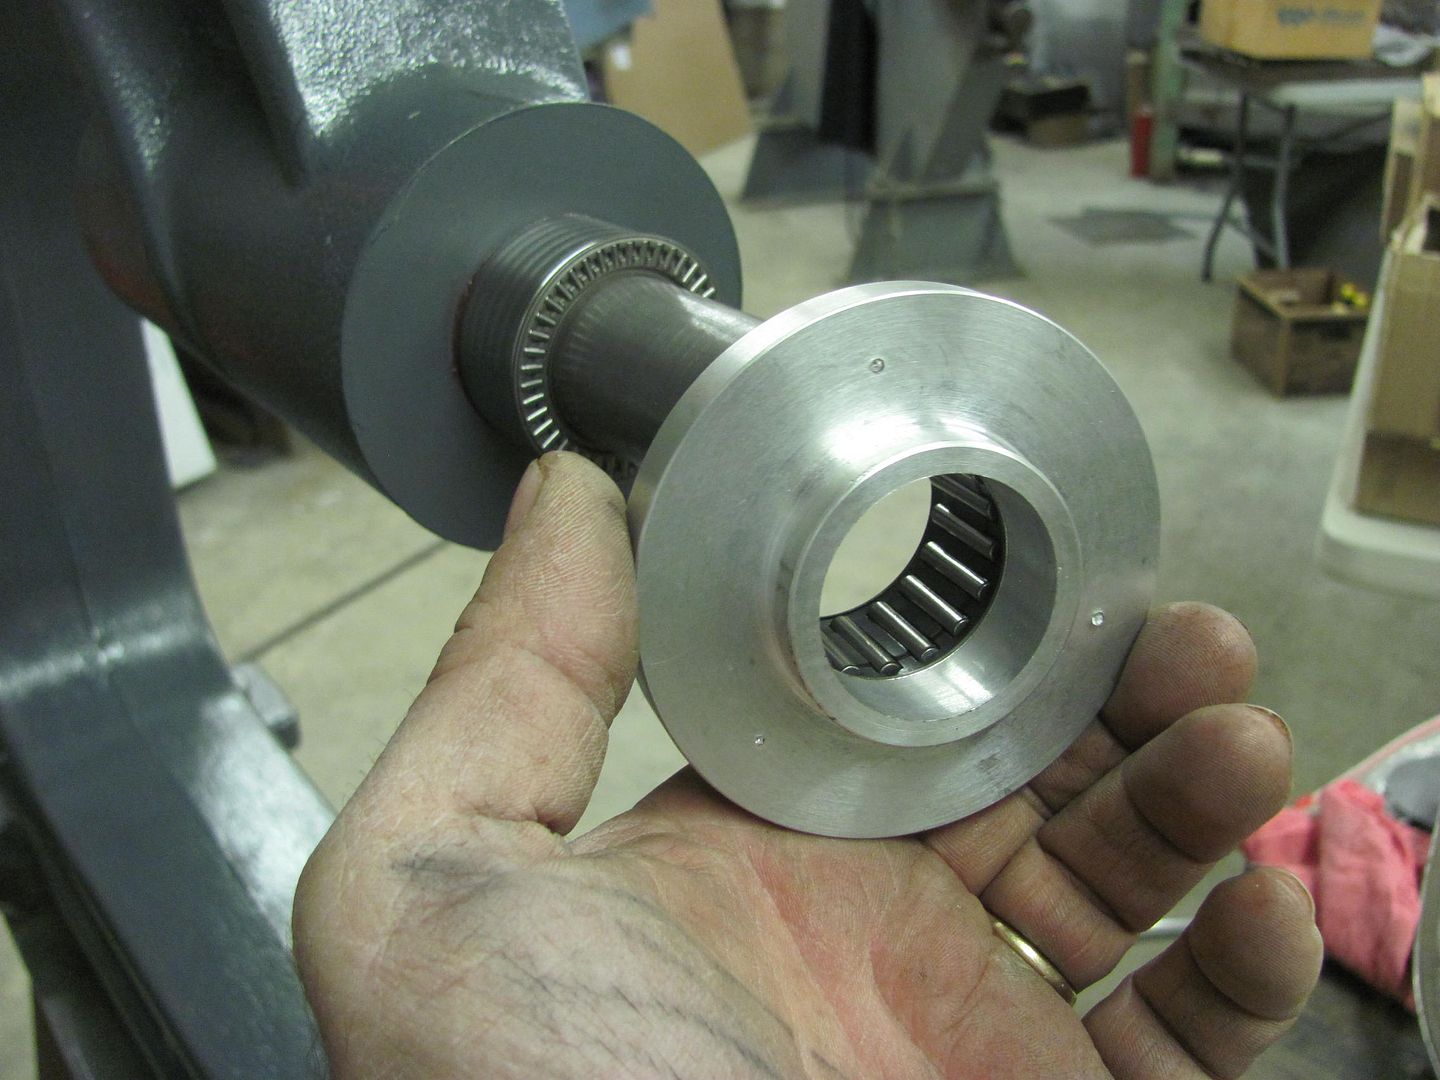 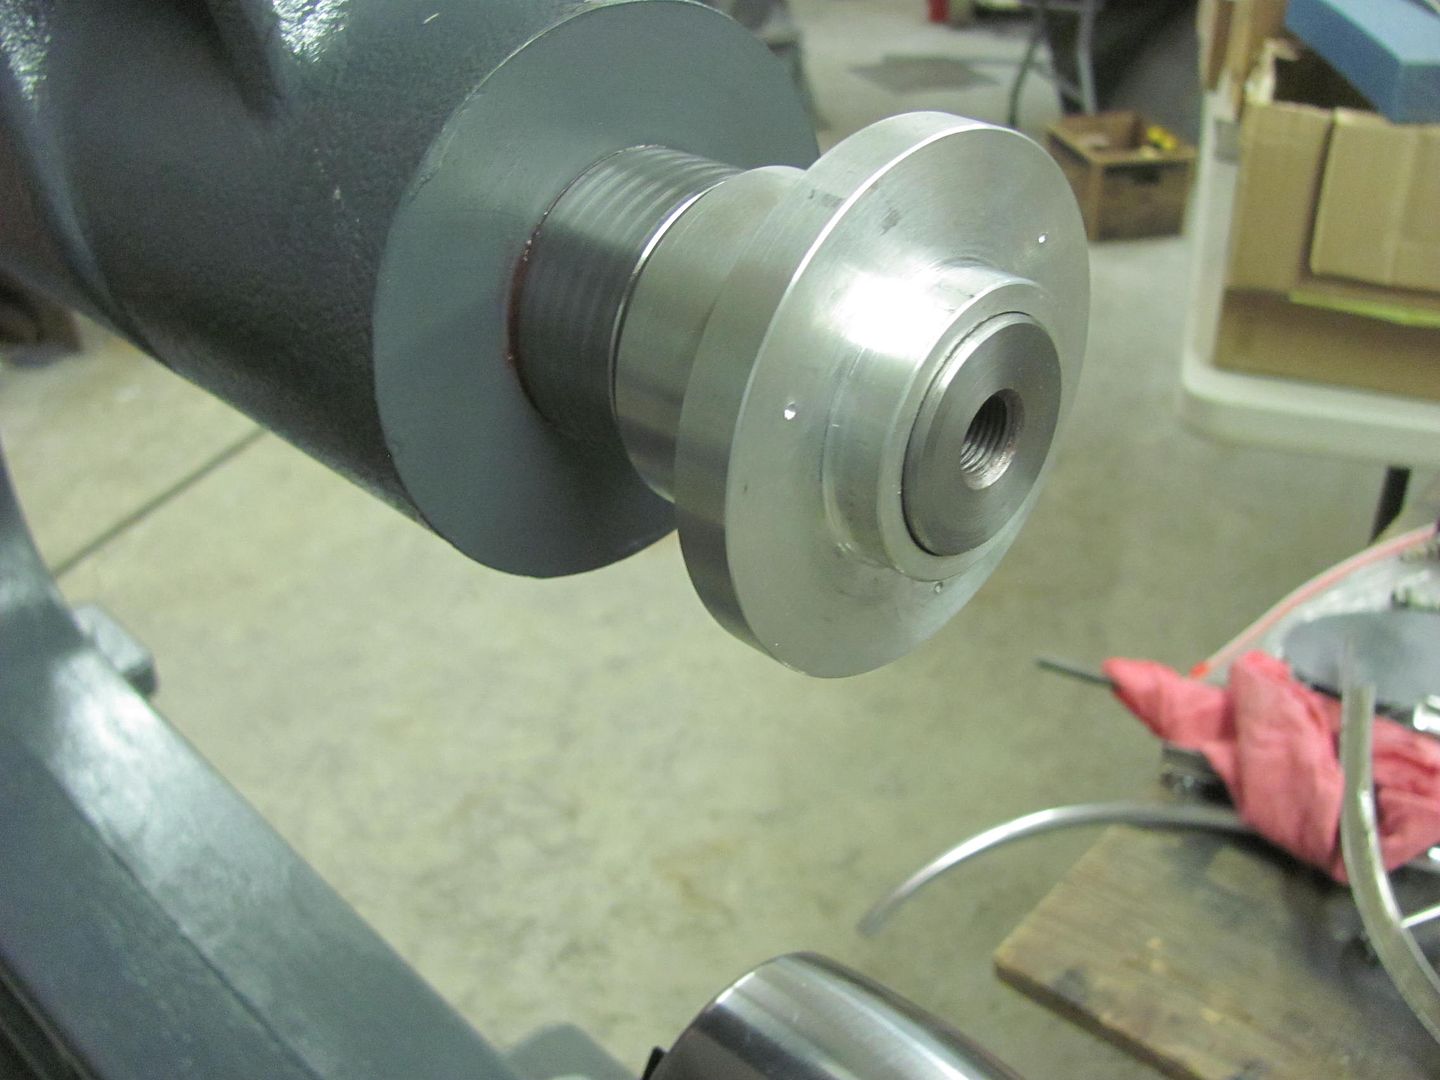 With slick held in place, the alignment looks pretty good... 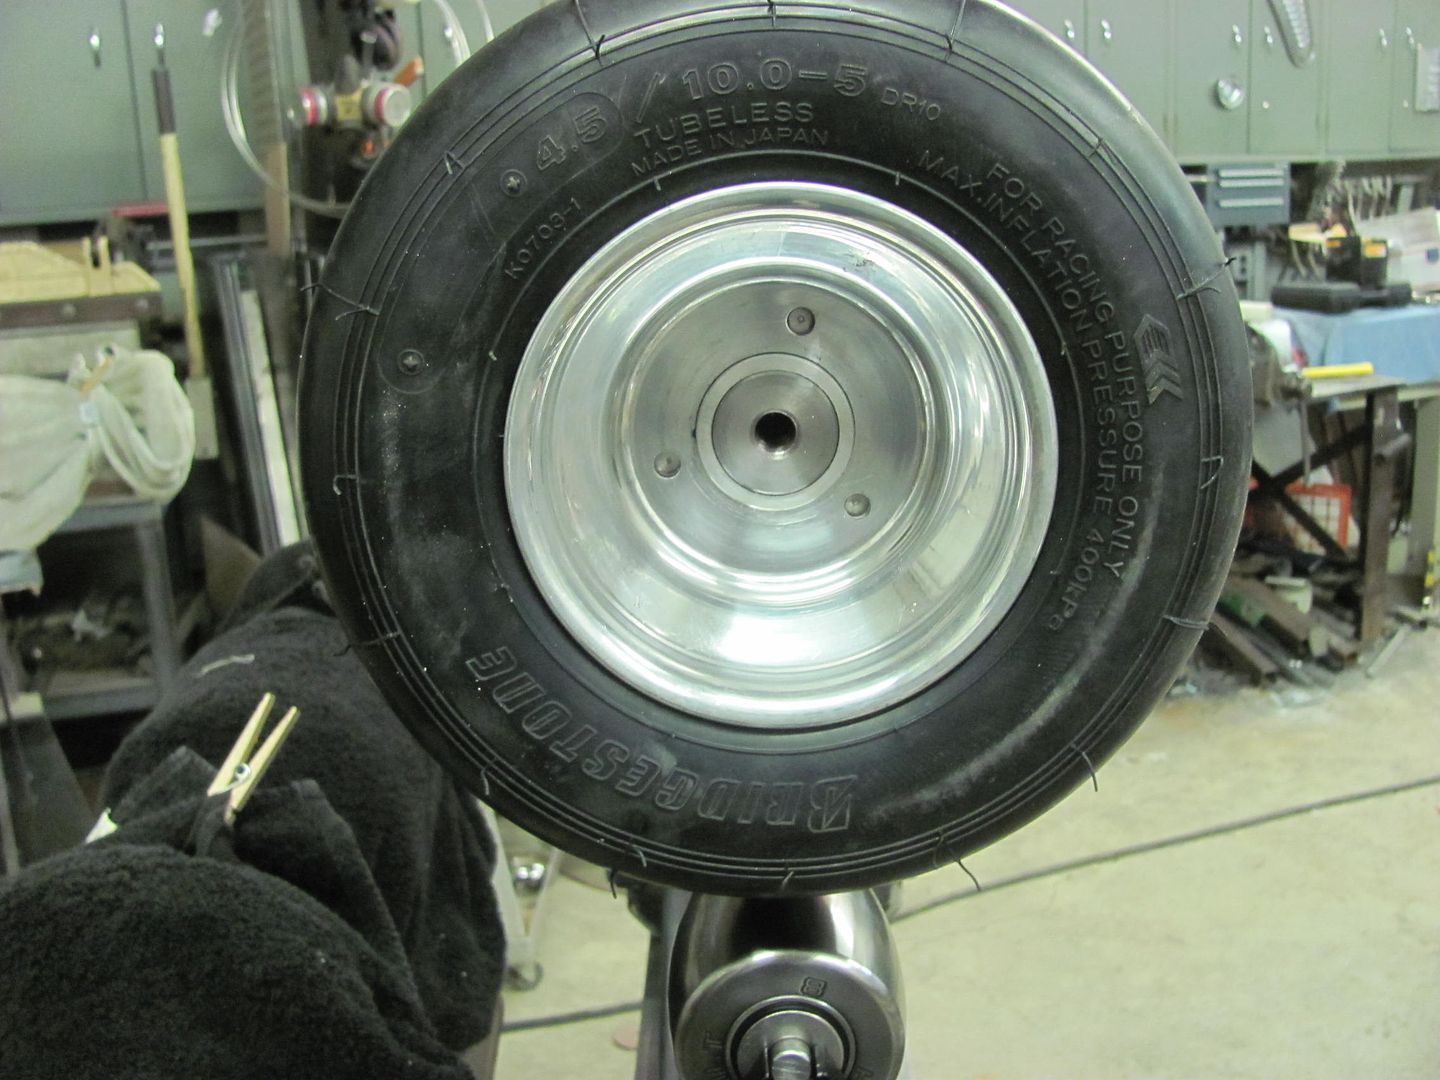 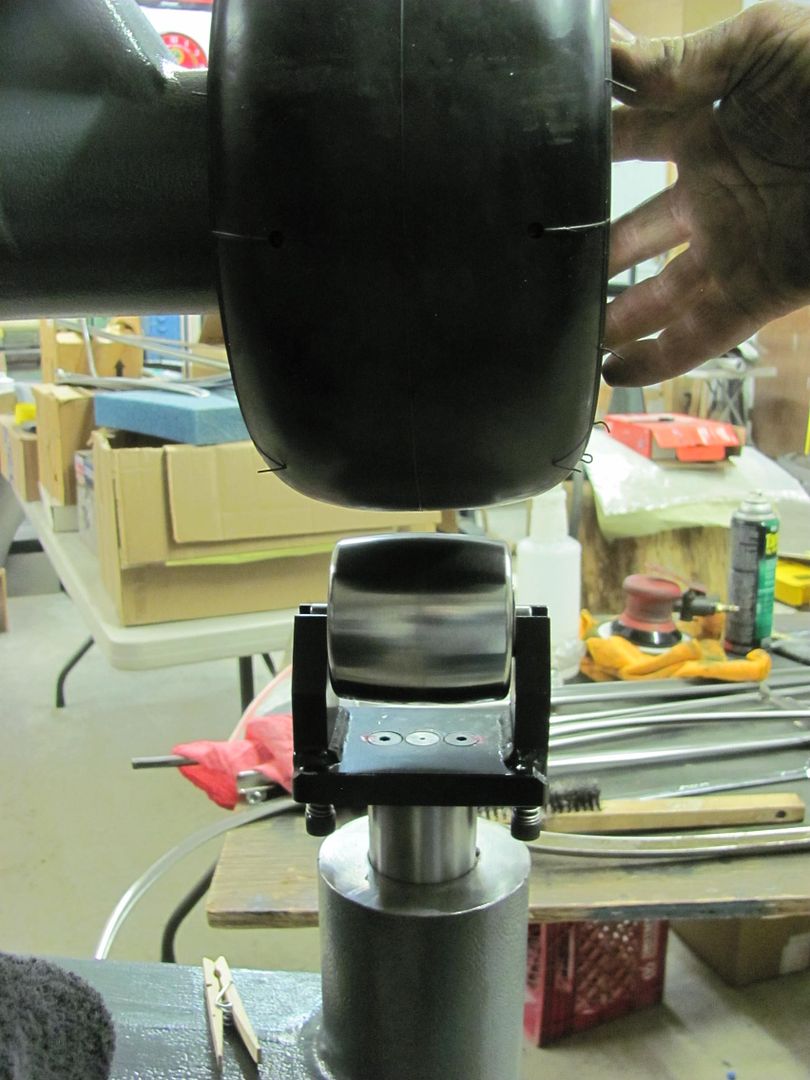 Motion picture version.... https://www.youtube.com/watch?v=HwVhZzGkBCE Still need to drill and tap the three lug holes and install the outer thrust bearing.. and then we can get working on the re-skinning of the glove box door..
__________________
Robert |
|
|

|
|
|
#698 |
|
Registered User
 Join Date: May 2007
Location: Deale Md
Posts: 4,663
|
Re: 55 Wagon Progress
Where do you get your media blasting done ?
__________________
James 63 GMC V6 4speed carryall 65 chevy swb bbw V8 auto 68 K20 327/4 speed, buddy buckets 2002 GMC CC Dually Duramax 64 GMC lwb 3/4 V6 4speed SOLD 66 GMC swb bbw buddy buckets SOLD IG duallyjams The only thing that stays the same is constant change! |
|
|

|
|
|
#699 |
|
Registered User
Join Date: Jun 2006
Location: Indiana
Posts: 4,859
|
Re: 55 Wagon Progress
It looks like the wagon is being prepped for Australia.
 I would have to be very careful if I were in your shop. Apparently drooling all over the equipment is considered bad form. 
__________________
'70 GMC C1500 LWB Power disc brakes. WooHoo! Posi 6 Lug Dana 60 |
|
|

|
|
|
#700 |
|
Registered User
Join Date: Jan 2013
Location: Leonardtown, MD
Posts: 1,648
|
Re: 55 Wagon Progress
Yeah, that's the only way it fits in the trailer when on the rotisserie. The shop is an absolute mess right now, it could use a spit shine..
 James, we had the frame done at a local machine shop, and when we went back to get the body done his air dryer system had broken. This was the first part of January, and they just fixed it last week. So I got tired of waiting, before I left for the UK trip I had found another place and made a reservation. Will pass on the details / results once I get the car back in a couple days and get to see how it turns out.
__________________
Robert |
|
|

|
 |
| Bookmarks |
| Thread Tools | |
| Display Modes | |
|
|