
 |
|
|
|
|
#1 |
|
Registered User
Join Date: Aug 2011
Location: phoenix az
Posts: 723
|
Re: my 57 revitalized
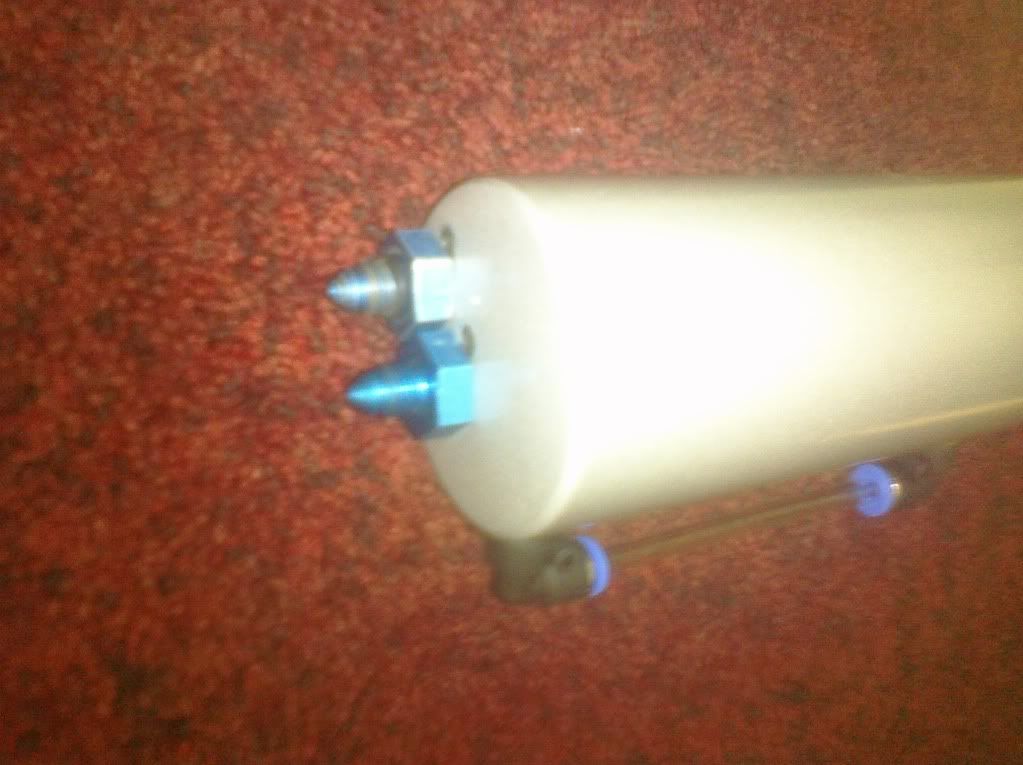
Ok, here's the cheapie oil recovery can. I turned it upside down and threaded it for A/N fittings, and now it is my brake fluid reservoir.
|
|
|

|
|
|
#2 |
|
Registered User
Join Date: Aug 2011
Location: phoenix az
Posts: 723
|
Re: my 57 revitalized
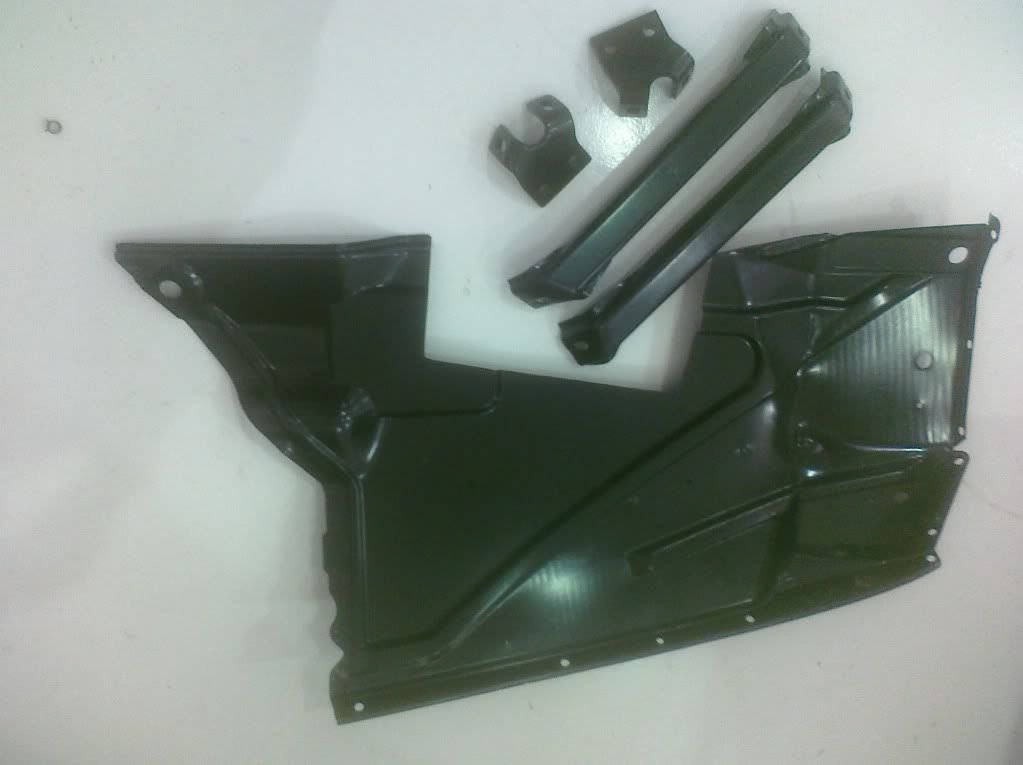
OK, this is the latest in what I had powdercoated. I ended up with an extra left hand inner fender panel that was cut out like this one. It's powdercoated as well.
|
|
|

|
|
|
#3 |
|
Registered User
Join Date: Aug 2011
Location: phoenix az
Posts: 723
|
Re: my 57 revitalized
On to the brakes. Here's the master cylinder and hydroboost.
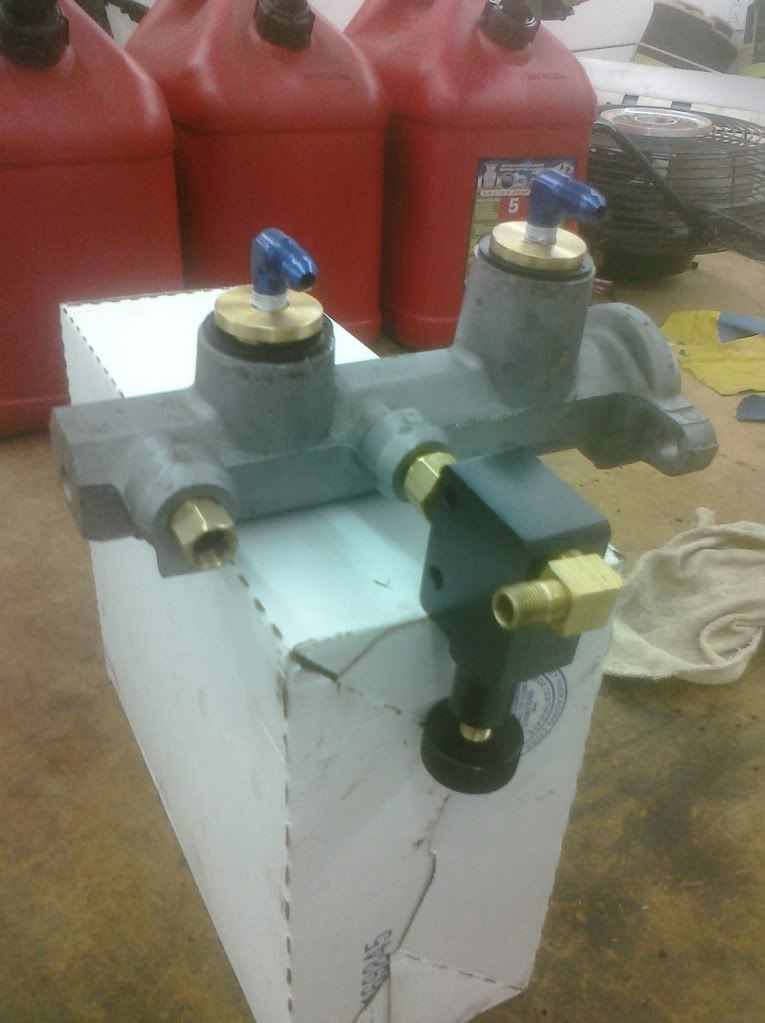 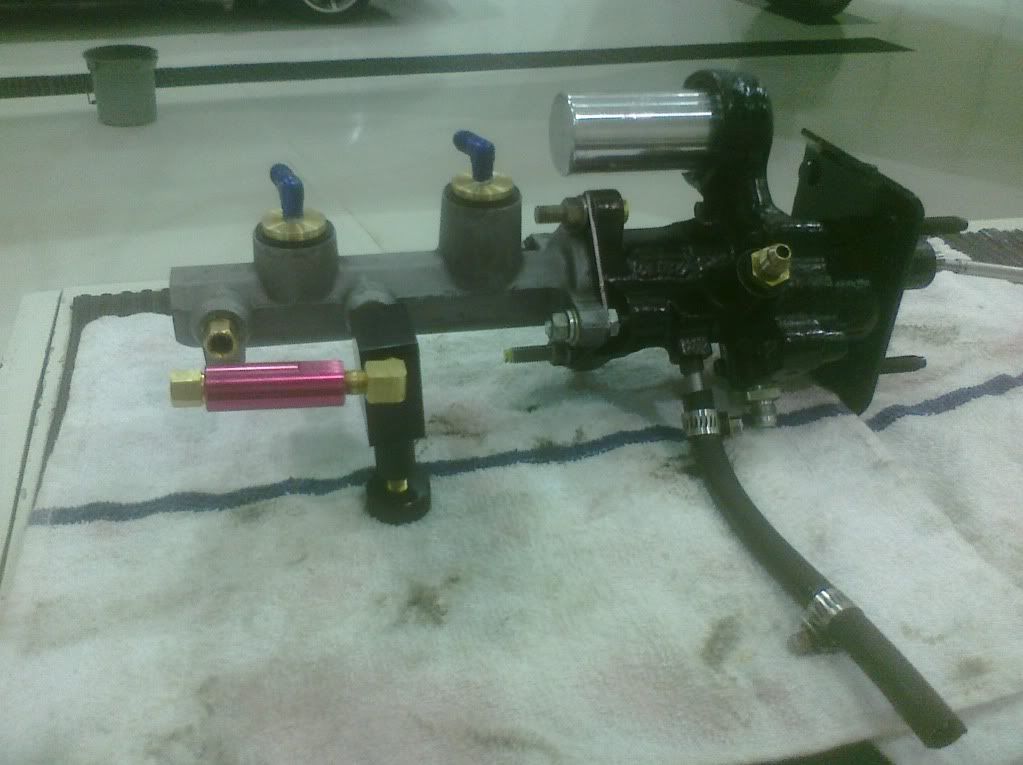 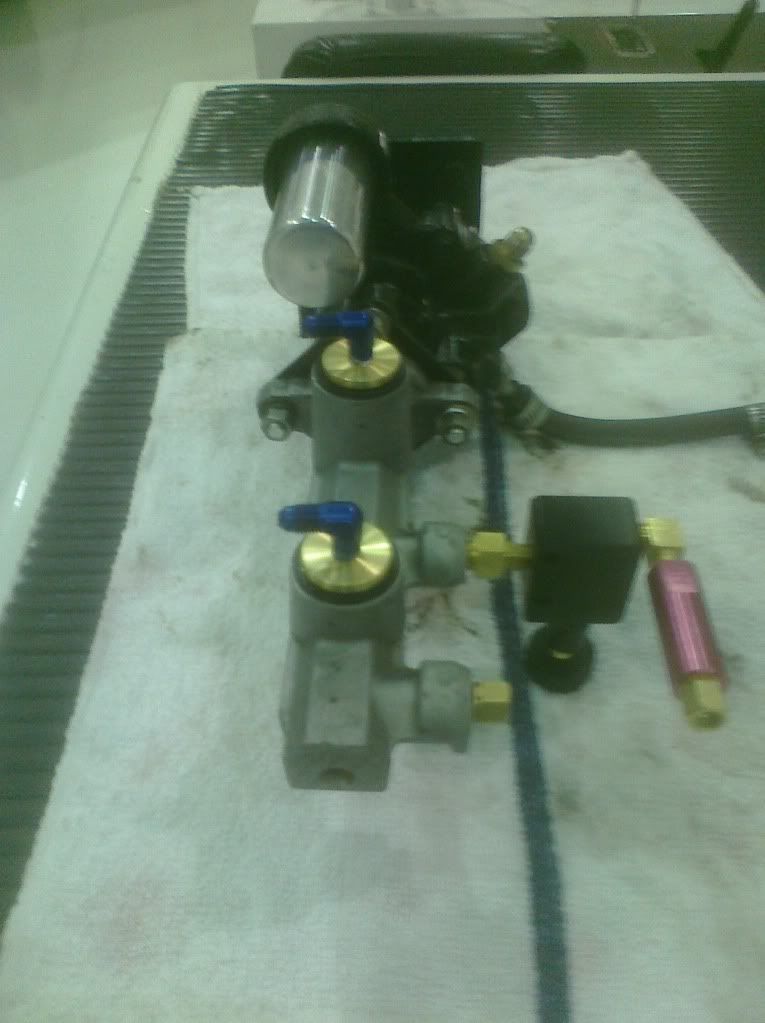 Look closely at the middle pic. see the 4 corner adapter I made that sits between the master and the booster. The pin had to be longer by the thickness of the spacer. On the top of the master cyl, there are 2 brass fittings that a friend made me. These will fill the master. Here is a pic of the adapters before installation. 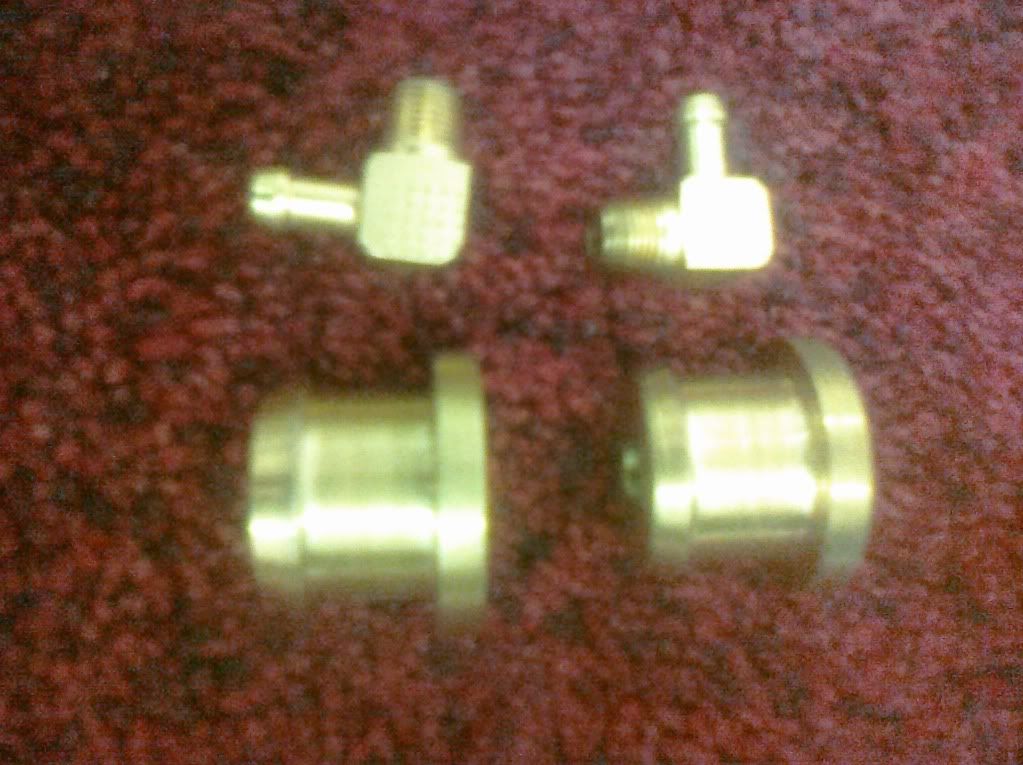 One has a small hole in the bottom, and one has a large hole in the bottom. the large hole is for the green plastic valve in the bottom of the master. I bought a new master cyl. reservoir because they don't sell the round black rubber seals by themselves. I found one on Ebay for $10. It came with new seals. I ended up not using the brass elbows because they need rubber hose. I don't want to ever change the hoses, so I went with aircraft fittings and aluminum tubing. Last edited by Coupeguy2001; 10-11-2015 at 07:46 PM. |
|
|

|
|
|
#4 |
|
A320 Pilot/USAF Retired
Join Date: Mar 2009
Location: Charleston, SC
Posts: 2,629
|
Re: my 57 revitalized
Wow, you are making some great progress. I think the new rubber will fill the wheel wells nicely!
__________________
JJ My 1957 build: http://67-72chevytrucks.com/vboard/s...d.php?t=334552 http://www.trifive.com/forums/showthread.php?t=22037 Instagram - Chuckdriver57 |
|
|

|
|
|
#5 |
|
Registered User
Join Date: Aug 2011
Location: phoenix az
Posts: 723
|
Re: my 57 revitalized
My goal is to drive it by Friday. Don't know if it's gonna happen, I still have a long laundry list.
The biggie is the remake of the trans mount. the guy that will help me get it done is a talker. If I can get him to just do the metal work and not talk, I could get the trans mount done in an hour. That would free up my day to get more done. but it will take probably 4 hours. Last edited by Coupeguy2001; 11-14-2011 at 12:55 AM. |
|
|

|
|
|
#6 |
|
Registered User
Join Date: Aug 2007
Location: Corona, California
Posts: 7,998
|
Re: my 57 revitalized
Looking good Coupeguy.
Kim |
|
|

|
|
|
#7 |
|
Registered User
Join Date: Aug 2011
Location: phoenix az
Posts: 723
|
Re: my 57 revitalized
Thanks guys
|
|
|

|
|
|
#8 |
|
Senior Member
 Join Date: Mar 2011
Location: West Plains, Missouri
Posts: 7,559
|
Re: my 57 revitalized
Moving right along.....Jim
__________________
my build thread: http://67-72chevytrucks.com/vboard/s...d.php?t=459839 Jimbo's long bed step build:http://67-72chevytrucks.com/vboard/s...t=464626<br /> |
|
|

|
|
|
#9 |
|
Registered User
Join Date: Aug 2011
Location: phoenix az
Posts: 723
|
Re: my 57 revitalized
Remember, I told you I sawed the bottom half off of my master cylinder, and reinstalled it as a pedal support. Here are a couple pics of that.
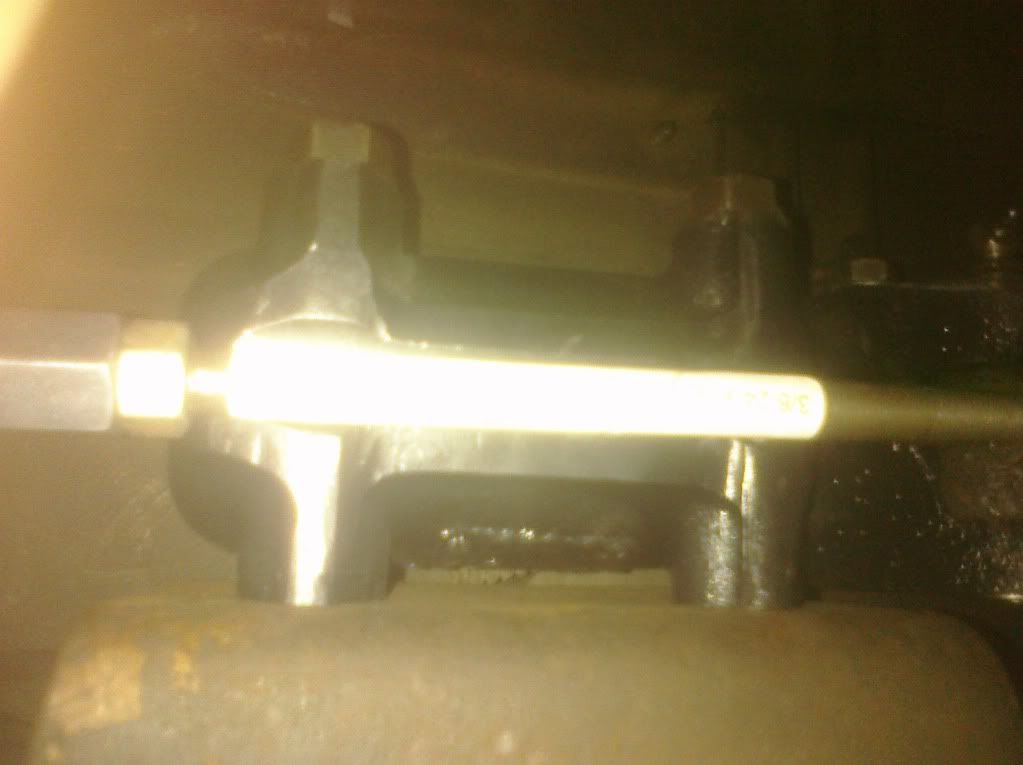 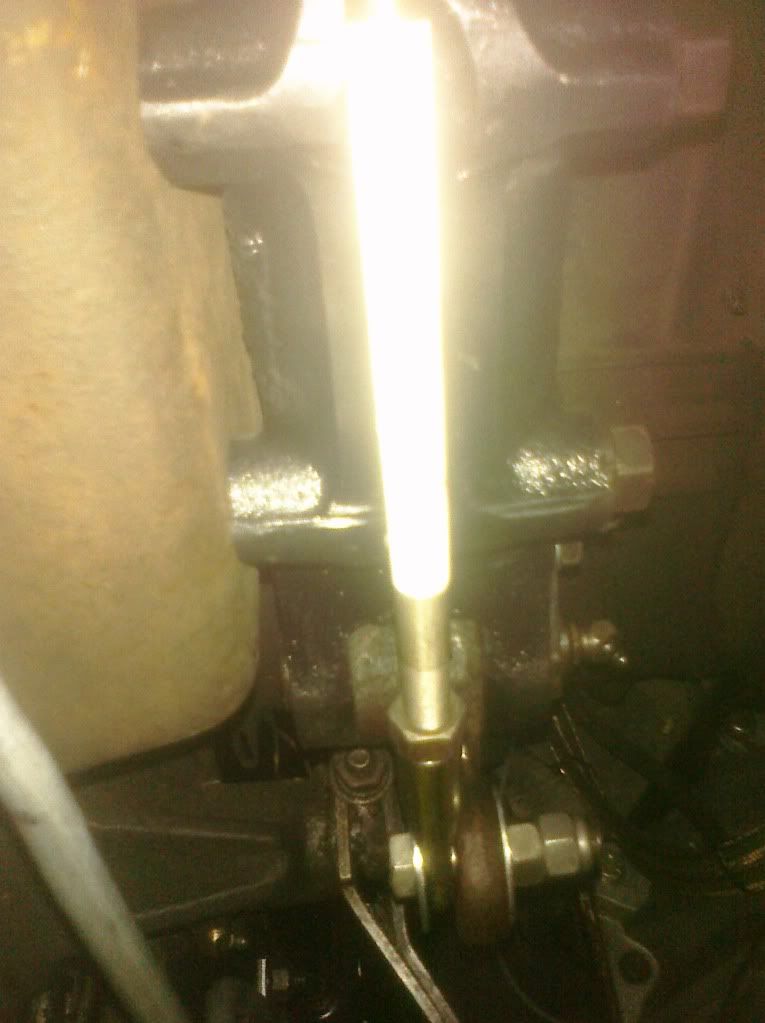 The rebuilt hydroboost came with an eye that screwed onto a threaded rod that actuated the hydroboost. I bolted that onto the factory pedal master cyl. attach point, then tipped it back to mark the length, and sawed the threaded rod at the appropriate length. THen I got a threaded connctor that was tapped to 3/8-20, and then threaded the hydroboost rod to the same thread pitch. I double nutted the bolt and the second nut is a lock nut. THe thing that looks like a cast iron H is the top half of the original master cylinder. Right above the rod is a groove that is cast into the reservoir floor that allows the clearance for the rod. Nobody would ever know that, except I sawed it in half. Originally, I was going to grind a groove there, but it was already there. other than about 15 minutes of sawing, the pedal mount was free. Sorry for the glare, there is a white sticker on the rod that just reflects a lot of the flash from the camera. Oh, did I mention it was free?...........sorry, can't help myself. Last edited by Coupeguy2001; 11-15-2011 at 12:20 AM. |
|
|

|
|
|
#10 |
|
Registered User
Join Date: Aug 2011
Location: phoenix az
Posts: 723
|
Re: my 57 revitalized
Ok, I have been closing up loose ends. I needed a master cylinder reservoir, so the cheapie oil catch can is turned into a reservoir by turning it upside down, and plugging the screw holes by rethreading them and putting in two allen screws with a product called the "right stuff". I am going on faith here, as I did not leak check this combo. I rethreaded the large holes after reaming them a little with the proper drill for -4 A/N fittings. Then I mounted a plate with spacers and longer sheet metal screws in the 3 holes that the original voltage regulator was mounted to. Then I bought a polished 2 1/2" stainless muffler clamp, and mounted the can to the plate. Then I flared some 1/4" aluminum tubing, added some ferrules and nuts, and ran the tubing down to the master cylinder. Again, nuts, ferrules and flaring. One tube was short, so since I had some time invested in getting the bends right, I spliced it with an A/N union.
There is a step to cab floor brace under the cab, and I drilled a 3/16" hole in it and used a "clip nut" and added some clamps halfway from the clamps under the reservoir to the master cyl. 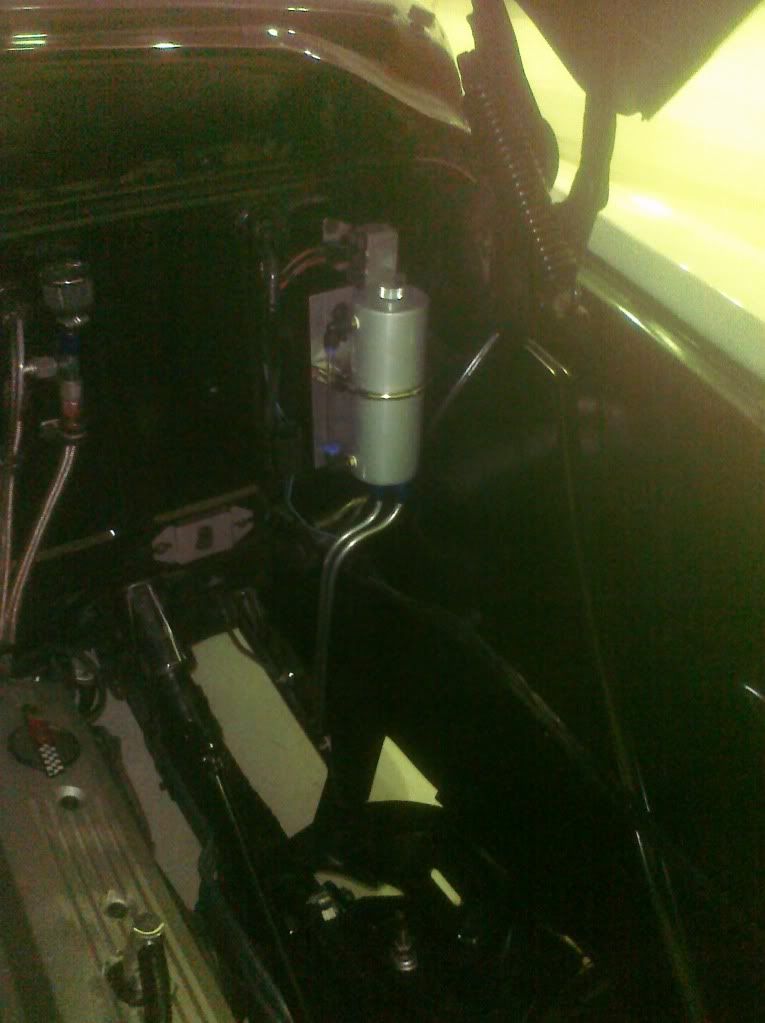 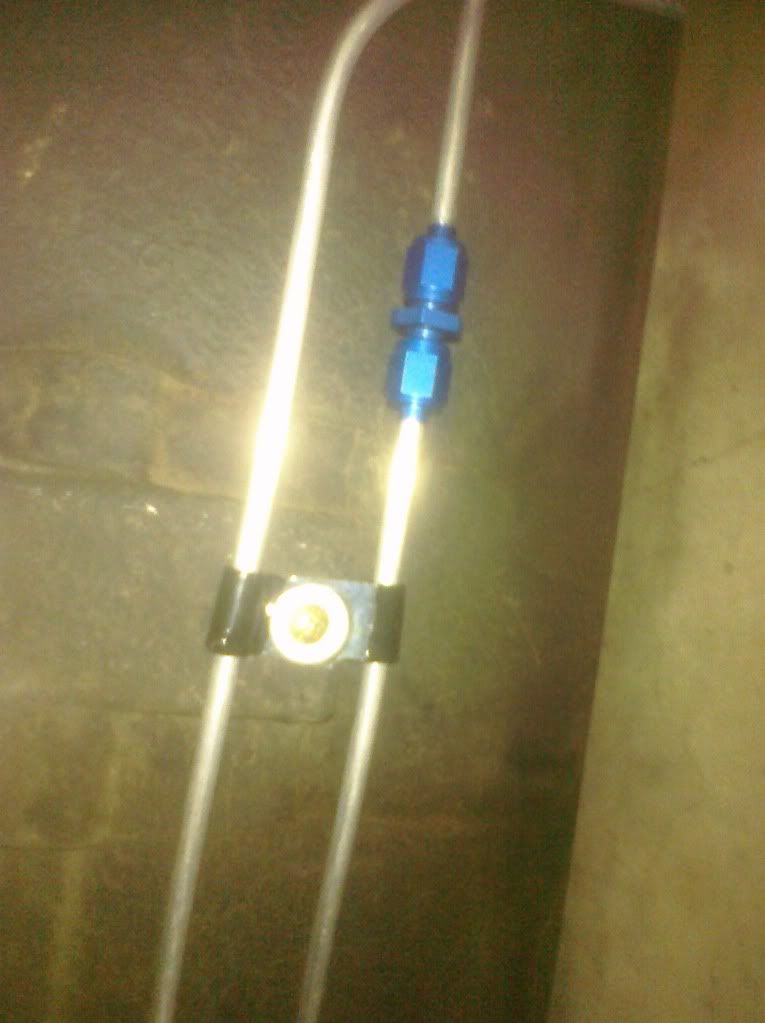
|
|
|

|
|
|
#11 |
|
Registered User
Join Date: Aug 2011
Location: phoenix az
Posts: 723
|
Re: my 57 revitalized
Using the 4 speed overdrive out of the 87 corvette entails using 2 vents. one for the gearbox, and one for the overdrive.
In the past, I have had problems with trying to add a fluid filter for the overdrive with the high ambient temperatures in Phoenix (115-120 degrees) and the filter slowed the fluid flow through the cooler. I ended up removing the filter, and just keeping the cooler. I still have to put the vents as high as possible, so I got a K&N vent filter, and mounted it on the firewall. I would like to have a clean firewall, but that is just too much work at this stage. I just gotta get it running again......... Here is the vent for the trans. It is high enough that I think the fluids will not inter-mix, with a fluid change, and going to a synthetic trans fluid mixed with B&M trans fluid, the viscosity seems less than just straight trans fluid., so the fluid should cool, not expand, and keep the fluids out of the hoses. 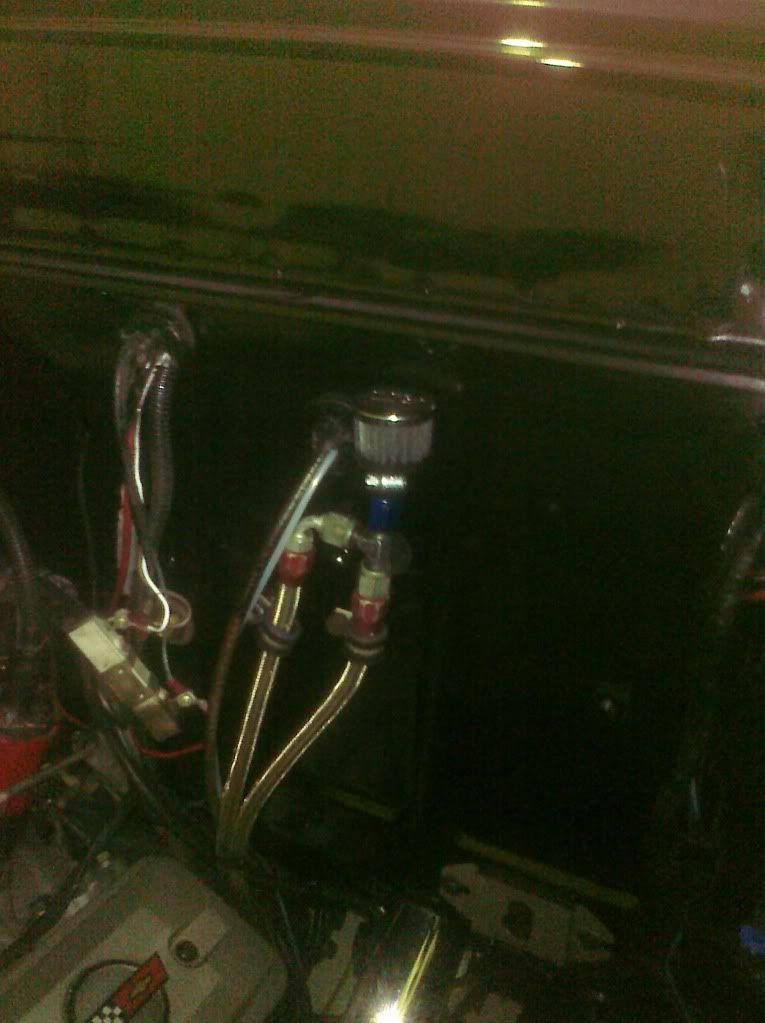 Now I have to mount the ignition resistor someplace else. It is dangling, waiting for it's new spot. |
|
|

|
|
|
#12 |
|
Registered User
Join Date: Aug 2011
Location: phoenix az
Posts: 723
|
Re: my 57 revitalized
I mounted the fan to the radiator. I used plain 1" steel angle, and rounded the edges. I riveted elastic stop platenuts to 3/8" wide 1/8" thick, 3" long pieces of aluminum, and slipped them in between the radiator core and the shell. That way, the small footprint of the platenuts or regular nuts is spead out over 3 ", and hopefully, the fan won't crack the radiator shell.
Here's how it looks. 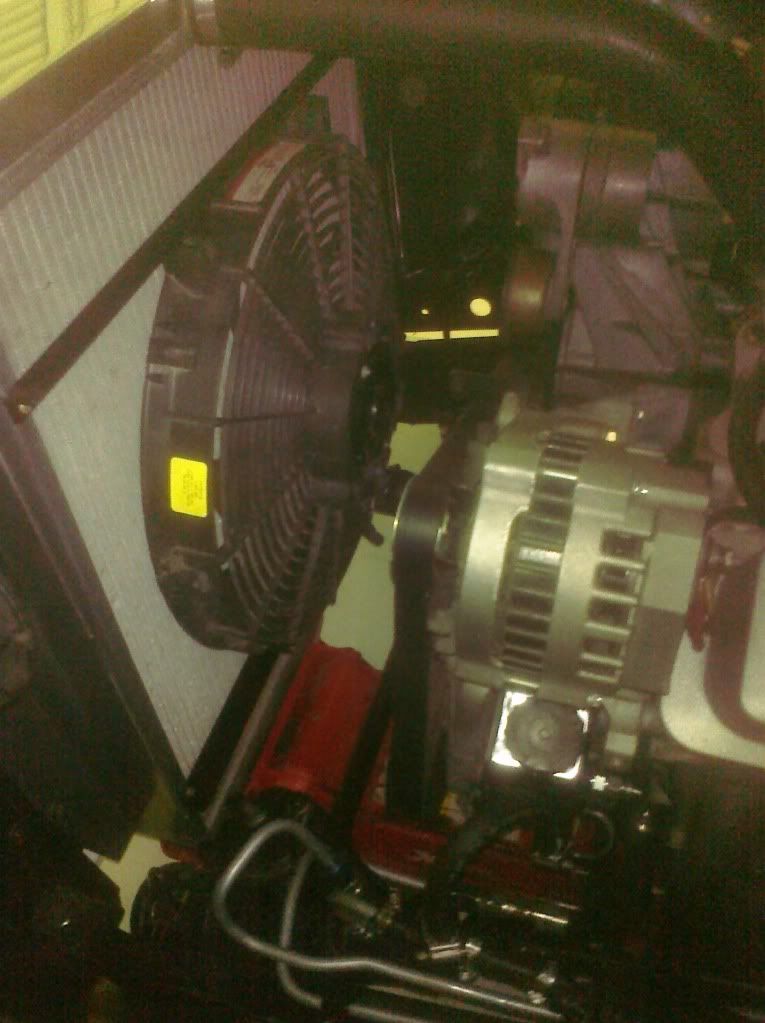 if I need to add some sort of shroud, I can add aluminum to the top and the sides, depending on the temps. I used an oil cooler prior to this makeover, and I eliminated it for now. I still have the cooler, and may attach it to the frame rails between the front bumper and the crossmember. I still am cognisant of the cooling issue, and am using a 89 corvette water/oil cooler. This cooler is sandwiched between the oil filter and the block. oil goes through a core to the filter, and the core looks like a miniature radiator. That way, the water heats up quickly due to the thermostat, imparting heat to the oil for a fast warmup, and then when the oil is hot, it gives up some of the oil heat to the water as the oil passes through it and the coolant is flowing through the little "radiator"./ If you notice the pic of the right side of the engine, you might notice there is a heater hose coming from where the mechanical fuel pump usually sits. The water line for the water-oil cooler snakes around the pan and comes up there. The 57 heater is 3/4", and the cooler tube is 5'8", so there is an adapter under the A/C compressor. Here is the adapter, It just looks like I spliced the heater hose. 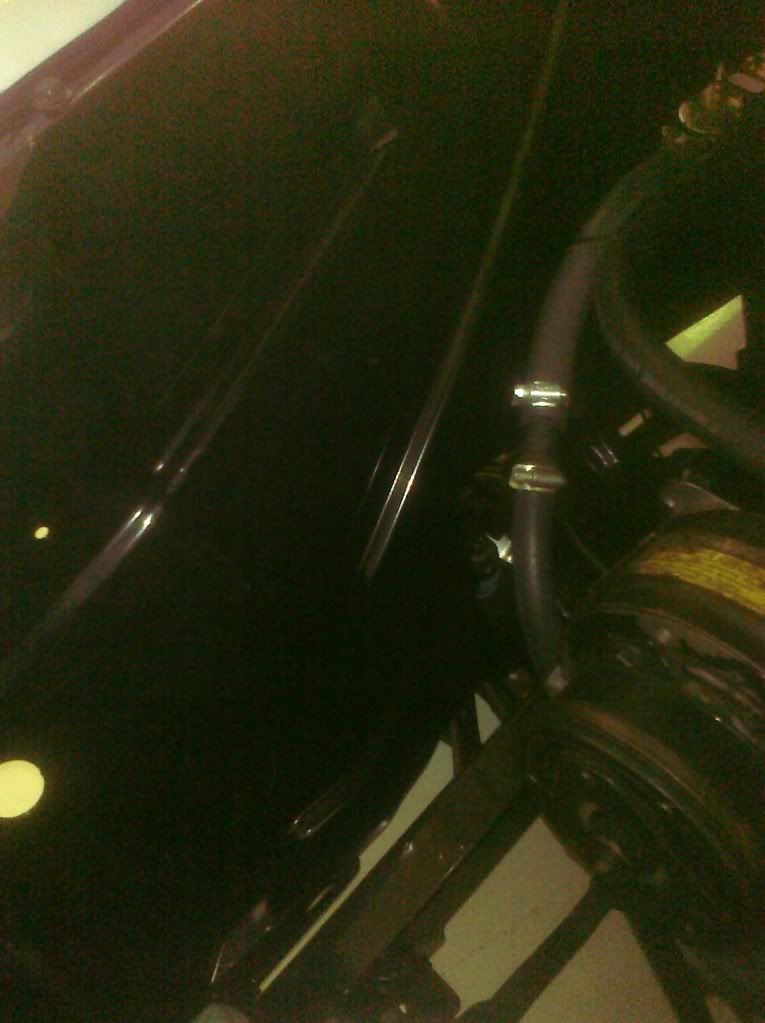
Last edited by Coupeguy2001; 11-15-2011 at 01:07 AM. |
|
|

|
|
|
#13 |
|
Registered User
Join Date: Aug 2011
Location: phoenix az
Posts: 723
|
Re: my 57 revitalized
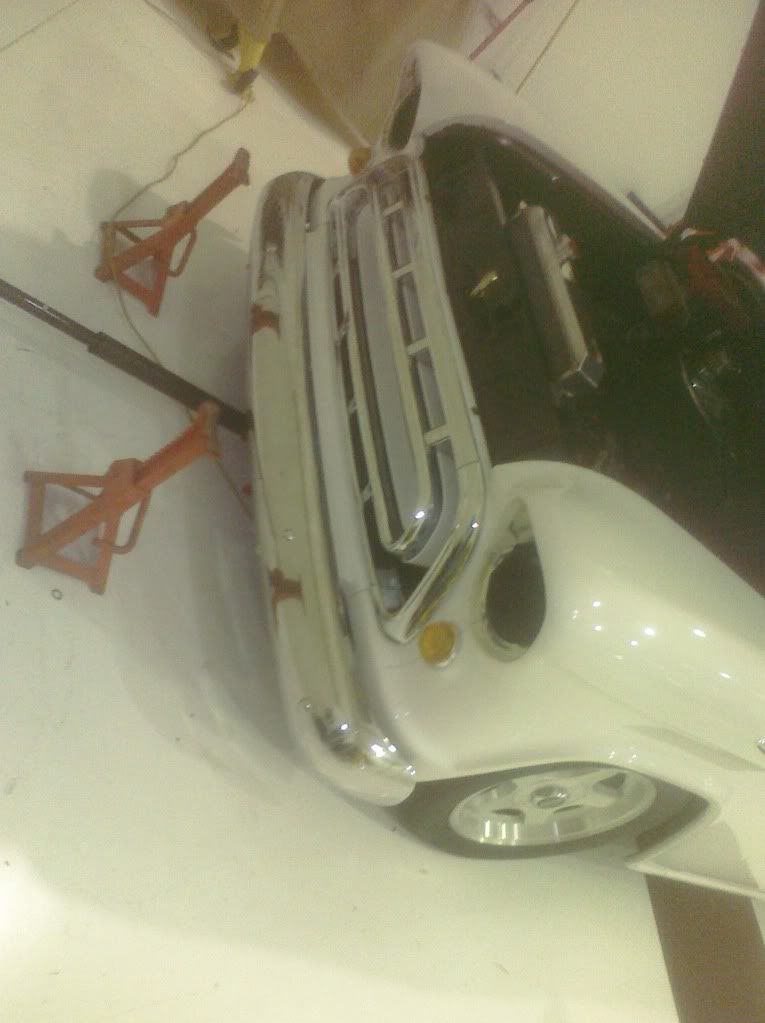
I have played with the bumper fitment, and am still not happy with it. THe bumper sits too low, and is not in the original bumper position. I will probably make adapters to restore the bumper to it's original place on the frame.
Notice that it sits low, and is the same height as the front lower grille (splash pan?) Not sure what they call the sheet metal piece under the grille.  I still have to put it's "eyes" back in. |
|
|

|
|
|
#14 |
|
Registered User
Join Date: Aug 2011
Location: phoenix az
Posts: 723
|
Re: my 57 revitalized
I am still convinced that the cab isn't quite back to it's original factory position. It's like 3/64" too far back yet. Notice the fender to door alignment. It looks ok at first look, but not as good as the right side. Check out the gap between the small section at the door and the cab. just a little more forward on the cab would be better .
Door to cab at the top of the fender is good, the door to fender is not. I got to get it running first before I mess with it again. The door is out of whack anyway, about 20 years ago, I bought that door for $25, and spray-canned it. It doesn't fit the truck very well, and the white is just a shade off. Someone cut the rust out of the bottom of the door, and it is welded and structural glued together. Gotta hand it to the glue, it has held for a long time. By the way, it takes 5 cans of Krylon to do one door with enough paint to rub it out so it looks like it was painted with a spray gun. I know, picky picky picky........ 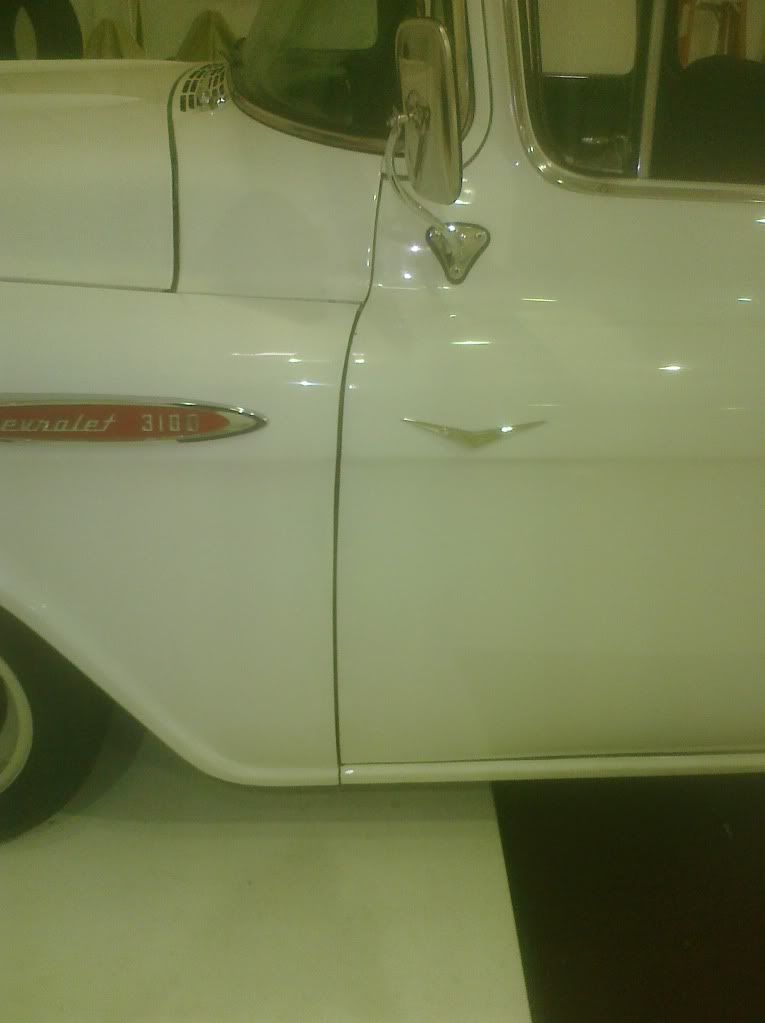
Last edited by Coupeguy2001; 11-15-2011 at 01:34 AM. |
|
|

|
|
|
#15 |
|
Registered User
Join Date: Aug 2007
Location: Corona, California
Posts: 7,998
|
Re: my 57 revitalized
Looking good coupeguy. I like the brake fluid reservoir.
Kim |
|
|

|
|
|
#16 |
|
Registered User
Join Date: Aug 2011
Location: phoenix az
Posts: 723
|
Re: my 57 revitalized
Another shot of the front. I gotta clean that bumper, those bugs have been dead for 4 months.........
|
|
|

|
|
|
#17 |
|
Registered User
Join Date: Jun 2006
Location: Idaho
Posts: 8,800
|
Re: my 57 revitalized
Moving the cab forward will also close the hood gap (you have the room) but may cause problems where the lower horizontal cab sill meets the fender. In the photo it looks like the sill is closer to the fender then the door edge.
FWIW the gaps look like what was probably ok from the factory. I do not tend to be to a*** about them on these old trucks, they were usually way off even when new. My first TF was a 57 I bought in 68 with 50K miles at a government auction. It had been assigned and driven by the same guy (forest service painter)for 10 years. He did not want them to sell it but govt. had an limit (either miles or years) on how long they could be in the fleet. He as at the auction. I asked him all about it, he said only complaint was that he could never get the driver door to adjust and shut on the first try, always a two slam deal. I tried and could not get it to close right either. He said he was tempted to buy it but had a newer personal truck. I ended up getting it for $375. Only problem besides the door was a little rust in the cab corners (just paint blisters). It was my dd until I sold it in 70 when I got drafted.
__________________
1959 Chevy Short Fleetside w/ 74 4WD drive train (current project) OrrieG Build Thread 1964 Chevelle Malibu w/ 355-350TH (daily driver) Helpful AD and TF Manual Site Old Car Manual Project |
|
|

|
|
|
#18 |
|
Registered User
Join Date: Aug 2011
Location: phoenix az
Posts: 723
|
Re: my 57 revitalized
That's the fender gap I want to close. There isn't one on the right.
I have had the hood off one other time. I made marks on the hood and returned it to it's original position. I have changed engines the last 3 times without pulling the hood off since I bought new hood springs, and it goes up pretty high. The hood still scrapes the cowl just a touch when it is opened. I have painted the cowl vent occasionally when it gets down to metal, but when the hood is moved, it is that close. Nice 57. Too bad you sold it. I would have loved to get mine minus the accident it was in. Mine apparently was owned by the original owner, then sold to someone who started dechroming it and then wrecked it, and the insurance company sold it to the guy I bought it from when they determined that the frame was bent. The frame wasn't really bent, the cab mount was tweaked and the left front spring pin sheared off, the axle was bent, and the tire slid up to the cab, shoving it back. I think the front wheel up in the fender made everyone think the frame was too bent, and therefore unrepairable. I had the frame straightened a little when I got it, because the guy who ran the alignment shop wouldn't align it without tweaking the frame. He said they were all off when new, and he was happy with it after tweaking it. Back then, it was $35 to tweak the frame. Last edited by Coupeguy2001; 11-16-2011 at 10:53 AM. |
|
|

|
|
|
#19 |
|
Registered User
Join Date: Aug 2011
Location: phoenix az
Posts: 723
|
Re: my 57 revitalized
I did the transmount mod today. here is the piece I cut out of the right side
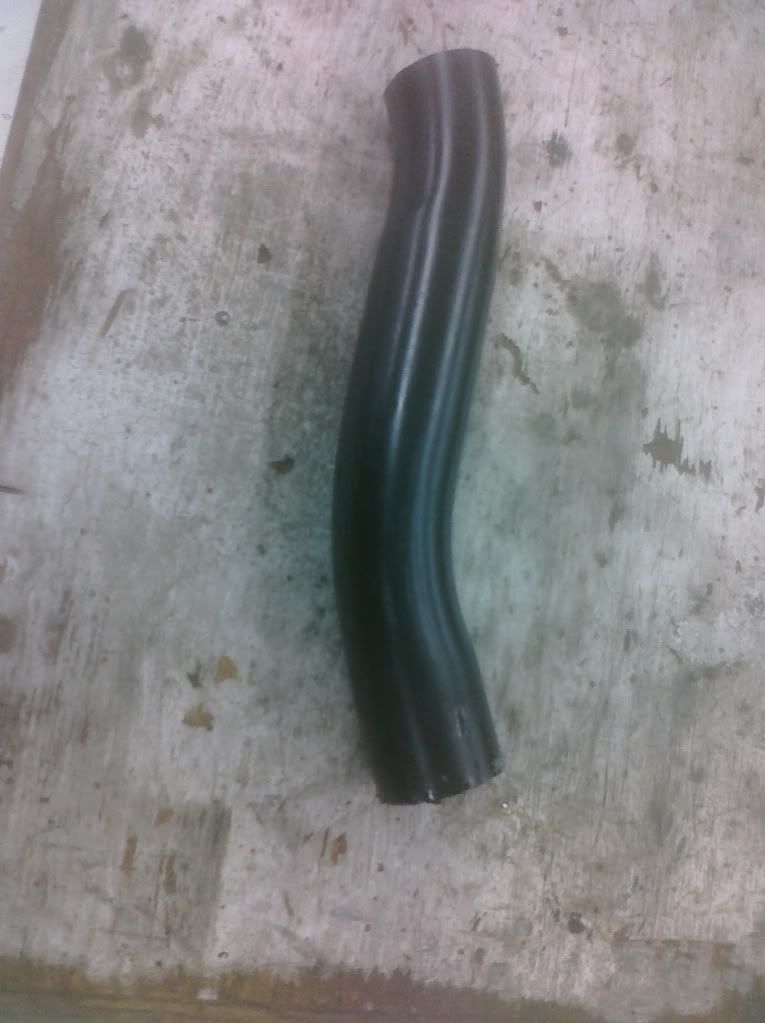 Then I bought some 4 inch wide 1/4" thick steel strap, and had my buddy bend it up and then weld the stub back on the new piece, then weld it to the original trans mount so that I had a place for my exhaust to go next to the trans. Here's the completed trans mount. I painted it for right now to do a function check, but it will get powder coated when I can get it done. 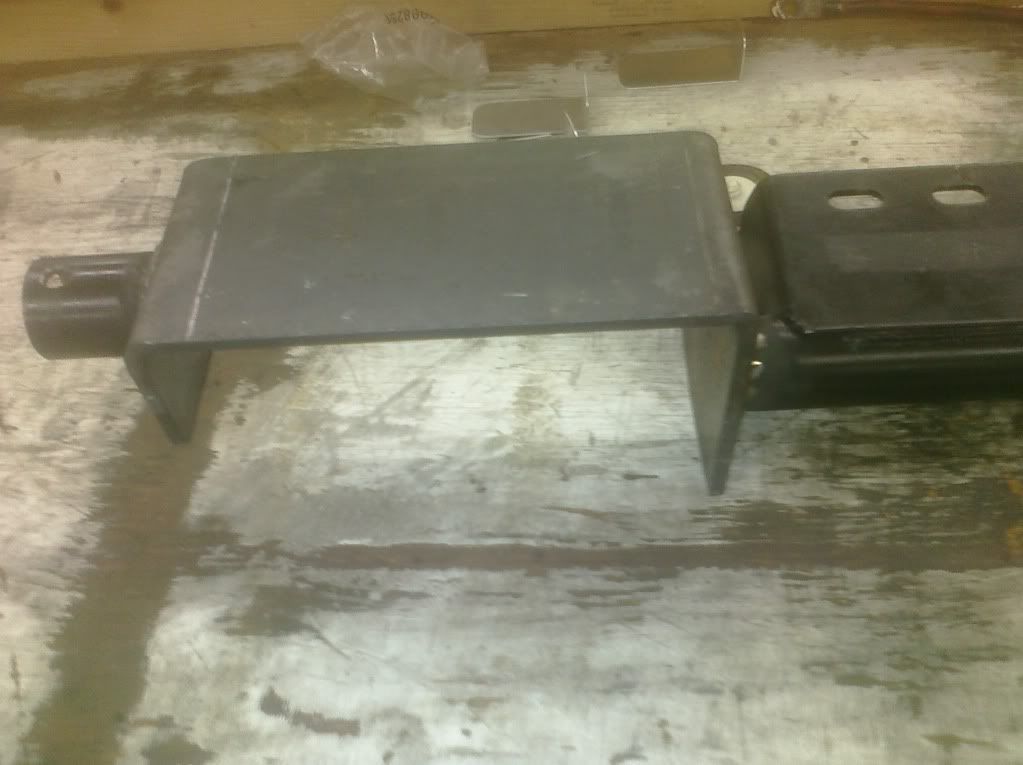 The end stubs have to be remade. The trans is maybe 3/4" too low. Remaking the end stubs 3/4" shorter will fix the problem. BTW, I showed up a half hour before his shop closing time, and he gave me the brush-off so he could get home. I got it done in about 25 minutes.......perfect! Last edited by Coupeguy2001; 11-17-2011 at 02:59 AM. |
|
|

|
|
|
#20 |
|
Registered User
Join Date: Aug 2011
Location: phoenix az
Posts: 723
|
Re: my 57 revitalized
I originally wanted the gas tank under the bed on the left side, so my left exhaust pipe goes under the trans, slides down the right side, and goes to the rear axle, and over the axle, back to the left side.
I have a friend that lived in Burbank that wanted both exhaust pipes on the right side of his 57, and both exiting to the side of the car. That's where I got the idea to run the left on the right. Standing behind the truck, you would never know that most of the left exhaust is on the right side. It's not clean, but functional right now. I bought 2 couplers and installed them on the cut-off pipes and just pushed the other cut pipes into the couplers and mounted the exhaust pipes on to the pipes that stayed on the truck. it was too easy. My engine is forward 1 inch of it's original position. I did have to modify the shorty header flange so I could get the flange onto the three studs that the pipe attaches to. I have to get the pipes tucked under closer to the frame, but for a couple weeks, it will have to do. I filled the power steering reservoir today........no leaks yet! I plumbed the fuel pump. now I have to wire the pump and the cooling fan tomorrow and bleed the brakes. If the electric pump runs, so will the engne! Last edited by Coupeguy2001; 11-17-2011 at 03:10 AM. |
|
|

|
|
|
#21 |
|
Registered User
Join Date: Aug 2007
Location: Corona, California
Posts: 7,998
|
Re: my 57 revitalized
Sounds like you're getting real close. No pics of the exhaust?
Kim |
|
|

|
|
|
#22 |
|
Registered User
Join Date: May 2010
Location: Lawrenceville, Ga
Posts: 2,648
|
Re: my 57 revitalized
Looking good. That fender gap would probably have been considered perfect on the assembly line. Doesn't look that bad to me now. You have a lot of trick stuff on that truck. Must be nice to have the facilities and connections to get it done.
|
|
|

|
|
|
#23 |
|
Registered User
Join Date: Aug 2011
Location: phoenix az
Posts: 723
|
Re: my 57 revitalized
Thanks for the kind words. The truck is special to me in that for the most part, I have had this thing for almost 40 years. through out most of my adult life. Some of the things that have been done to it are because it wasn't good enough the way it was. Other things were cause it was there.
If the paint and body was perfect, it would have been too good to drive, but, since it was all dinged up and hammered by some other people and wrecked to boot, it has been fun to keep. Yea, I can't take full credit for everything, there are a lot of people who helped along the way. Special thanks to my boss who allowed me to mess up his hangar for so long. |
|
|

|
|
|
#24 |
|
Registered User
Join Date: Aug 2011
Location: phoenix az
Posts: 723
|
Re: my 57 revitalized
small update.
I couldn't get any hydraulic pressure from the master cylinder. I could pump fluid out to the wheel cylinders and calipers, and bleed the lines, but it wouldn't build pressure, like it was bypassing internally. Then even under the low pressure that I was generating, I had a few leaks. I determined that the brass fittings that I had bought apparently were not machined very well. Just turning the fittings 90 degrees and then retightening the lines made a couple leaks disappear. The brake pedal just kept going to the floor. That was it for me. After pumping the master, climbing under the truck to bleed it about 40 times, I was done. I turned out the lights and went home. Yesterday, I went to Autozone, got a rebuilt master cyl., and went to the hangar to work on the plane. After working on the plane, I went over and thought I would check for leaks. Just because I'm an optimist, I pressed on the brake, and the pedal only went half way down! apparently, some air worked it's way up to the reservoir. |
|
|

|
|
|
#25 |
|
Registered User
Join Date: Aug 2011
Location: phoenix az
Posts: 723
|
Re: my 57 revitalized
Ok, pics of the exhaust......... I had the left pipe modified because with the 2" engine set back, thngs didn't quite line up. It fit together nicely, but the engine/trans and the frame didn't work.
Now it looks really bad, and is too low. BUt the trans mount came out ok, just the end stubs are in the works.  With the new pipe, it looks like somethin's not right. You can see that the modification to the trans mount works great though. |
|
|

|
 |
| Bookmarks |
| Thread Tools | |
| Display Modes | |
|
|