
 |
|
|
#51 |
|
Registered User
Join Date: Apr 2012
Location: Searcy, AR
Posts: 4,203
|
Re: 66 C10 Project SWB
Just stumbled onto your build... Amazing work... Really Diggin' the filler tube mod
 Posted via Mobile Device Posted via Mobile Device
__________________
DON Proverbs 27:17  US Air Force Retarded errr Retired My '65 Stepper Build:http://67-72chevytrucks.com/vboard/s...d.php?t=533920 My '60 Rusty Patina Build:http://67-72chevytrucks.com/vboard/s...66#post7402266 My '72 http://67-72chevytrucks.com/vboard/s...59#post7204359 SOLD |
|
|

|
|
|
#52 |
|
Registered User
Join Date: Jun 2013
Location: Nashville
Posts: 82
|
Re: 66 C10 Project SWB
|
|
|

|
|
|
#53 |
|
Registered User
Join Date: Jun 2013
Location: Nashville
Posts: 82
|
Re: 66 C10 Project SWB
Got the tail section fitted last night. It fit ok to begin with but needed some work. I lined up the main body line in the center as that is the only one that I can not easily fix. Then made the other lines fit. Two of them had to be cut pushed out and then welded back together. Finish welding the patch on the lower side. I started to grind them down but my air compressor decided to blow a gasket. So now im at a stand still.
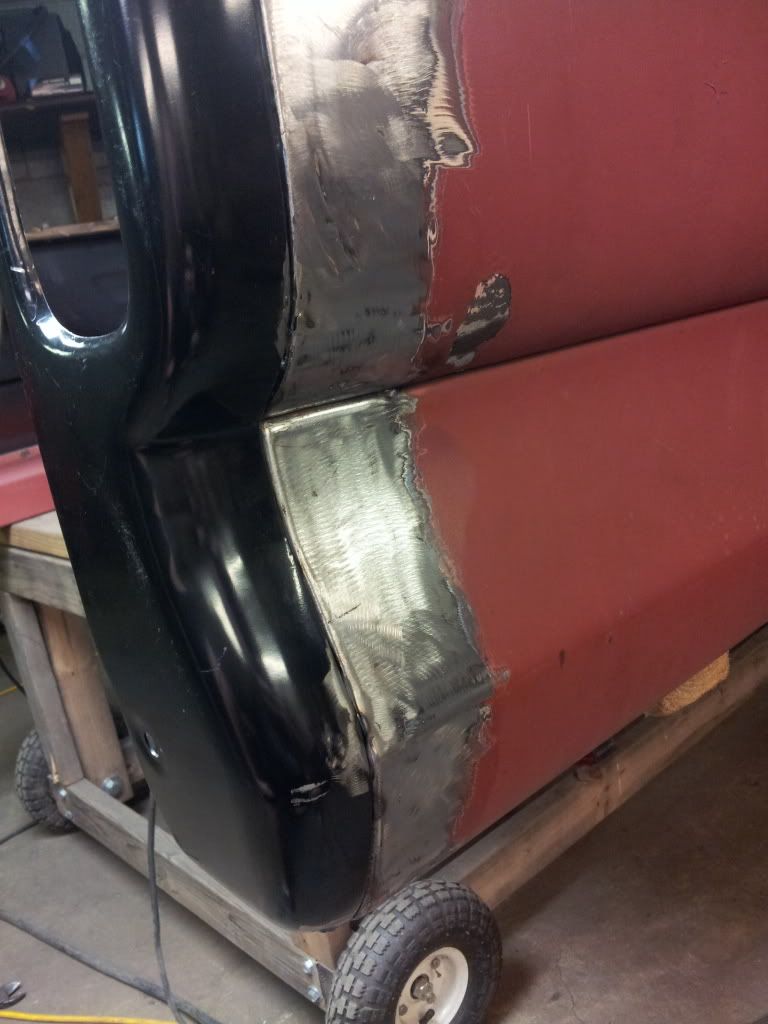 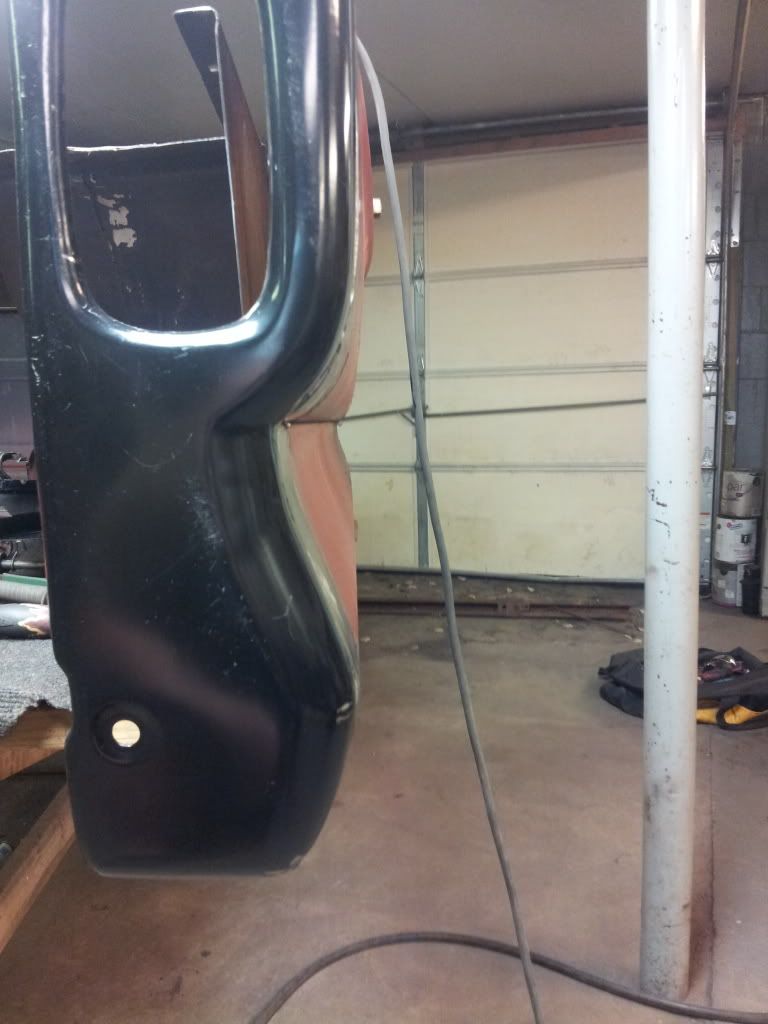 It looks off in the pic but its right on. The angle of the camera I guess. 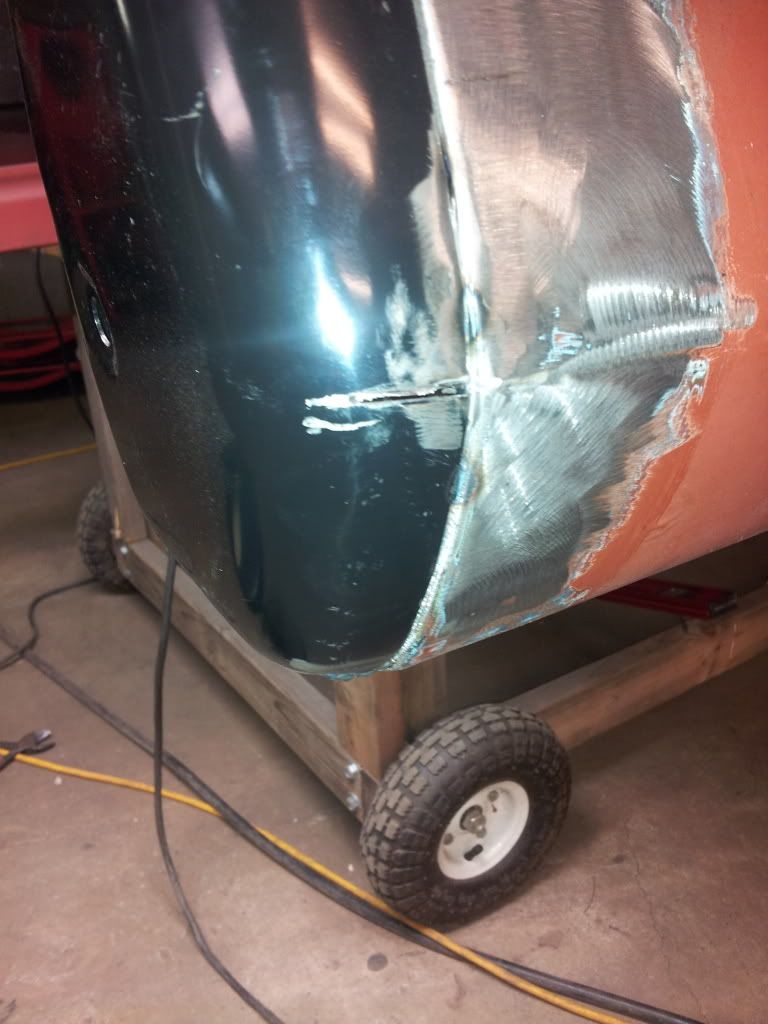 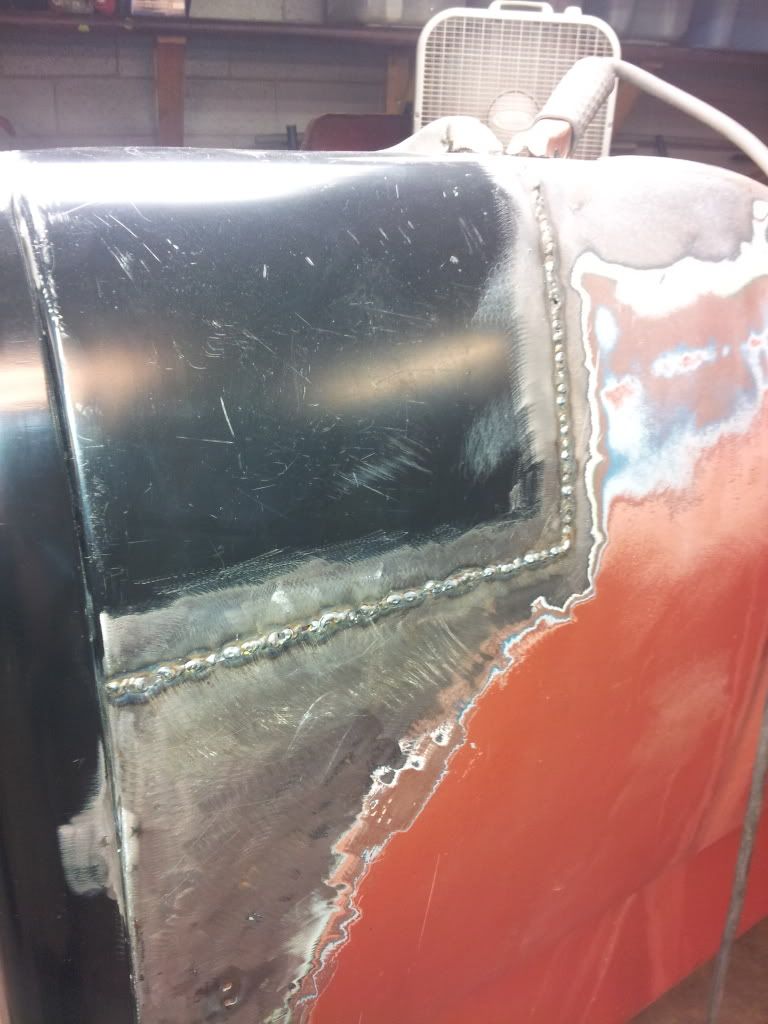 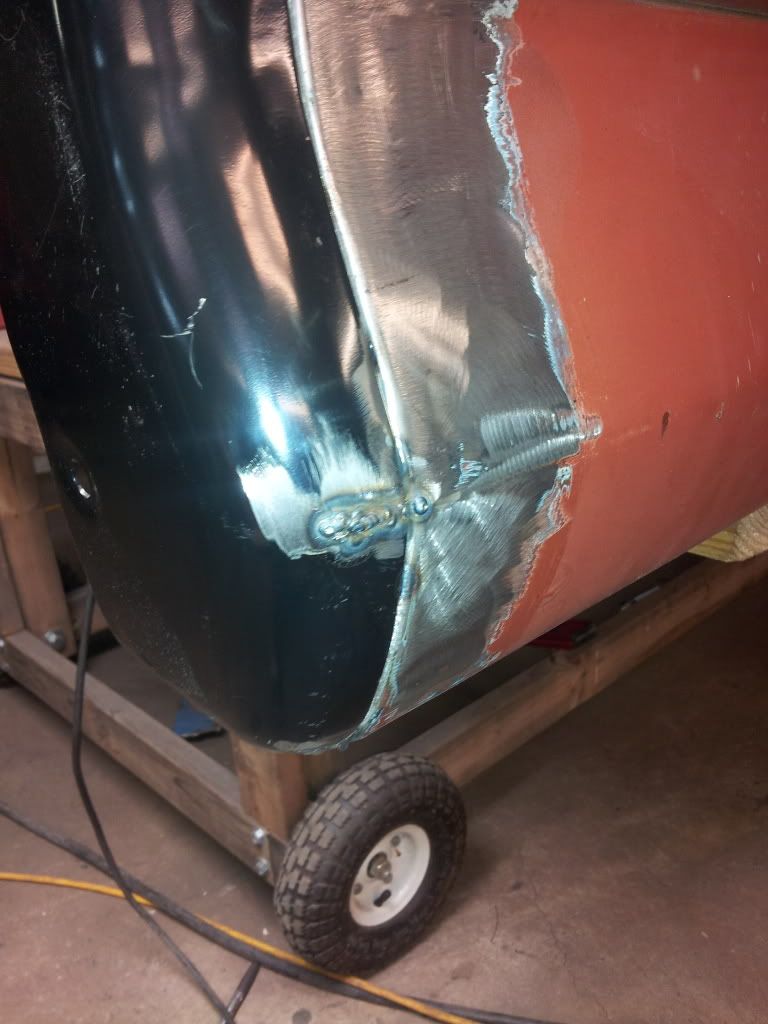
|
|
|

|
|
|
#54 |
|
Registered User
Join Date: Jun 2013
Location: Nashville
Posts: 82
|
Re: 66 C10 Project SWB
Its been a while since Ive posted so Ill give some updates. Continued the work on the bed. The more that I striped the paint the more I found filler hiding problems. Ended up replacing both lower panels and part of the rear tail light housing. They were repairable but my skills at hammering out wavy dented up metal isn't very good but my panel replacement skills are getting better.
Taillight filler neck turned out ok. 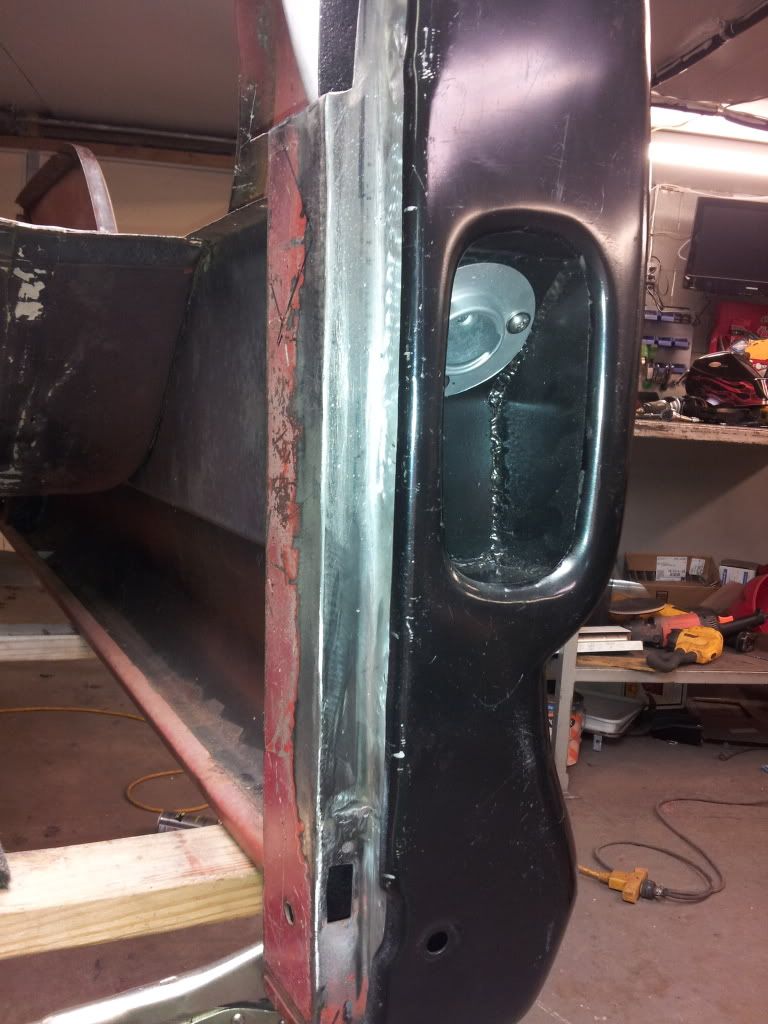 Started the stripping process 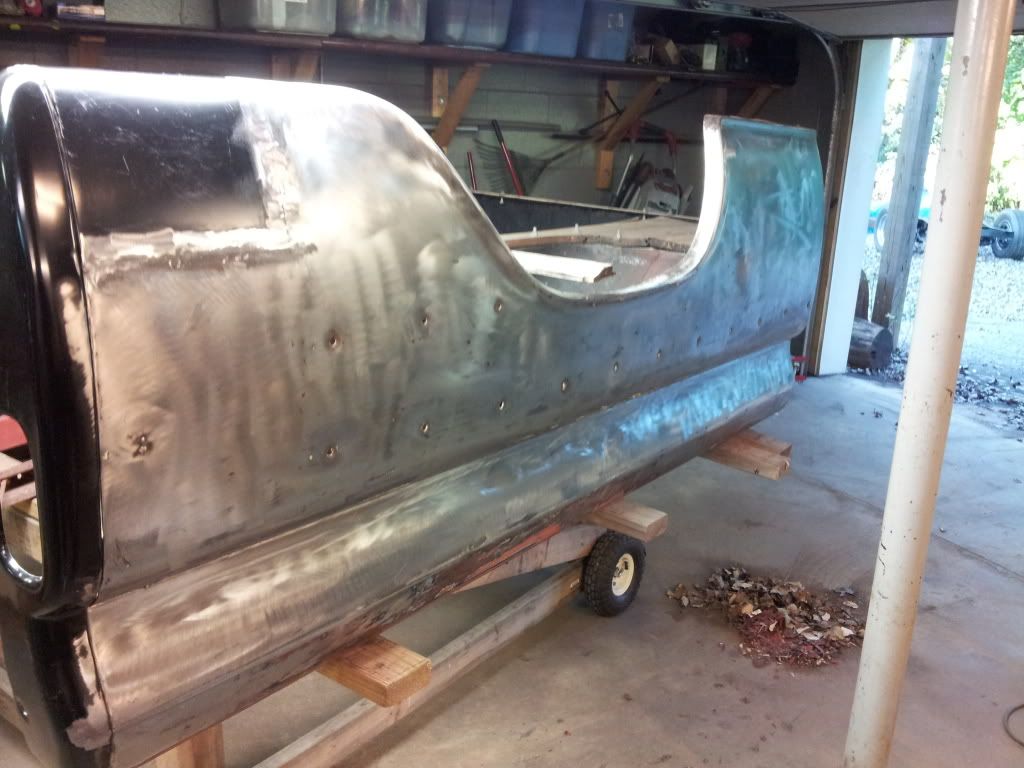 Passenger side lower panels replaced. 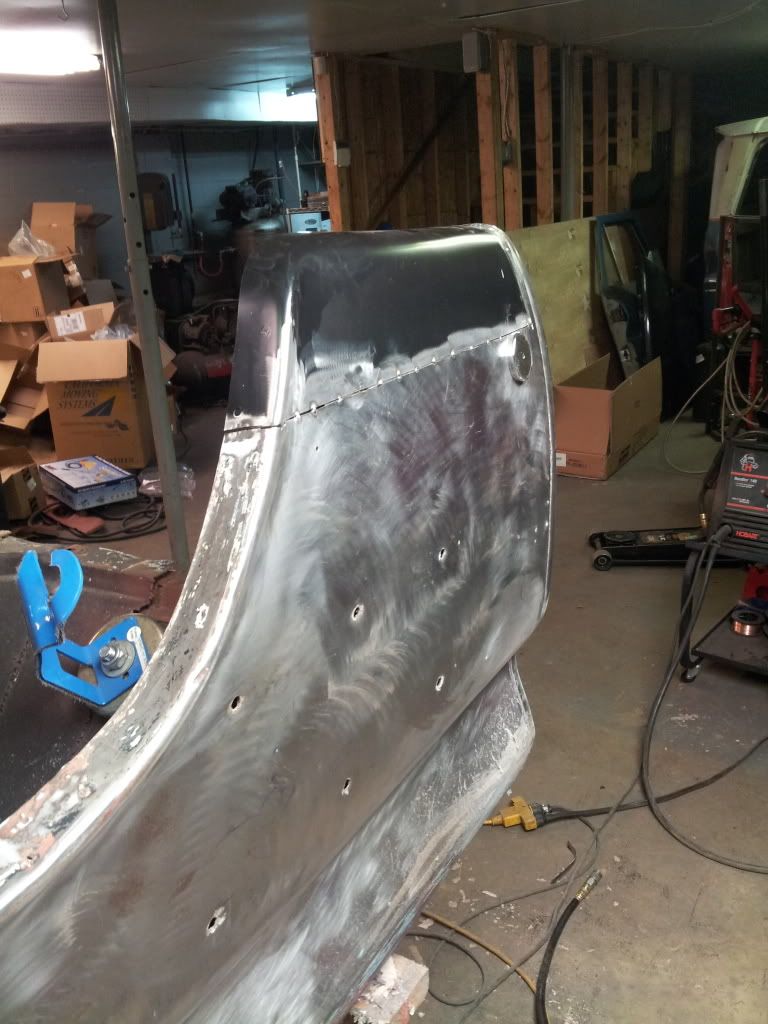 Had to pie cut the inner wheel well. The replacement panel's wheel arch didnt line up all that well. 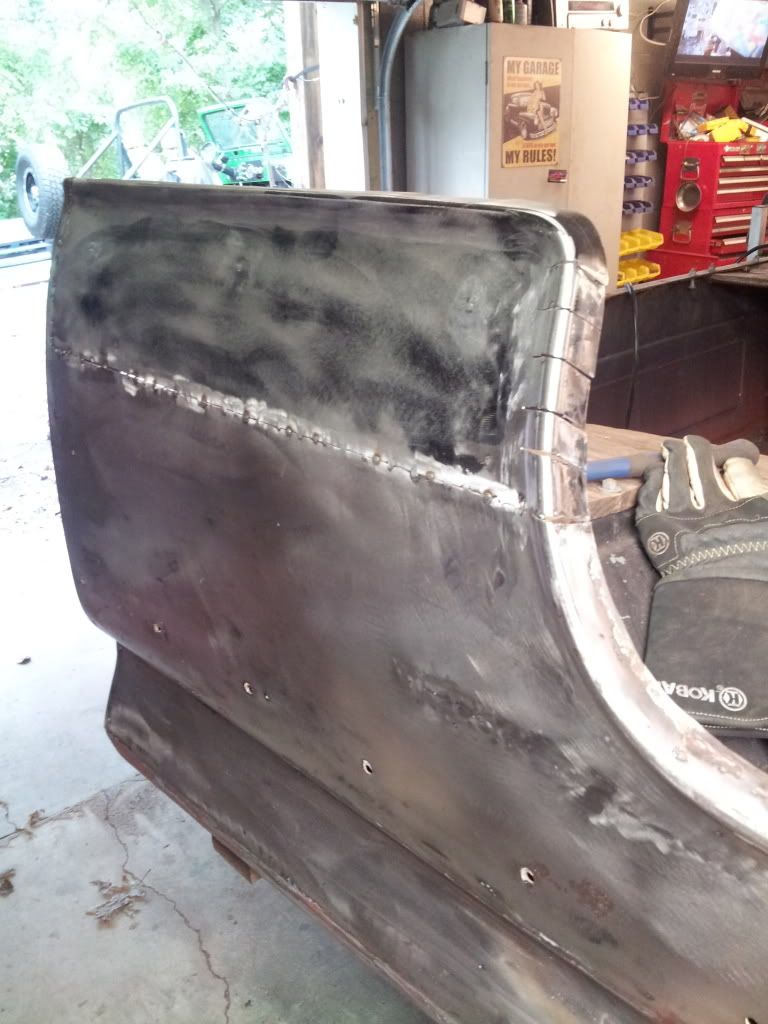
|
|
|

|
|
|
#55 |
|
Registered User
Join Date: Jun 2013
Location: Nashville
Posts: 82
|
Re: 66 C10 Project SWB
Passenger rear tail light section. Dented up good with some rust spots.
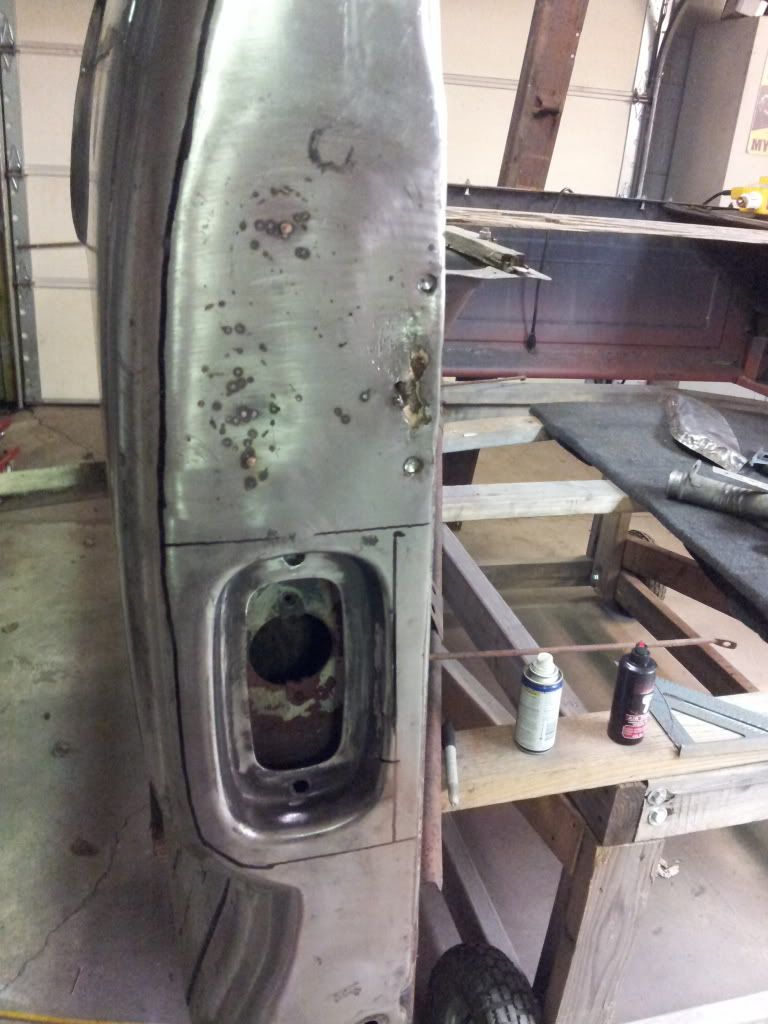 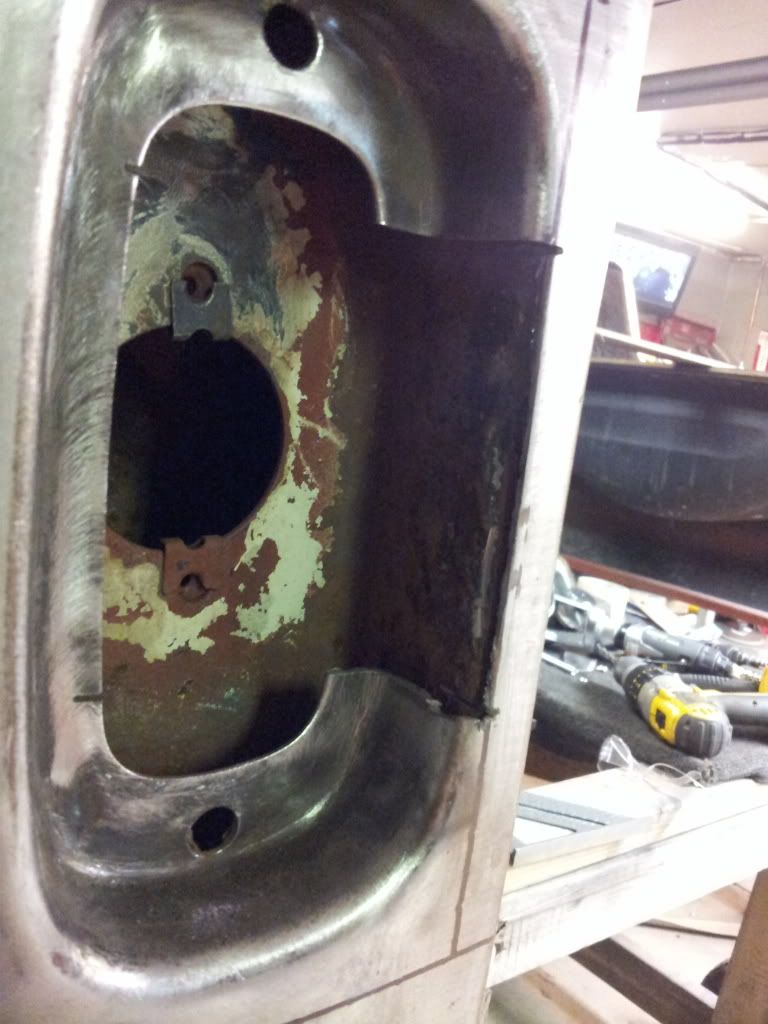 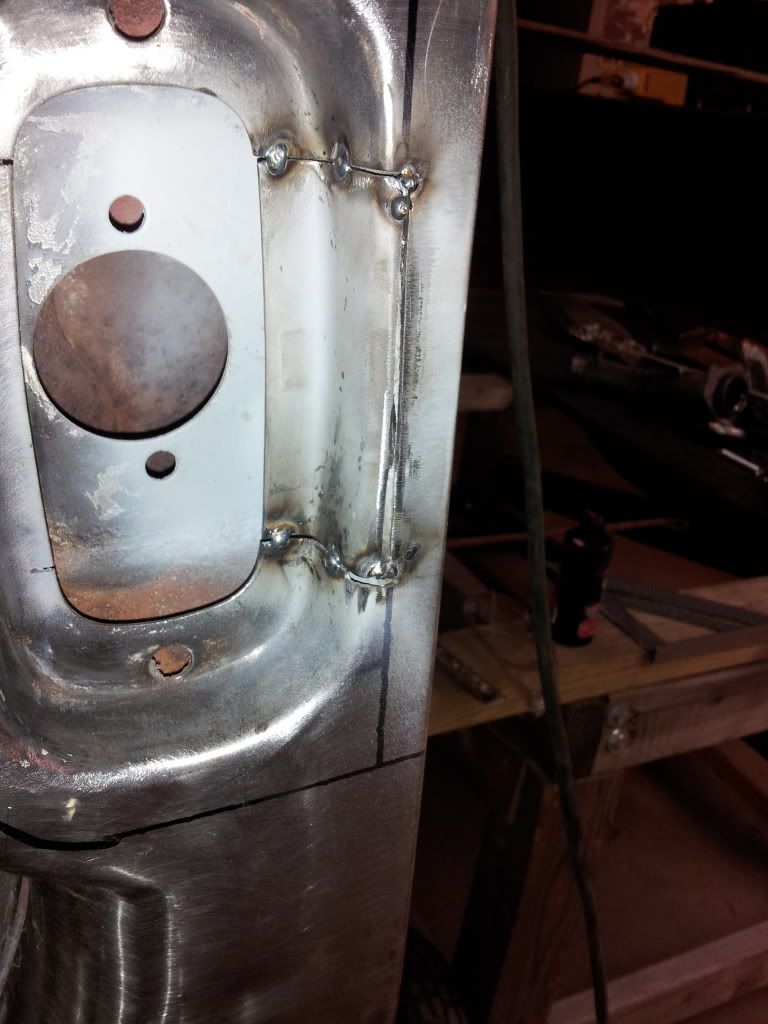 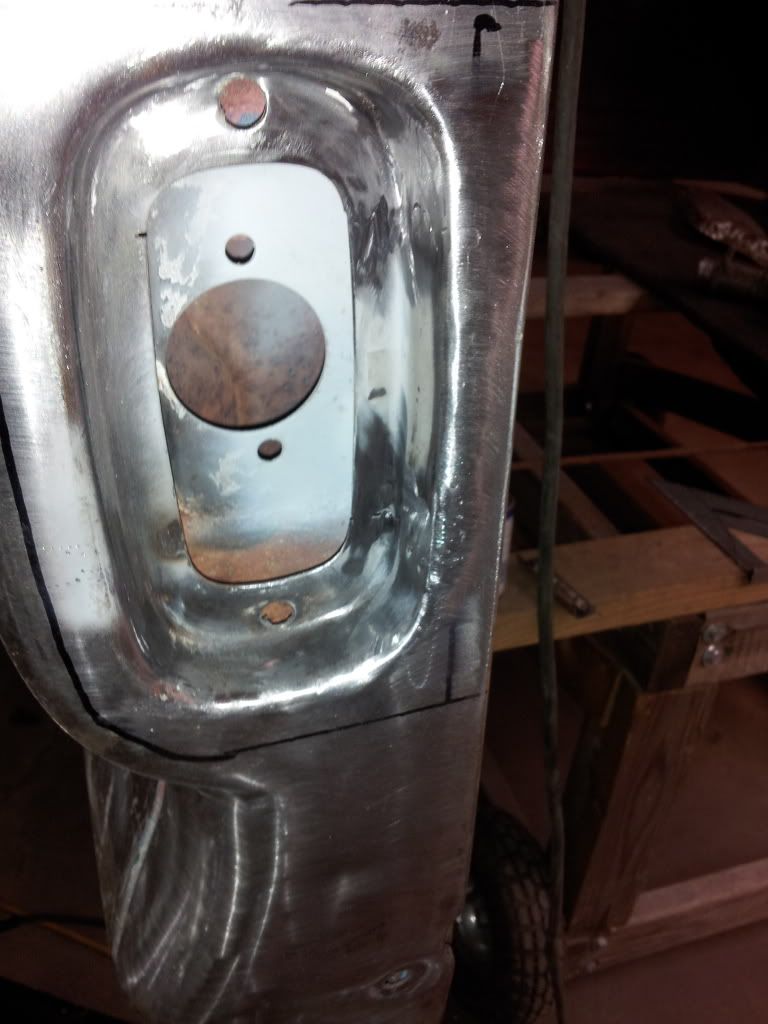 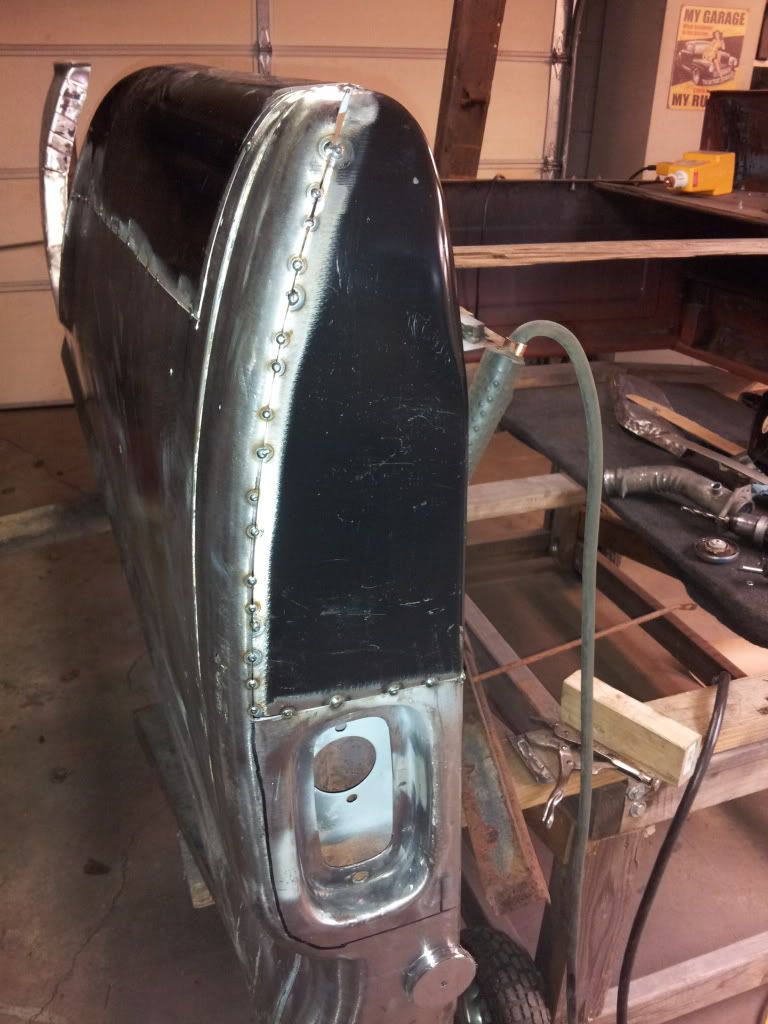 Used some All Metal to rough in some of the metal work. First time using All Metal and its some pretty cool stuff. Doesn't feather out real good but it isn't suppose to. It dries rock hard and still sands easy. 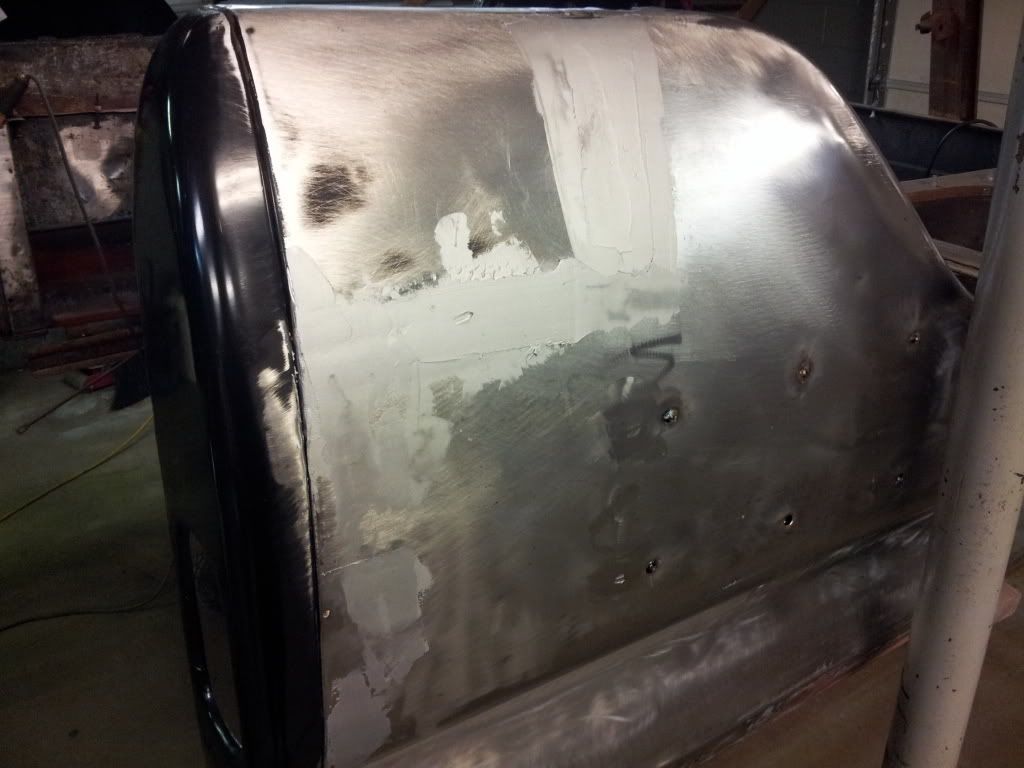 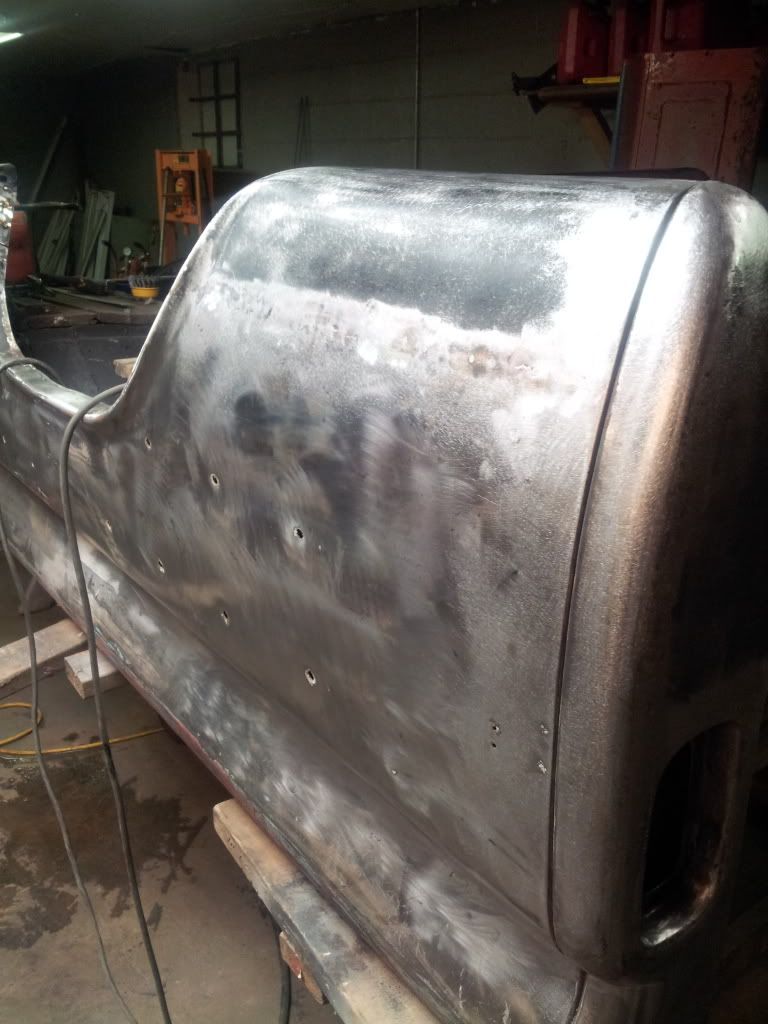 Used All Metal on the passenger side and experimented with crisping up the body line between the side panel and the rear tail section. Mudded in right over the seam and before it fully harden, I used a knife to cut in the body line. I would have never done that with normal body filler but I have a lot of confidence in this stuff. 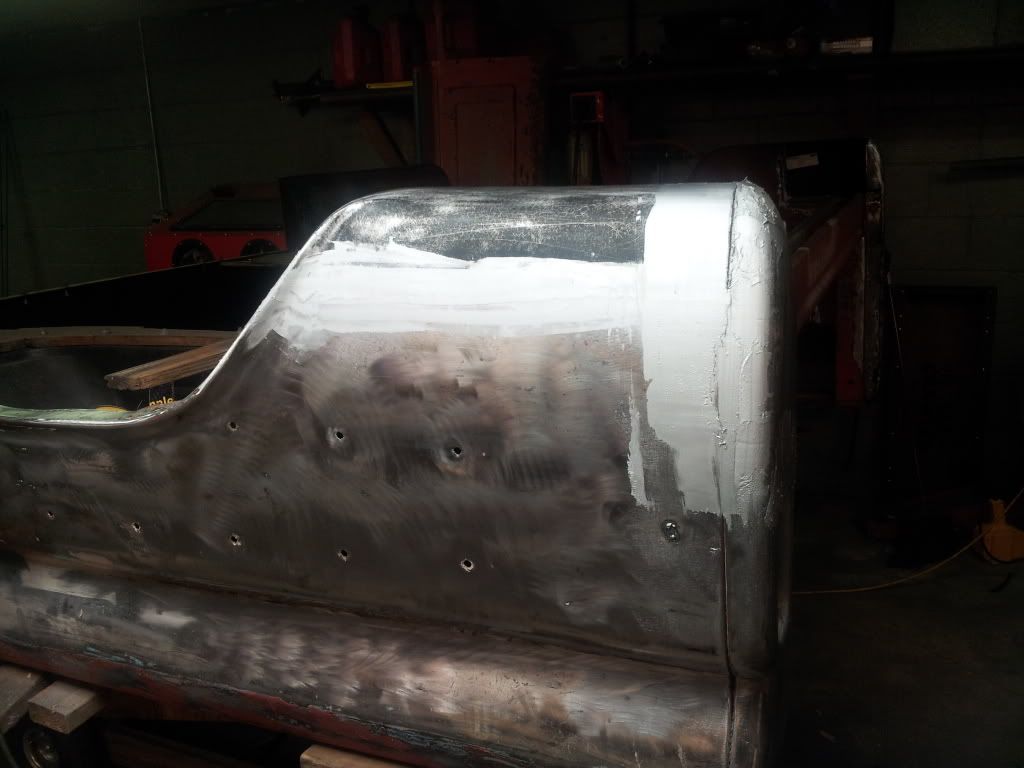 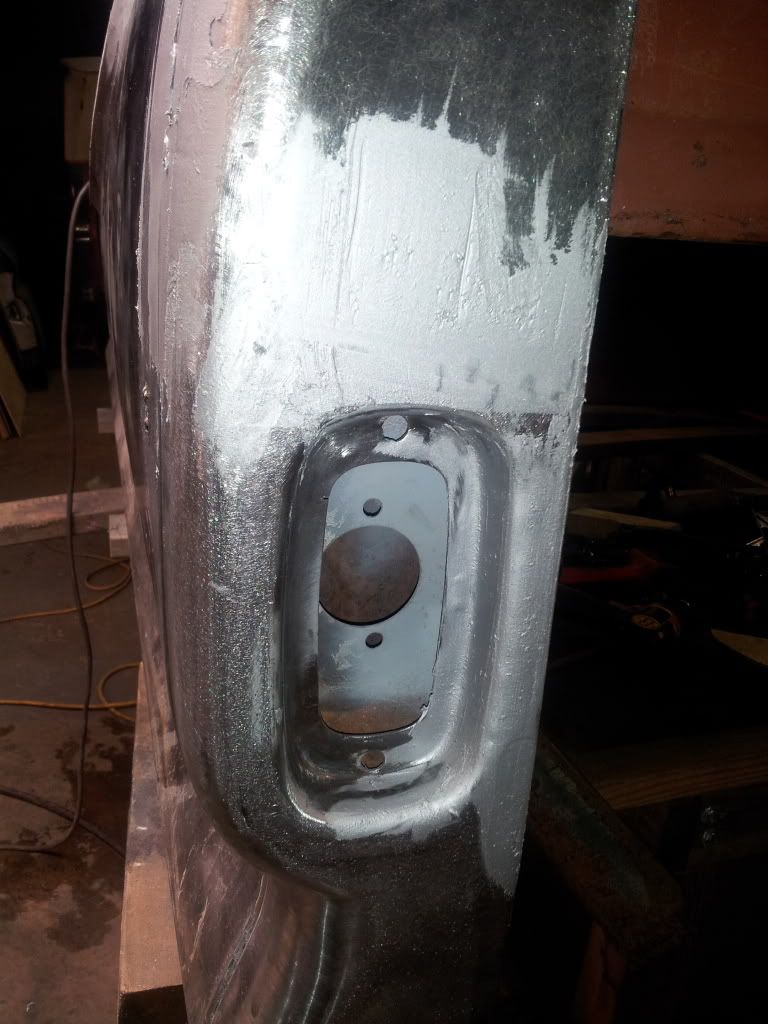 Rough sanded. Body line worked out real nice. I didn't do the complete section because I didn't know how well it would work. I think Ill be doing both sides now. 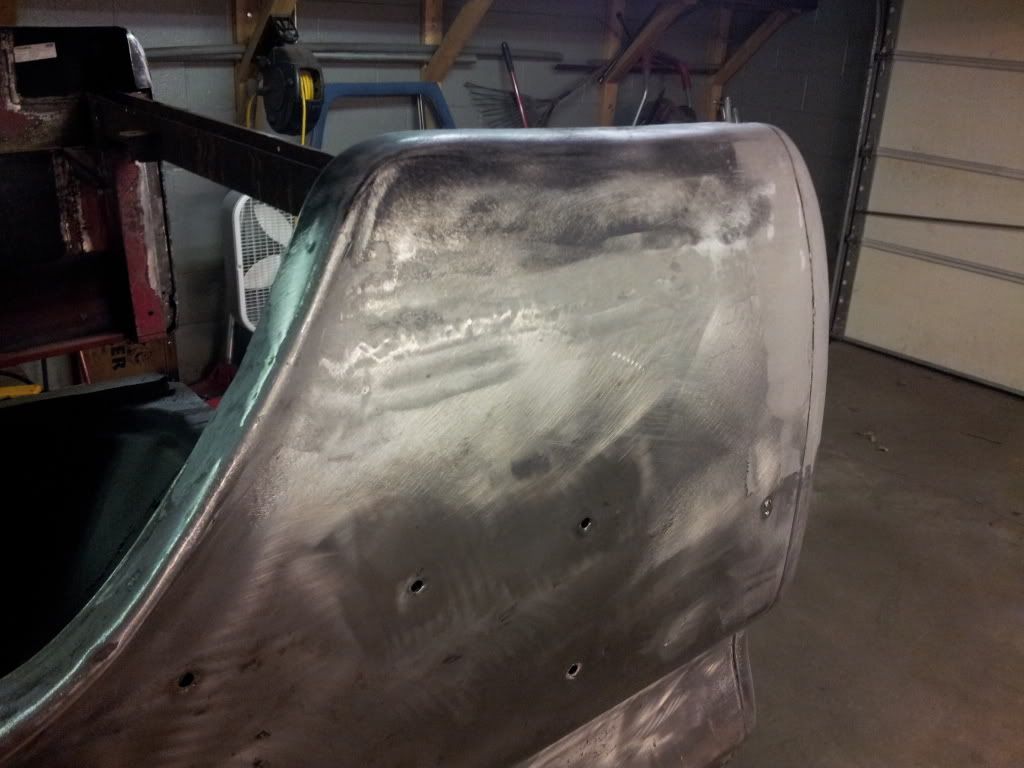 Thanks for looking |
|
|

|
|
|
#56 |
|
Registered User
Join Date: Apr 2011
Location: nashville, tn
Posts: 126
|
Re: 66 C10 Project SWB
great work dude! that beds looking real nice.
|
|
|

|
|
|
#57 |
|
Registered User
Join Date: Jun 2013
Location: Nashville
Posts: 82
|
Re: 66 C10 Project SWB
|
|
|

|
|
|
#58 |
|
Registered User
Join Date: Apr 2011
Location: nashville, tn
Posts: 126
|
Re: 66 C10 Project SWB
|
|
|

|
|
|
#59 |
|
Registered User
Join Date: Dec 2011
Location: Alaska
Posts: 405
|
Re: 66 C10 Project SWB
Your truck bed is looking good and your work on your truck is looking great. Keep it up! Thanks for updating us and sharing your hard work with us.
__________________
C@rnut001 (Owen) Alaskan Members Check In http://67-72chevytrucks.com/vboard/s...22#post5094422 http://67-72chevytrucks.com/vboard/s...18#post6778618 |
|
|

|
|
|
#60 |
|
Registered User
 Join Date: Sep 2013
Location: Shawneetown, Illinois
Posts: 47
|
Re: 66 C10 Project SWB
Enjoyed your build so far. Great Job !
__________________
Hope, Faith and Strength
**Deestrong** |
|
|

|
|
|
#61 |
|
Registered User
Join Date: Jun 2013
Location: Nashville
Posts: 82
|
Re: 66 C10 Project SWB
Thanks!
Did a little bit more to the bed. Finished filling in the holes and knocking dents out. 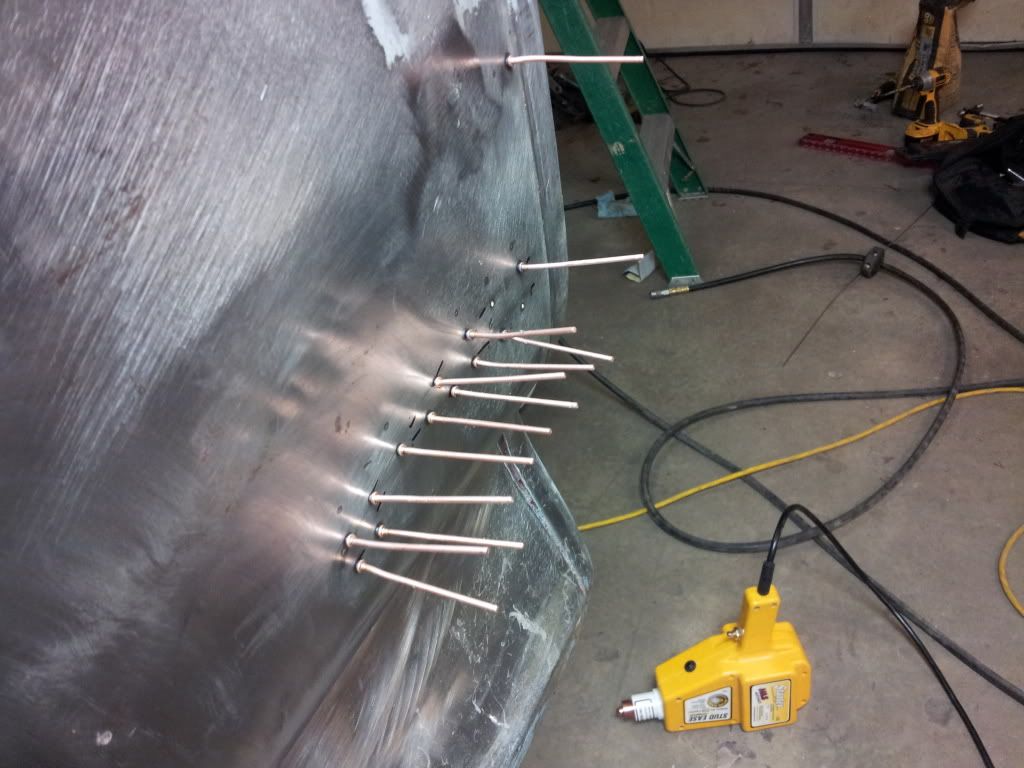 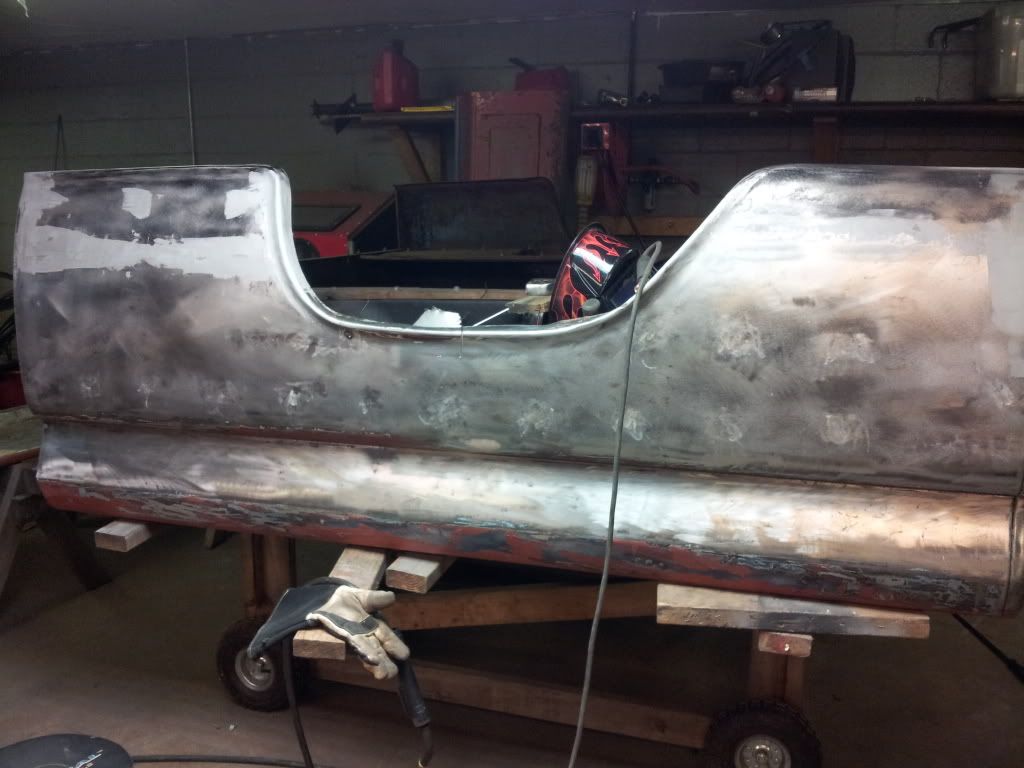 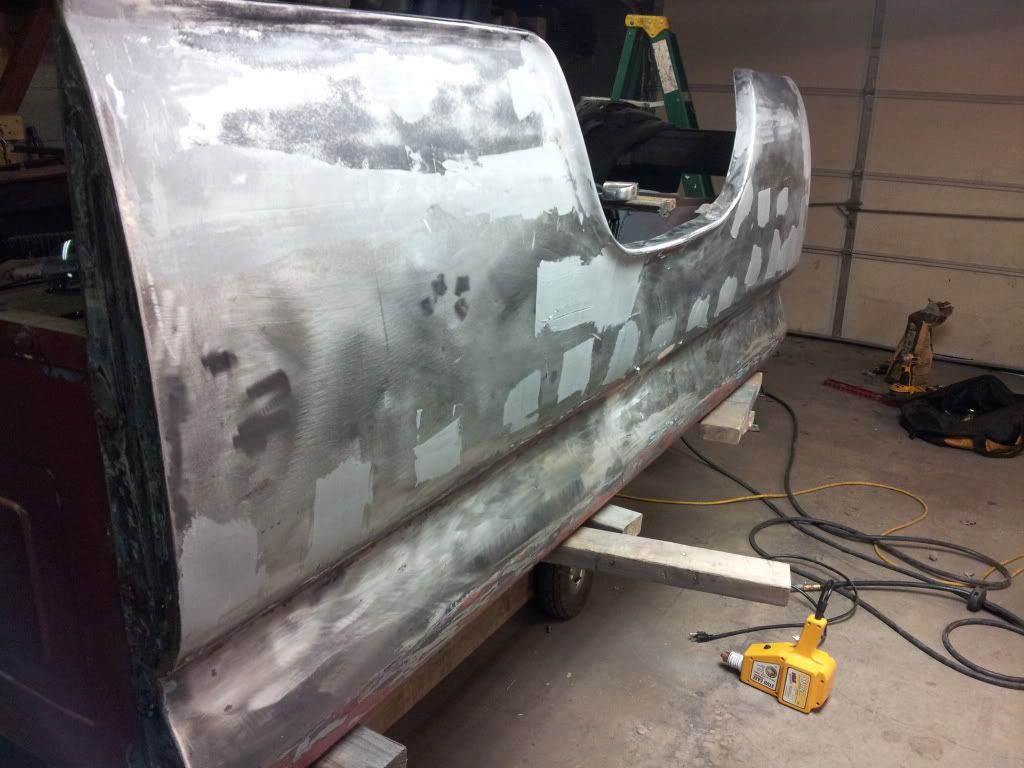 I had to pie cut this part of the wheel well to make it match the other side. Welded the slit back together and ground smooth. 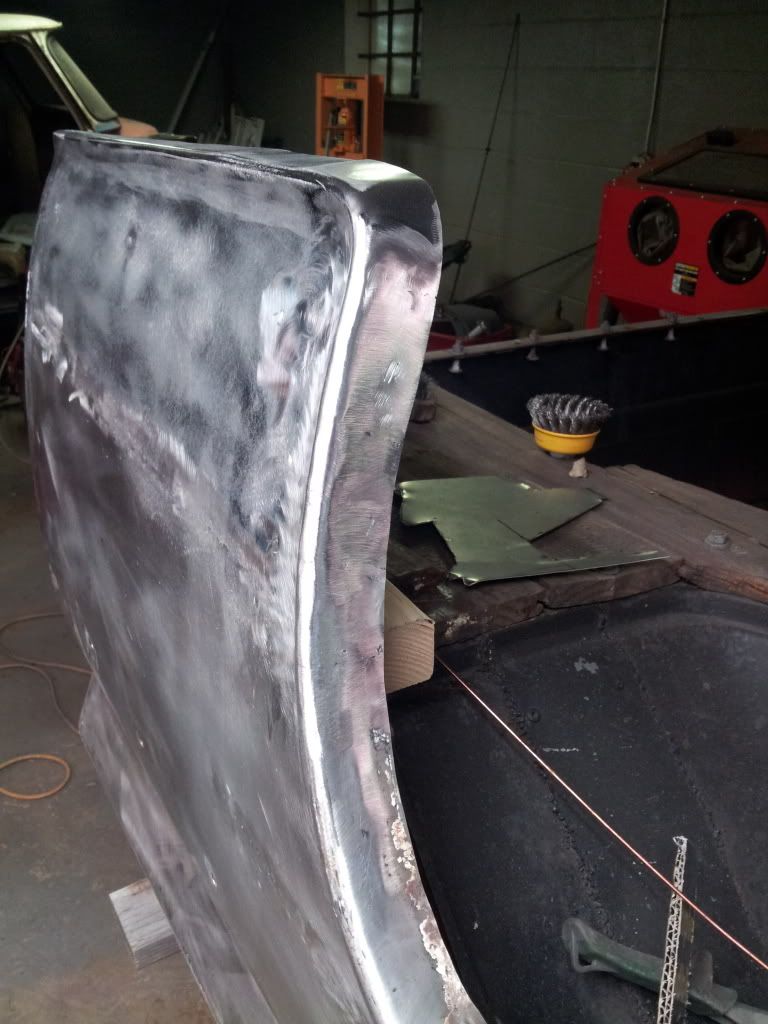 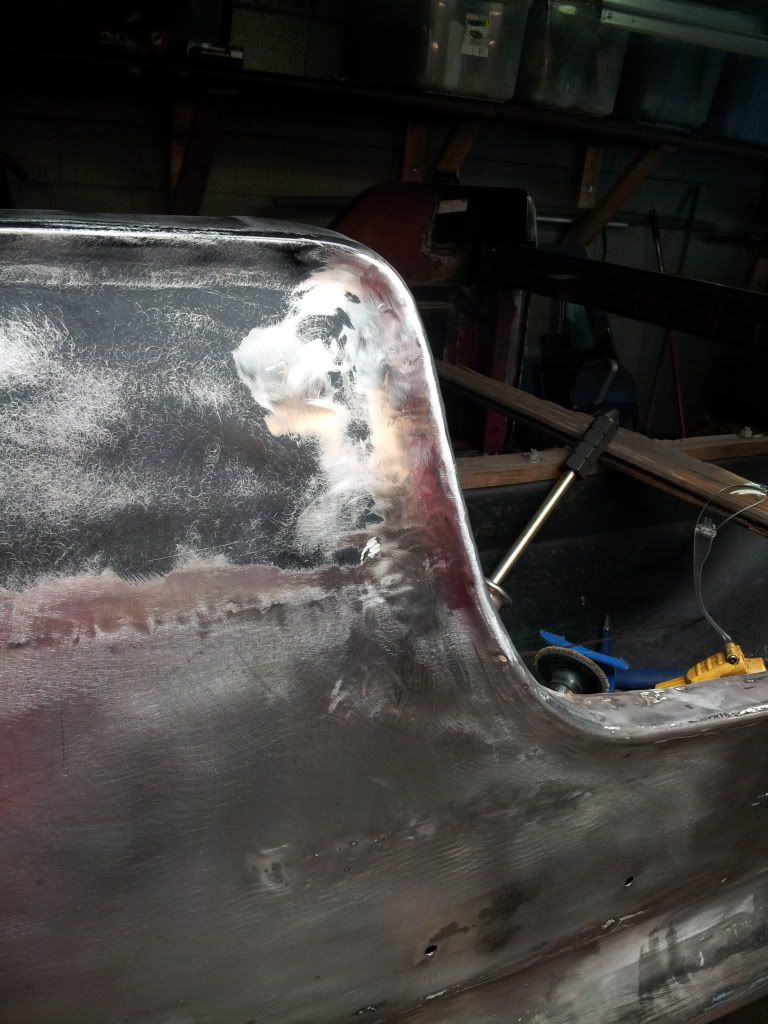 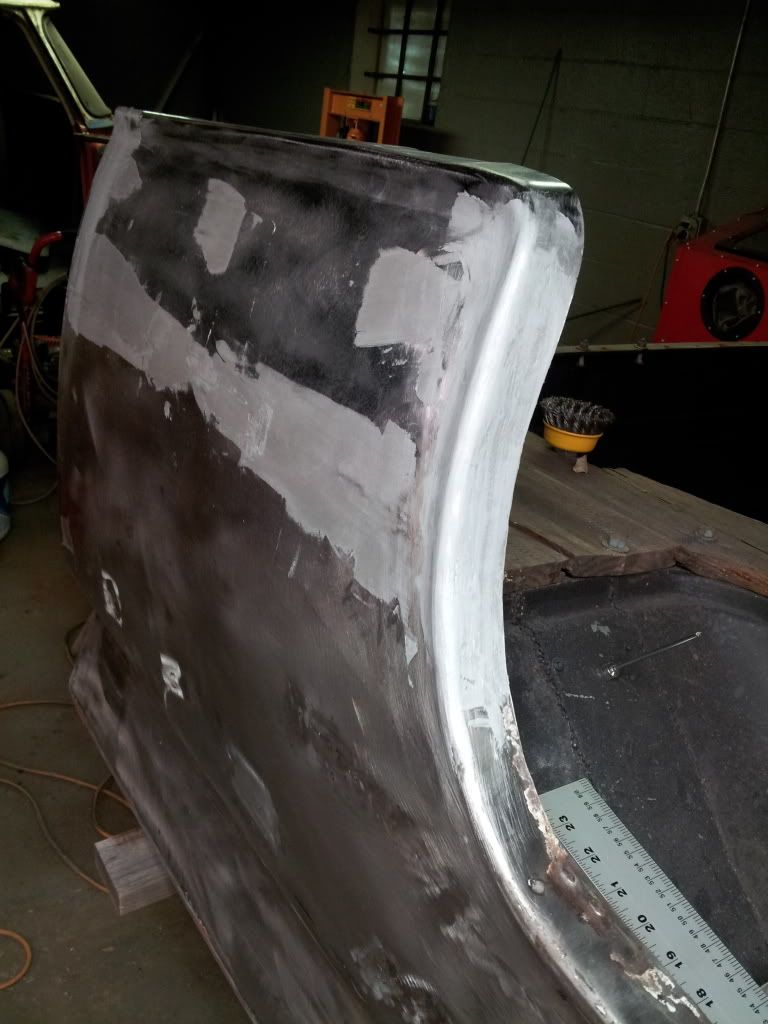 Thanks for looking. |
|
|

|
|
|
#62 |
|
Registered User
Join Date: Apr 2012
Location: Searcy, AR
Posts: 4,203
|
Re: 66 C10 Project SWB
Looking Great!!!
Nice work... 
__________________
DON Proverbs 27:17  US Air Force Retarded errr Retired My '65 Stepper Build:http://67-72chevytrucks.com/vboard/s...d.php?t=533920 My '60 Rusty Patina Build:http://67-72chevytrucks.com/vboard/s...66#post7402266 My '72 http://67-72chevytrucks.com/vboard/s...59#post7204359 SOLD |
|
|

|
|
|
#63 |
|
Registered User
 Join Date: Sep 2013
Location: Shawneetown, Illinois
Posts: 47
|
Re: 66 C10 Project SWB

__________________
Hope, Faith and Strength
**Deestrong** |
|
|

|
|
|
#64 |
|
Registered User
Join Date: Jun 2013
Location: Nashville
Posts: 82
|
Re: 66 C10 Project SWB
|
|
|

|
|
|
#65 |
|
Registered User
Join Date: Dec 2010
Location: sanford nc
Posts: 499
|
Re: 66 C10 Project SWB
Very nice job on the bed panels. Where did you get your rear tail light replacement panel from? Keep up the good work!!
__________________
  69 chevelle malibu, 64 C-10 shortbed 69 chevelle malibu, 64 C-10 shortbed
|
|
|

|
|
|
#66 |
|
Registered User
 Join Date: Mar 2013
Location: Southern Oregon
Posts: 10,384
|
Re: 66 C10 Project SWB
One sweet truck in process!

__________________
1966 Chevy C10 "Project Two Tone" http://67-72chevytrucks.com/vboard/s...d.php?t=596643 1964 GMC "Crustine" semi-build:http://67-72chevytrucks.com/vboard/s...d.php?t=665056 My youtube channel. Username "Military Chevy": https://www.youtube.com/channel/UC_h...fzpcUXyK_5-uiw |
|
|

|
|
|
#67 | |
|
Registered User
Join Date: Jun 2013
Location: Nashville
Posts: 82
|
Re: 66 C10 Project SWB
Quote:
Thanks! OK after some time off to do some honey dos before the cold hit, i'm back on the truck. Had to build an attached shed for some yard tool storage and to house my air compressor. I have a basement garage and the compressor vibrating the house all weekend long doesn't please the wife (nor me). I still need to run power and pipe it in the hard lines. So even though life has interrupted I still have managed to pick up an engine and work some more on the rusty "rust free" truck bed. The more I strip the paint the more the bondo was hiding. Heres the engine. Its a 99 5.3 with 73k miles. I wanted to pick up a complete dropout package with the wiring and accessories all attached but got this one for a good deal and it had lower miles that most. 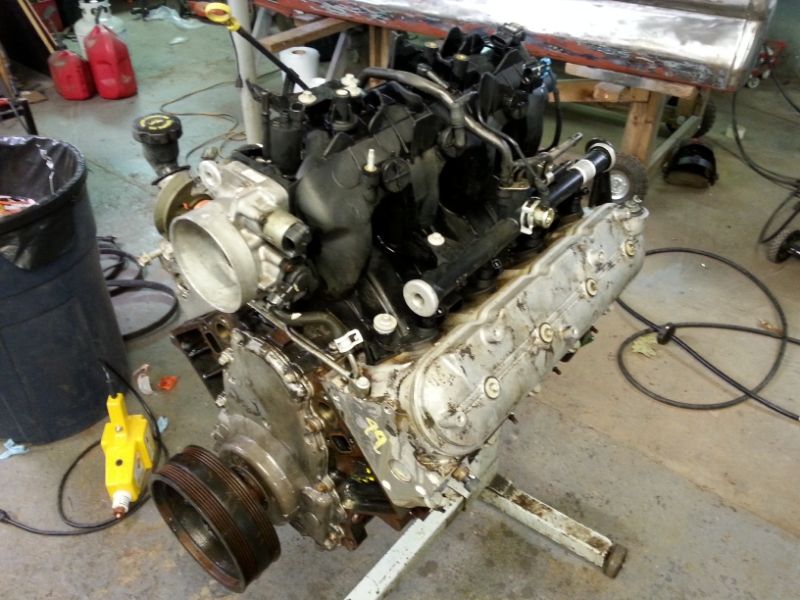 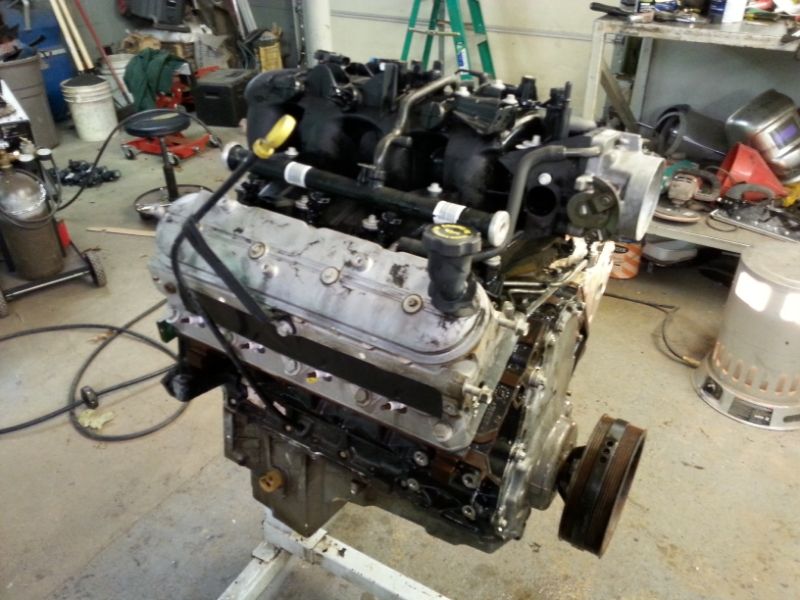 Back on the bed. Once I removed what little wood was left holding it square I found more rusty problems on the lower inner panel. I cut replacement pieces from my old lwb bed. 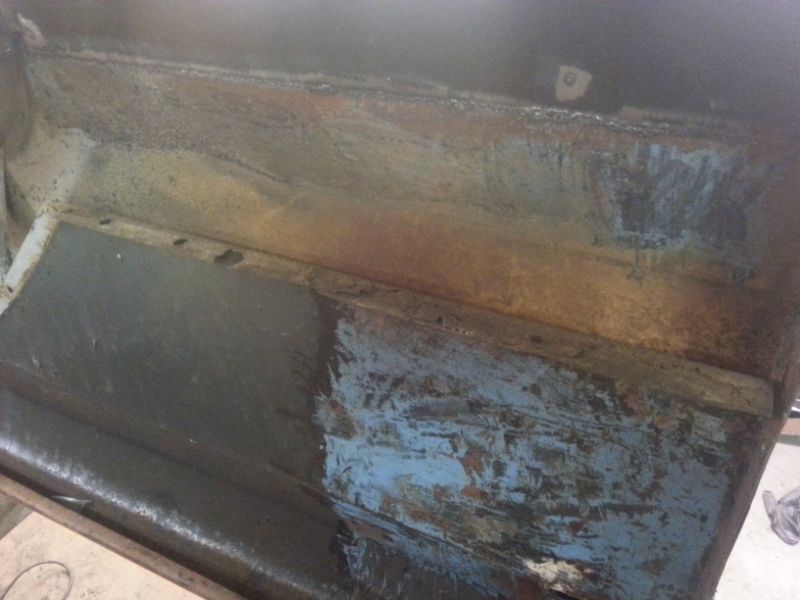 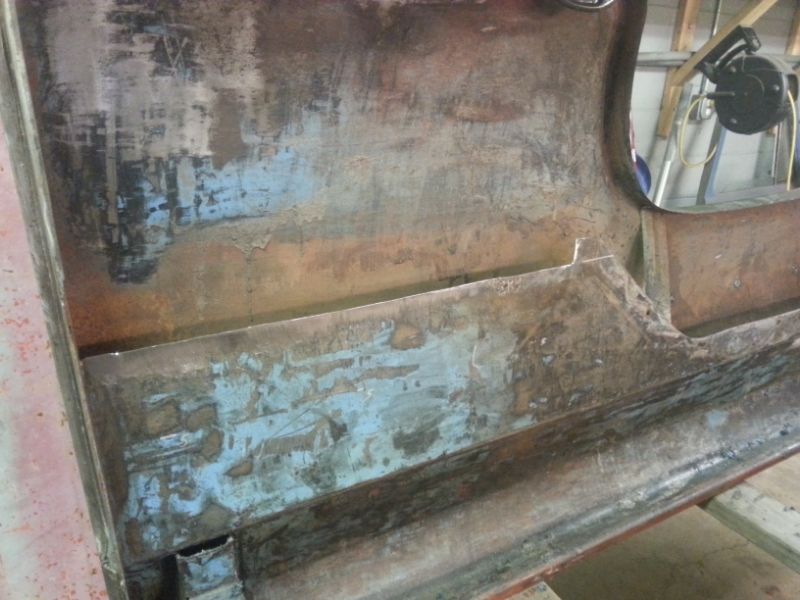 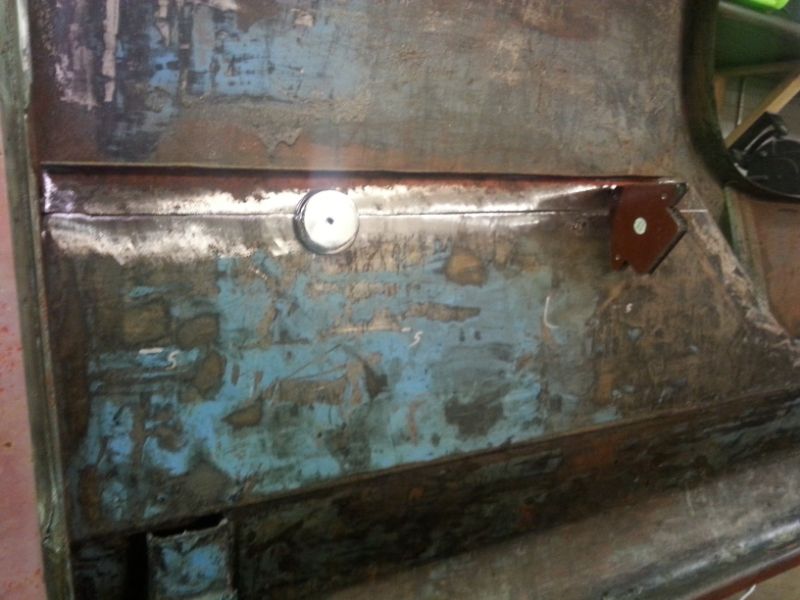 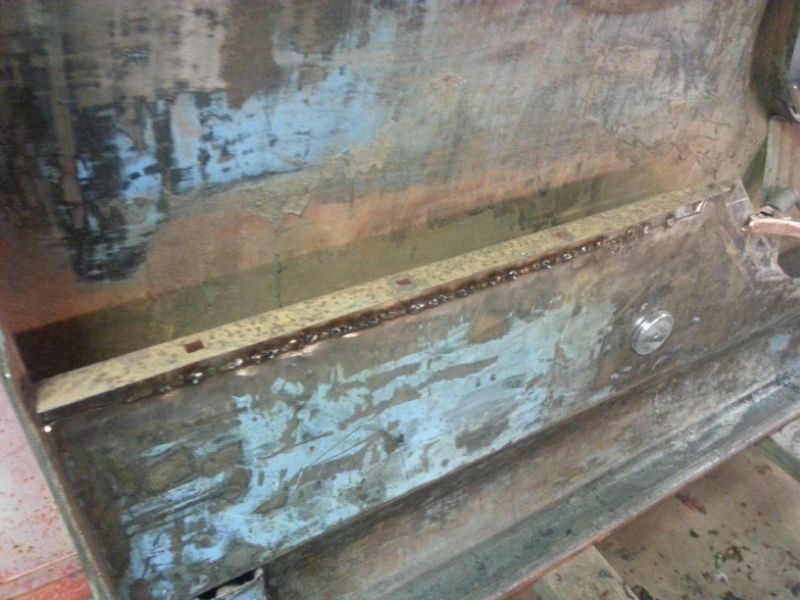 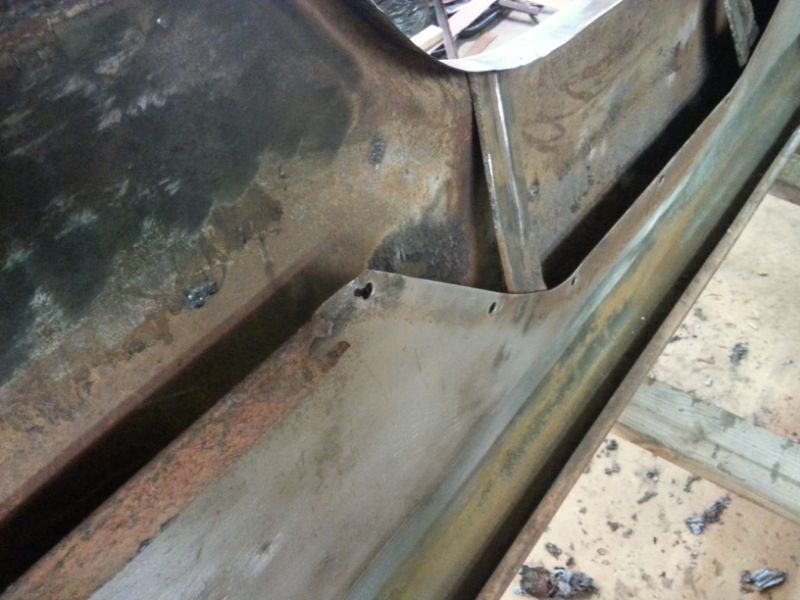 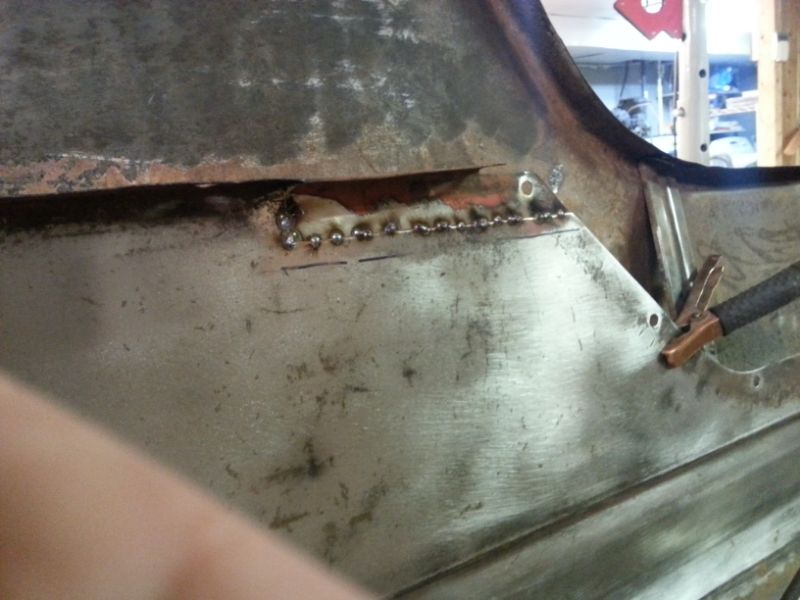 Got rid of the stake pockets. Found some rust thru spots on one of the sides. The other look real good though. 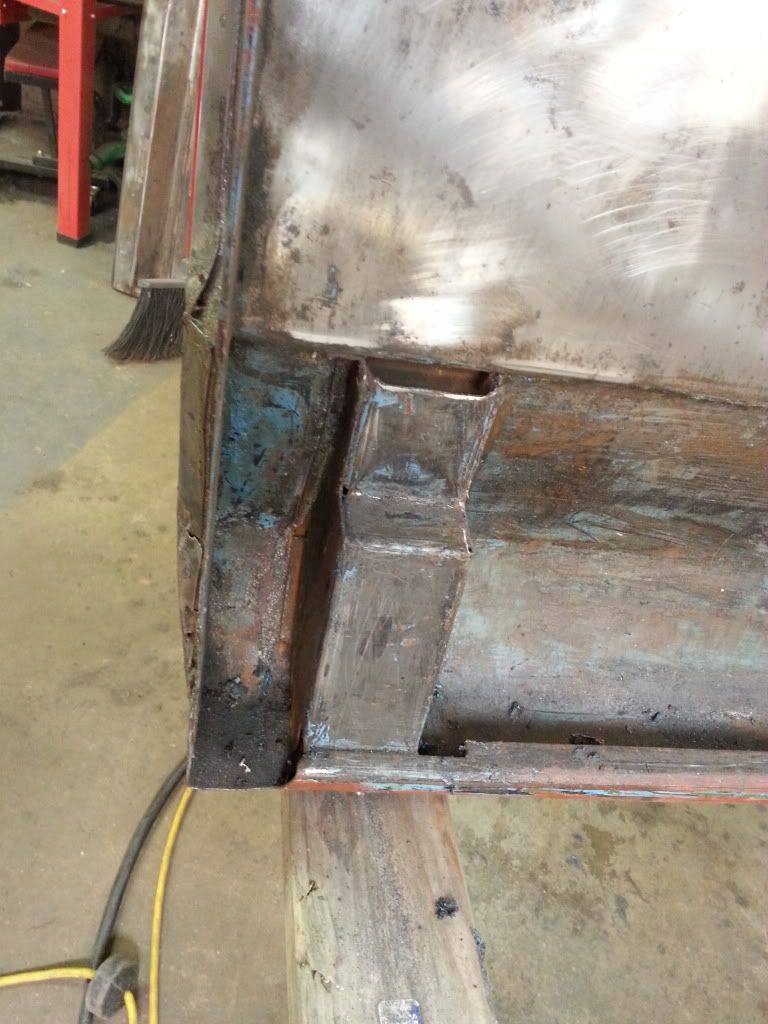 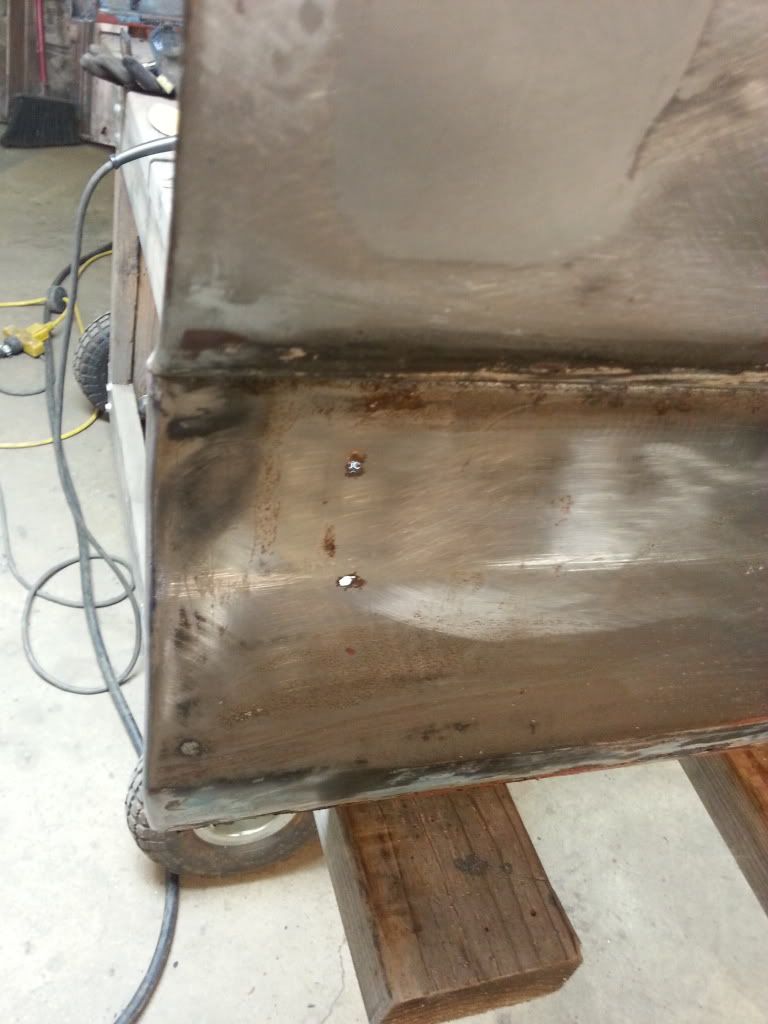 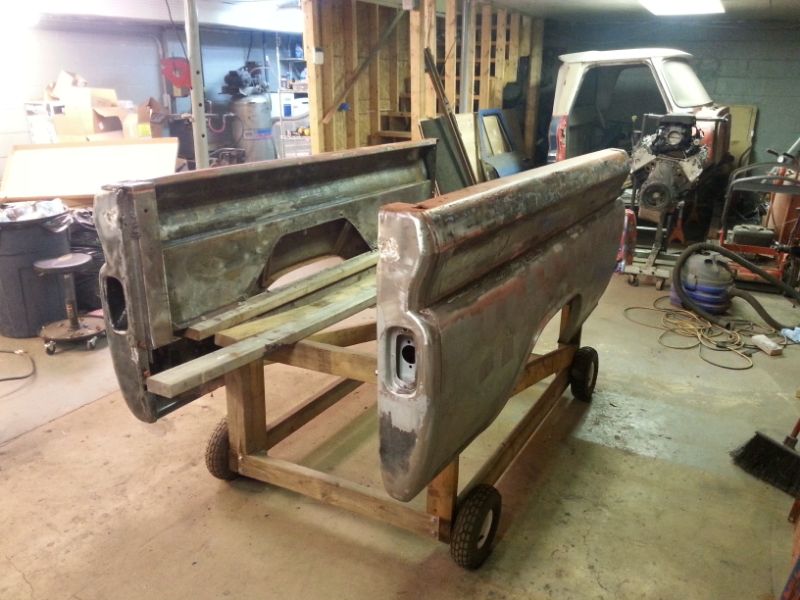 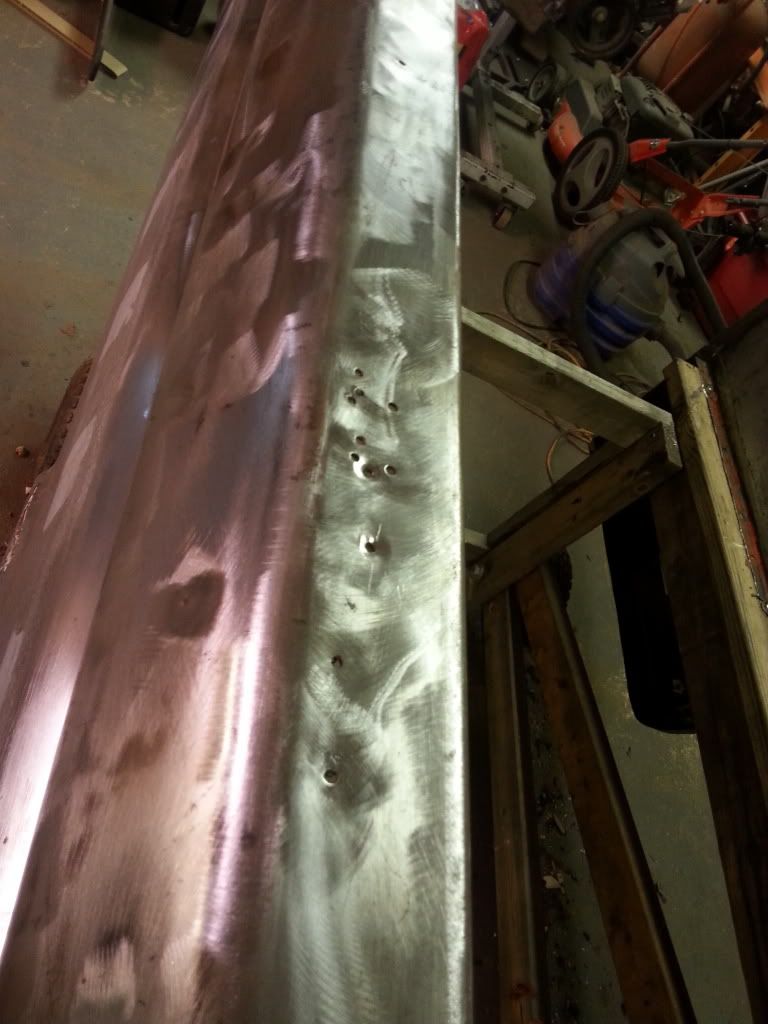 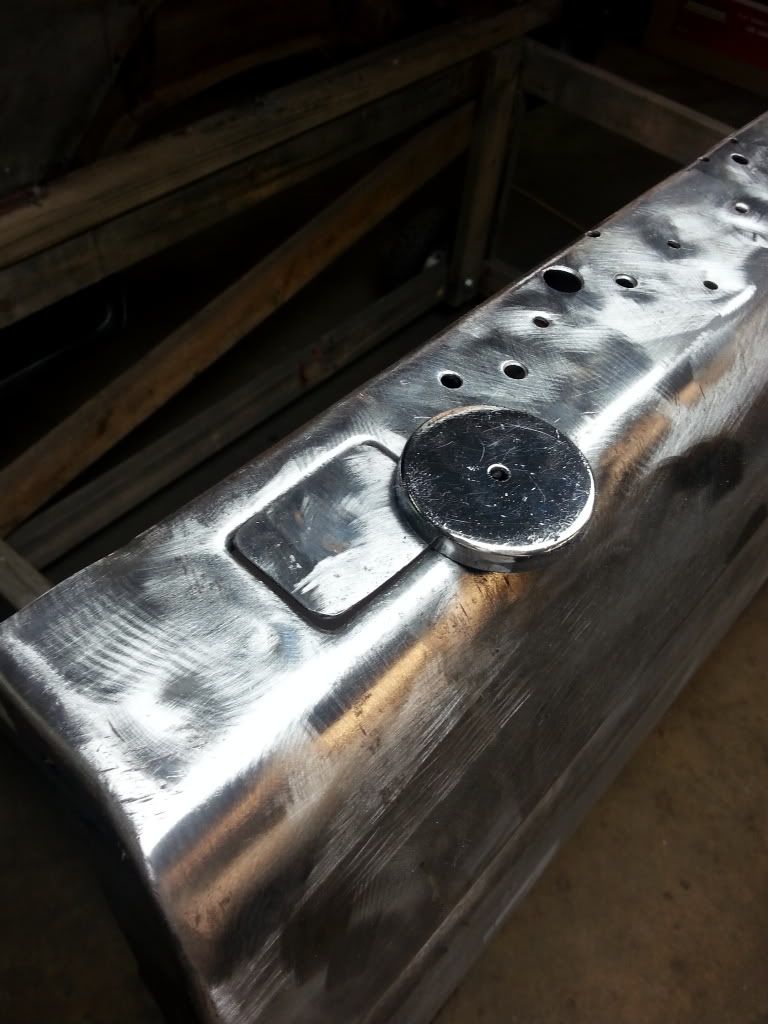 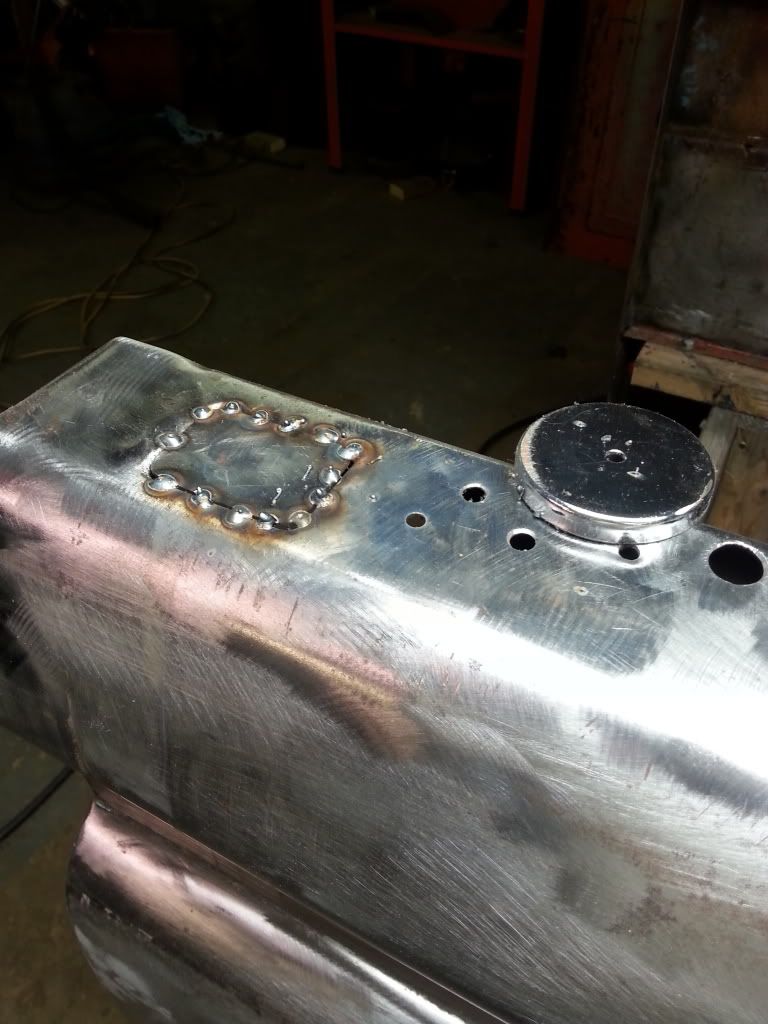 I drilled some of the oblong holes to help clean it out and make it uniformed. Not sure if that is the correct thing to do but did seem to make it easier to fill in. 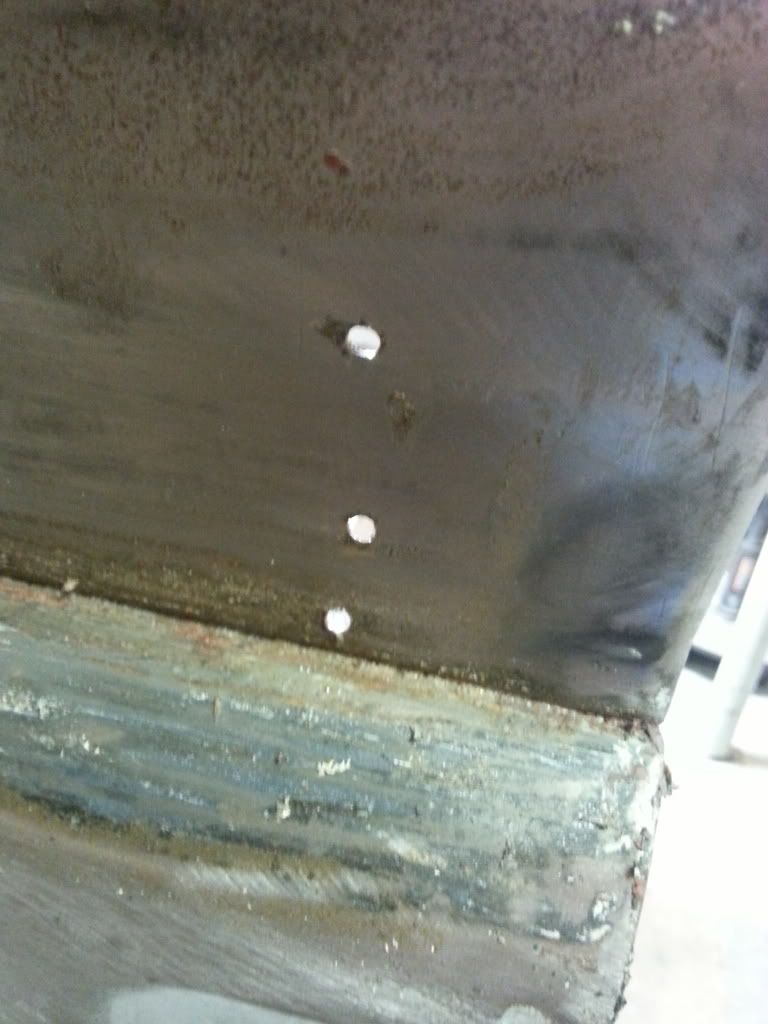 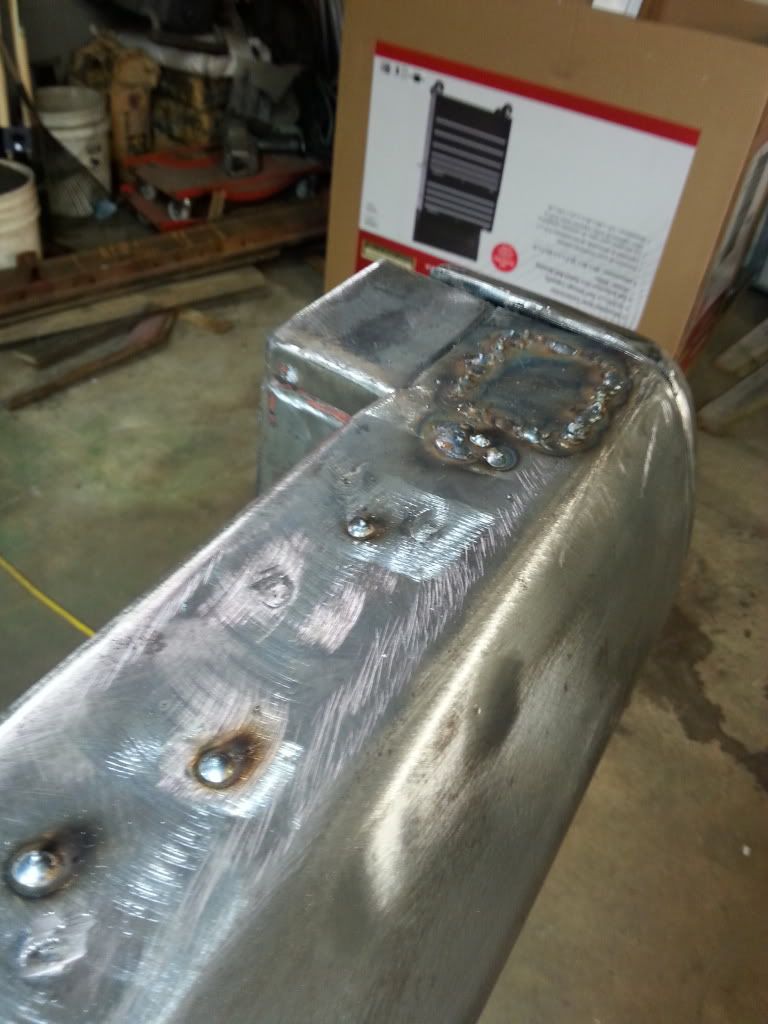 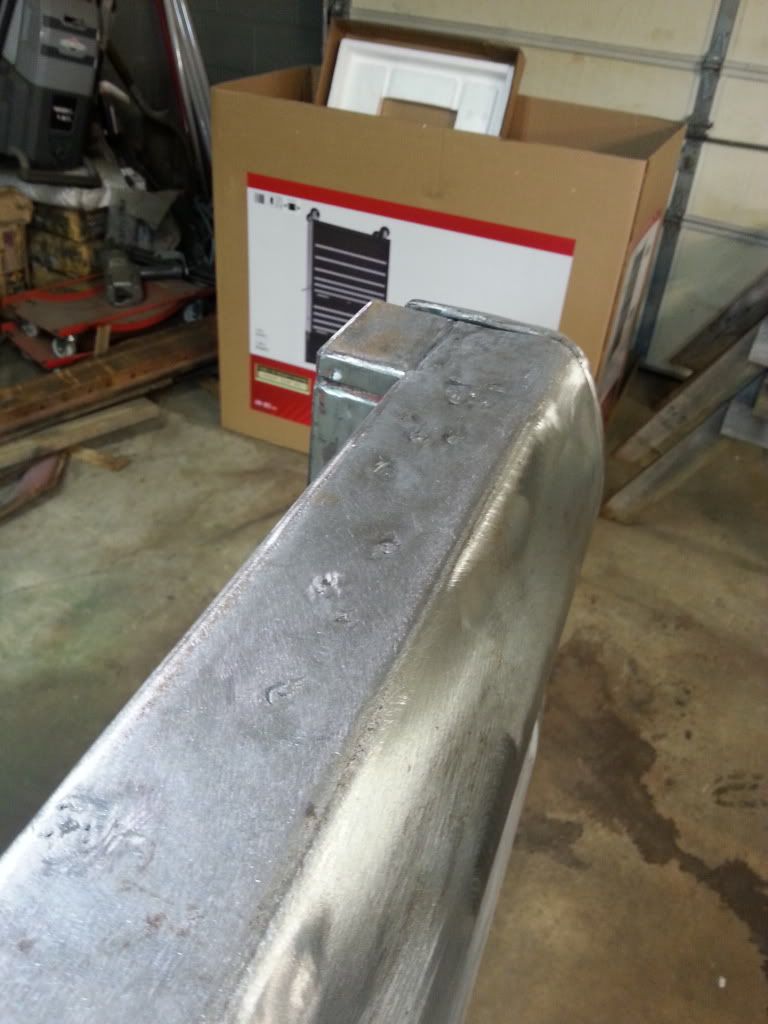 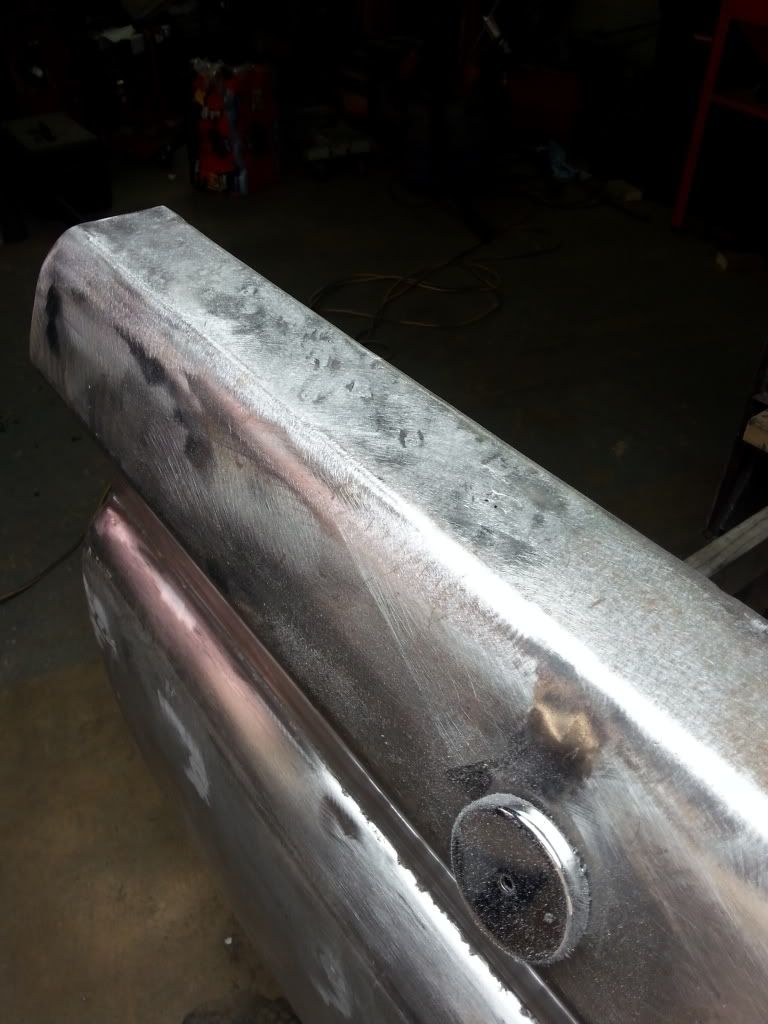 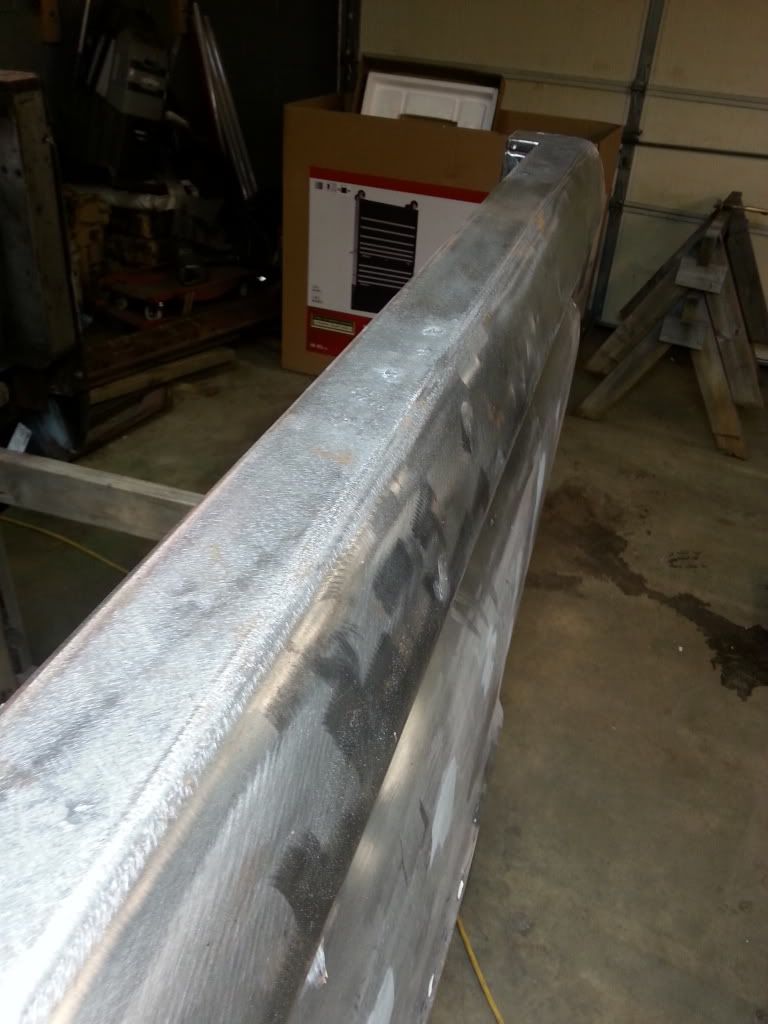 Not perfect but definitely workable. I use a thick air cut off wheel to quickly grind away the weld and I always seem to get a little carried away. Thats it for now. Thanks for looking
__________________
66 CHEVY C10 BBW W/AC LWB to SWB Air ride 5.3 LS 700r4 Still in progress....still |
|
|
|

|
|
|
#68 |
|
Registered User
Join Date: Jun 2013
Location: Nashville
Posts: 82
|
Re: 66 C10 Project SWB
Wow can't believe it was December since my last post. Ive made some decent head way on the bed. It was sprayed with Eastwood's grey 2k epoxy primer. This stuff has some bite. Painted on some black Rustoleum on the under side of the bed and the bed rails.
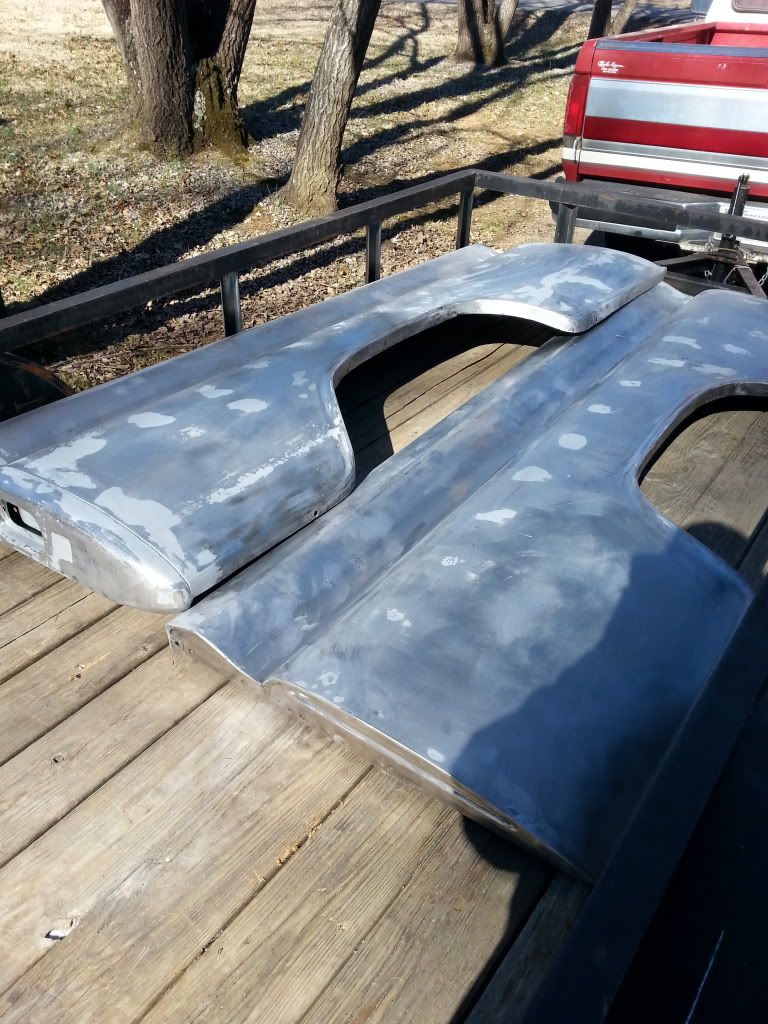 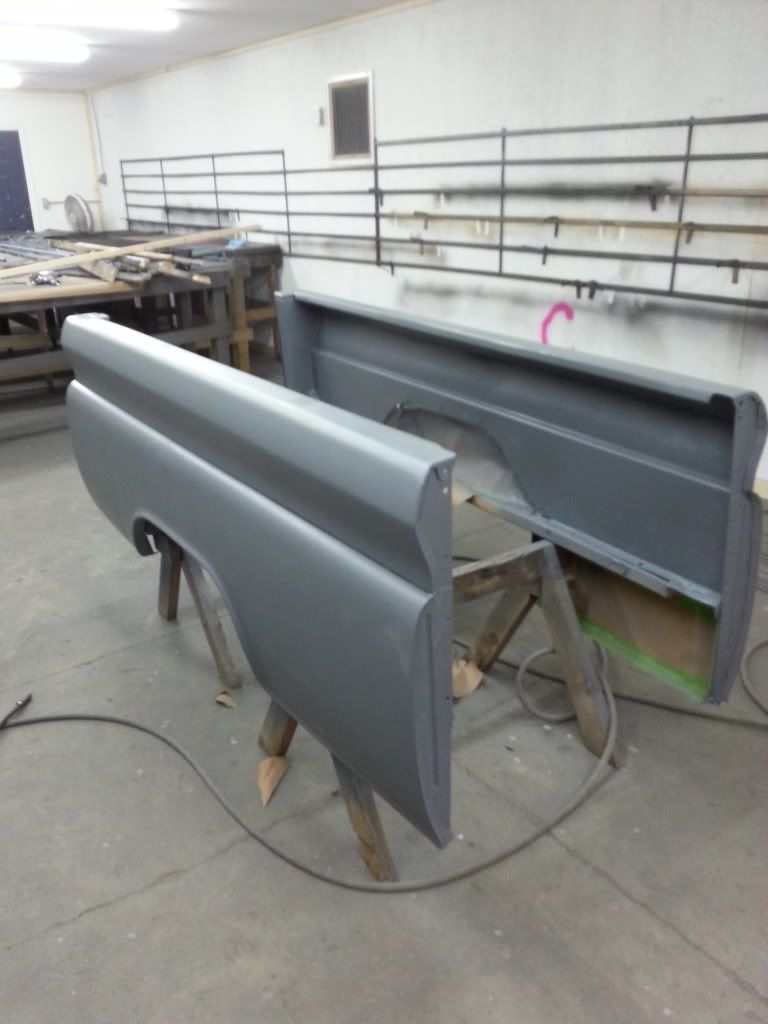 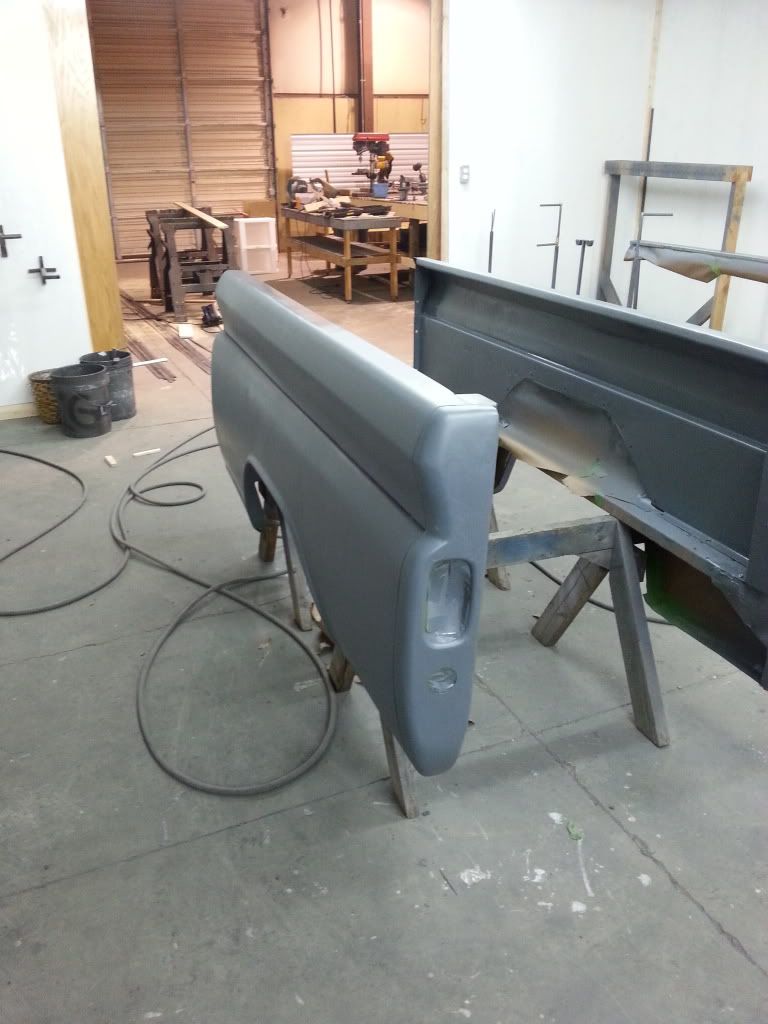 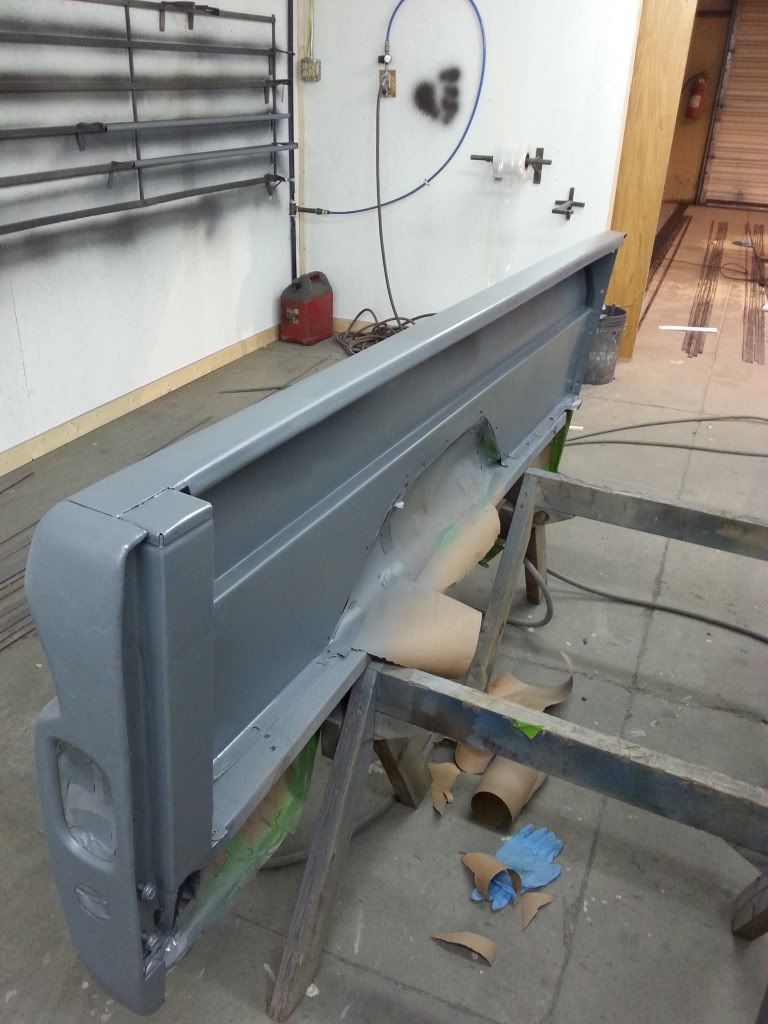 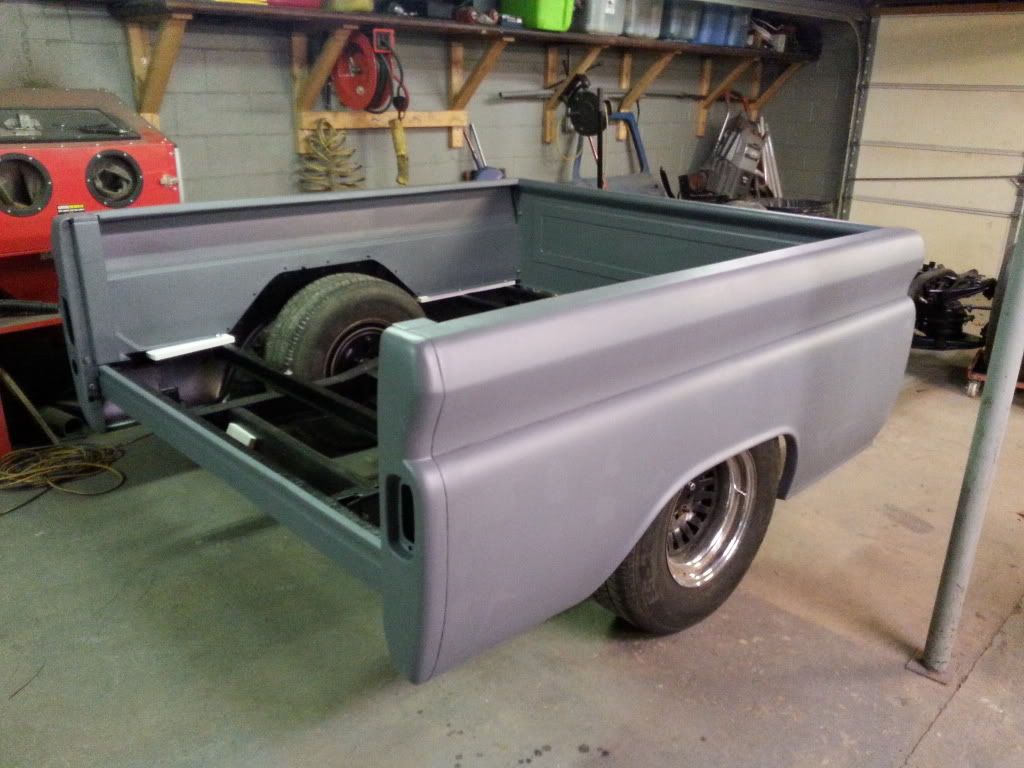 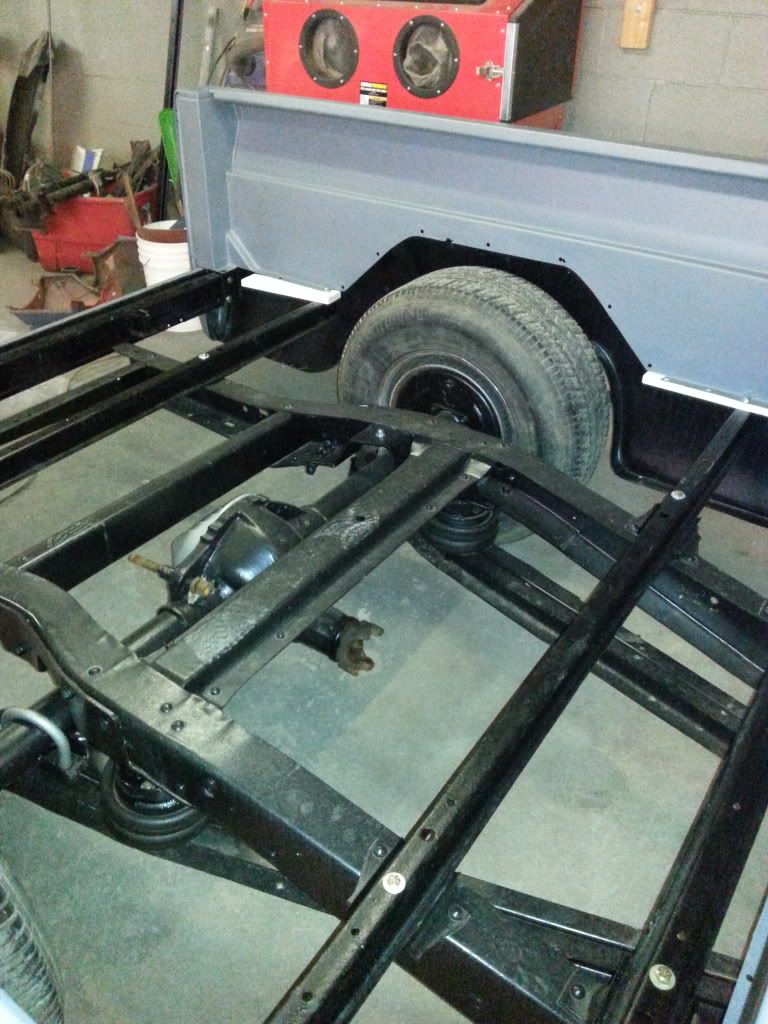 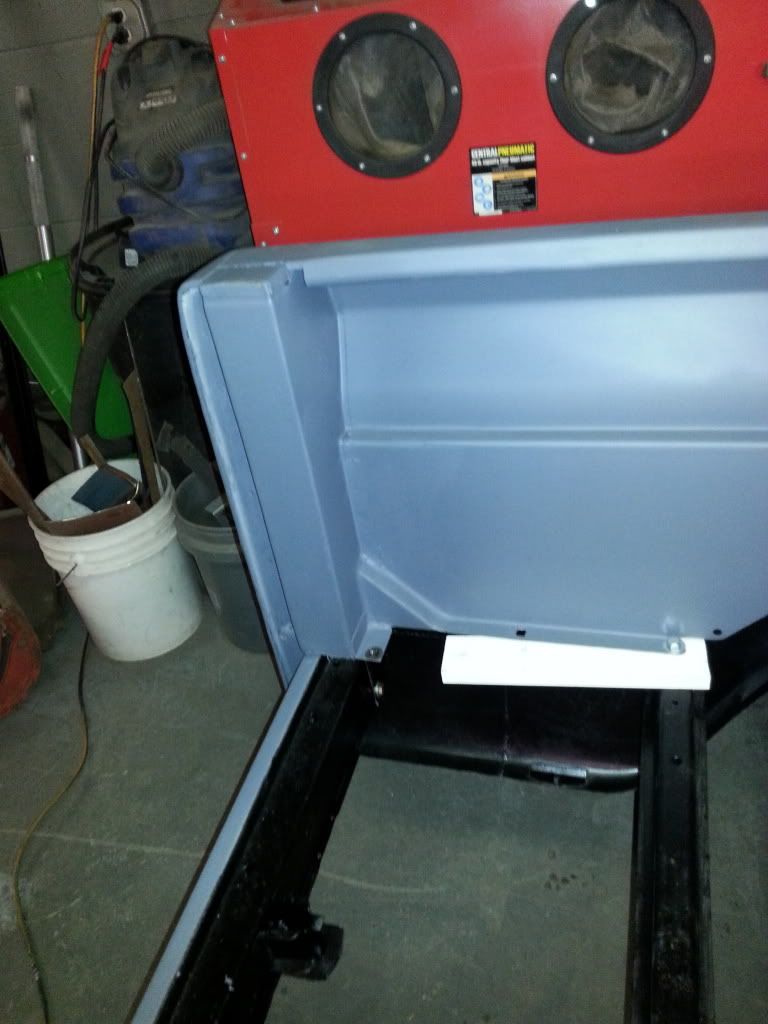 I took the cab and some of the other body parts to a media blaster for striping. First time using a professional blaster and it will be the only way I go from now on. Takes a lot of the bad out of restoring body parts. I did find a few spots of rust that I didn't notice before. I guess its better to fix it now then to keep on rusting and mess with any final finish later. Once I got is back from being striped I sprayed the same epoxy primer on all the bare parts. Then I sat it back on the frame with new poly body mounts. I didn't bolt it down but I wanted to make sure the replaced cab corners matched up with the bed. It came out better than I thought. 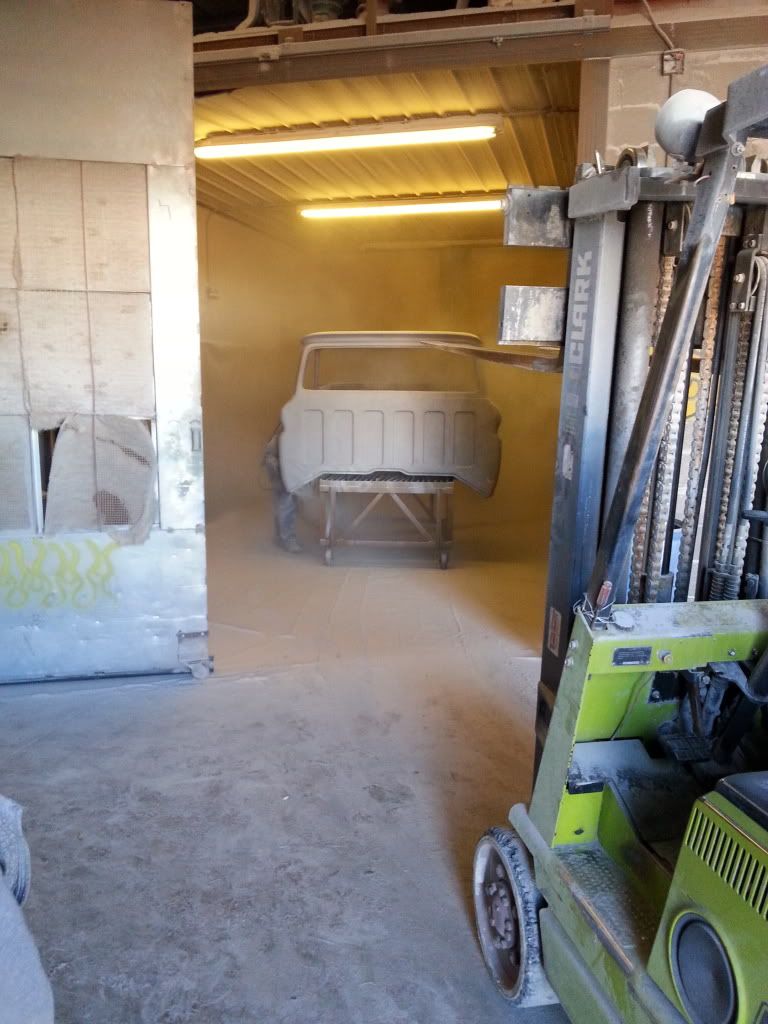 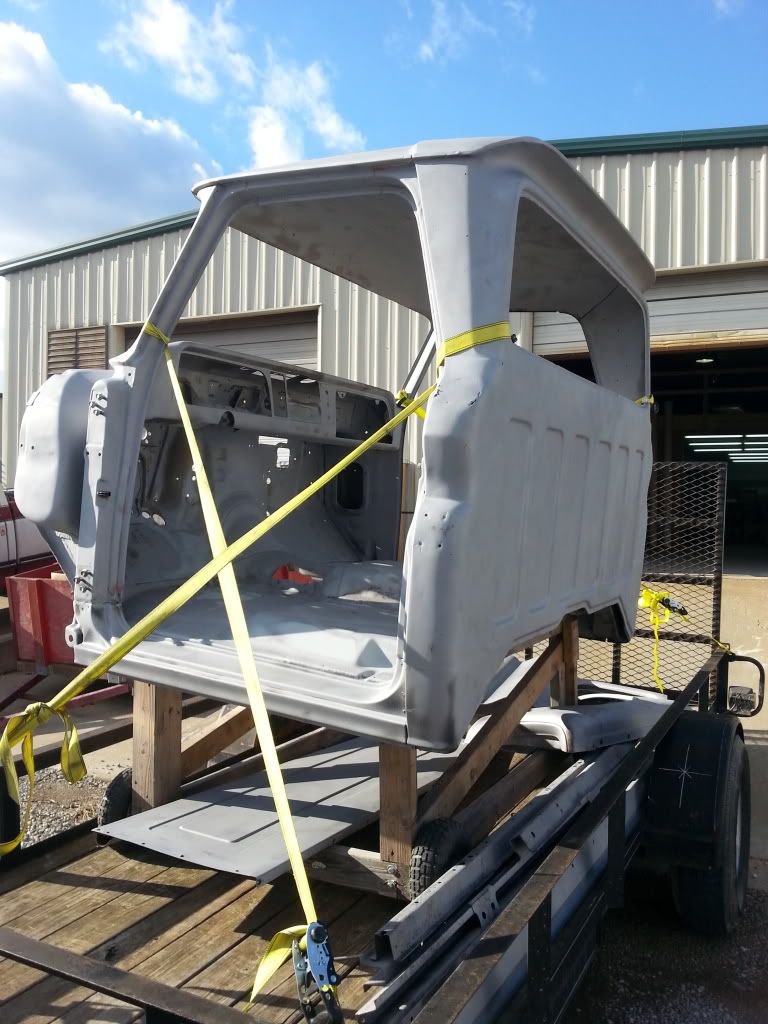 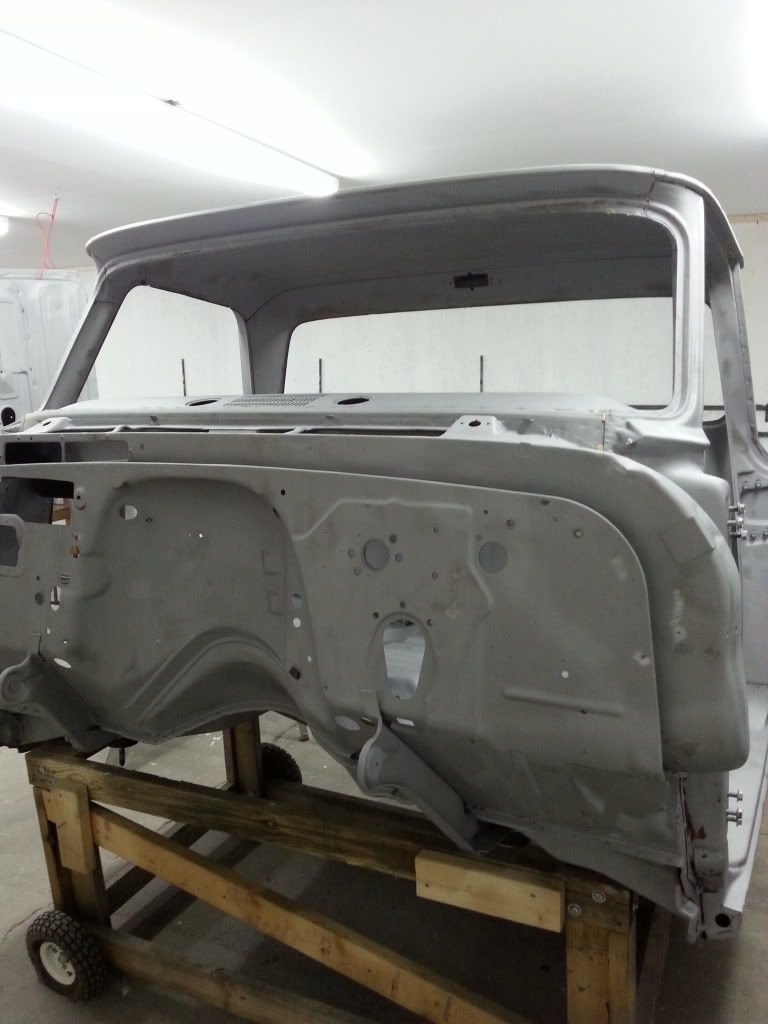 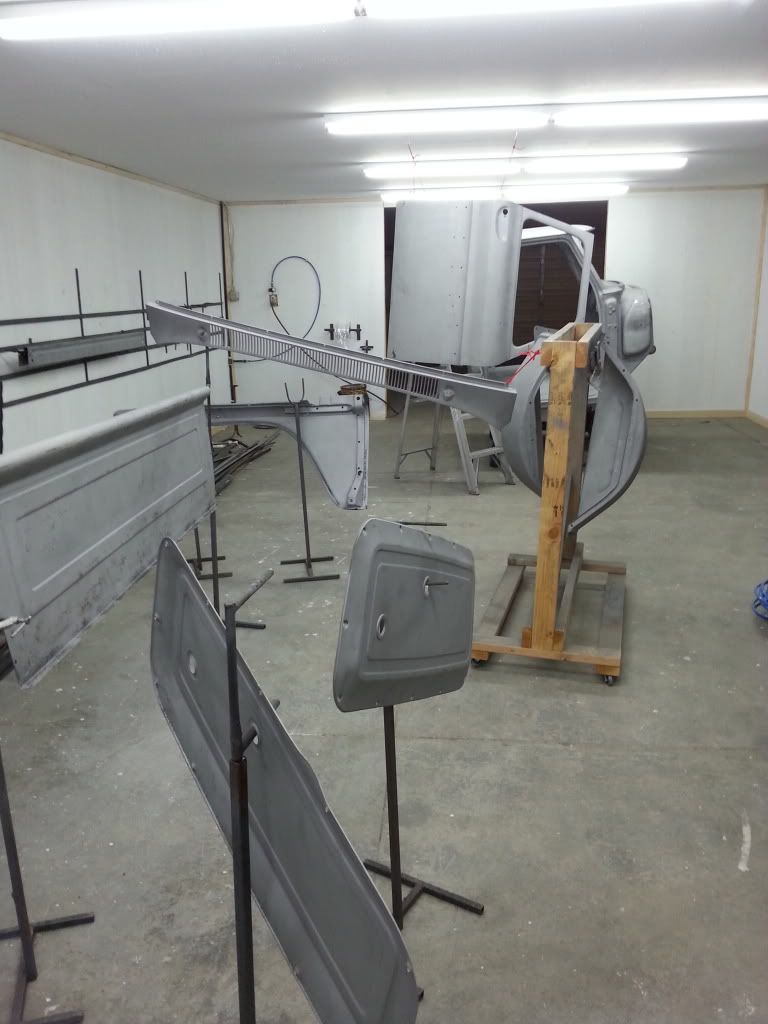 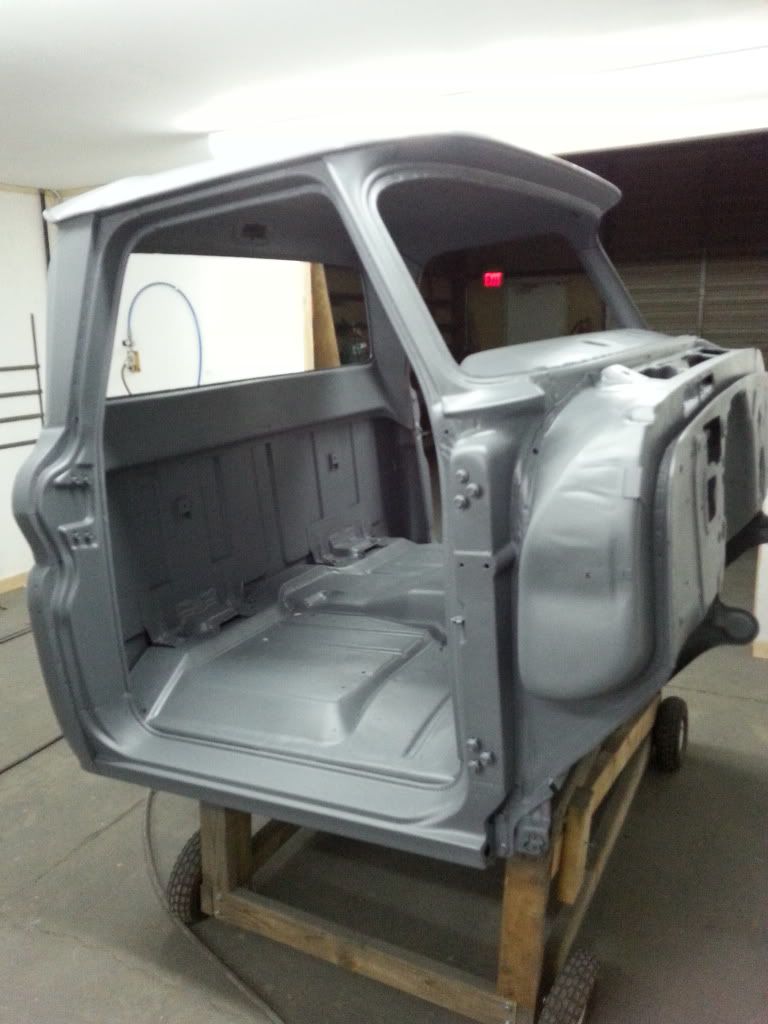 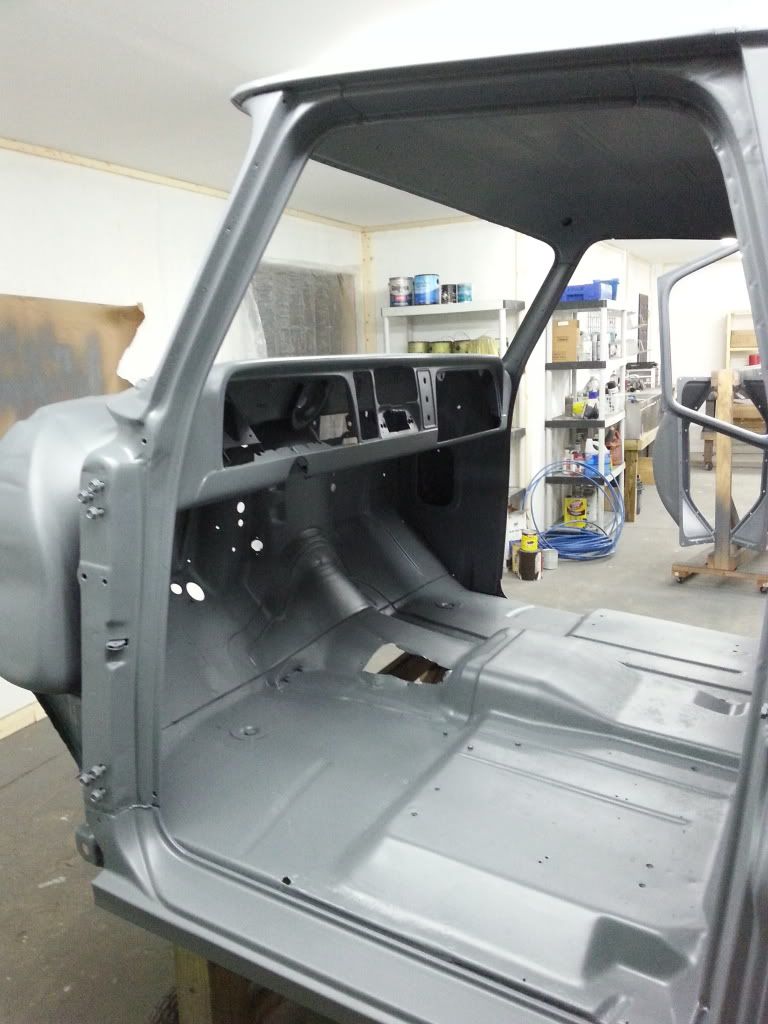 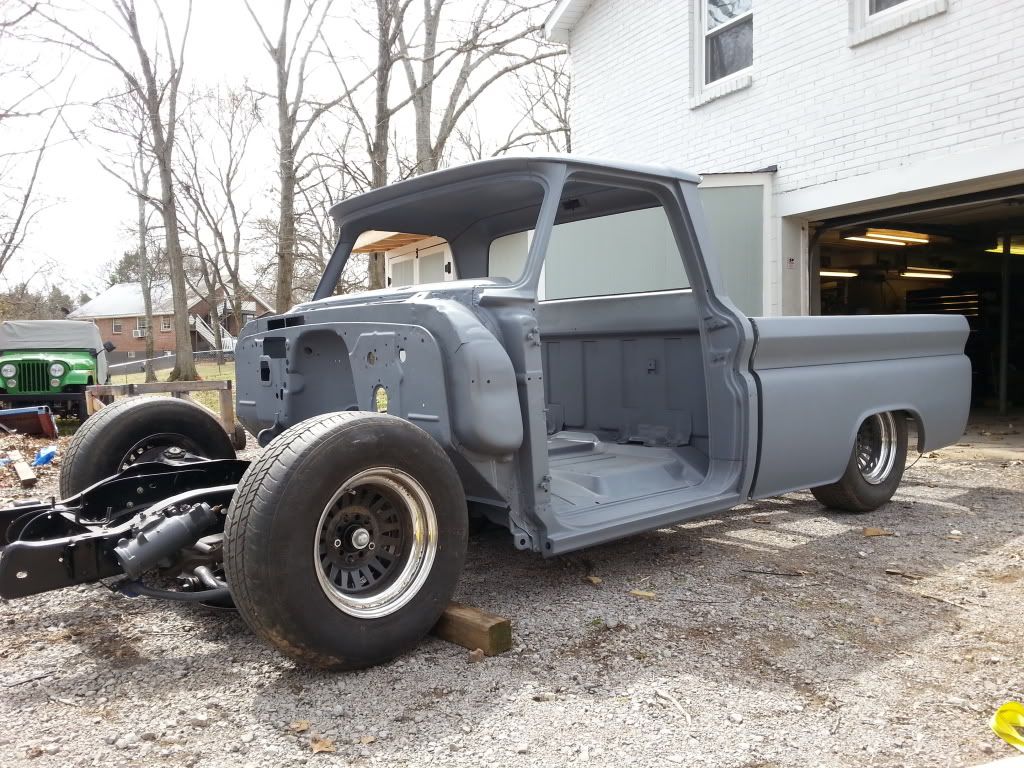 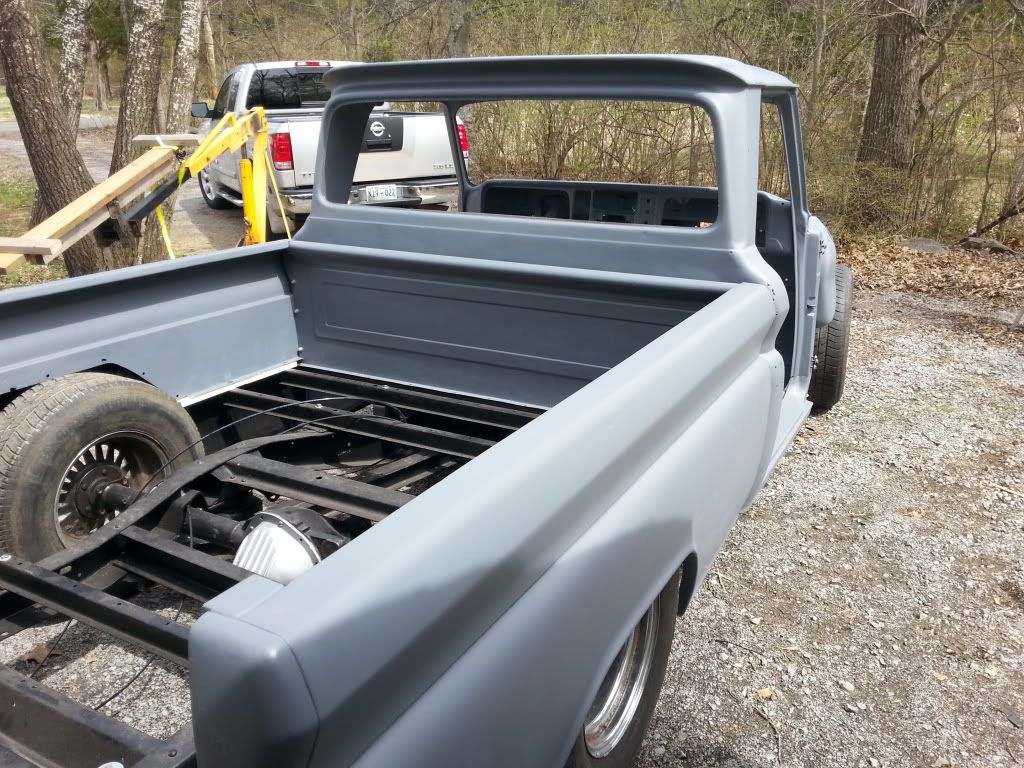 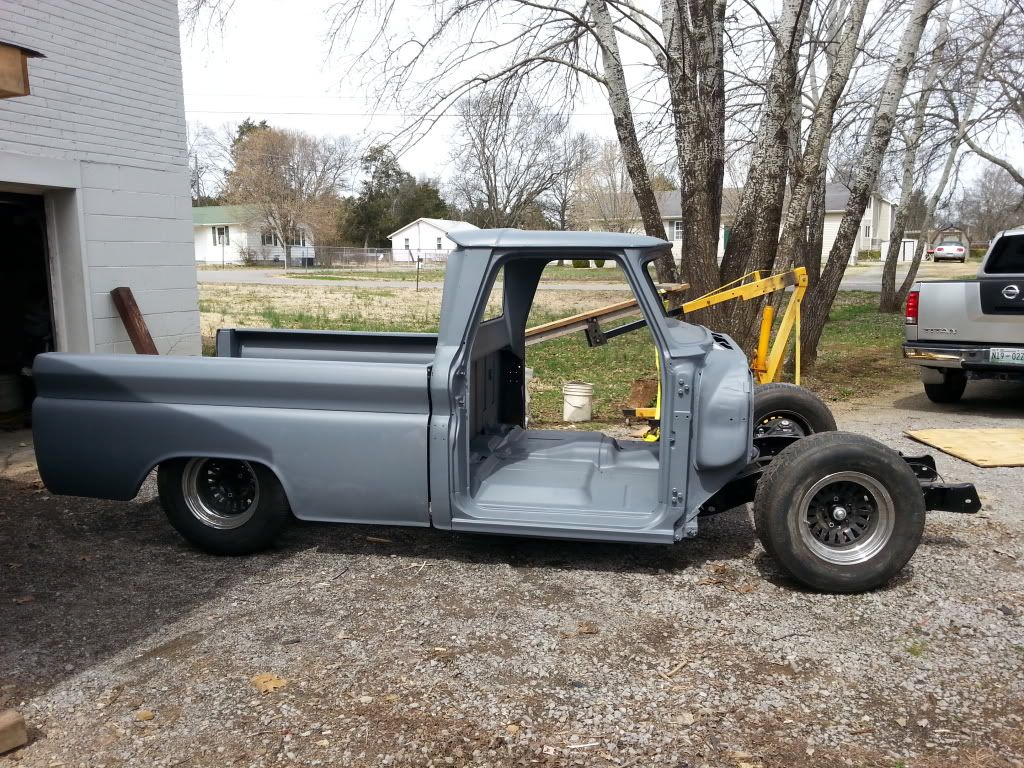 More to come...
__________________
66 CHEVY C10 BBW W/AC LWB to SWB Air ride 5.3 LS 700r4 Still in progress....still |
|
|

|
|
|
#69 |
|
Registered User
Join Date: Sep 2011
Location: Tacoma, WA
Posts: 2,425
|
Re: 66 C10 Project SWB
Very nice, looks like some really good progress there !

__________________
Michael McMurphy My 66 Stepside My 64 Tow Truck My 66 Tempest Table Of Contents Added to Page1 |
|
|

|
|
|
#70 |
|
60-66 Nut
  Join Date: Mar 2007
Location: Coeur d'Alene, Idaho
Posts: 23,252
|
Re: 66 C10 Project SWB
Looks good
I agree that abrasive blasting is the only way to go. That way you see exactly what you have to work with......there's no hidden issues to pop up later on. It looks like that guy was using silica sand? If so, do you know if that Eastwood 2K epoxy is compatable with that? Some epoxy primers are not compatable with a silica sand blasted surface, and will lift. It is due to the silica that becomes imbeded in the metal.
__________________
Power Steering Box Adapter Plates For Sale HERE Power Brake Booster Adapter Brackets For Sale '63-'66 HERE and '67-'72 HERE and '60-'62 HERE and "60-'62 with clutch HERE Rear Disc Brake Brackets For Sale. Impala SS calipers HERE Camaro Calipers HERE D52 Calipers HERE 6 Lug HERE Hydroboost Mounting Plates HERE |
|
|

|
|
|
#71 | |
|
Registered User
Join Date: Jun 2013
Location: Nashville
Posts: 82
|
Re: 66 C10 Project SWB
Thanks
Quote:
__________________
66 CHEVY C10 BBW W/AC LWB to SWB Air ride 5.3 LS 700r4 Still in progress....still |
|
|
|

|
|
|
#72 |
|
60-66 Nut
  Join Date: Mar 2007
Location: Coeur d'Alene, Idaho
Posts: 23,252
|
Re: 66 C10 Project SWB
If they used crushed glass, I don't know if that could still be an issue since glass is made from silica.
Some people simply are either not aware of the issues with silica sand, or refuse to look at the facts. I do know that PPG will no warranty their products if they are applied over a silica sand blasted surface. There is another paint mfg that I can't think of at the moment. I would contact Eastwood and see what they say. Or better yet if you can find out who makes their 2K epoxy primer. Not trying to get you worried for no reason, but just trying to share some of my knowledge. I think it would be better to find out if there could be an issue at this point rather than after you have it painted.
__________________
Power Steering Box Adapter Plates For Sale HERE Power Brake Booster Adapter Brackets For Sale '63-'66 HERE and '67-'72 HERE and '60-'62 HERE and "60-'62 with clutch HERE Rear Disc Brake Brackets For Sale. Impala SS calipers HERE Camaro Calipers HERE D52 Calipers HERE 6 Lug HERE Hydroboost Mounting Plates HERE |
|
|

|
|
|
#73 | |
|
Registered User
Join Date: Jun 2013
Location: Nashville
Posts: 82
|
Re: 66 C10 Project SWB
Quote:
__________________
66 CHEVY C10 BBW W/AC LWB to SWB Air ride 5.3 LS 700r4 Still in progress....still |
|
|
|

|
|
|
#74 |
|
Registered User
Join Date: Oct 2012
Location: Jackson, TN
Posts: 11
|
Re: 66 C10 Project SWB
Did you ever finish your truck?
|
|
|

|
|
|
#75 |
|
Registered User
Join Date: Jan 2012
Location: Henderson,TX
Posts: 336
|
Re: 66 C10 Project SWB
wondering if you ever solved your panhard bar problem with the diff cover?
|
|
|

|
 |
| Bookmarks |
| Thread Tools | |
| Display Modes | |
|
|