
 |
|
|
#126 |
|
Resistance is Futile
Join Date: Dec 2006
Location: Mesa,Arizona
Posts: 3,520
|
Re: My Build: Home Depot Machine
The cleared panels look more 'aged' to me....like them either way.
__________________
64 CHEVY PICK-UP > http://67-72chevytrucks.com/vboard/s...otrash+re-hash 64 CARRYALL >http://67-72chevytrucks.com/vboard/s...=1964+suburban 66 LB >http://67-72chevytrucks.com/vboard/s...d.php?t=427852 STRENGTH/DETERMINATION/MERCILESS/FOREVER .......posted via stationary device |
|
|

|
|
|
#127 |
|
Registered User
Join Date: Oct 2010
Location: Rich Virginia
Posts: 336
|
Re: My Build: Home Depot Machine
Thanks!
I am done w the wiring!!!!!!!!!!!!!!!!!!!!!!!!!!!!! I am going to get a battery and start it on monday.Also monday, the front end goes back on, the doors go back on. The bed is already on but I forgot to take pics. Shocks are in but need to be installed, I have to finish the paint, exhaust, and wait for the driveshaft to be finished. 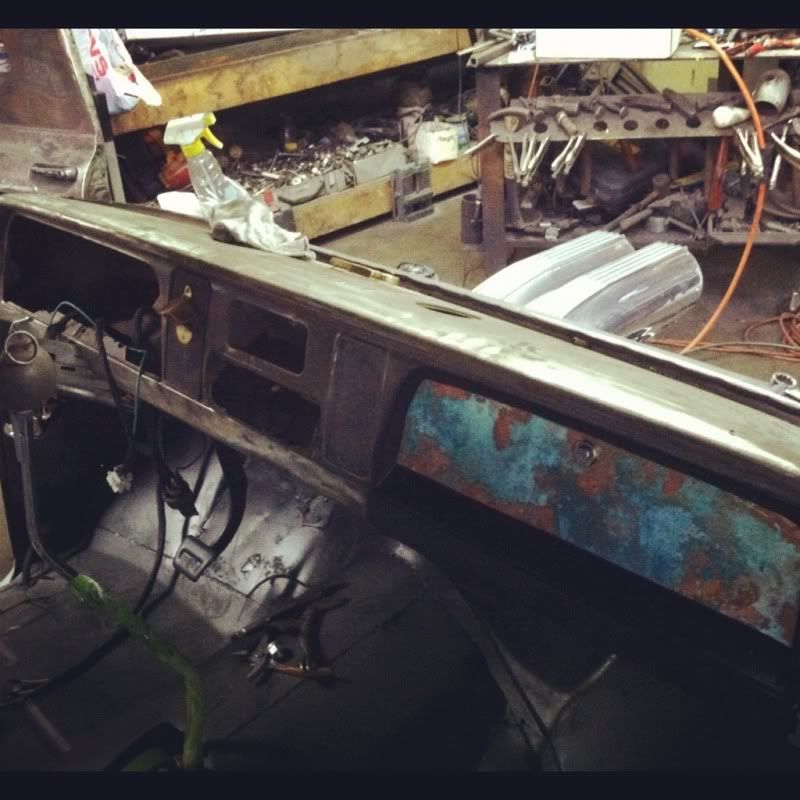 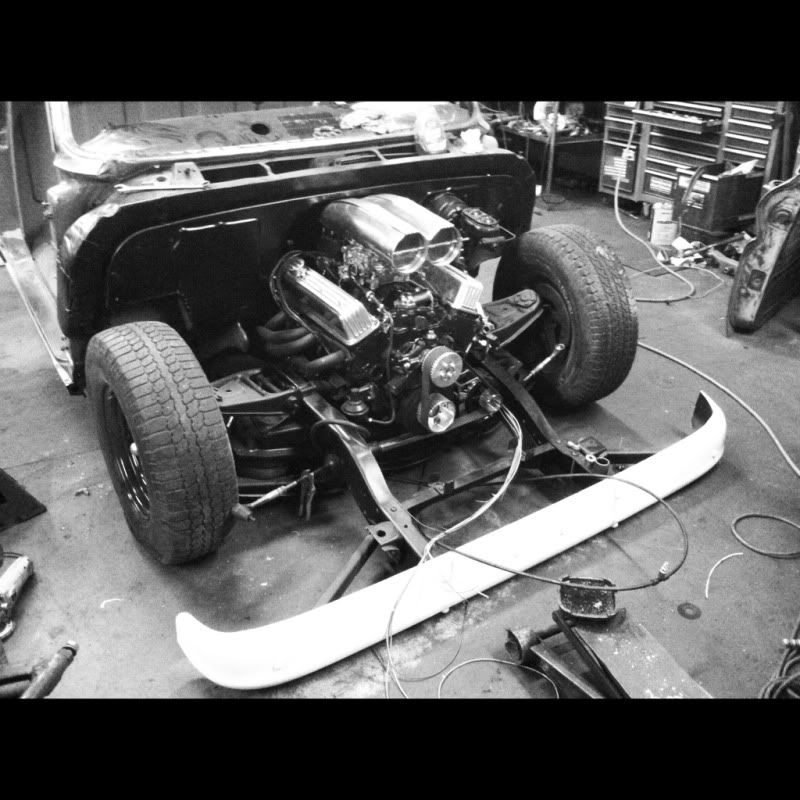 sweet ass connectors! Do it right once! 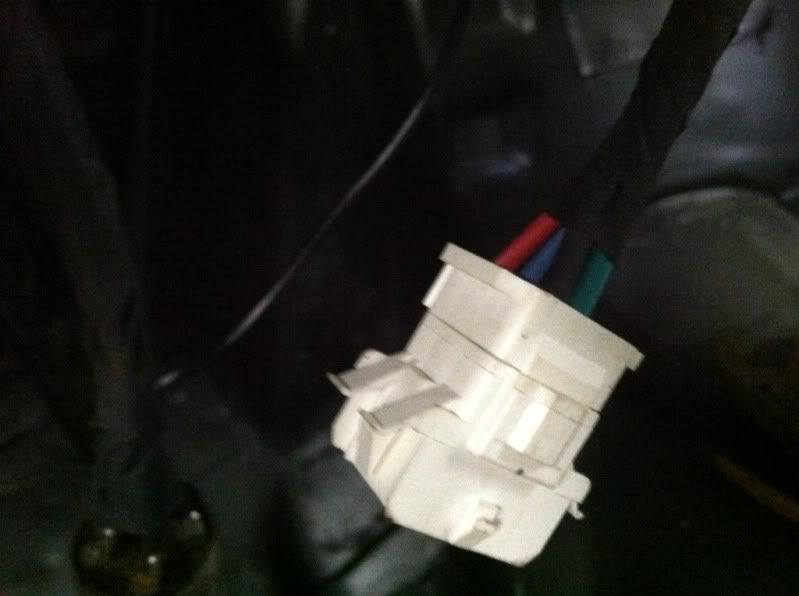 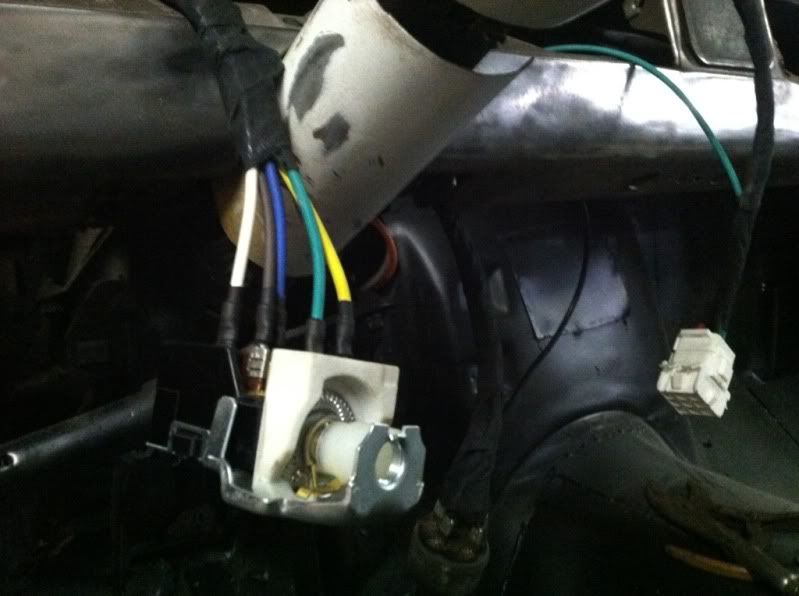 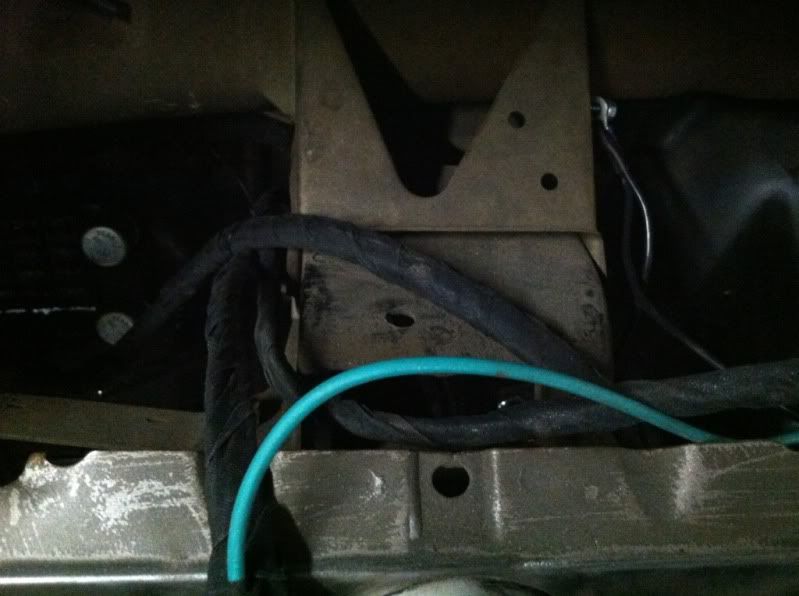 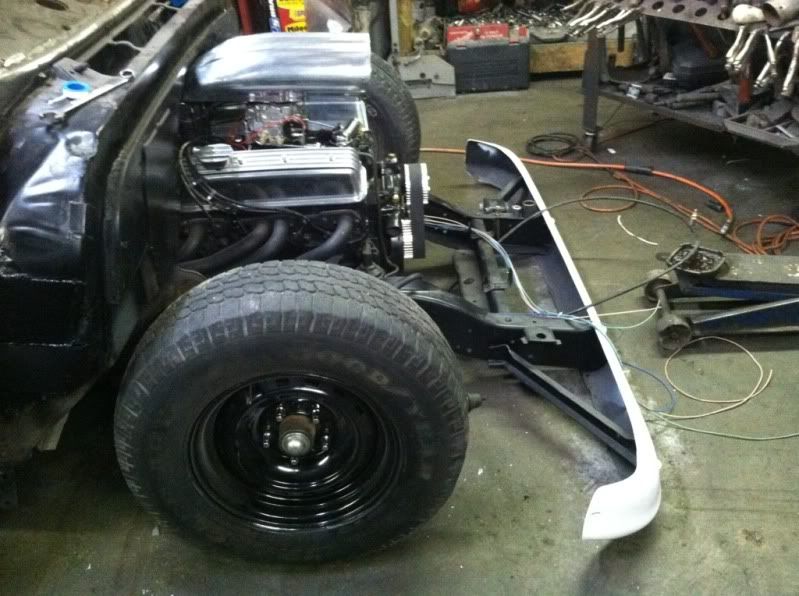 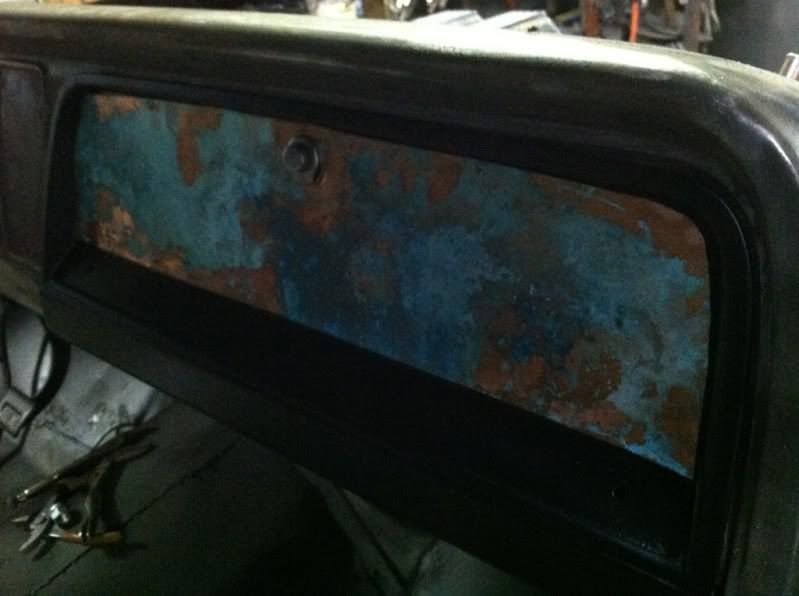
|
|
|

|
|
|
#128 |
|
Registered User
Join Date: Oct 2010
Location: Rich Virginia
Posts: 336
|
Re: My Build: Home Depot Machine
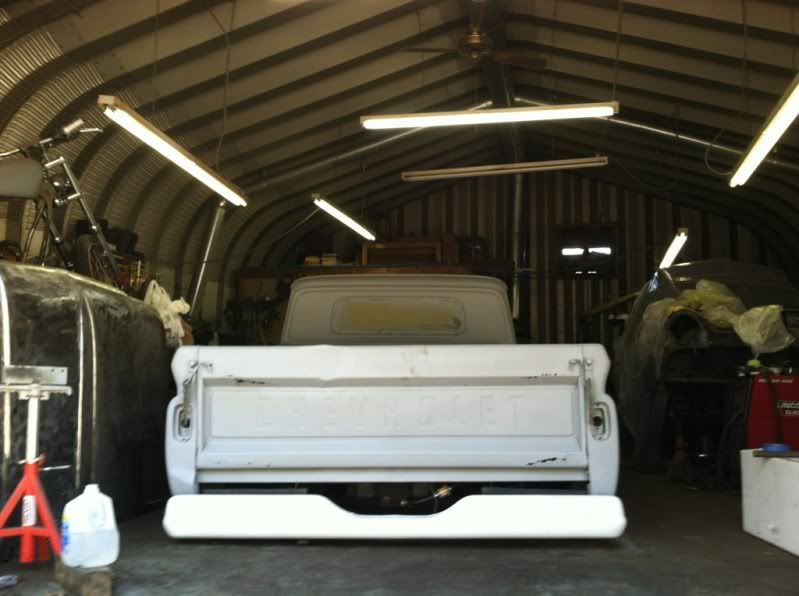
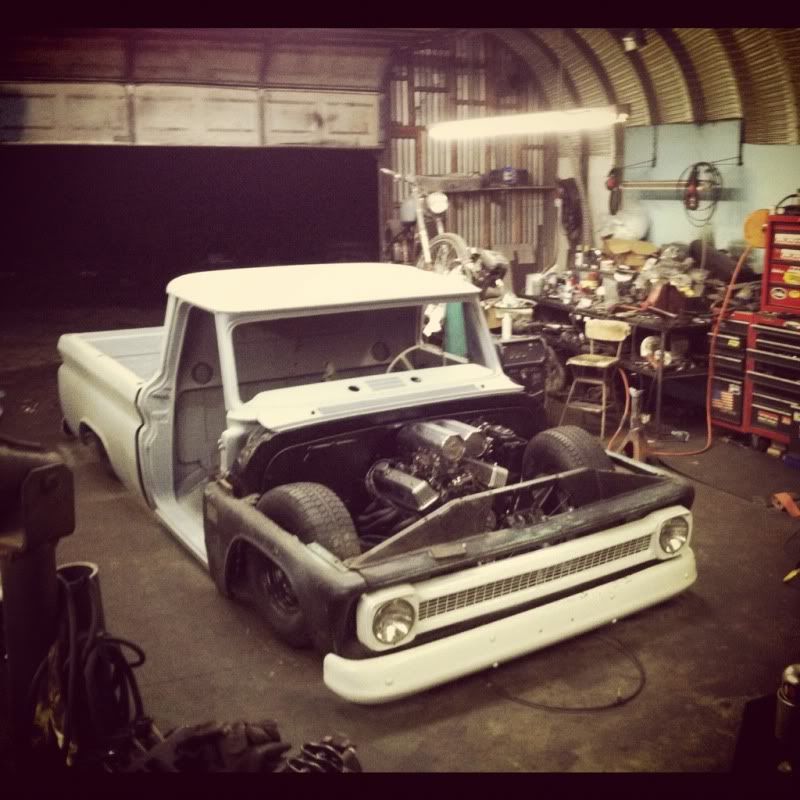
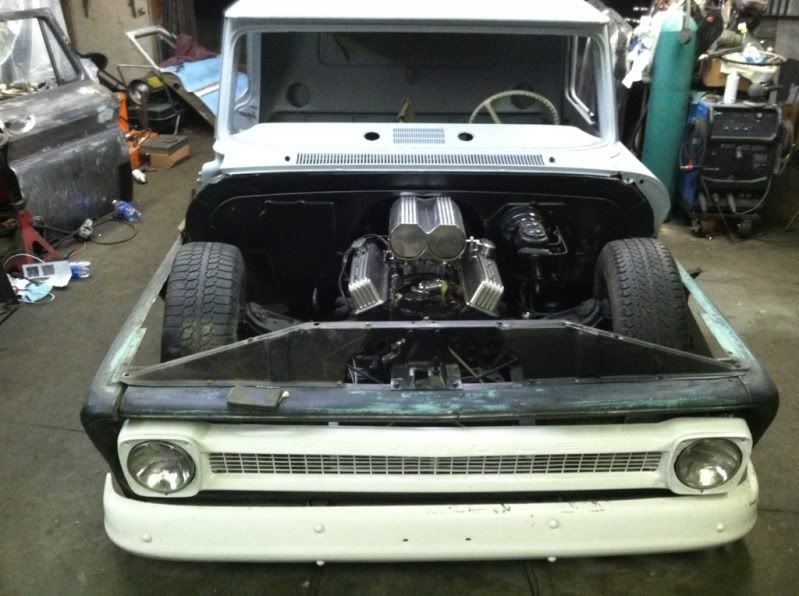
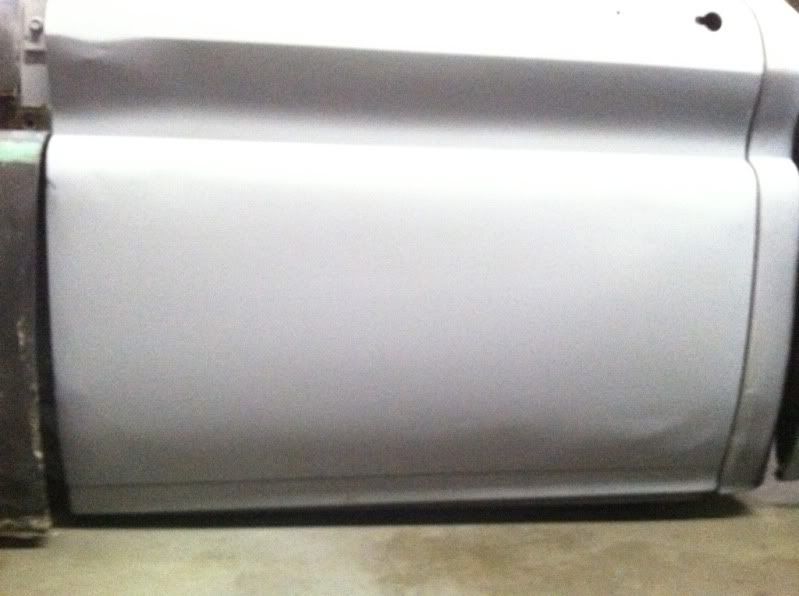
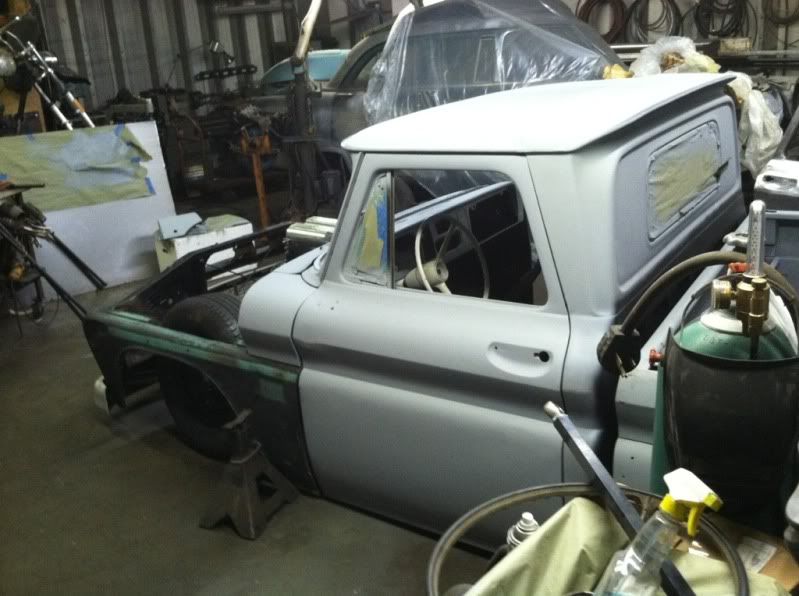
I put the front clip back on, there is no way to retain inner fenders with the wheel offset I am running. I etched and primed the entire cab and doors. All that is left is to paint the front clip and hood. The truck will need a bit more filler work and block sanding before final paint, but that will be at a cleaner booth 30 min away with high quality paint guns and DA's. Forgot the keys so I couldn't try and start it, later next week I will.
|
|
|

|
|
|
#129 |
|
Registered User
Join Date: Oct 2010
Location: Rich Virginia
Posts: 336
|
Re: My Build: Home Depot Machine
Got the door cards in for now. It will be a month or so until we get the new fenders and cowl so it will be primer for now.
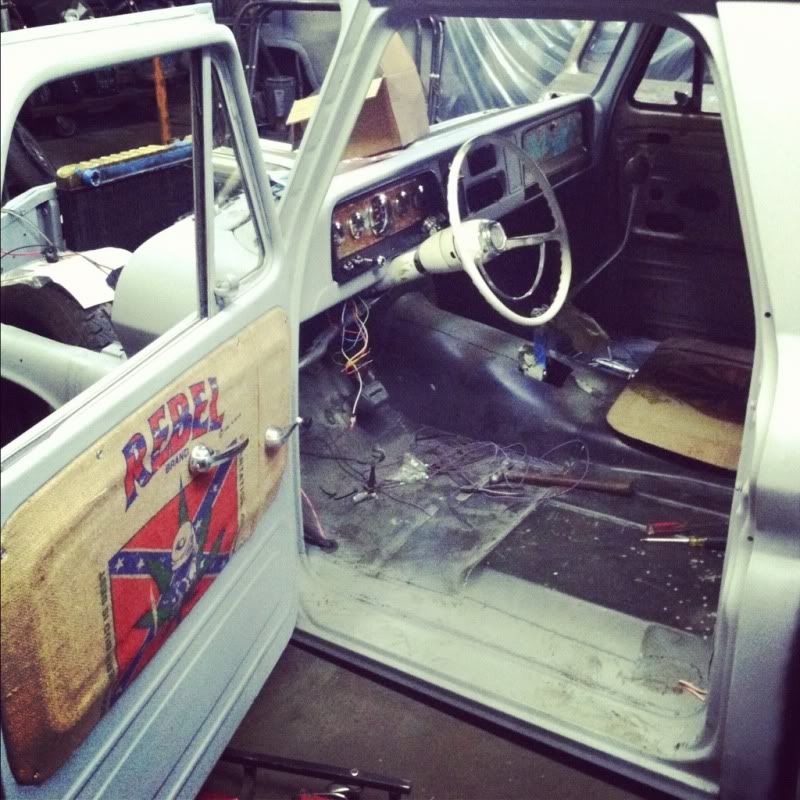 Cut down the stock tubs to cover the wheels, I will make them level and then lay the wood floor down 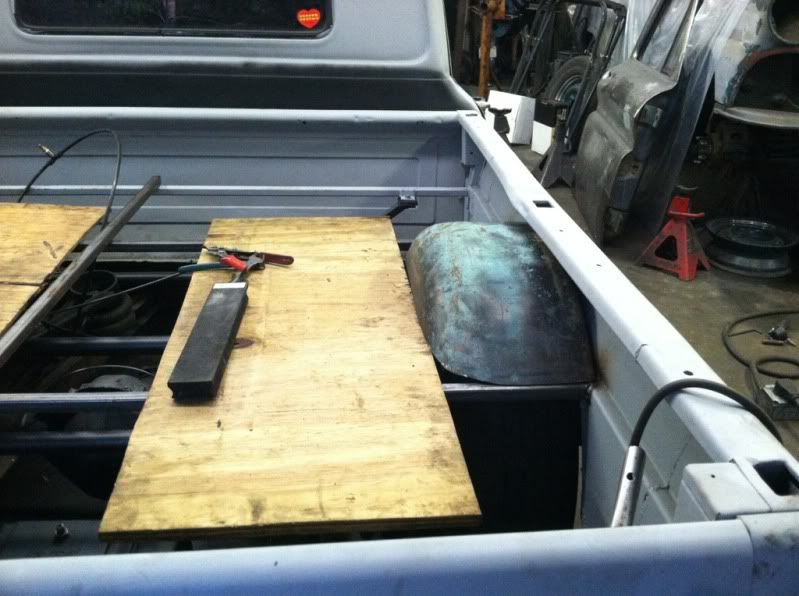 Radiator is in. 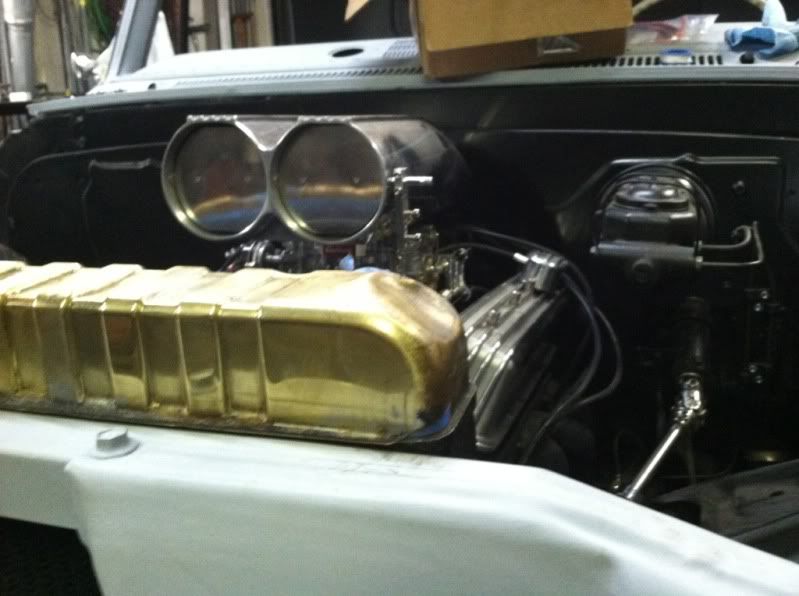 Tail lights wired 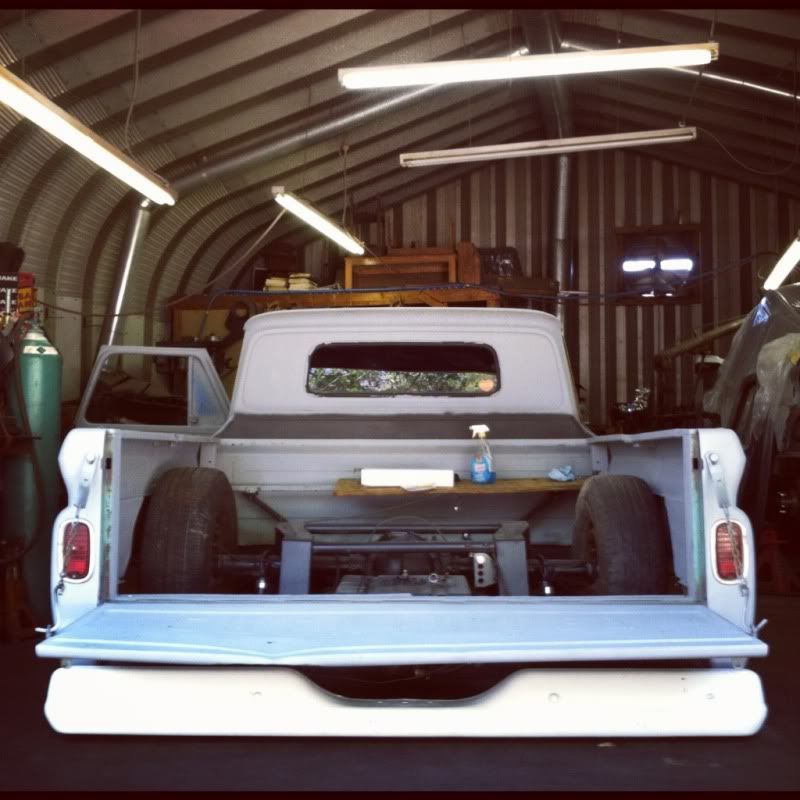
|
|
|

|
|
|
#130 |
|
Registered User
Join Date: Oct 2010
Location: Rich Virginia
Posts: 336
|
Re: My Build: Home Depot Machine
A little more work done. I finished the wiring but I don't have a battery yet, waiting on an Optima to come in. I used a motorcycle battery to test lights and gauges. Everything works on the 1st try!!!!!!!! I have some poor grounds I didn't sand down the epoxied frame on the ground points. 1 headlight and 1 taillight are dim. Once I get the battery in I will crank it over. I need to get 2 new front fenders, a windshield, finish exhaust and install the driveshaft. Brakes are bled.
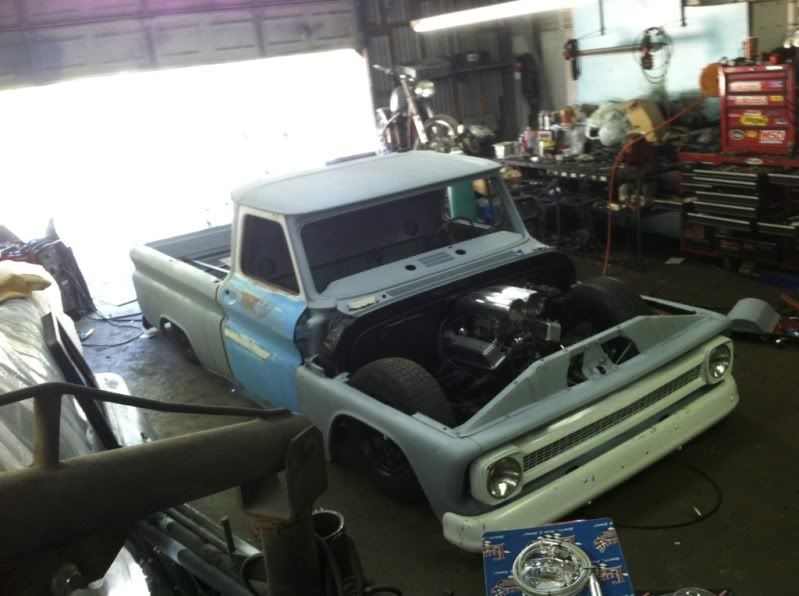 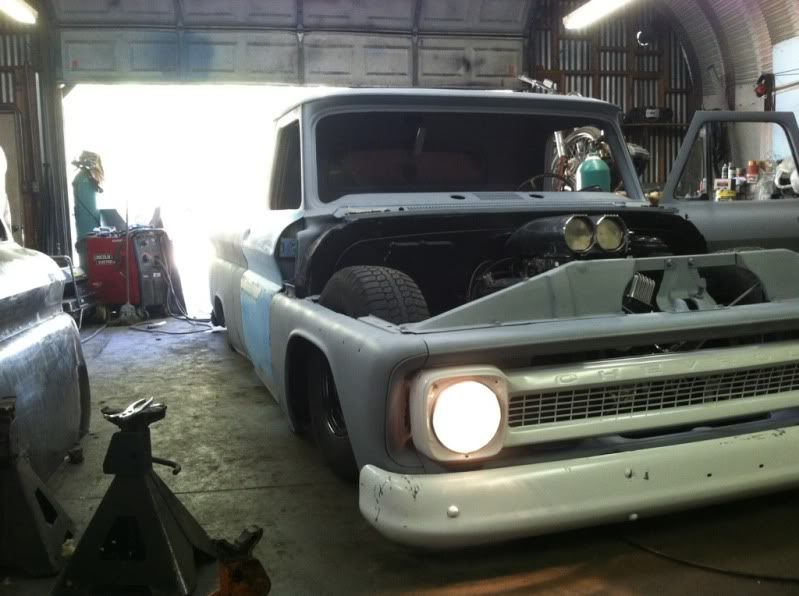 The only sticker I'm putting on the truck. I love Dia de los Muertos. 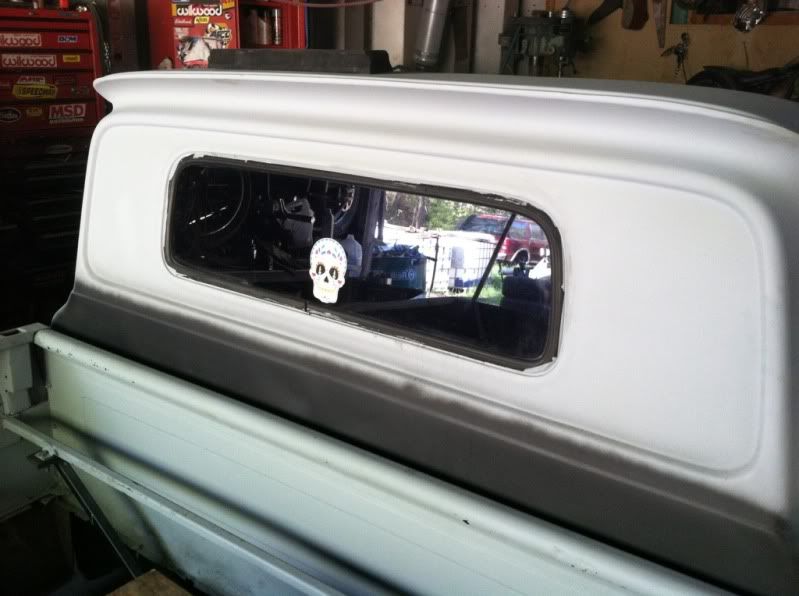 lights!! 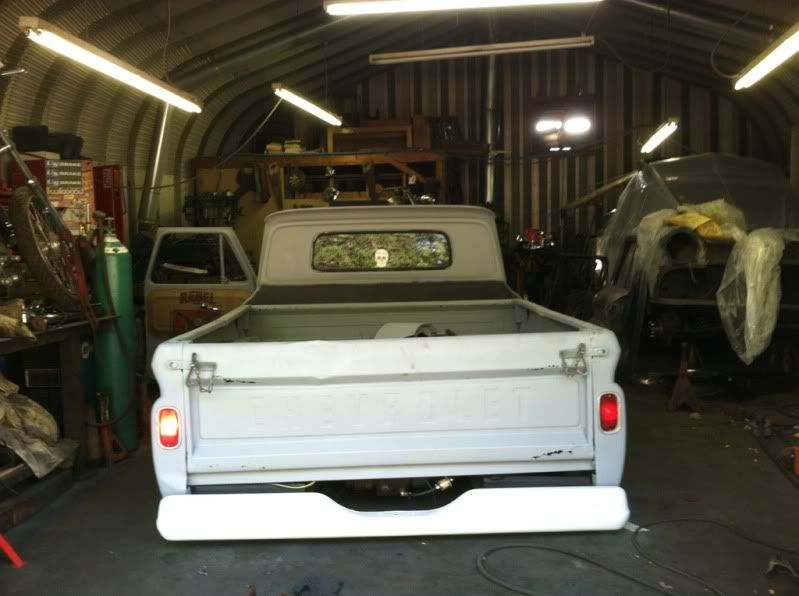 New rear window trim to be installed so neglect the over spray 
|
|
|

|
|
|
#131 |
|
Registered User
Join Date: Oct 2010
Location: Rich Virginia
Posts: 336
|
Re: My Build: Home Depot Machine
So some of these are out of order. My good friend stopped by from Colorado 2 weeks ago to take so pics with his fancy pants camera and editing software. Here they are, some are of the shop cars too
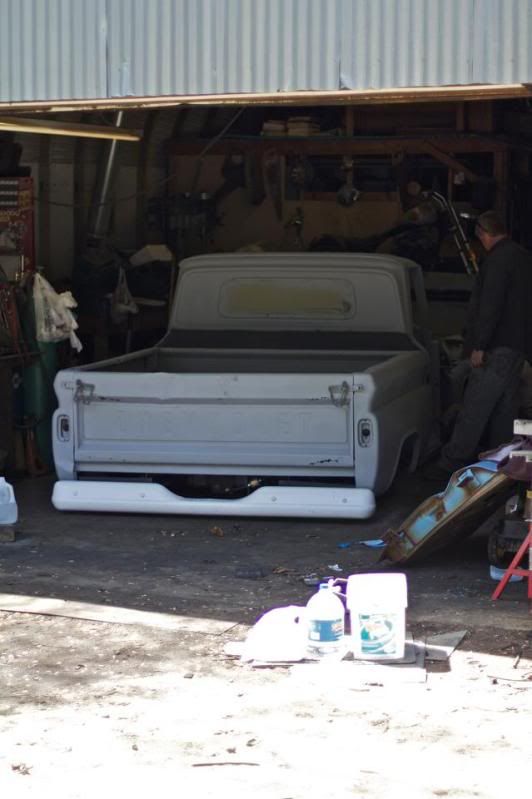 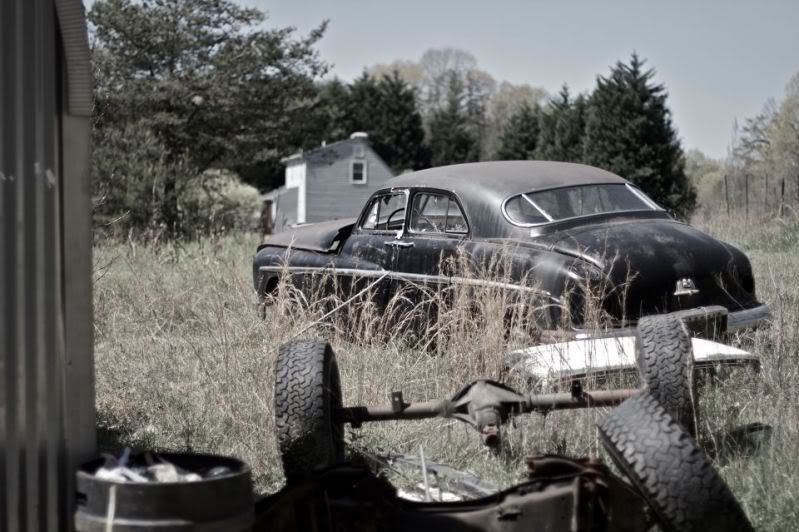  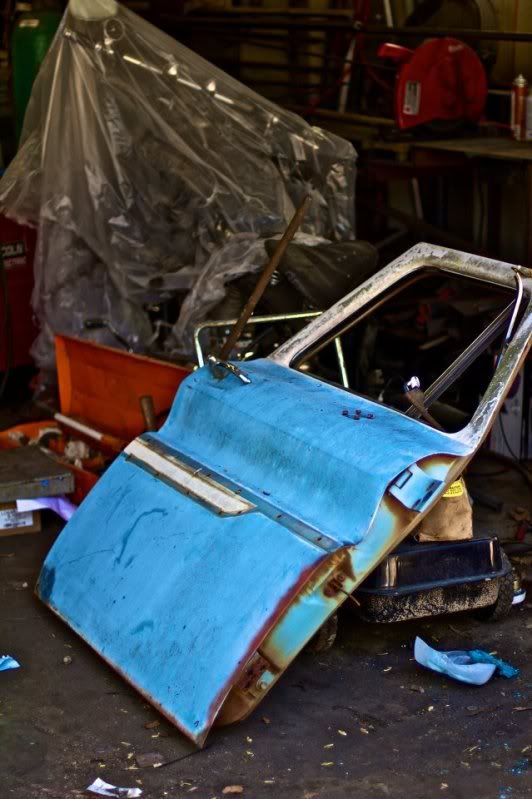 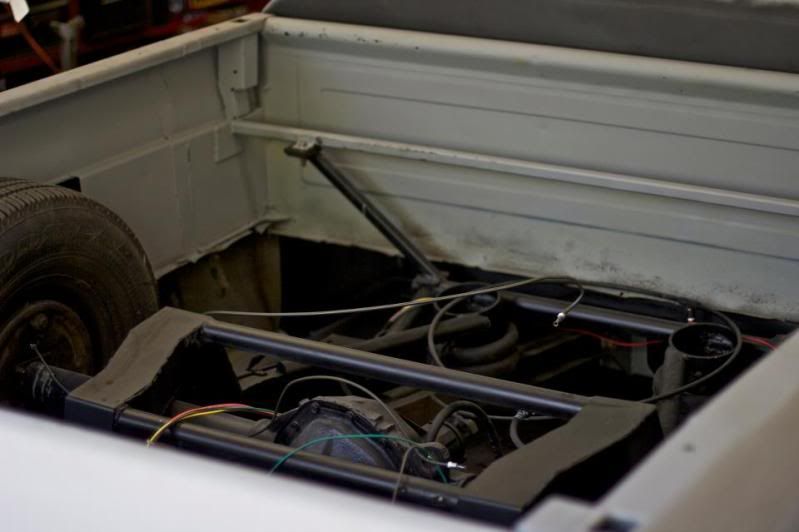 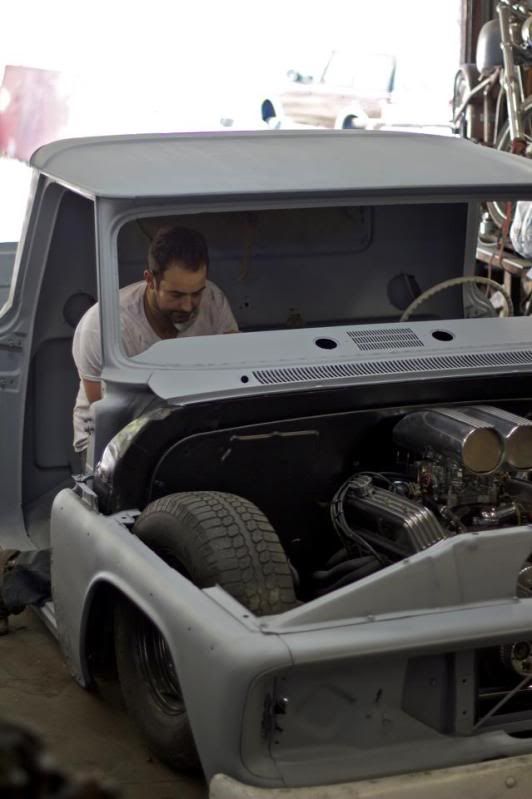 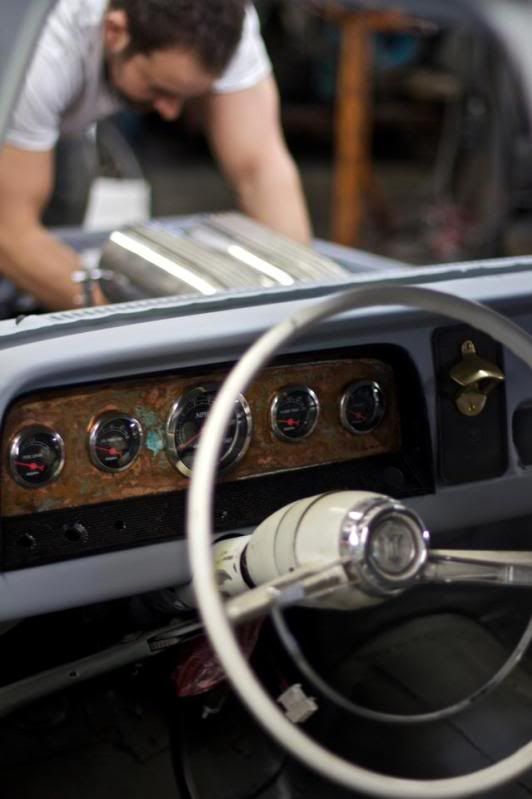 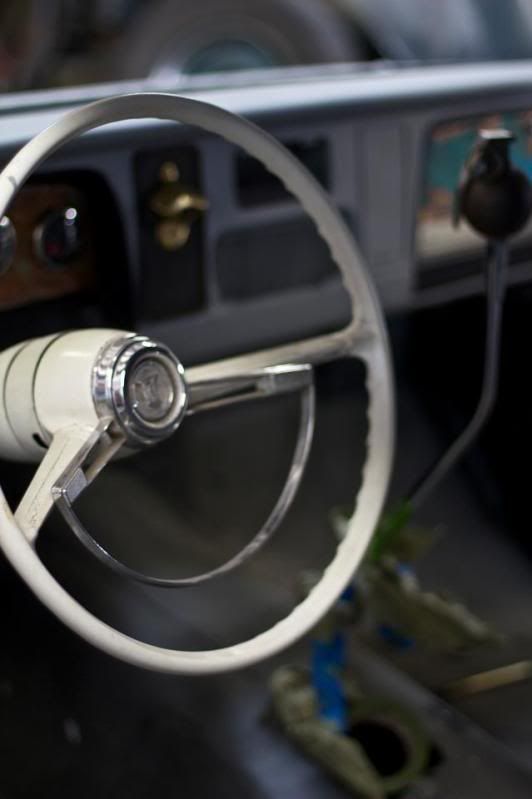  Here is the first start up vid. I like the cam so far. no mufflers just open headers now. |
|
|

|
|
|
#132 |
|
Registered User
Join Date: Sep 2011
Location: Tacoma, WA
Posts: 2,425
|
Re: My Build: Home Depot Machine
Right on man, you have got to be stoked !!
You are almost there and just in time for summer crusin !! Guessing that is you with the bigass grin and the thumbs up? Always cool to put a face to the build after a while LOL. Congrats on running wire! I am contemplating wiring soon too. I like your connectors and heat skrink, makes a real smooth and better looking than the crip on connectors IMO.
__________________
Michael McMurphy My 66 Stepside My 64 Tow Truck My 66 Tempest Table Of Contents Added to Page1 |
|
|

|
|
|
#133 |
|
Registered User
Join Date: Oct 2010
Location: Rich Virginia
Posts: 336
|
Re: My Build: Home Depot Machine
Thanks McMurphy,
Yup, thats me w the thumbs up. It is perfect timing to be out and about cruising this thing. I agree the wiring takes time but knowing its done right makes me feel so much better, I dont want to worry about connections getting loose. I also enjoy hiding the wires, they are all tucked into the frame rail and out of site. |
|
|

|
|
|
#134 |
|
Registered User
Join Date: Oct 2009
Location: harrison twp MI
Posts: 292
|
Re: My Build: Home Depot Machine
truck is looking good cant wait to here mine run
__________________
1966 suburban slammed fuel injected 6.2L My build |
|
|

|
|
|
#135 |
|
Registered User
Join Date: Oct 2010
Location: Rich Virginia
Posts: 336
|
Re: My Build: Home Depot Machine
All for today, Port-O-Walls came in. Cut my self pretty good so my hand are useless. I will be back out monday to finish the passanger door and install the driveshaft. I have to tweak the steering rack because 1 universal joint is hitting the motor mount. I also have to chase down the turn signal issue and then do a shake down run. Once I leave the shop I will save $$ and get a new cowl and fenders, paint the truck and reinstall the glass.
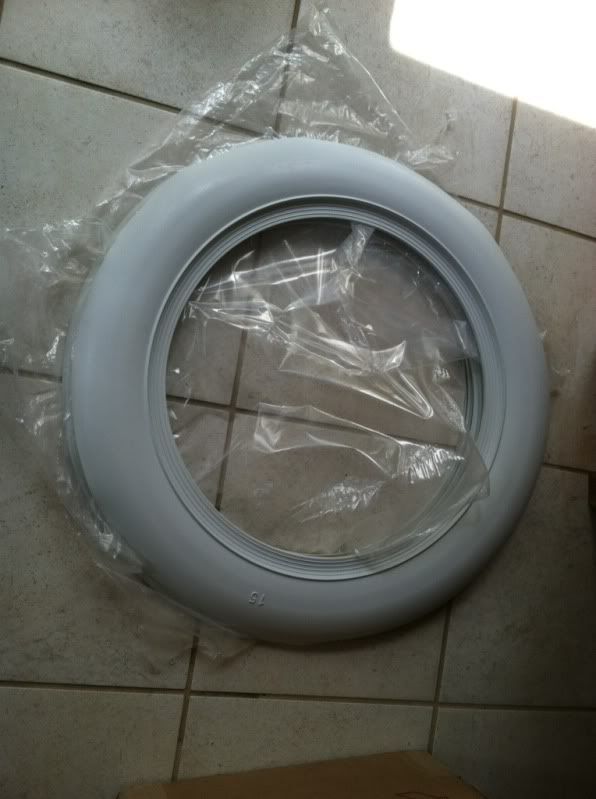
|
|
|

|
|
|
#136 |
|
Registered User
Join Date: Oct 2010
Location: Rich Virginia
Posts: 336
|
Re: My Build: Home Depot Machine
This blows, Since I have a lot of views they make you upgrade to photobucket Pro for $25 a year. I need to find a better way to share my pics. Any tips?
|
|
|

|
|
|
#137 | |
|
Registered User
Join Date: Sep 2011
Location: Tacoma, WA
Posts: 2,425
|
Re: My Build: Home Depot Machine
Quote:
Seems to work just fine. I never trusted 3rd party photo storing sites since I read the fine print on Yahoo's old geocities, which said anything uploaded on geocities was then considered property of Yahoo and could be used in any way they saw fit. Fine print like that makes me an edgy and untrusting fellow.
__________________
Michael McMurphy My 66 Stepside My 64 Tow Truck My 66 Tempest Table Of Contents Added to Page1 |
|
|
|

|
|
|
#138 |
|
Registered User
Join Date: Oct 2010
Location: Rich Virginia
Posts: 336
|
Re: My Build: Home Depot Machine
got the photobucket account back up!
|
|
|

|
|
|
#139 |
|
Registered User
Join Date: Sep 2011
Location: Tacoma, WA
Posts: 2,425
|
Re: My Build: Home Depot Machine
__________________
Michael McMurphy My 66 Stepside My 64 Tow Truck My 66 Tempest Table Of Contents Added to Page1 |
|
|

|
|
|
#140 |
|
Registered User
Join Date: Oct 2010
Location: Rich Virginia
Posts: 336
|
Re: My Build: Home Depot Machine
Fake white walls
Posted via Mobile Device |
|
|

|
|
|
#141 |
|
Registered User
Join Date: Oct 2010
Location: Rich Virginia
Posts: 336
|
Re: My Build: Home Depot Machine
Lots of little things. I welded and filled the holes in the bed. Fixed the binding universal joints that where binding on the steering rack. Finished all little odds and ends, added more grounds. Reprimed the truck. I forgot to take out the port-0-walls to install.
 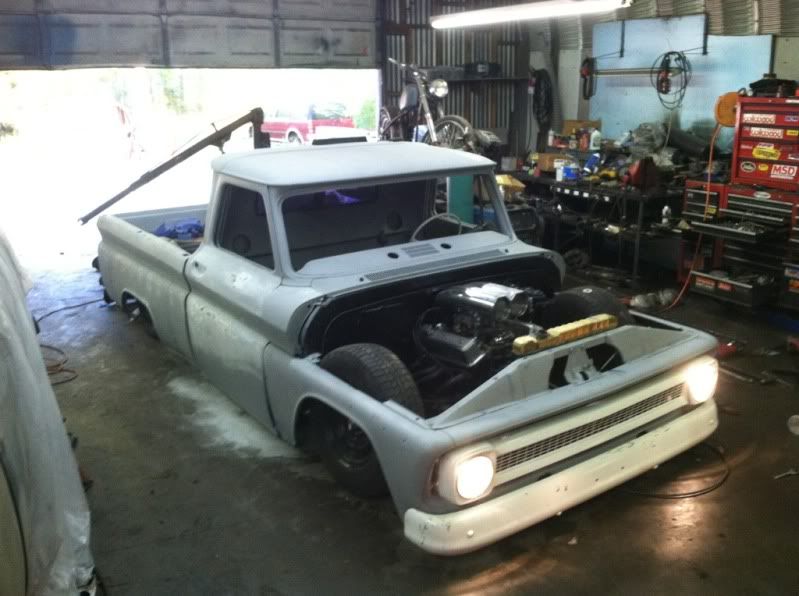 Brass knuckles mounted. Old radio template is being welded in tomorrow. 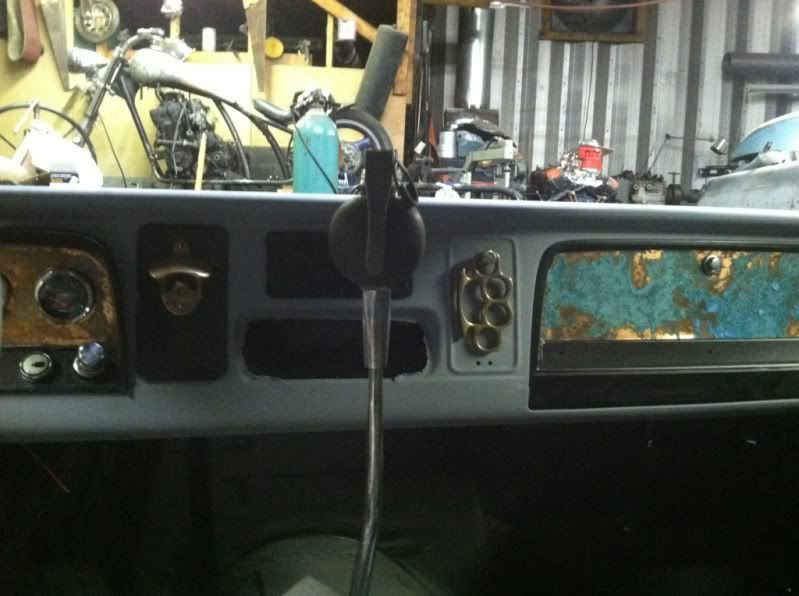 Fiances door panel is installed 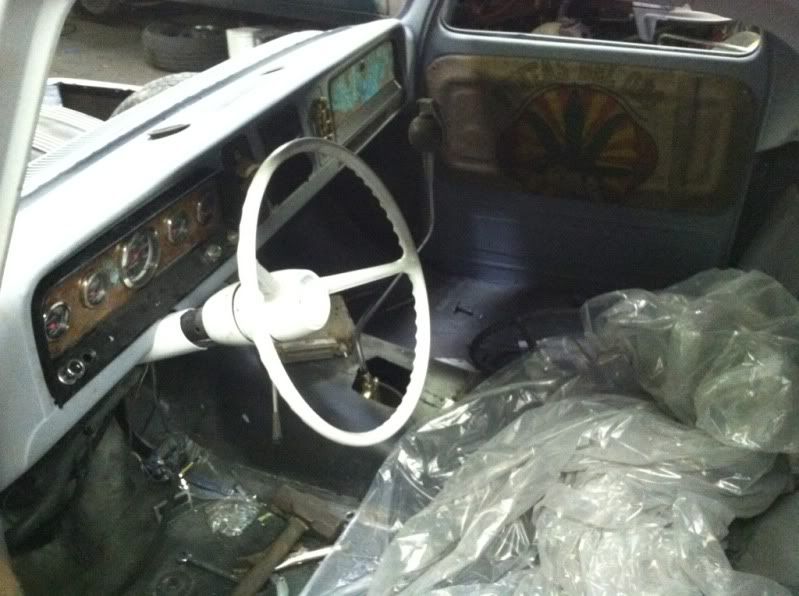 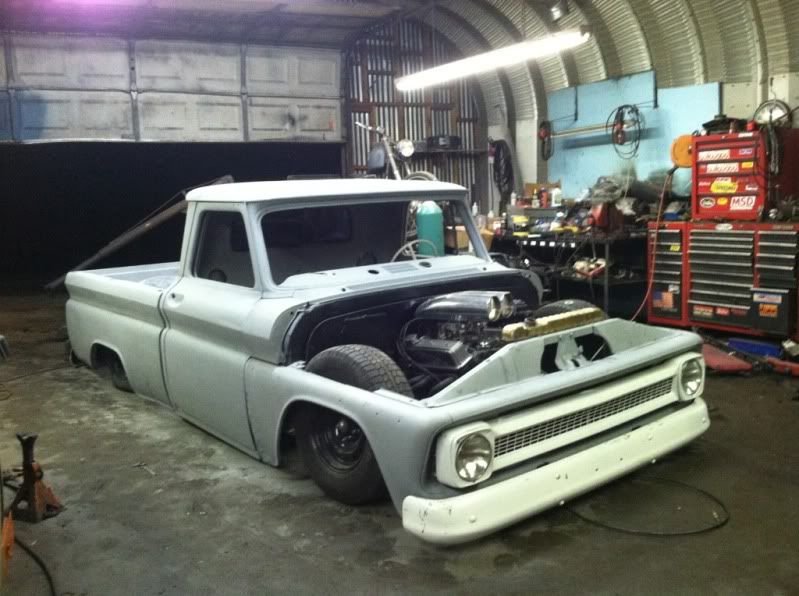 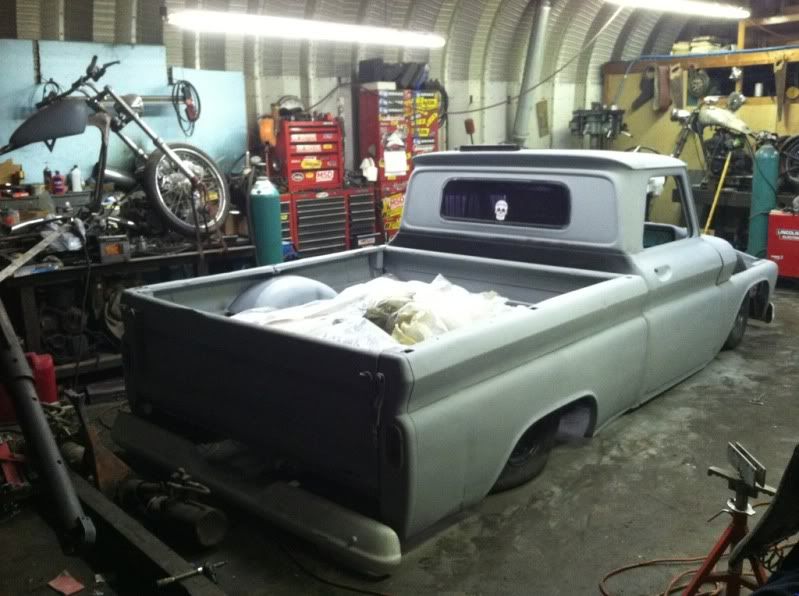 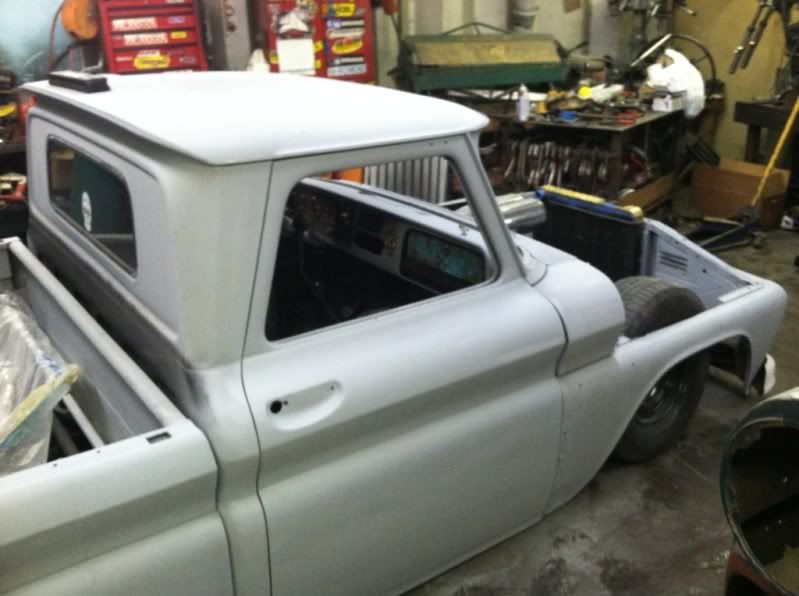
|
|
|

|
|
|
#142 |
|
Registered User
Join Date: Oct 2010
Location: Rich Virginia
Posts: 336
|
Re: My Build: Home Depot Machine
A better video
I love how the engine makes the camera go out of focus! |
|
|

|
|
|
#143 |
|
Registered User
Join Date: Mar 2011
Location: tulsa,ok.
Posts: 1,803
|
Re: My Build: Home Depot Machine
as many times as ive looked at your motor, i just realized you did the same engine setup as i was going to do on my truck; gilmer drive belt setup, intake, and valve covers, lol!! i thought you have a big block this whole time!!
__________________
my project: http://67-72chevytrucks.com/vboard/s...d.php?t=456163 |
|
|

|
|
|
#144 |
|
Registered User
Join Date: Mar 2011
Location: tulsa,ok.
Posts: 1,803
|
Re: My Build: Home Depot Machine
did you get your billet smoothies yet??
__________________
my project: http://67-72chevytrucks.com/vboard/s...d.php?t=456163 |
|
|

|
|
|
#145 |
|
Registered User
Join Date: Oct 2010
Location: Rich Virginia
Posts: 336
|
Re: My Build: Home Depot Machine
I picked the name before I got the truck. I was going to get a big block but I needed to spend $ in the right places. I will have this truck for life so I'll upgrade later. Big block and a weiland are definitely in the plans. I'd rather have a sbc, and bags, and rust repair if you know what I mean!
Posted via Mobile Device |
|
|

|
|
|
#146 |
|
Registered User
Join Date: Sep 2011
Location: Tacoma, WA
Posts: 2,425
|
Re: My Build: Home Depot Machine
Ok the video was cool... nice FX with the camera unfocusing with the higher RPMs...
 Wont be long now !!!
__________________
Michael McMurphy My 66 Stepside My 64 Tow Truck My 66 Tempest Table Of Contents Added to Page1 |
|
|

|
|
|
#147 |
|
Registered User
Join Date: Feb 2011
Location: muskogee, ok
Posts: 1,091
|
Re: My Build: Home Depot Machine
Nice!!!! glad to see you got ur pics fixed!!! i bet you were pumped to hear it run
keep up the good work ur getting really close!!!!!
__________________
 bagged 66 longbed build http://67-72chevytrucks.com/vboard/s...d.php?t=449548 my favorite colors.. black, rust, and shiny!!!! instagram: @coulter918 |
|
|

|
|
|
#148 |
|
Registered User
Join Date: Oct 2010
Location: Rich Virginia
Posts: 336
|
Re: My Build: Home Depot Machine
Thanks man! Yours is making great progress I see. Nice interior!
Posted via Mobile Device |
|
|

|
|
|
#149 |
|
Registered User
Join Date: Oct 2010
Location: Rich Virginia
Posts: 336
|
Re: My Build: Home Depot Machine
|
|
|

|
|
|
#150 |
|
Registered User
Join Date: Oct 2010
Location: Rich Virginia
Posts: 336
|
Re: My Build: Home Depot Machine
 my seat inspiration but in the factory bench with this leather and stitching with coarse white or red or black stitching, I cant pick!! |
|
|

|
 |
| Bookmarks |
| Thread Tools | |
| Display Modes | |
|
|