
 |
Register or Log In To remove these advertisements. |
|
|
|
|||||||
|
|
Thread Tools | Display Modes |
|
|
#1 |
|
Watch out for your cornhole !
 Join Date: Jun 2003
Location: Azle, Texas
Posts: 14,162
|
Rivnuts: You should be their friend (TECH)
To discuss this topic go here- LINK
I was doing some work on my truck today with rivnuts. I've never really seen mention of them on here before so I thought I'd do a little thread on them. What they are- A rivnut it a captured nut that you install in sheetmetal. They install from the top with no welding and are available in all screw sizes. They are a hybrid between a pop rivet and a nut. Think of them as a hollow pop rivet with threads in the middle of it. They are handy for any application where you need to thread a screw into thin sheetmetal and have it last a long time and stay tight. I used them all over airplanes. They are handy for making a grounding point to screw ground wires to also. In this application, I used them on my cab roof for cab lights. I didn't want crappy sheetmetal screws in my cab roof. Where to get them- I mail order mine from Aircraft Spruce and Specialty. They run about a nickle each or so. Aircraft Spruce is an outstanding company to deal with. They obviously cater the the airplane guys and their customer service is above reproach. Tools needed- A drill and bit for the hole, a 7/16 wrench and a rivnut tool. I bought my rivnut tool from Aircraft Spruce for about 16 bucks. It installs all common size rivnuts. The tools and supplies 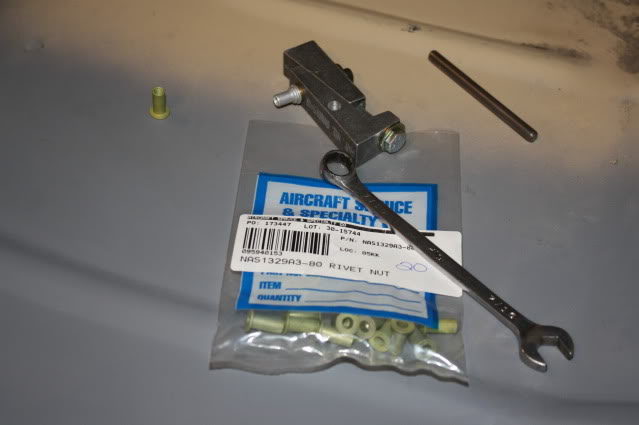 This is a rivnut 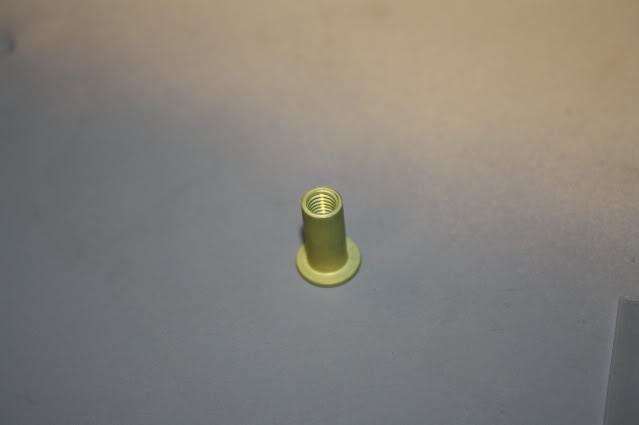 Comparison between a new rivnut and one that has been crimped by the installation tool. Notice the bulge beneath the head on the one that has been set. The bulge and swelling is what holds it firmly in the sheetmetal. 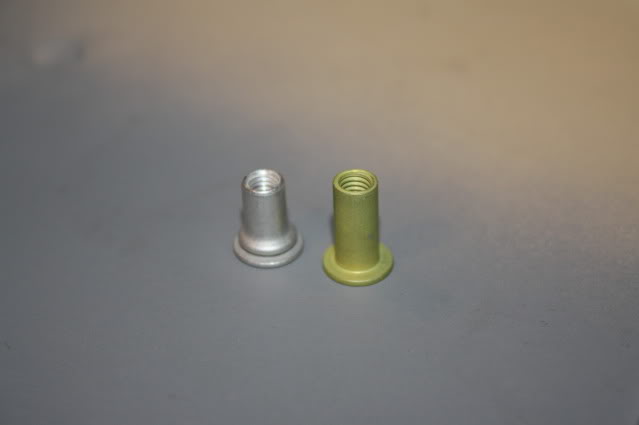 The installation tool is simply two inclined planes that have a threaded screw to pull them together. You screw the rivnut onto the tools screw, then as you tighten the crossbolt the sliding wedges collapse the rivnut. 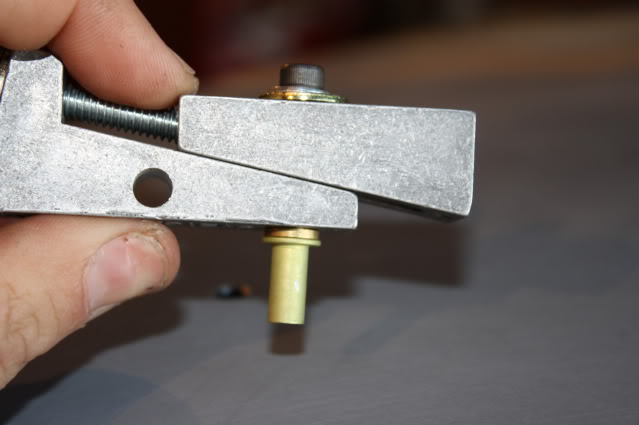 Step 1, drill the hole and debur it nicely. 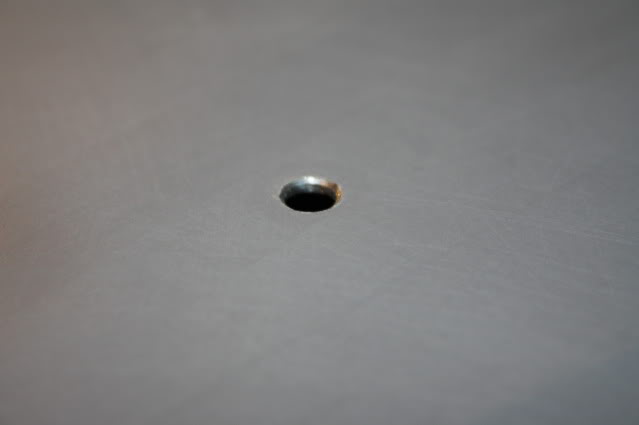 Step 2, drop the tool with rivnut into the hole and seat it down firmly. 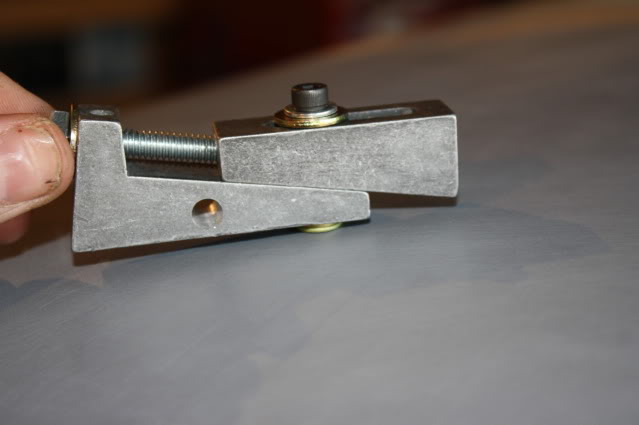 Step 3, tighten the crossbolt on the tool. That sets the rivnut tight into the hole. Notice how with the crossbolt tightened, the two wedges have been drawn up onto themselves. That's the action that bulges the rivnut. 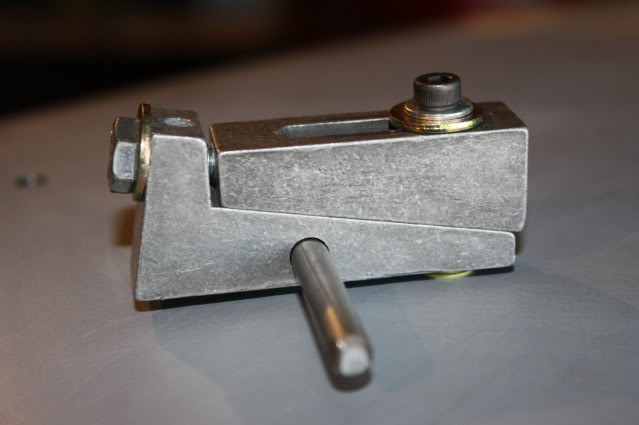 You're done, remove the tool and admire your finished product.  With a screw threaded into it. 
__________________
I'm on the Instagram- @Gearhead_Kevin Last edited by augie; 04-04-2011 at 11:34 PM. |
|
|
| Bookmarks |
| Thread Tools | |
| Display Modes | |
|
|