
 |
|
|
|
|
#1 | |
|
Registered User
Join Date: Apr 2011
Location: Mustang, Oklahoma
Posts: 2,806
|
Re: 67-72 Electric speedo
Quote:
__________________
Dan <---(my name) 67 SWB C10 project "GEORGIA"-59 Brookwood 2dr wag...Next project-03 Tahoe 4x4 5.3 family ride-07 Hondur Accord, commuter car |
|
|
|

|
|
|
#2 |
|
17's too small
Join Date: Oct 2004
Location: Las Vegas, NV
Posts: 335
|
Re: 67-72 Electric speedo
I think he is reusing the two tiny screws from the C10 speedo. If you do end up making some of those plates please add me to the list. I picked up the S10 cluster/parts but am on the next list to get the "kit" from ls1nova71
__________________
68 C10 SWB SS 5 lug power disc brake conversion 2.5 inch drop spindles van tilt column Air Ride Technologies Cool Ride air bag kits Performance Online tubular upper control arms and shock relocator kits ECE super track panhard bar 1 piece side windows |
|
|

|
|
|
#3 |
|
Registered User
Join Date: Dec 2009
Location: Independence Mo
Posts: 4,118
|
Re: 67-72 Electric speedo
I only put the 2 screws back in the face for cosmetic reasons. I think it looks better, and there are two white dots on the face where they go. I just drilled the holes small enough so that the screws screw into the face, but are not actually holding anything.
__________________
My '72 short bed build. http://www.ls1tech.com/forums/conver...6-0-4l80e.html 5.3 swap into my RUSTY '71 C10 http://ls1tech.com/forums/conversion...71-c-10-a.html |
|
|

|
|
|
#4 | ||
|
Registered User
Join Date: Dec 2009
Location: Independence Mo
Posts: 4,118
|
Re: 67-72 Electric speedo
Quote:
Quote:
As for how I put the S-10 face back on the clear plastic, if you don't touch the back side alot, it will be sticky enough to just stick back on. At least the ones I've done have worked out that way. You could put some glue on it or a few pieces of good quality tape on the edges since you can't see them once it's assembled. The tape I use for such things is the aluminum tape for sealing HVAC duct work in houses, which I'm sure you're familiar with! Also, don't worry about the "hijack", this thread is just information and your additions I think people will find helpful. 
__________________
My '72 short bed build. http://www.ls1tech.com/forums/conver...6-0-4l80e.html 5.3 swap into my RUSTY '71 C10 http://ls1tech.com/forums/conversion...71-c-10-a.html |
||
|
|

|
|
|
#5 |
|
Registered User
Join Date: Dec 2009
Location: Independence Mo
Posts: 4,118
|
Re: 67-72 Electric speedo
Here's the problem with the trip odometer. The re-set knob is just a touch too short. It's about 1-15/16" long, and needs to be close to 2-1/4". To remedy this I cut the knob and lengthened it with a small screw. You probably don't need a screw to do it, since you'll never really be putting much pressure on it, you could probably just drill it, put a short piece of a nail or something in it and glue it back together, but I had the stuff lying around and it's what I used.
These are the part's I used. A small drill bit, a 4-40 tap, and screw. Then I cut the knob off and sanded the end where I was going to be drilling the hole in it. 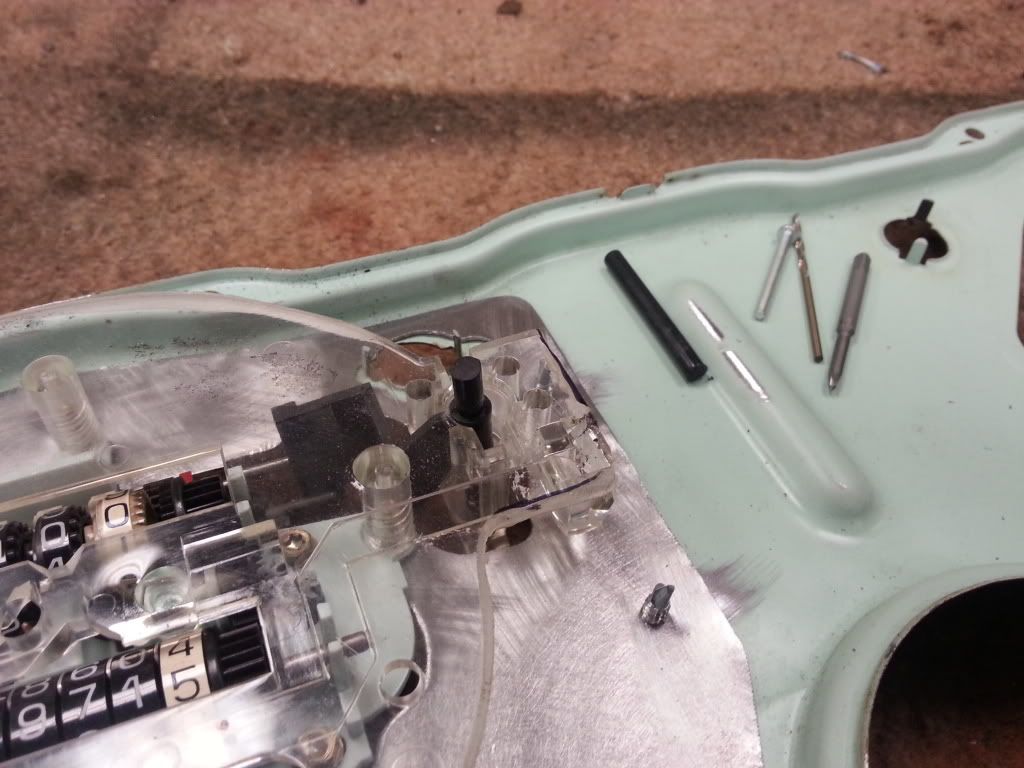 Drilled the hole in the end about 3/8" deep. I used a drill, but you could also put the bit in an X-Acto knife. Drilling plastic is really pretty easy, just make sure it's centered the best you can. 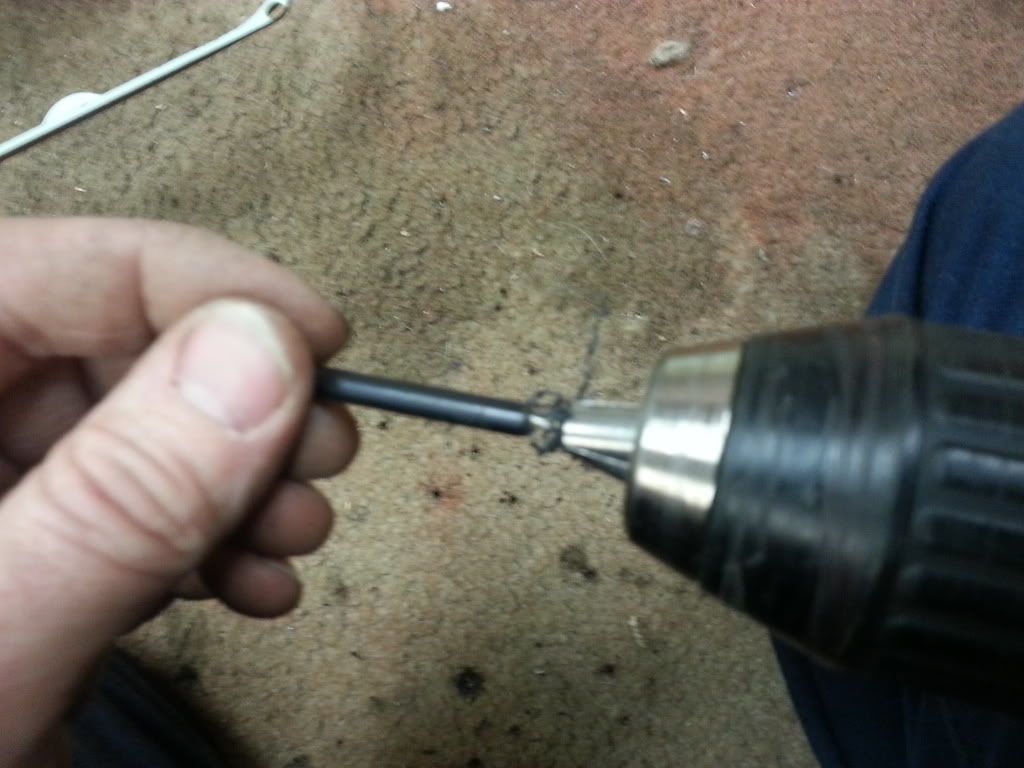 This is what it looks like drilled. 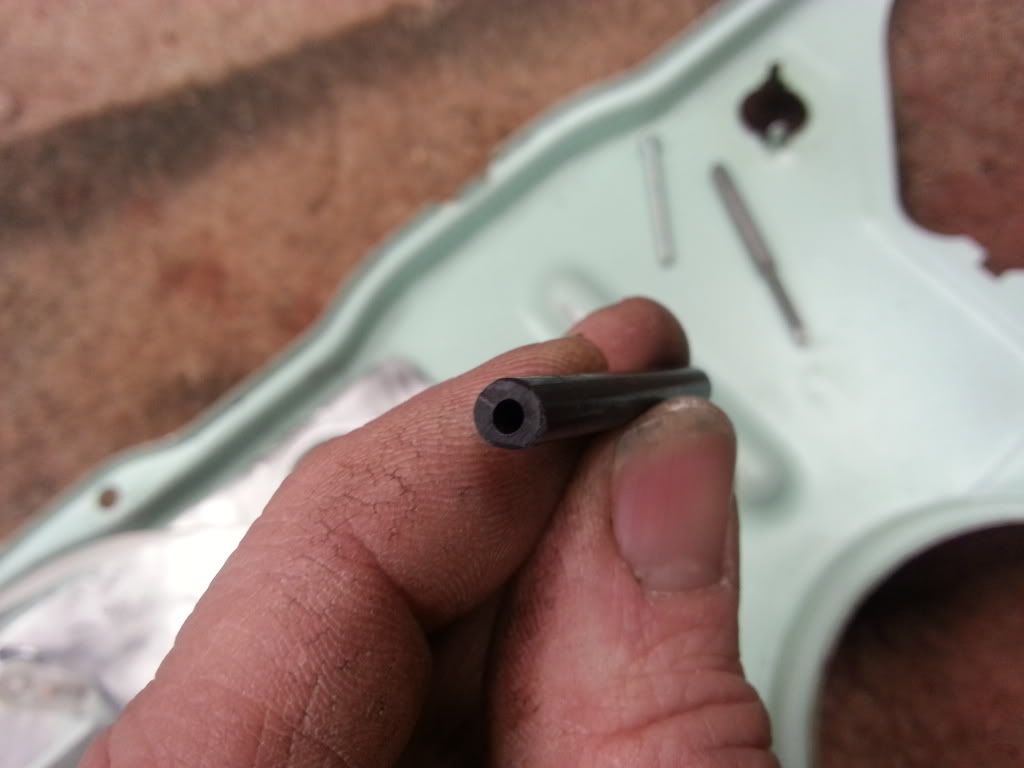 Then I put the tap in a pair of Vice Grips and tapped the hole. 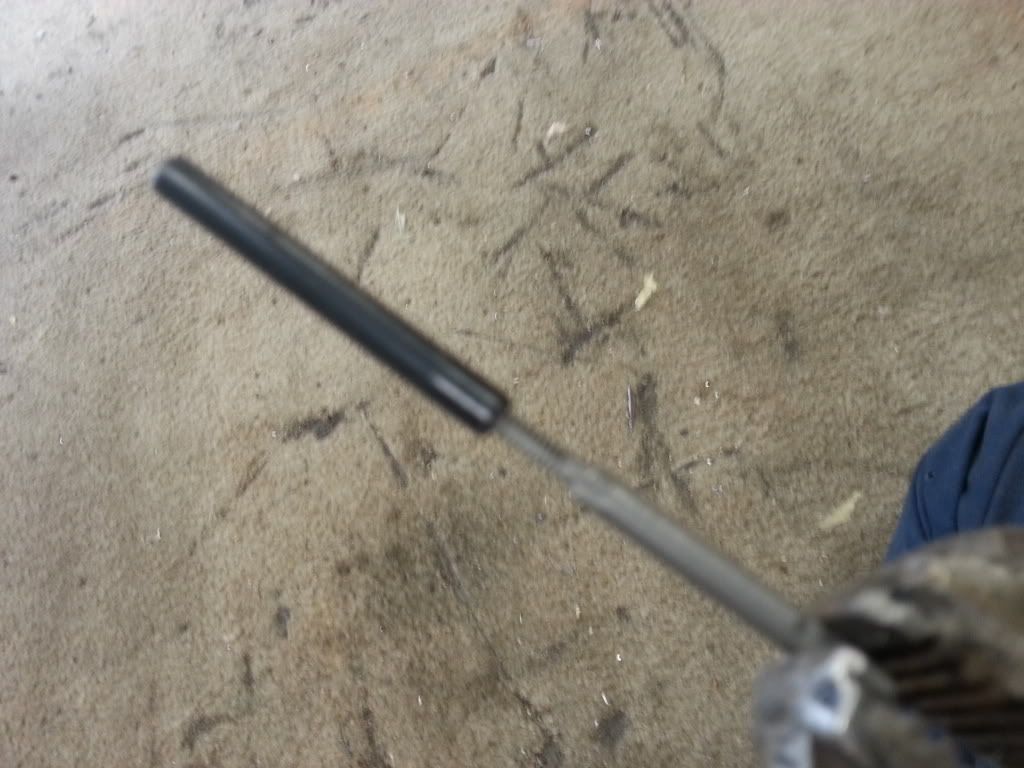 Then the screw will screw into it. 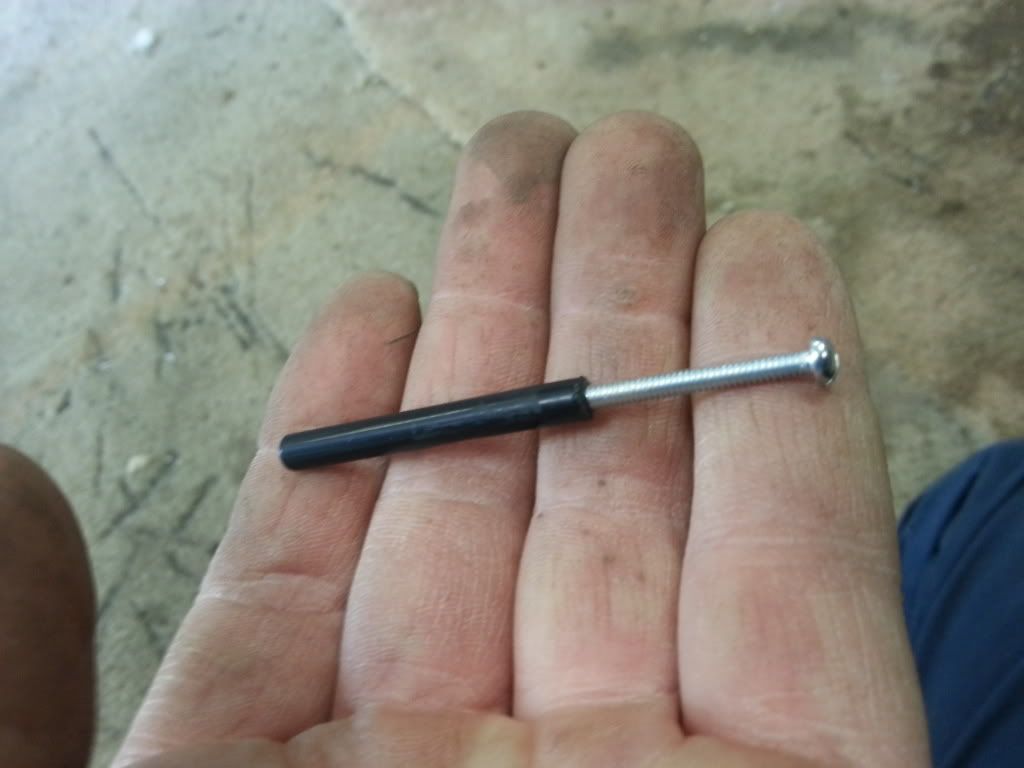 Drill and tap the other end, cut the head of the screw off and thread each end in. 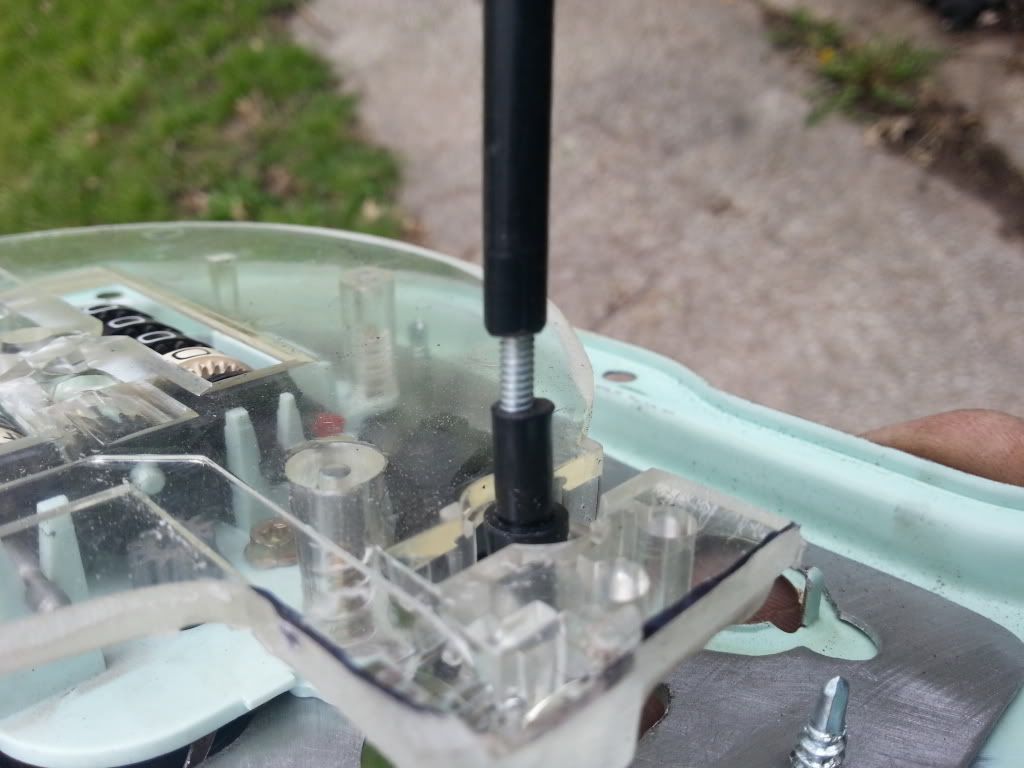 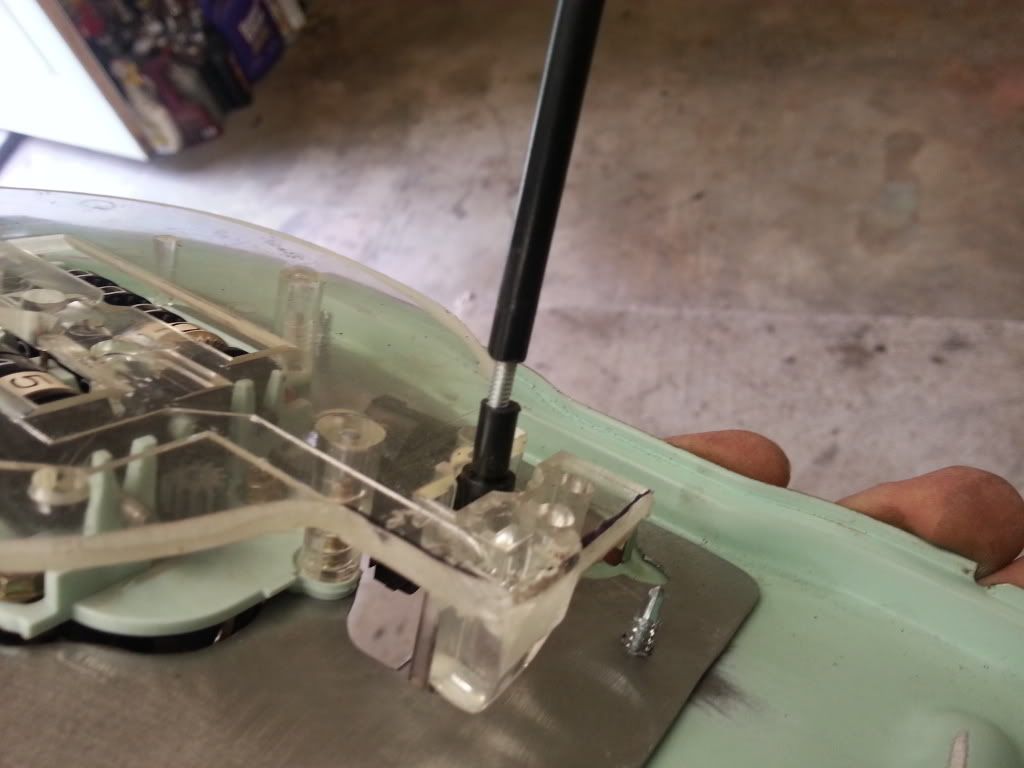 Later, after I've adjusted it to the length I want, I'll put some glue in them so it won't thread out, but odds are it wouldn't move anyway. You can also see that I didn't get the bottom part exactly centered, it's not a big deal, since you can just thread it in or out a bit to get it where you want it.
__________________
My '72 short bed build. http://www.ls1tech.com/forums/conver...6-0-4l80e.html 5.3 swap into my RUSTY '71 C10 http://ls1tech.com/forums/conversion...71-c-10-a.html |
|
|

|
|
|
#6 |
|
Registered User
Join Date: Dec 2009
Location: Independence Mo
Posts: 4,118
|
Re: 67-72 Electric speedo
Next is the needle. You'll need both the S-10 and your original needles. Start by bending the four tabs up on your original needle and remove the mounting part.
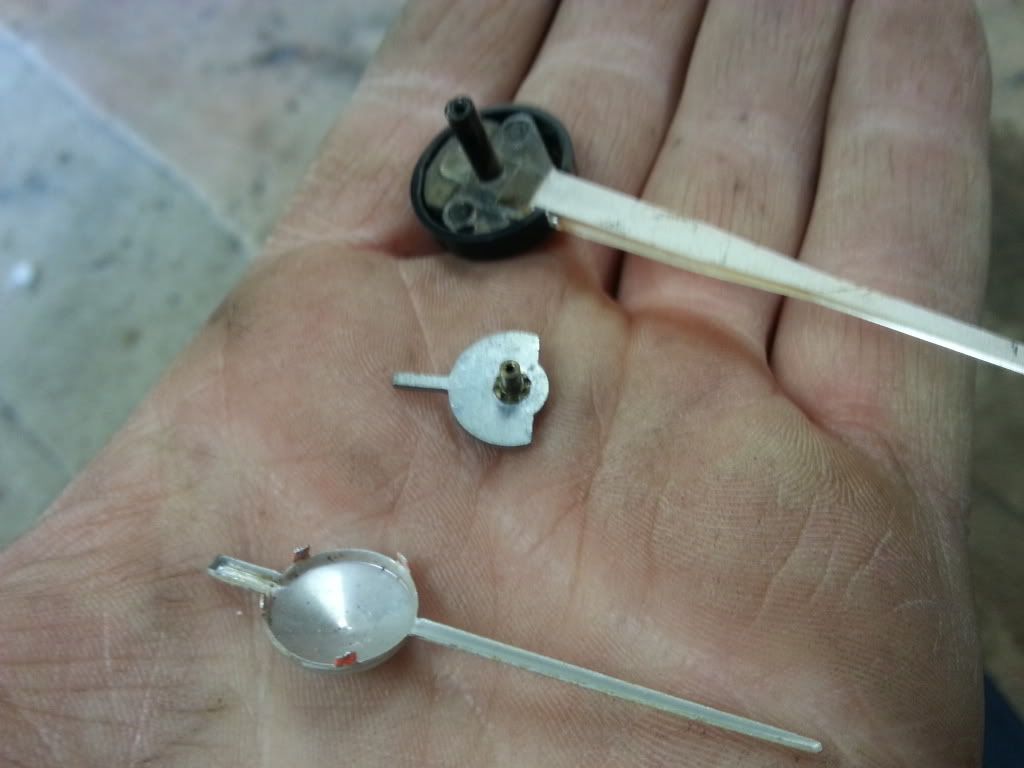 Then cut the black part off the S-10 needle, and trim it up so it will fit in the original needle. 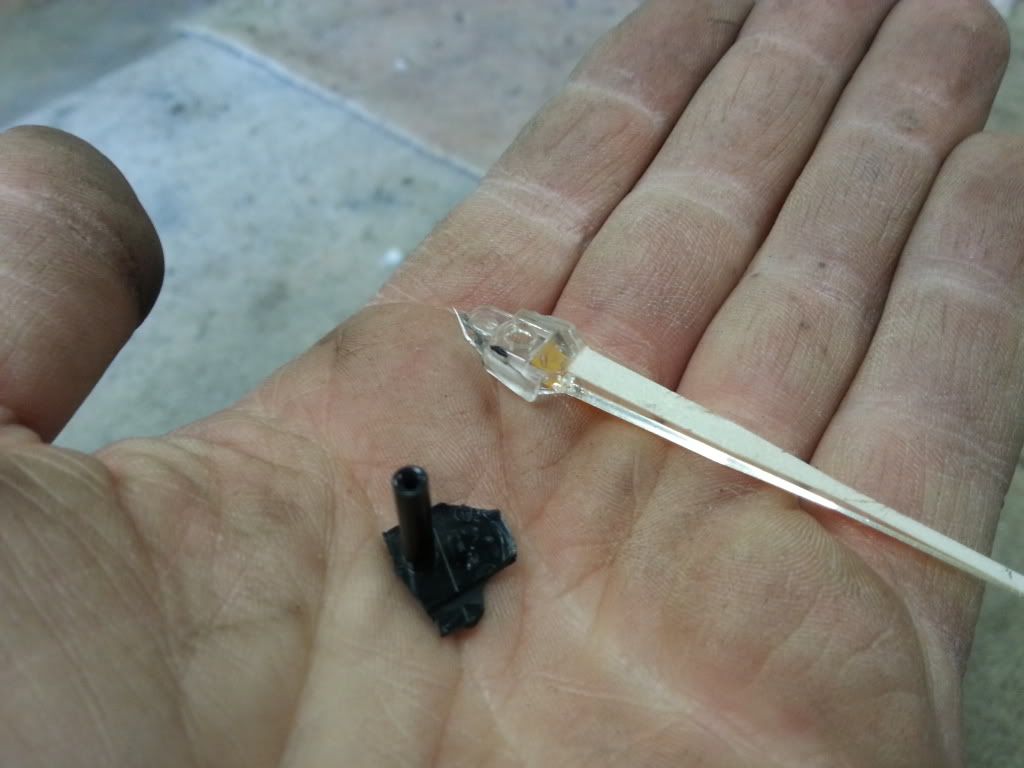 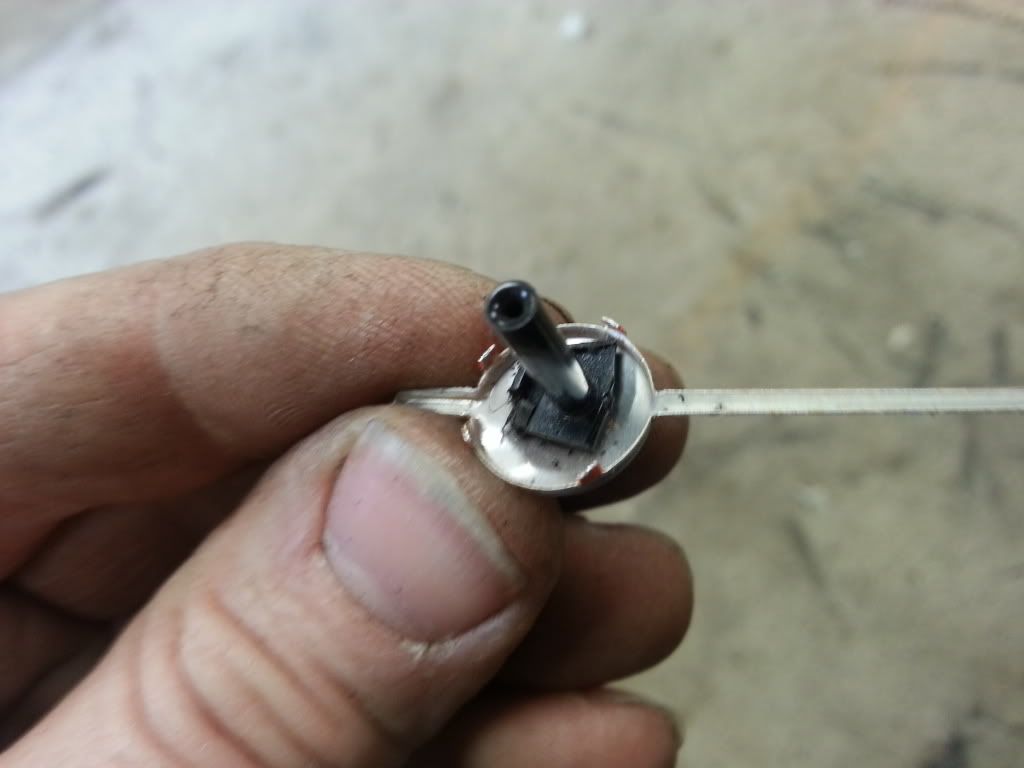 Then you'll need to epoxy the black part in the original needle. I used body filler because it sets up quick, and I had some. Mixed some up and put a little in the needle, then put the black part in it. 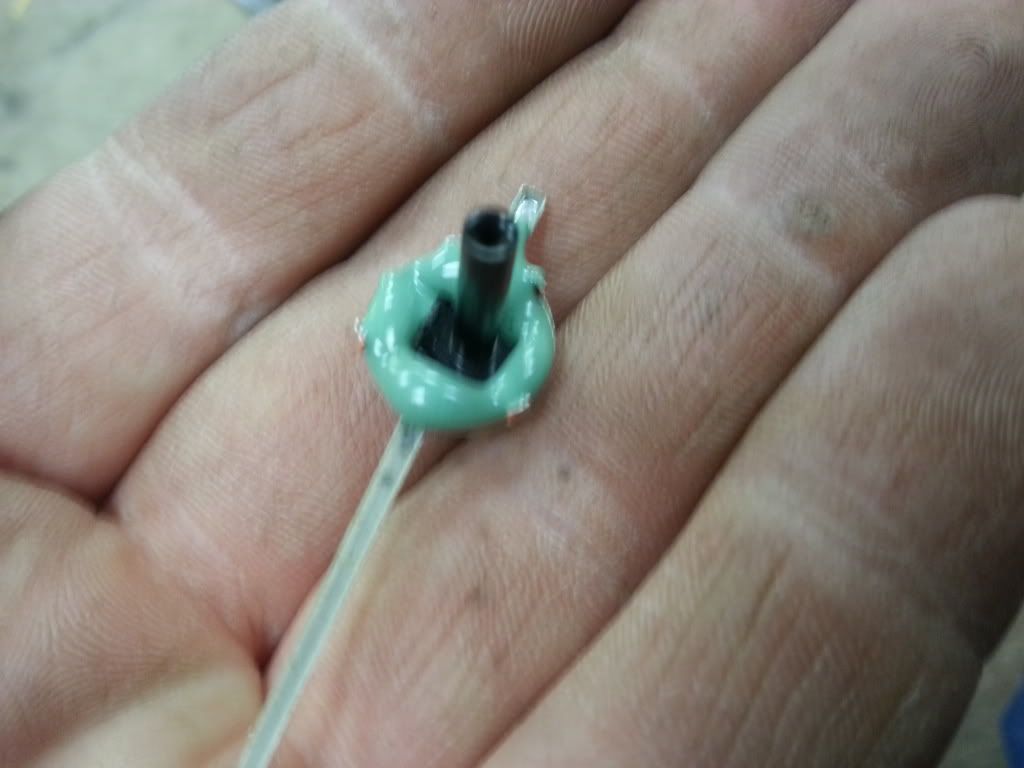 Then put a little more on it to cover it the rest of the way up. Make sure it's centered and straight up, you don't want it leaning at all. 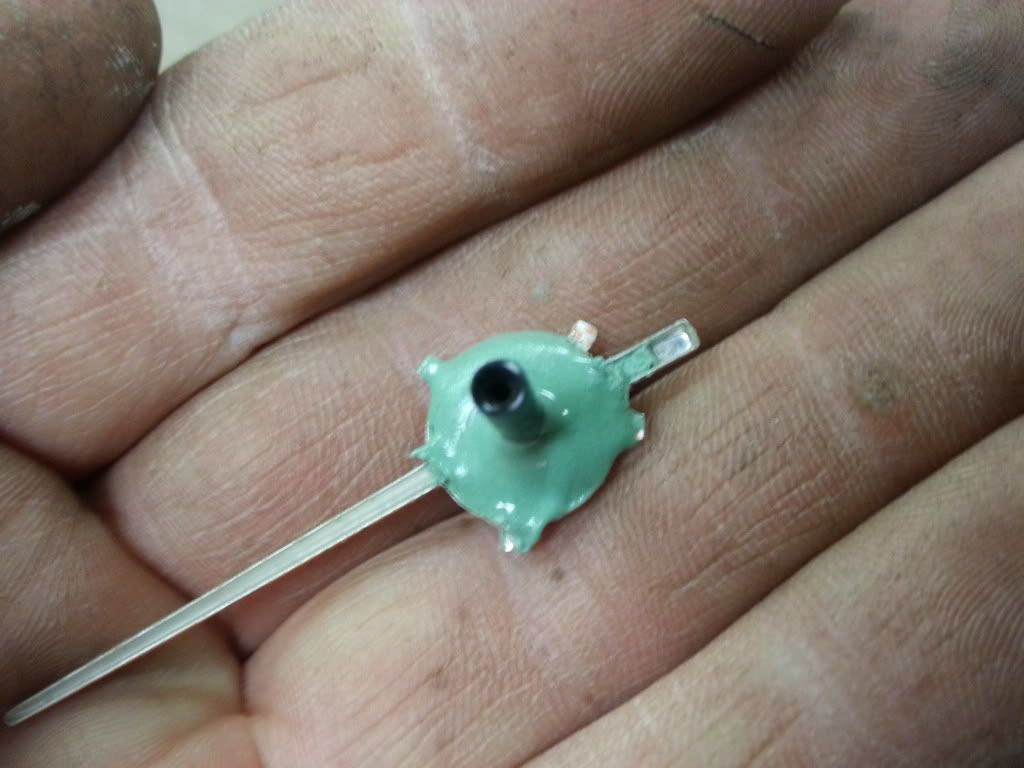 Then when it started to set up, but before it was completely hardened, I took a razor blade and trimmed it flat. 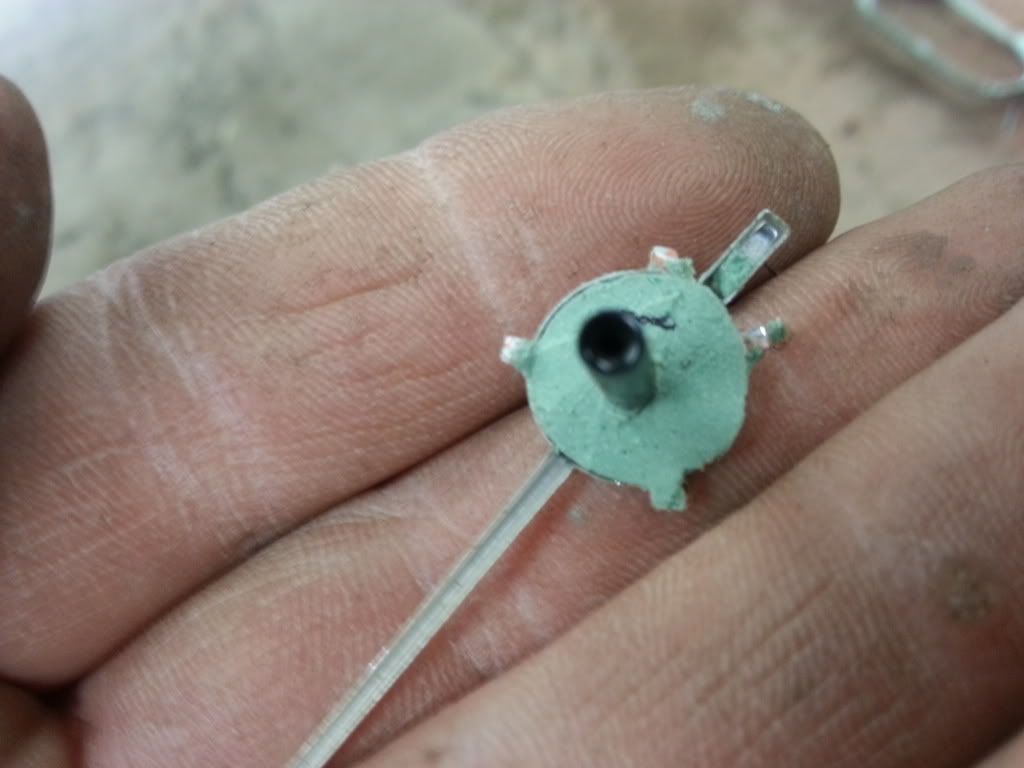 Then it fell out! LOL! No problem though, a little super glue and it was good to go. I also bent the tabs back over. 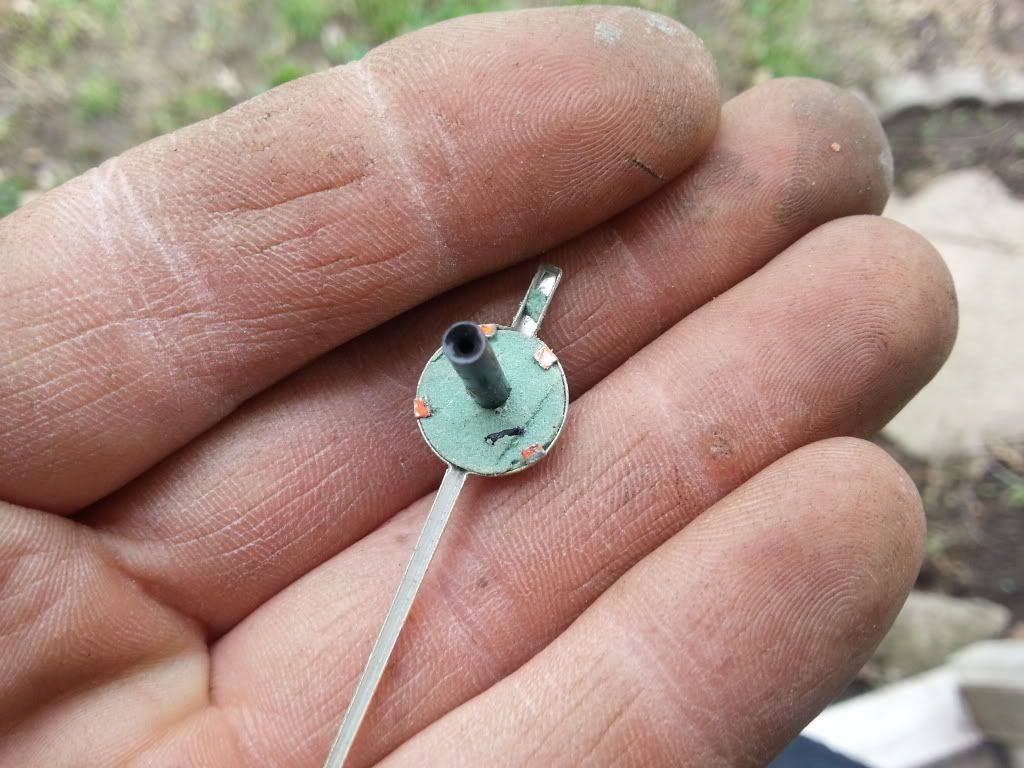 Now you'll find that it's a little too long, and the needle is too far off the face. Pull it back off and trim it down a bit. I did it a little at a time with a razor blade. Don't do alot at once, since if you cut it too short, you'll have to start over. 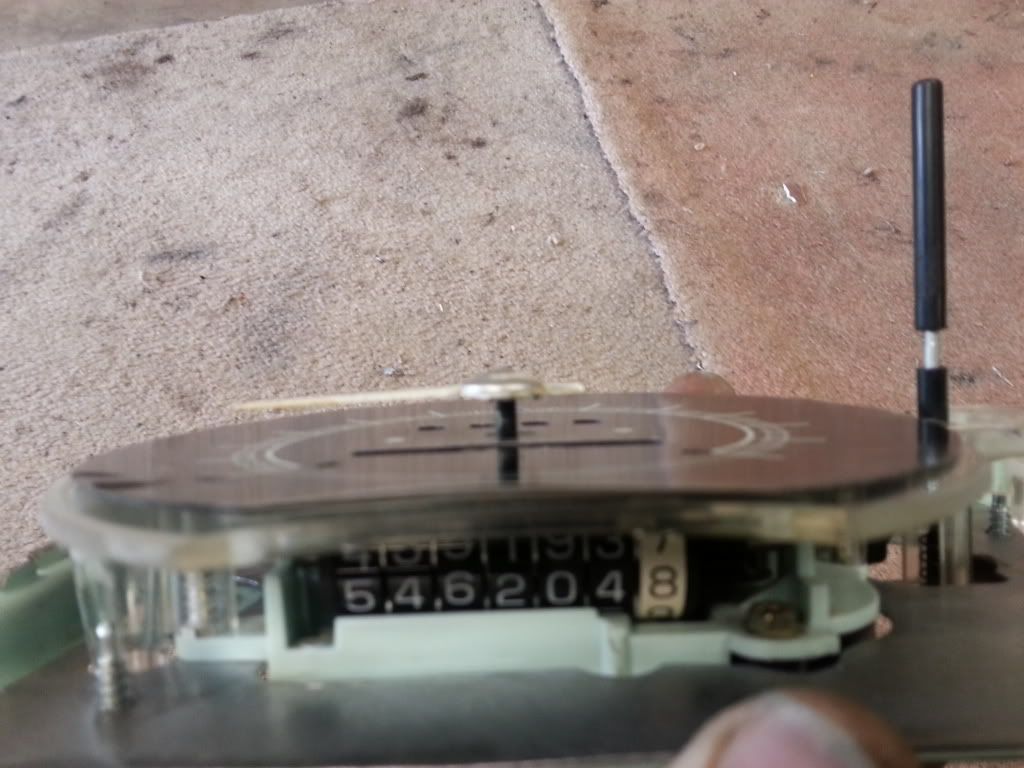 This is a little better. 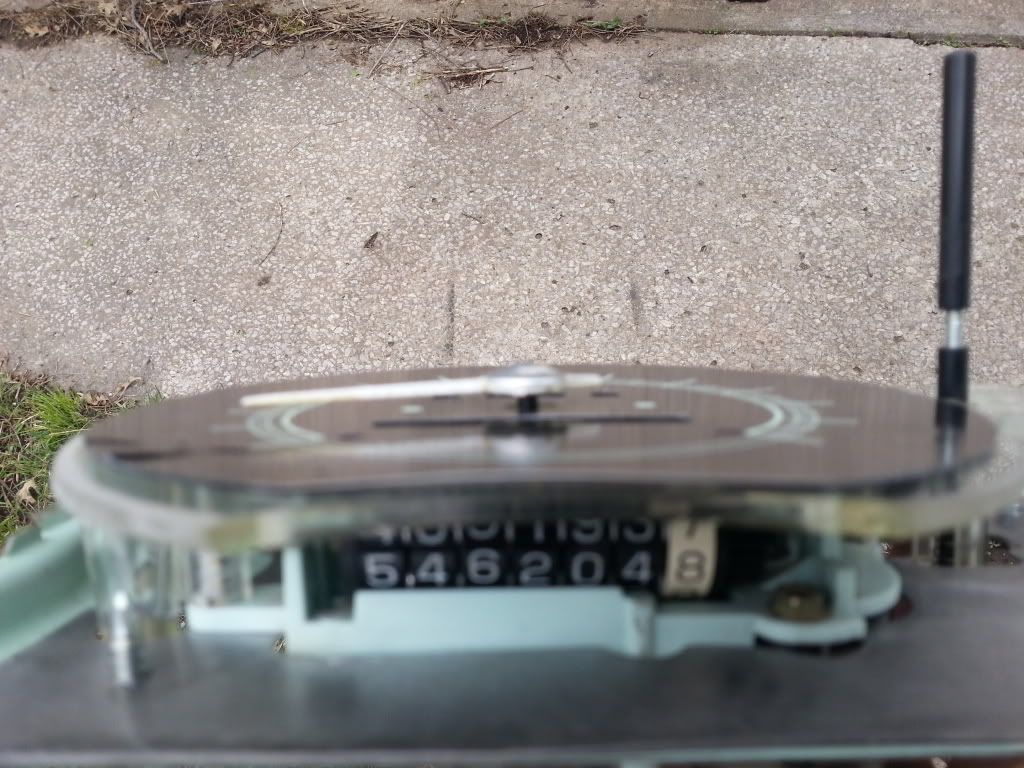 Now you can put the needle on, and make sure everythings lining up. If it's right, through the entire sweep, the needle will be right at the edge of the line on the speedo face. 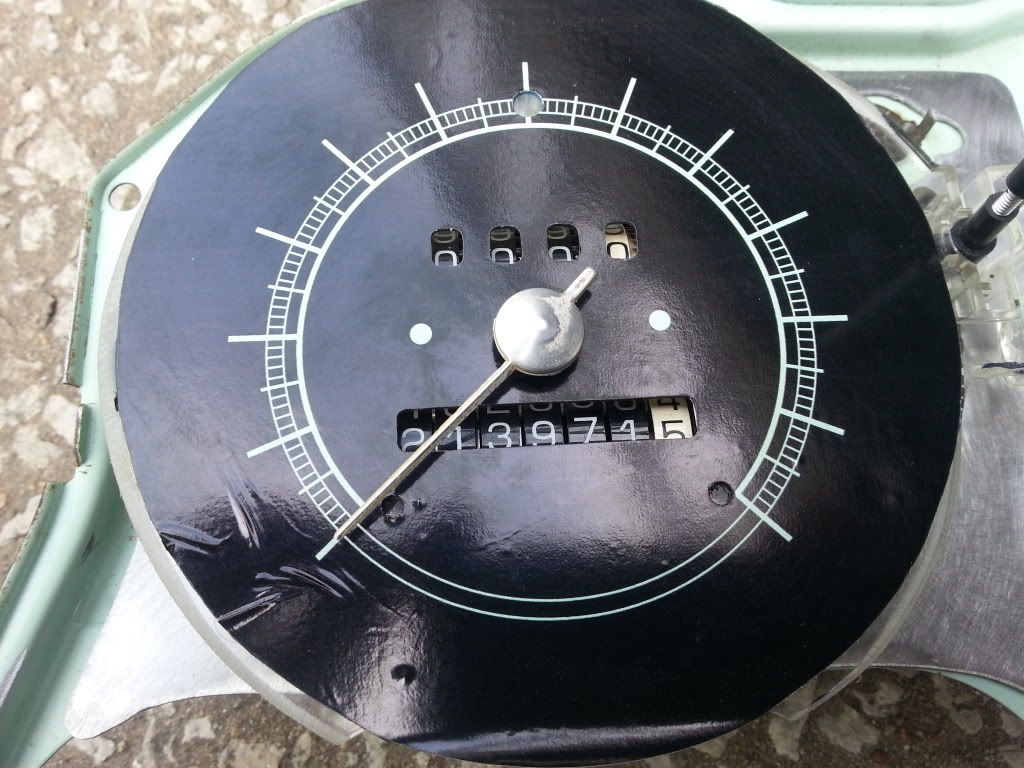 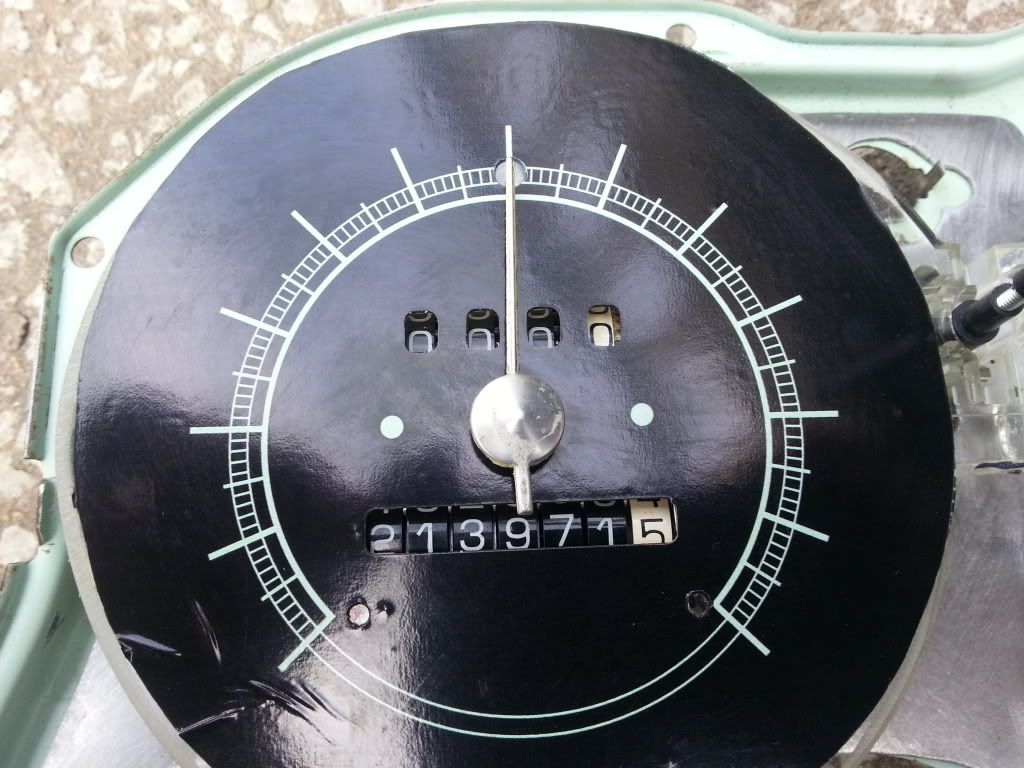 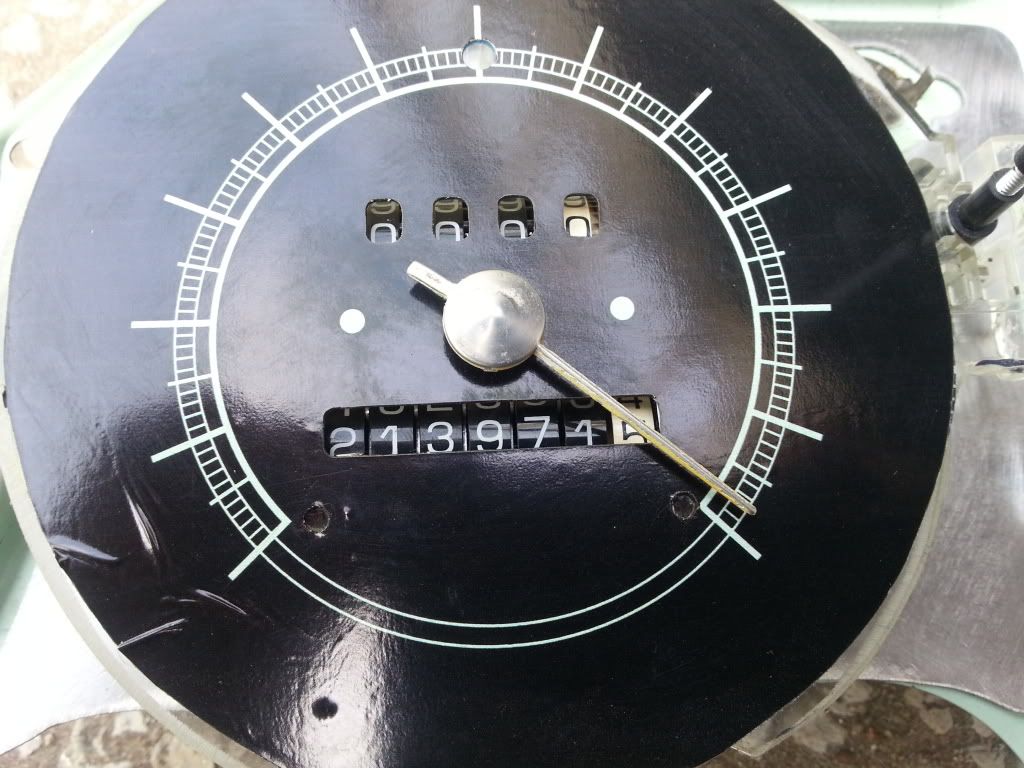 Should look like this. At this point it's just down to wiring. I use sockets for the lights from the junk yard. They are the same sockets that 67-72 trucks have on the heater controls, and use the same bulbs. they ground through the base, so you only need to run the power wires to them. 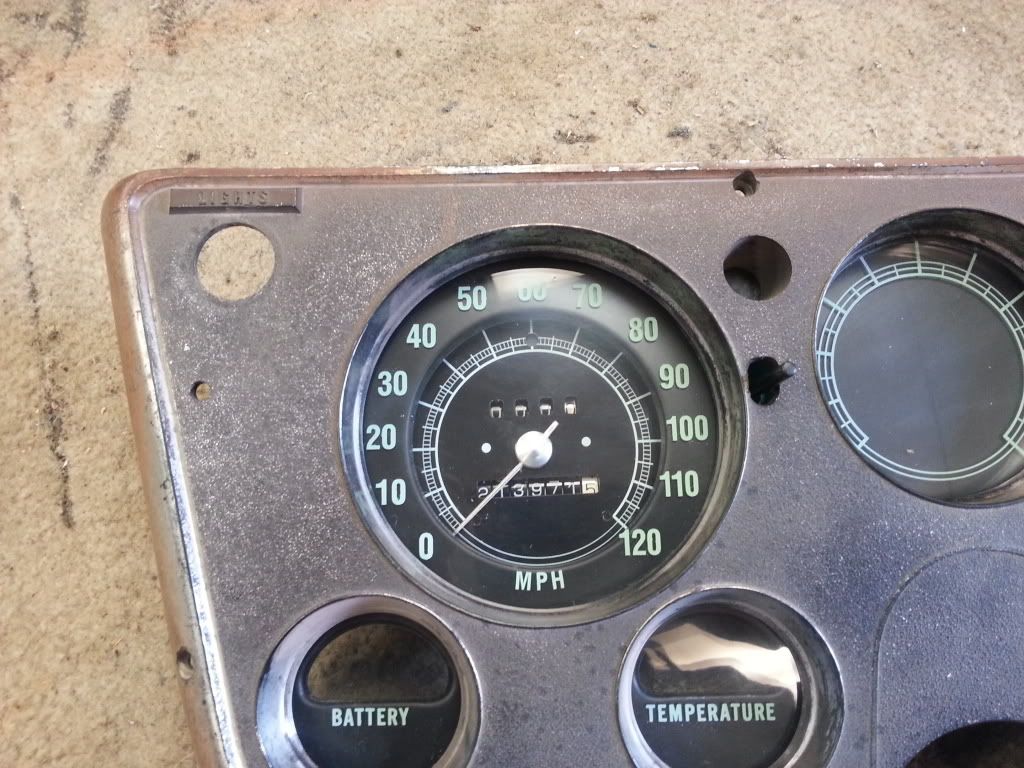 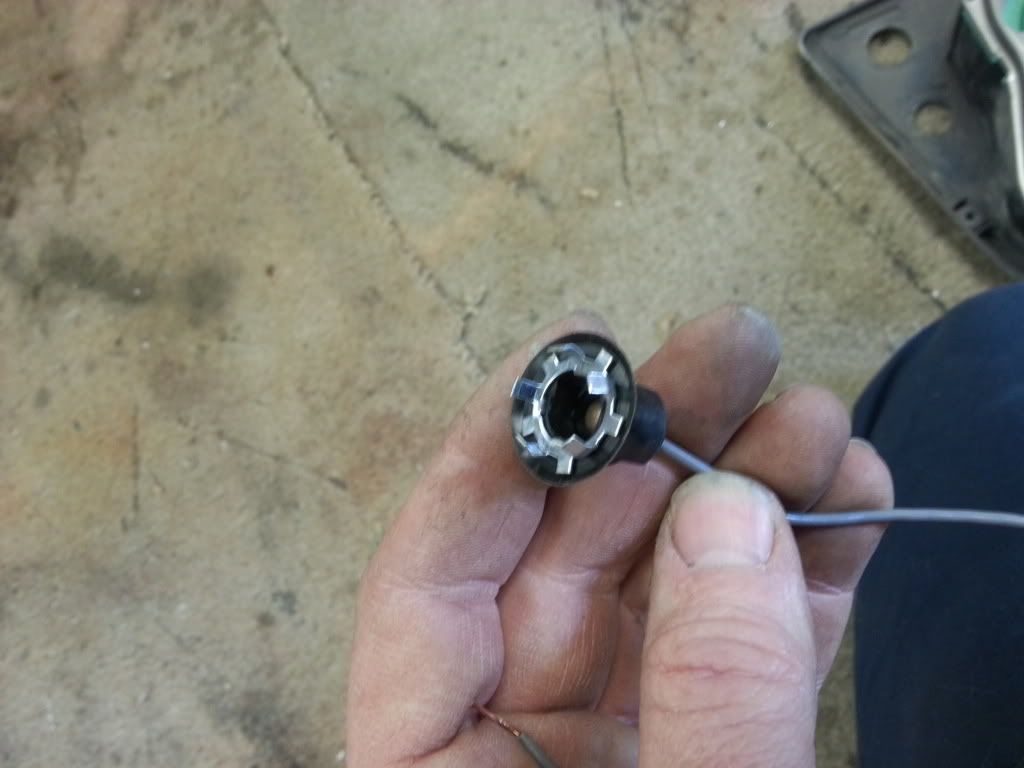 As for the rest of the wiring, use your old printed circuit as a guide, it will show you what wires on the gauges need power, and which ones go to the senders. I also usually go to the junk yard and get a connector to wire into it so that you can un plug the whole cluster to remove it. If anyone has any questions on wiring just ask and I'll get back with you.
__________________
My '72 short bed build. http://www.ls1tech.com/forums/conver...6-0-4l80e.html 5.3 swap into my RUSTY '71 C10 http://ls1tech.com/forums/conversion...71-c-10-a.html |
|
|

|
|
|
#7 |
|
Registered User
Join Date: Dec 2009
Location: Independence Mo
Posts: 4,118
|
Re: 67-72 Electric speedo
I forgot about the high beam indicator, but there's a pic on page 1 of this thread. It's a 12v LED I bought at Radio Shack. it has a small nut that threads on it so you can bolt it in a hole. I made a bracket that bolts to one of the screws that holds the speedo part in. I also ended up putting a piece of window tint under the face, between it and the clear plastic part, to keep it from appearing to glow when the dash lights are on. The dash lights will light up the clear and the indicator will be white. putting the window tint darkens it so you don't see it, but it's not so dark that the LED doesn't show through.
__________________
My '72 short bed build. http://www.ls1tech.com/forums/conver...6-0-4l80e.html 5.3 swap into my RUSTY '71 C10 http://ls1tech.com/forums/conversion...71-c-10-a.html |
|
|

|
|
|
#8 | |
|
Registered User
Join Date: May 2012
Location: Faith,NC
Posts: 1,623
|
Re: 67-72 Electric speedo
Quote:
Also, I noticed you added two of the single wire lights between the 2 sets of small gauges, does this make a noticeable difference in gauge brightness? Thanks! |
|
|
|

|
|
|
#9 |
|
Registered User
Join Date: May 2012
Location: Faith,NC
Posts: 1,623
|
Re: 67-72 Electric speedo
Hey Eric, never mind the first question, I took a different approach by counter boring the plastic piece so the LED sits flush with the surface of the plastic piece, then ran the nut and lock washer down on the backside. I think it will work pretty good but if it ever fails, I'm screwed. Lol.
|
|
|

|
|
|
#10 | |
|
Registered User
Join Date: Apr 2011
Location: Mustang, Oklahoma
Posts: 2,806
|
Re: 67-72 Electric speedo
Quote:
 Q: does the needle have to sit up higher that the stock needle? Just wondering if I couldnt just bore out the stock needle hole to fit or would it be too short? I am almost done with the mounting plate but have a bit to go on the rear cover box. Those pesky light bulbs make it difficult. I may make another one and just use LEDs to backlight it like the one you used for the high beam indicator. I think that would give me a bit more wiggle room for the rear cover box. Here are some pics of the almost finished plate and my progress.
__________________
Dan <---(my name) 67 SWB C10 project "GEORGIA"-59 Brookwood 2dr wag...Next project-03 Tahoe 4x4 5.3 family ride-07 Hondur Accord, commuter car |
|
|
|

|
|
|
#11 | |
|
Registered User
Join Date: Dec 2009
Location: Independence Mo
Posts: 4,118
|
Re: 67-72 Electric speedo
Quote:
 ) I guess if you have a drill bit that small you could drill it out to fit, but damn, that would be a really small drill bit! ) I guess if you have a drill bit that small you could drill it out to fit, but damn, that would be a really small drill bit!
__________________
My '72 short bed build. http://www.ls1tech.com/forums/conver...6-0-4l80e.html 5.3 swap into my RUSTY '71 C10 http://ls1tech.com/forums/conversion...71-c-10-a.html |
|
|
|

|
 |
| Bookmarks |
|
|